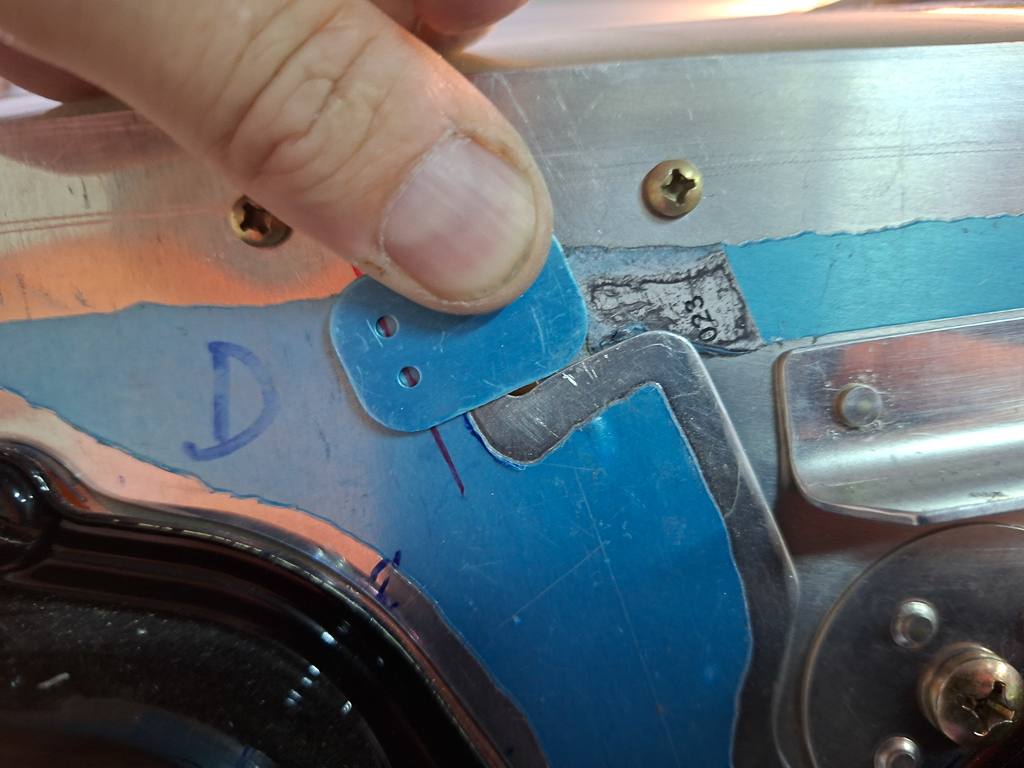
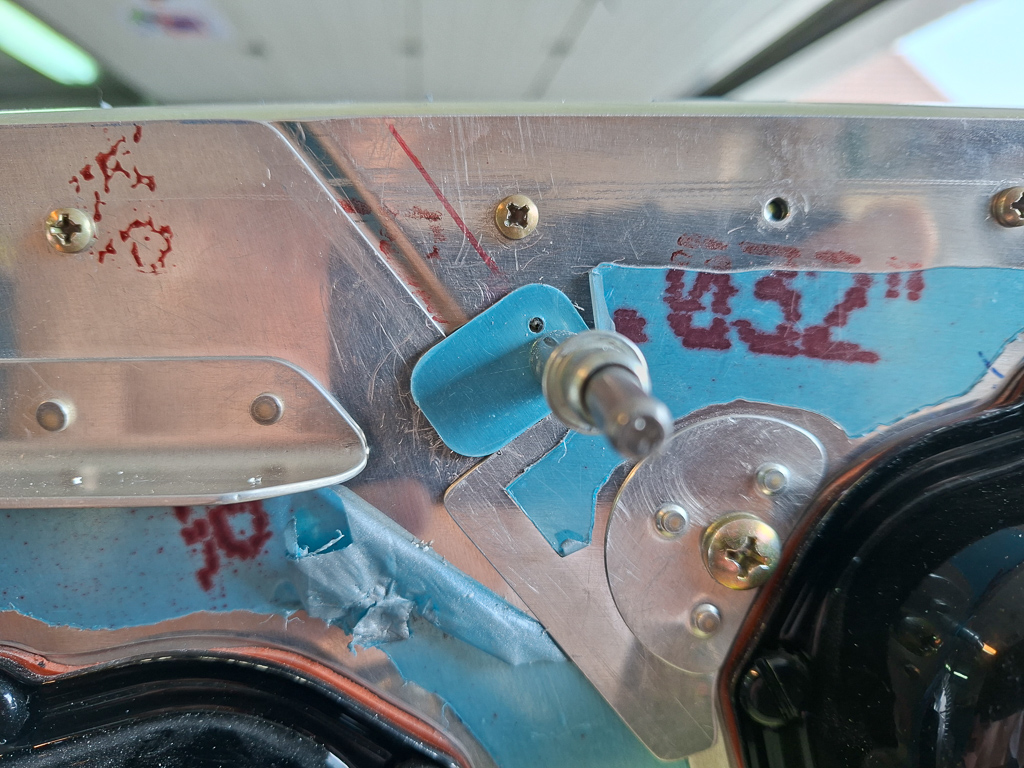
More rivetting. I have installed the K1000-06 nutplates on the inner leg of the pilot side front baffle. The nutplate ears are dimpled.
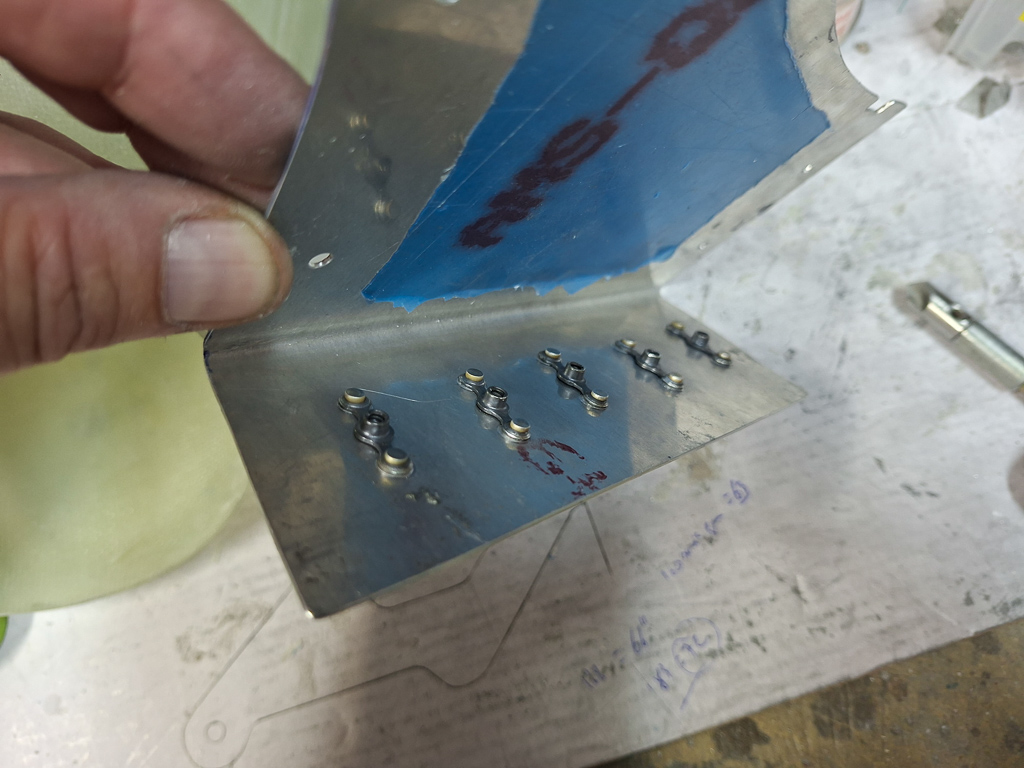
Installed with cleco's in the nutplates here but it gives an idea of the look of the diffuser with all the nutplates installed.
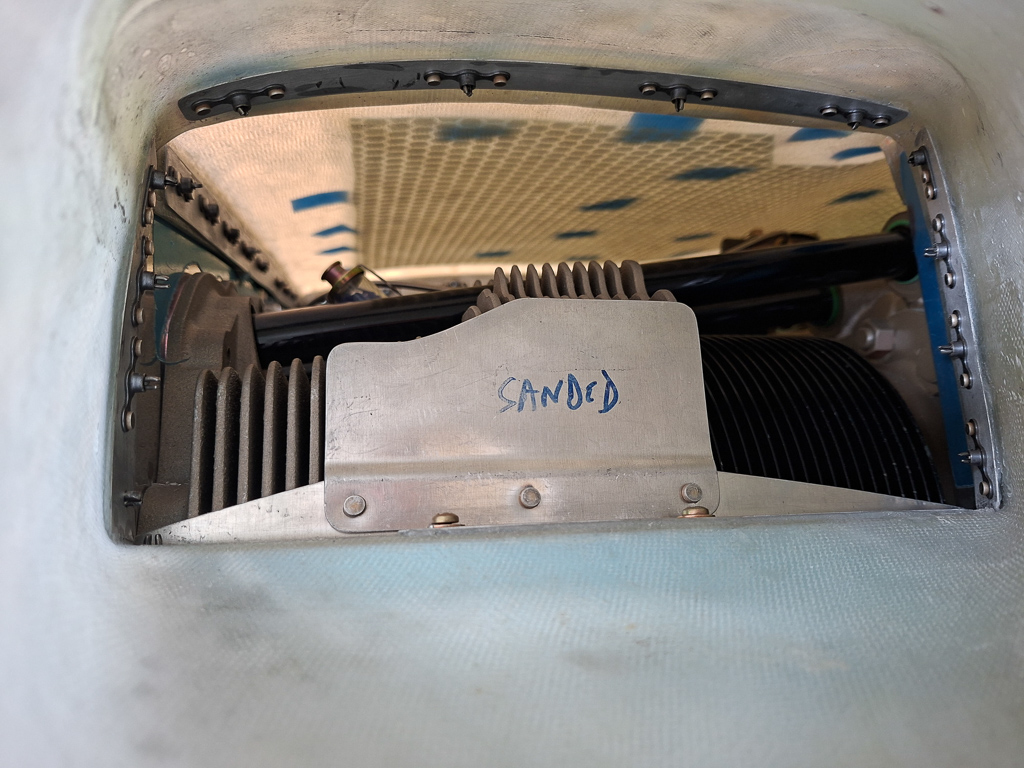
On the bottom side, the bottom of the diffuser is nice and flush with the baffle support angle.
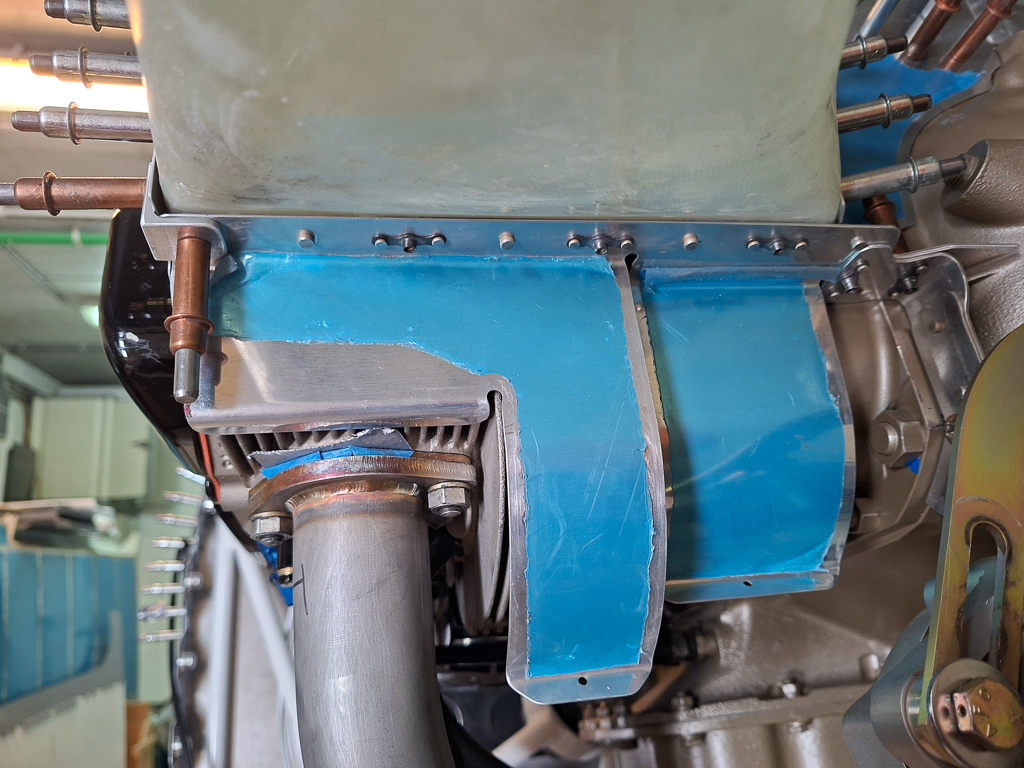
Here is a shot from the pilot side.
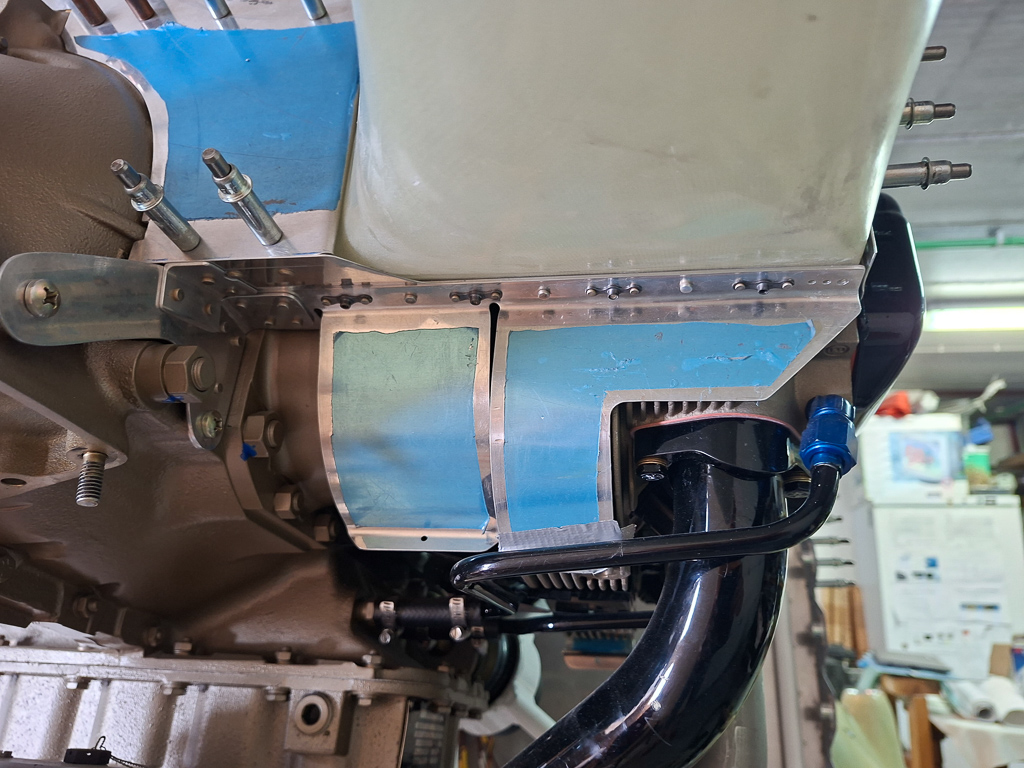
On the passenger side, I have cut away some more of the top cover so I have a nice edge which I will close up with some epoxy later on. This gap should be fully closed.
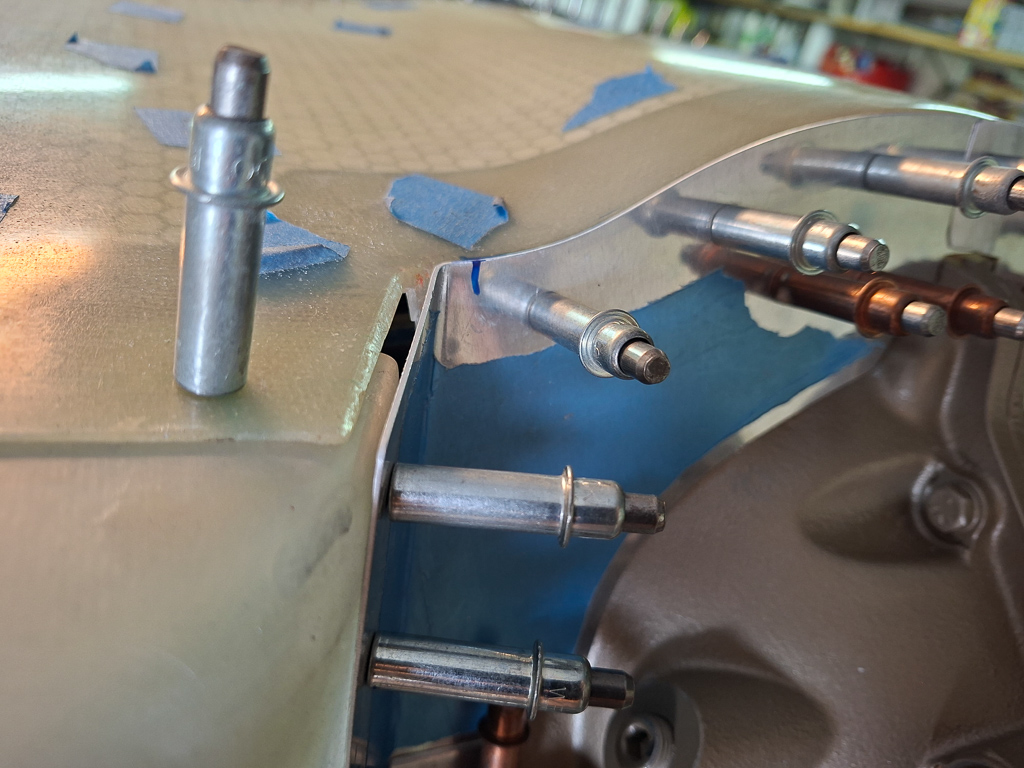
Good shot of the anti rotation bracket on the pilot side (left) and passenger side (right).
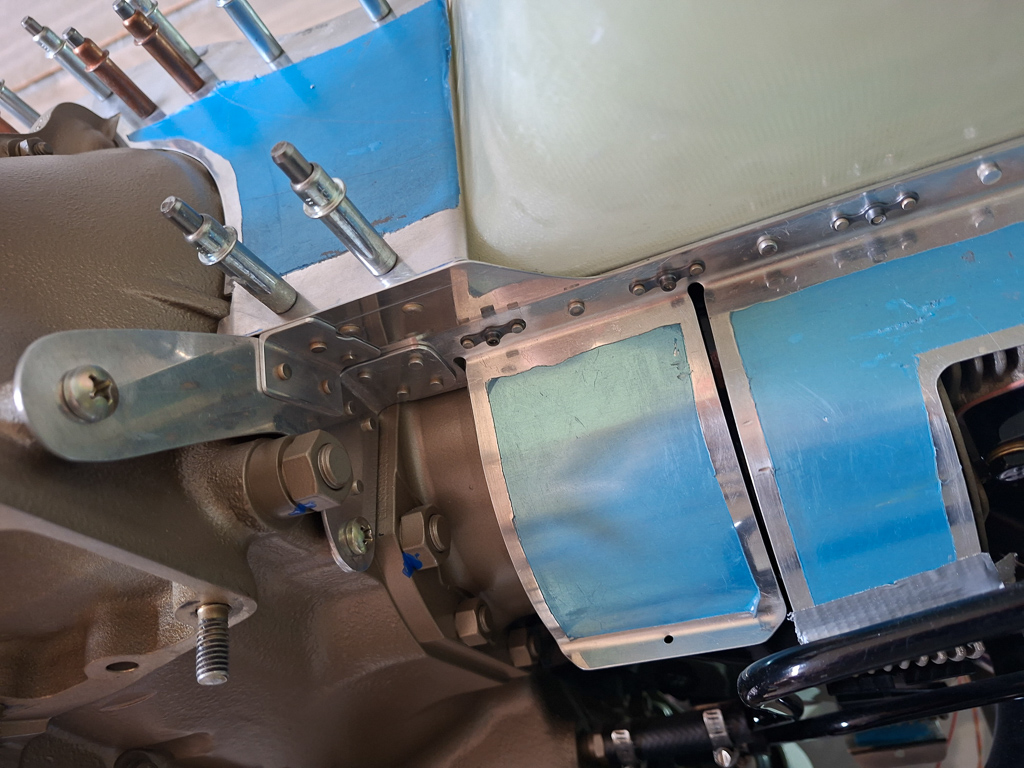
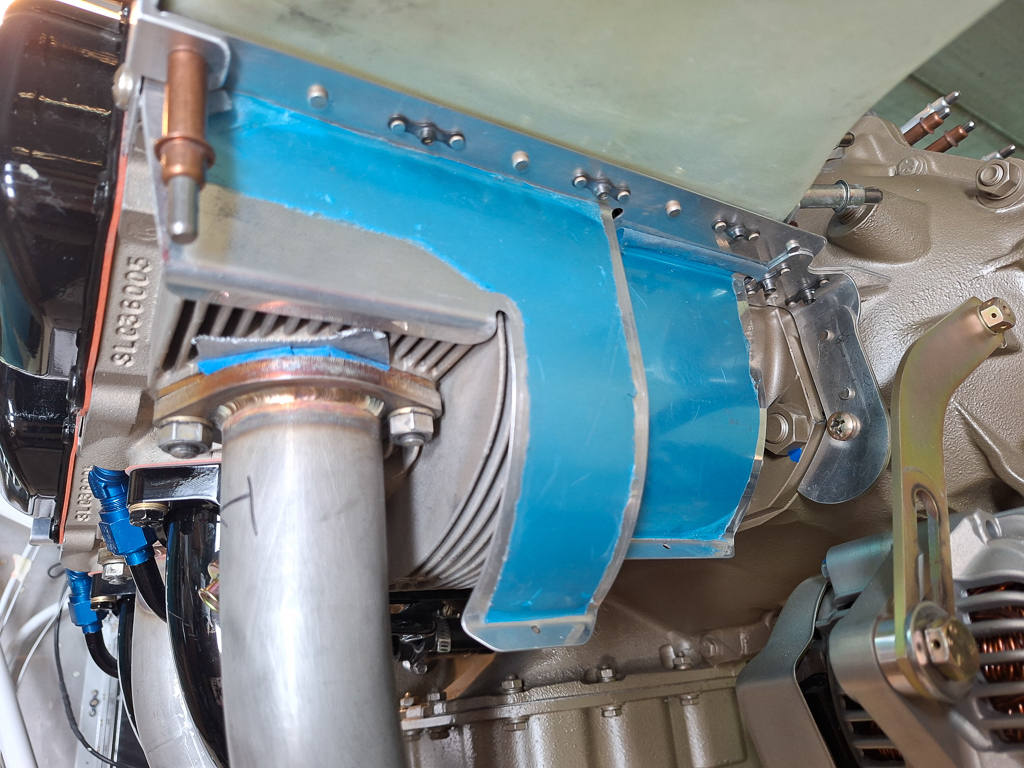
I have installed some #6 screws and evaluated the thightness and gap. The screws pull the baffle in much more than cleco's do.
This pulling in is most visible on the vertical line at the diffuser where you can notice in the image below that the side baffle get's nicely pulled in against the diffuser.
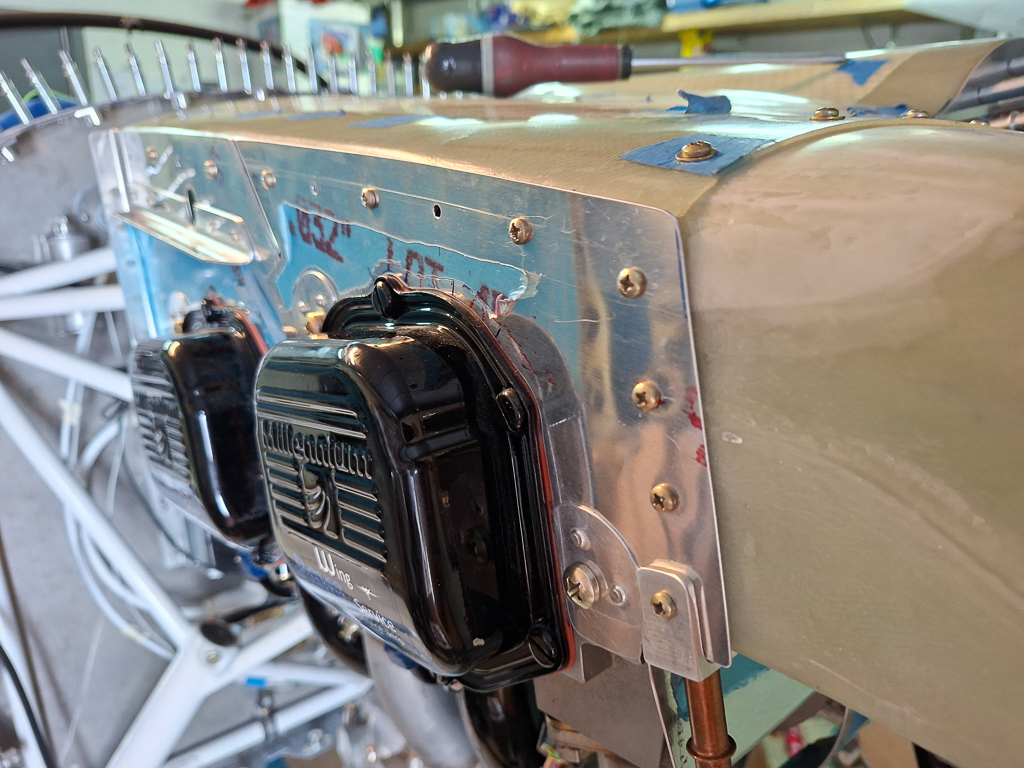
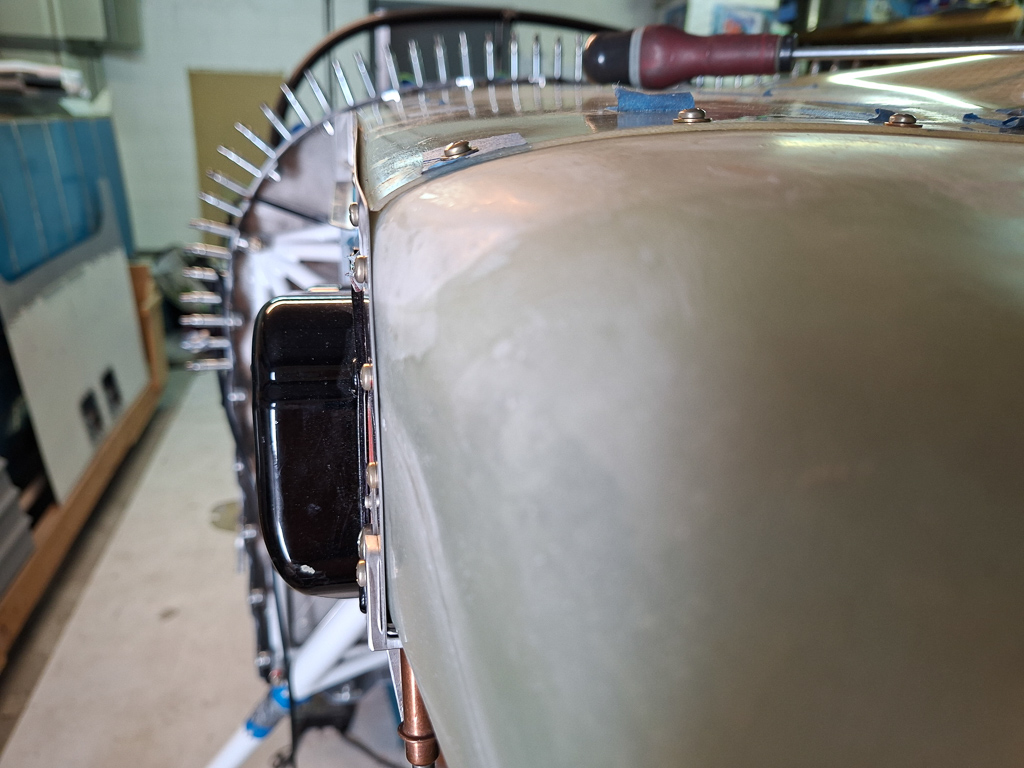
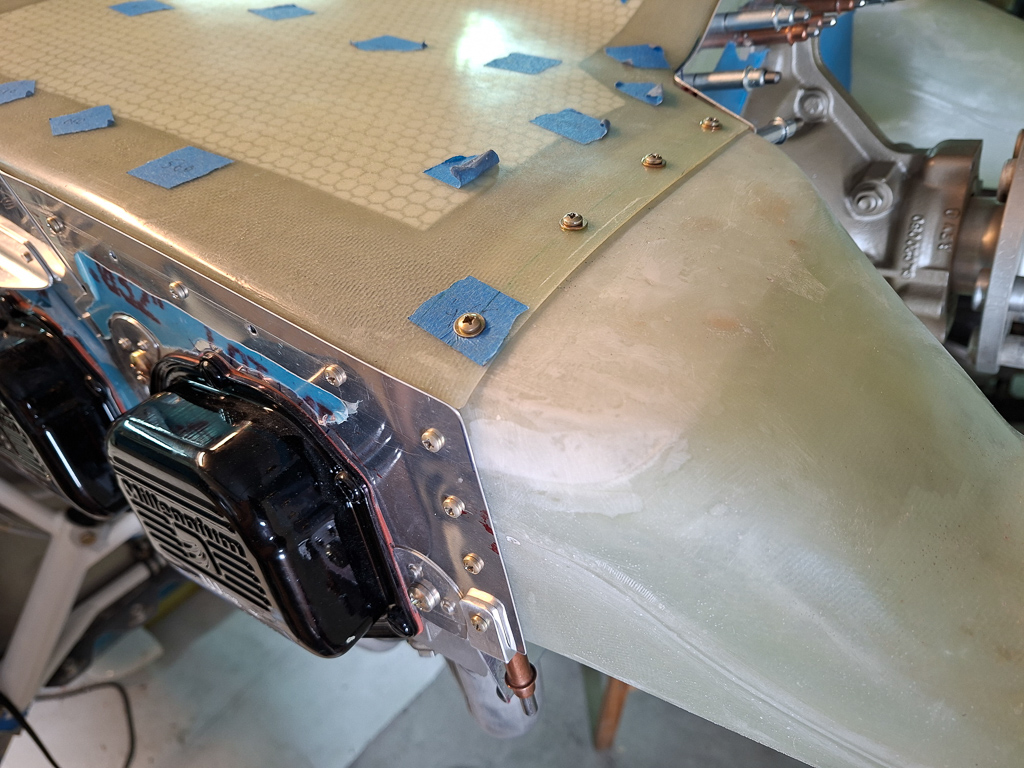
Next I installed the side locking clips between the side baffles. This is a standard Vans part (CB-1003D).
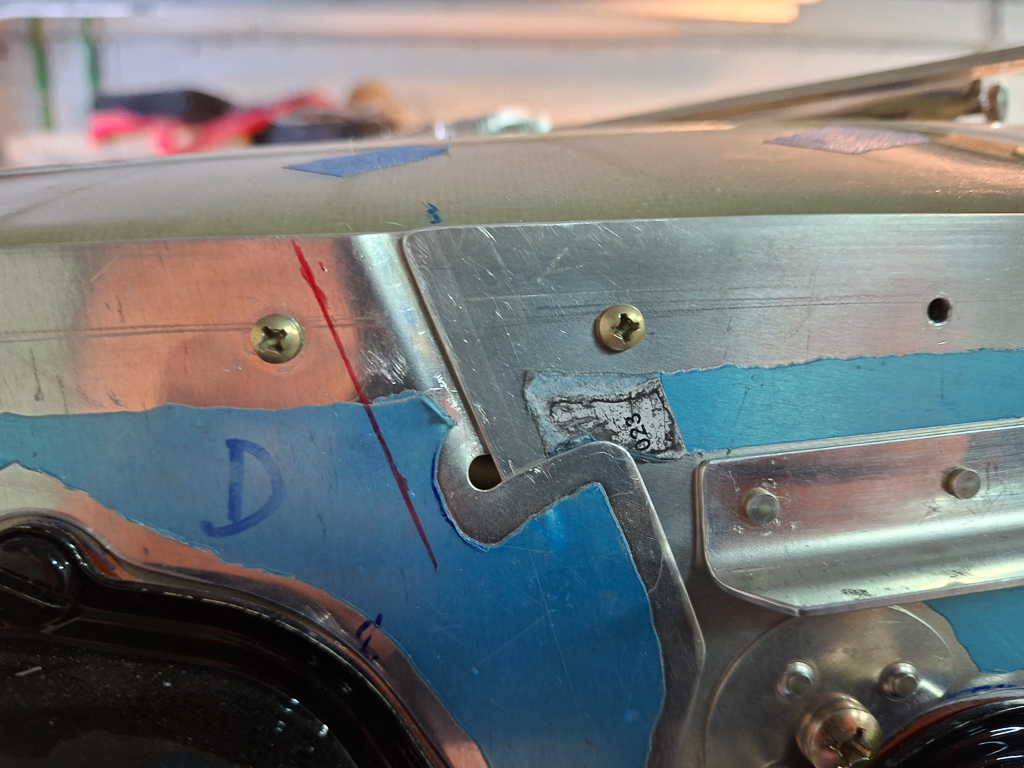
The installation image on OP40-11 is quite vague on how the overlap should be (whether it's supposed to cover the notch on the rear side baffle.
I folowed the plans and placed it as drawn with the lower edge parallel to the horizontal line on the CB-1004A cylinder 4 baffle.
Marked an offset line from forward edge to get good edge distance and sufficient overlap.
This is the same shot on the other side on the CB-708A cylinder 3 baffle. (right)
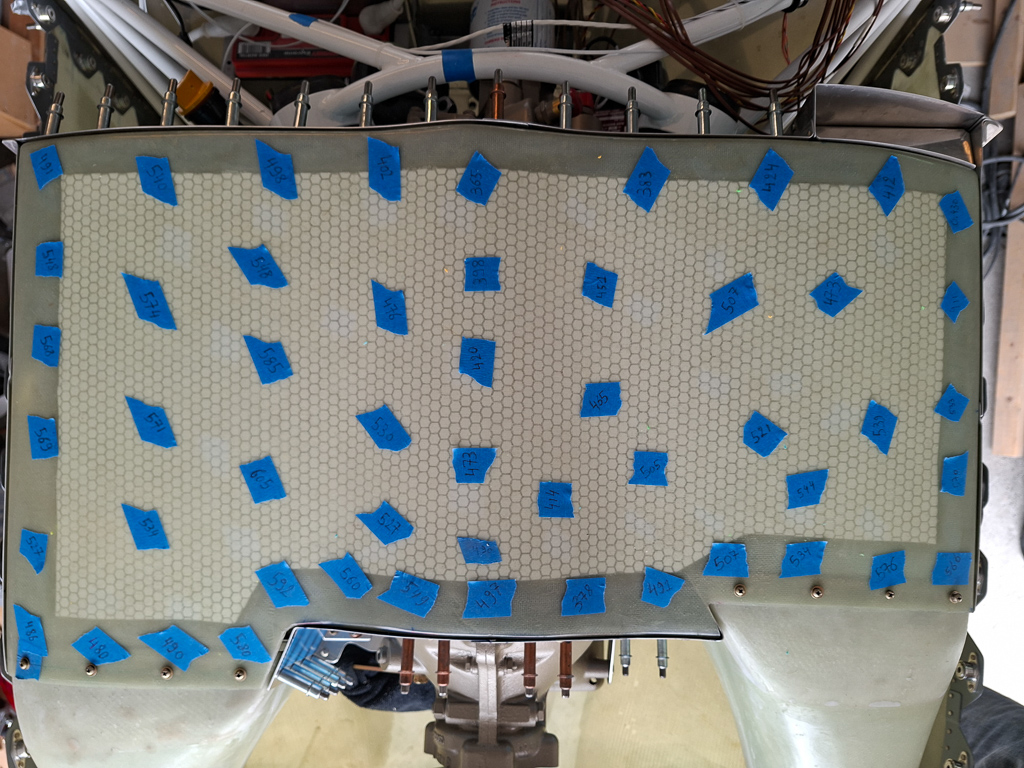
With all temporary screws installed I got curious on cowling spacig again so I took out the palsticine again and put the cones all over the place on the plenum cover.
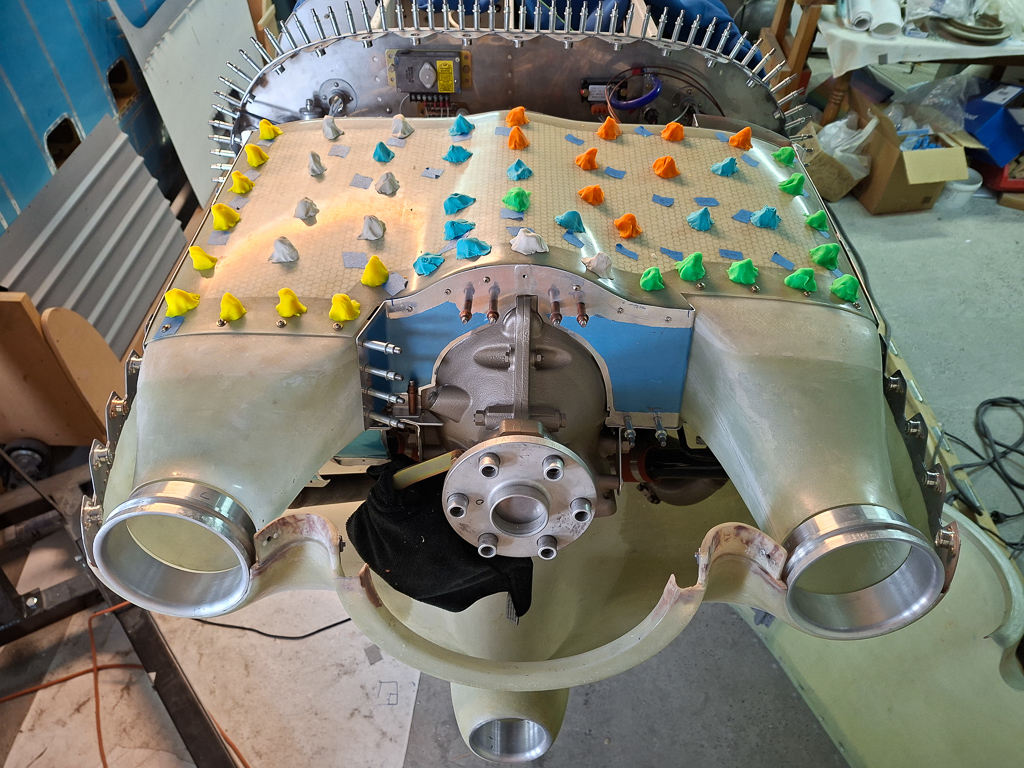
Then installed the bottom and top cowling. I'm very pleased how the alignment of the diffusers with the aluminum intake rings turns out.
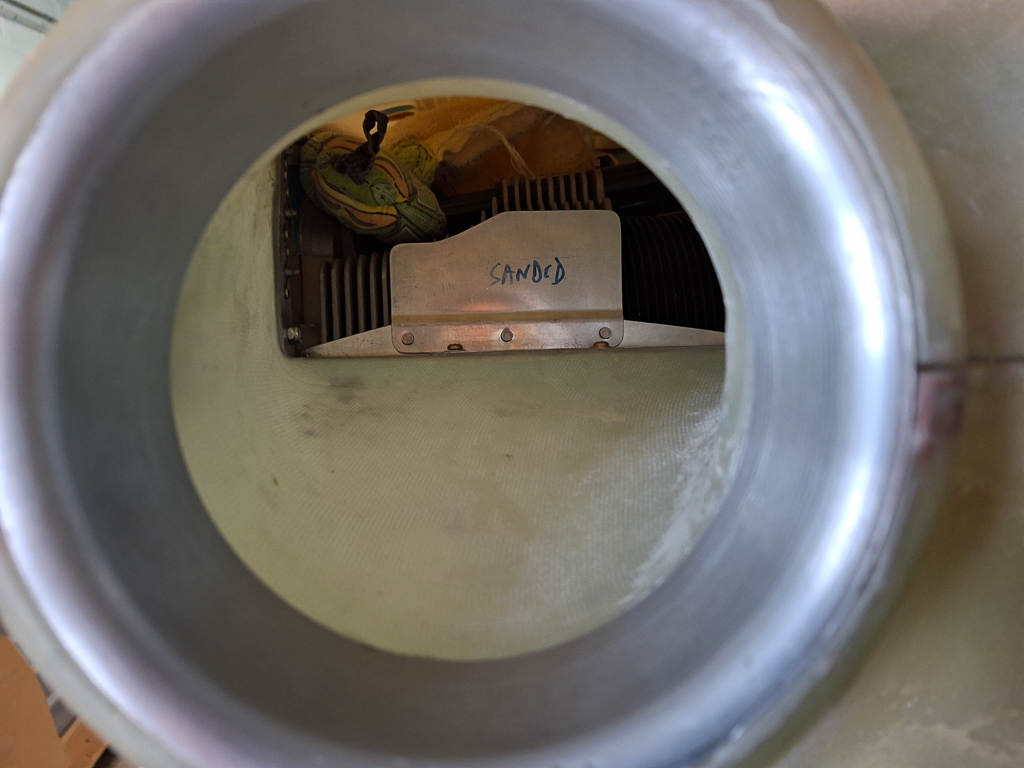
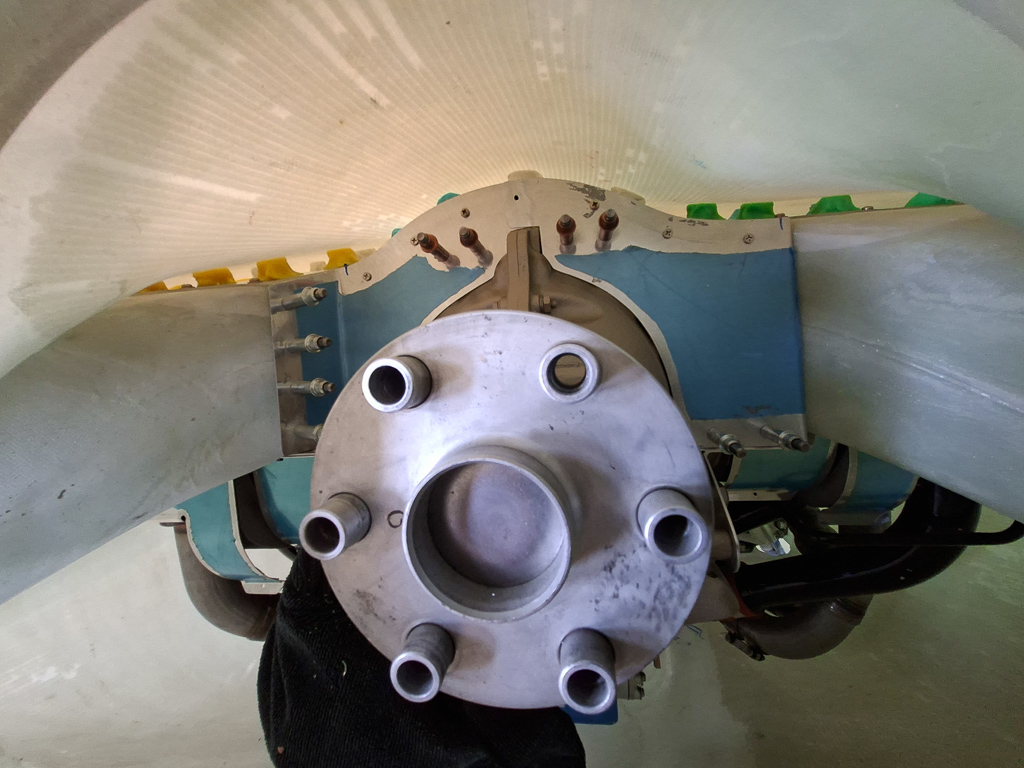
Wide angle shot underneath the cover with the plasticine squized between plenum and cowling top.
Took it of with care and started measuring the heights of each cone.
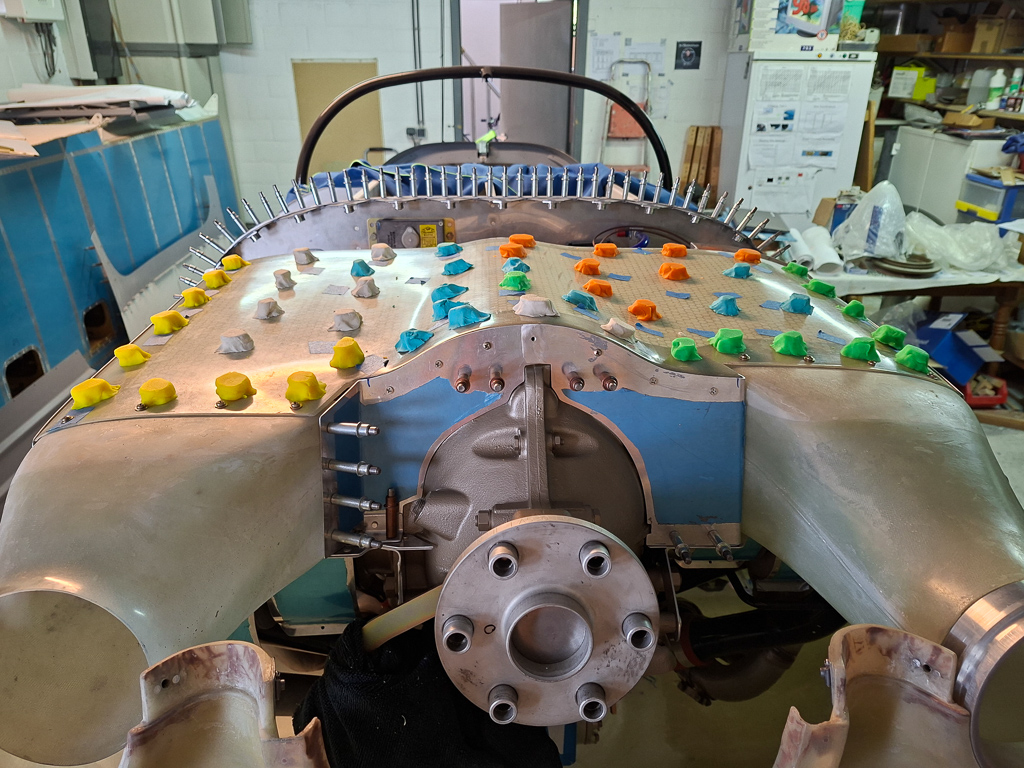
Here are the final numbers. I am pleased with these. The biggest gap is 0.605 at one location. The middle passenger side has the largest gap 0.570 to 0.605.
But the front is 0.480 at it's lowest and 0.402 at lowest in the rear so there was no way to get it les in the middle.
On the pilot side the front has a low of 0.491 and 0.07 on the diffuser top left corner. The rear has a low on 0.383.
The overall low point of 0.365" at the center rear. This is some hundreds below 3/8" which will be totally fine.
Overall you want between 3/8" and 1/2" inch space with the ideal towards 1/2".