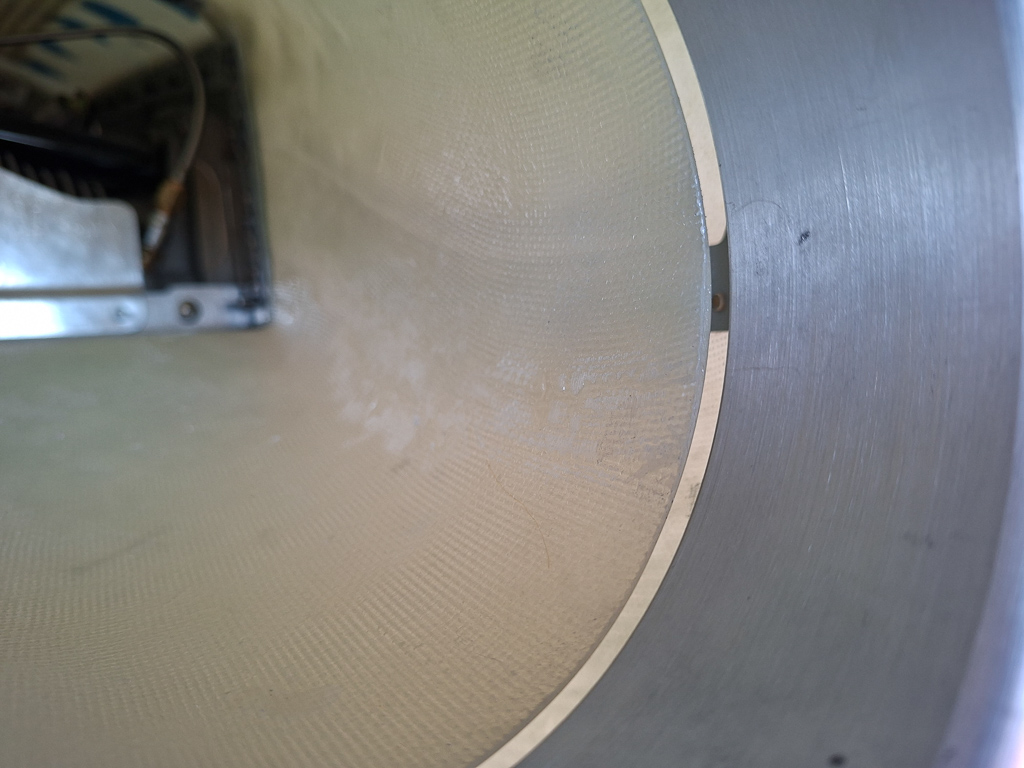
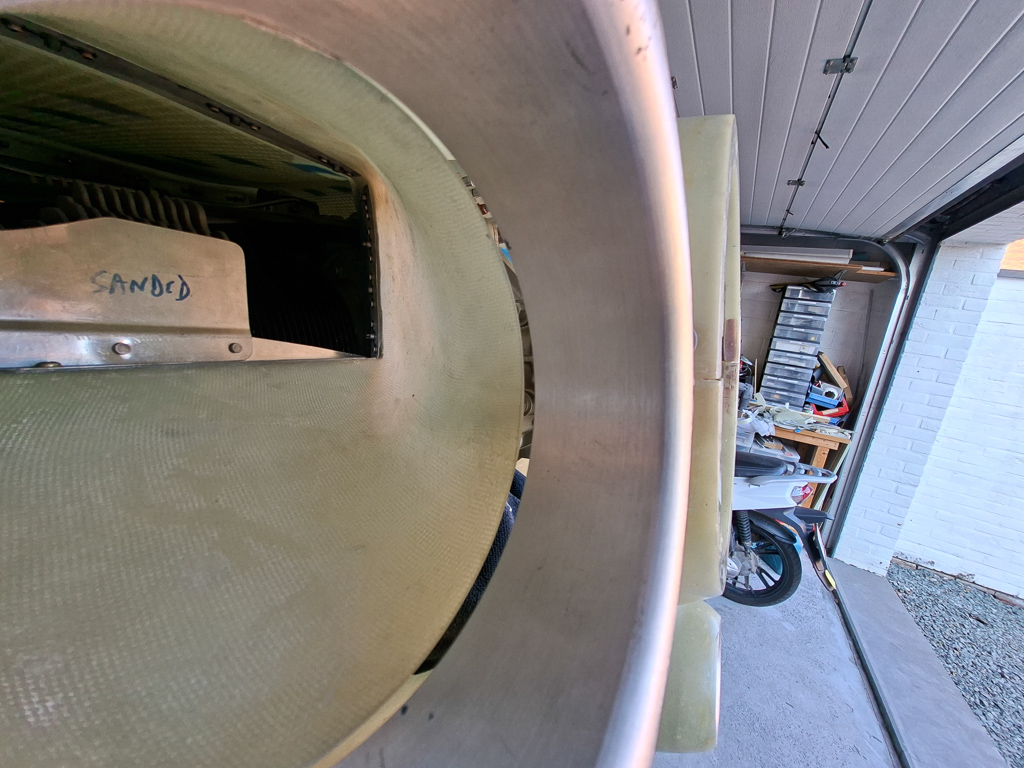
Finished the clips today by rivetting them on the bafles. The flush side is on the inside. I slightly gave the bend in the baffle a little extra to get a nice clamping action.
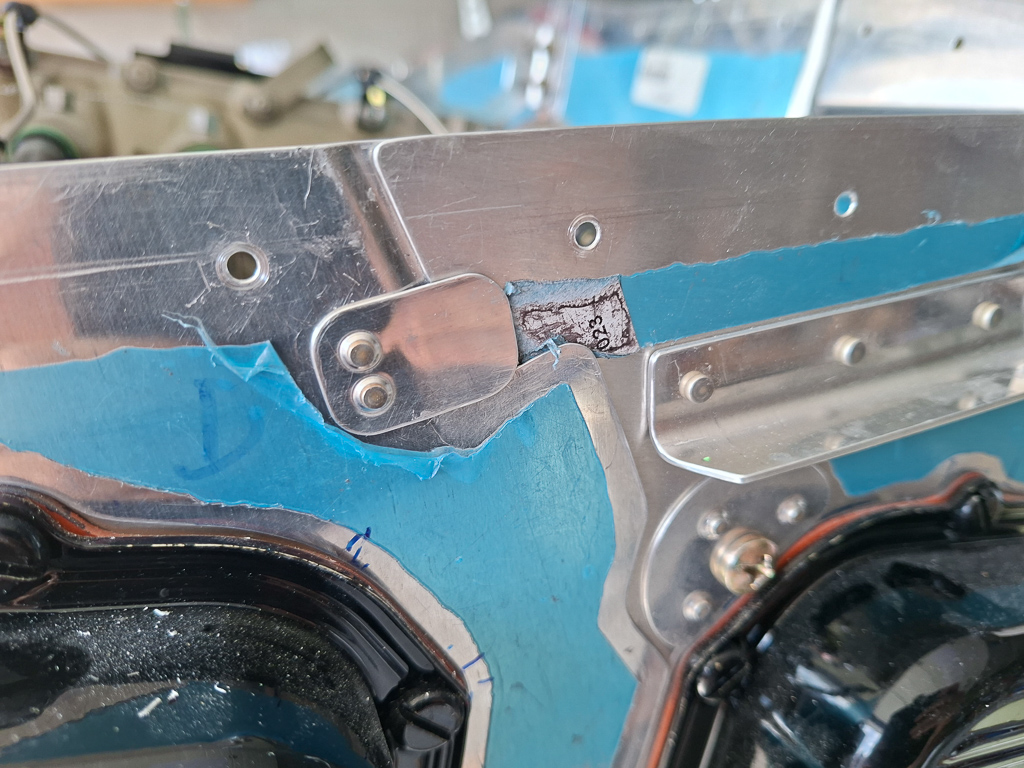
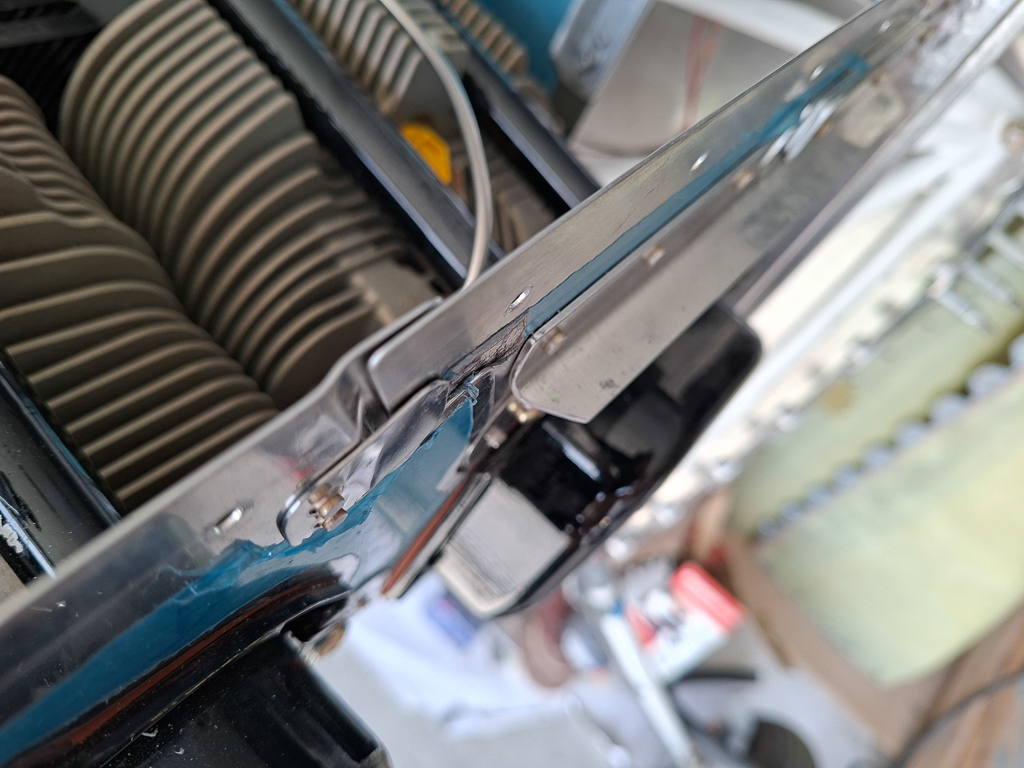
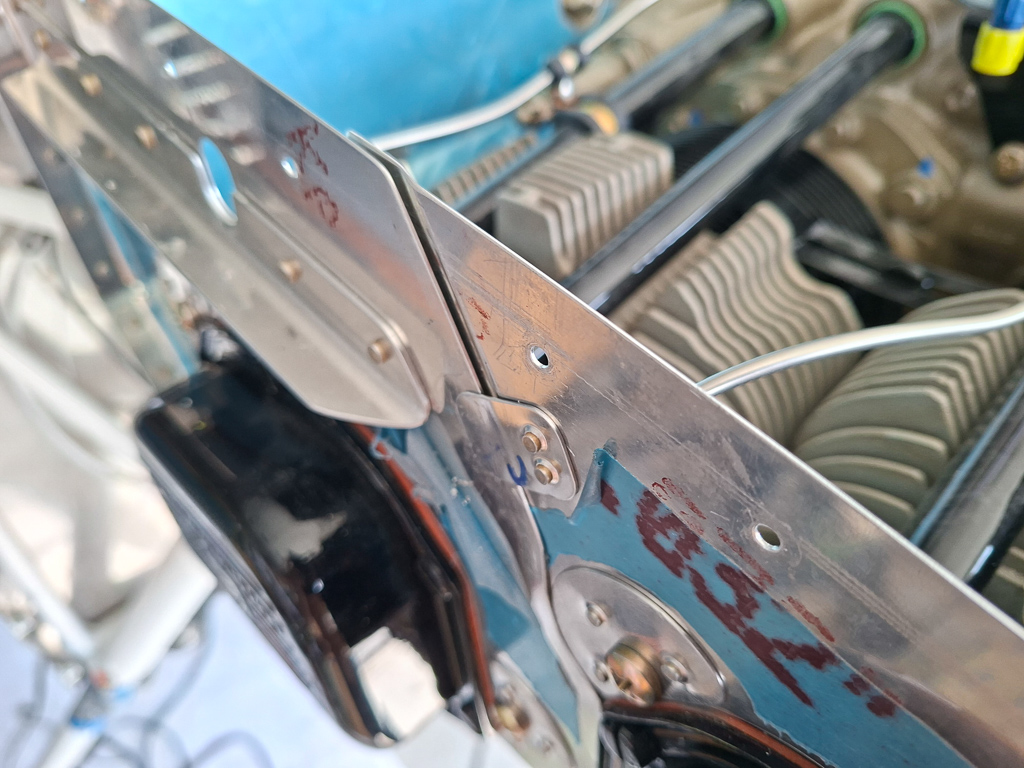
With the rest of the time I started again on measuring and increasing the spacing between the aluminum air intakes and the front of the diffuser.
The way I do this is by evaluating the length I need to take off and then use a thick sharpie pen to mark the contour so that I can see it I have been sanding enough.
I first measured the spacing at top left bottom and right location with a caliper and noted them down on a paper. Then tried to mark the diffusers accordingly.
If you don't mark, you don't have a reference point and tend to sand too much. I use a narrow hand belt sander and finish it off with a sanding block with 100 grit
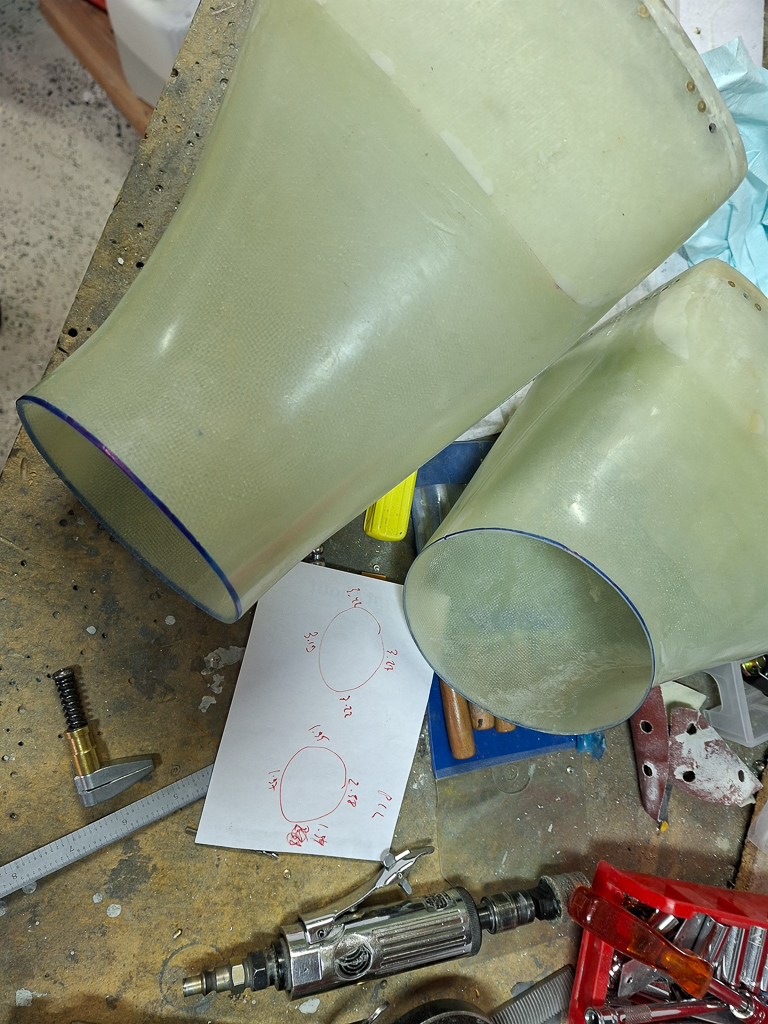
it requires multiple iterations. You can't put back what you removed so patience is a good characteristic of character here.
The numbers you can see on the paper are in mm. You are looking for 3 to 4mm.
Bill Lane sent me this in a message : "Now, when you go to align the inlets with the rings. First set the rings like SJ instructions, then when you are installing the inlets allow the excess on the front to extend into the hole on the cowl. Once the inlets are happy with sides and all, then trim the front to allow 3-4 mm of clearance to the rings. No more is needed, they won't hit with the engine running."
In the image below I'm close to 4mm overall.