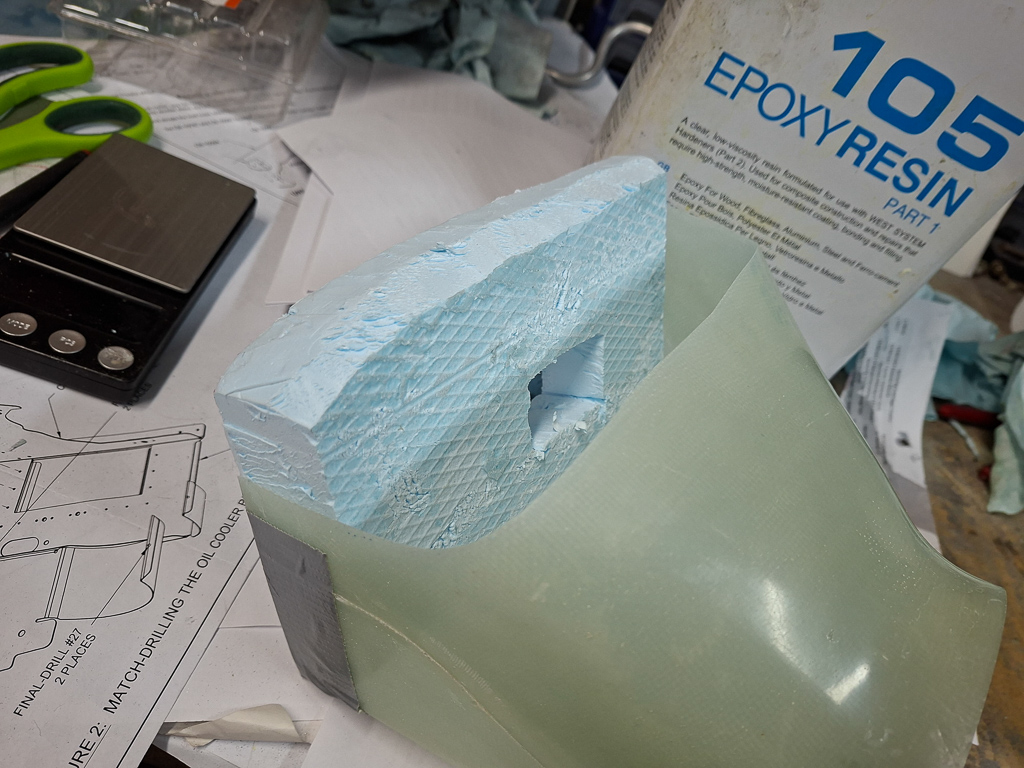
Continueing on adapting the plenum diffusers to fit the lowered plenum roof.
I have been scratching my head a bit on how to get the height of the adapted diffusers right.
It's not a straight line so measuring with a ruler would be difficult.
My best guess was to use some blue foam and hold it in front of the plenum cover with the bottom laying on the front baffle angle.
Then marked the contour of the plenum cover on the foam and tried to cut it as good as possible until it fit nicely underneath the plenum.
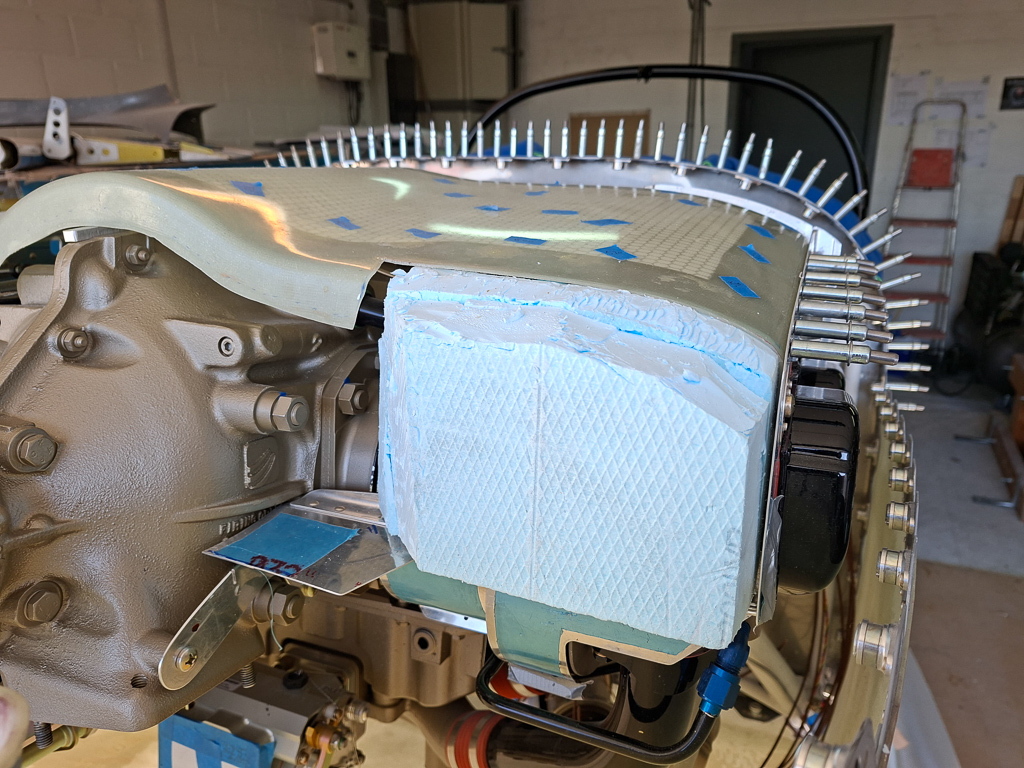
I have been able to remove the copied diffuser tops quite easily from the diffuser. The wax and plastic work really well.
I have also drawn the top part which I'm planning to remove from the diffuser in red line.
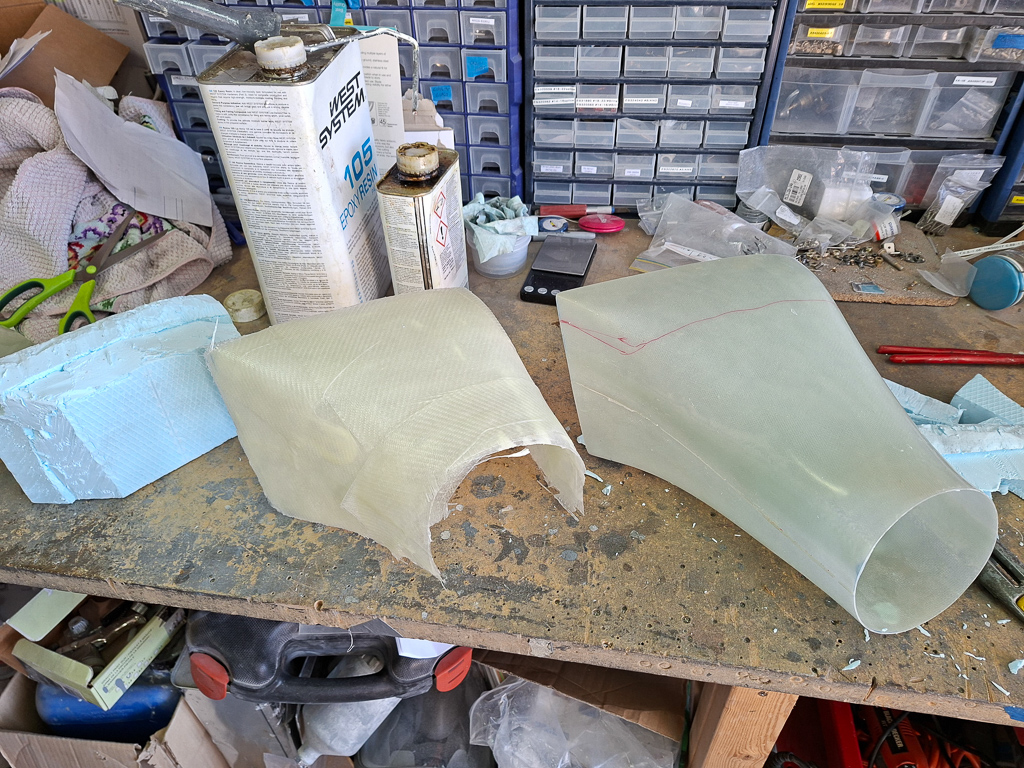
In the image below, the top has been cut of and I sanded the sides to a knife edge and roughened the surface around the cut hole.
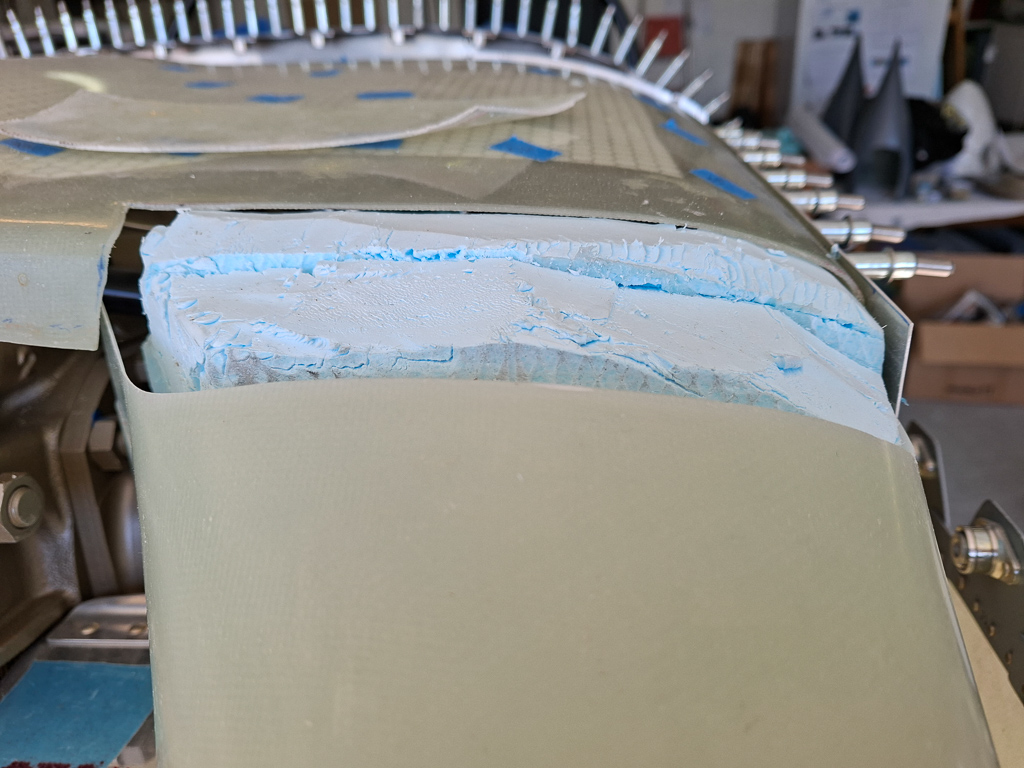
Then took the foam, and put it on the diffuser. Making a hole in the middle allowed me to fixate it with a vise grip.
Then put the copy over the cut diffuser and attach it firmly with cleco clamps.
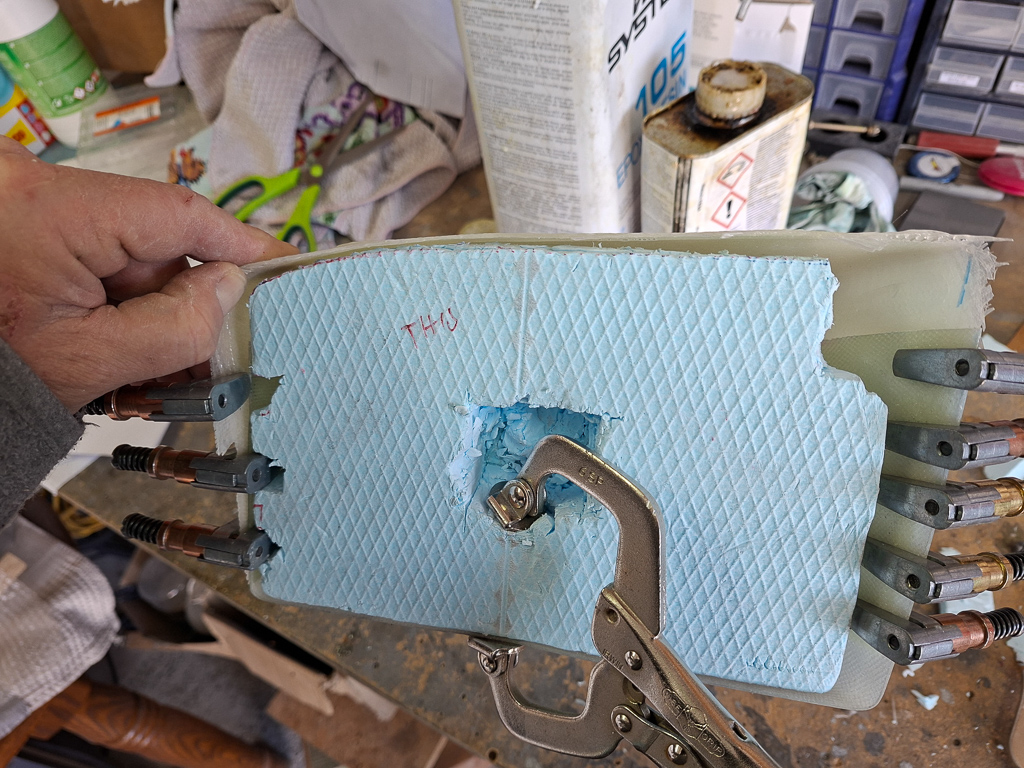
Marked the copy and cut small parts of and then reinstalled it again in the same way with the foam.
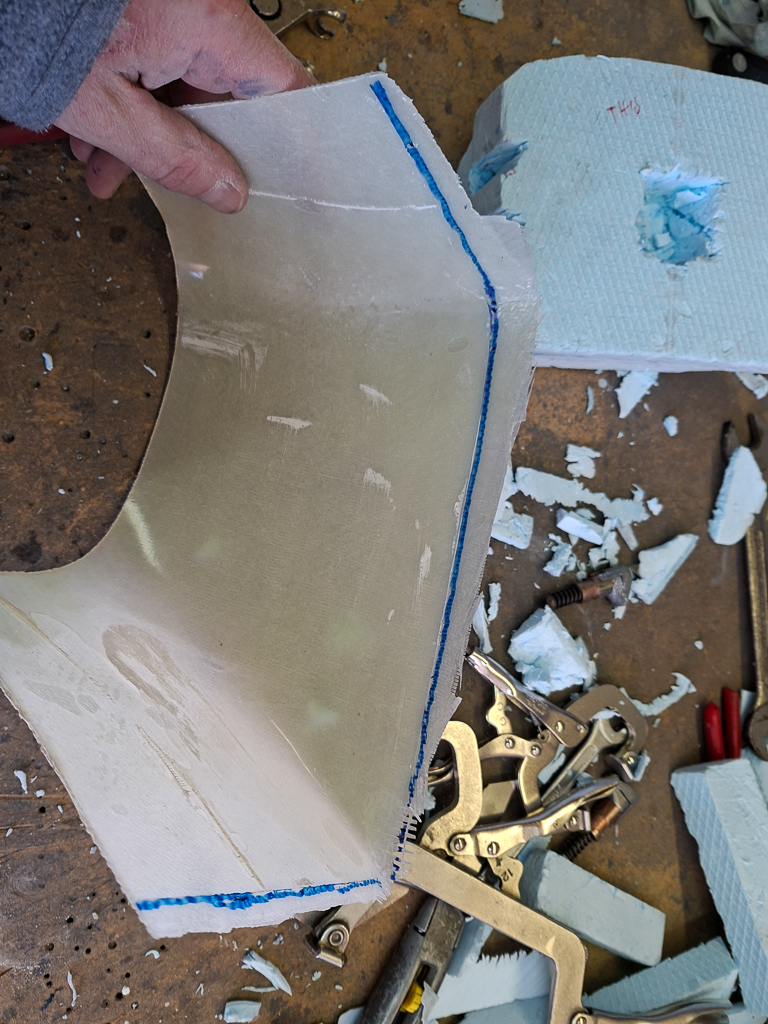
Once all was in in position, removed the foam and double checked by measuring with a ruler in 5 locations if the height on the plane under the plenum cover matches what I have clamped here. The copy is not in the exact same location as it was made on the original diffuser top. As you move down, the shape slightly changes and I had to find the sweet spot how the copy mould fit the best with the smoothest transitions. As your see with the blue line, it's slightly shifted
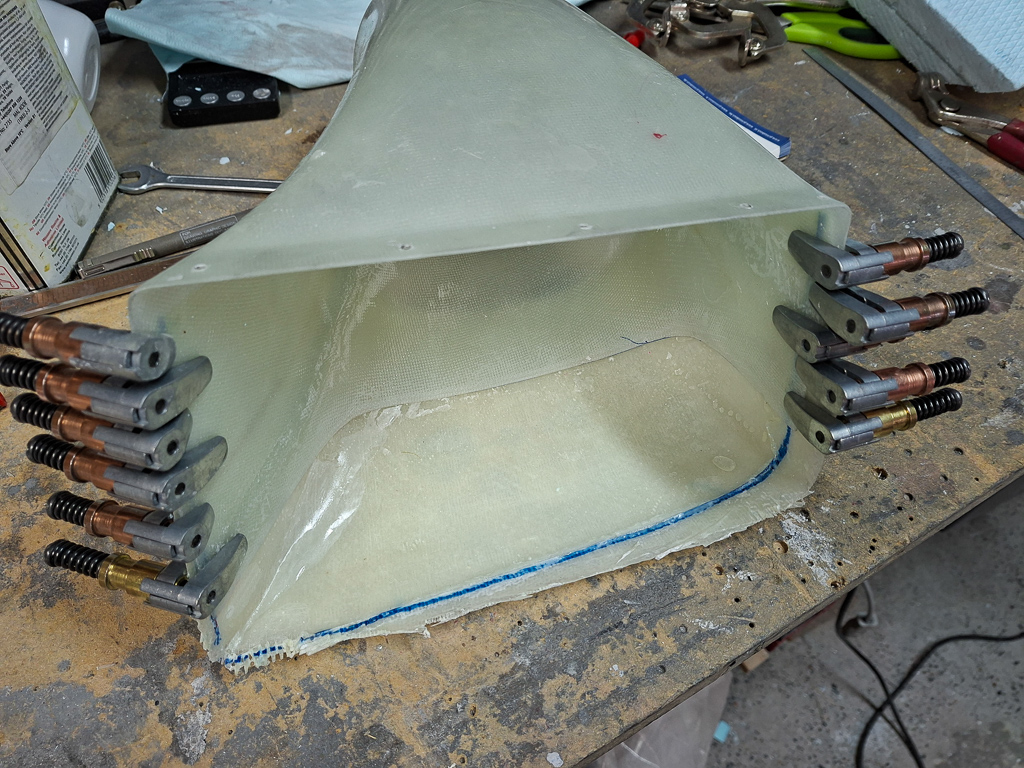
Then started laying up epoxy from west system and I think I did 4 layers. of layup and covered it with peel ply.
Waiting now for this to dry so I can evaluate the result and then will do the same on the other side diffuser.
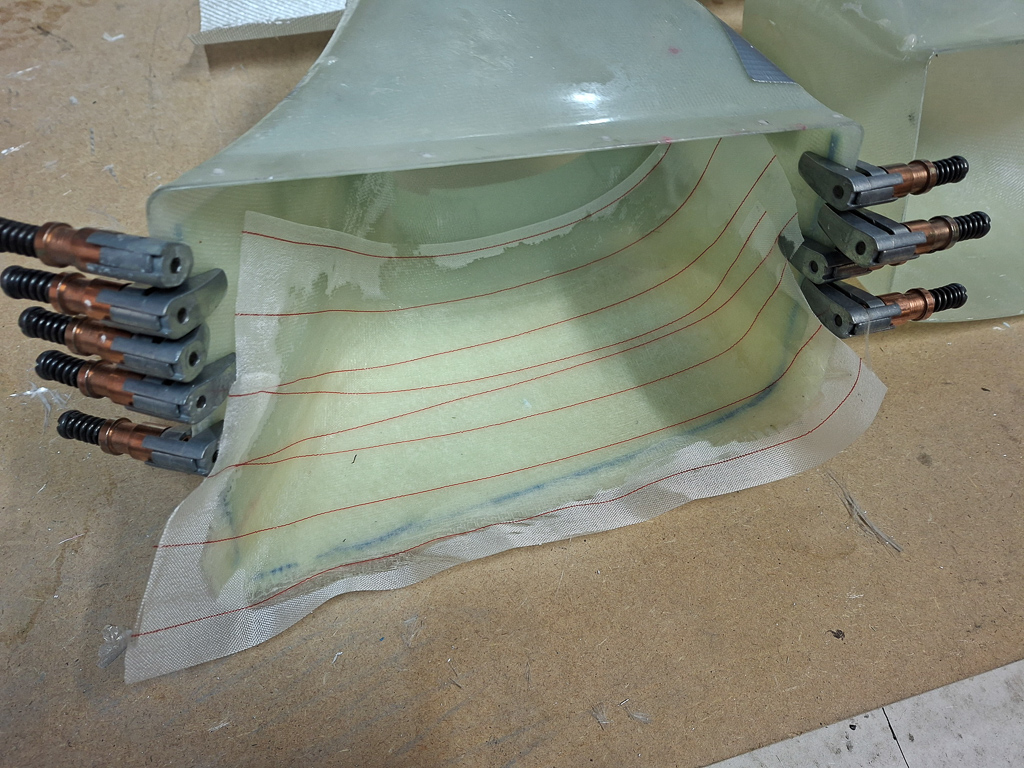
Next day, I took off the mould and the peel ply and found this as a result. It looked pretty good from the start. There are some small air gaps which I immediatly filled with some flox (the white on the image below)
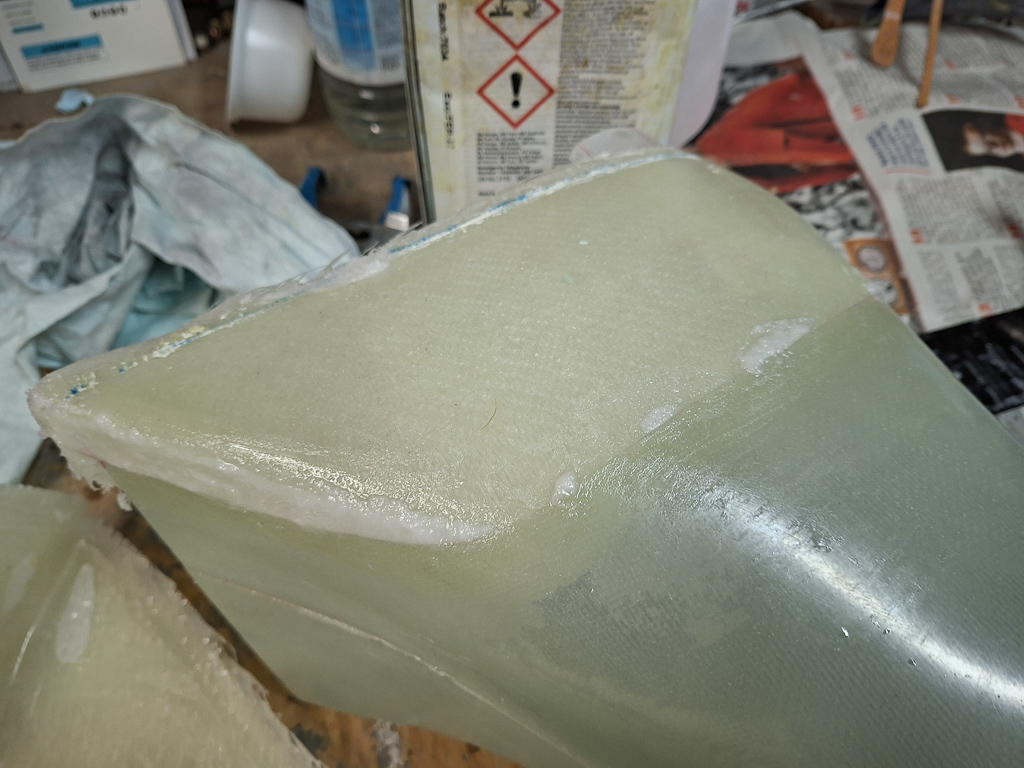
On the pilot side diffuser, I wasn't quite satisfied with the top corners and layed up another layer of epoxy.
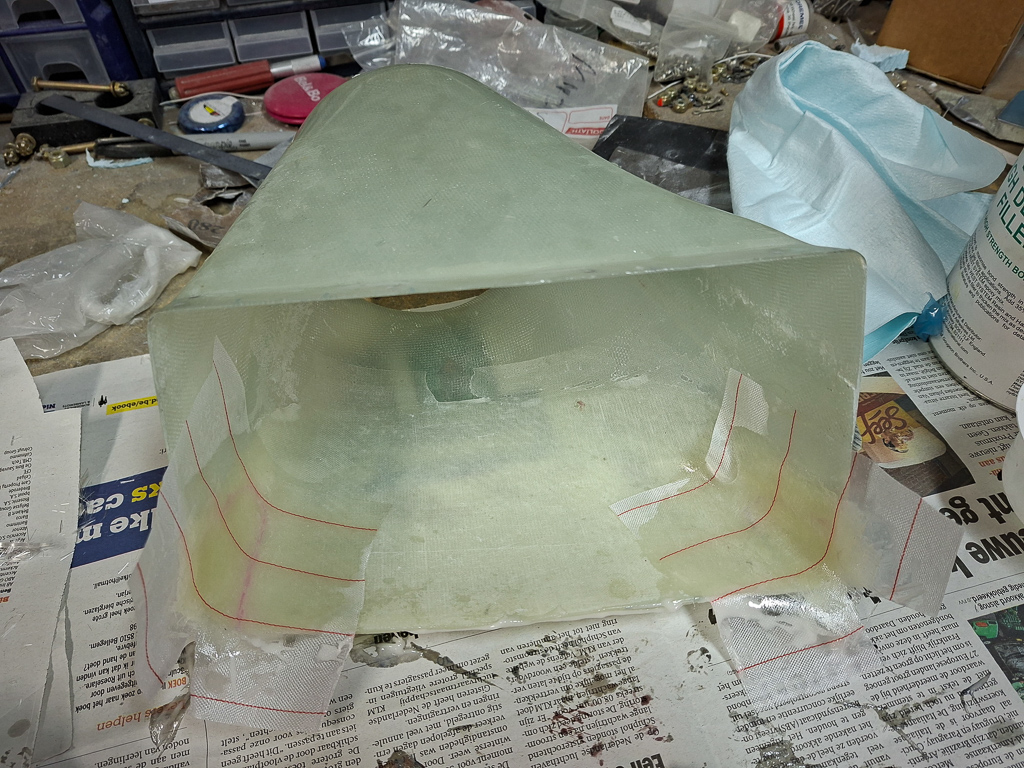
As I was satisfied with the overall result, I started with the same kind of work on the passenger side diffuser. Cut off the top and measure with the blue foam.