Continued rivetting the aft case baffles. Joined the intersection of the cylinder 3 baffle with the rear baffle. Once these are together it becomes a bit more difficult to install the baffle on the engine and you need to be carefull with the cylinder covers not to scratch the tubing on the engine.
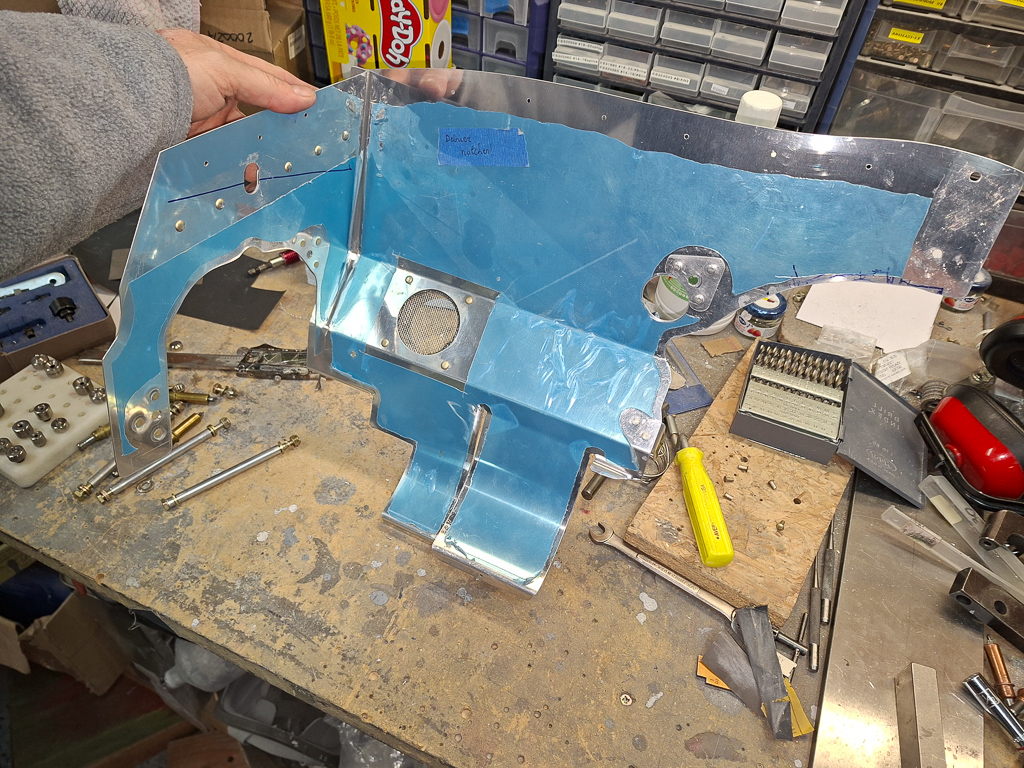
Done with the intersection rivet line.
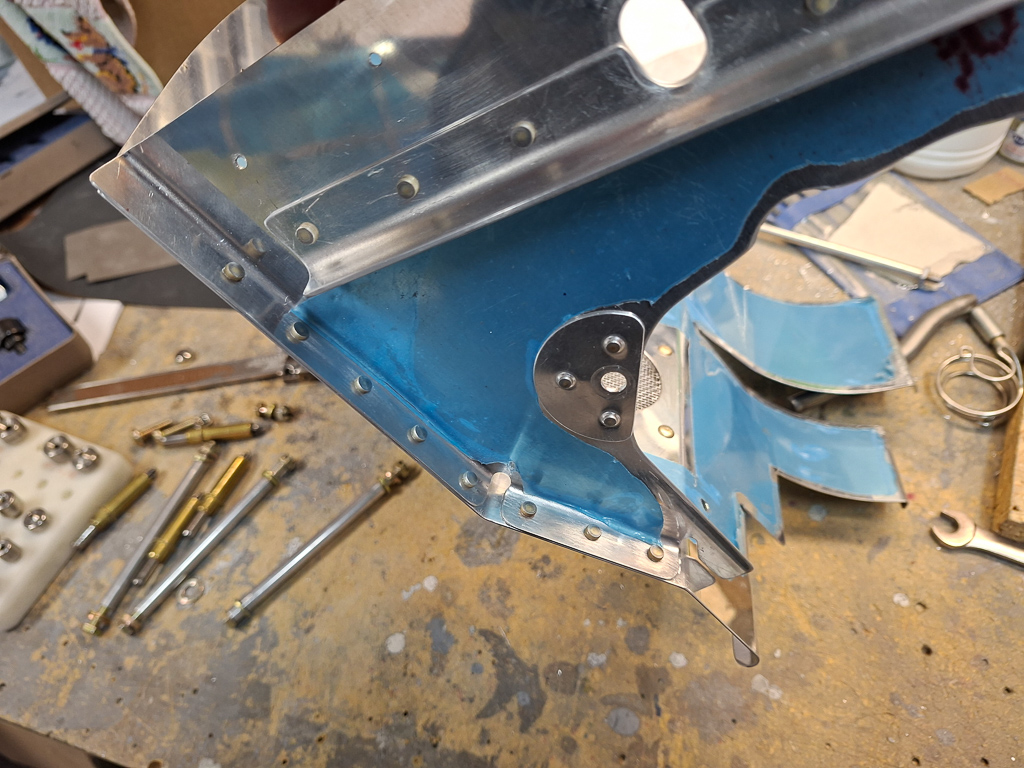
Then continued on the CB-706A left aft case baffle to the CB-705A cyl 4 aft baffle. Had to drill out several rivets and reset them. The hole thing is flimsy and not easy to clamp.
Nothing can be set with the squeezer and putting the rivet gun with an offset rivet set in these thight spots isn't much fun.
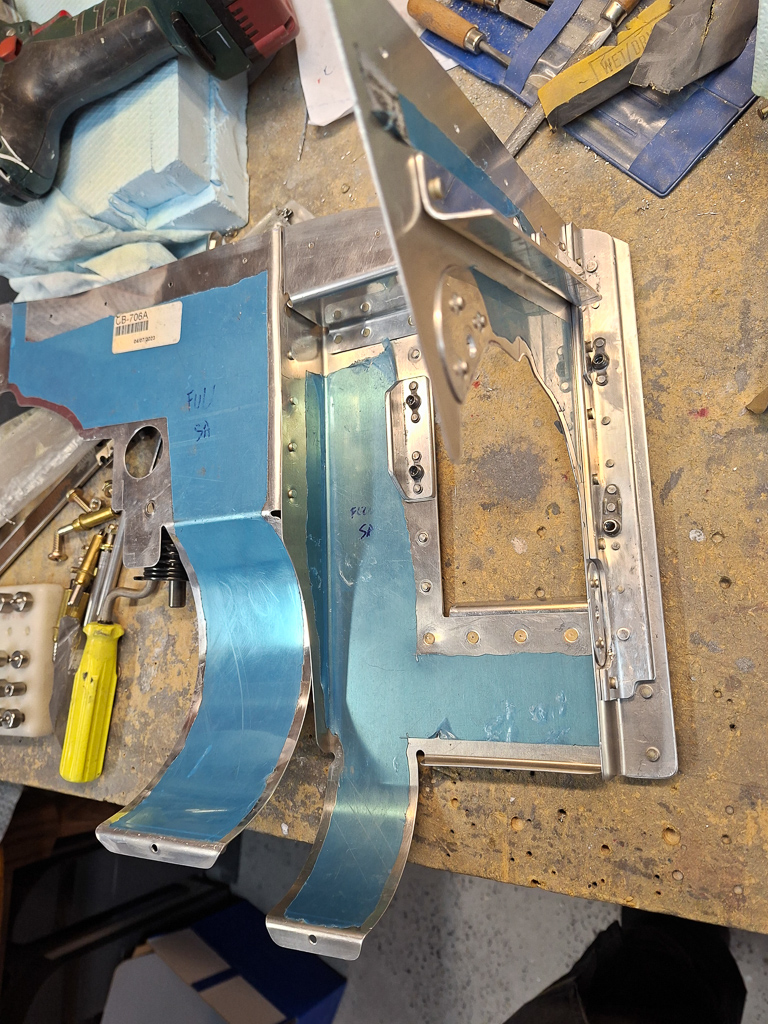
Row done. Here again, certainly not my best rivets ever.
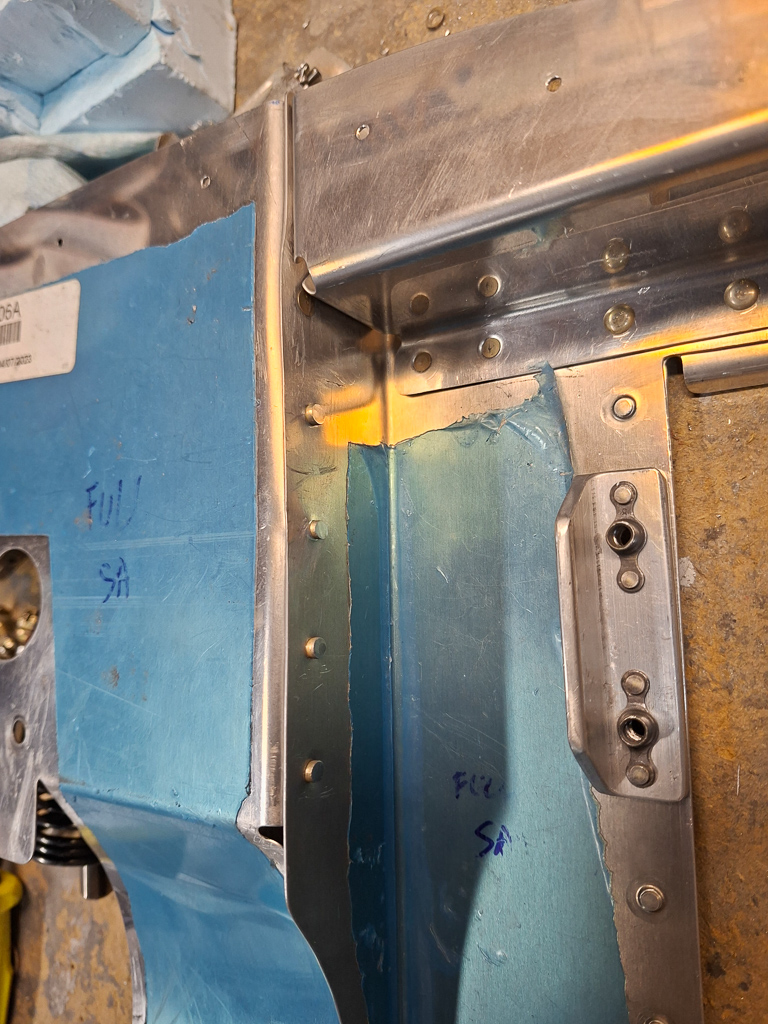
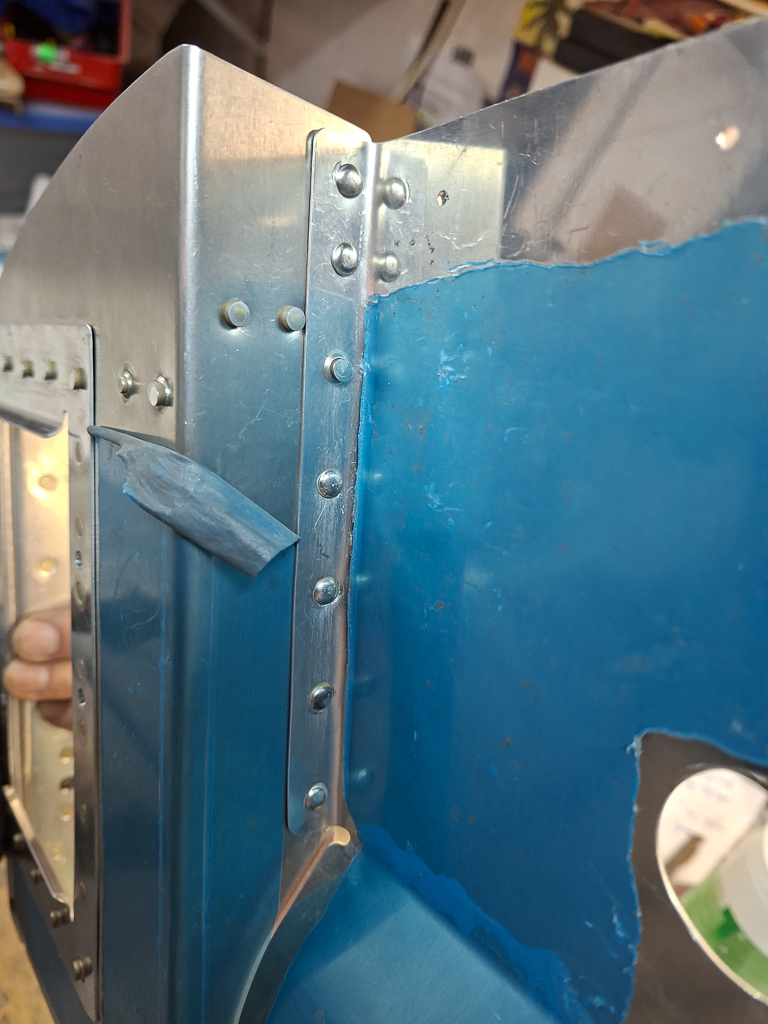
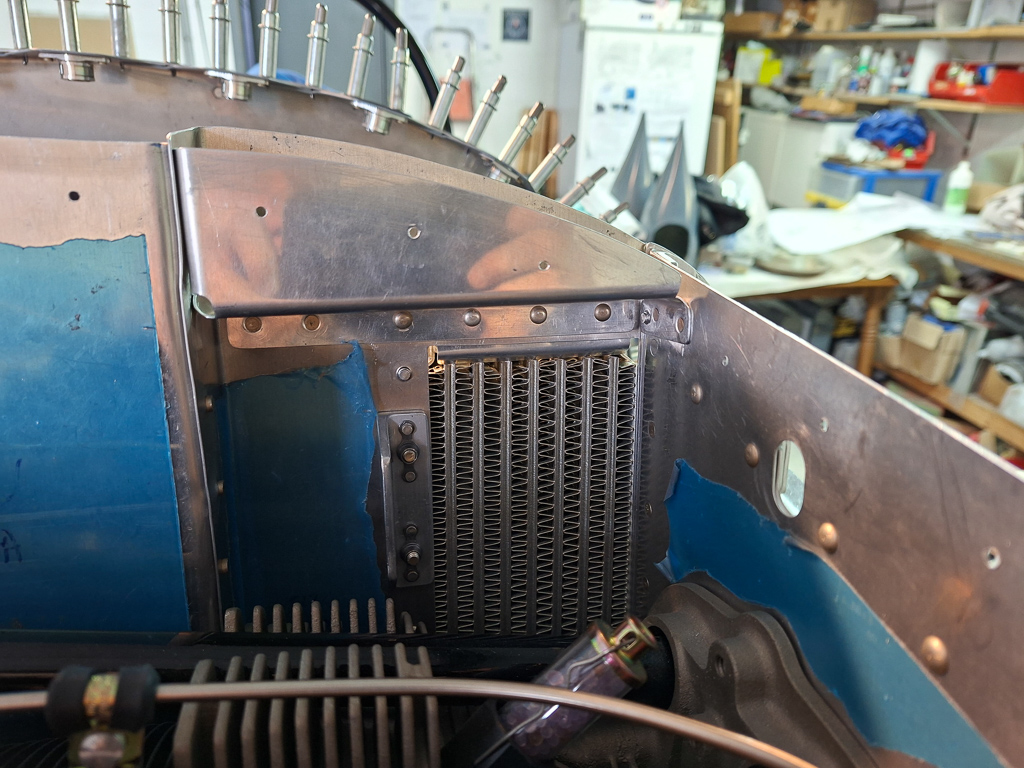
Reinstalled and test fitted the oil cooler once more to evaluate the cutout near the engine mount.
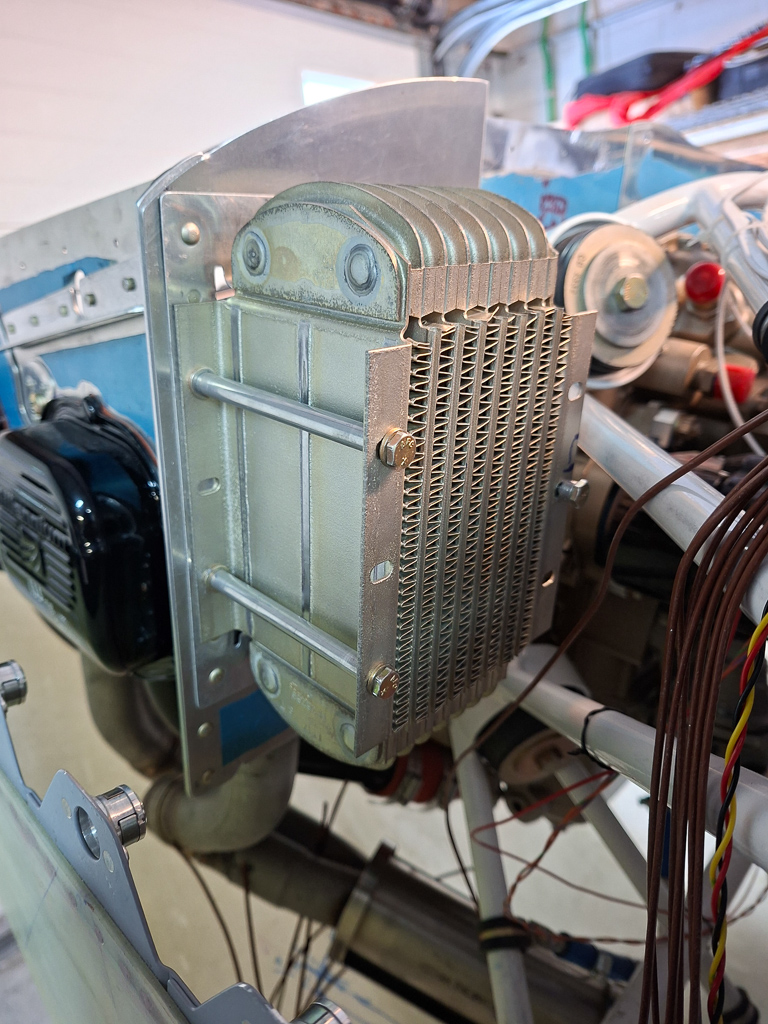
I was a bit afraid that with the extra angle in the corner, the AN3-42A bolts would become too short, but as you see in the image below they still protrude at least 2 threads past the nutplate so they will be good for service.
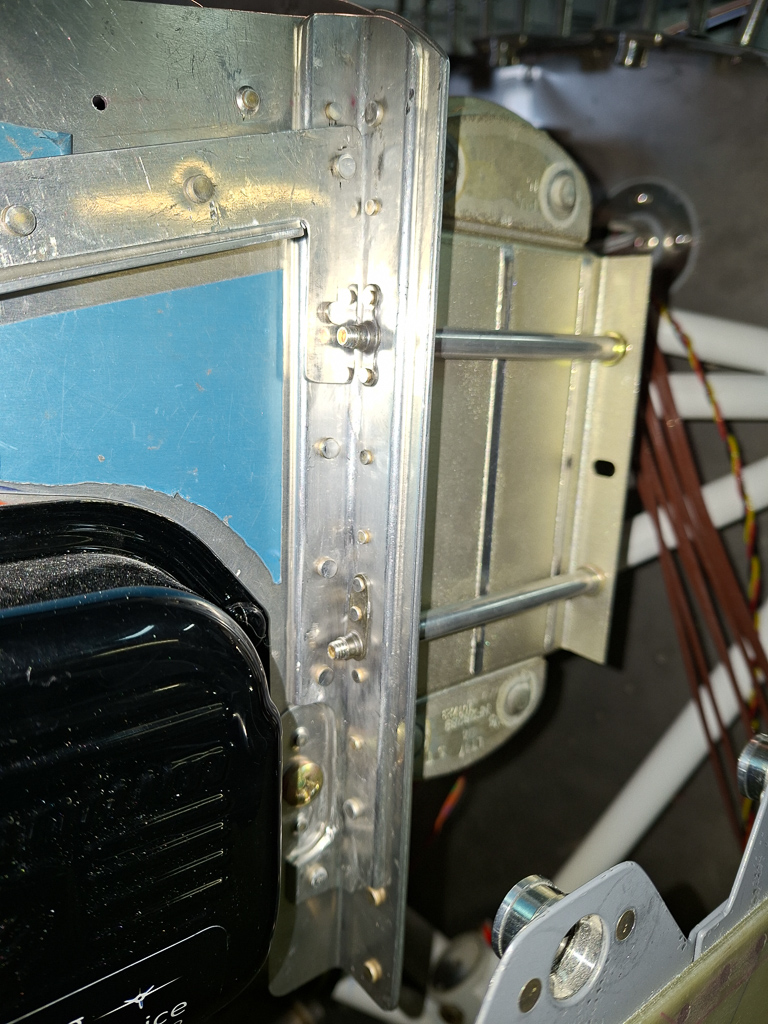
The hole assembly looks pretty cool now that all rivets are in.
Next on the list is the modifications needed on the diffusers. I'm not a big fan of epoxy work but it has to be done so better get over it.
In the previous articles, I already mentioned that the plenum top in the front is lower than the original foreseen height with the bill lane plenum.
If I would use the original height, I can't even get my fingers between the cowling top and the plenum top so I had to lower the plenum cover.
This created the problem that the diffusers now don't fit anymore between the CB-1002B front baffle stiffener and the plenum cover. The top needs to come down about half an inch.
I have to keep the original shape of the diffuser top to fit under the plenum roof. The only way I see this possible is by first copying the shape of the diffuser in a mould and then using that mould to lay up the new epoxy in the diffuser.
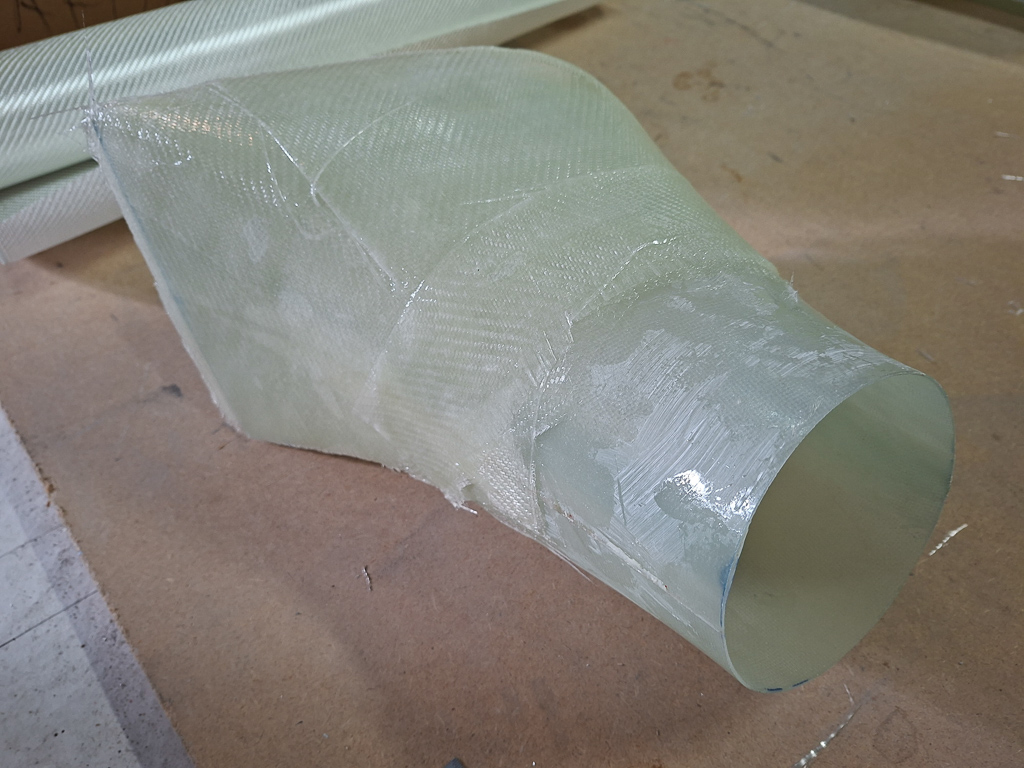
I covered the diffuser with wax and the liquid plastic and then layed up some layers of epoxy on top of the diffuser. It will pop of easily afterwards.
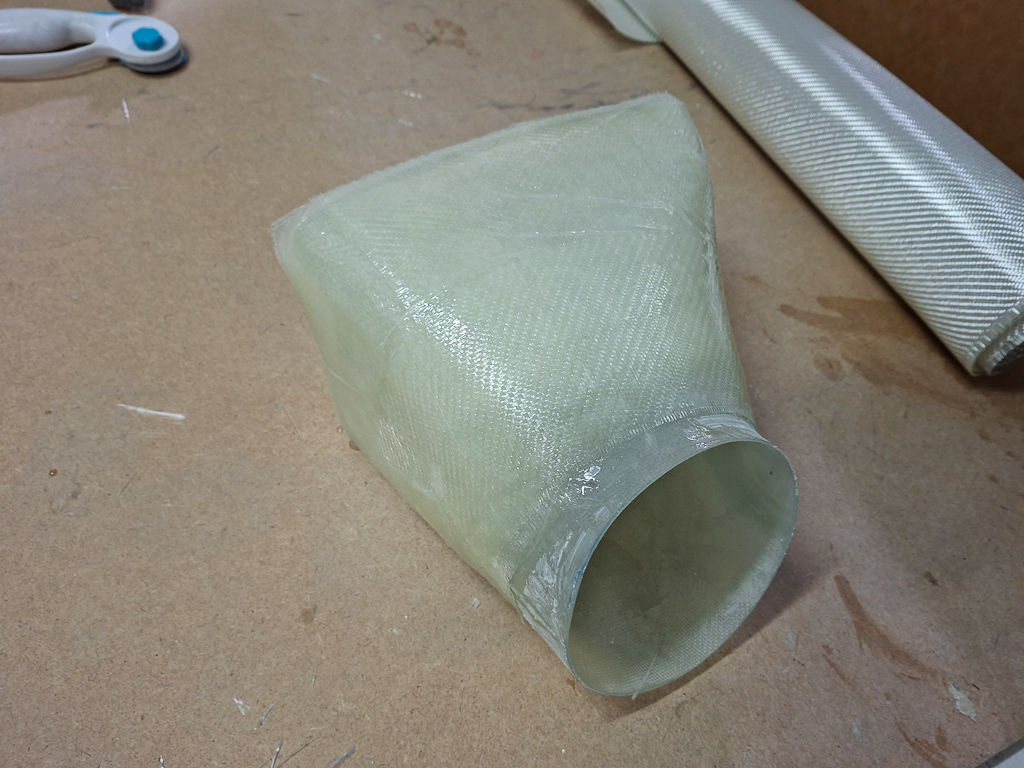
Did the same on the pilot side diffuser. I'll let this dry up and then cut the diffuser tops of