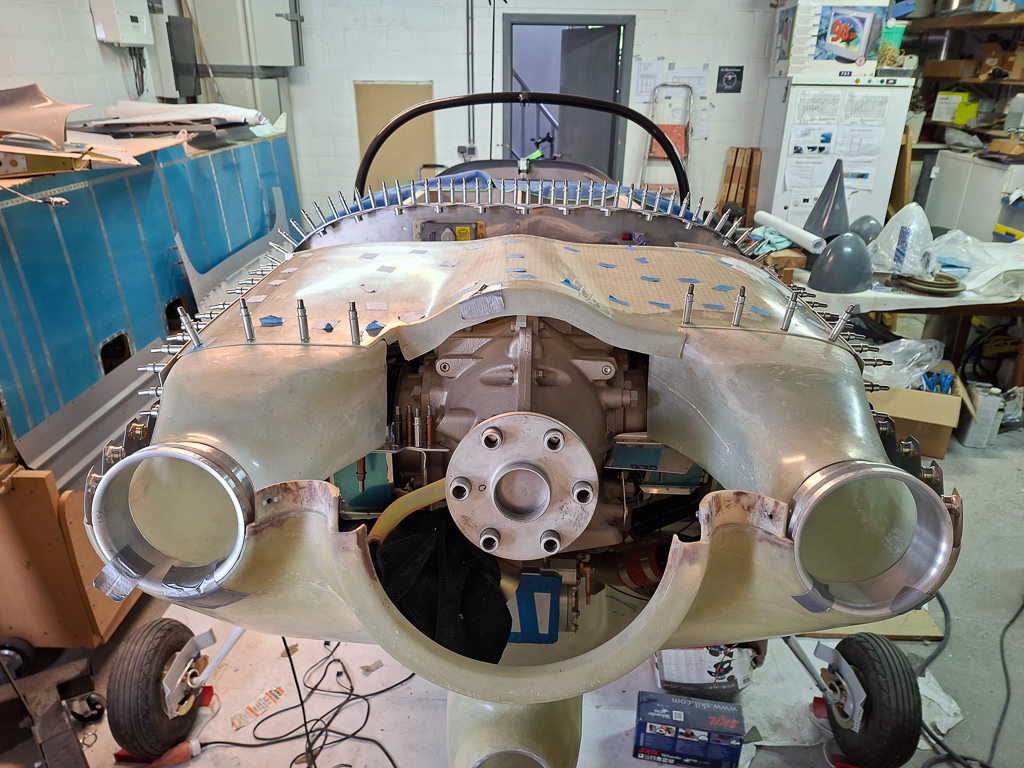
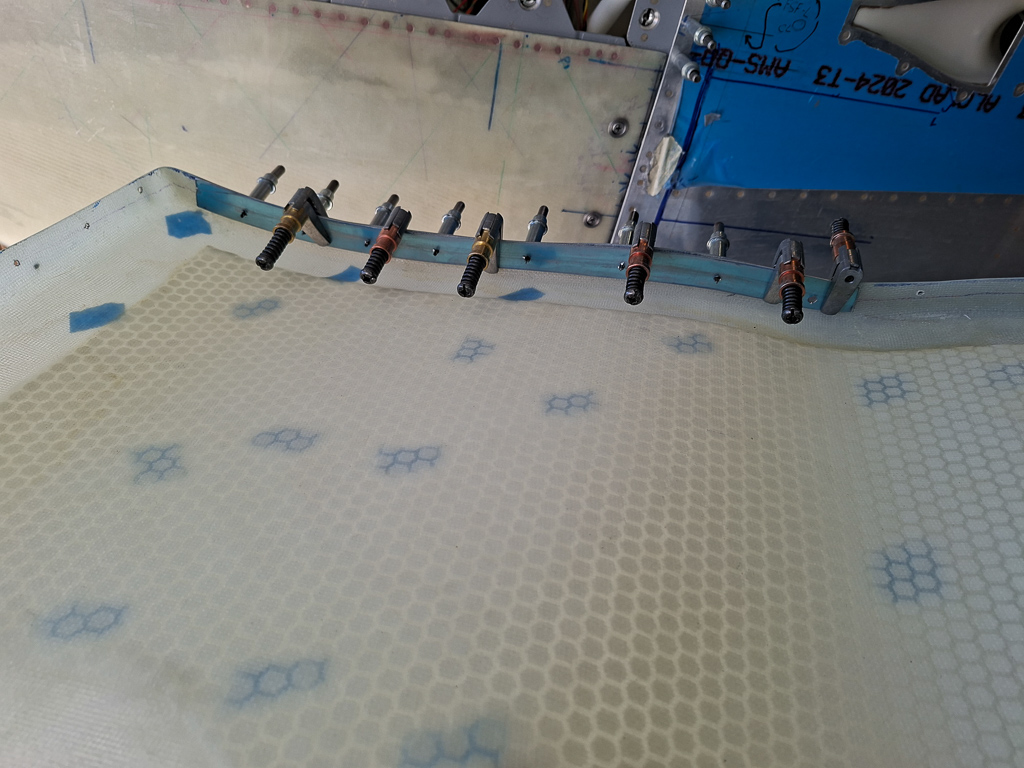
On the plenum top, I have started making aluminum reinforcement strips on which the nutplates will be rivetted. The shape in the rear is rather funky to make from aluminum sheet. I did not use the aluminum rear skirts of the canopy and still had these laying in my stock. I cut up those to make these strips.
After all the epoxy had dried out and sanding the diffusers, I have reinstalled it all on the engine. It looks pretty good. Some area's still need some love and care but overall, the fit along the top line is very pleasing. The idea with the copy moulds shown in the previous articles certainly payed of.
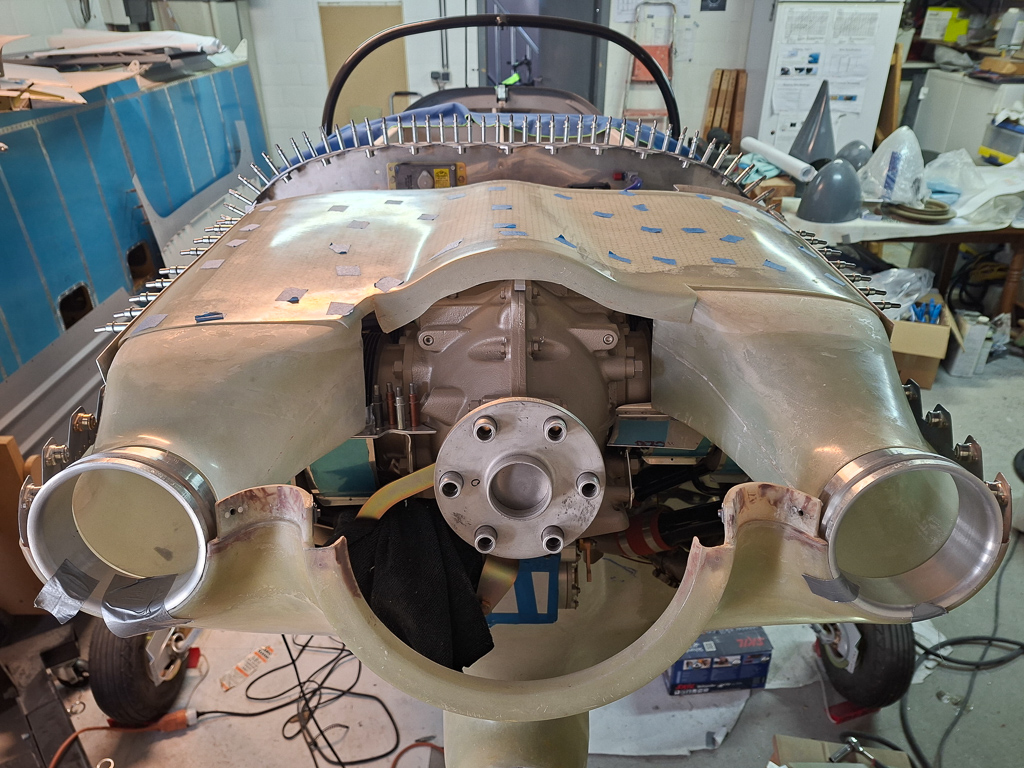
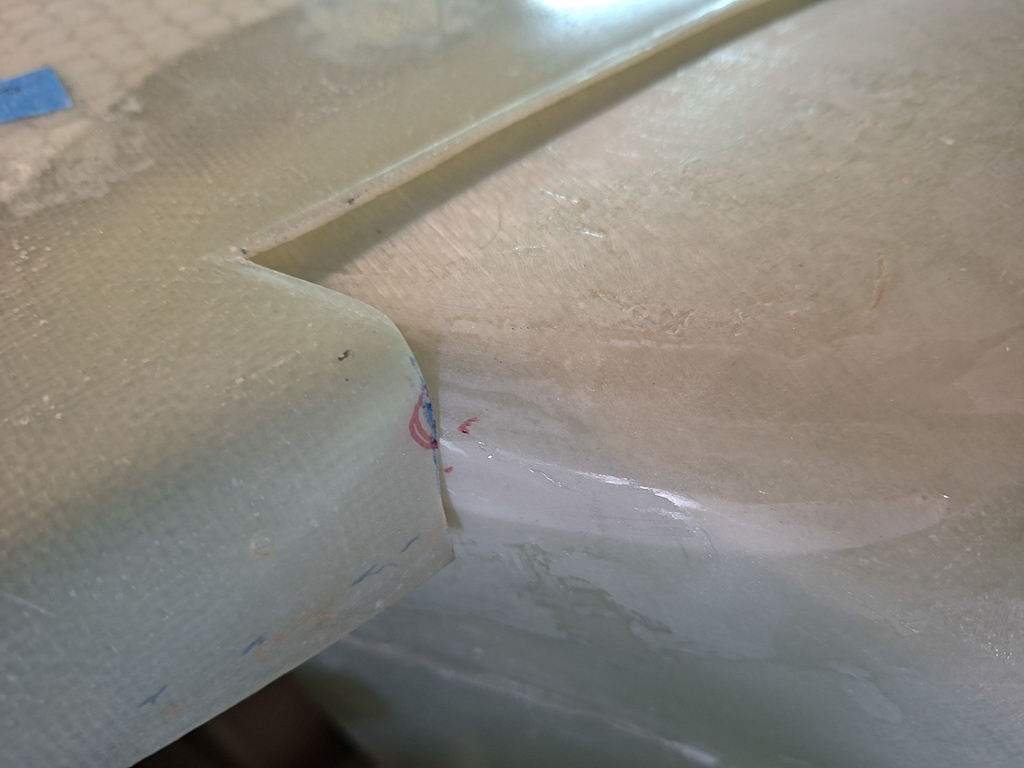
The places where it still needs some final touches is in the corners as you see below. There is a slight gap there that needs to be filled. I plan on sanding the top, covering the plenum roof with packing tape and wax, putting some epoxy flox paste on and squeezing it thight with cleco's. That should nicely fill up the gap.
On the inner side of the passenger diffuser, I need to cut off some of the roof for the better fit. (area marked in red)
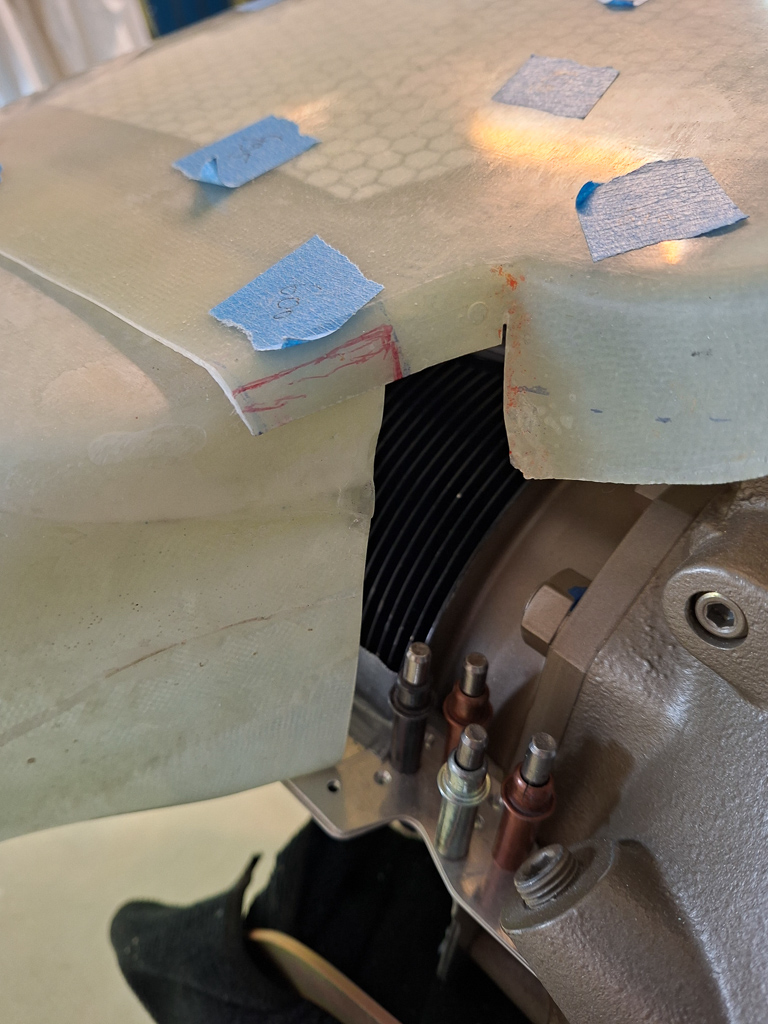
The pilot side has a similar interference on the front flange with the diffuser. This is way too long as also the front baffle will need to squeeze in there.
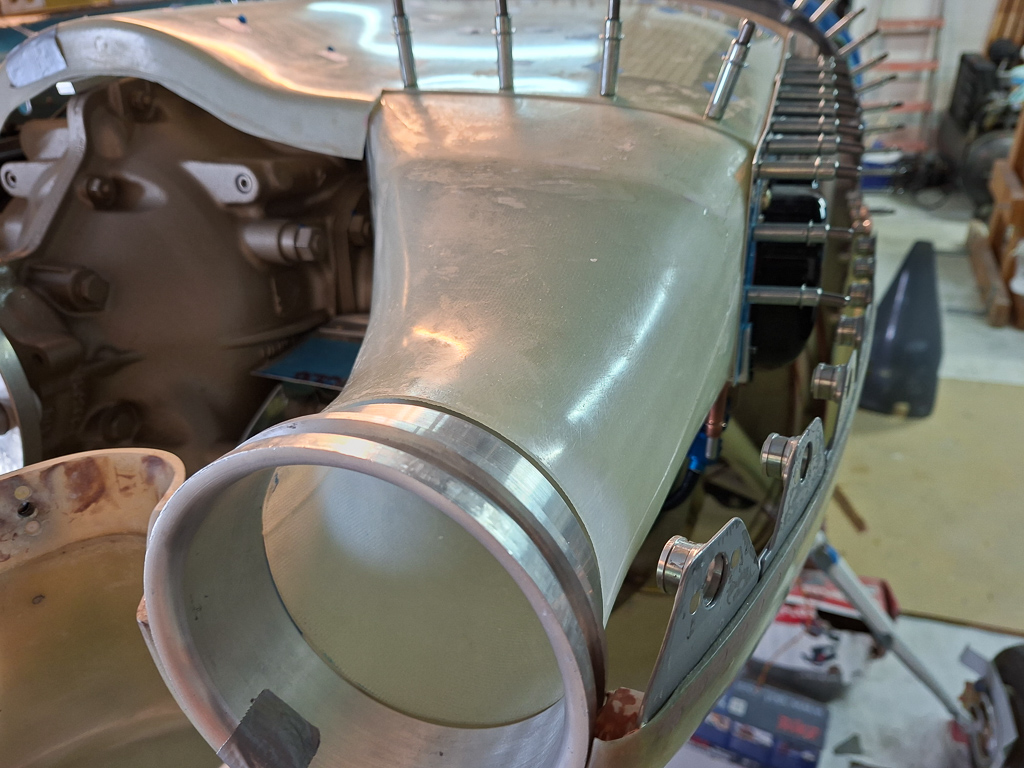
This looks pretty cool. The diffusers still align very well with the aluminum intake rings of the cowling.
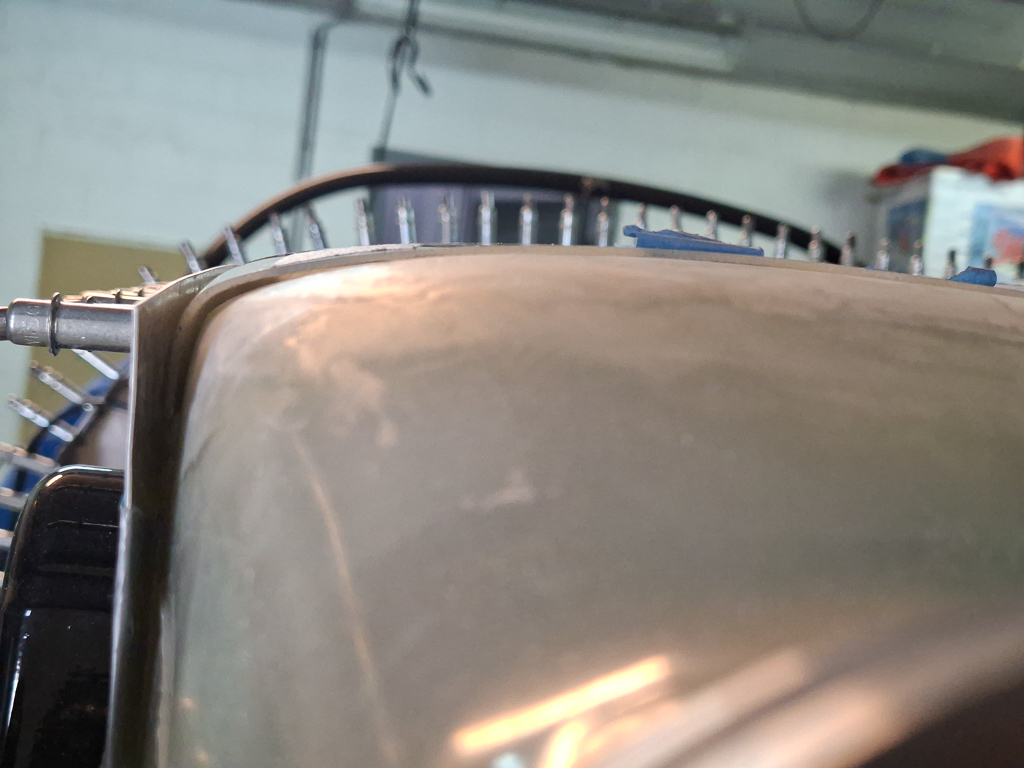
The image below shows the thight match of roof top and diffuser. We want no air gaps. every gap is considered a leak and a loss of potential cooling air for the cylinders.
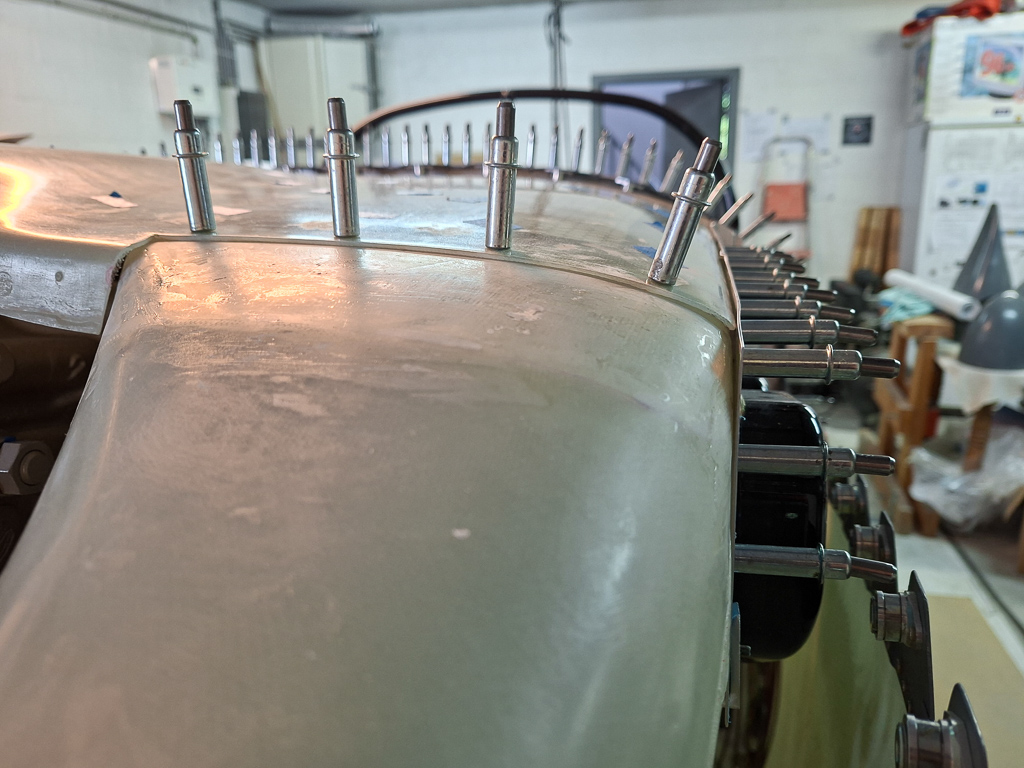
Passenger side shot
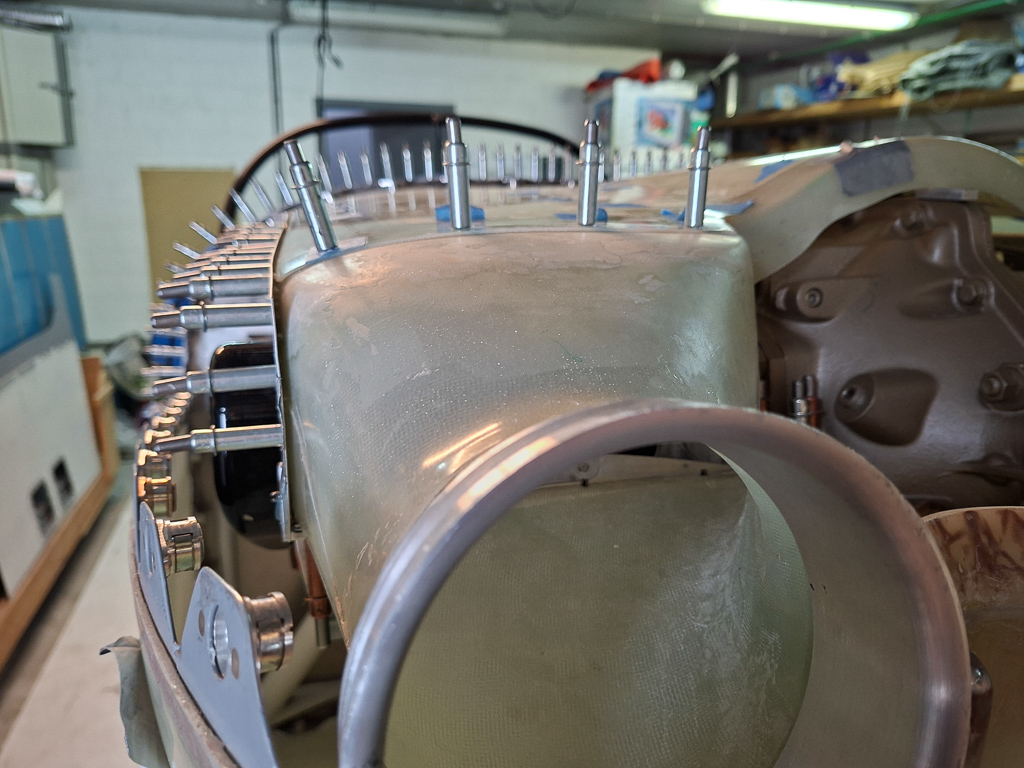
Done for the day.