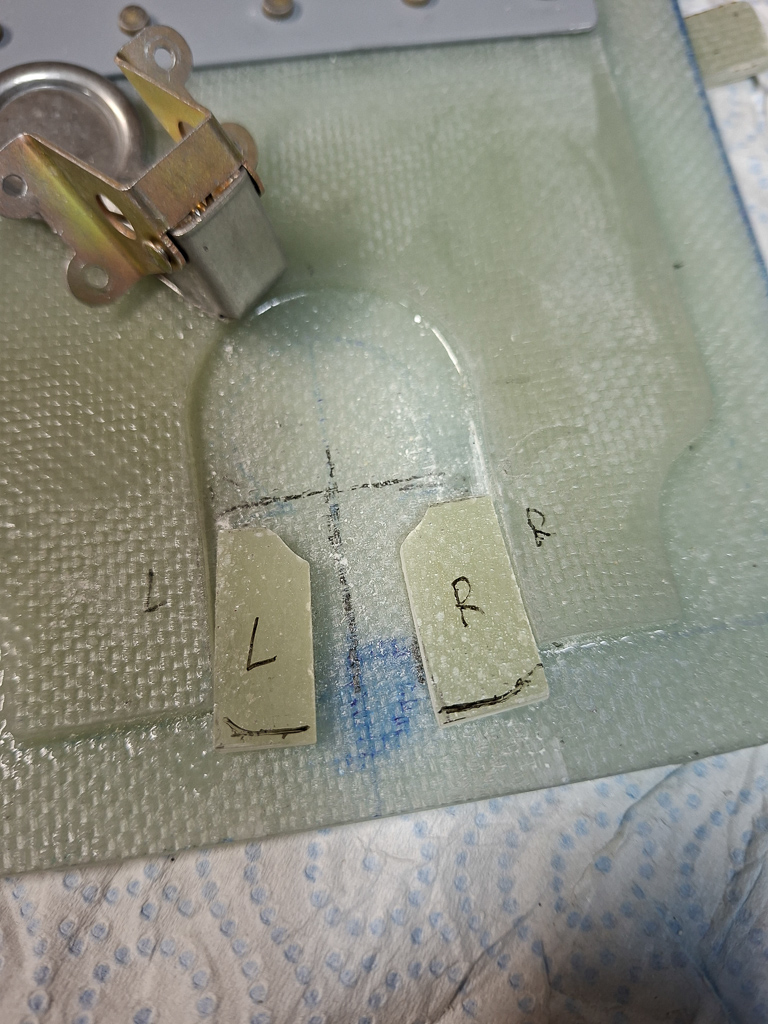
The hinge is final drilled on the oil door. Now it's time to position the Cessna KM610-64 latch to the oil door. The latch can be found at aircraftspruce as product nr 06-00676.
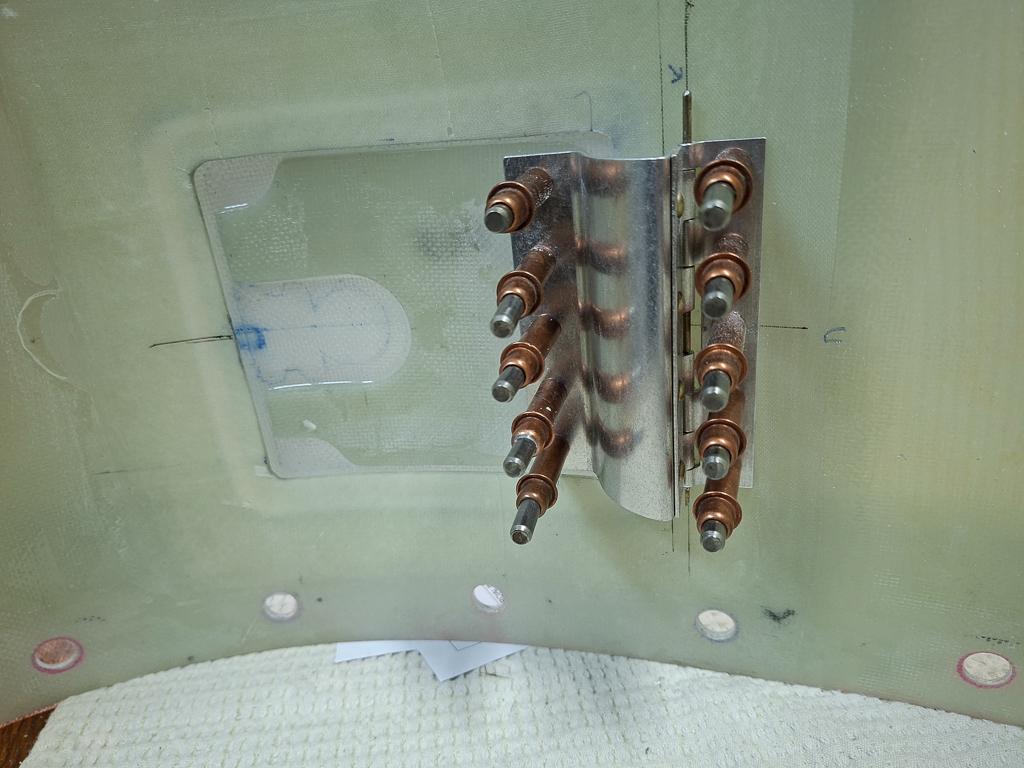
First I have drawn the centerline on the door and top cowl in order to center the push part of the latch in the oil door from the outside.
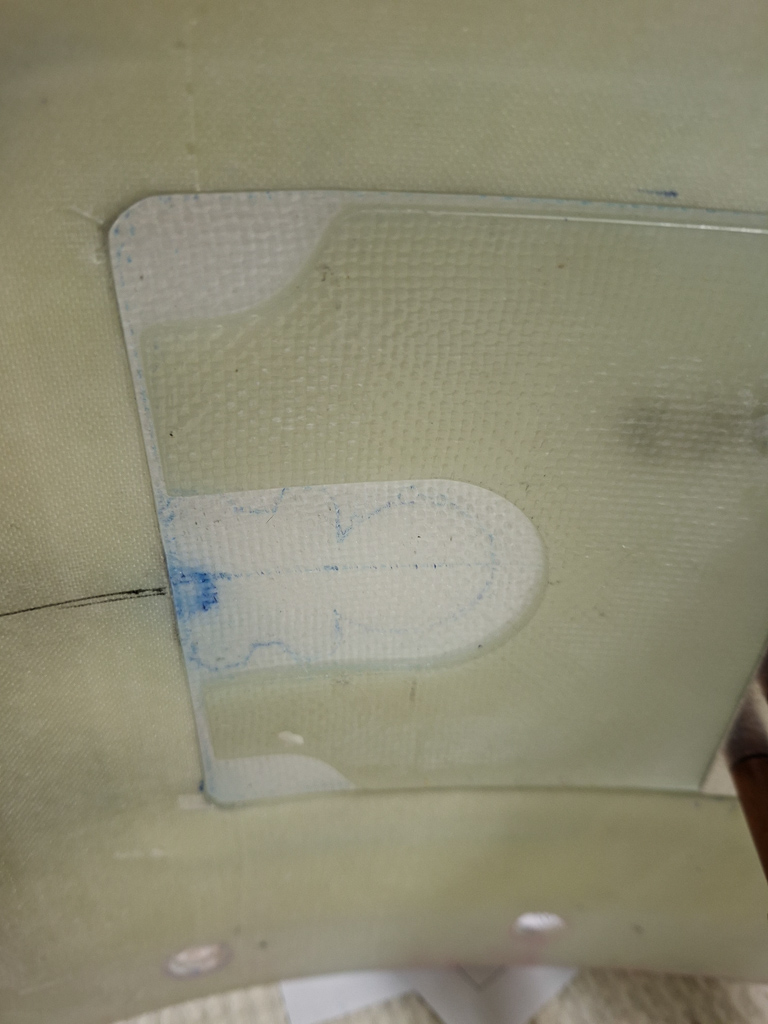
The latch is pretty simple. It's a housing (in yellow) that hold the latch itself which is controlled by pushing the locking part inwards. The latch is pushed inwards with a spring.
What's important in installing this latch is determining the height of the latch in relation to the lip on the top cowling.
I didn't want the metal part of the latch to lock an epoxy lip. Instead, I planned to have an aluminum strip rivetted on the epoxy to hold the latch closed.
The epoxy would wear out very quickly. The aluminum will finally probably also wear but this can be easily replaced by rivetting a new strip on.
In order to test all this, I took some scrap epoxy of the same thickness and simulated the door with this.
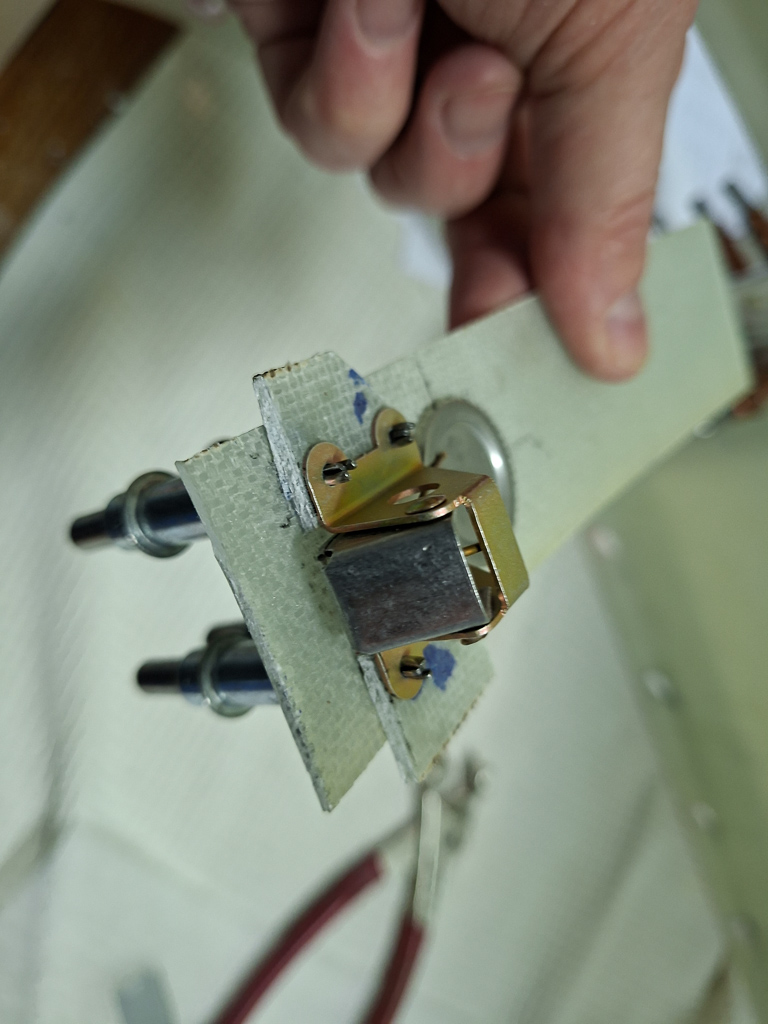
I test trilled the hole in the scrap piece and check how it looks. The hole is a bit undersized in the image below. You actually want it one step bigger.
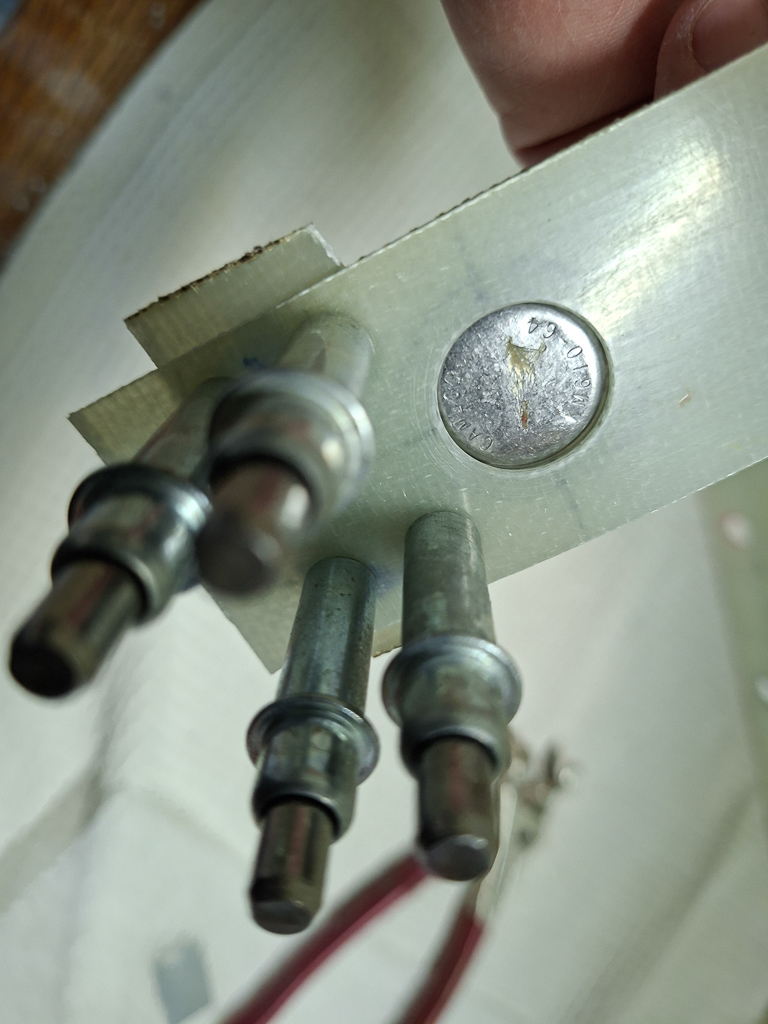
Here I positioned the test piece in place, held the 0.063 aluminum strip in place and checked the locking thightness in relation to the strip on the top cowl.
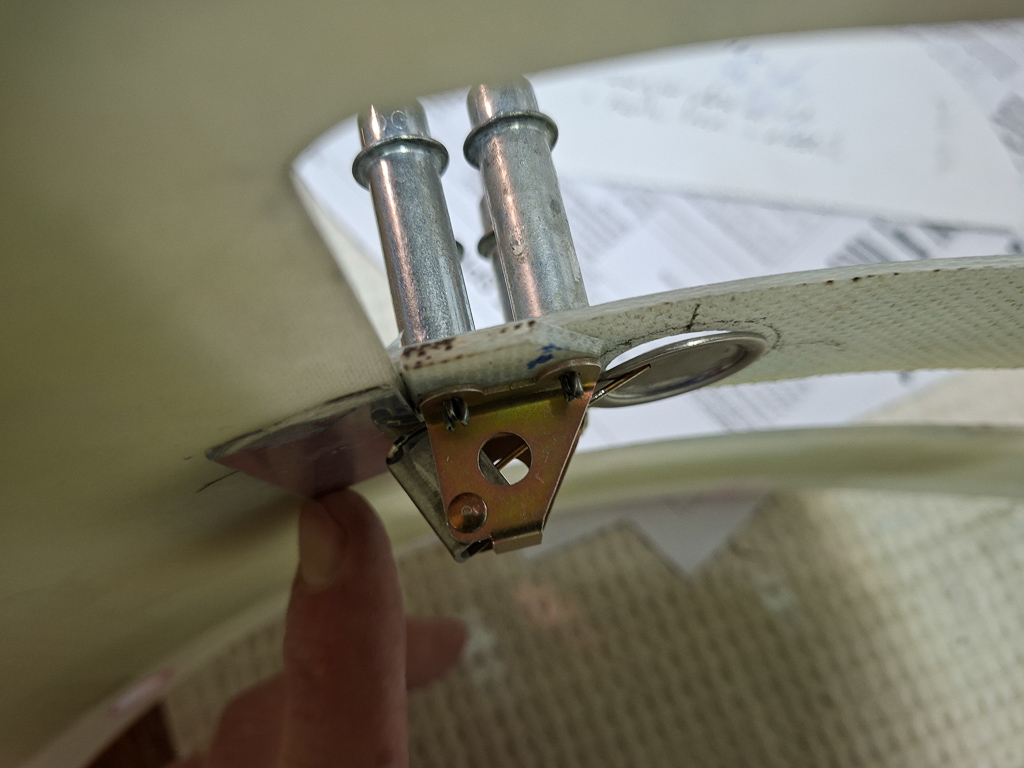
I had 2 extra pieces of epoxy glued under the door.
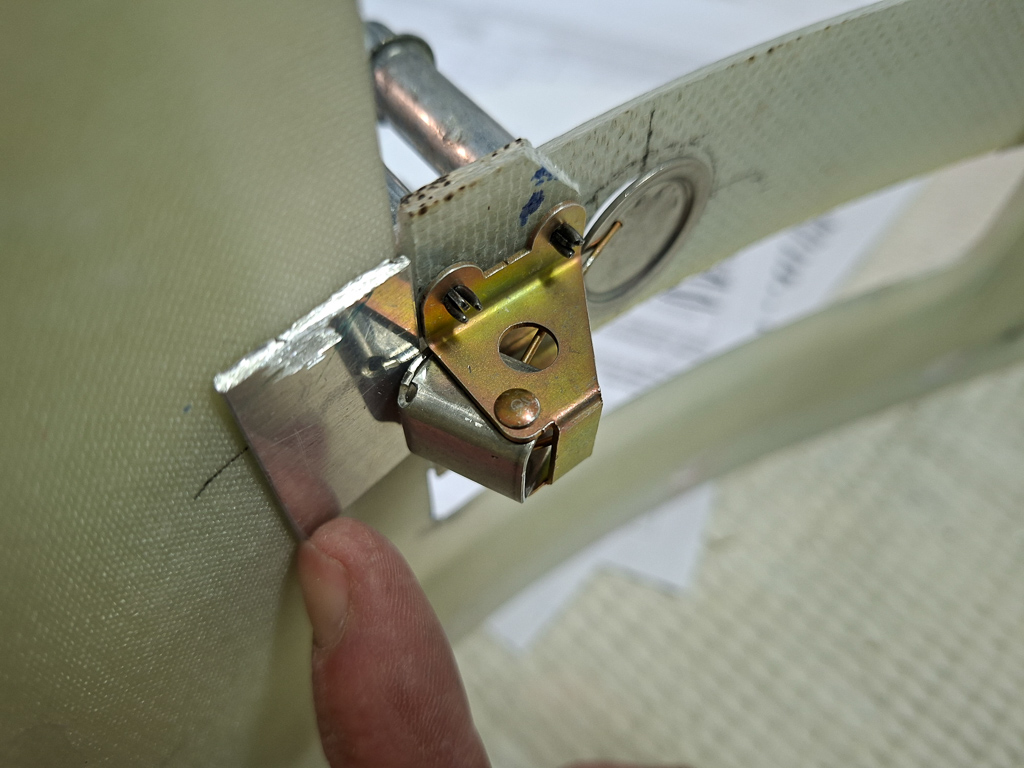
You can see the extra epoxy pieces here under the yellow body. This distance gives me excellent locking without play on the door.
Then I rivetted the hinge on the cowl so that the position of the door would be final.
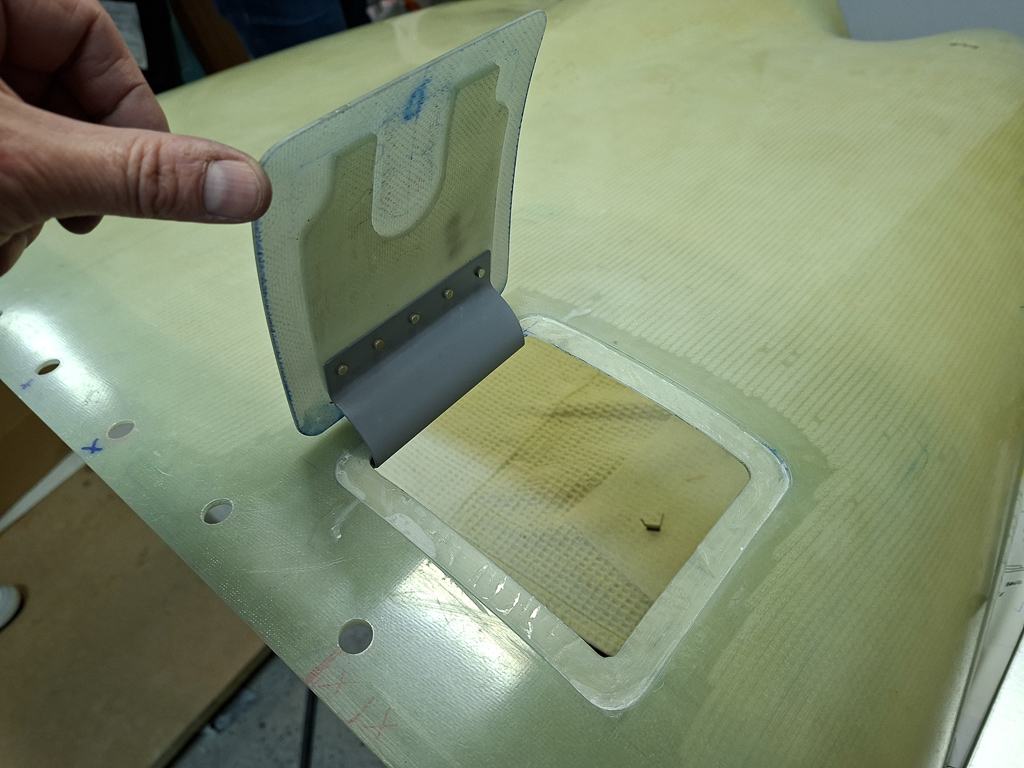
Still looks pretty nice when I'm holding the door down. All nice and flat and the spacing for painting all around still looks fine.
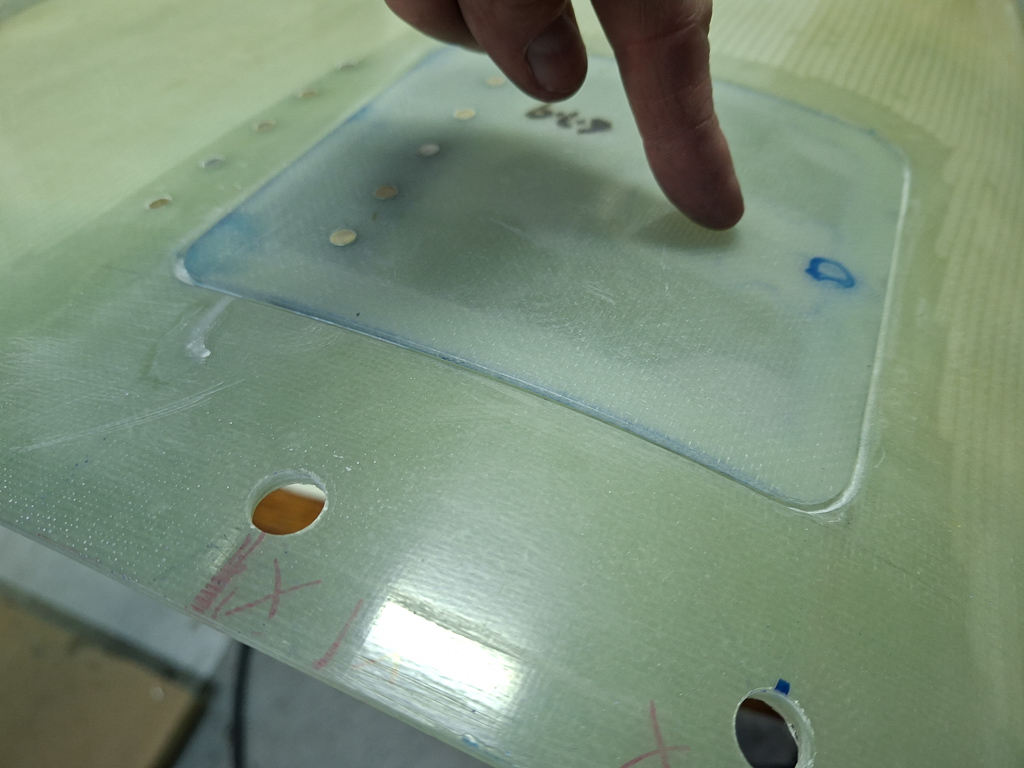
Then I made the 2 small extra epoxy strips which will go underneath the latch. Having these well sized is critical as the latch will bond onto them if they are too large.
I'll glue this on with some epoxy and latch work will be finalised tomorrow