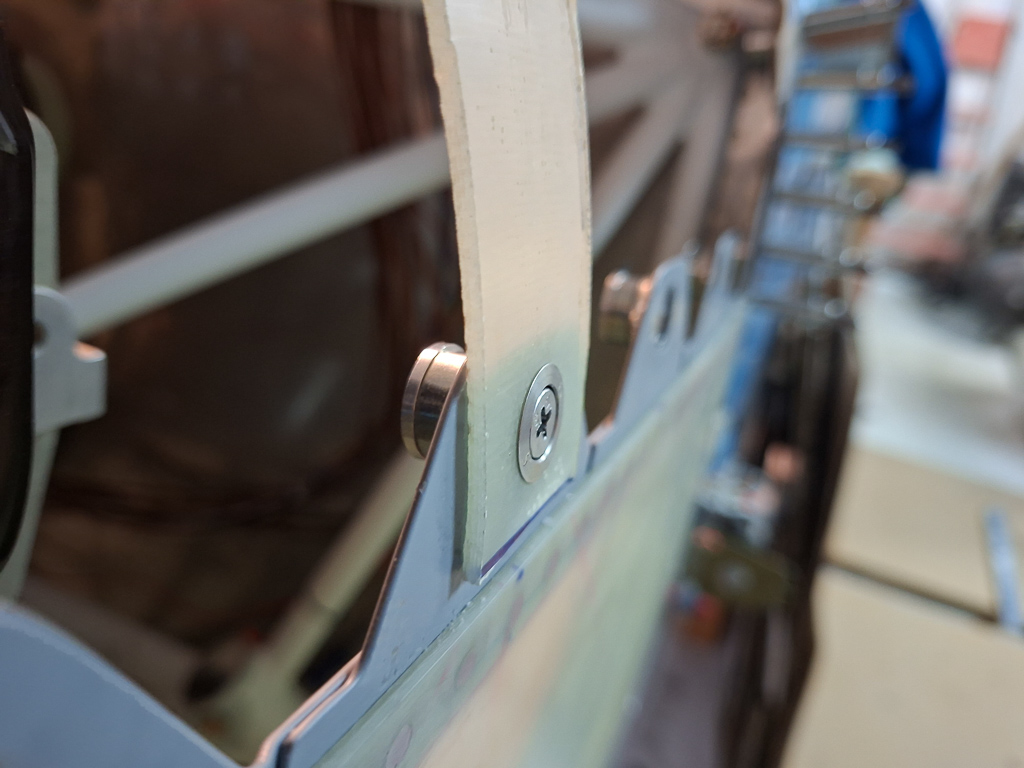
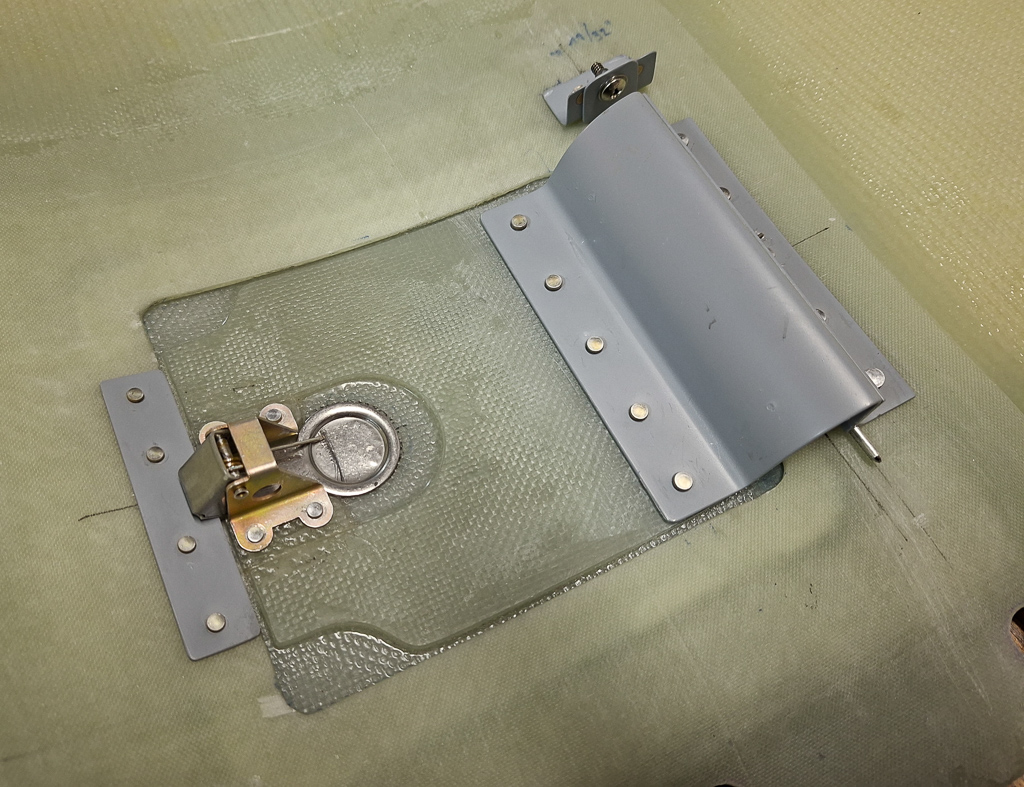
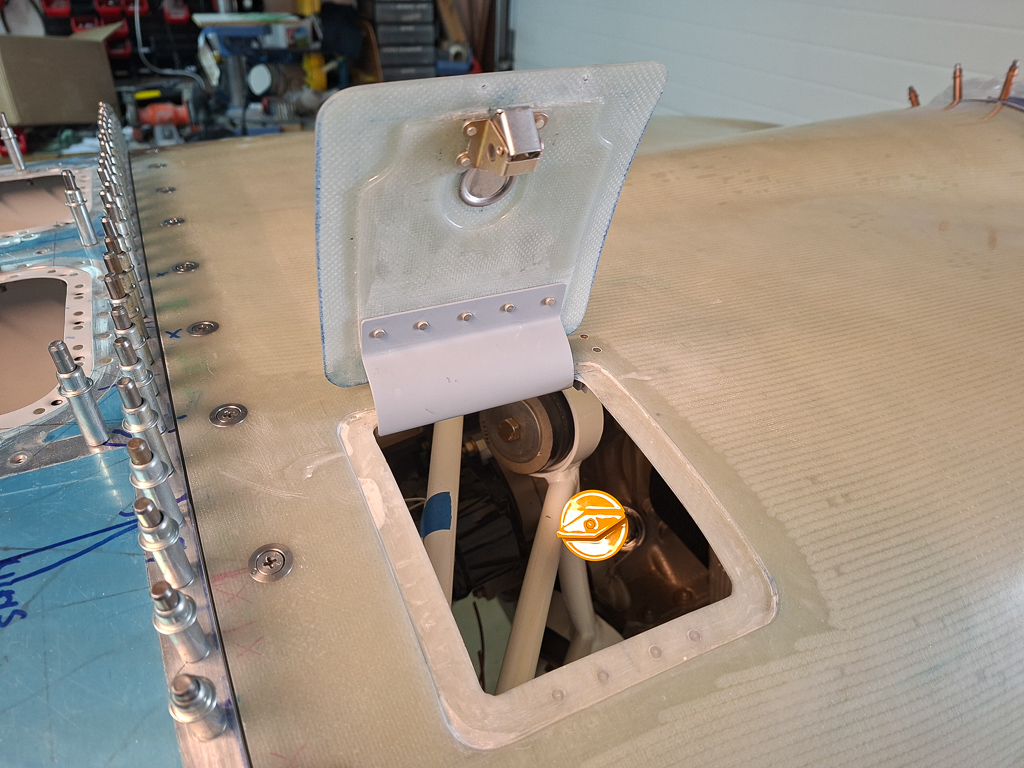
Now that the small epoxy parts are dry, it's time to do the final positioning and drill the outer latch case to the door.
I placed it so far that when fully opened, it barely passes the aluminum strip on the cowl. The strip is not drilled yet so I will still be able to fine tune it with the latch rivetted to the door.
For now the stip is parallel to the lower lip of the oil door opening. the hole is also drilled in the door itself. I used a step drill to open it up to the largest hole I could make with it.
Some additional sanding was done to enlarge it and have the latch knob sit perfectly centered on the hole.
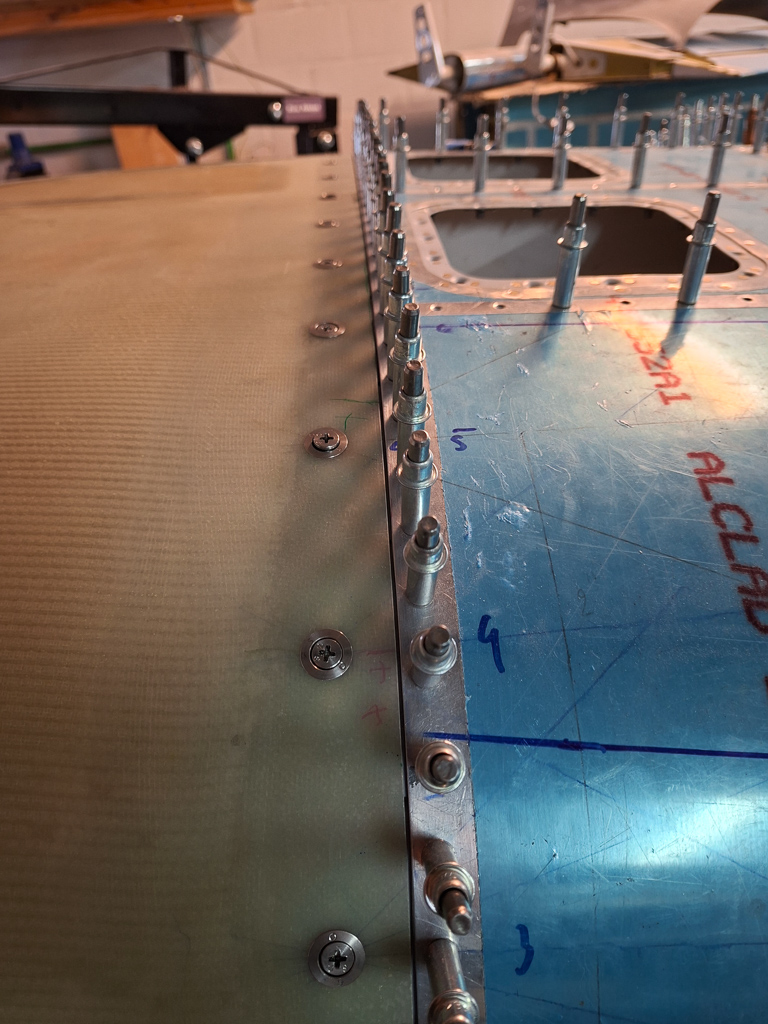
While the top was off , I did some more fine tuning on the paint gap at the firewall on the top cowling. This feels like a never ending story.
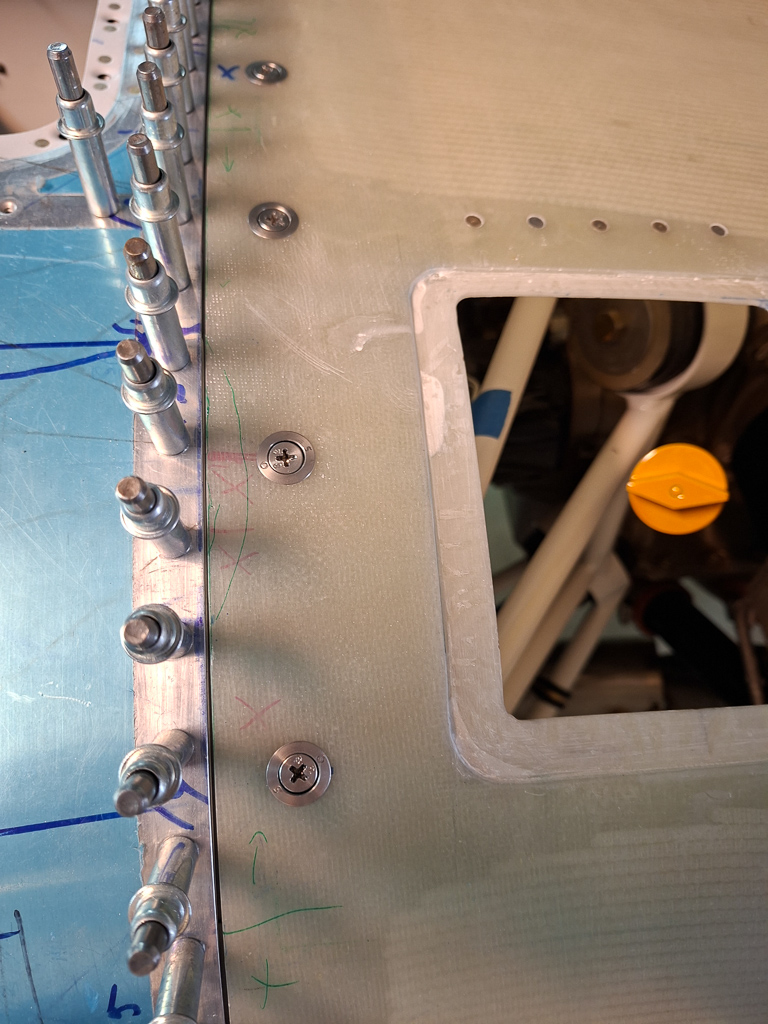
It looks quite good and consistent although it's still scary to have this size gap. I do hope the paint indeed closes this up and makes up for a nice butt to butt installation to the top skin.
Next I rivetted the latch on the door. That finalizes the oil door work.
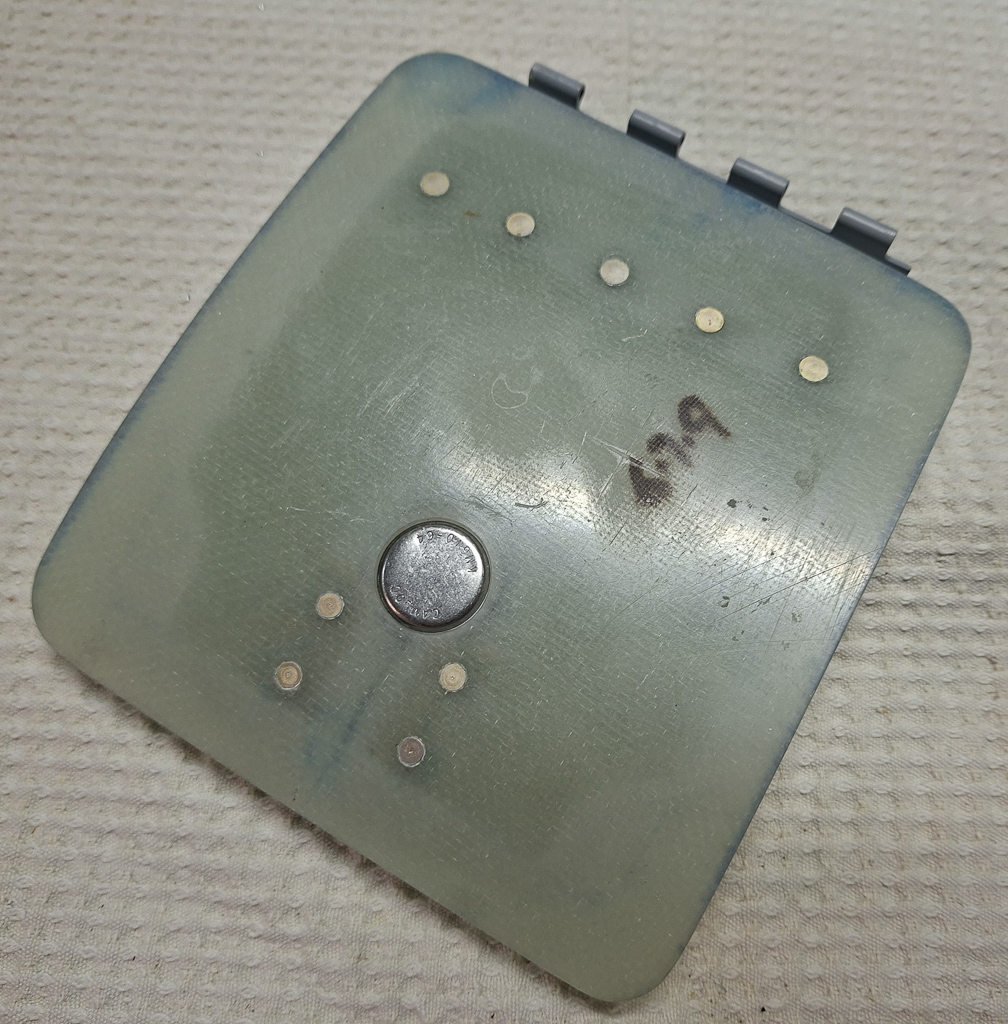
Here is the view from the inside.
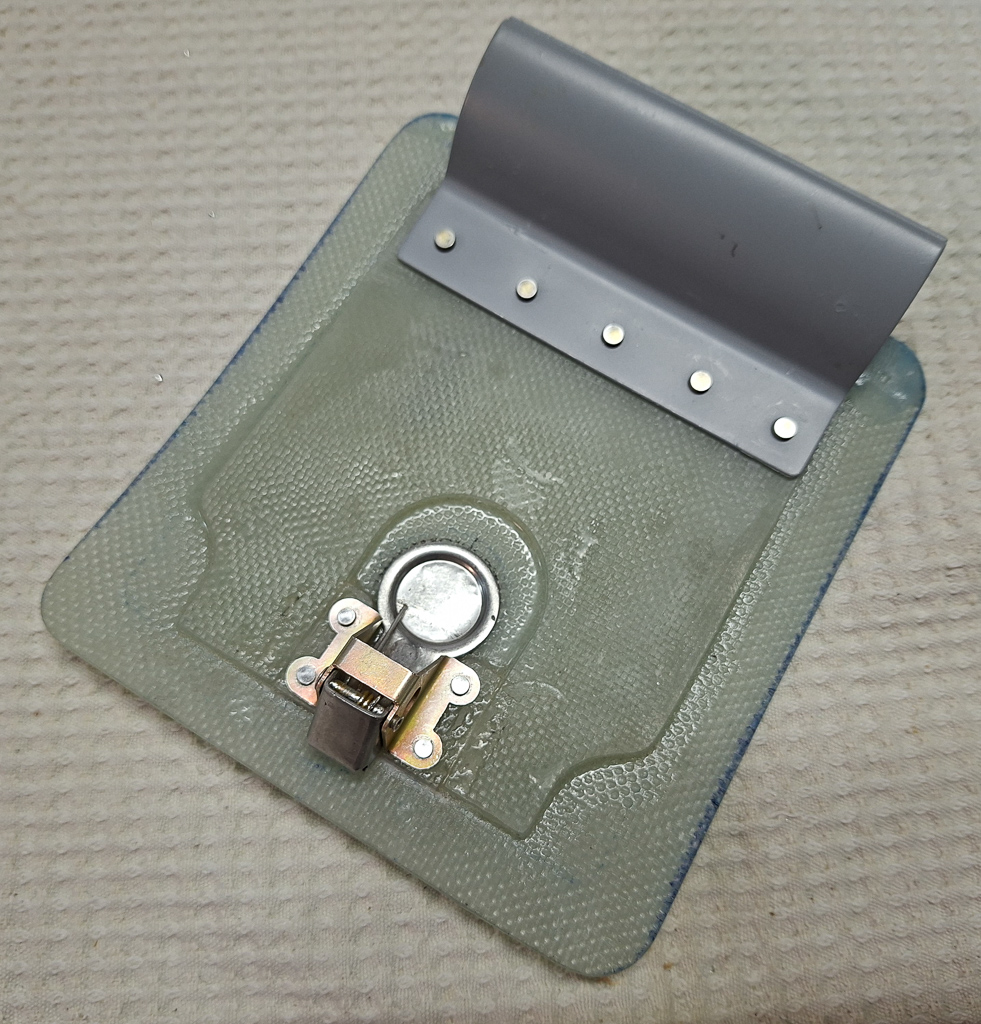
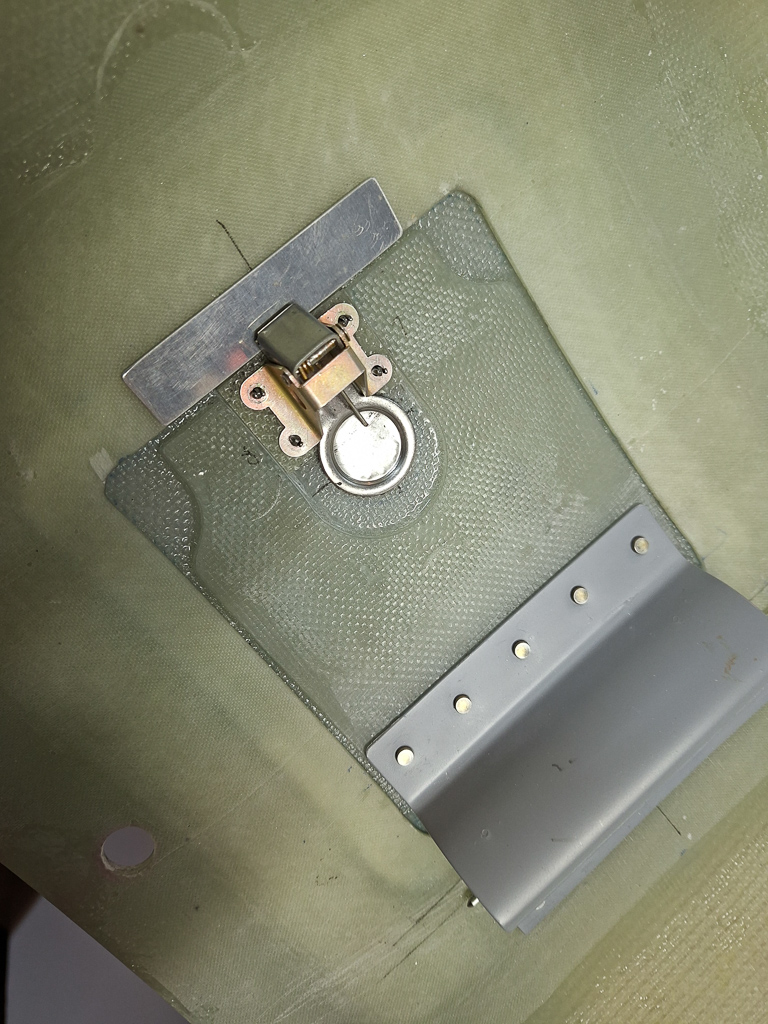
It's easier now to explain how the latch works. By pushing the latch, you tilt the locking part upfront up
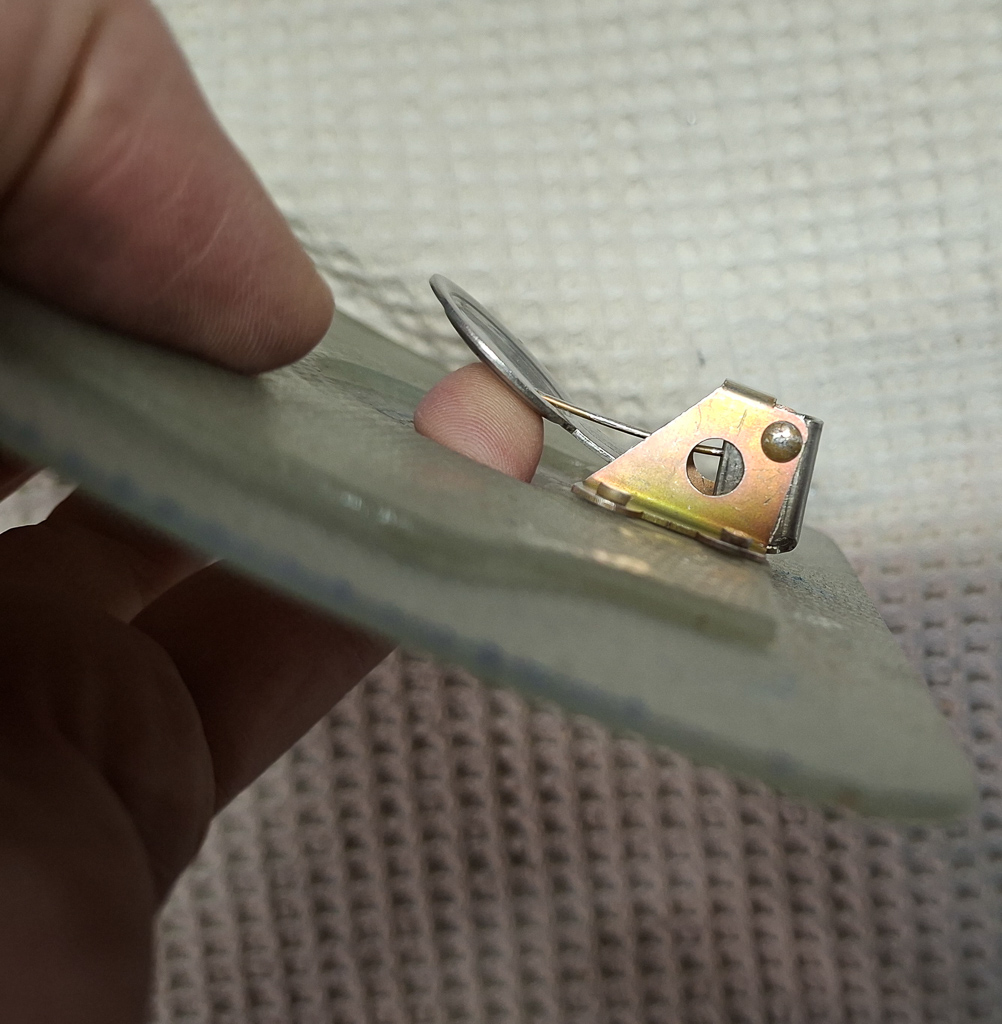
This is when you release it. You see the locking part moves forward. A spring holds it in place.
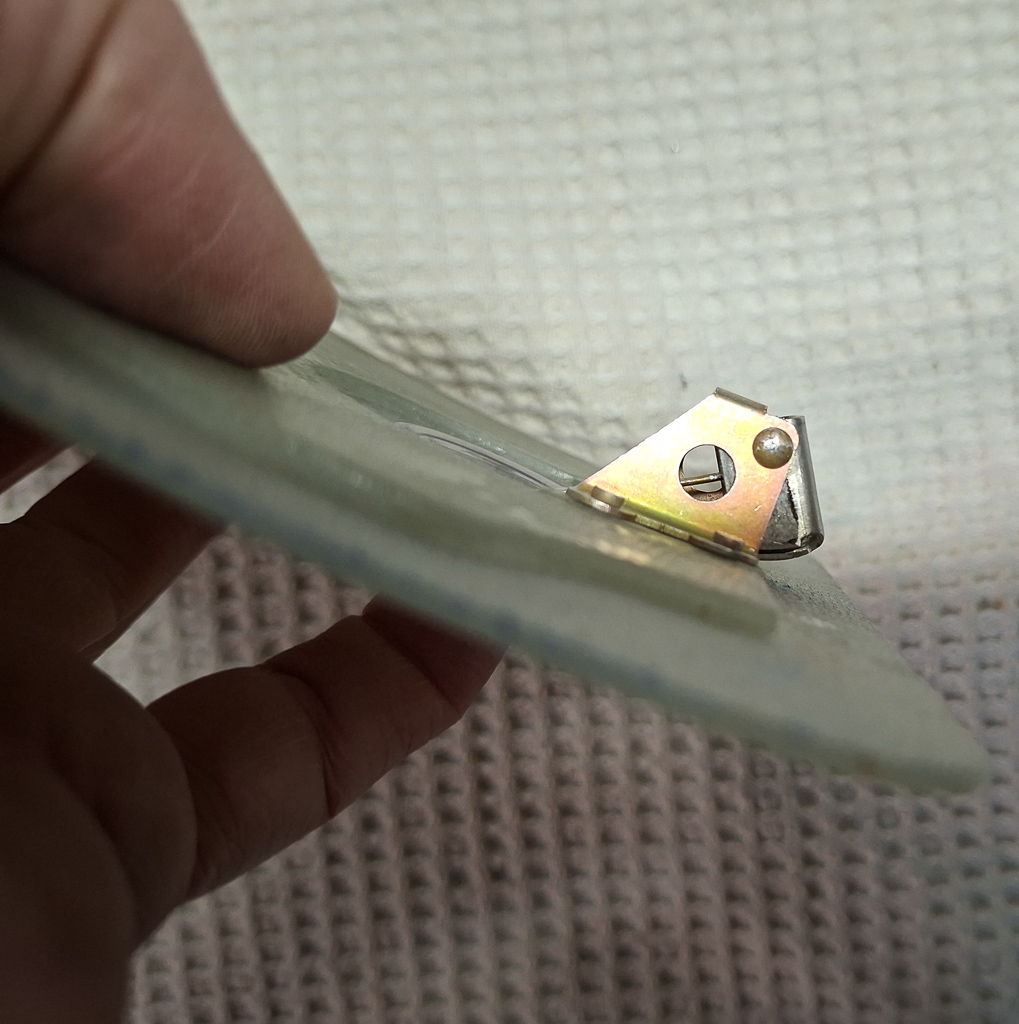
In the image below, I had positioned the aluminum lip, drilled it and rivetted it on the top cowl.
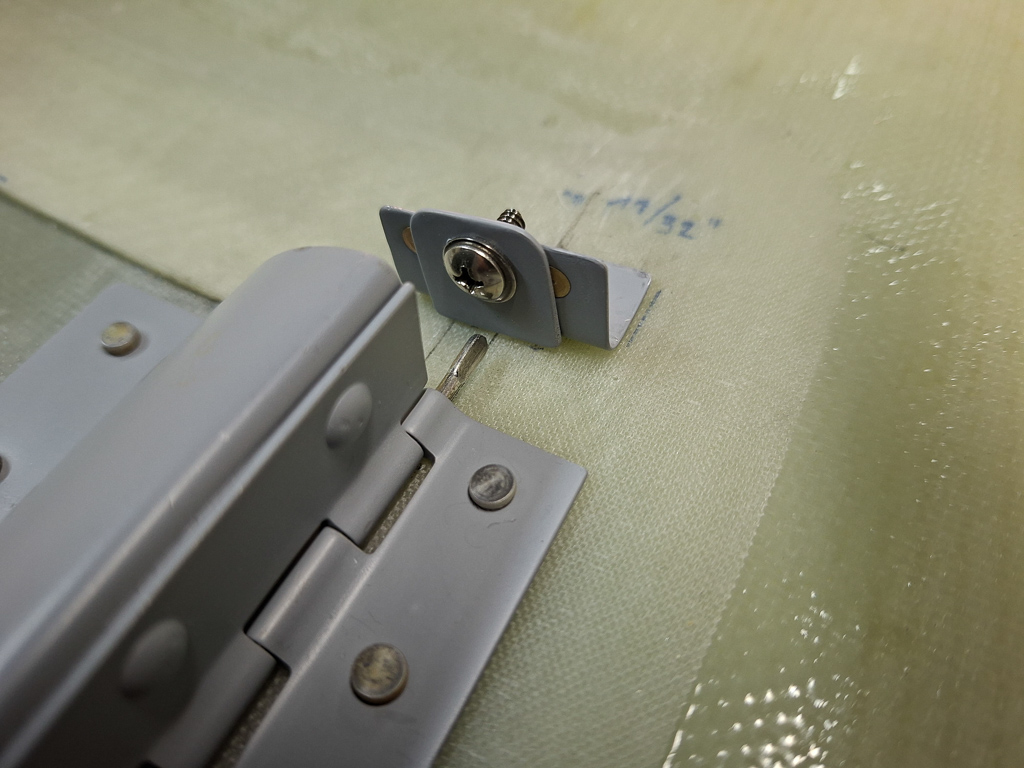
To secure the hinge pin, I have installed a small piece of angle with a hole in the center bottom, The pin just fits through. I installed a nutplate above it which holds a #6 screw to hold a little "door" that closes of the opening in the angle. When the door is open, the hinge tilts back and I can use a phillips screw driver to open the "door" and pull out the hinge pin. If ever I need to replace the spring in the hinge, that will be easy to do.
Door closed and operating nicely.
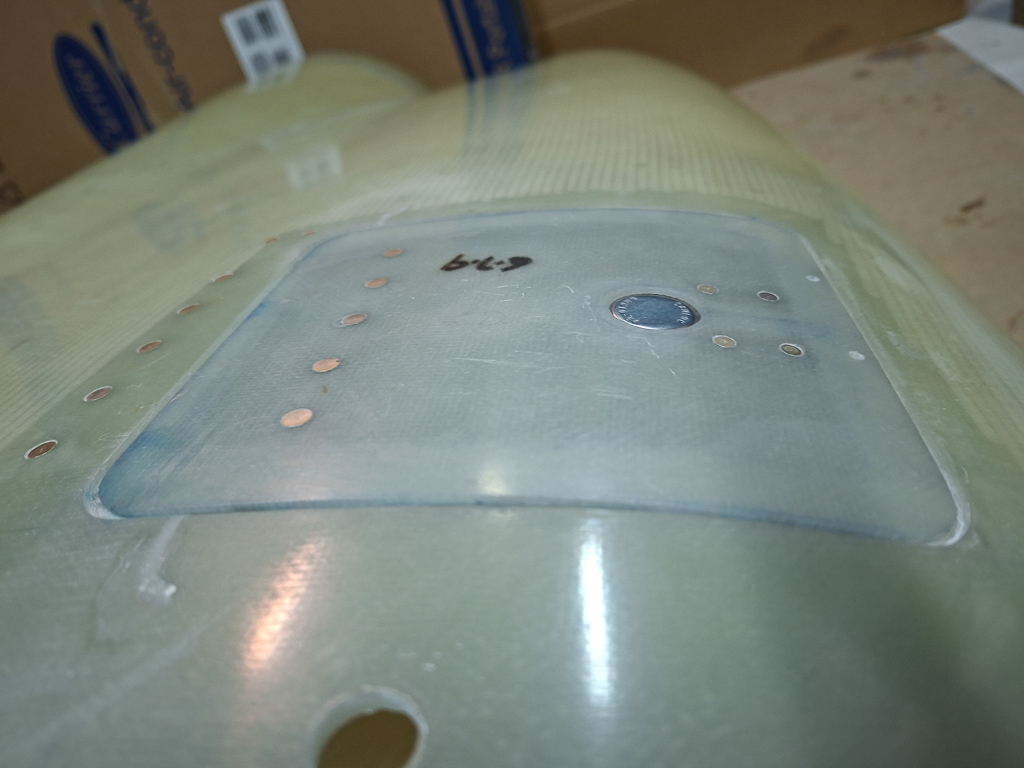
Stupid me did make a small mistake. As I drilled the aluminum strip, I drilled through the door. It took 2 holes before I realised what I was doing.
Fortunately this is epoxy and a little dap of the stuff will close them up. Just more work...
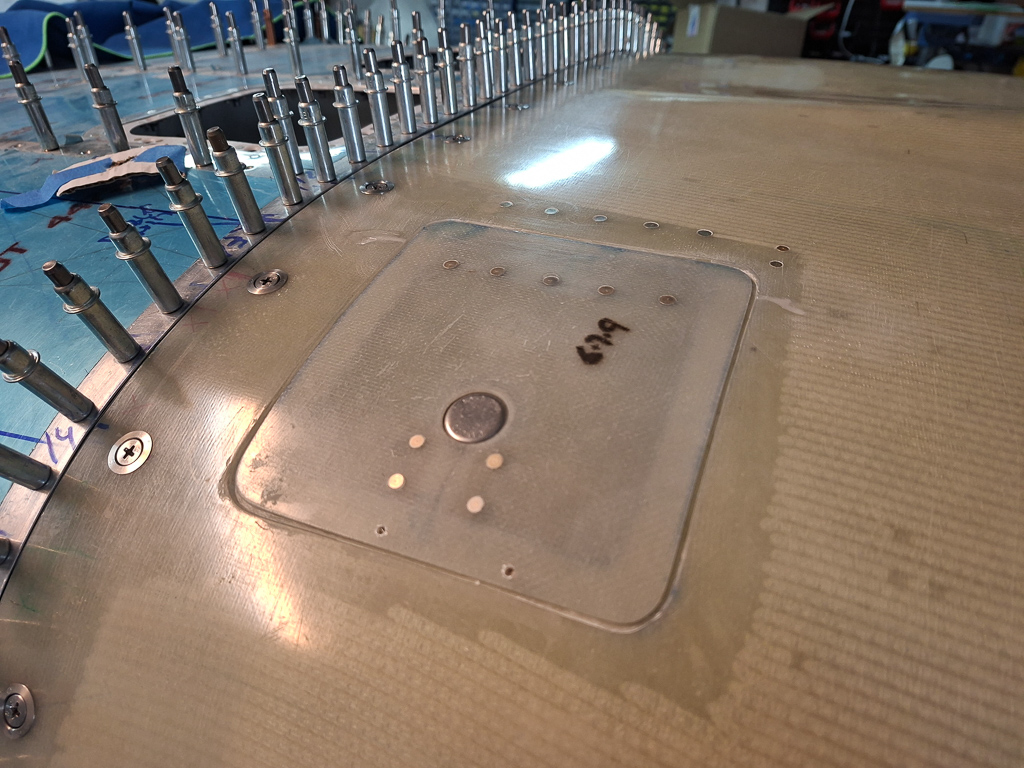
Eh voila ! all done and looking very professional
Spent some more time on adjusting paint gaps on the bottom cowl.
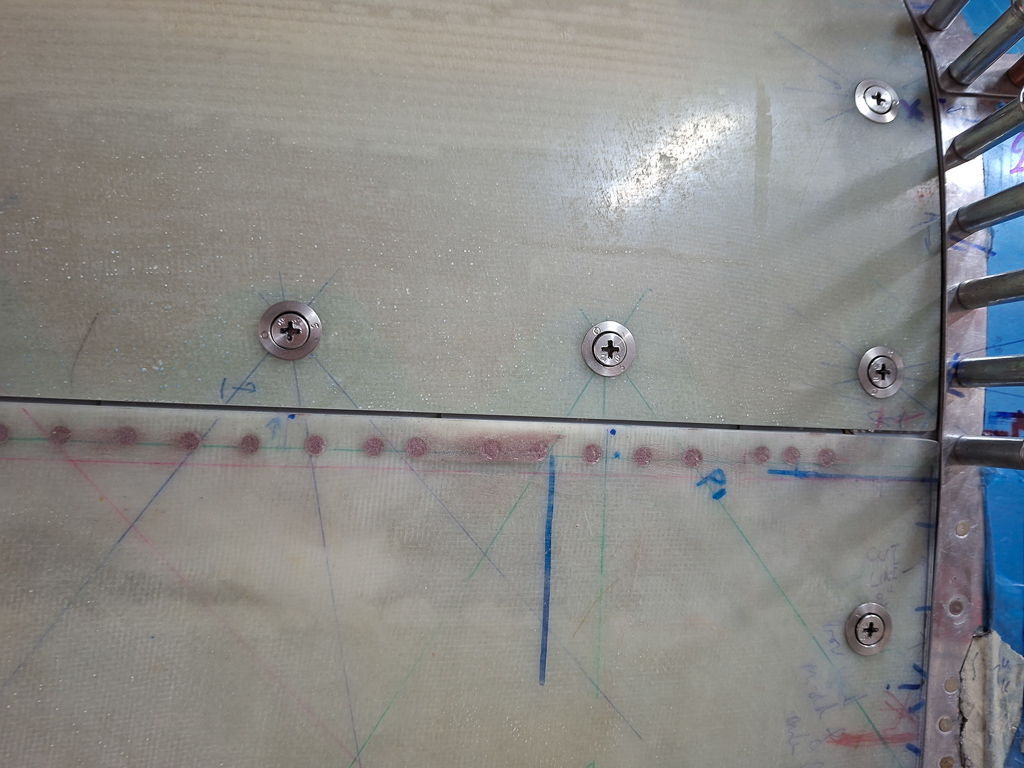
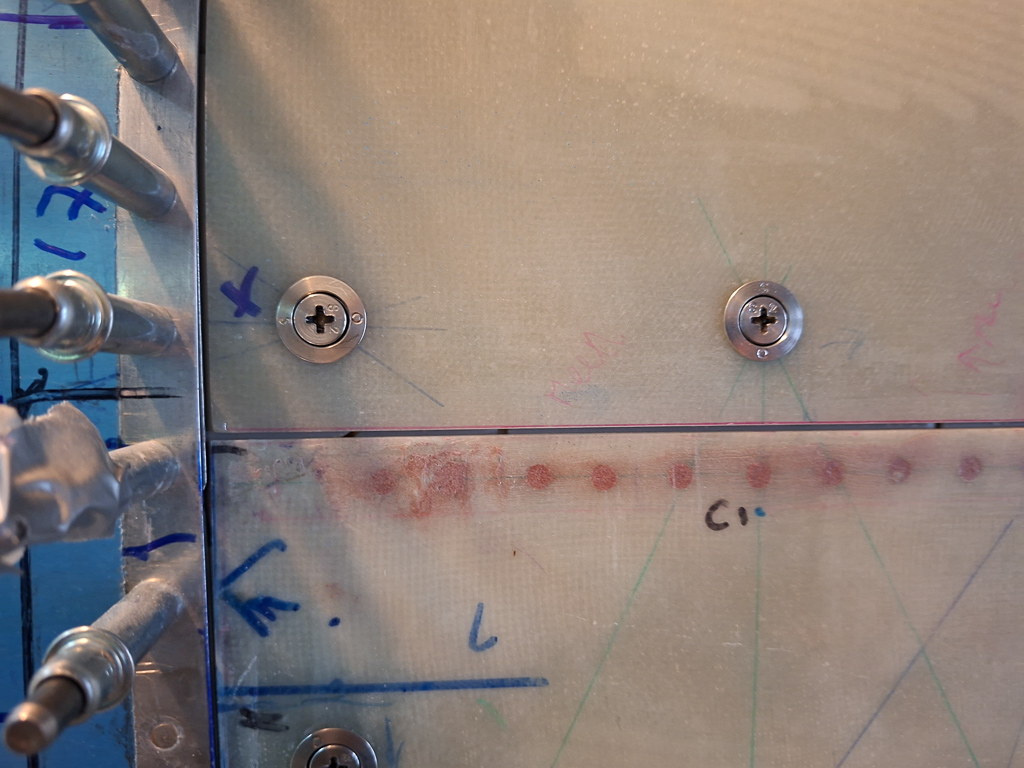
There were still some SkyBolts that had the locking pin inside. They only lock when you remove that pin.
Problem with these is that it's hard to remove the pin for the skybolts on the pilot side. There is no oil door opening here as on the other side and the cylinders are in the way to reach in from the air intakes.
A simple trick here was to use a piece of epoxy scrap of the same thickness and make a 15/32 hole in it for the SkyBolt stud. Adjust it as you see it in this image with the stud nice and lever with the washer and remove the locking pin. Give it a half twist left or right and it locks in place.