Next step on the custom oil door installation is the installation of the hinge that holds the oil door to the top cowling and the lock that will secure it in place.
For this I have chosen for the oil door hinge 4640. It is available at aircraft spruce as product number 12-04708 (MFR Model# 4640). The hinge is made by Avery Tools.
This hinge is a lot nicer than the standard hinges as it is not visible from the outside when the door is closed. The hidden hinge has a uniquely shaped arm that allows the hinge to be mounted completely out of view to the underside of the cowling. The center hinge eye is removed for the custom made spring that loads the hinge to be full open when unlatched. If your oil door unlatched it will be full open, eliminating accidentally taking off with the oil door unlatched.
The hinge is aircraft quality extruded MS20001-4 hinge with a 3/32” steel hinge pin. One end of the hinge pin is flattened. When installed and closed the hinge pin is gripped tightly by the force of the spring.
This is how it looks like as received from Spruce.
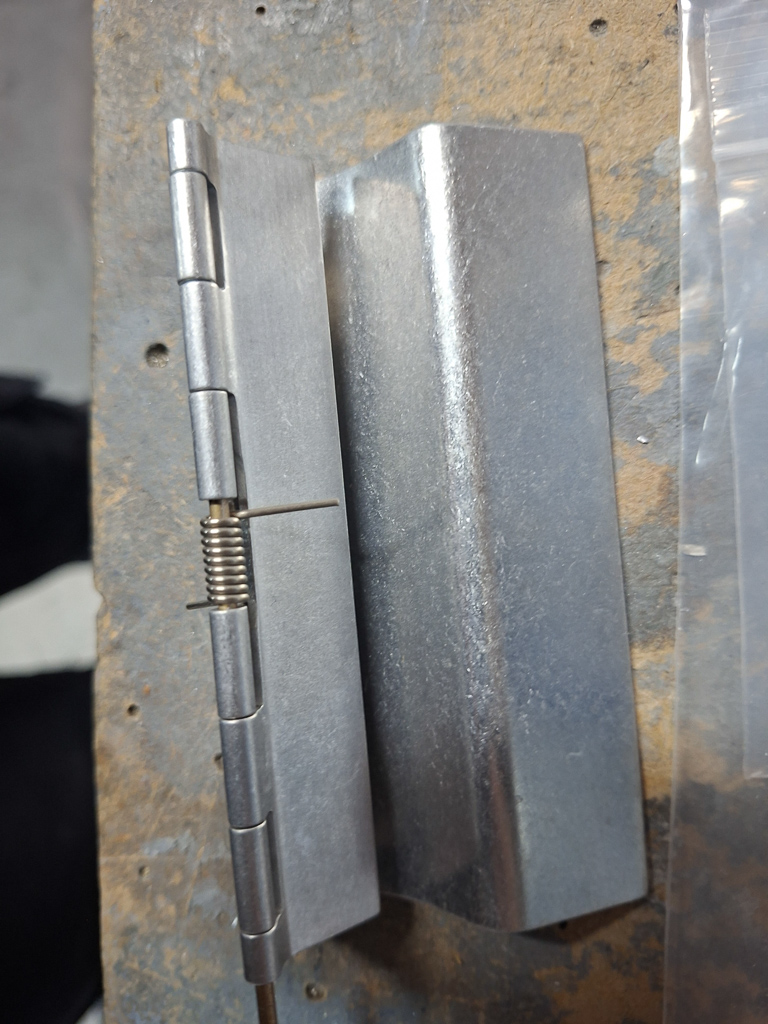
First take the hinge pin out and mark the rivet location for some AN426AD4 countersunk rivets holding the door to the top cowling. AD4 may be a bit of overkill here.
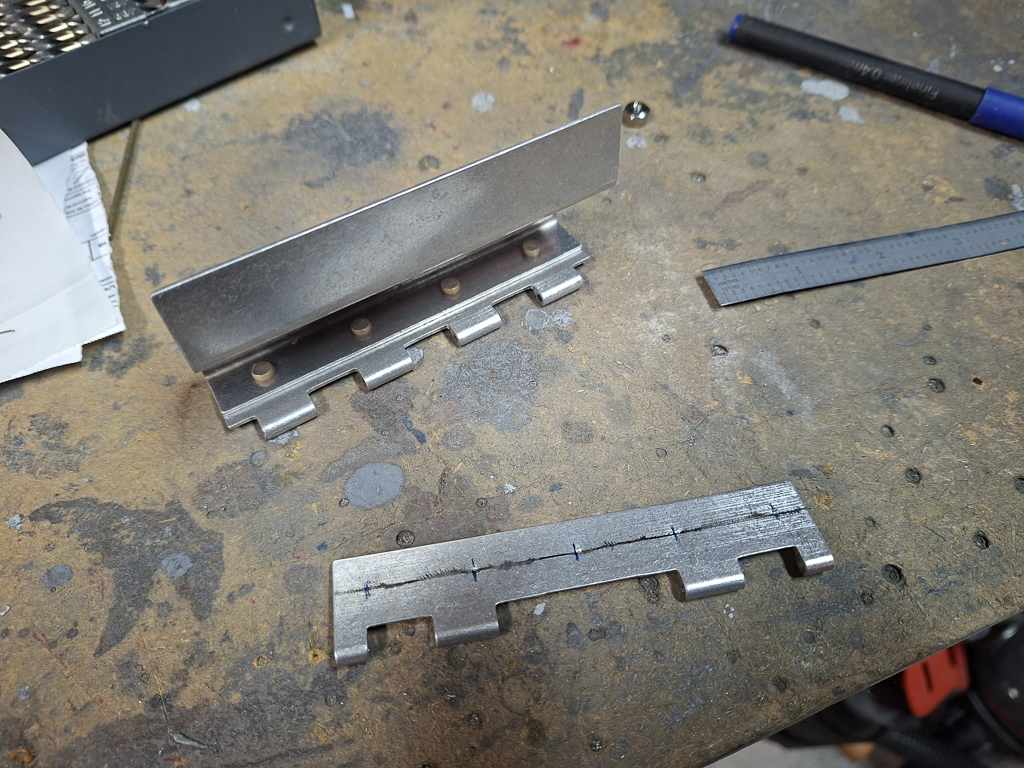
Install the hinge so that the curved part of the hinge just misses the cowling when opening. It's best to remove the spring to make it easier to see the range of motion during mounting.
Mount the hinge to the cowling first, then mount the oil door to the hinge.
Duct tape is your best friend to keep things in place and test motion before you start drilling. I also taped the door itself to the hinge. I will reinforce the door with a double layer of epoxy so I also taped a temporary spacer on the door.
this is the spacer I used and an image of the taped door below.
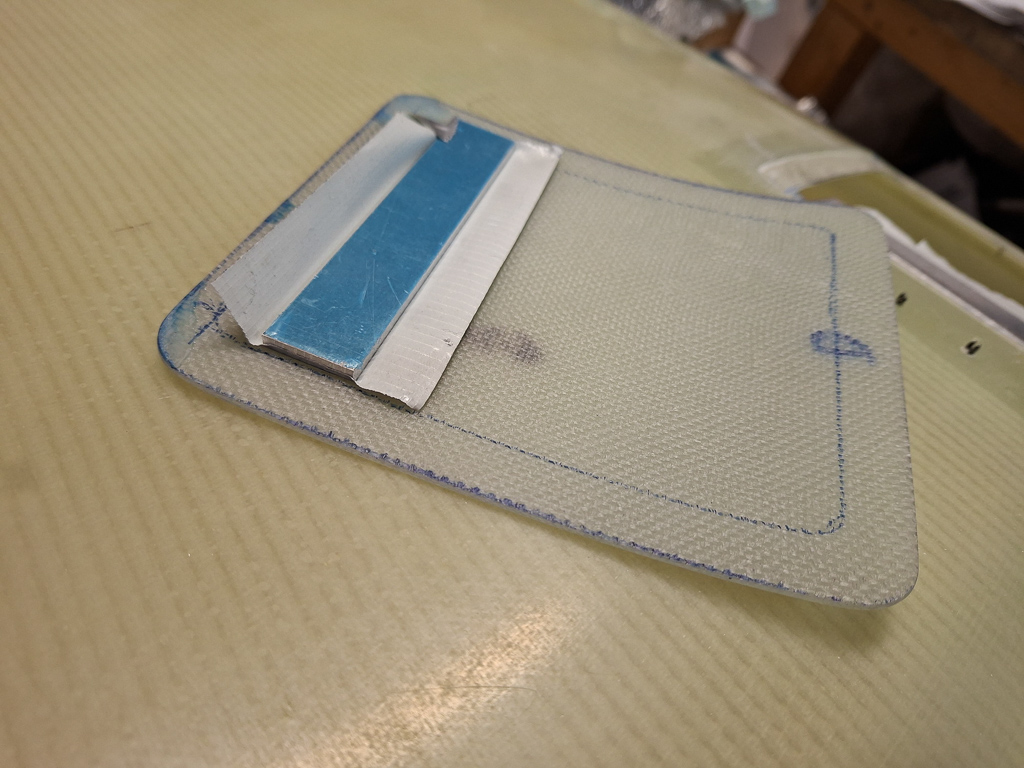
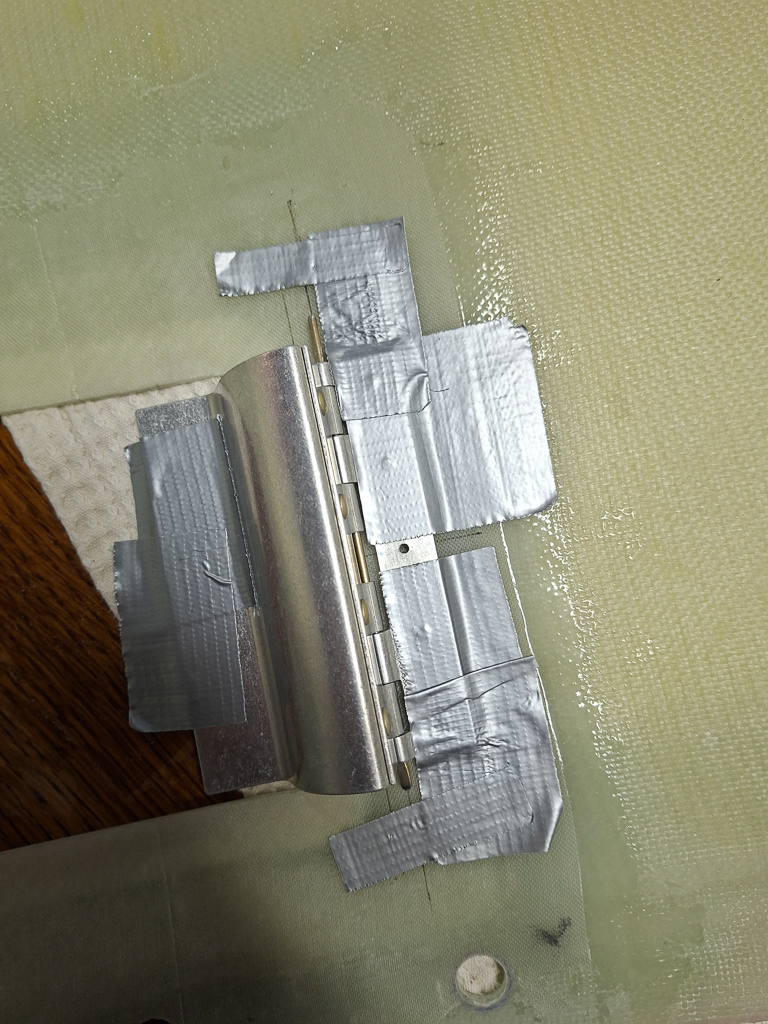
The curves in the corners just barely not touch left and right of the hinge which is perfect.
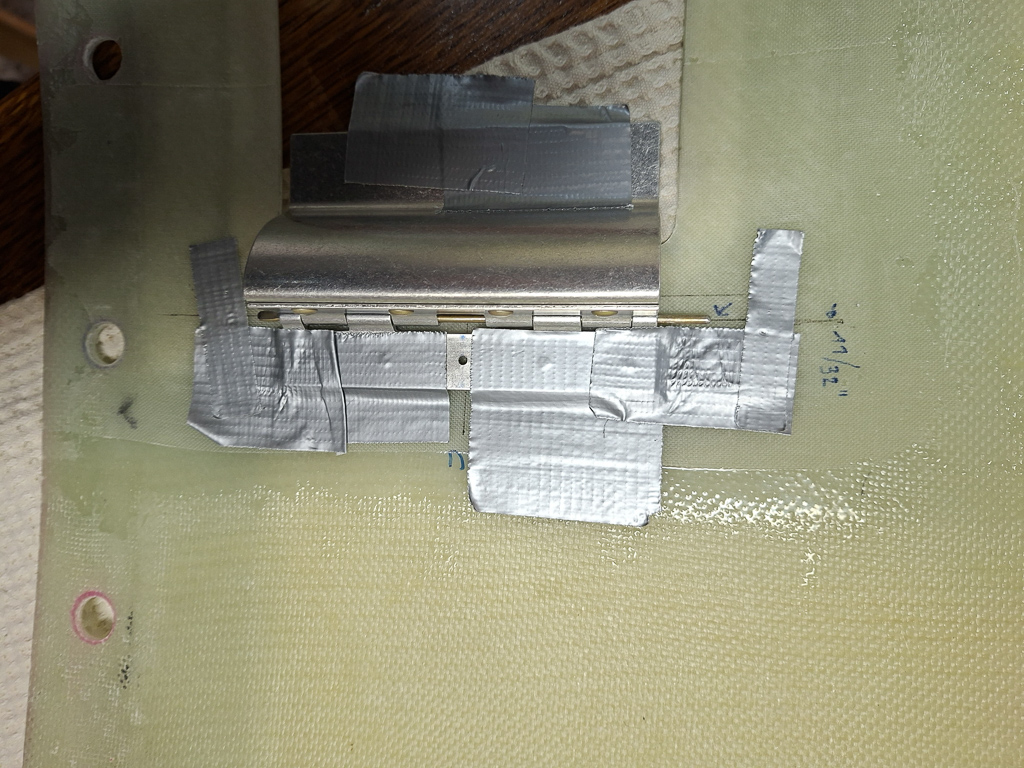
With the door nicely positioned in the extrusion, I drilled the holes in the hinge pin and through the top cowling. First #40, then updrilled #30.
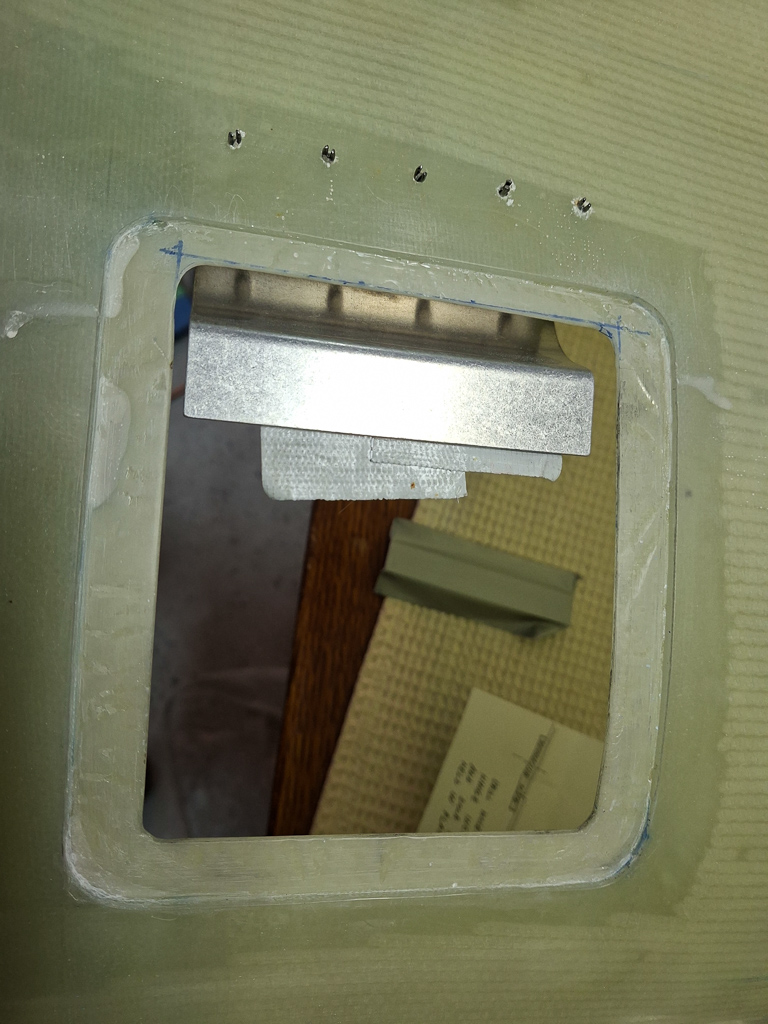
In the next image, I had already cut out te doubler from some stock epoxy and positioned it on the door and underneath the hinge flange.
Marked the position of the rivets and drilled the hinge on the door, carefully watching the position of the door in the top cowl.
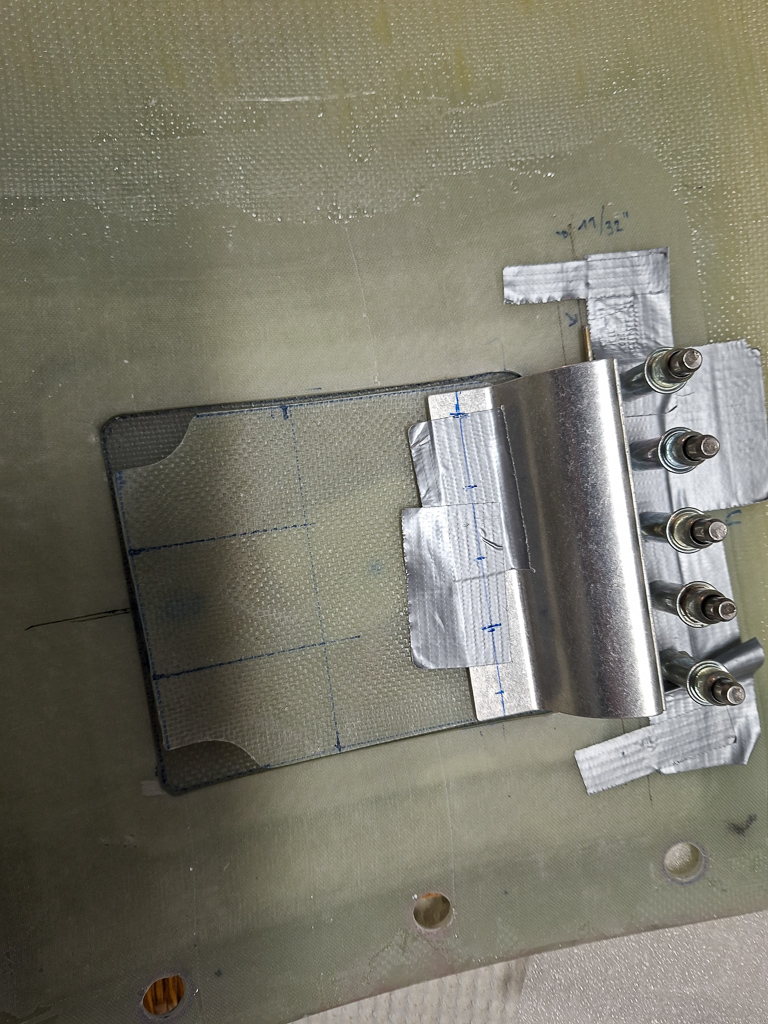
To make sure it doesn't more, more duct tape... Not only the horizontal position in the door opening is important but also check the height of the oild door in relation to the top cowling. You want everything to sit nice and flat.
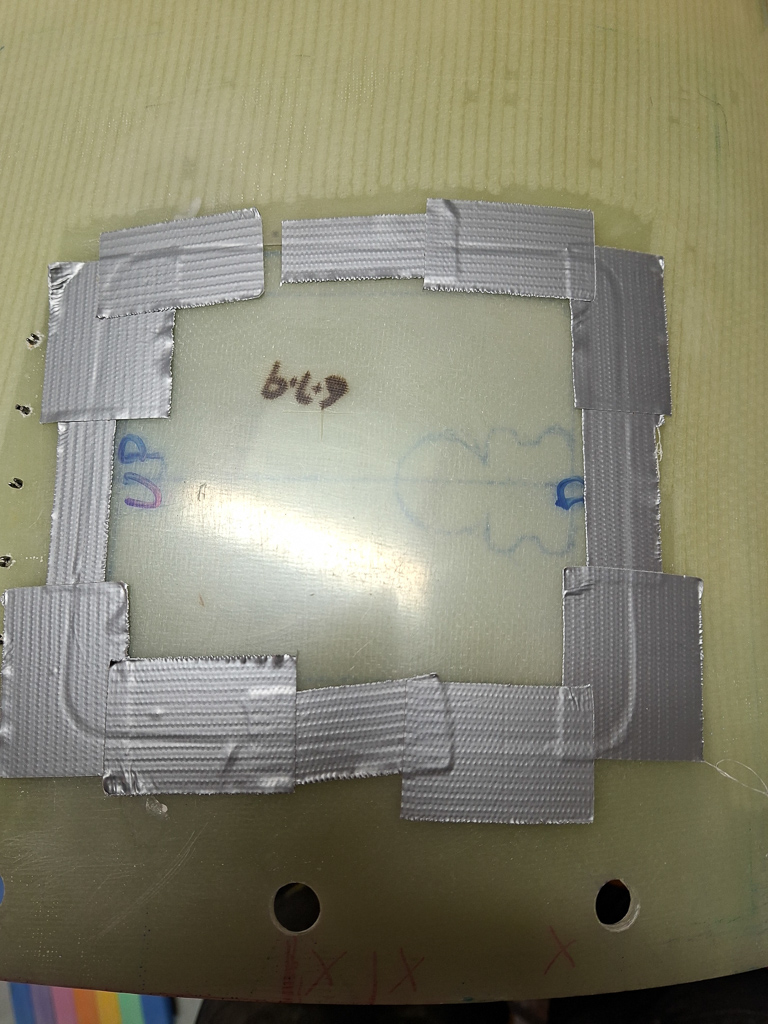
Next shot has the door drilled to the hinge flange through the epoxy doubler. Finally today, I will epoxy the doubler to the door by roughning the surface with 80grit sandpaper and making some epoxy paste as glue.
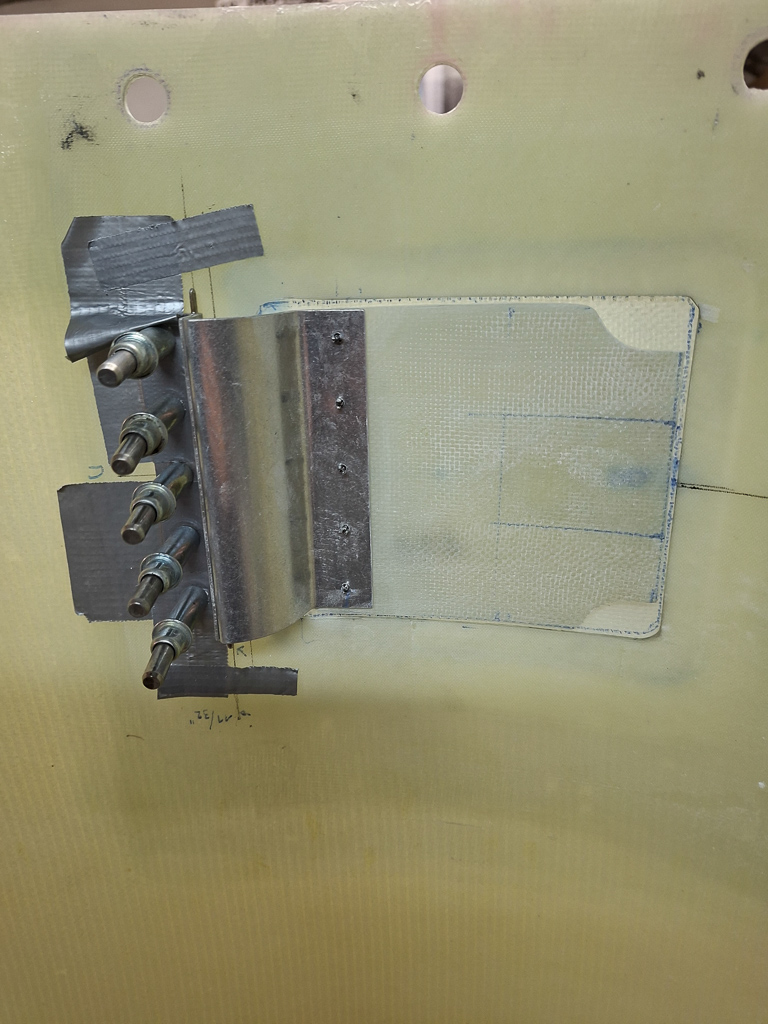
So far soo good. The door fits very nice
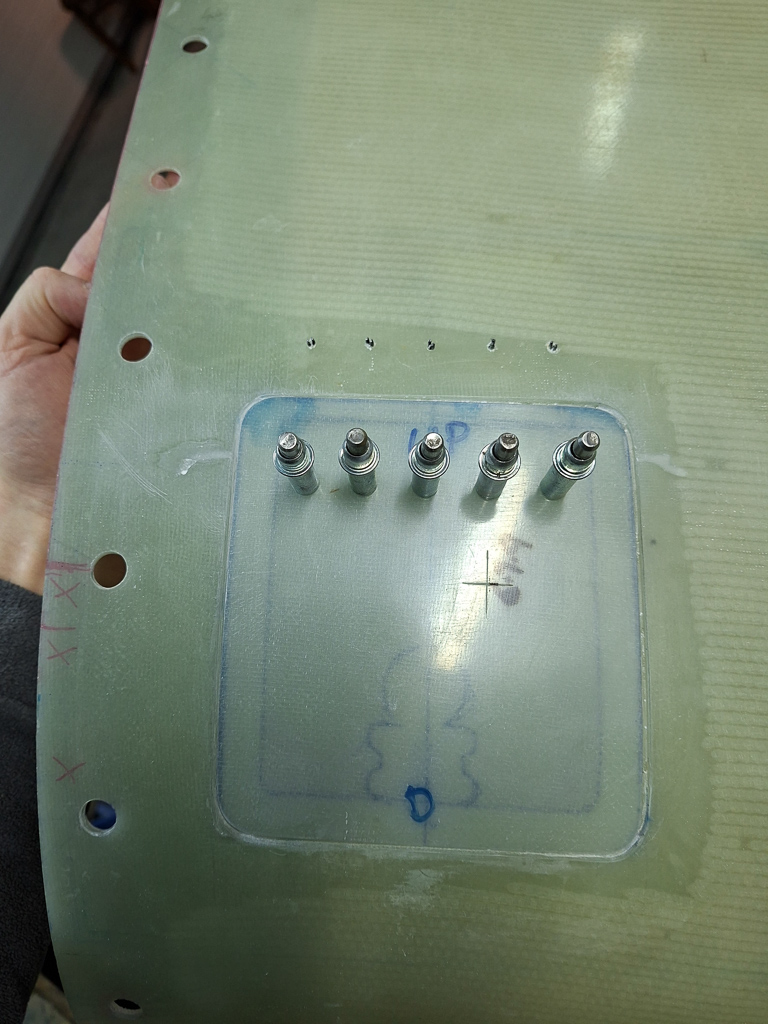
Latching of the oil door will be accomplished with a Cessna style latch KM610-64, also available at Aircraft Spruce. This will be the next step in the installation.
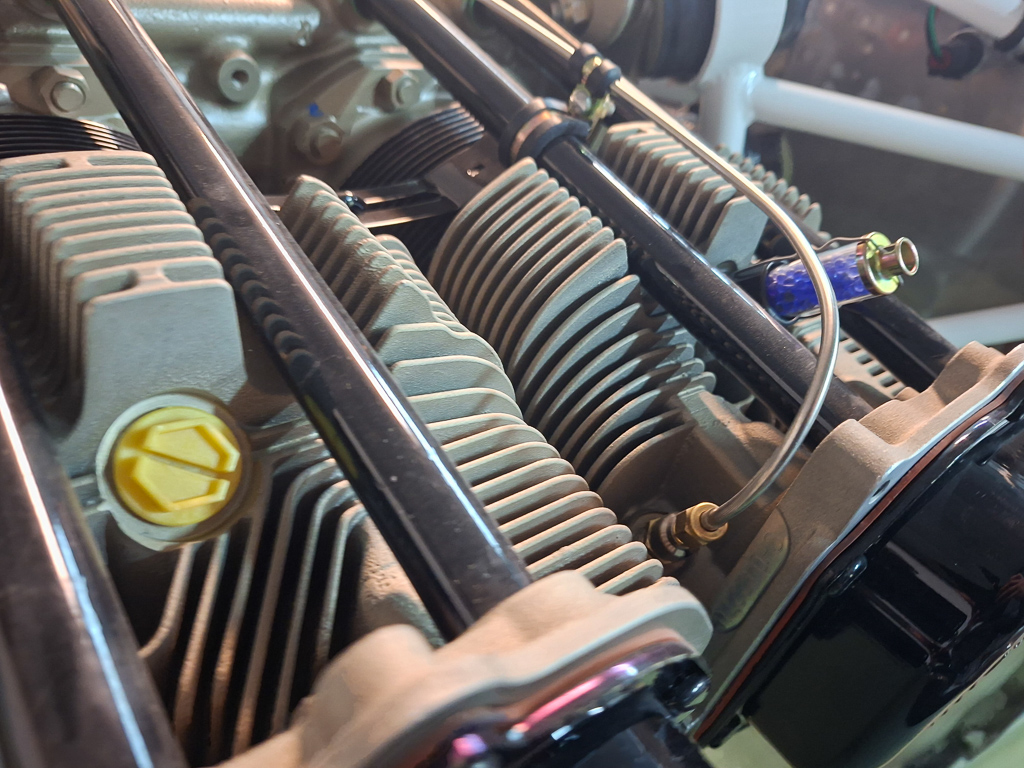
My last Spruce order included 8 dehydrant plugs which I installed in the spark plug holes of the engine. The silica gel has a color which is blue when they are dry, If the color turns into pink, the bubbles have absorbed humidity from the cylinder and you should remove them and dry them again by heating. These plugs are used to prevent rust and corrosion in engines while in storage. The pink silica gel may be reactivated (after removing from reservoir) by heating for 16 hours at 250°F or in a microwave.