fine tune front, drill 4 holes in joggle, cut off custom flange to 1,1inch, sand, make 4 alu support plates for nutplates, prime them, reclose 2 holes due bad angle.
sanding closed holes, redrill them, drill holes for nutplates. countersink, glue alu backing plates with flox. Tempo reattach alternator for fitting check lower cowl
installing nutplates with rivets on lower cowling
With the rings in place, I couldn't resist putting the cowl back on and admire the result. It looks really cool with these aluminum shiny rings in place.
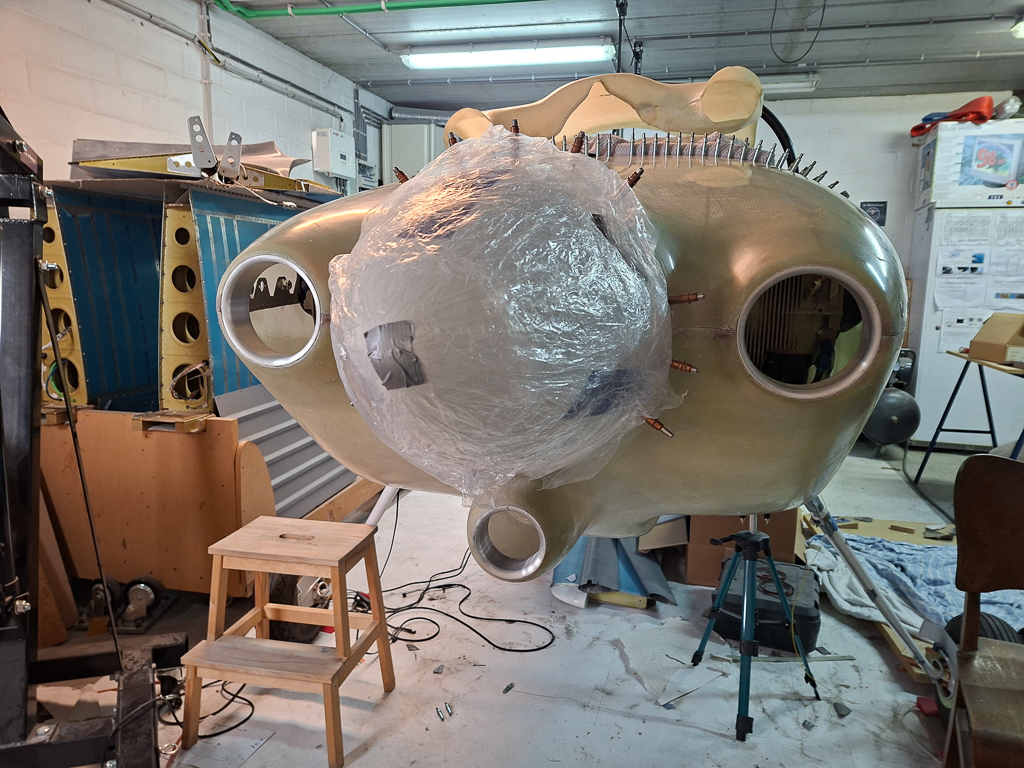
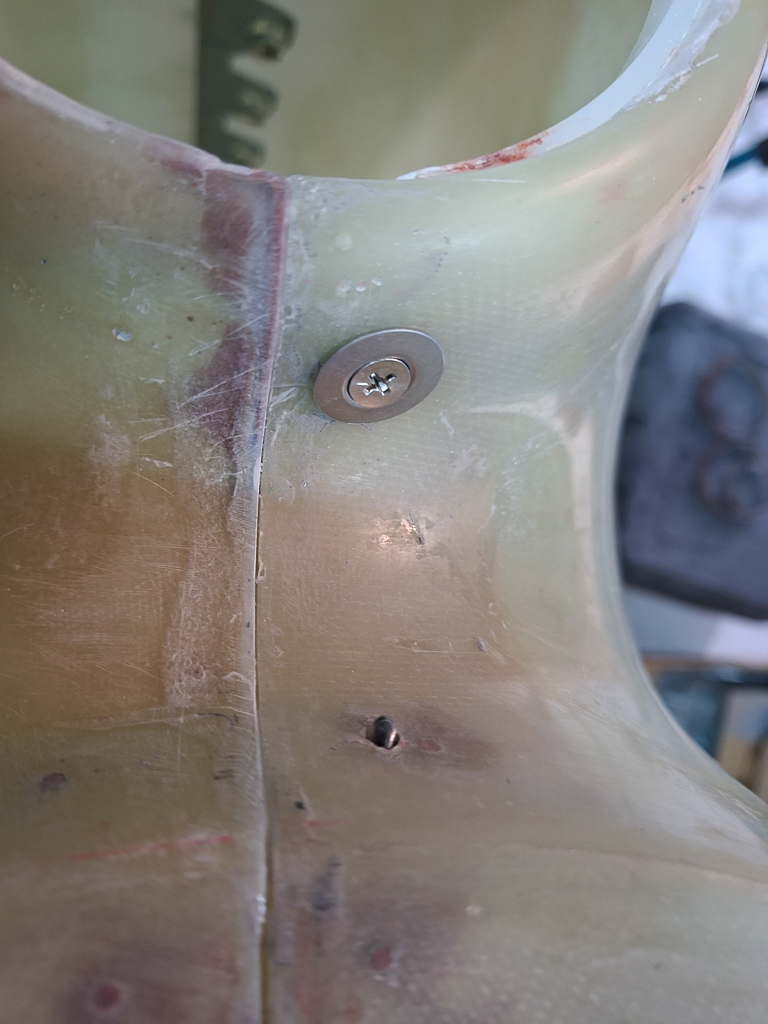
I drilled the joggle holes for the #8 stainless screws to final size and tested the countersink depth for the tinnerman washer. It think this looks good. The only problem I have is that the thickness of the joggle is too big and I will need to order longer screws to fit in the nutplates. No big deal, just something else to add to the list of unfinished business.
Then I took the bottom off and decided to cut back the height on the custom joggles. Decided to keep more or less one inch in height.
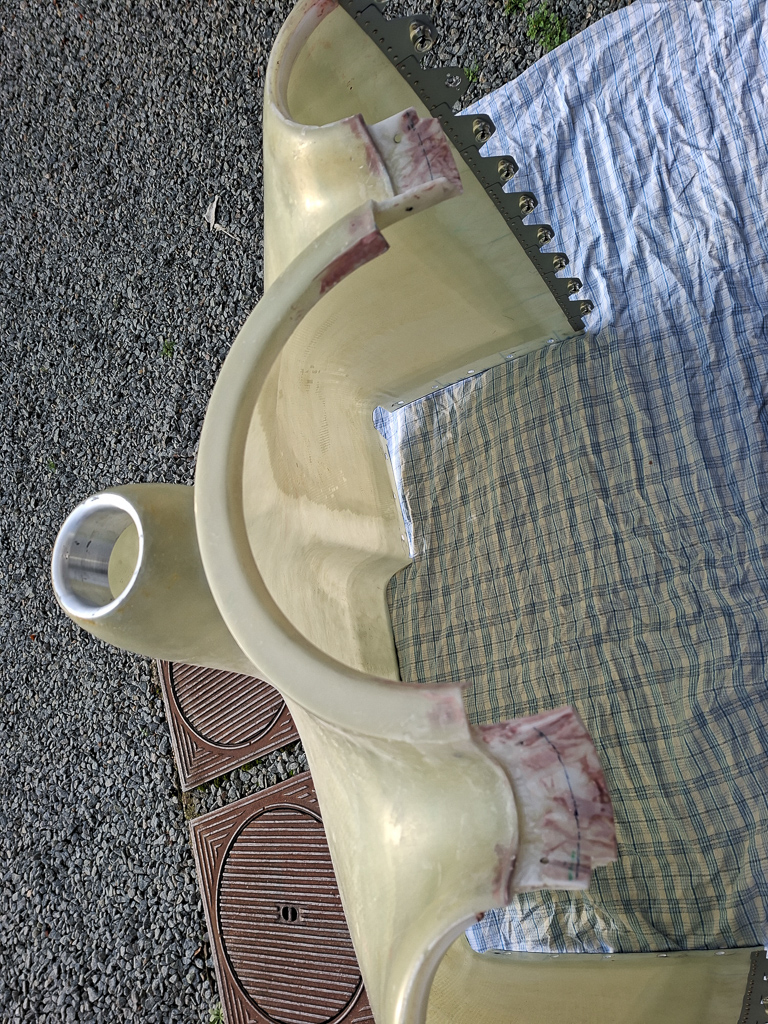
This is the result after cutting it back.
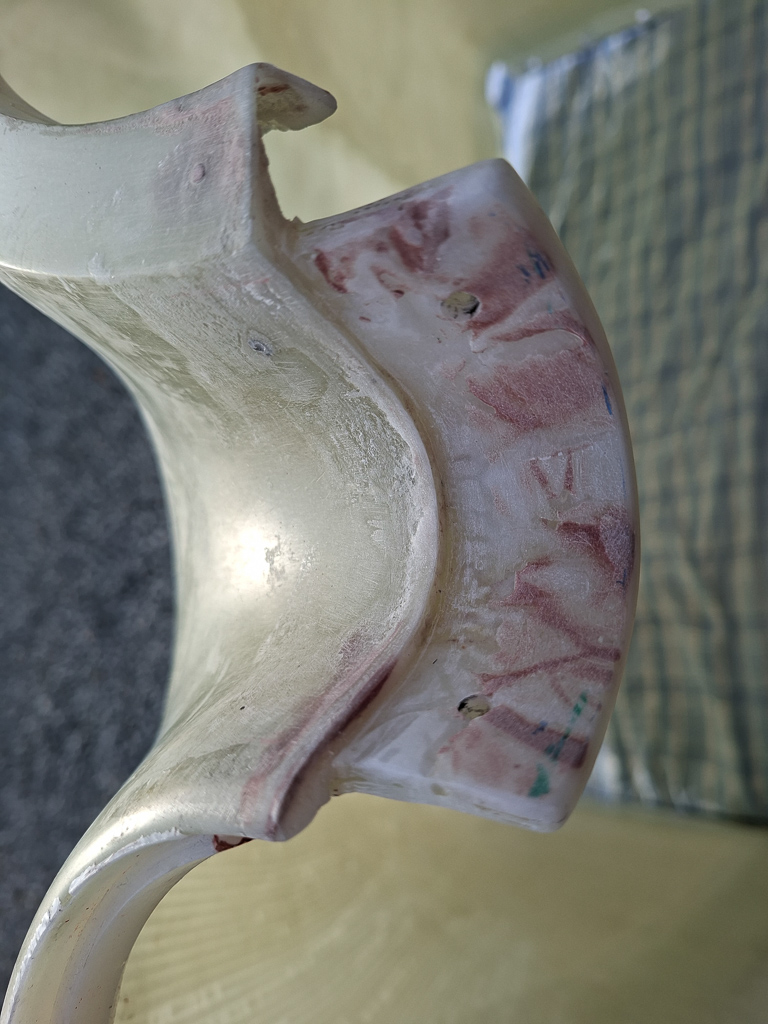
Drilled and countersunk for the nutplate ears on both sides. these are miniature nutplates so the nutplate ears are much closer to the fastener hole.
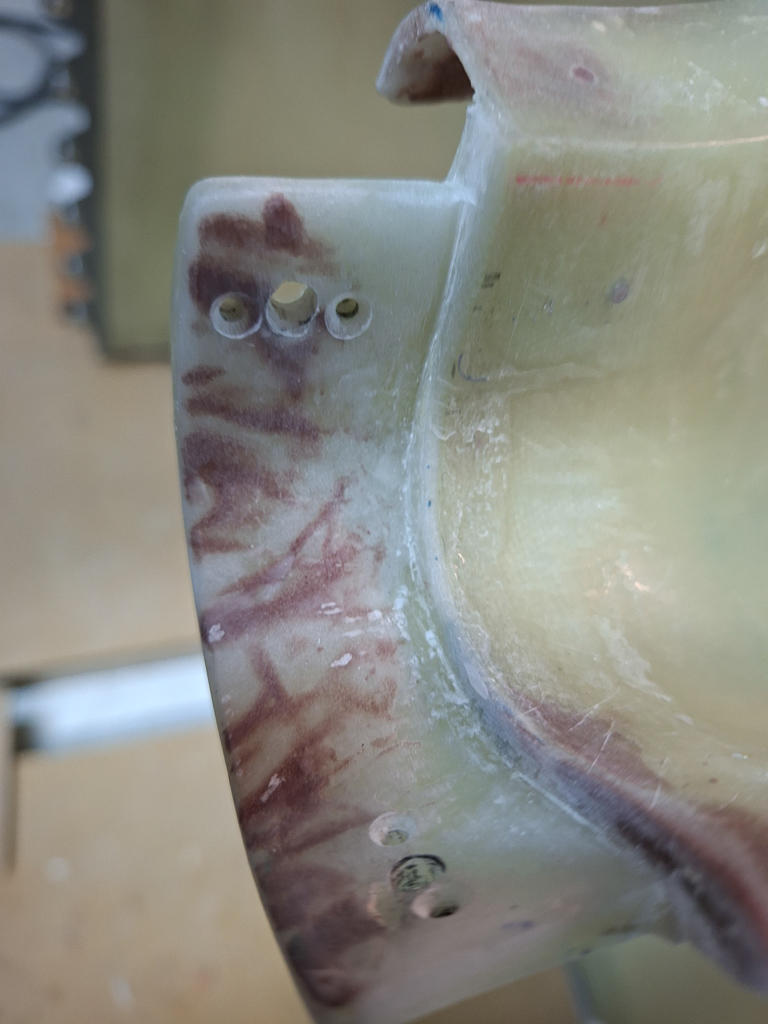
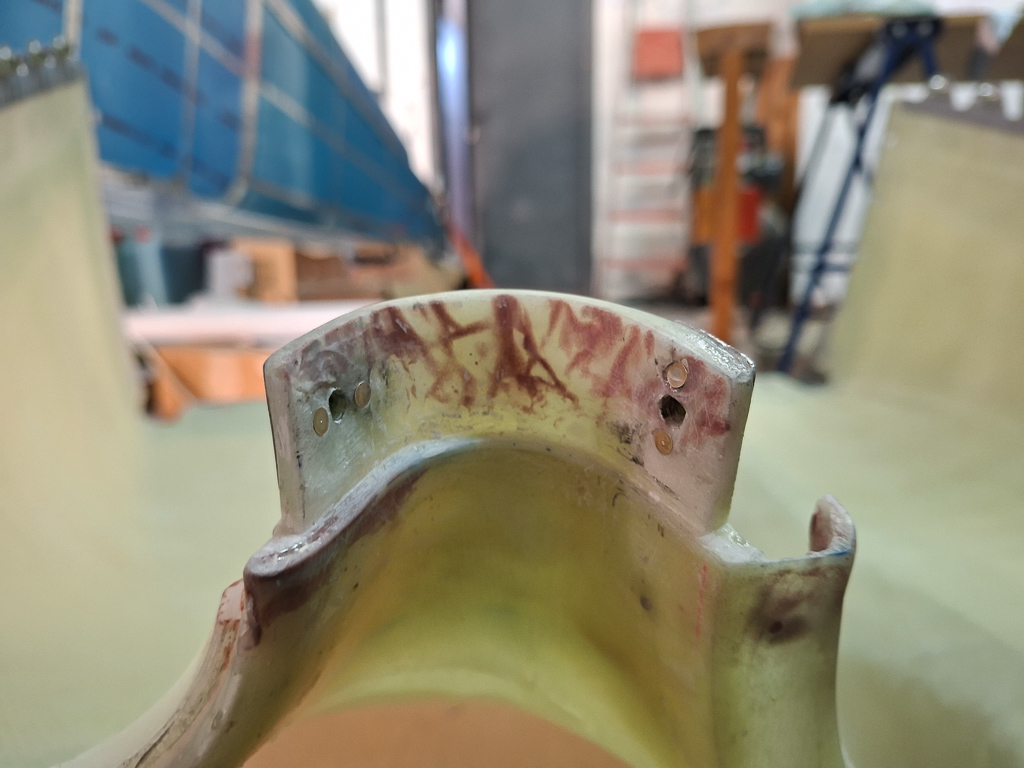
Then installed the nutplates on the joggle. Notice I used an additional aluminum support plate for extra strength. I learned this is a high stress area.
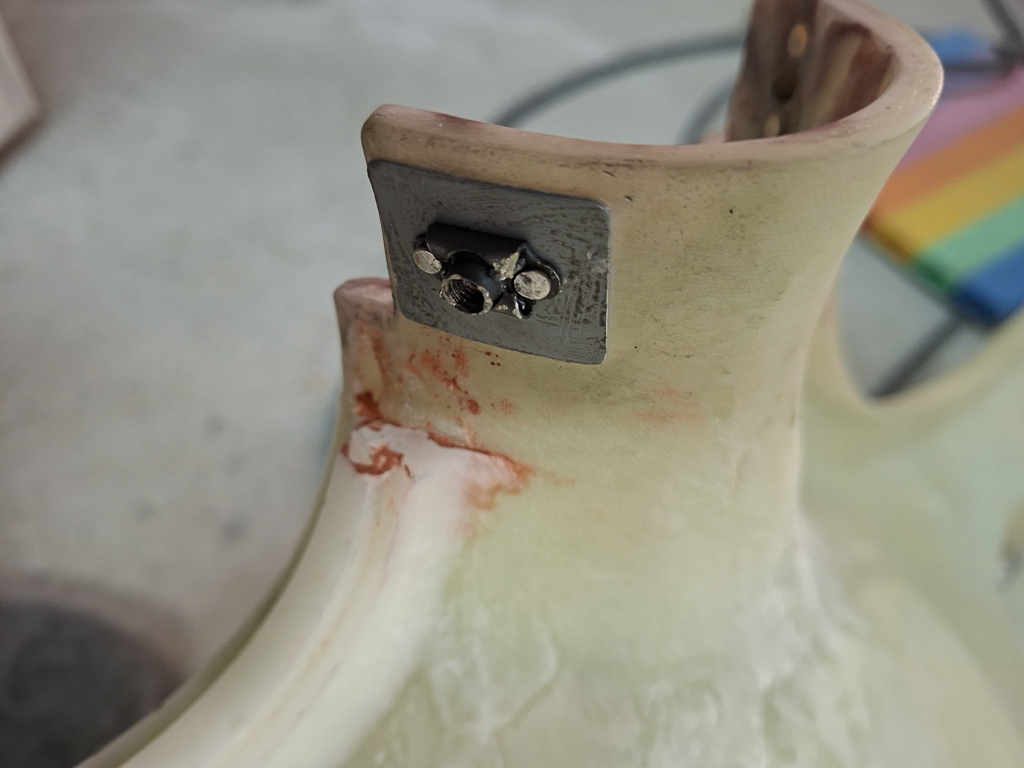
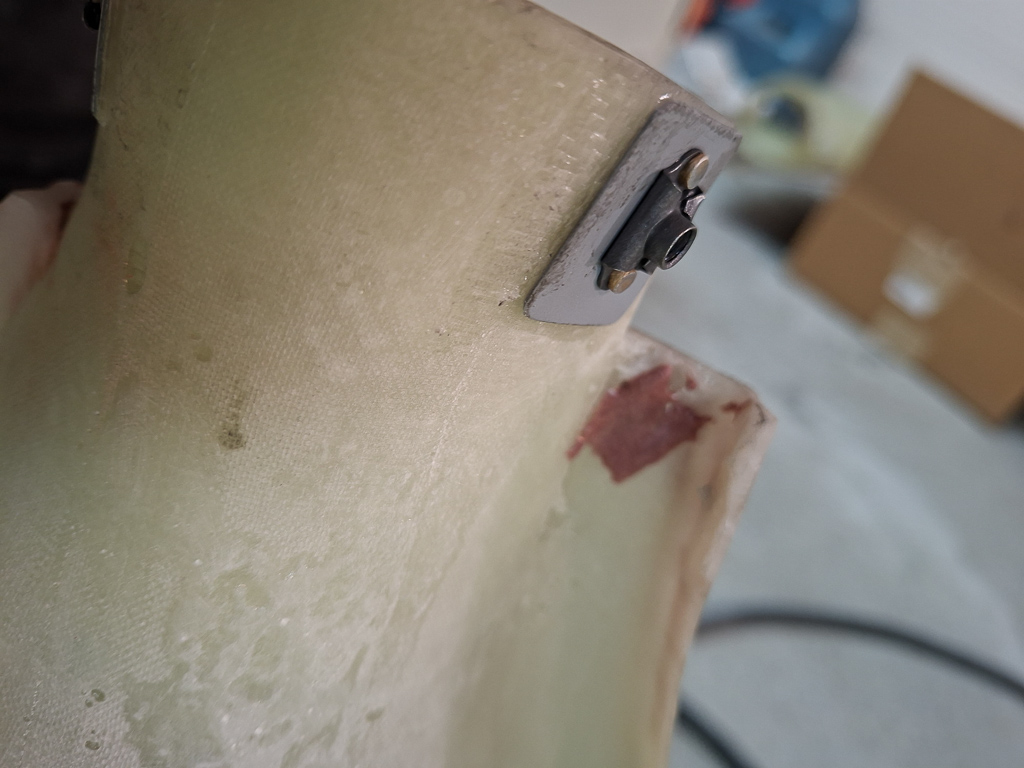
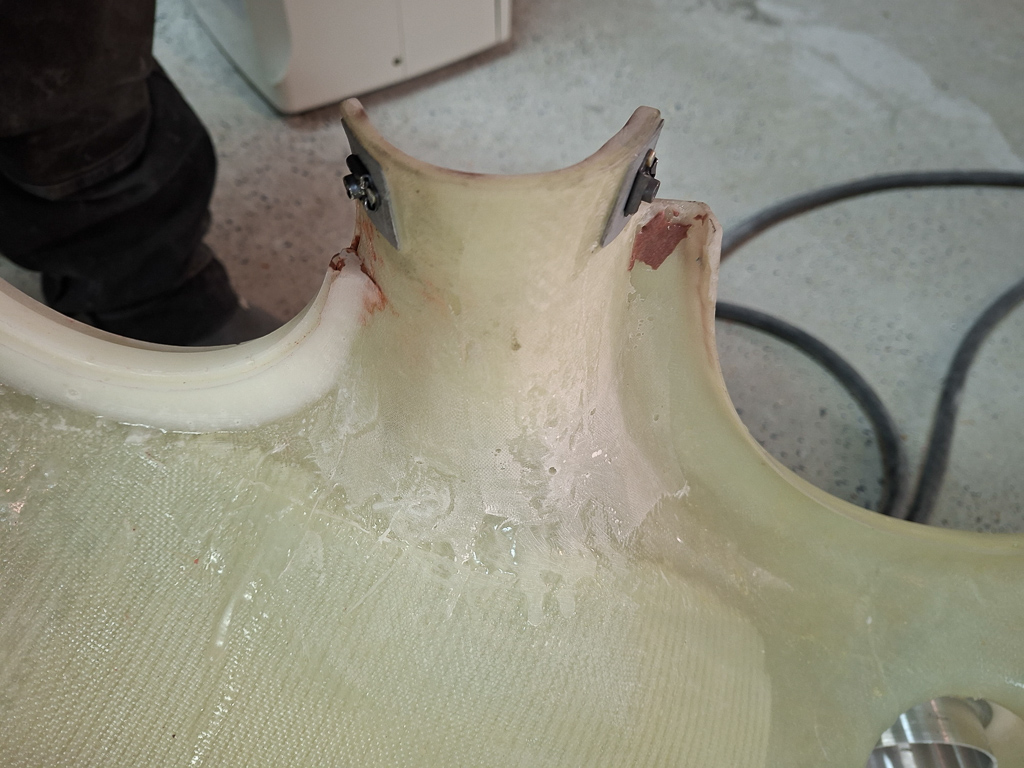
This is all done for now. Probably I need some more sanding on the mating line as I still need a 0.05" gap for paint. I will save that for the final steps on the cowling.
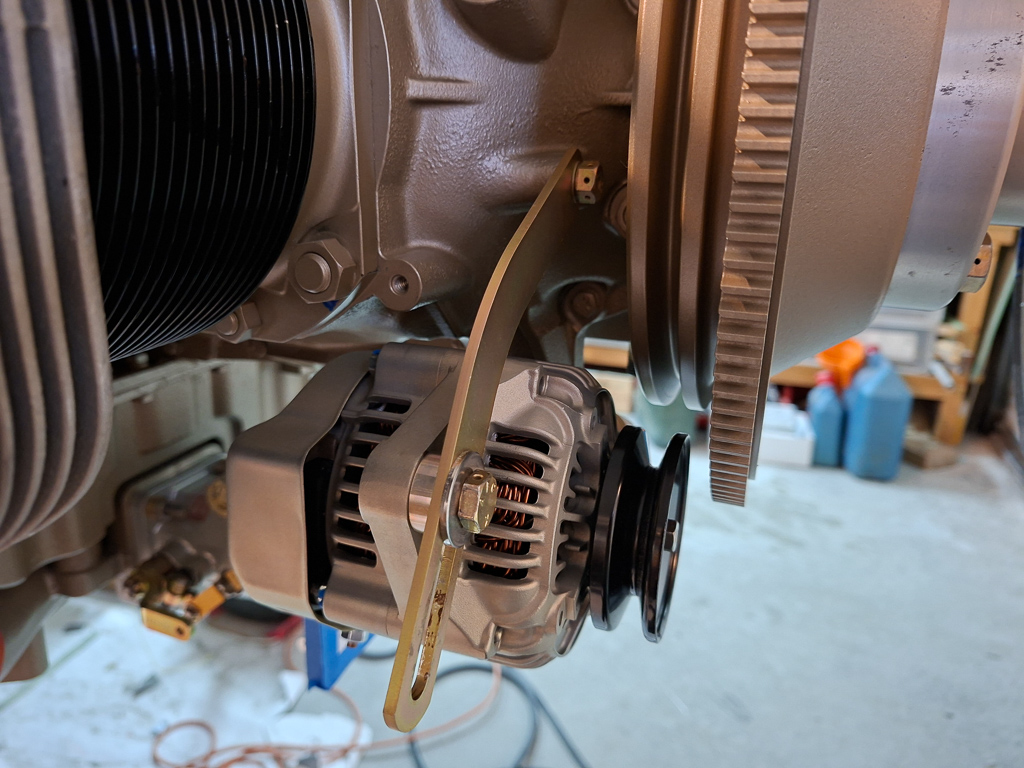
Finally I also installed the alternator back to verify the clearance with the bottom cowl once installed. Will check this when putting the lower cowl back on in the next session.
Placed it in the upper position for a first attempt. Many builders have reported space problems with the alternator in the lowest position and had to buy a shorter belt.