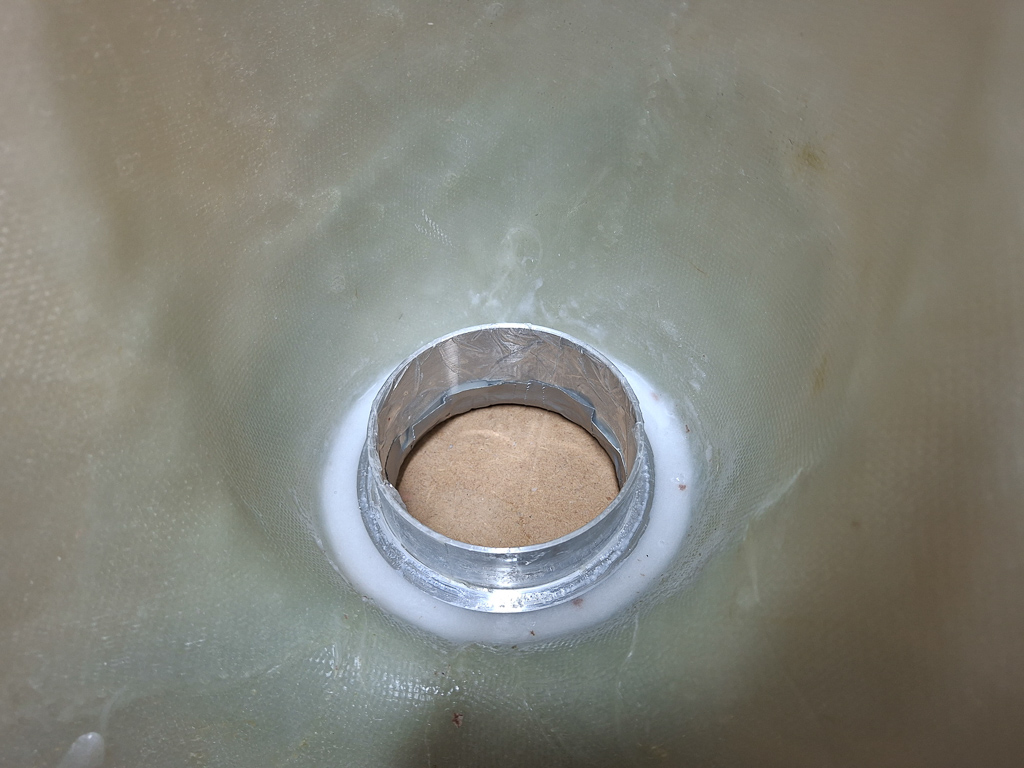
The air intake for the induction system runs through a scoop in the bottom SJ cowl.
You have to cut the epoxy so that the ring fits nicely in the scoop.
It takes some centering and patience throughout the cutting and sanding process but there is nothing to it.
The aluminum ring is kept in place with epoxy flox that you poor into the cavity from the inside. It's very similar as with the cooling air rings but also easier as the induction ring is permanently epoxied in place.
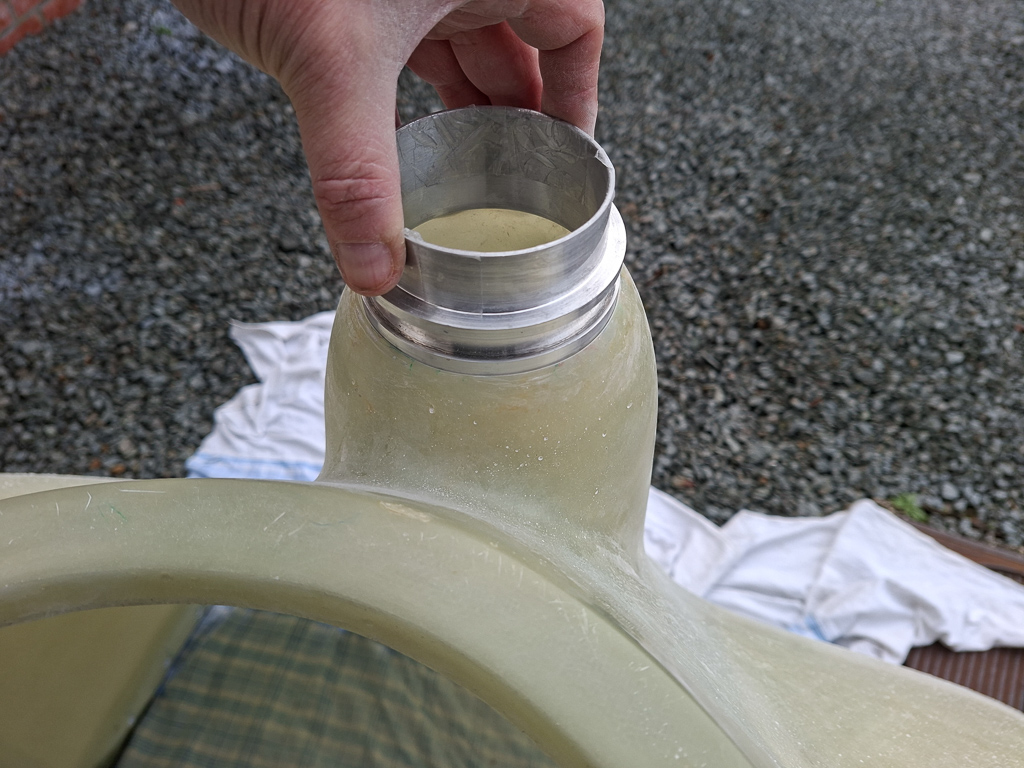
After sanding, this is how it looks like.
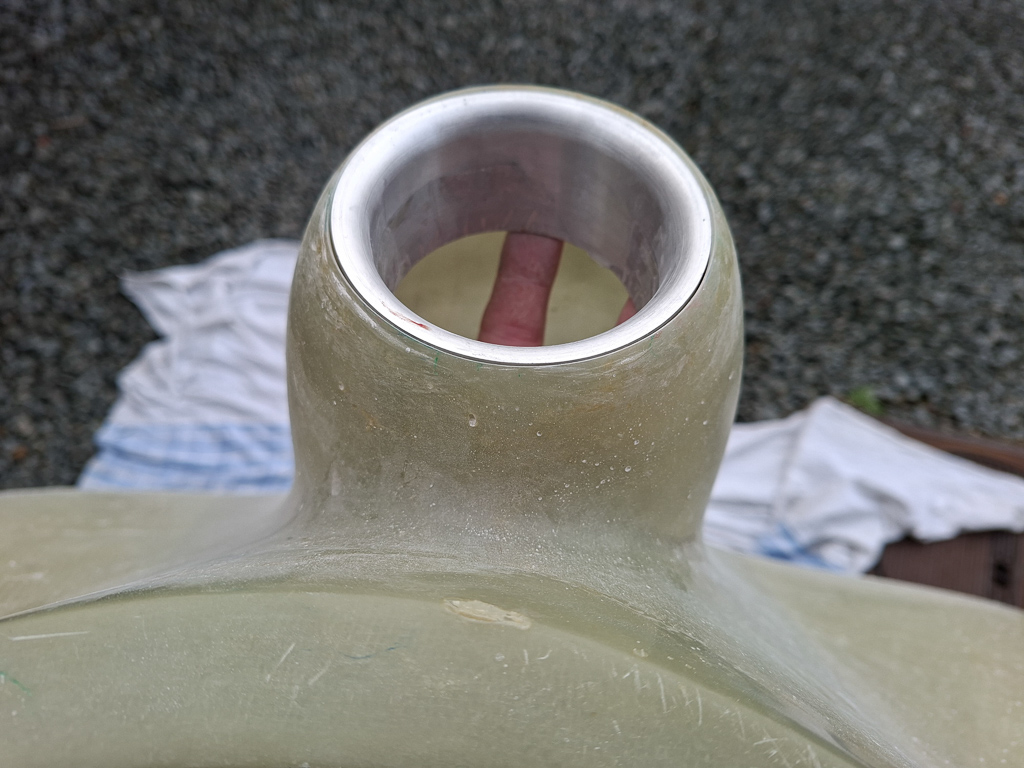
As with the cooling air rings, I used the same technique with duct tape to tape the ring in place.
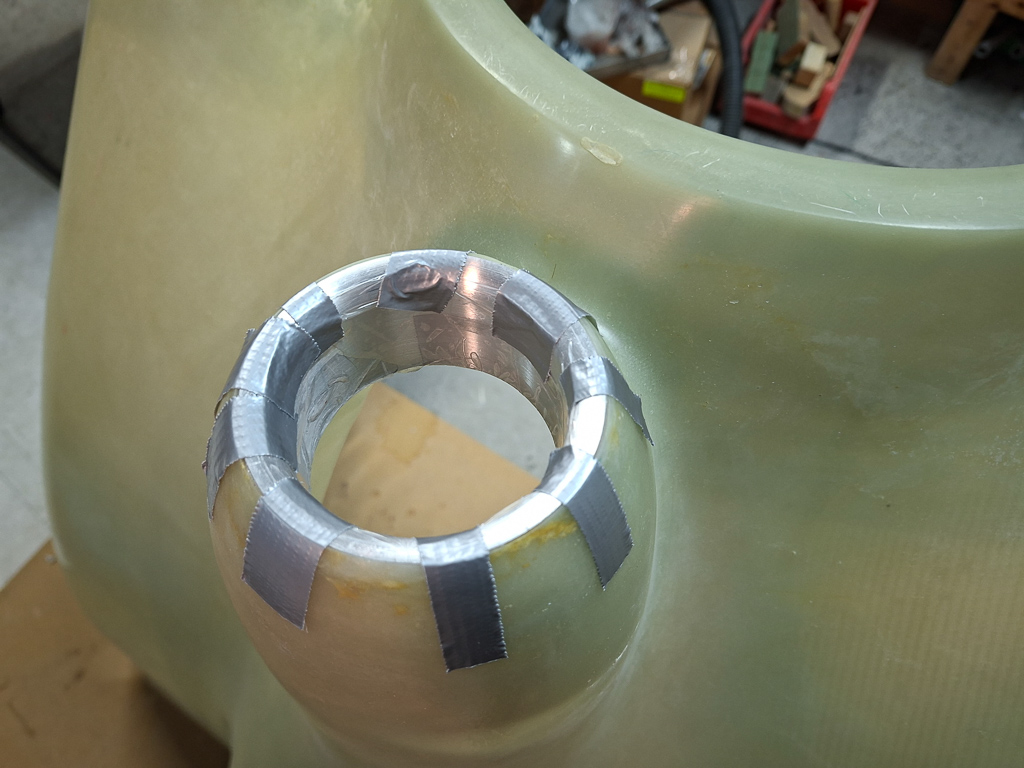
Fully covered and ready to receive epoxy flow from the inside. Don't forget to rough sand and scuff the interior around the ring so that the epoxy has something to grab into. I used 80 grit sandpaper.
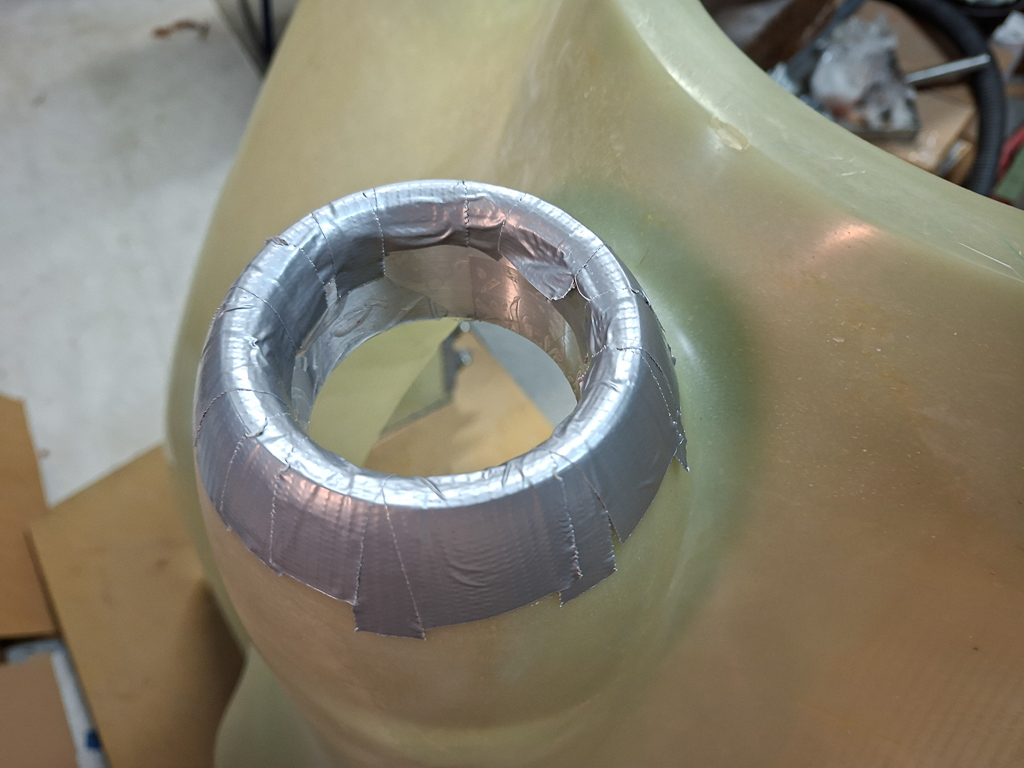
Used the seringe to inject the epoxy flox mixture around the induction ring.
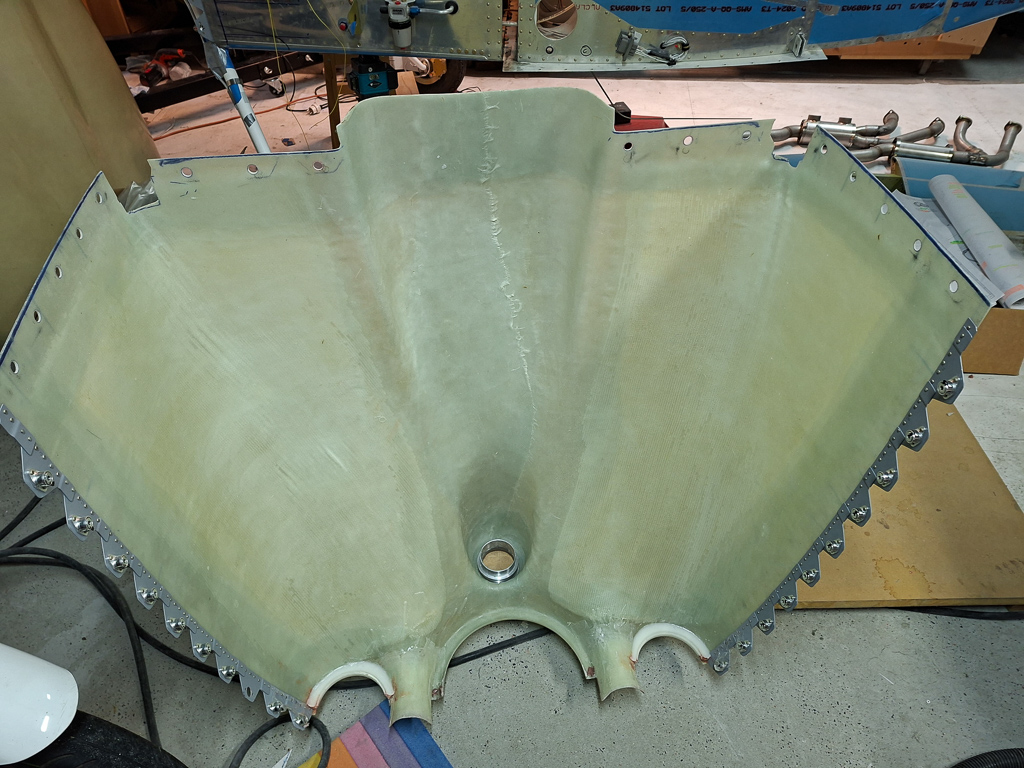
The level of epoxy ends at the outer ring. You still need the collar to connect the hoses later on. Time to let this cure and have a beer.