
Worked on the cooling air intake rings today.
These rings are attached to the plenum with neoprene rubber.
The rings are not attached to the cowling but are locked in place by a ridge in the cowling. However when removing the cowling, the rings detach and stay in place on the plenum.
These ridges are custom made to your cowling installation. They are made by pooring a flox epoxy mixture into the cavities around the rings.
First you need to make sure the openings for the rings are sufficiently sized so that the ring fits nicely in the opening when bottom and top cowl are in place.
I double checked the alignment of top and bottom cowl. Once the epoxy is in for the rings, there is no way you can change this alignment except for sanding and re-glassing the outside. So better take your time getting the edges aligned as good as possible.
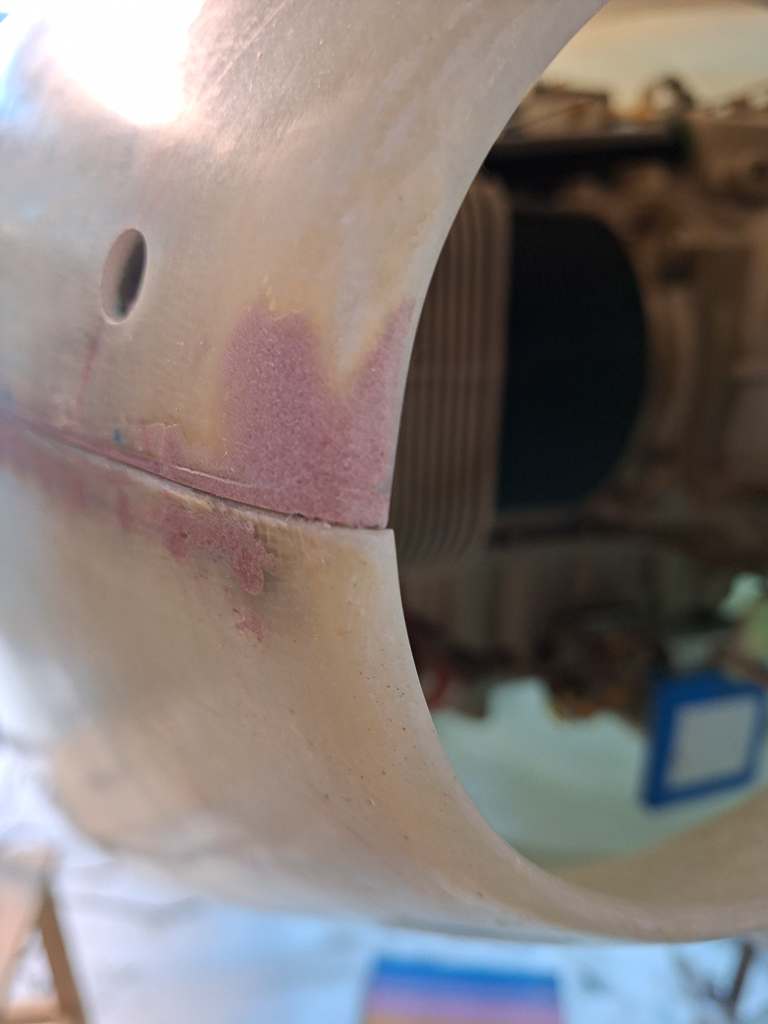
Same applies for the inside merging point.
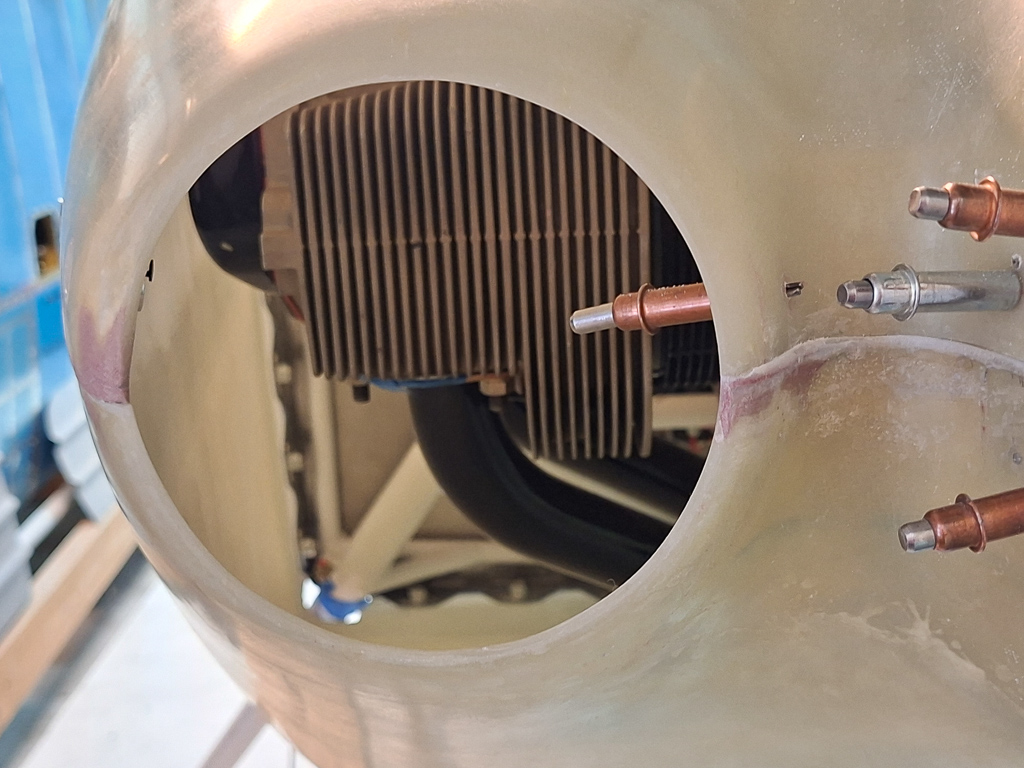
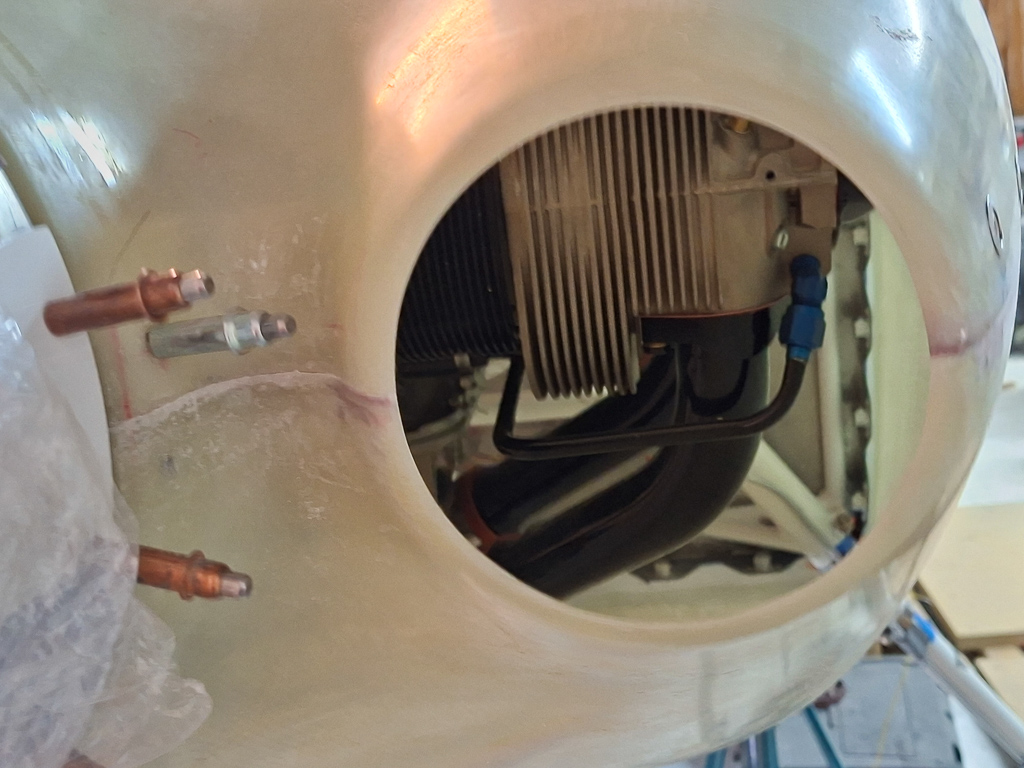
As I was satisfied with the opening, I took the cowl off the plane. All skybolts on the side are installed, and the front joggle clecoed together.
I had prepared the aluminum ring by taping packing tape all over the part where no epoxy could stick. Also applied some layers of wax.
Once the ring was aligned in the opening, I used good old duct tape to keep it in place. First taping the opposite sides.
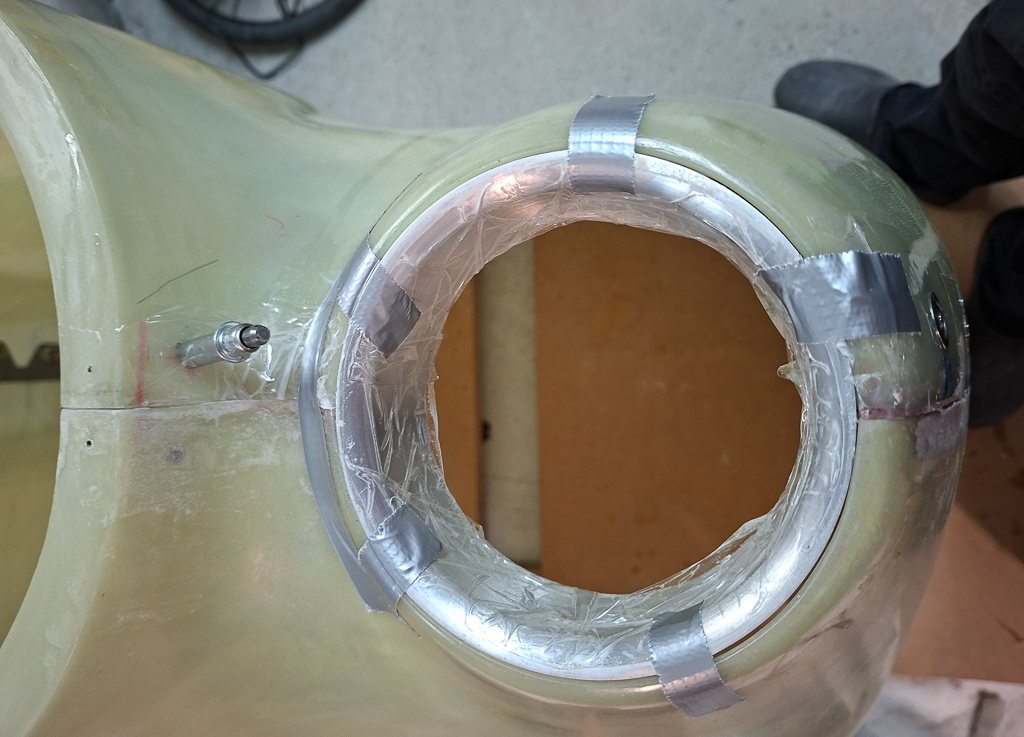
Then covered the whole thing with ducttape so that the ring would not move forward.
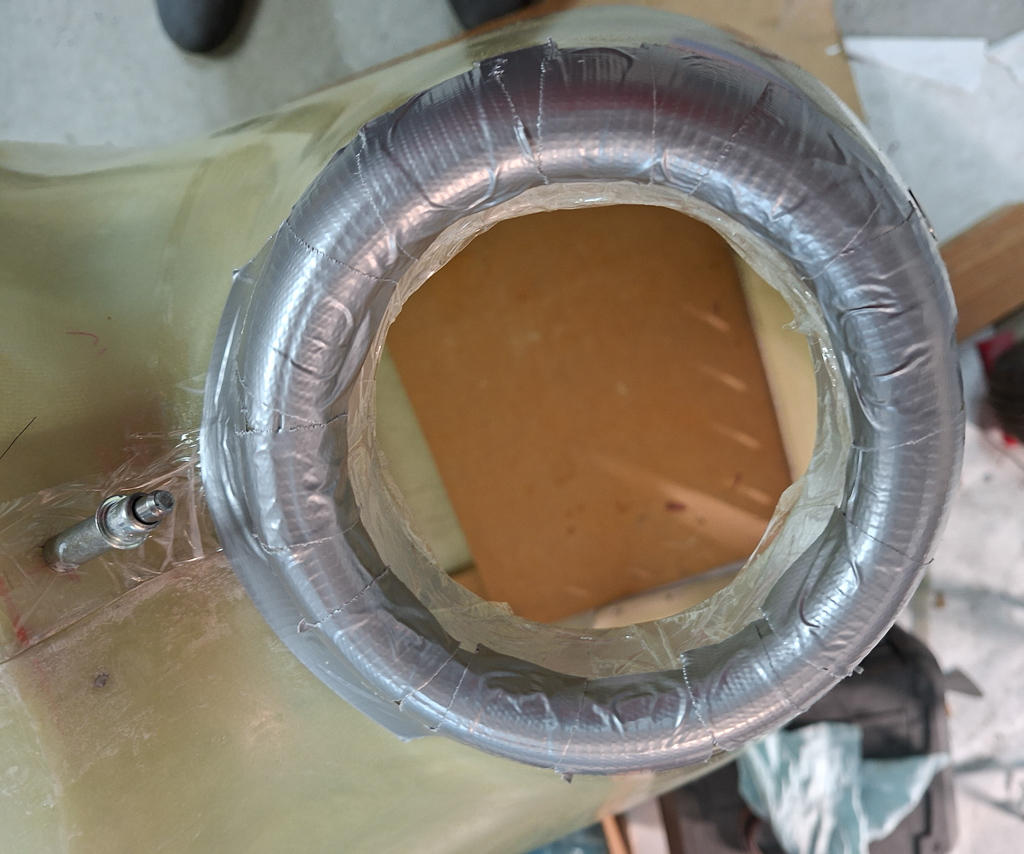
Turned the cowl around and let it rest on the rings on a flat surface. As the cowl halves need to split, it's important to create a little "dam" between the cowl halves to separate the epoxy for top half and bottom half. I used modelling clay. Not the best option because the red clay is quite hard to remove afterwards.
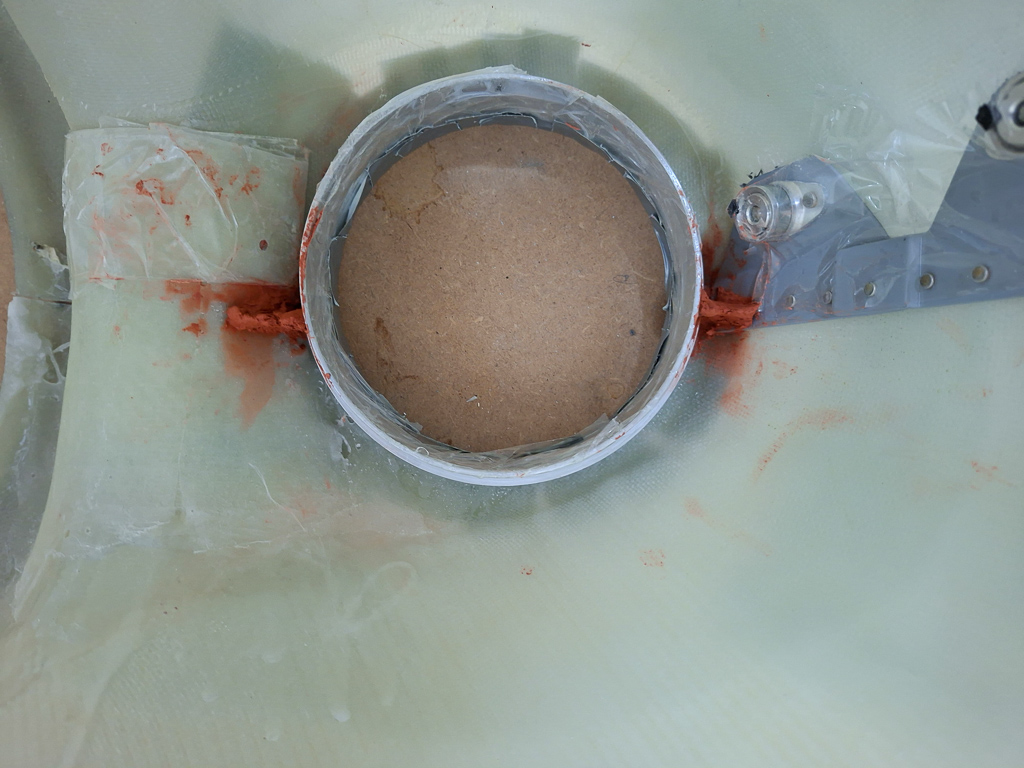
Used a large seringe to squirt the epoxy flox mixture around the intake rings.
Make sure the flox has a consistency which is not too liquid, but also not too dry. You want to be able to inject the epoxy in the ring area's using the seringe.
It's very narrow at some places and doing it with a cup would make a mess.
Make sure you use a popsickle stick to push the epoxy inside the ring cavity. I filled the epoxy half way and then used 'pull in' motions to force the epoxy in the ring cavity.
The whole excercise here is to make a nice ridge for the ring to lock onto so make sure the flox is inside the ring without air bubbles.
Once this was done, I filled the remainder of the ring to a smooth flat surface.
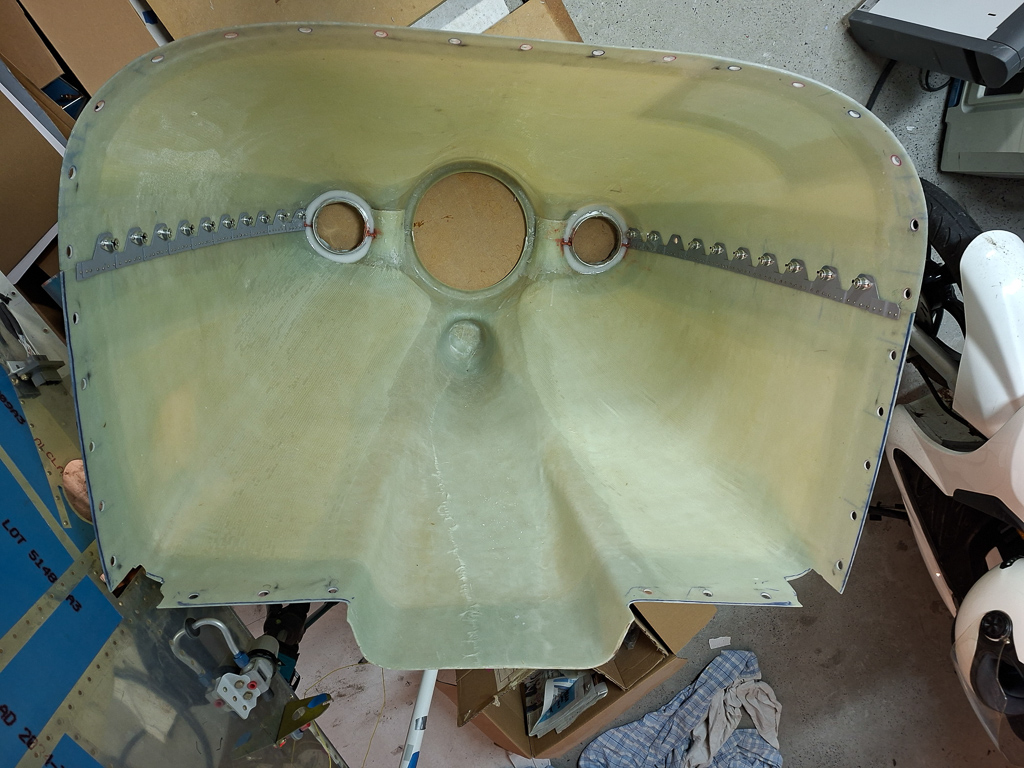
You want the epoxy to be level with the inner aluminum ring surface. In the 2 images below, you can see the correct height.
The surface of the inner ring back side should still be visible.
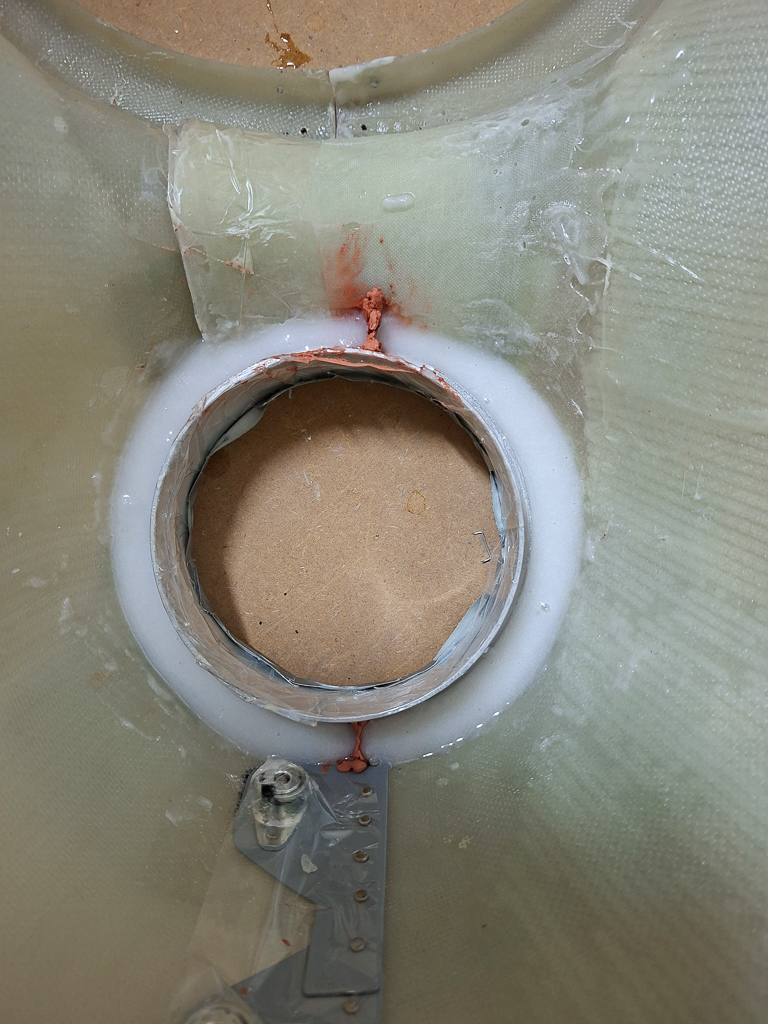
This image gives a good view at it. The aluminum is visible on the inside and then the epoxy spreads the rest of the area at the same height.
The inside of the ring is also fully covered with packing tape.
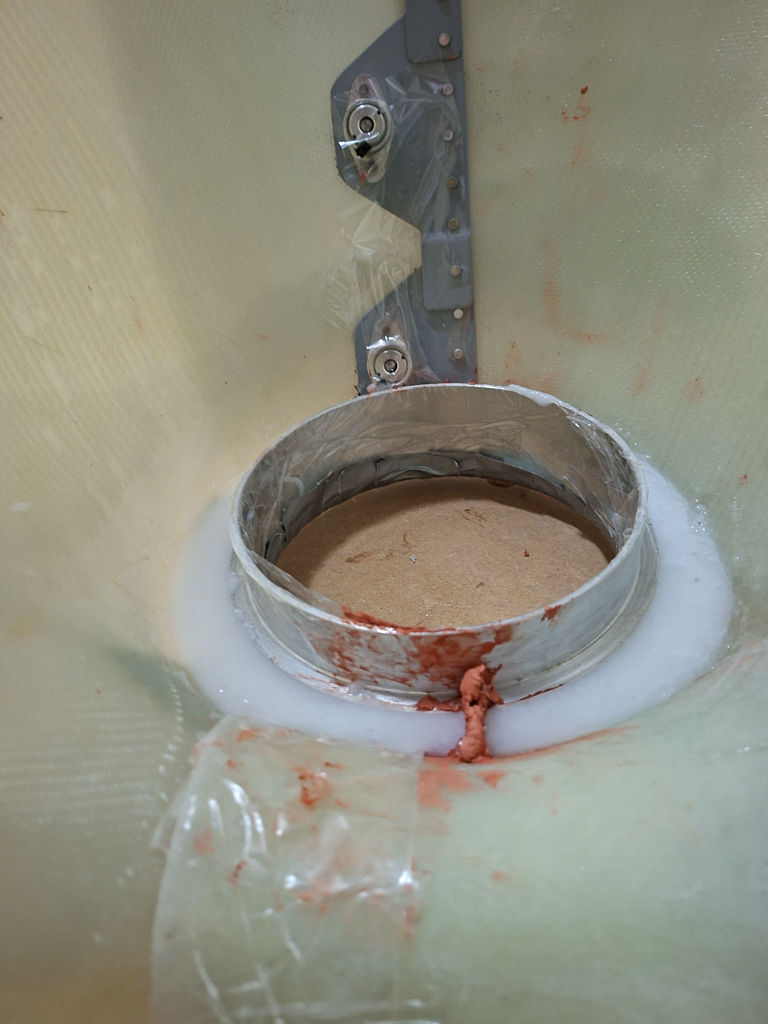
At this stage, It's curing time. After 24 hours, I returned and tried to separate the both halves again.
Well, that was a bit of a pain, or should I say "a lot of pain".
The rings were locked in as some epoxy did make it between the ring and the front. Using a cutter knife, I was able to free the rings after some hours of work.
Although the rings were loose and rotated in the newly formed epoxy, I still couldn't separate the cowling halves.
Turned out the custom joggle lip was burried in the new epoxy. That was much harder to solve.
With a lot of patience and more knife work, it finally came apart.
If I would have to redo this, I would have cut back the joggle lip to final size before doing this step. It would have saved me some headaches.
This is what the result looks like after splitting. The ridge looks very good. It's well formed, sharp without any air bubbles in it.
The clay makes it look like a mess but most of that will be sanded and cut away.
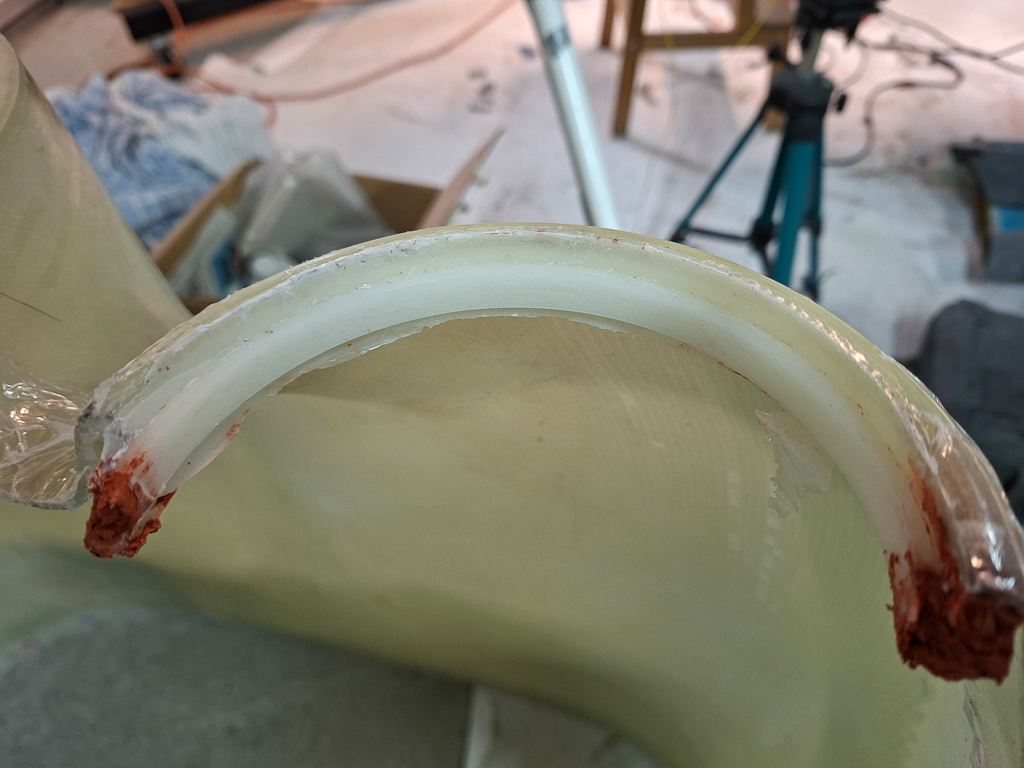
This is the bottom side.
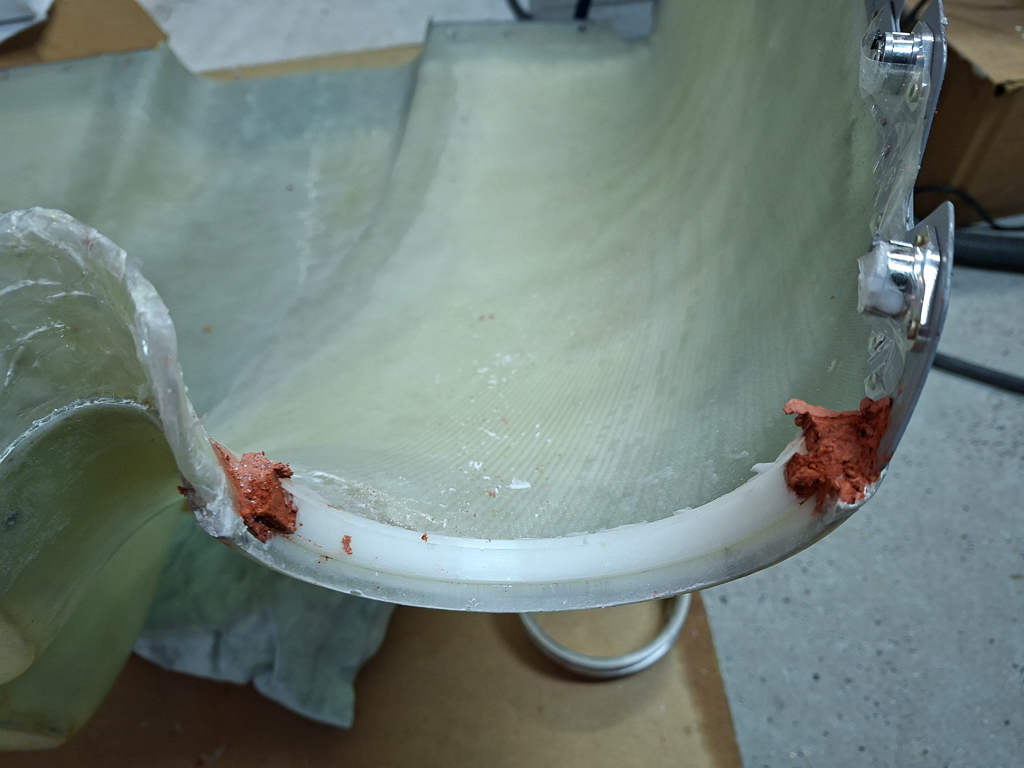
Same ring seen from the inside looking forward.
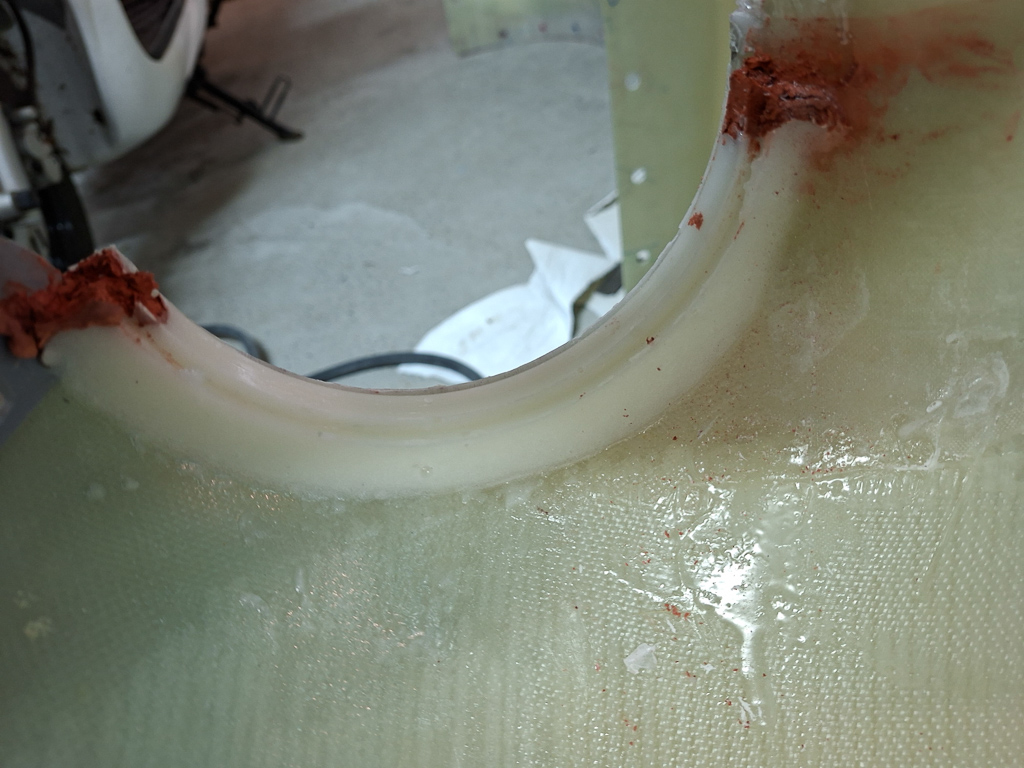
This turned out well. still some work to make all smooth and clean but the mechanical part works great.