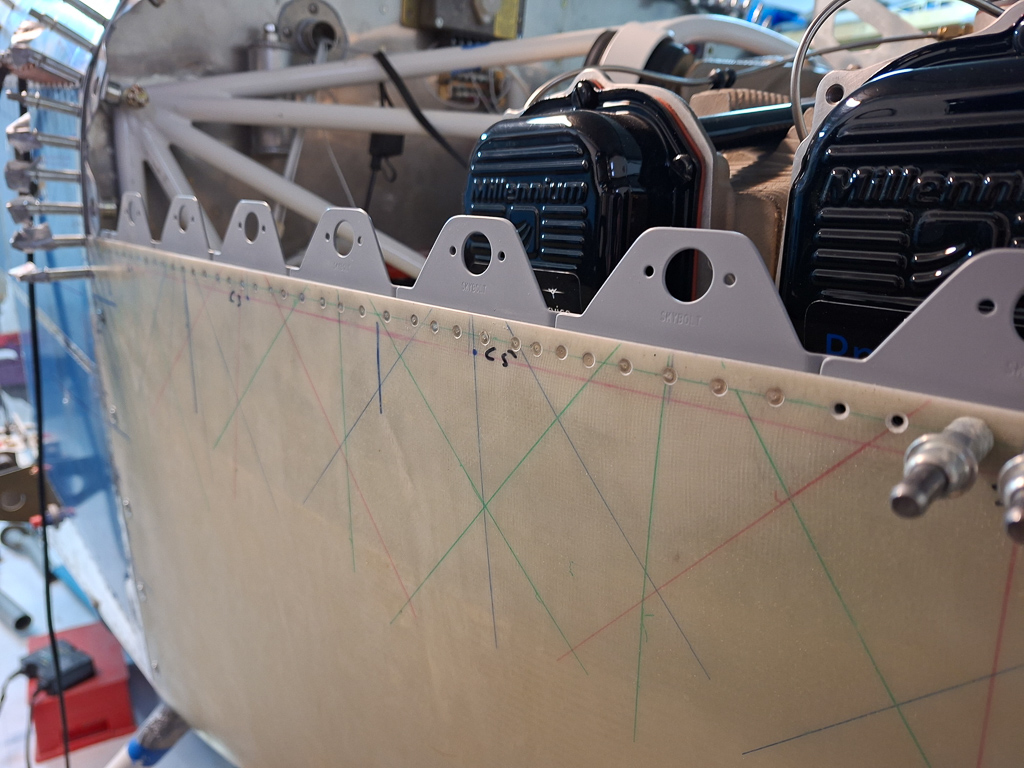
With the priming done, I clecoed the brackets back in place on the horizontal split line. Notice also the small additional bracket between FSF-L and the first bracket. This ensures there is no gap between the end of the last bracket and the FSF. It's just a small piece of 0.032" aluminum but it finishes the look and ensures no "see-through".
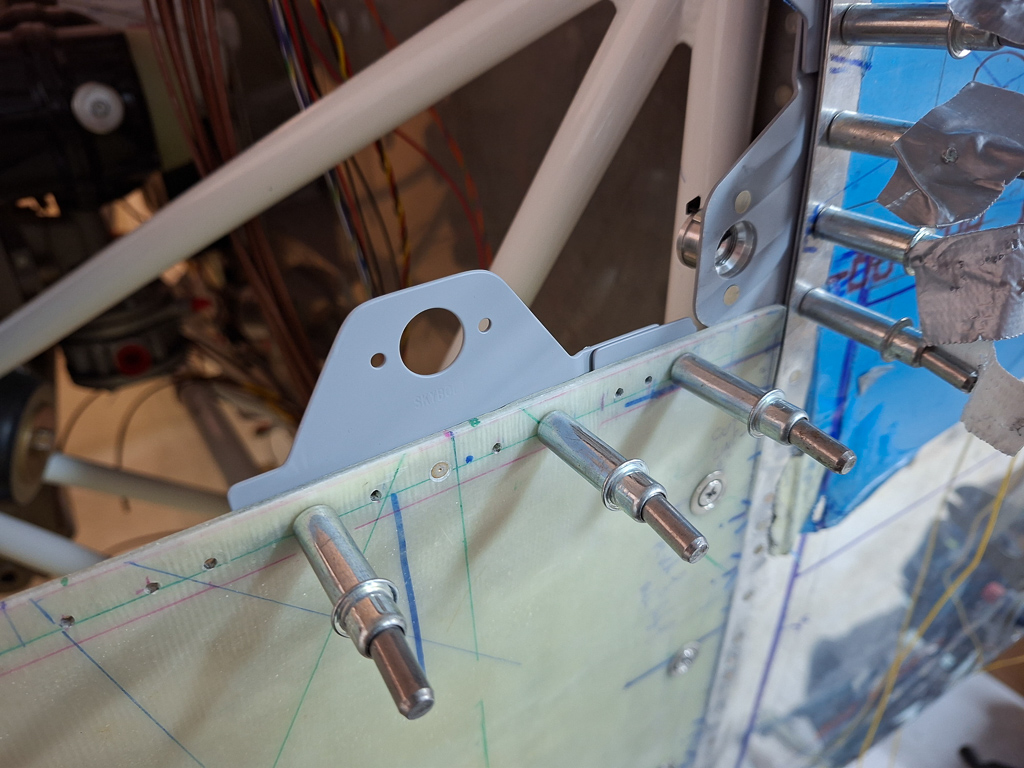
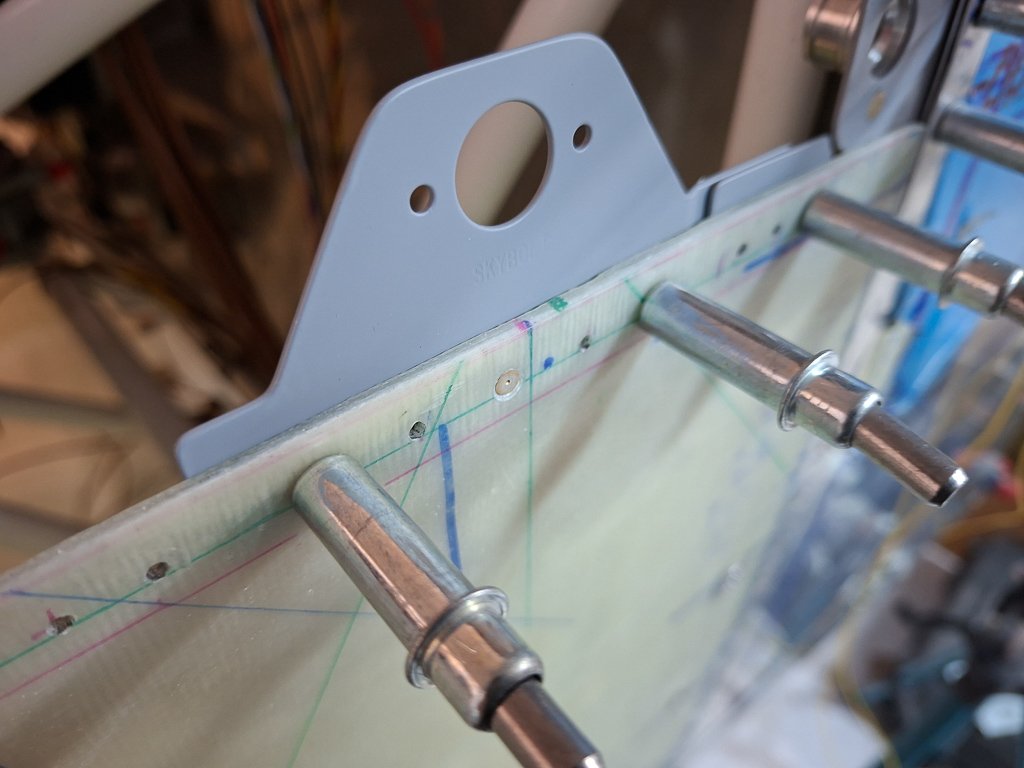
I am using the bracket as a pilot guide for countersinking the epoxy. The countersink bit wanders rapidly in epoxy so make sure you have the back guide to support it.
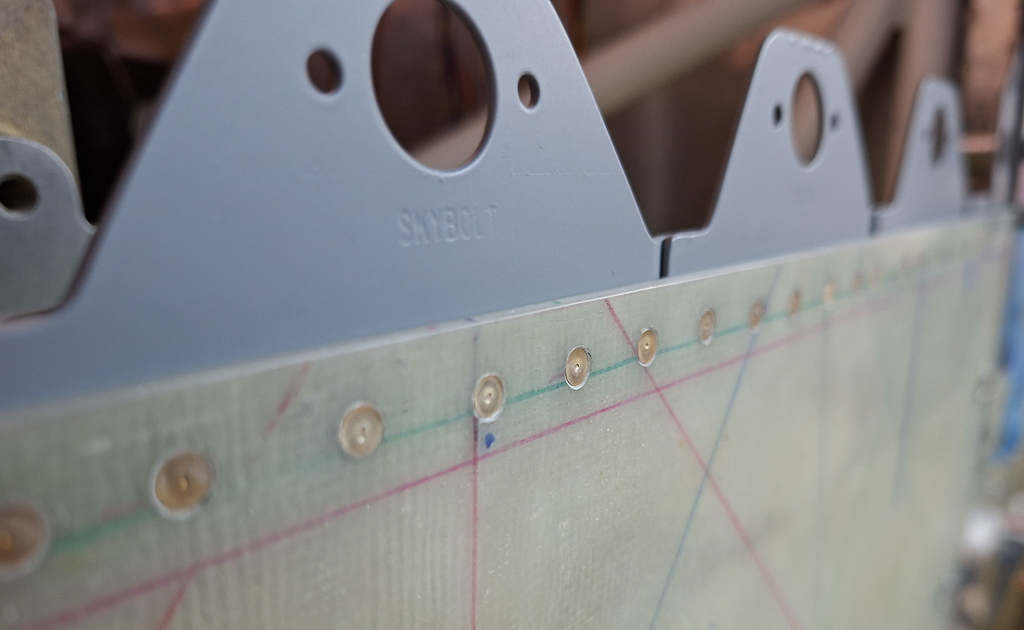
The idea with this rivet line is that you countersink slightly too deep and set the rivets in the cavity. You then fill up the cavities with epoxy and microballoons. This ensures that the rivet line is hidden and no rivets will be visible on the side of the cowling.
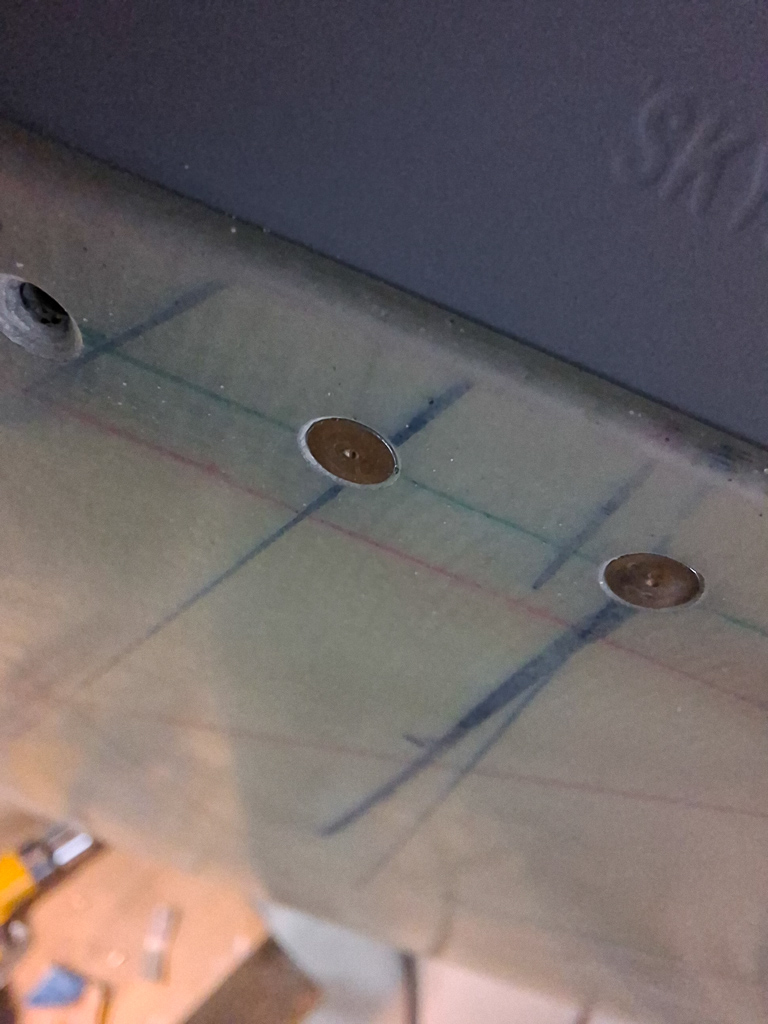
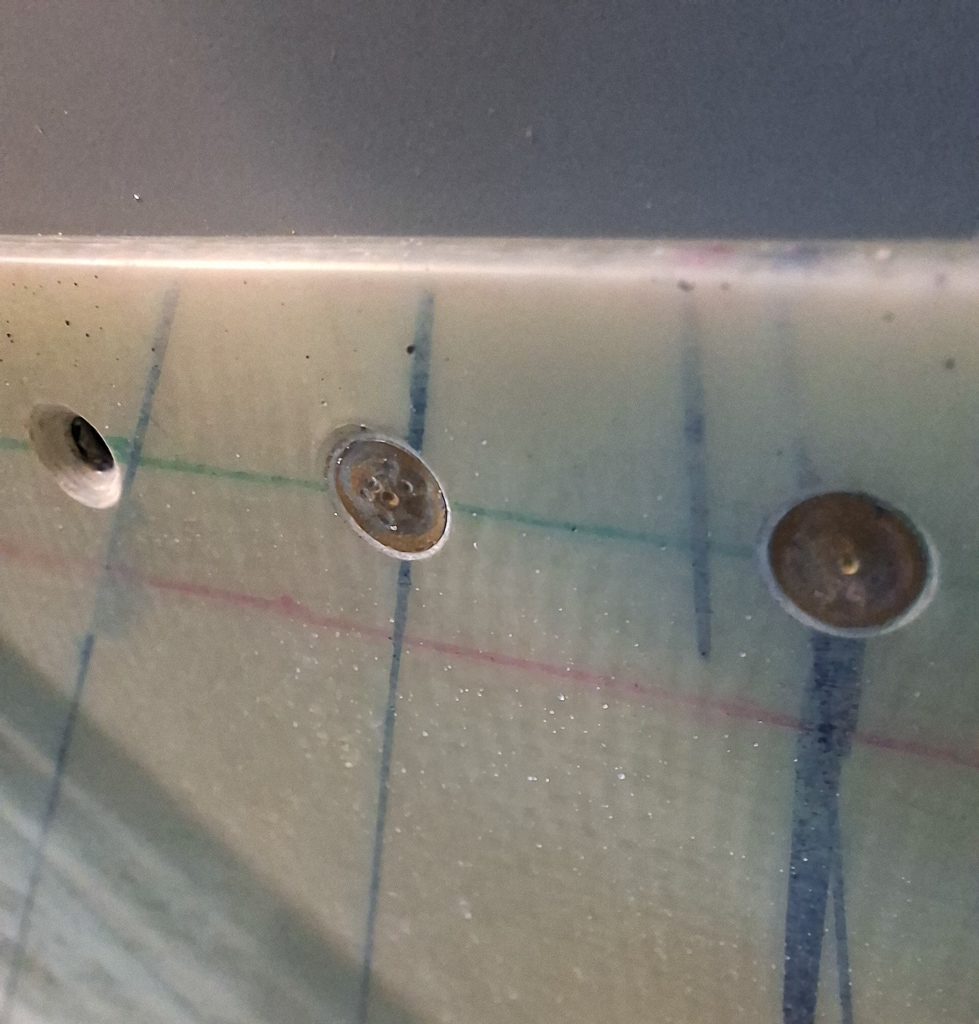
In the image below, I countersunk 1 hole and inserted a rivet. You can see the depth. I think this will be sufficient and continued countersinking all the other holes in the same way. I'm moving forward bracket by bracket.
Now one of the problems with overdepth holes is that the squeezer or rivet gun won't be able to push the rivet "in" the hole. If you would just squeeze the rivet, chances are most likely that the reverse side will push back the stem out of the hole against the rivet set laying flat on the cowling and will then form the shop head. Result of this is that the manufacturered head does not sit inside the hole. This is off course what we don't want, the whole purpose is too get it deeper so that it can be covered with epoxy. Additionally, a rivet not set in the hole at countersunk depth doesn't have it's full strength.
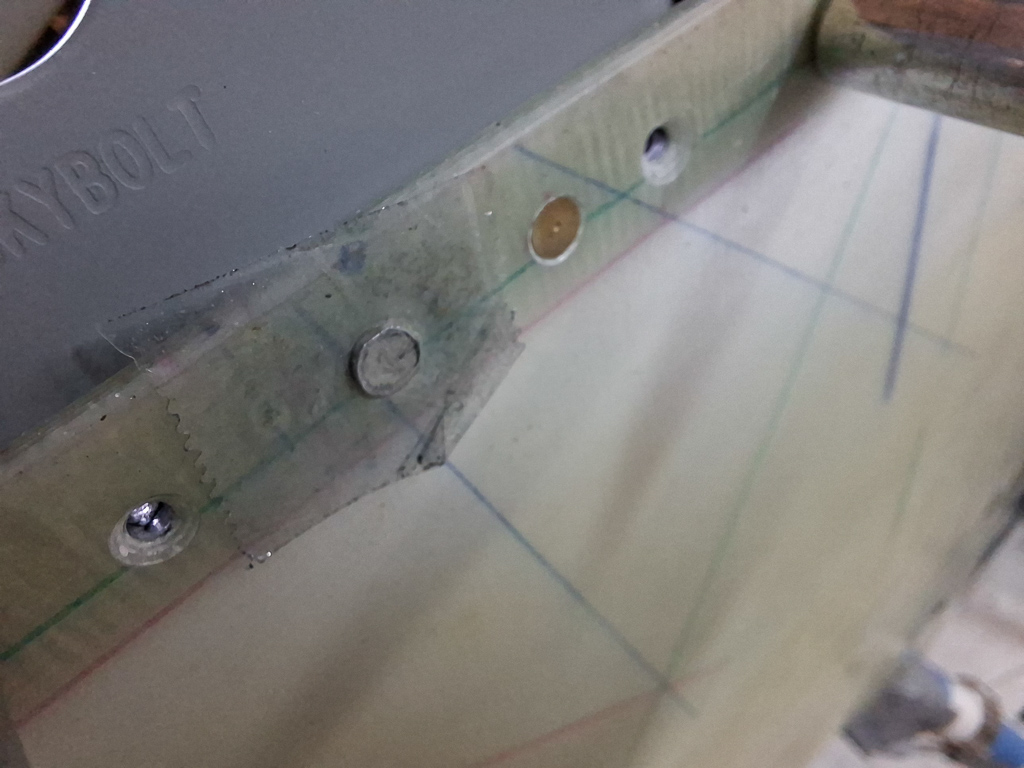
I experimented with a couple of techniques and found out that the best way to do this was to make a very small circle , spacer or however you want to call it from 0.02 or less aluminum and grind it down on the polish wheel to the side of a AN426AD3 rivet head. I then placed this on top of the manufacturered head and taped it with clear tape.
The pneumatic squeezer is the best option here and sets the rivet as you would do any other. Account for the thickness of the spacer off course.
When taking the tape away, you'll se the rivet is very nicely set and to full depth.
I did notice that after setting about 15 rivets, the aluminum spacer itself compresses a bit and expands in size. So you may need to trim it down again after 10 rivets.
Not a big deal, just work. I had to make 3 spacers in total to set the rivets on both sides. At some point the aluminum gets thin or gets imprints from the rivets it sets.
Moving forward along the line. Make sure also that your bracket inwards bending and orientation are ok at this point. Once rivetted, it's hard to adjust this.
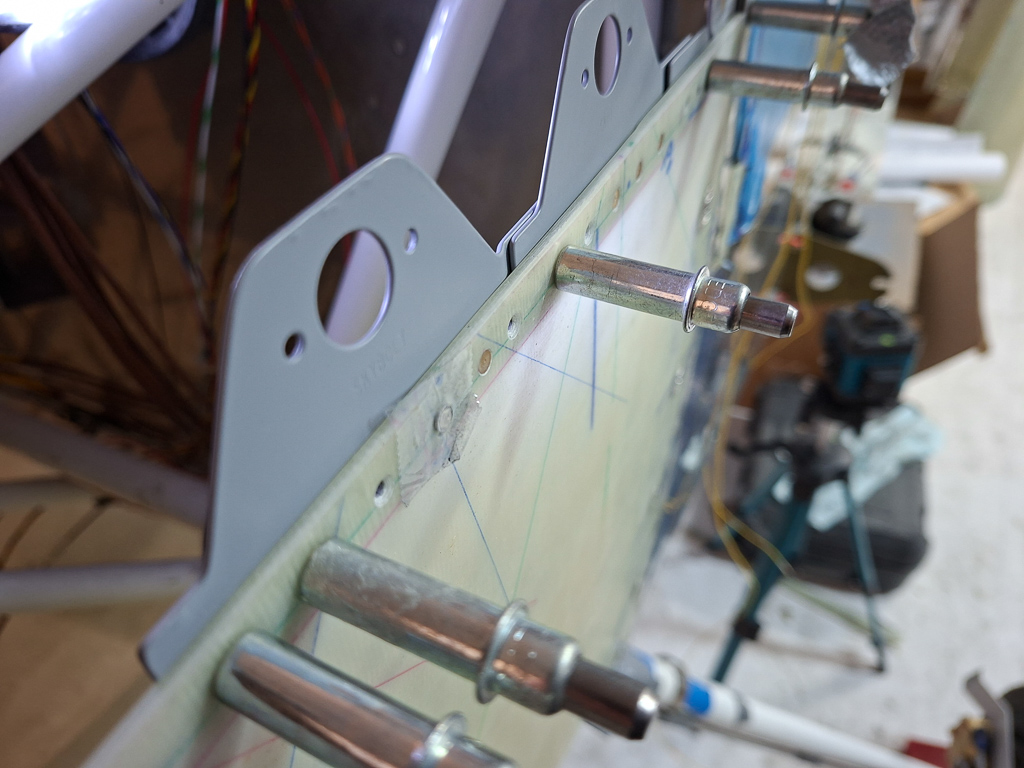
Pilot side fully done except for some rivets near the front cylinders where the squeezer couldn't reach in. I will set those next time I take the bottom cowl of.
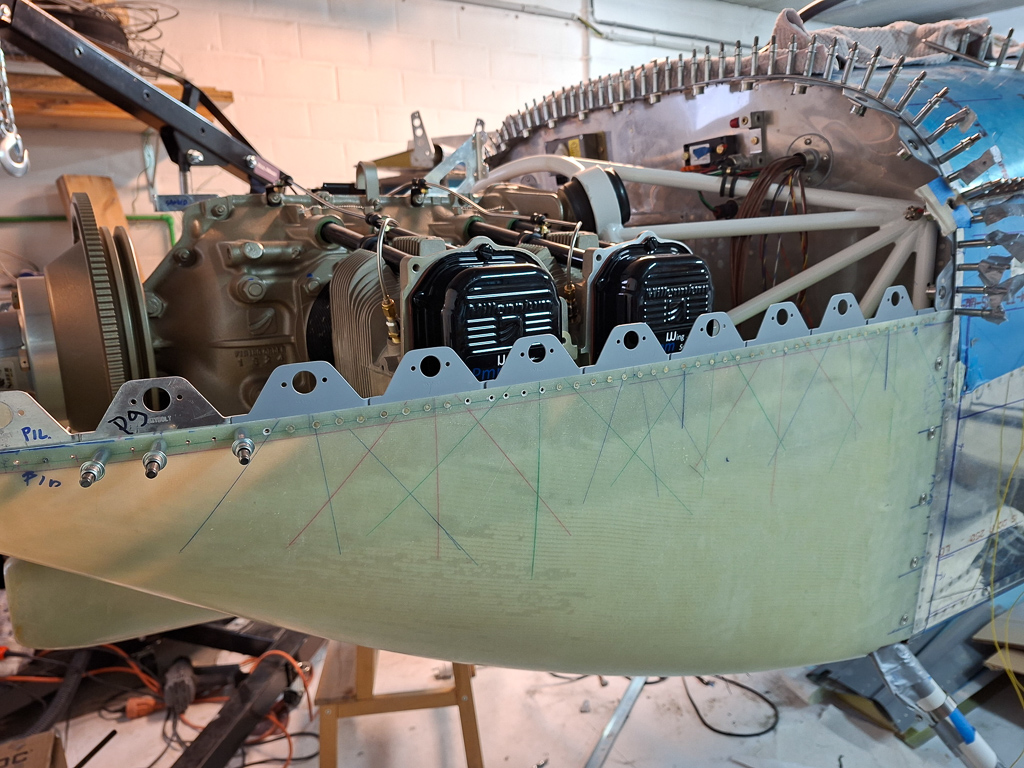
Close up shot of the depth
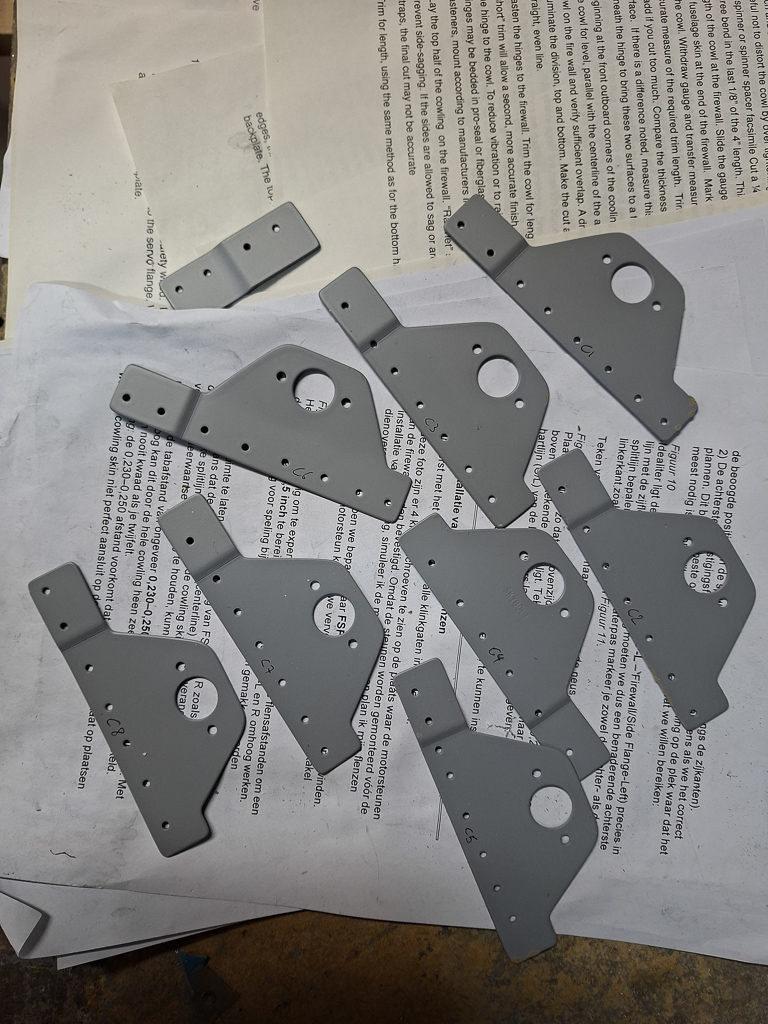
Another tip. Write numbers and codes on each part where later on it will be covered against the cowl. There are so many brackets that the whole thing feels like a jigsaw puzzle. If things get mixed up, you'll loose a lot of time finding the bracket with the matching holes again.
Another close up shot
Here is my spacer after being used 15 times. You can see that the surface already got abused and shows some signs of imprints.
To repeat the process, tape the spacer, insert the rivet
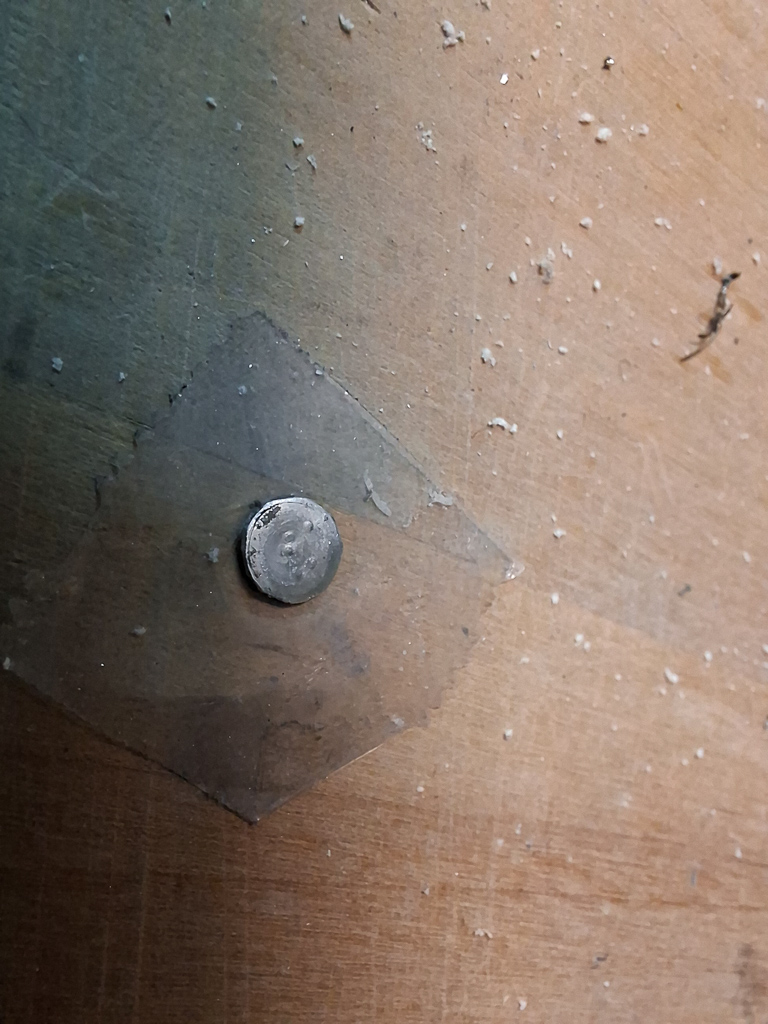
tape the spacer nicely centered over the rivet.
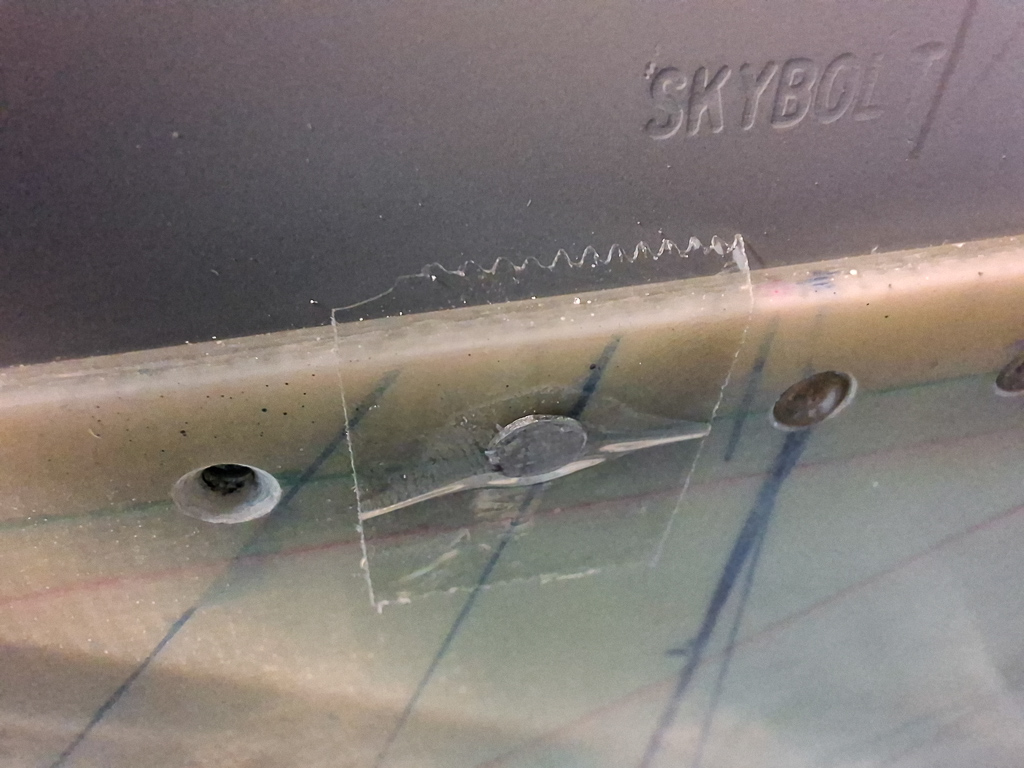
Squeeze...
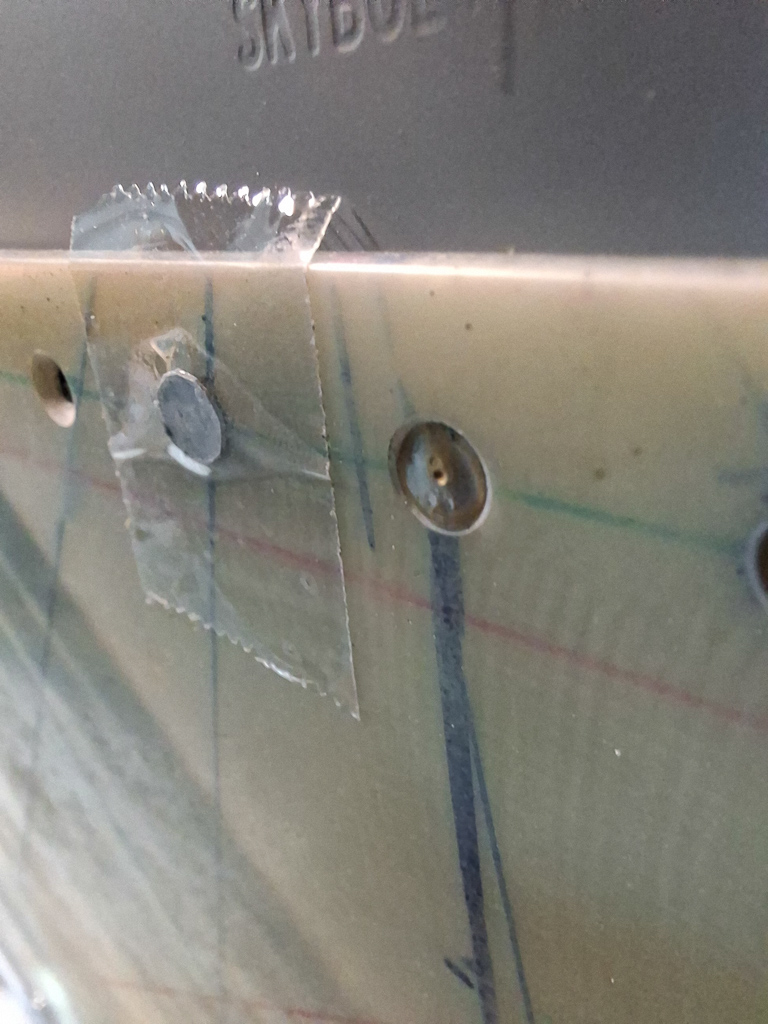
and admire the result.
Passenger side also done.
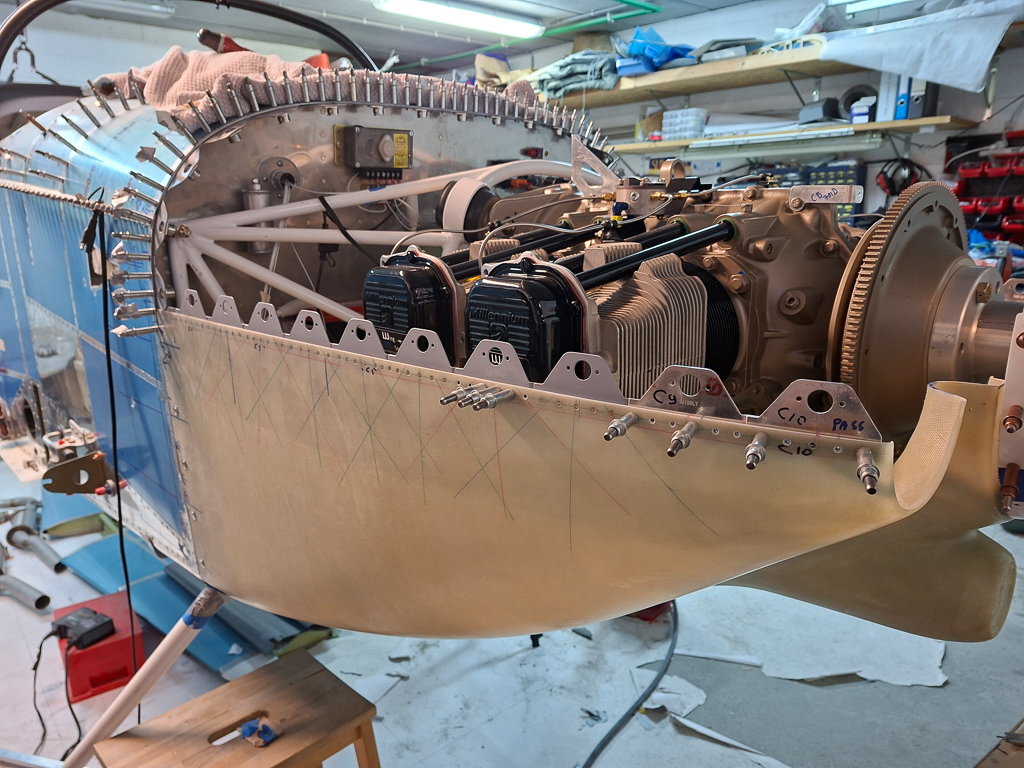
Next up will be installing marking the top cowl side holes. I'm not sure yet how to do that. I'll probably start reaching in through the air intake holes and trace the bracket holes while the others are attached with the cleco adapters. I might also take the hole cowl off and cleco them together off the plane.