Continuing working on the horizontal cowl split line between top and bottom cowling. The first 5 holes were drilled on both sides. Next step is to move forward towards the air intake holes and get a good tight and unstressed mating in the front.
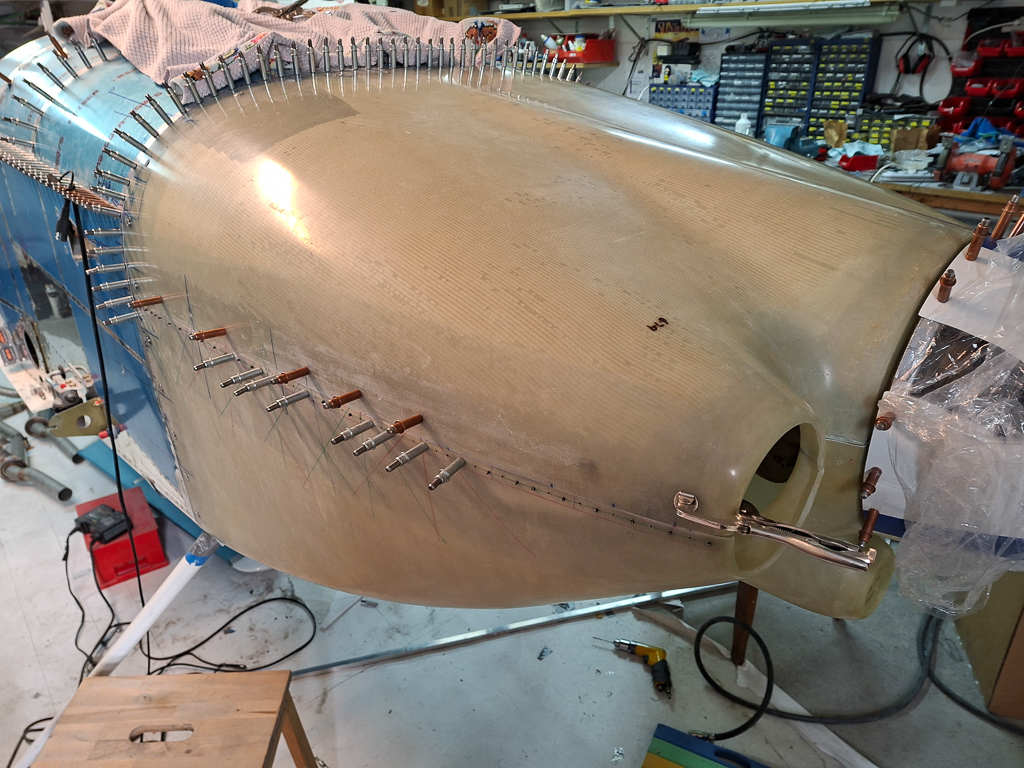
Here is what I mean with unstressed mating. I have been having to pull the passenger side top cowl down and clamp it on the skybolt bracket. This causes the joint at the spinner to distort and shift which moves them out of alignment. My root cause analysis here is that there is still too much material in the joggle between the air intake and the spinner. This causes tention which moves the cowls alignment. I will sand more down here and see how it evolves and if this results in less clamping force needed on the outside
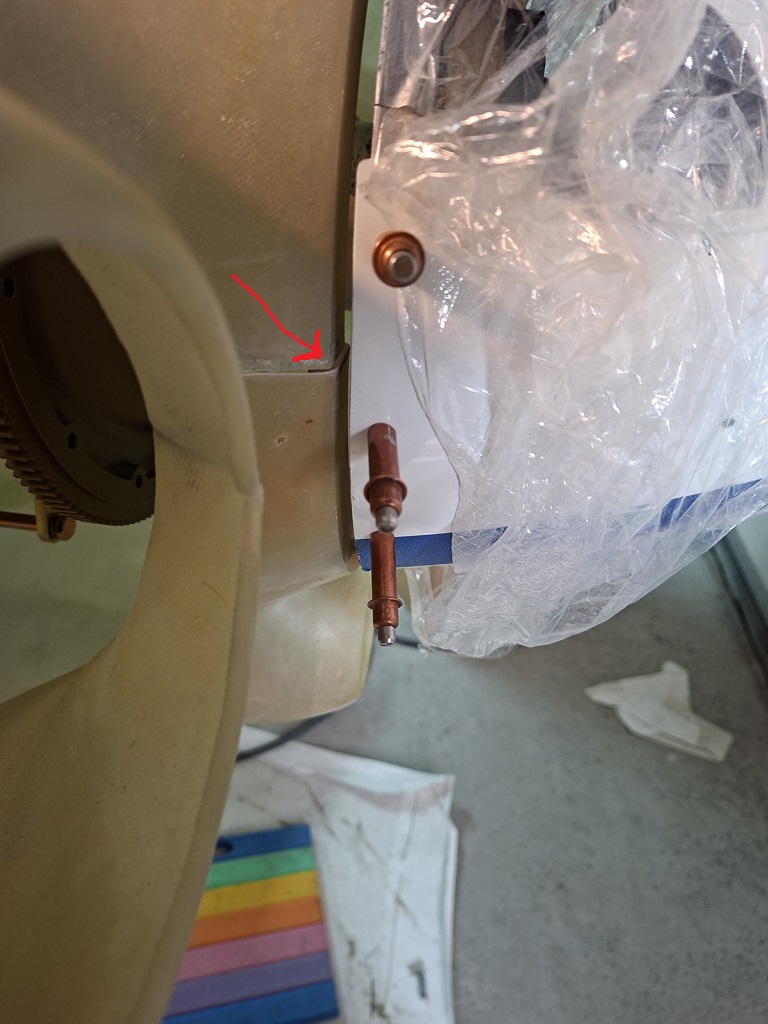
Looking at this from the front, I marked with a blue sharpiepen where I believe the area is that causes the stress. I will use a sanding board to bring this down some more and see how it evolves.
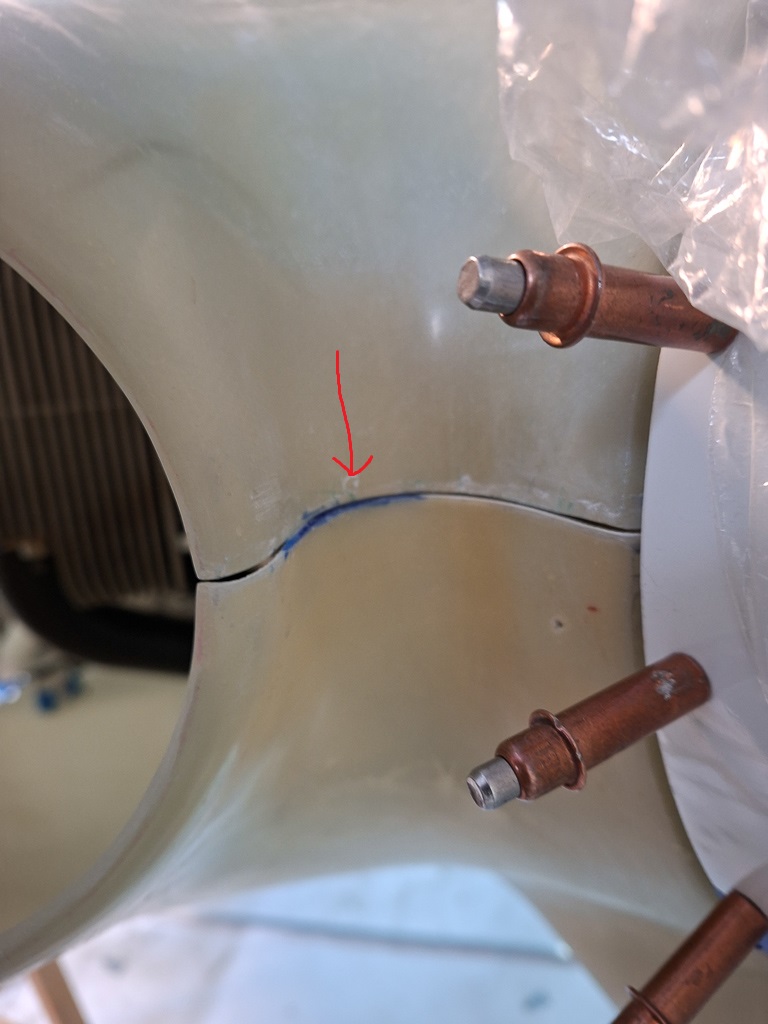
From the side view, you can see that there is a small gap between top and bottom cowl. Not dramatic, but I want to get rid of that clamping force required to keep it there.
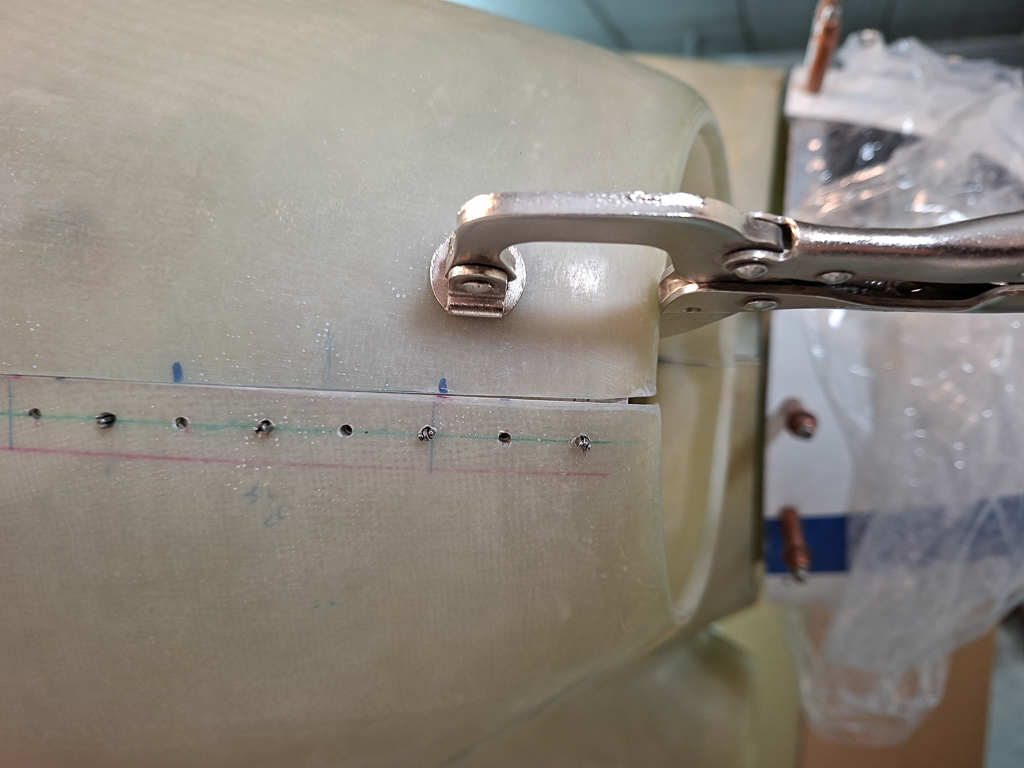
After some more sanding, the fit is already better and I'll keep checking more after taking on and off the cowl a couple times more. I think I took the top cowl a hundred times on and off already in the passed weeks and I'm sure it won't be the last time.
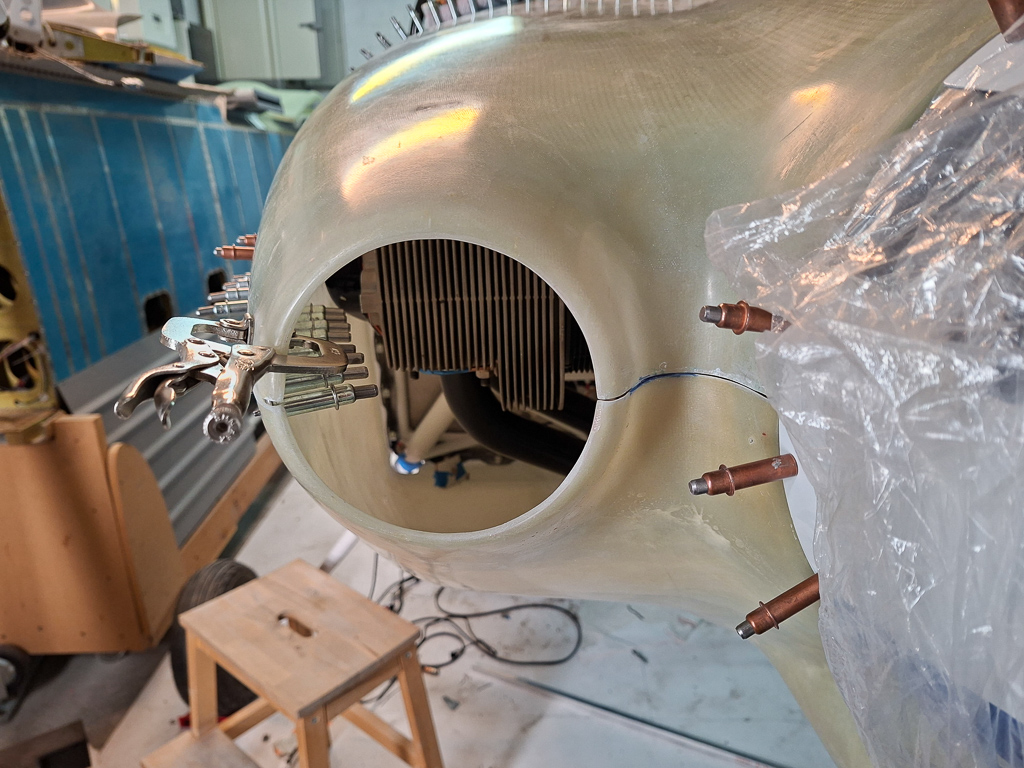
On the pilot side, all looks very well and there is no pushing or clamping force required to keep the top cowl in line with the bottom cowl split line. Having it this tight in the front meant I had to sand a little more a few inches back towards my last drilled cleco in the middle. I marked this again in blue and with the long sanding block, removed some more glass from the top cowl.
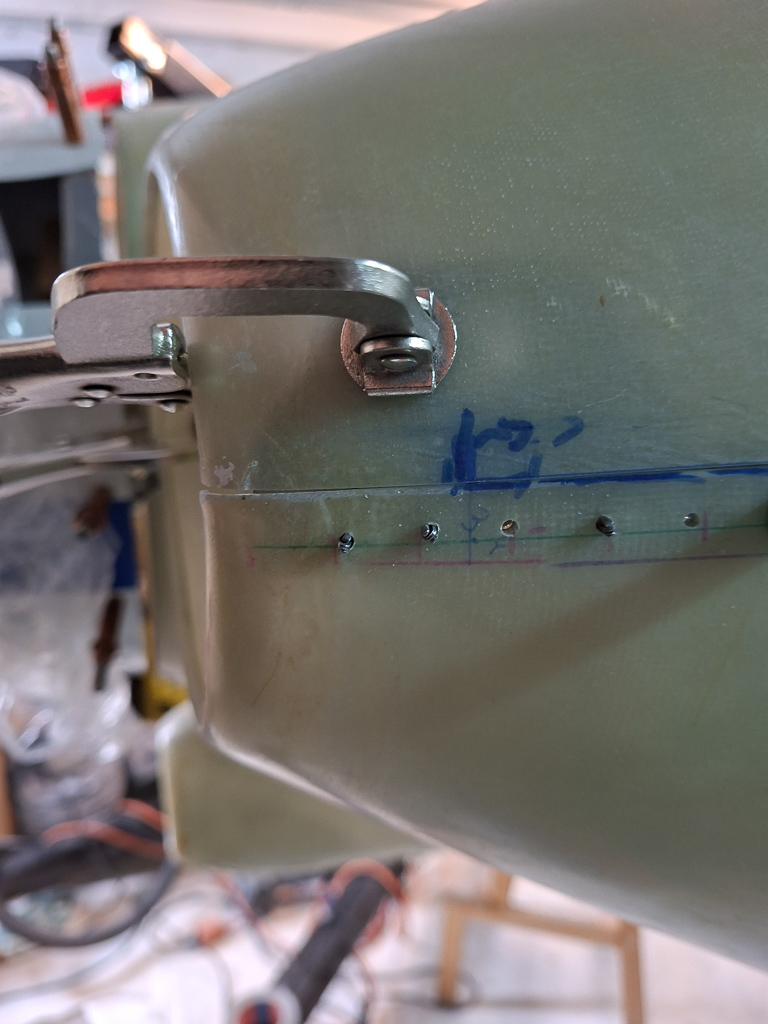
All good now between last #30 cleco and front and I drilled 2 more holes moving forward. I took out some alternate cleco adapters from the back and moved them forward.
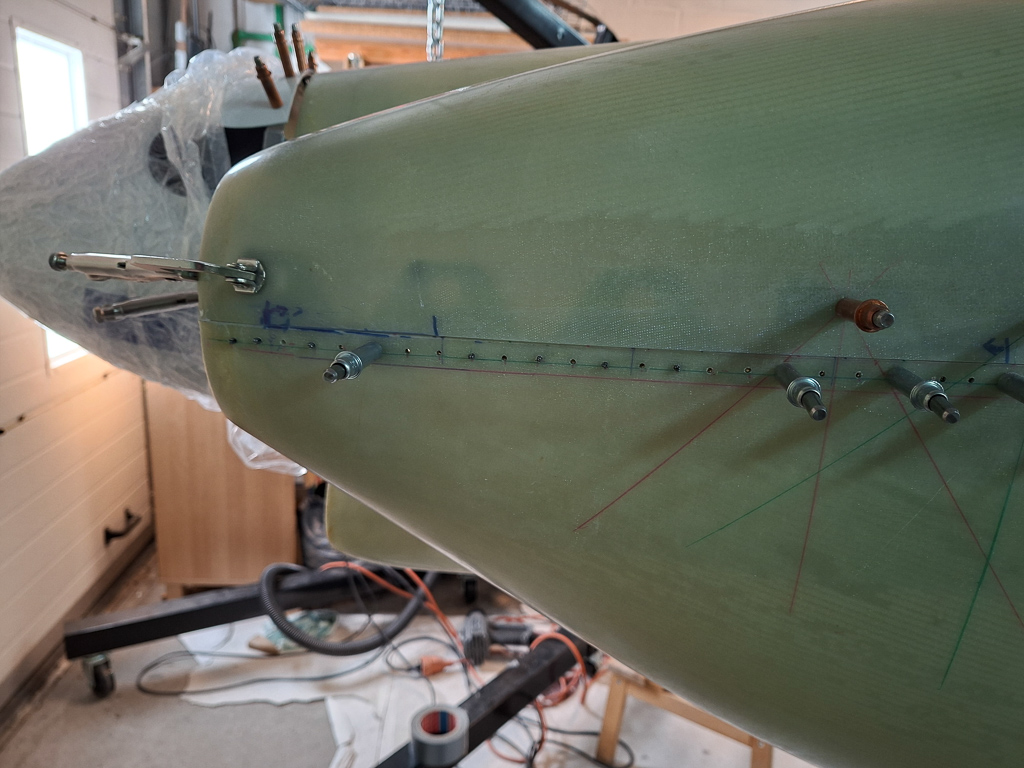
As I'm out of cleco adapters, I can't really move much more forward. I decided that the best way to move on was to install the final fasteners on the rear of the split line so that I can clamp all fasteners and use the freed cleco adapters in the front again. This last part forward is visually critical so I concluded it's best to have all final fasteners installed along the line for the last 7 skybolts and then drill the last couple of holes.
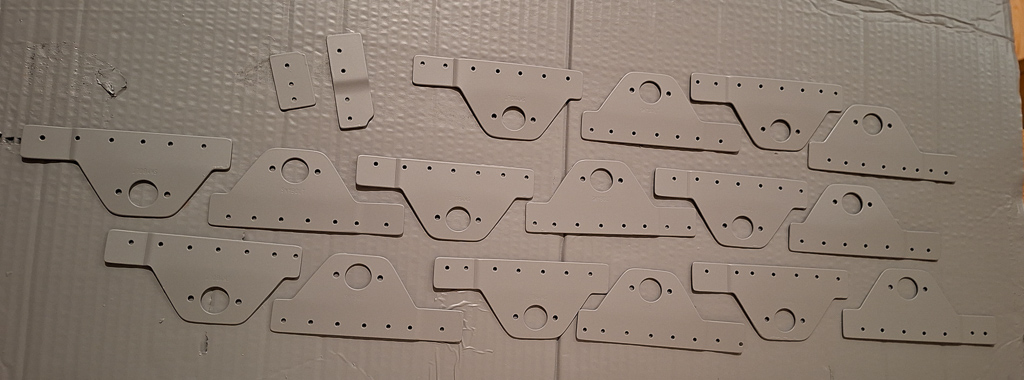
So the largest part and remainder of the day went into deburring the skybolt brackets on the 3M polish wheel and final sand them in preparation for priming.
End of the day I managed to prime all brackets. This paint dries very rapidly so at 22pm I could spray my coat on the backside. Ready for rivetting them tomorrow.