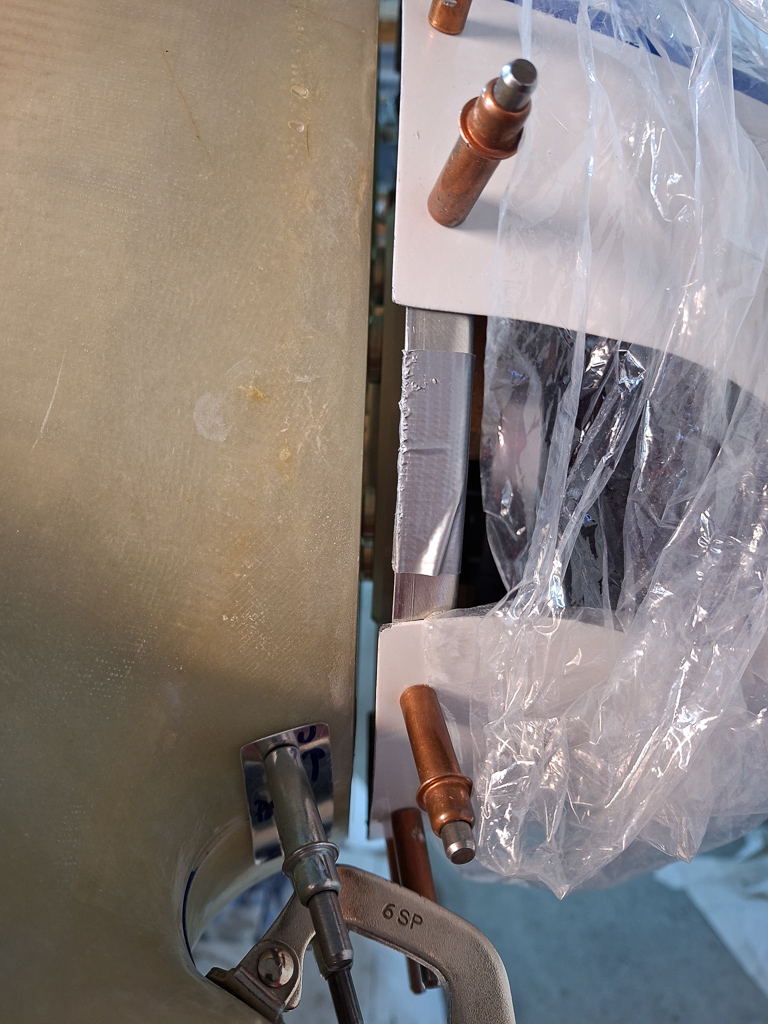
Work continues on the horizontal split line of the cowling. Previously, pilot holes using the cleco adapters were drilled.
Now it's time to open those holes to 15/32" which is the size needed for the skybolt studs and grommets.
In order to determine the exact location of those holes, I needed to trace the hole formed by the skybolt brackets.
When the cowl is on the airplane, there is no way you can earch in with your arm and reach all locations.
The cylinder heads are in the way and the last ones would be way too far back anyway. Unless you have a really very long arm.
So doing this on the plane is off the table. Other option was to place the two cowl halves together and use the cleco adapters again and the previously drilled holes to mate them in exact the same way again.
Unfortunately the amount of cleco adapters delivered with the SkyBolt kit is limited so you have to pick your strategic points carefully in order to have the cowl halves mate as if they would be on the plane.
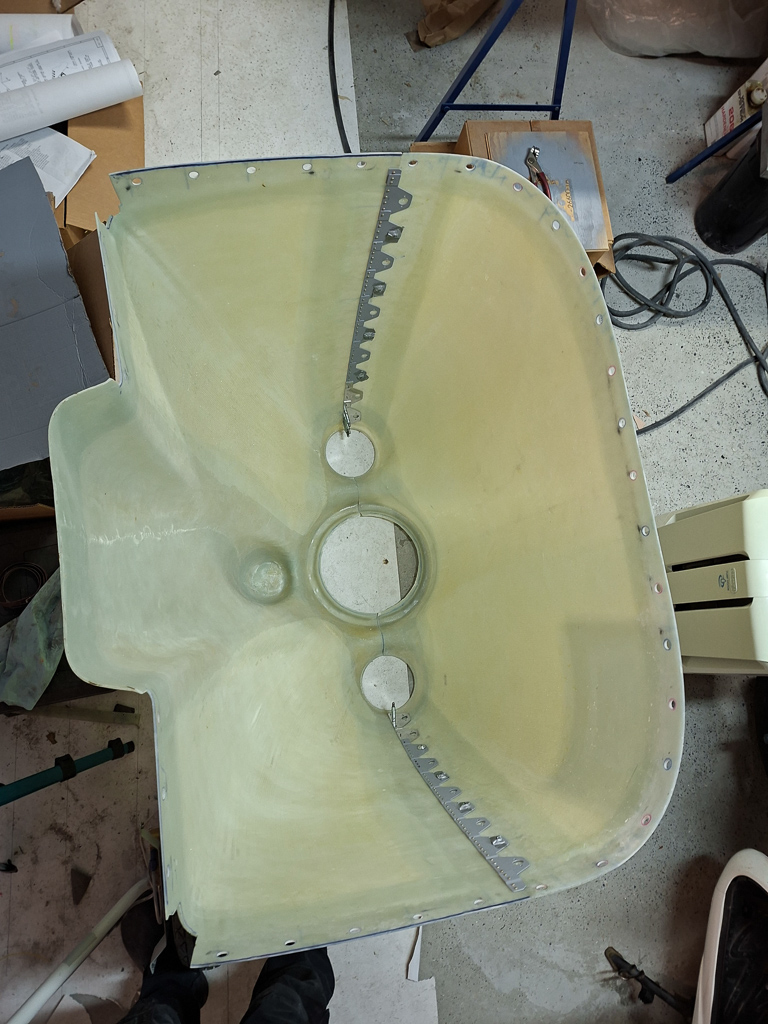
Here you see the cleco's where I used the adapters.
Next I used a fine point sharpie to trace the inside of the adapter holes. Moved the cleco adapters and did it again for the one that were freed up.
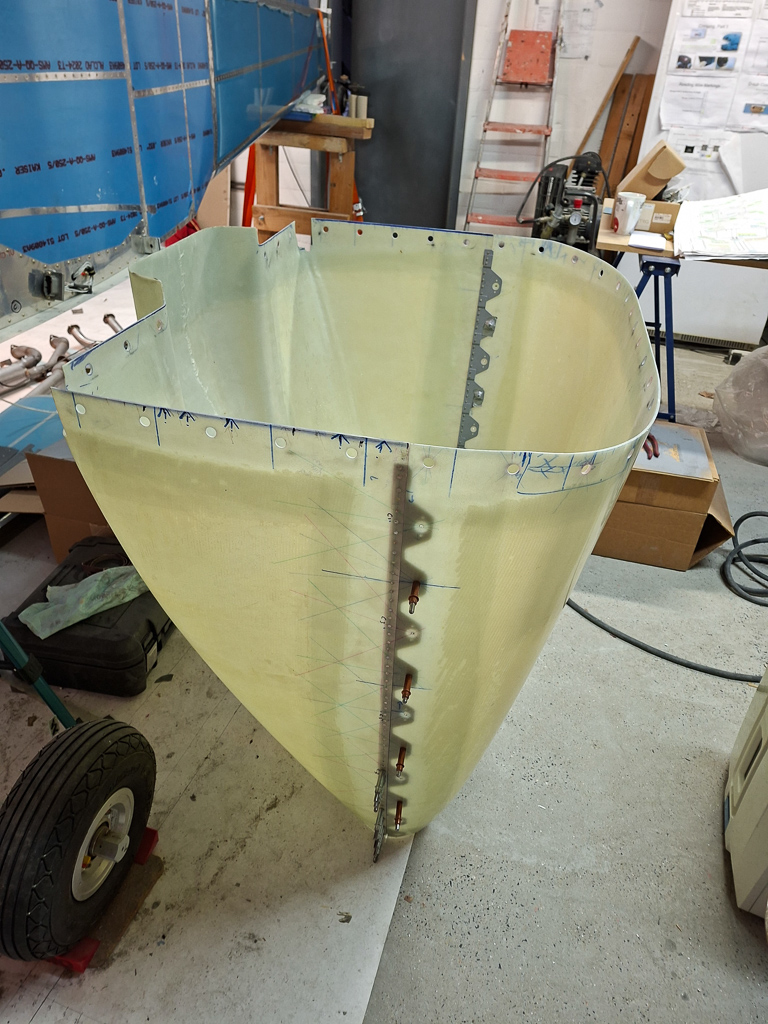
After taking it apart, you end up with the drill locations along the side of the top cowl.
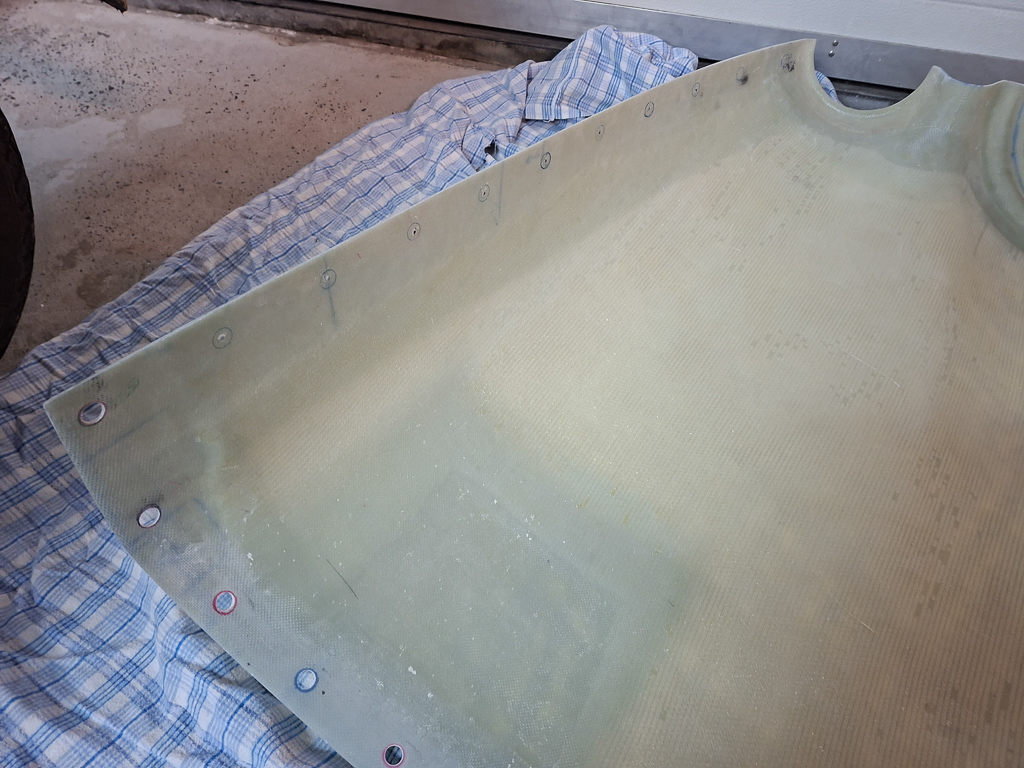
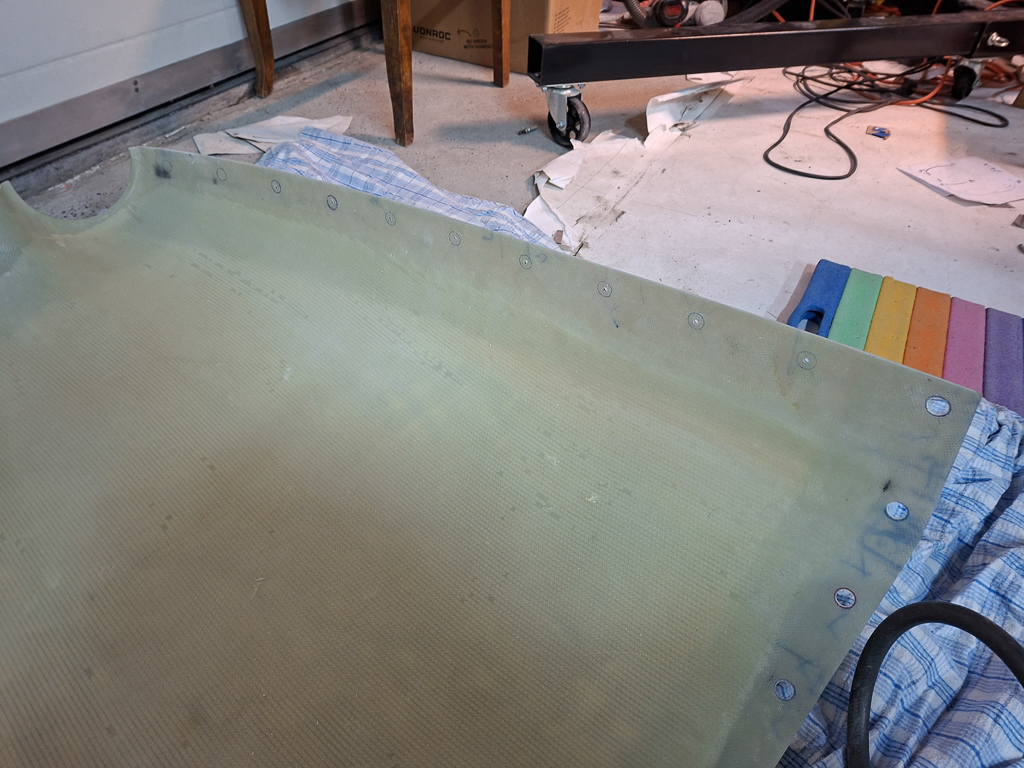
Then started drilling the holes to 15/32" using stepdrill #1. As you drill deeper, you can move your unibit to stay as much as possible in the center of the drawn circle. Thank God epoxy is soft.
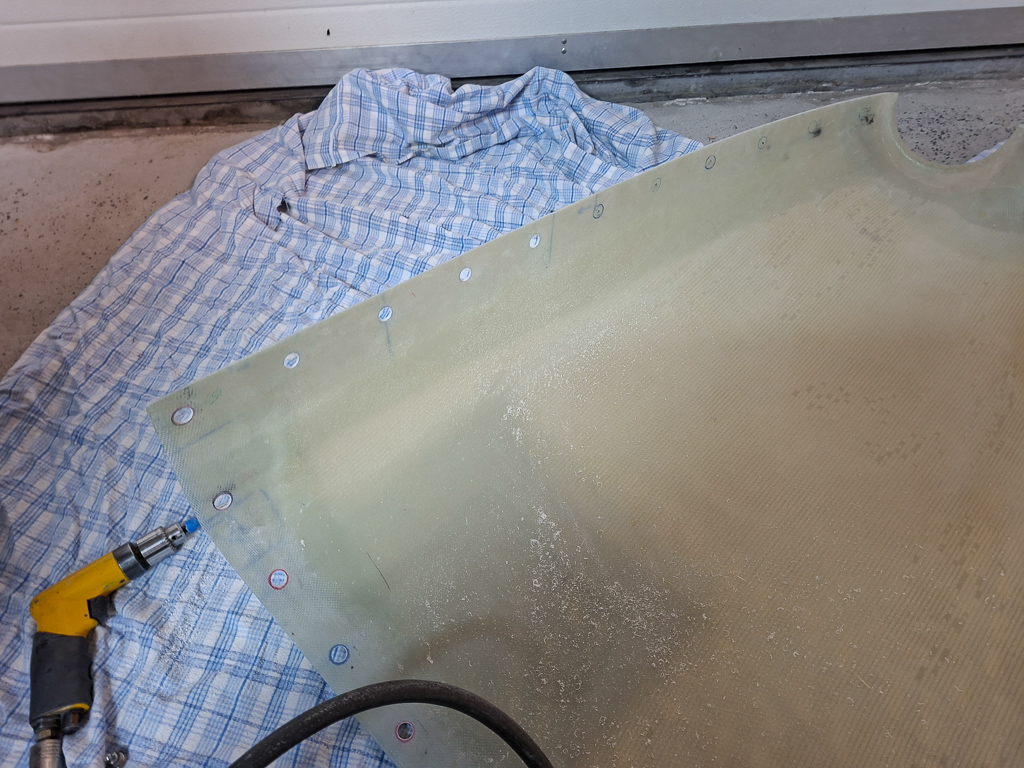
All holes are drilled, except for the front 4. I intentionally left those untouched for now as I want to evaluate the fit with the real fasteners before drilling any further.
It's now ready for some intial fitting on the lower cowl. But before I could do that I had some more tasks to do.
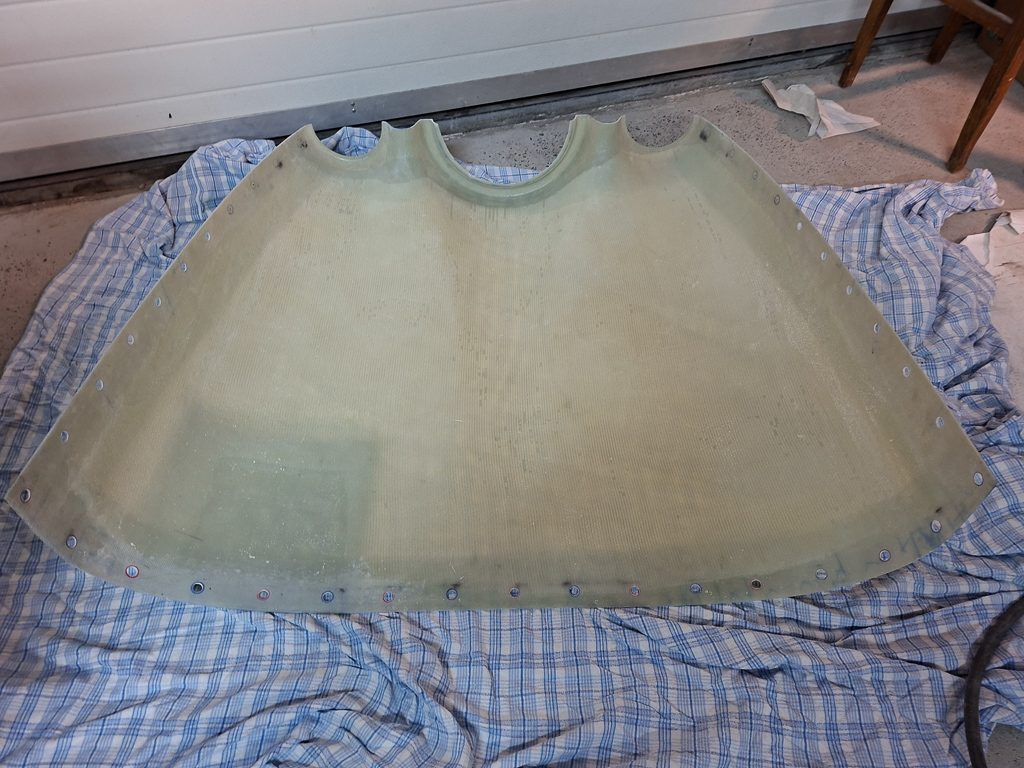
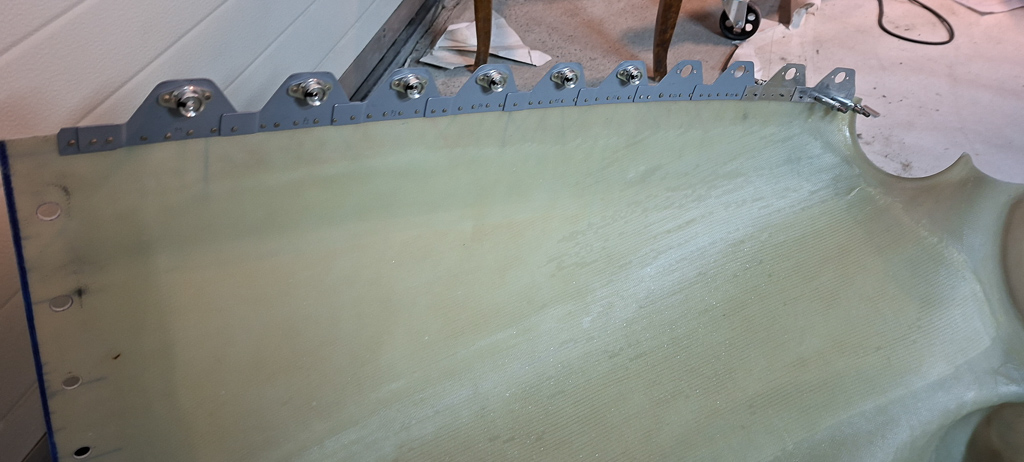
I had to countersink the holes that hold the Skybolt receptacles and rivet the receptacles on.
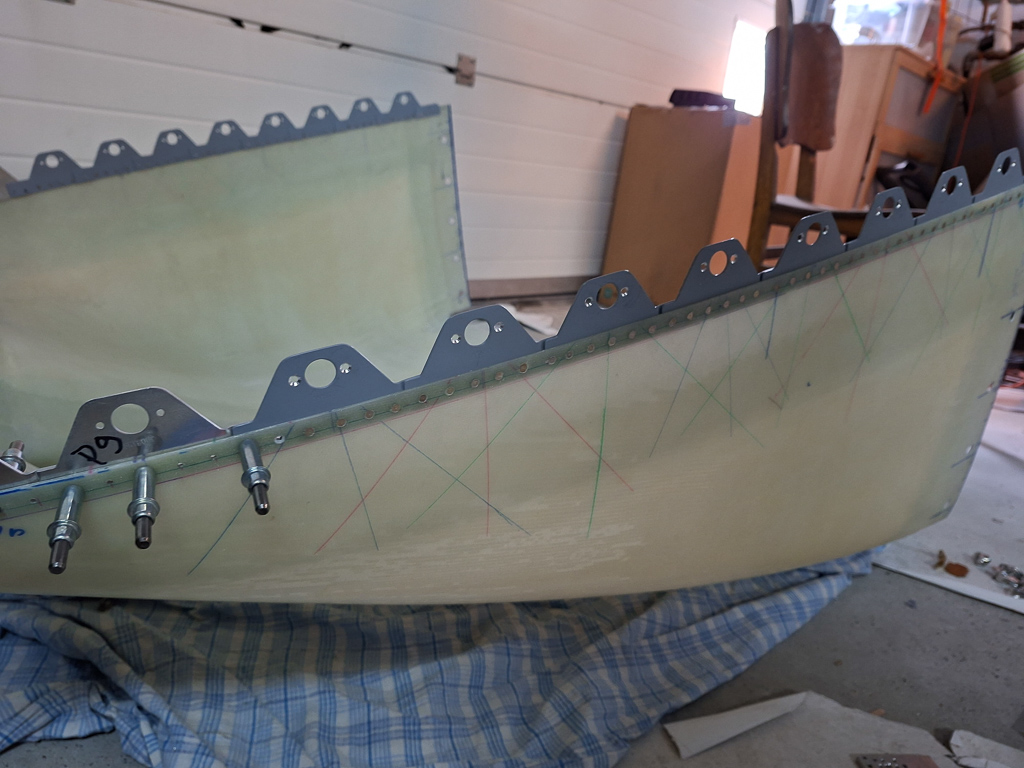
The next image shows the receptacles rivetted on.
Placed it all on the airplane again and admired the result. It looks very good. I can proceed with the front Skybolts
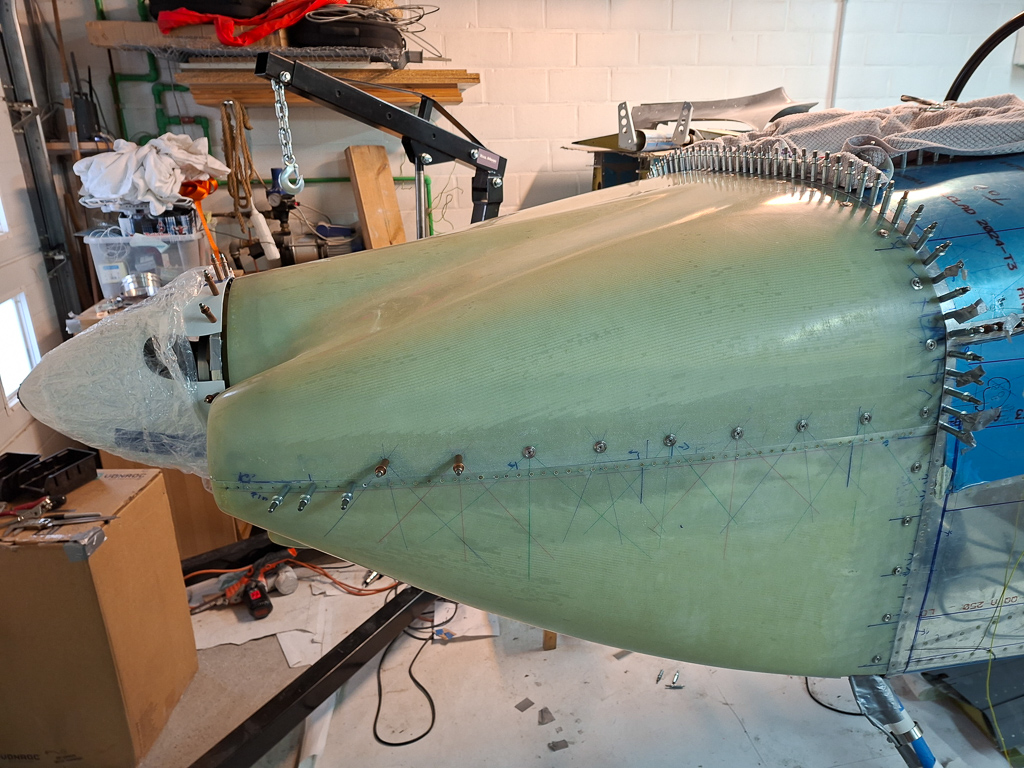
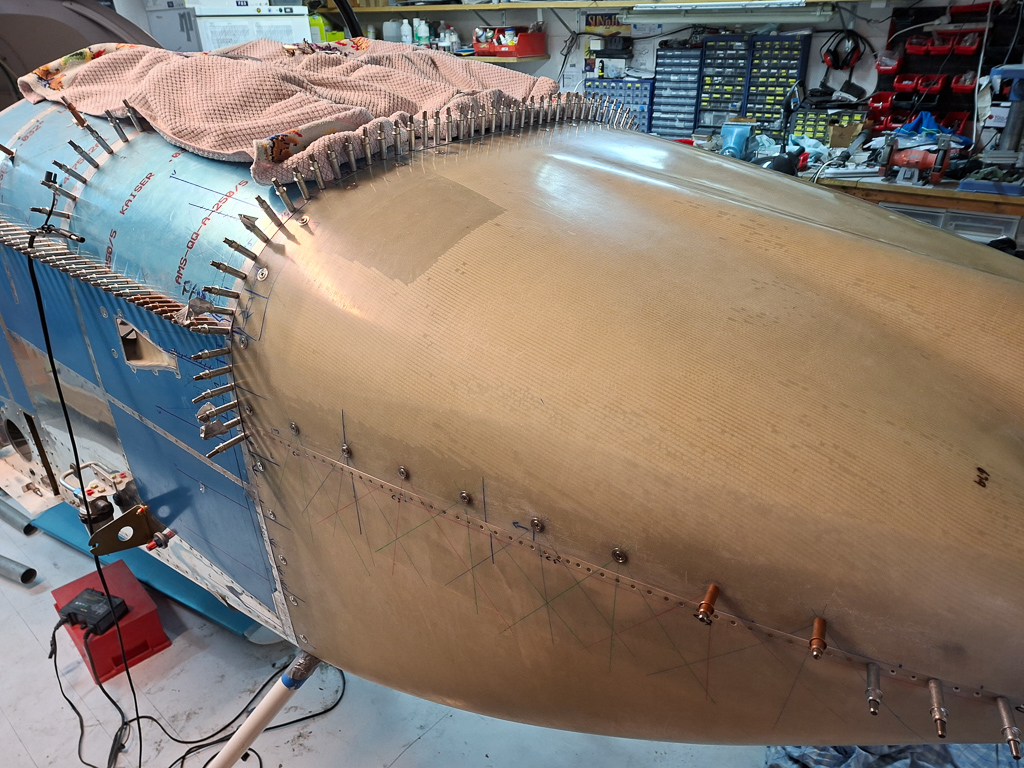
I clamped the top and bottom together using the front Skybolt bracket and drilled the front 2 pilot holes using the cleco adapters.
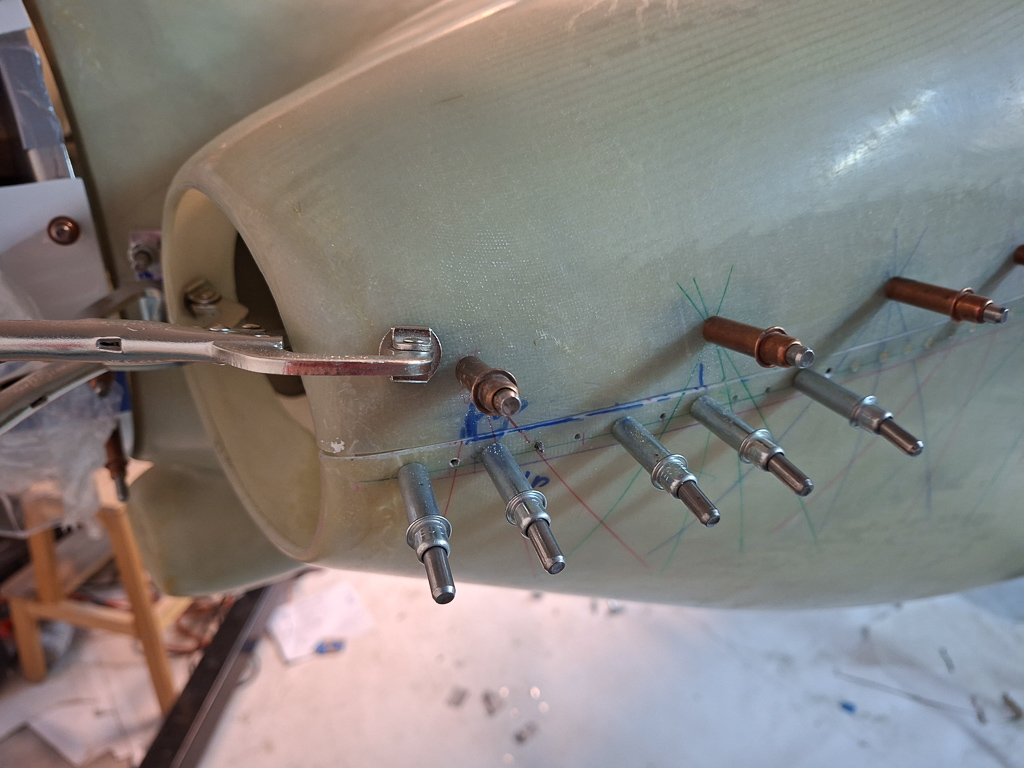
The spacing between top cowl and spinner still looks great. The 1/8 below spinner for engine sag is still maintained.
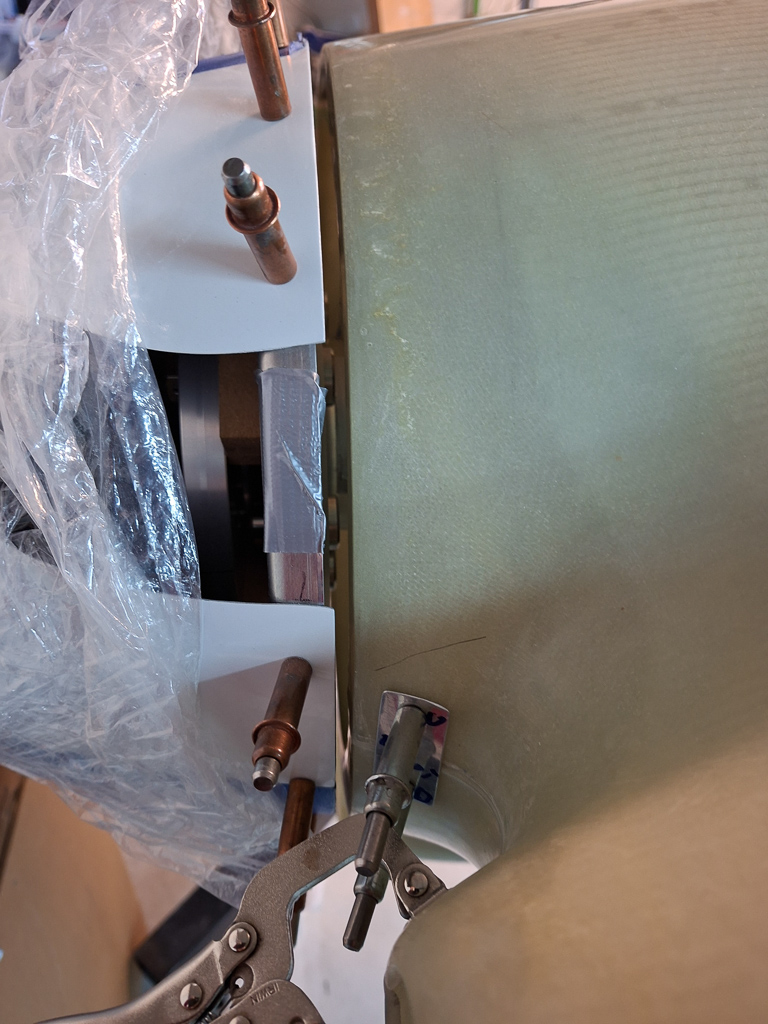
Dit the same drilling on the passenger side.
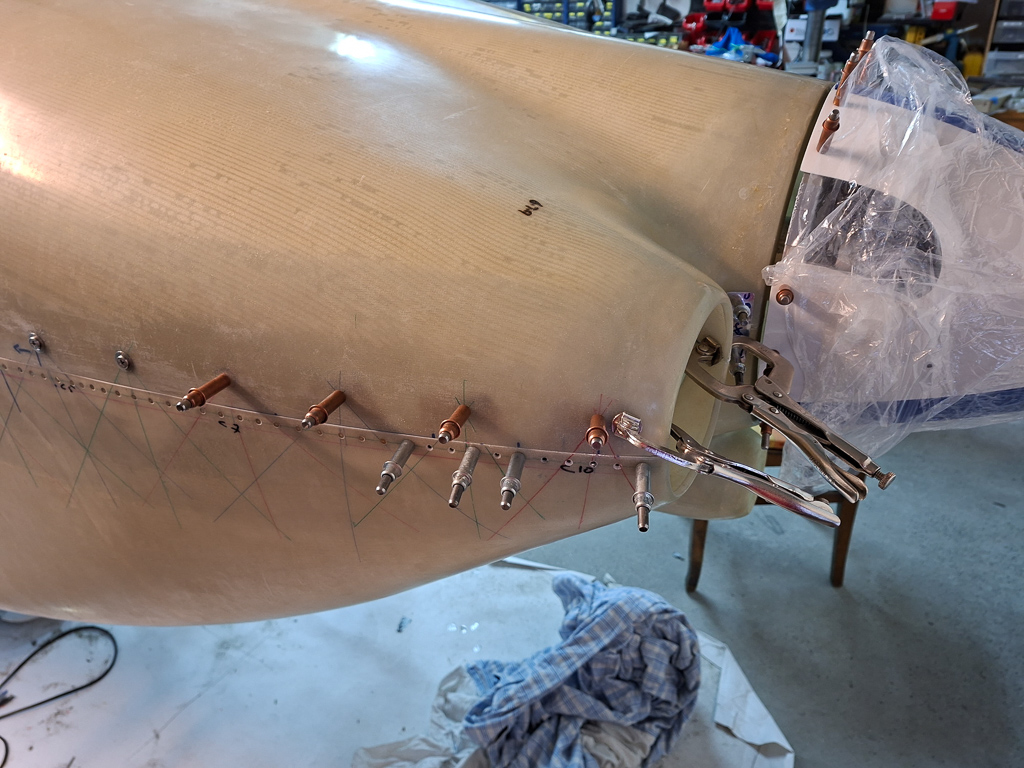
Another shot at the spacing.