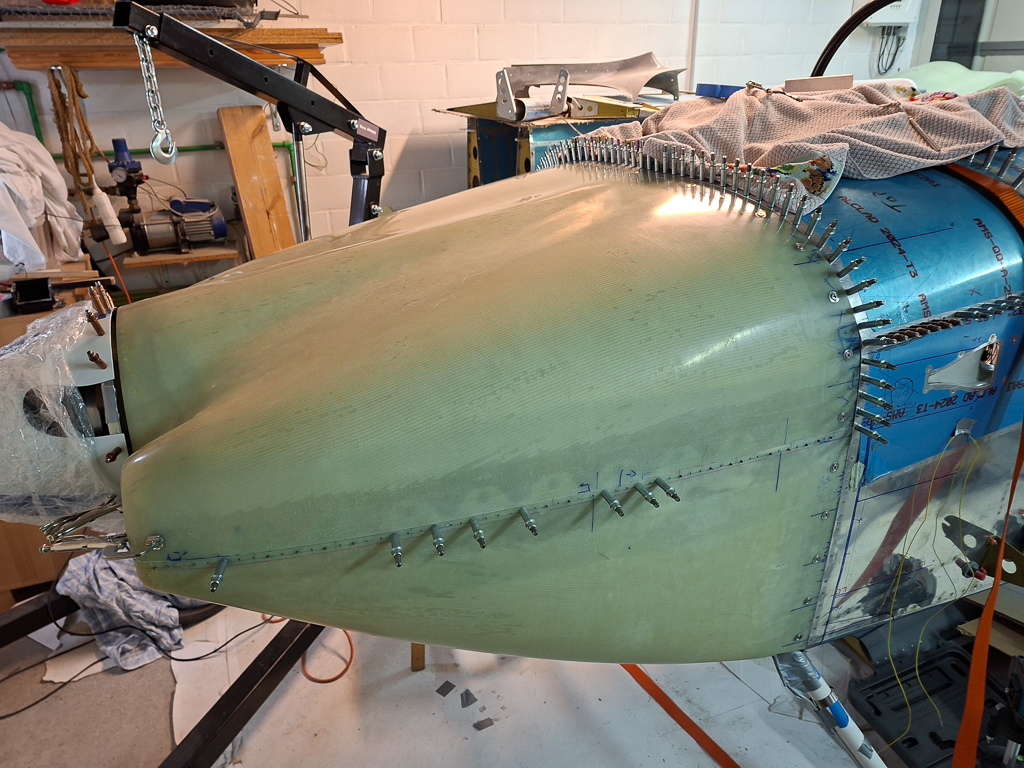
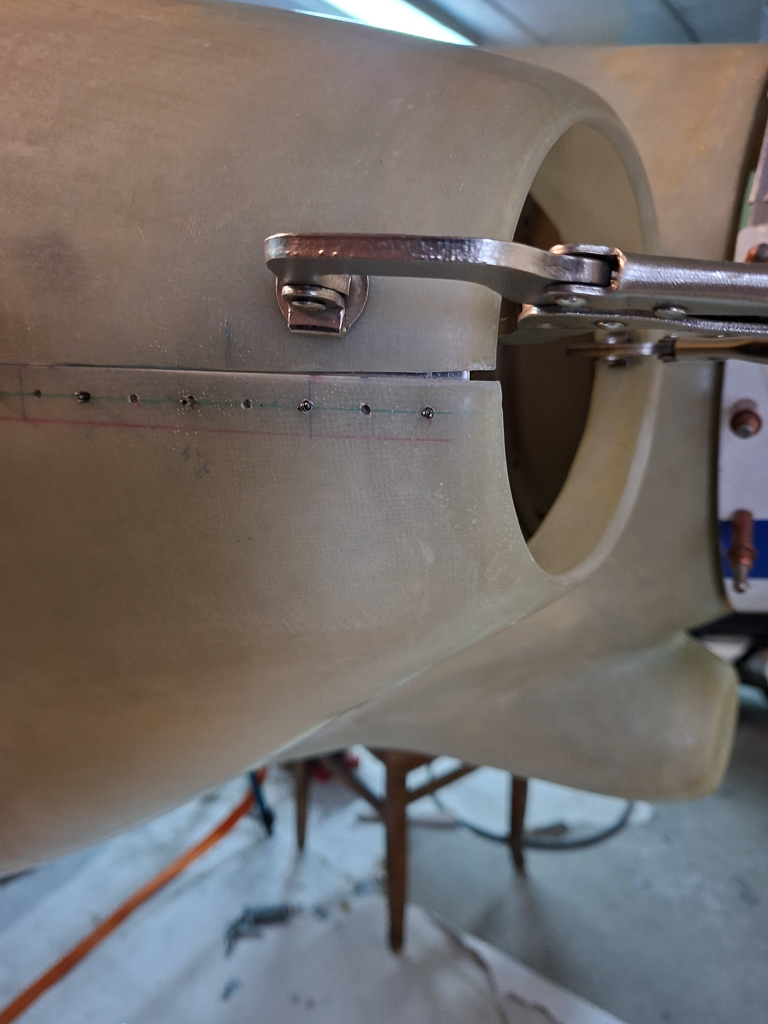
Drilled all the holes for the skybolt fasteners to 15/32" using a unibit #1. I did this step by step. Drilling one, fitting, then drilling another one and continuously checking if there is no movement that would require retracing the hole locations. Fortunatly all stayed at the same place. It's a lot of times moving the top cown on and off, each time fastening the studs but it's worth the effort for precision.
In the image below all holes are drilled except for the last 2 near the horizontal split line.
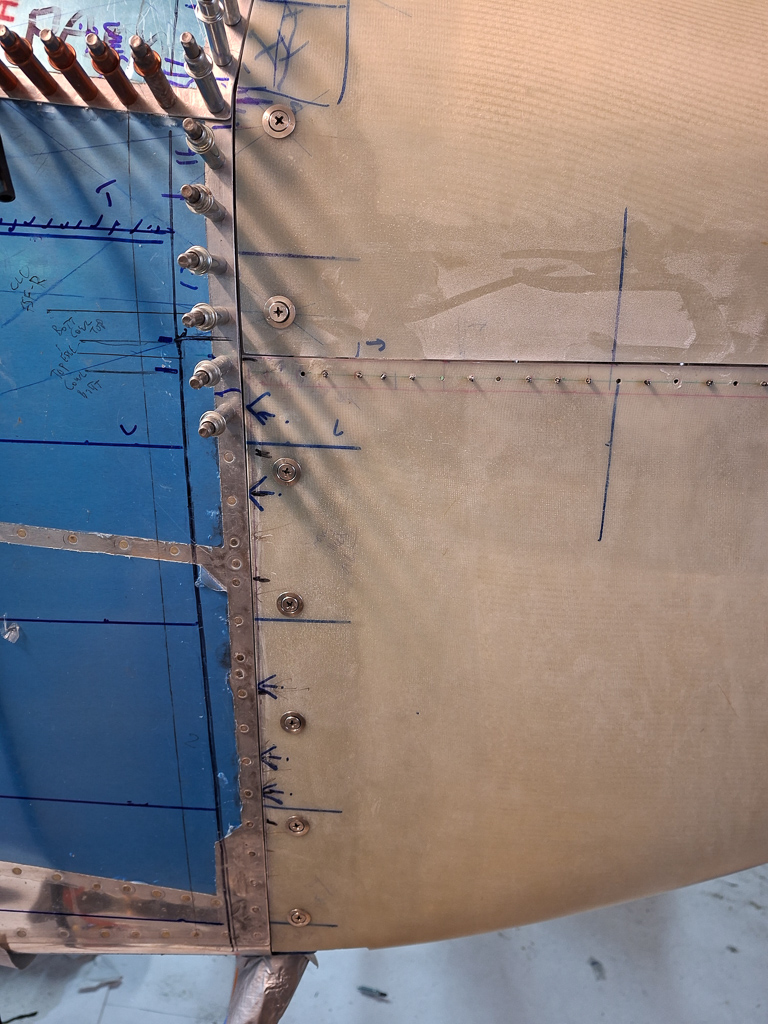
I put a spacer on the bracket in the bend as the laying a bit low in relation to the skin so I retraced also the lower hole location as there is a very small shift because of the added shim.
It also required further fine tuning of the horizontal split line as it interfered a bit with the top line of the lower cowl. Some more sanding and the fit was good again. Another illustration that it's best not to take away too much from the beginning and sand gradually as you move along.
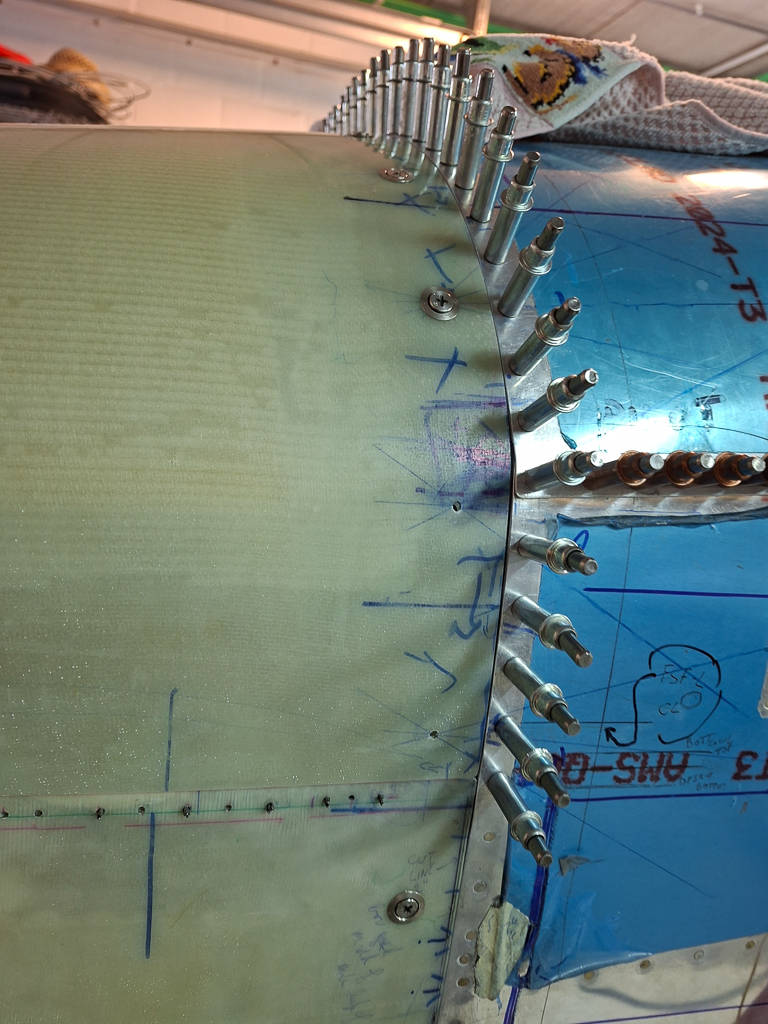
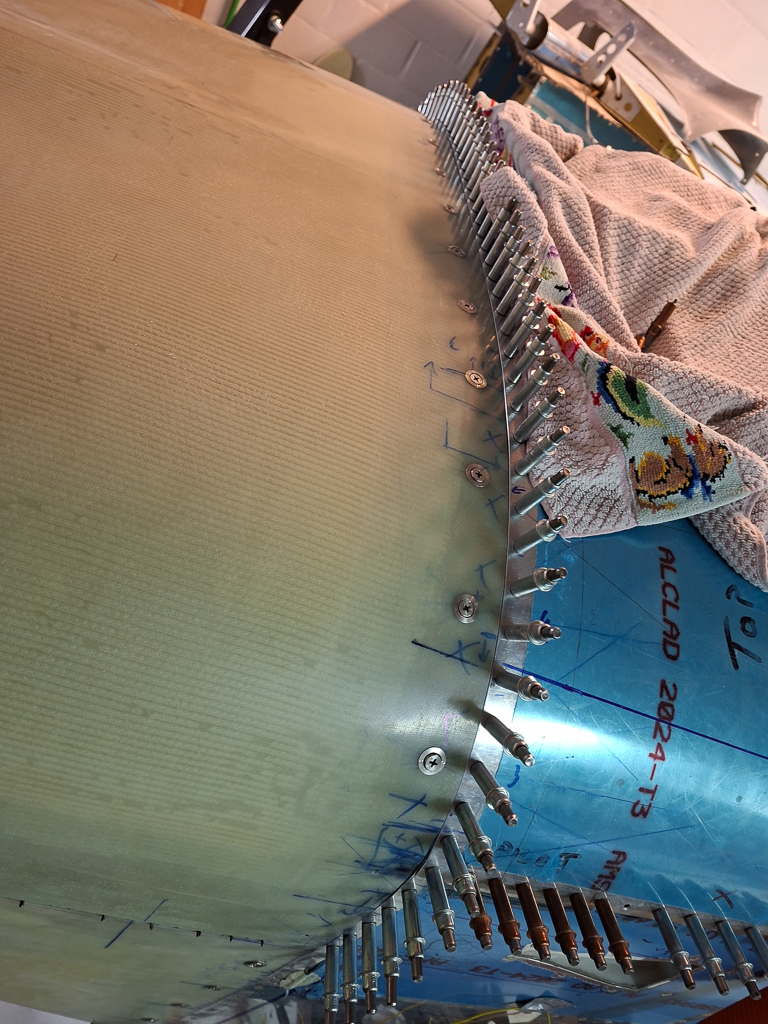
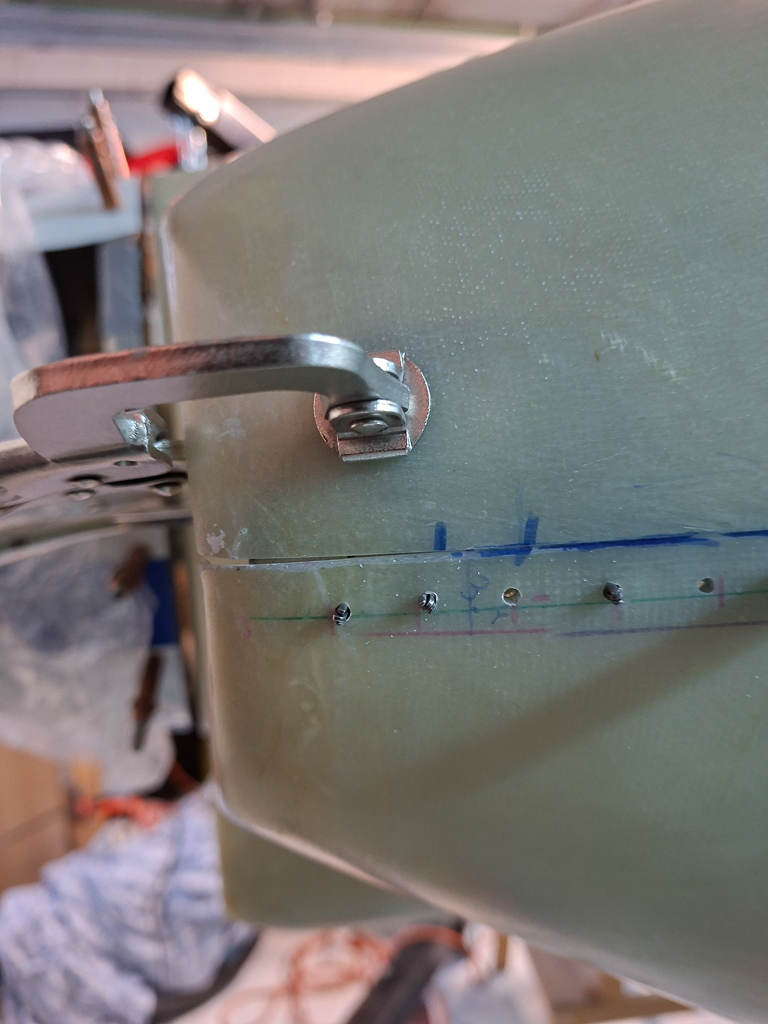
After drilling all looks very well with the final fasteners installed. I'm pleased with the result of how this came out. Gaps look overall very good. As mentioned before, there is need of a 0.02" for paint later on anyway so more will need to be sanded after all is in it's final location.

Same on the passenger side.
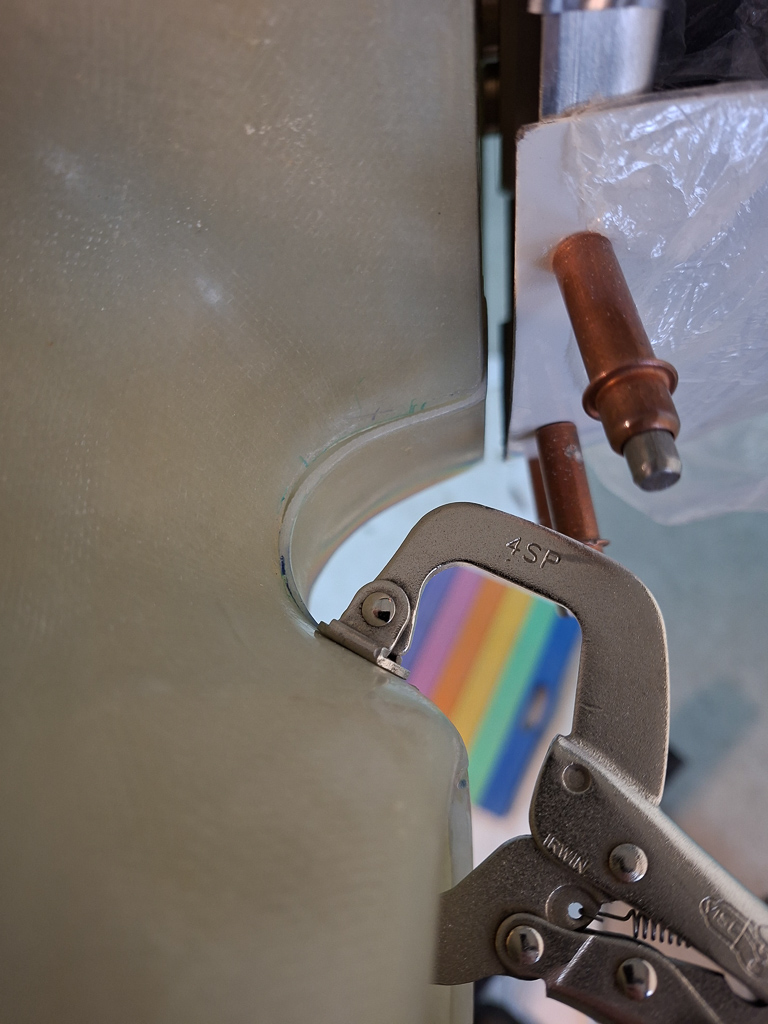
In the front of the passenger side, I do have some gap at the air inlet. I really have to pull the cowl in from the side in order to get it to lay flat against the bottom cowl. My evaluation at this point is that the inner joggle between spinner and air intake is still a bit too high and requires some sanding down. This will also bring down the outer edge. Off course I have to keep attention to the horizontal level of the intake holes seen from the front.
This is where i believe I need to take off more material. When I pull the outside in, you see that the top cowl also want to find a place to go with it's excess material and pushes inwards and the bottom cowl outwards.
This is the sasme view on the pilot side. The mating looks much better here and the spinner halfs are well aligned.
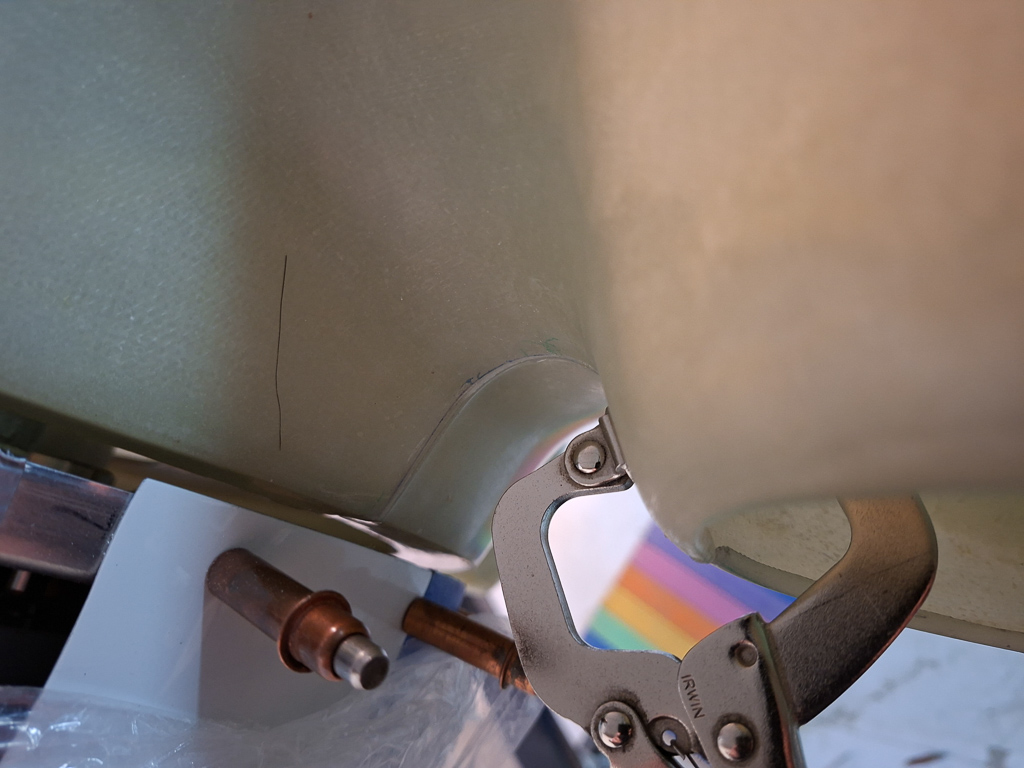
as well as the view from the pilot side forward outside front of the cowl.
The spinner to cowl gap still looks good overall with sufficient spacing and maintaining the 1/8" downstep from the spinner for engine sag.
Time to admire the beauty. Next I will start working on the horizontal split line.