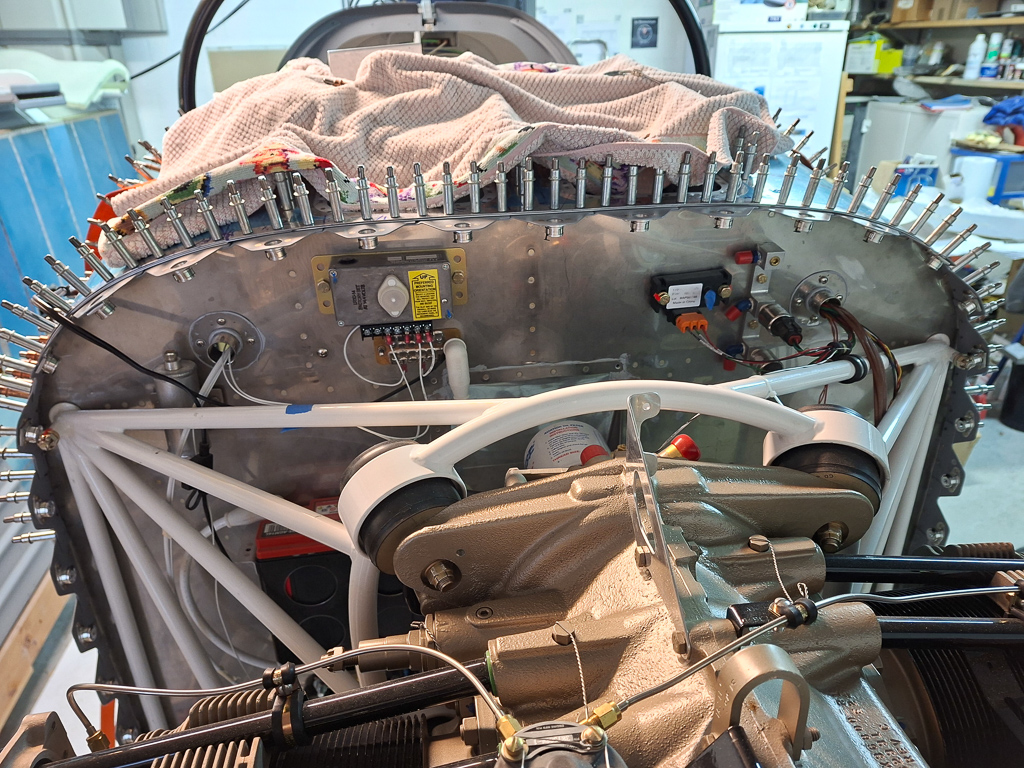
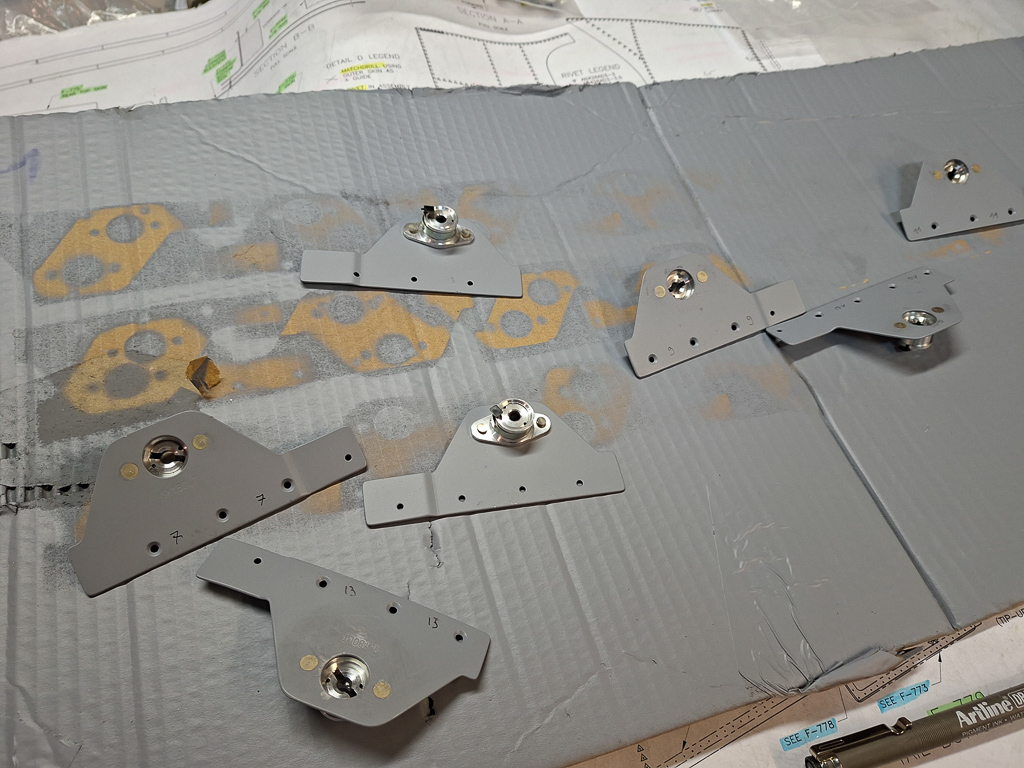
Short and simple work session today. I rivetted all the Skybolt receptacles to the primed Skybolt brackets for the top fuselage/firewall line.
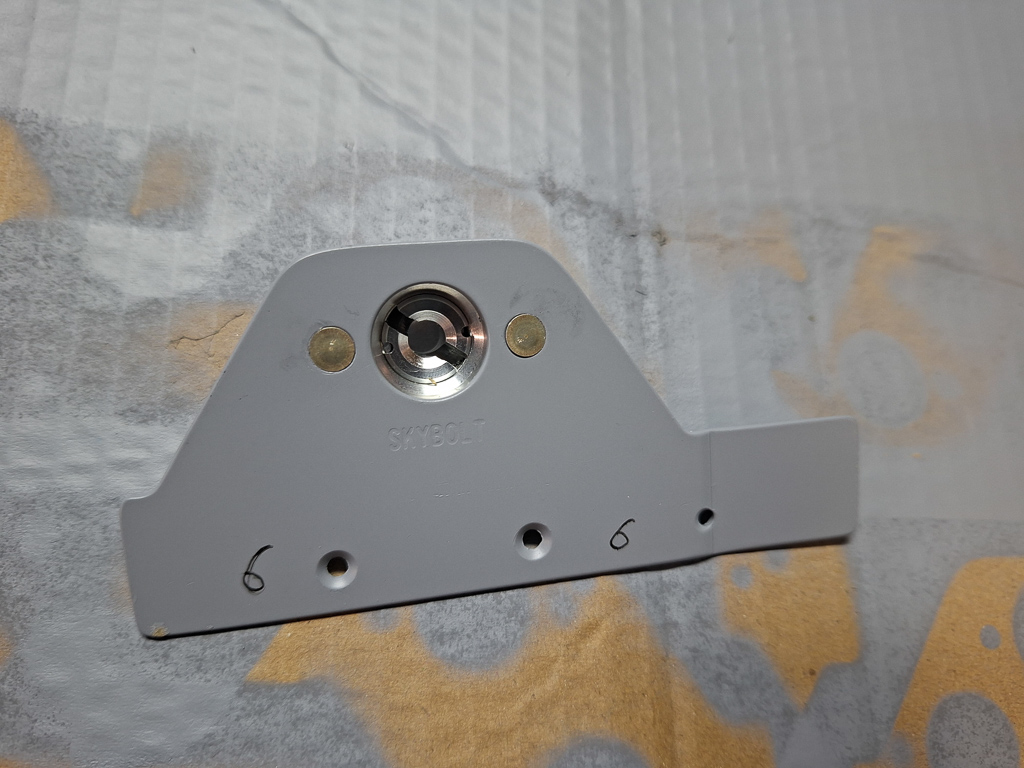
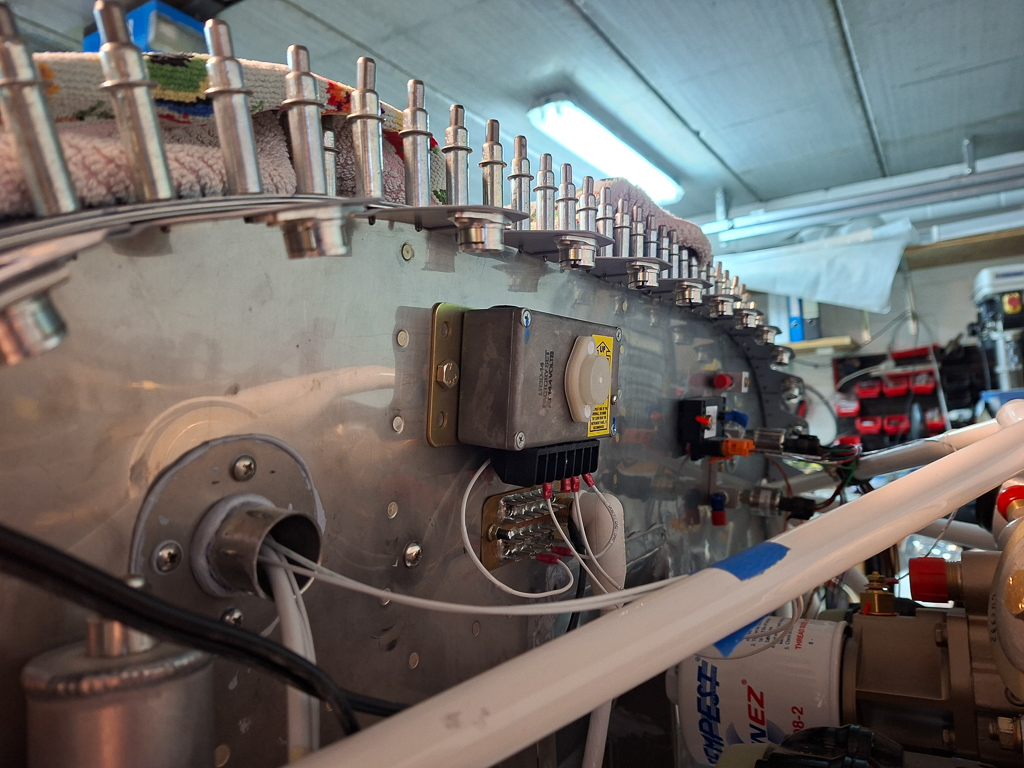
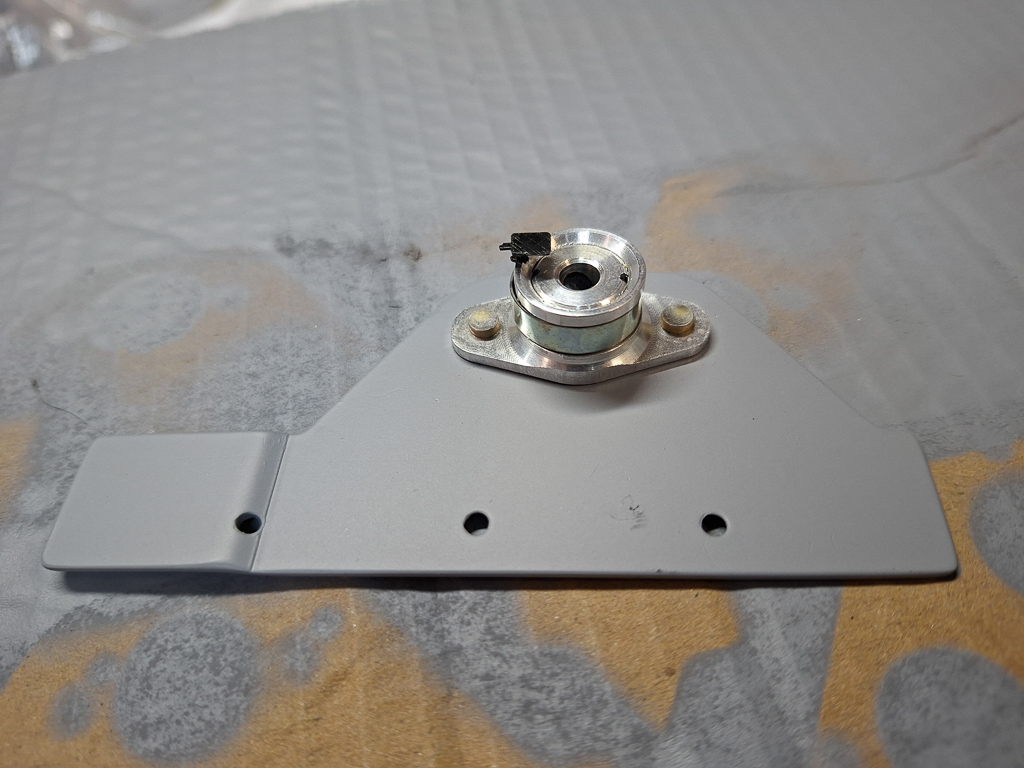
Pay attention to the orientation of the receptacle. There is a small black plastic insert which is a temporary unlock pin that allows to adjust the dept of the skybolt studs. Once the depth is set correct, you remove this plastic strip and take a screwdriver to lock the insert position. After it locks, the depth is defined. You can insert a toothpick or pick tool in the same location later on an fine tune if needed, but it's best to orient the place where you need to do this where it's best visible and accessible. It will become crowded once all is installed at the back of the firewall and by preference you place the adjustment lock locations up and forward. Also watch those little plastic pins as you take brackets on and off, they drop out easily.
Most receptacles rivetted on. I realised getting to the end that I need 20 more receptacles on the horizontal split line (10 on each side). When counting I noted I came 6 short. Then I found a second package that contains 6 floating receptacles. These are the same type of receptacles for the studs but they can move slightly on the backplate. I decided to place them in the bend transition between top of fuselage and fuselage side. The 3 receptacles above my top engine mount attach points have floating receptacles. The last one at the split line is a fixed one again. This allows for some flexibility while installing. Off course that meant drilling out some of the fixed ones again from the list serie I already did.
All brackets installed with cleco's and ready to drill the real holes in the top cowling and test the install with real Skybolt studs. These brackets will only be rivetted later on the firewall as I still need to be able to remove the top fuselage skin couple of times for more wiring (magneto's, sensors, throttle and mixture cable...)