
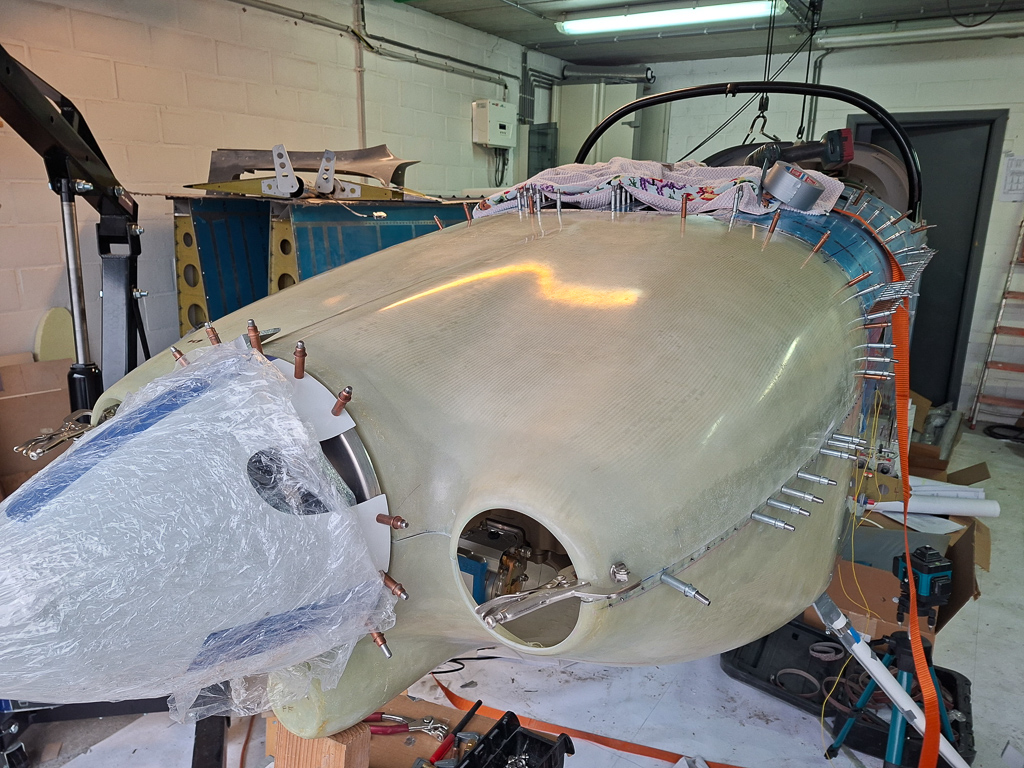
In last work session I drilled most of the holes holding the top cowling fuselage line to the brackets using the Skybolt cleco adapters.
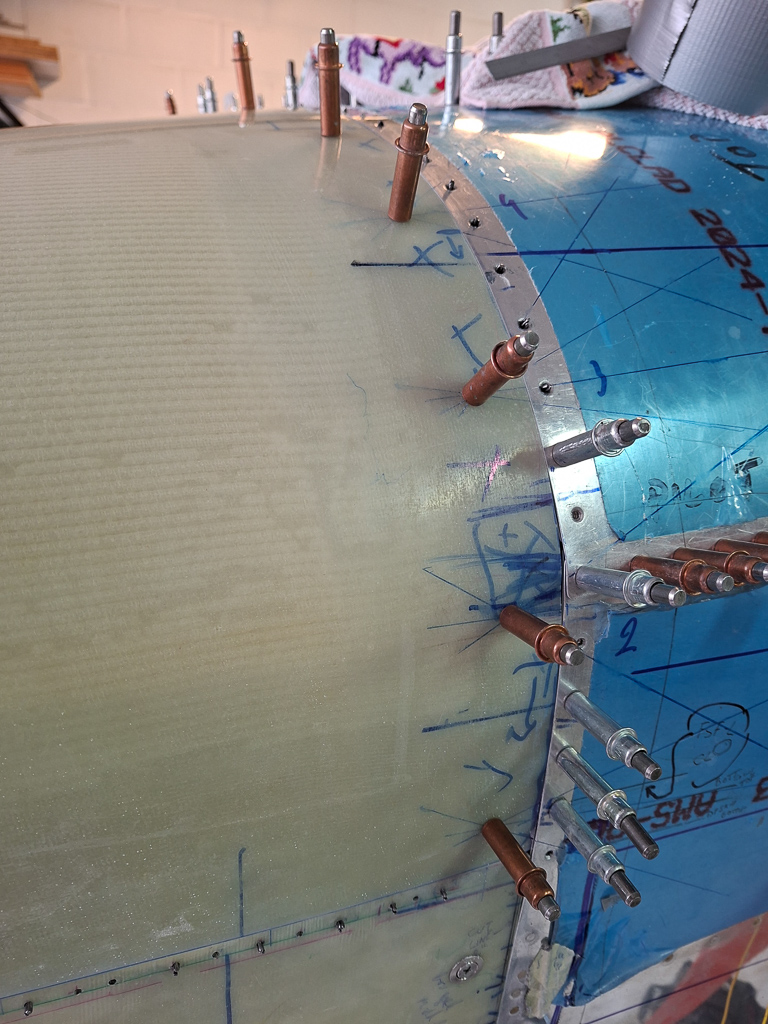
First by drawing intersecting lines from the hole center onto the top fuselage skin (see image 2 in this article to see some of those lines forming triangles). With the cowling on, I just re-extended the lines and found the center point for drilling.
Problem with the adapters is that there are only 10 available in the installation kit, so not enough to drill all holes at once.
I repositioned some of the adapters, taking out alternate adapters in the middle and keeping 2 consecutive on the sides. Then duct taped the free adapters in the lower position and repeated the trick with the intersecting lines to continue moving downward towards the bottom cowl. I don't see any movement on my cowl to fuselage line so I assume it's safe to assume it doesn't hurt taking out the adapters.
Always make sure when you drill to clamp the front also very well in it's approximate final position. I still say approximate as the horizontal split line is at this point close but not final.
Continued drilling per 2 holes and finally ended up with the sides completely done as well.
I did have to shim the location where the top fuselage skin meets lower fuselage side skin. The cowling was sitting too deep there and I temporarily put some cardboard underneath to lift to the same level as the skin. When all is drilled, I will add some layers of epoxy on the inside of the top cowling so that the thickness of the cowl increases at those points. Same problem occurred on the passenger side.
It's important to shim now as the slightly higher position influences the position of the next hole down the line.
In the next image, all my side holes pilot side are drilled and the cowl is pretty well aligned with the fuselage skin at all locations.
Then repeated the same work on the passenger side.
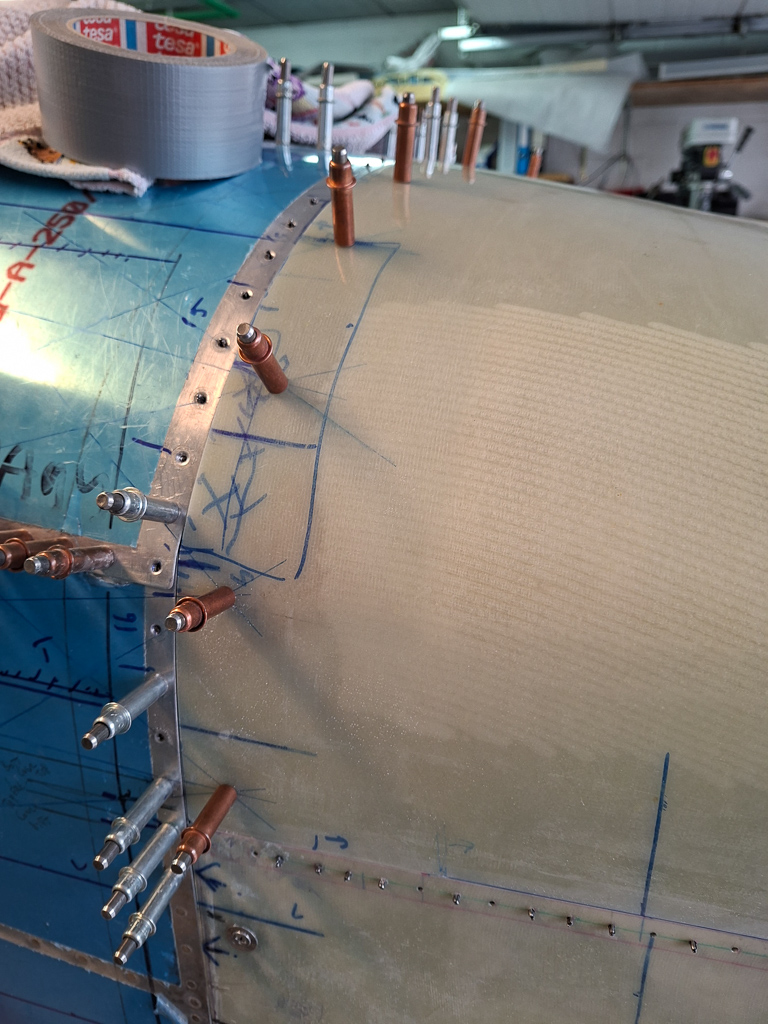
The line at the fuselage / cowling intersection looks good. There is a bit of space here and there, but keep in mind that this is not the final split line yet. I tried to get this as precise and close as possible for now now. When all will be fitted and held by it's own fasteners, I will fine tune the cowl parts to allow for a 0.020" paint gap. You need this gap as the thickness of the paint will prevent the cowl to fit by it's fasteners after the paint is applied. In short, I need to trim back a gap of 0.020" all around the fuselage and along the horizontal split line later on. These minor gaps now just mean I will have to sand less in those locations. I'm still hoping on a perfect spacing when done. The gap in the top cowling bottom corner in the image below is a bit less than 0.020" now.
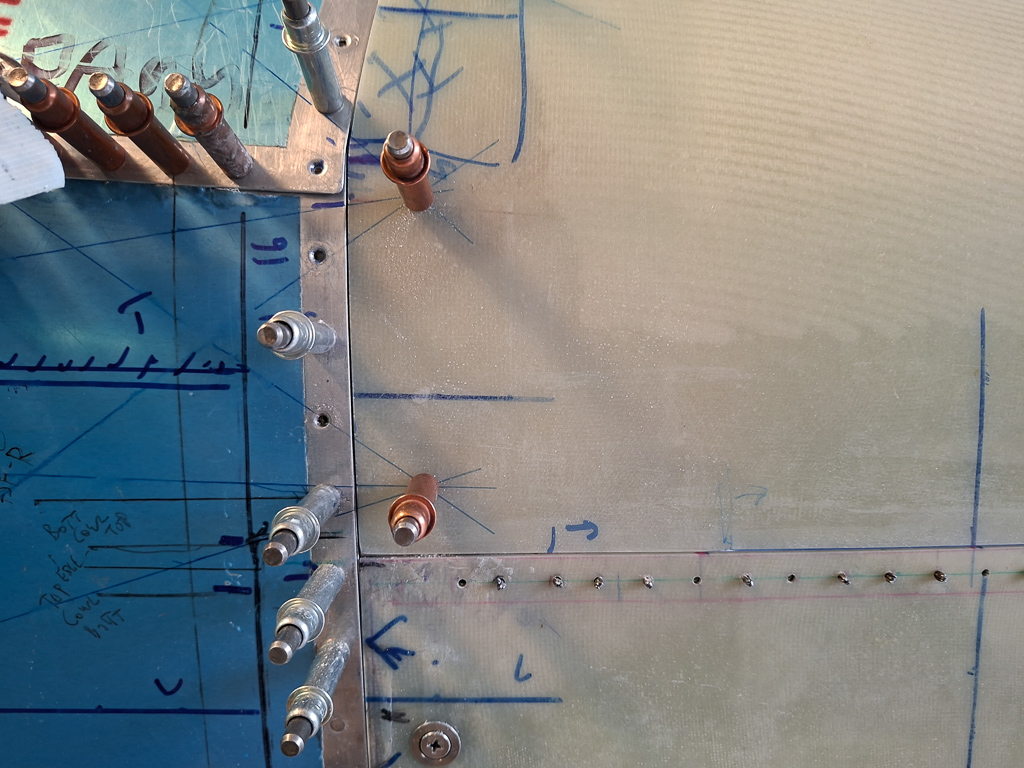
I also continued gradually perfecting the horizontal trim line every time I took the top cowl off for drilling. It's better to combine some things and perfect the general lay down of the top cowl. As the sides are fastened downwards towards the horizontal split line, and as you shim the cowl, the final touchpoint of the bottom of the top cowl also moves slightly. As you move down, you will notice this difference and you will probably have to sand away more material near the bottom of the top cowl to finally meet perfectly with the top of the bottom cowl.
I decided very early that my bottom cowl height would be fixed and that I wouldn't touch it anymore. When adjusting, I sand from the top cowl and leave the bottom cowl as is.