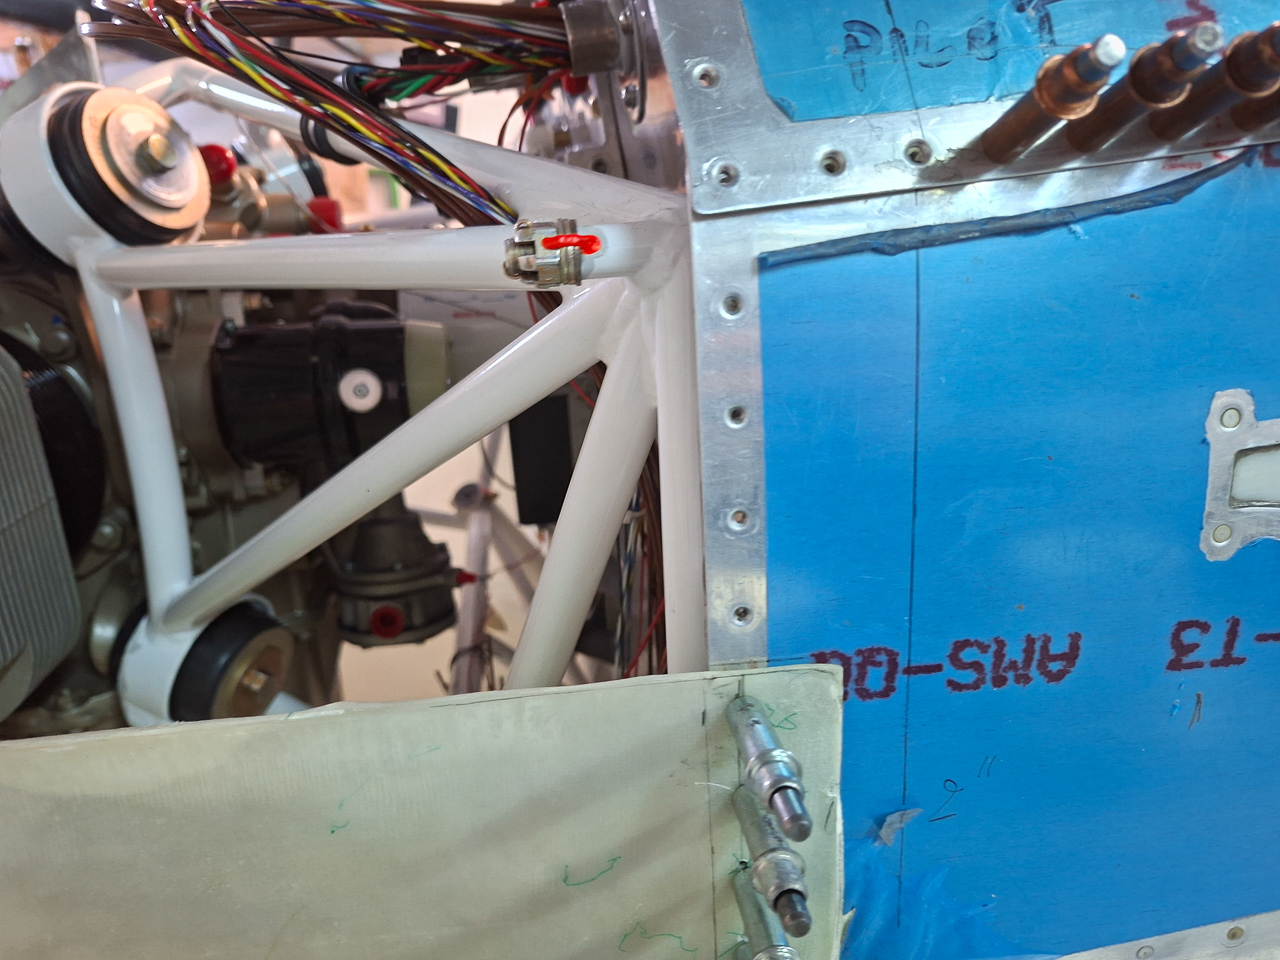
The fitting work has started. The big question to start with was: how can I assure the bottom cowl will remain in it's position once it's good, and how can I maintain that position each time I take the cowling on and off for cutting, sanding and fitting again. Making sure all sits well takes quite a bit of time and I don't want to be doing this same thing each time I take the cowl on and off. As the sides and bottom is still too long at this point, you can use this to your advantage and drill holes through the firewall rivet line on the front side of the firewall. drilling a small #40 hole here doesn't matter as you will be cutting this edge of anyway since you're passed the firewall edge.
But it helps maintaining the position in place and placing it back to the exact same location as where you had it before.
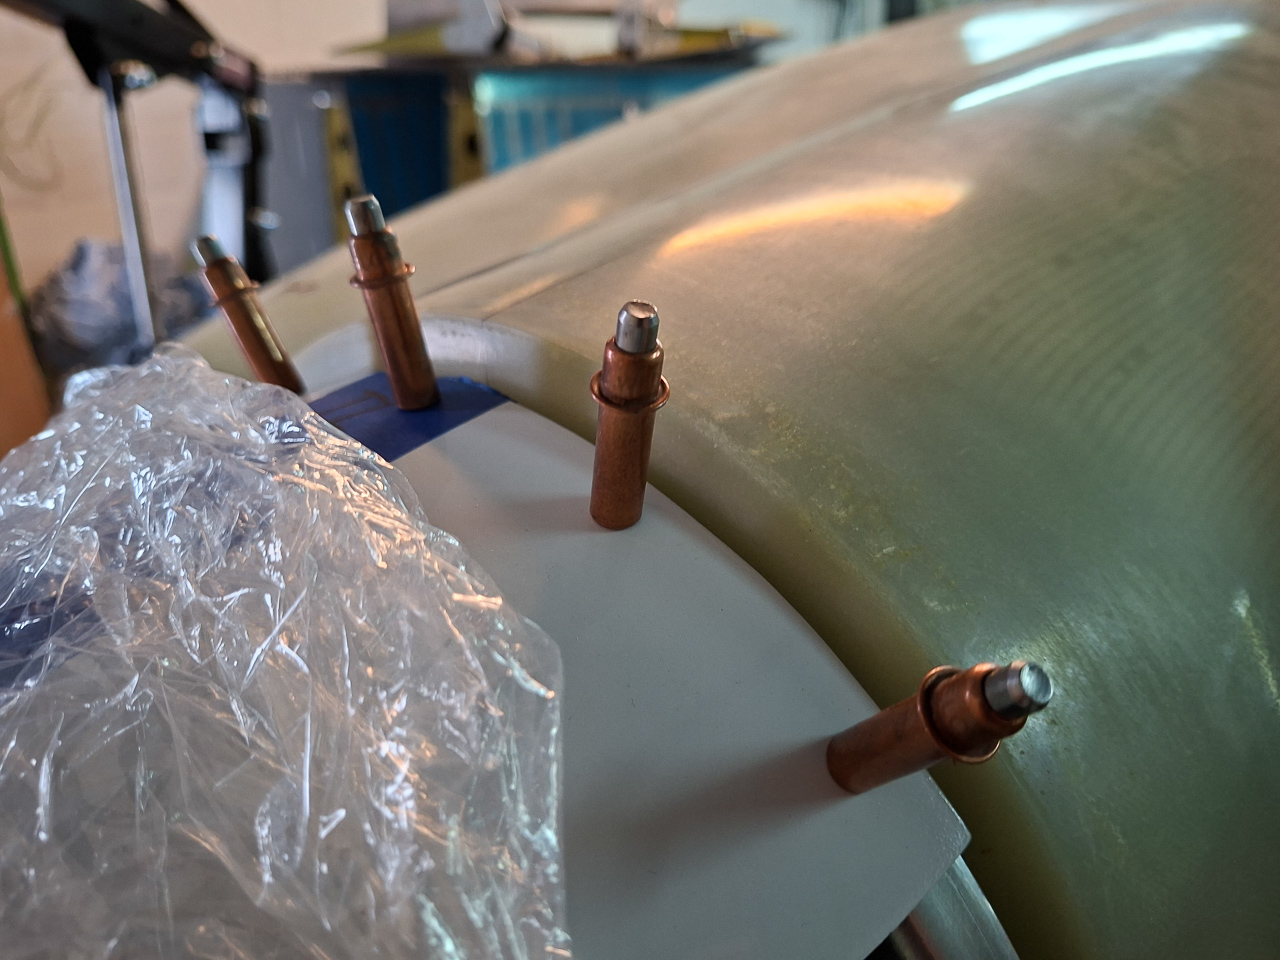
I started drilling holes in the sides in order to lock the position in place. Once these sides will be cut off, there may still be a slight movemement upwards due to the bottom cut and inwards due to the sides, but this will be a minor amount which you can account for now. as I had no idea at that point how much that move would actually be, I accounted for the thickness of the cowl and made sure my front distance of the bottom ring on the cowl around the spinner came just a tiny bit lower than the bottom of the actual spinner. as it will move a little up it will be a perfect transition in the end. This is quite theoretical thinking as in reality you still have some leeway to do minor adjustments when the side and bottom cuts are made. But it helps feeling good about the thought that you're in control here :)
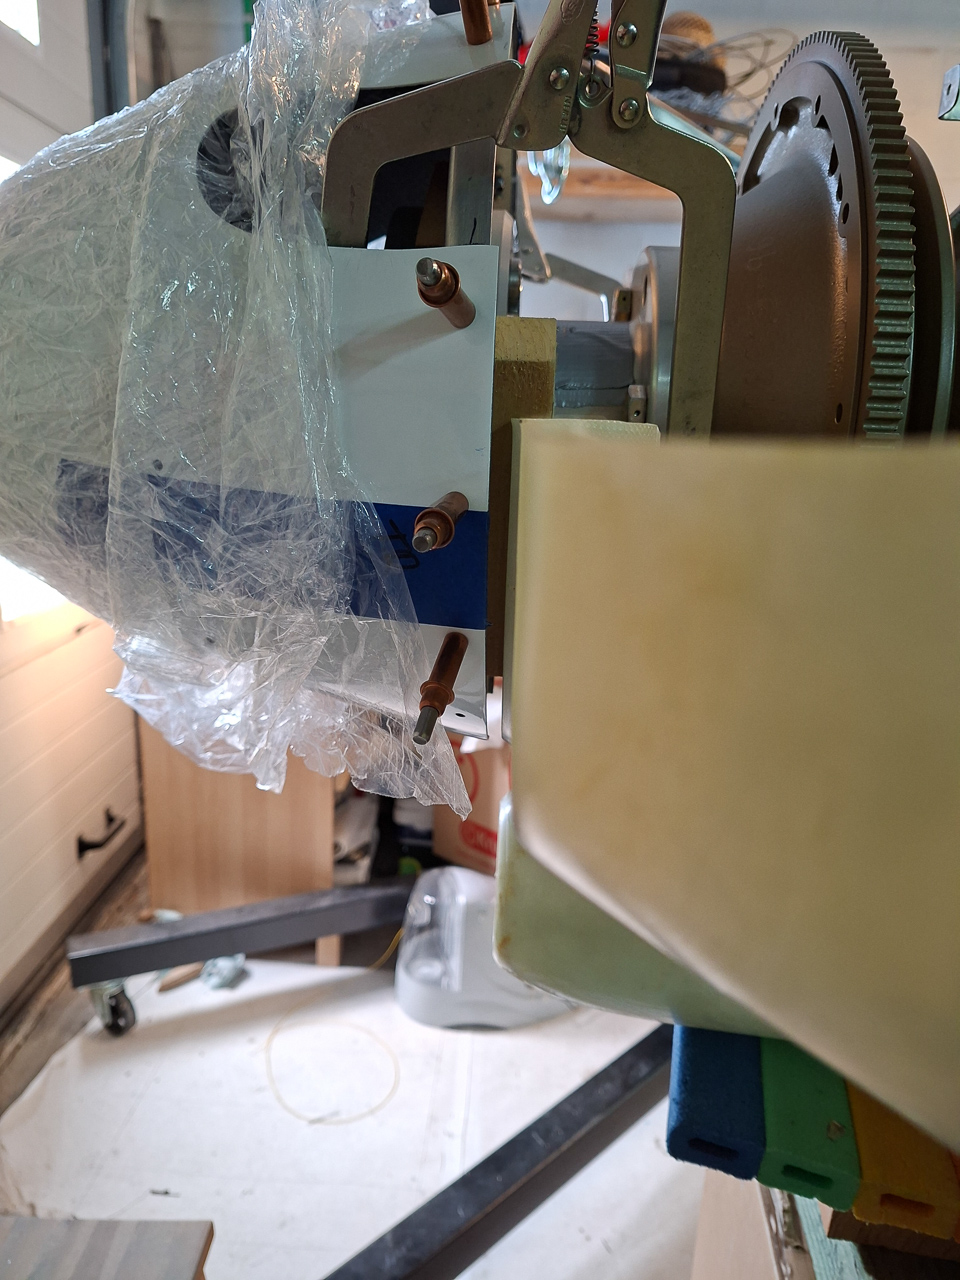
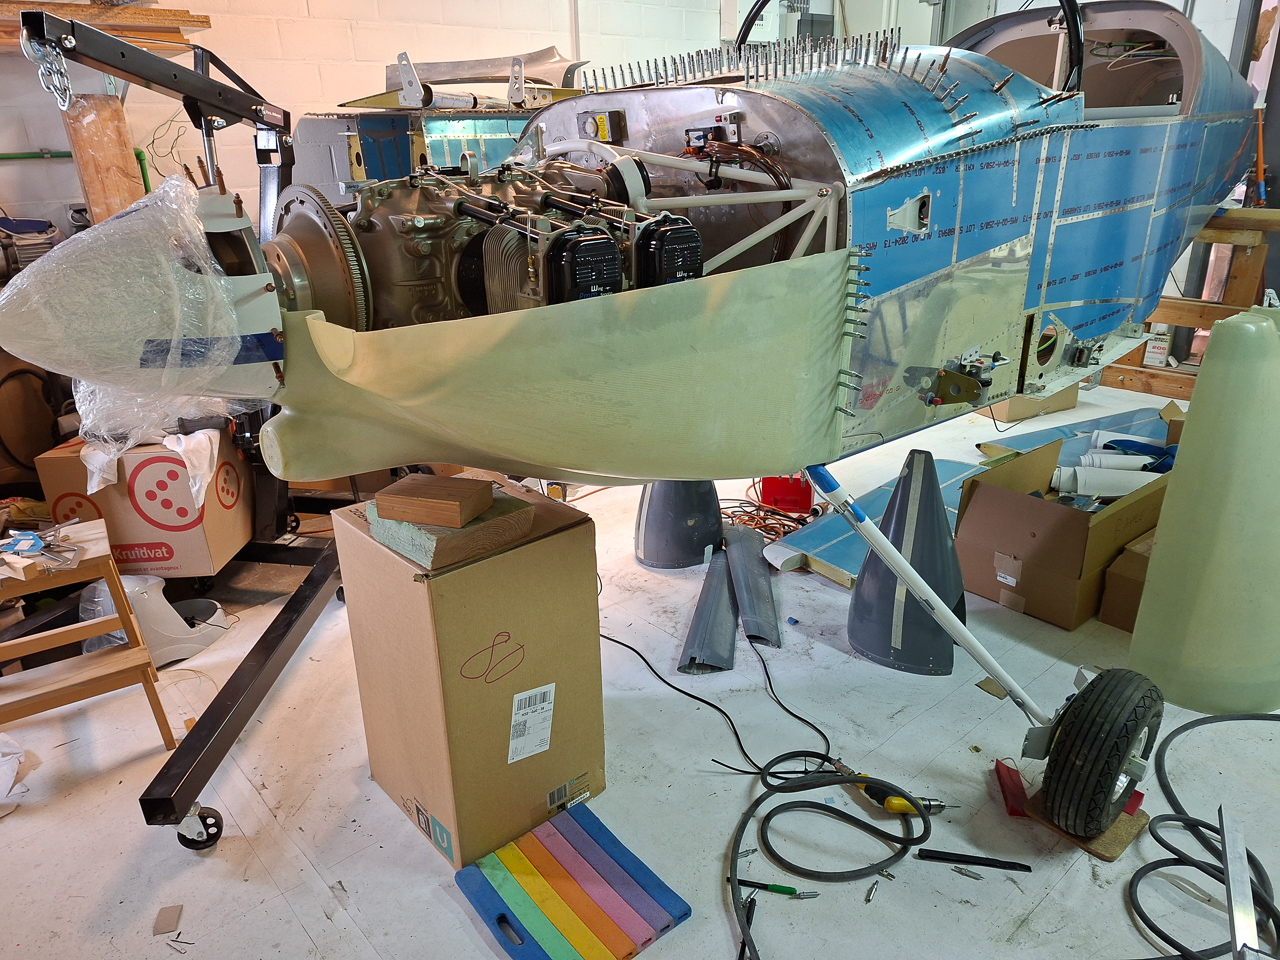
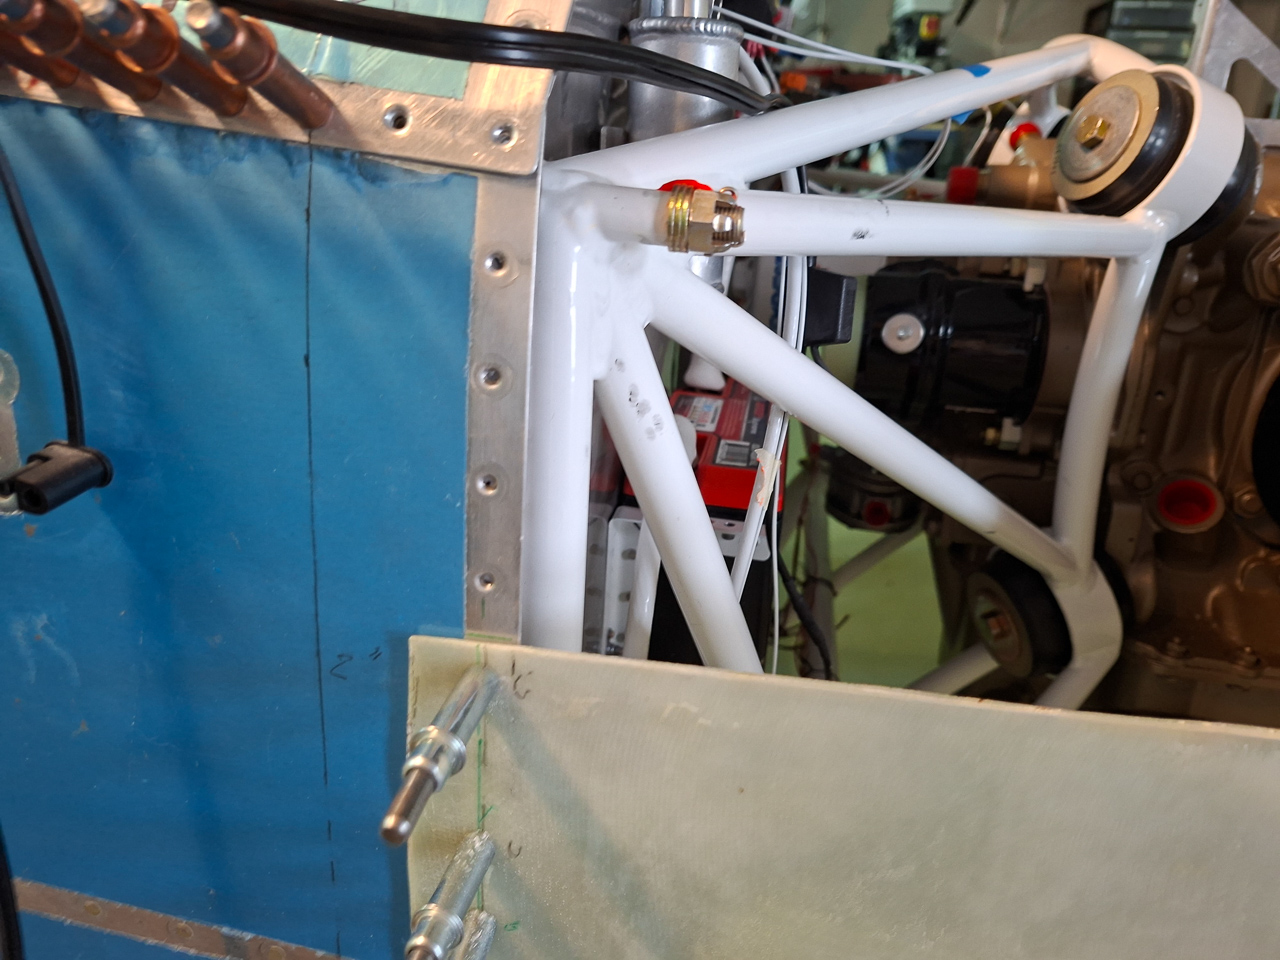
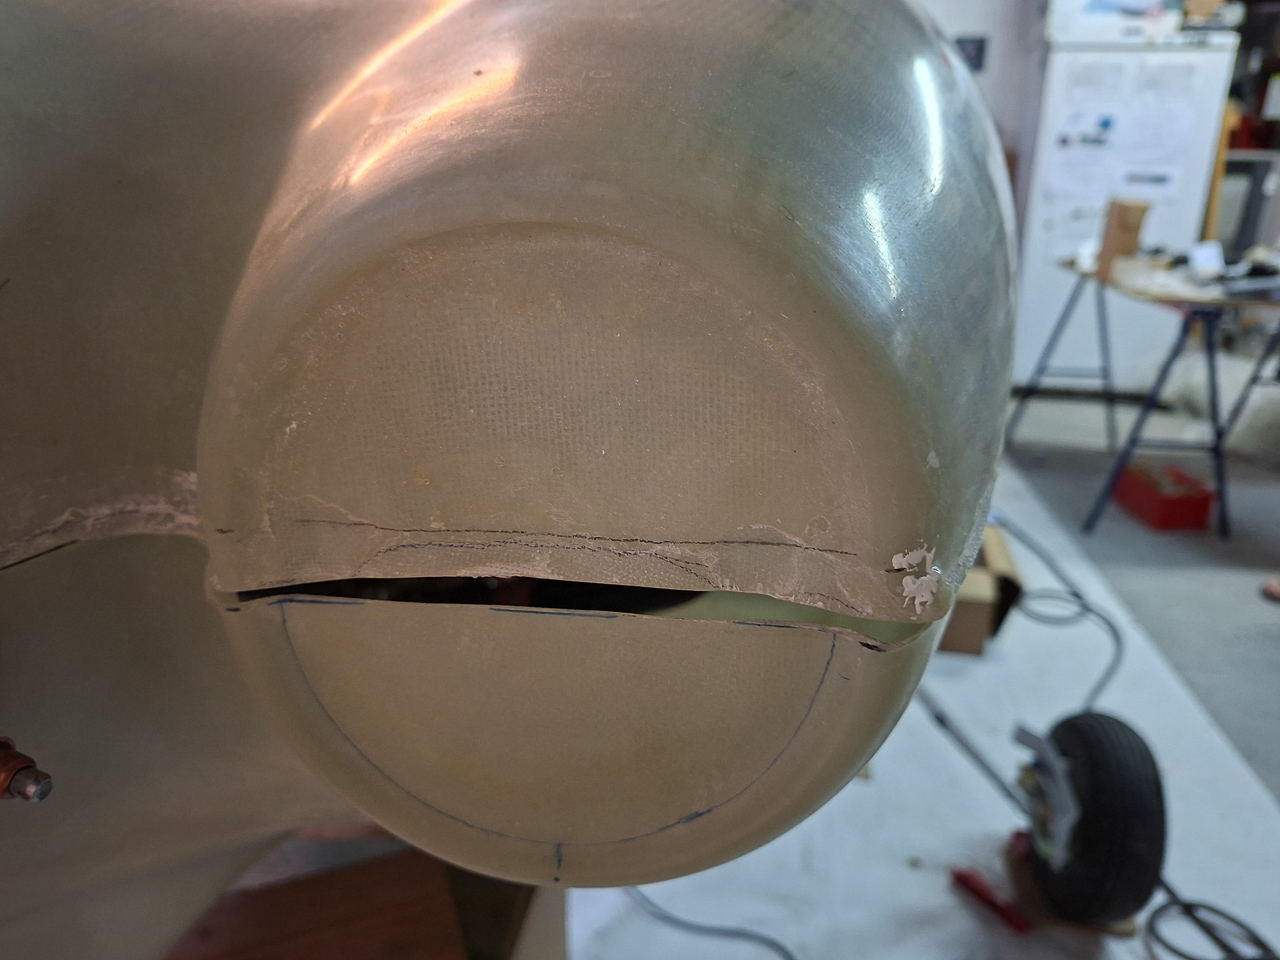
Another good tip to lock the front position into place is by using a wood block at the required distance between the back of the spinner ring and the ring on the bottom cowl. Some long vice clamps can reach over and into the spinner interior in the place where the prop blades will be. It's crucial that your wood block is the required thickness as this WILL define your final gap size between the cowl and spinner, which I wanted at 1/4 inch. Notice also the importance of not trimming out the spinner inner ring from the bottom cowl in the beginning. Just cut out enough to clear the saber extention but keep material around it. I would not have been able to use this method if the ring was cut out. Use the excess material to your advantage !
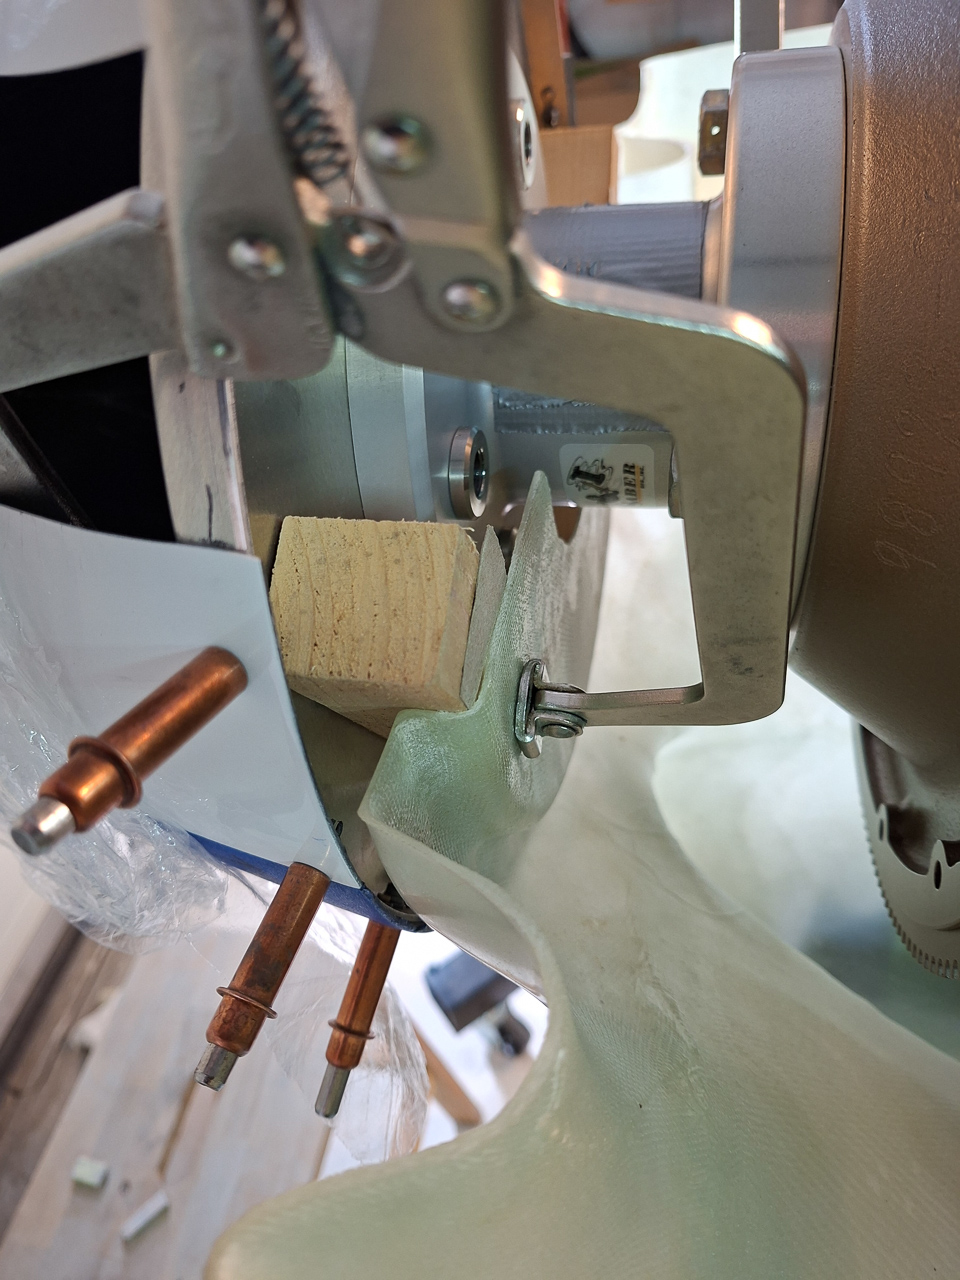
The space you see here between the cowl and the spinner is what it's all about.
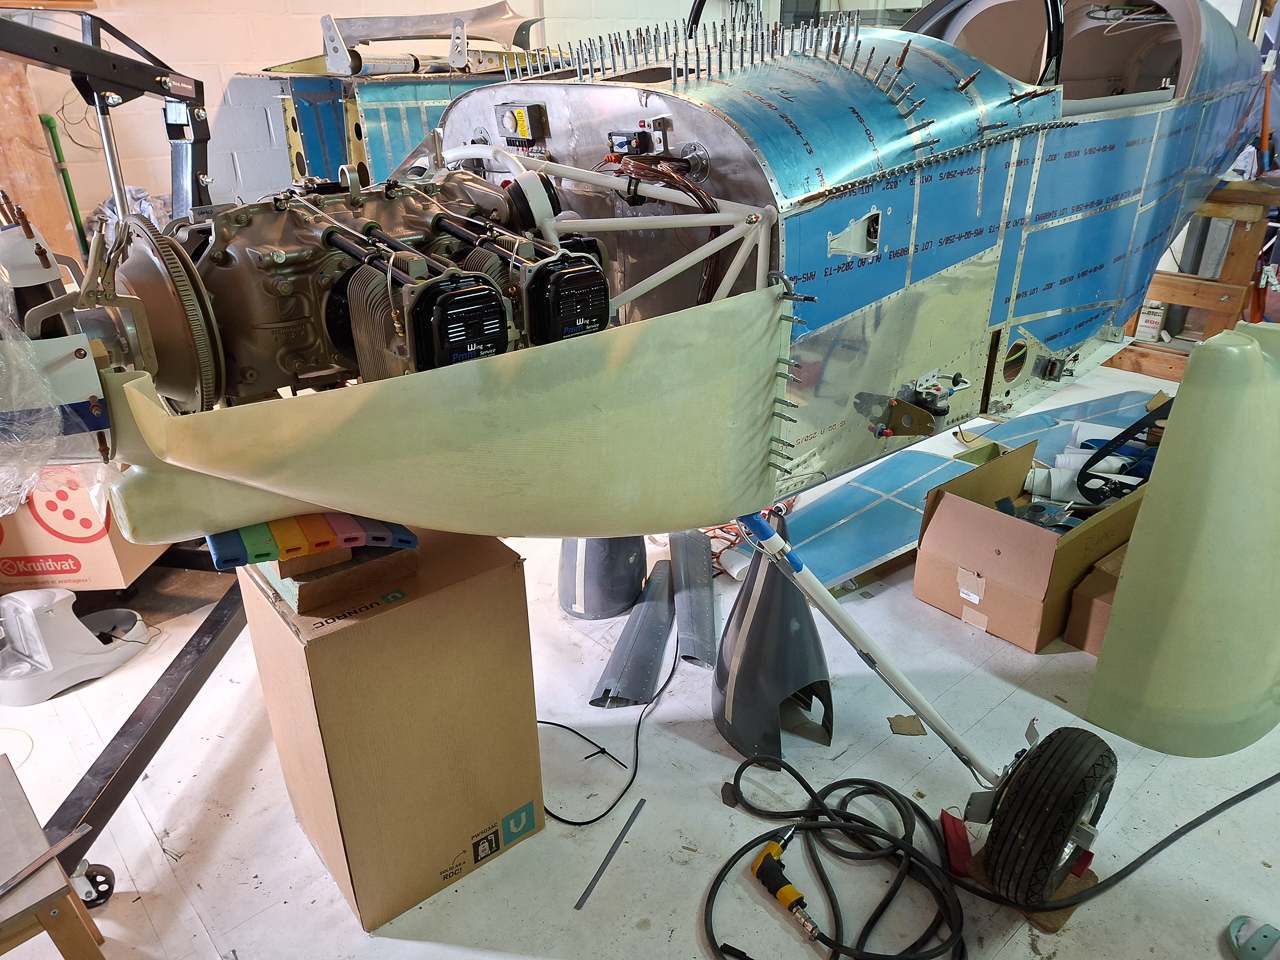
A box and some wood blocks help to support the bottom cowl at the front. No rocket science but it helps support the front as you drill the first holes on the sides.
Then drilled all the holes in the bottom along the firewall line.
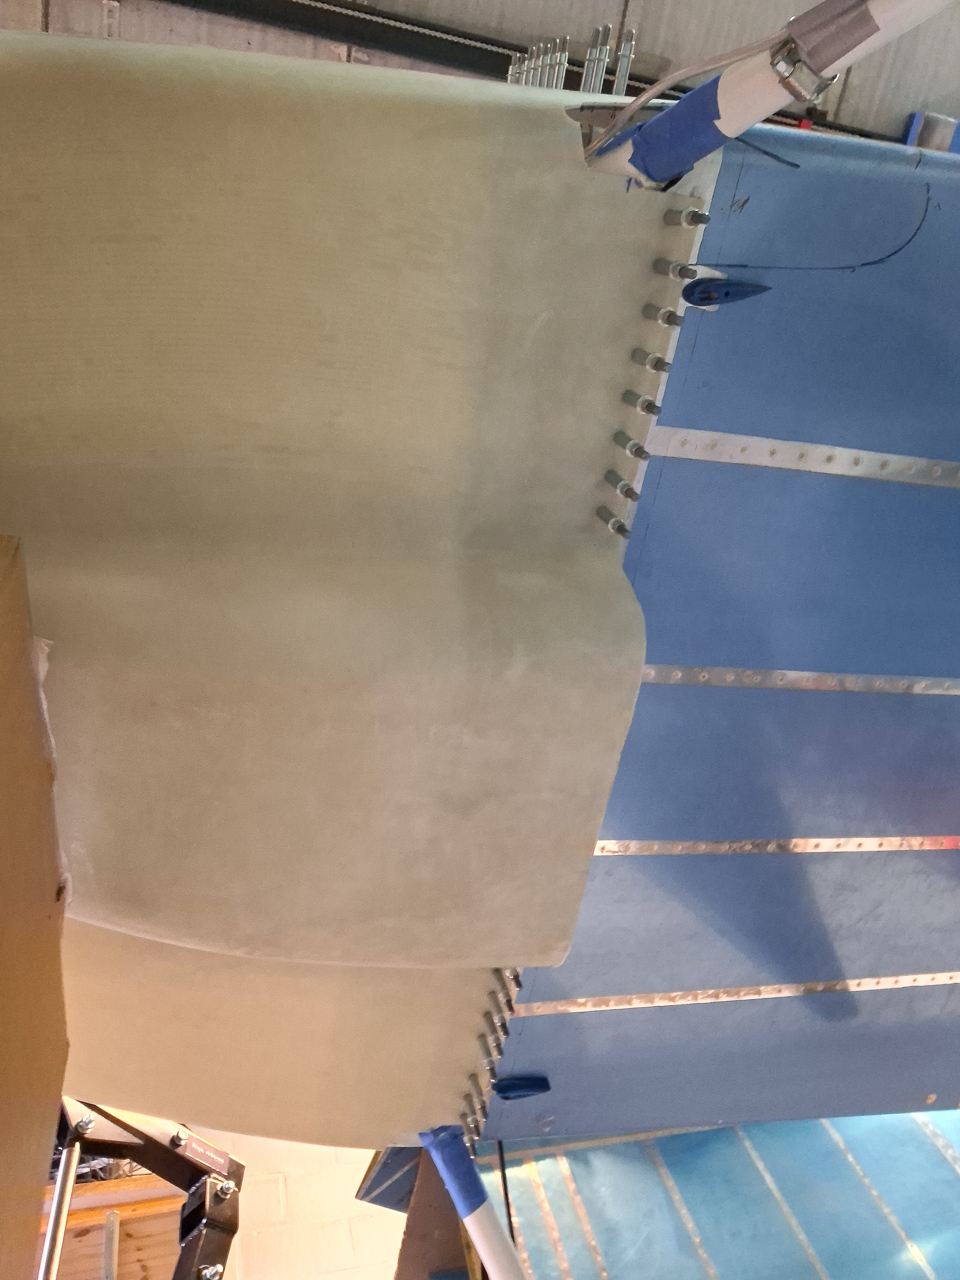
As the bottom is pulled on,the sides can be positioned and also drilled for #40 cleco's. Again, this is very temporarily as you will cut away those parts of the cowling but it helps getting the damned thing aligned as you cut the first lines and drill the first holes later on.
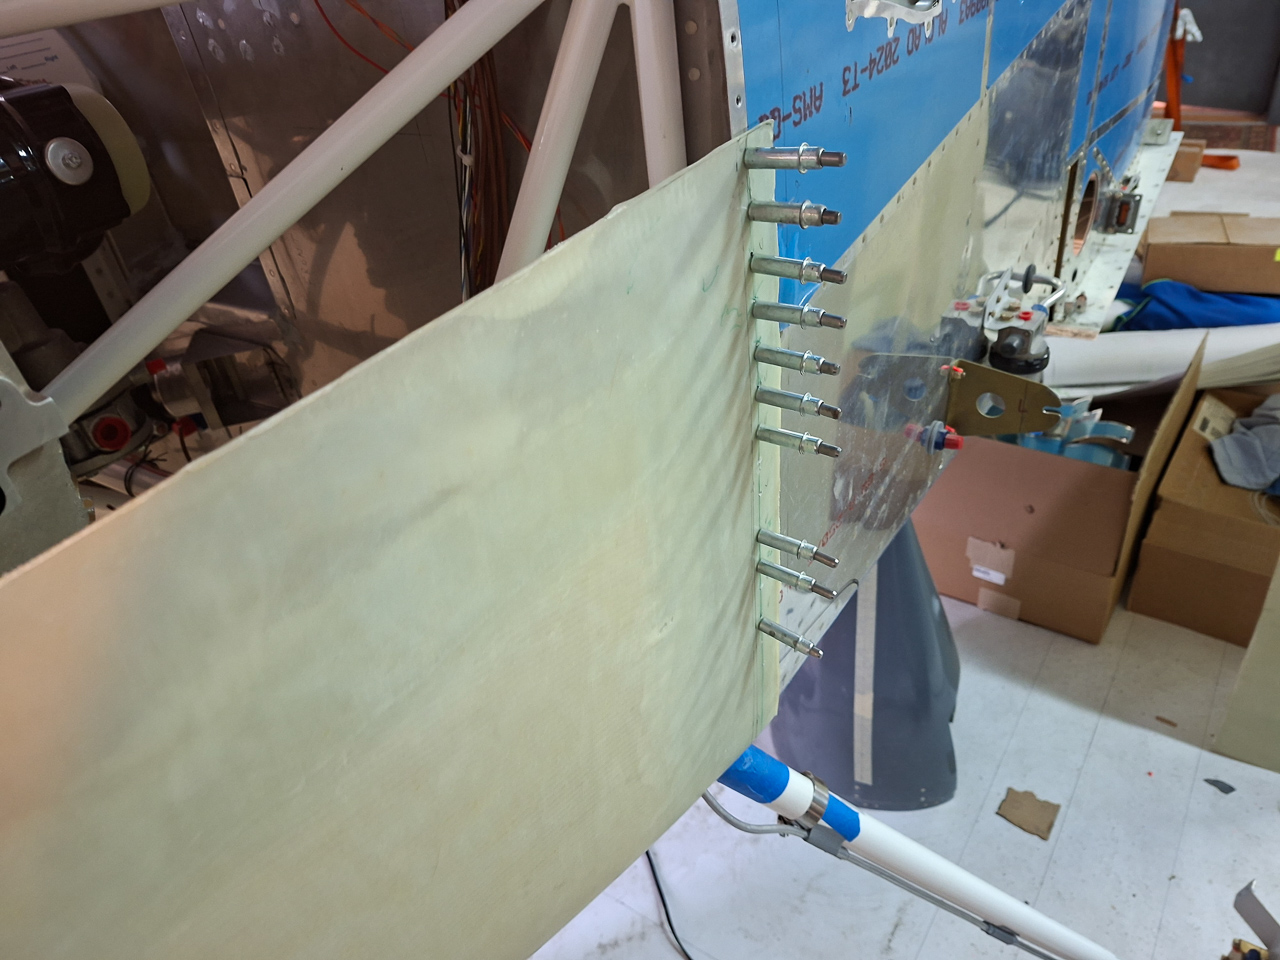
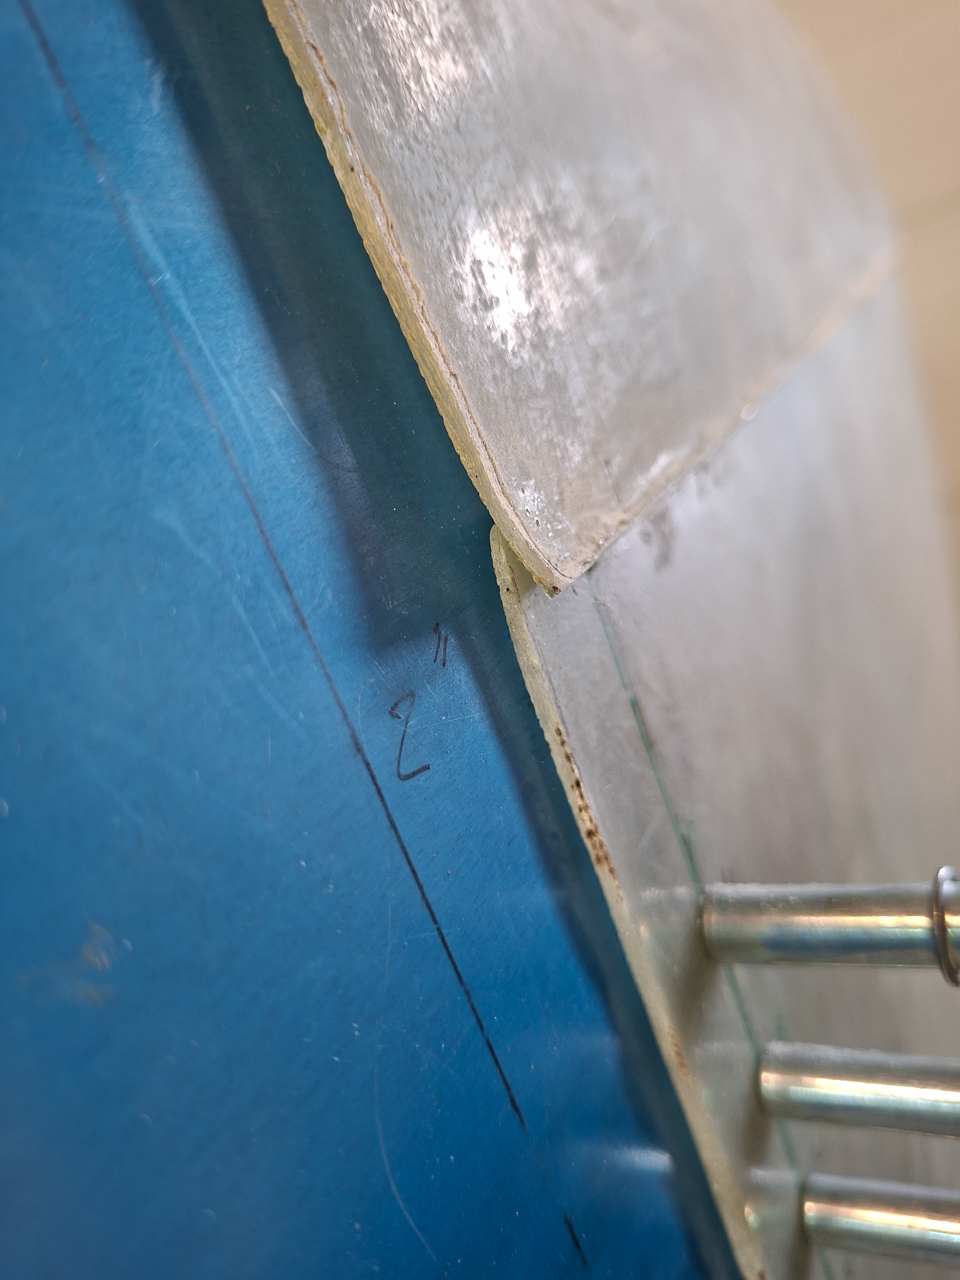
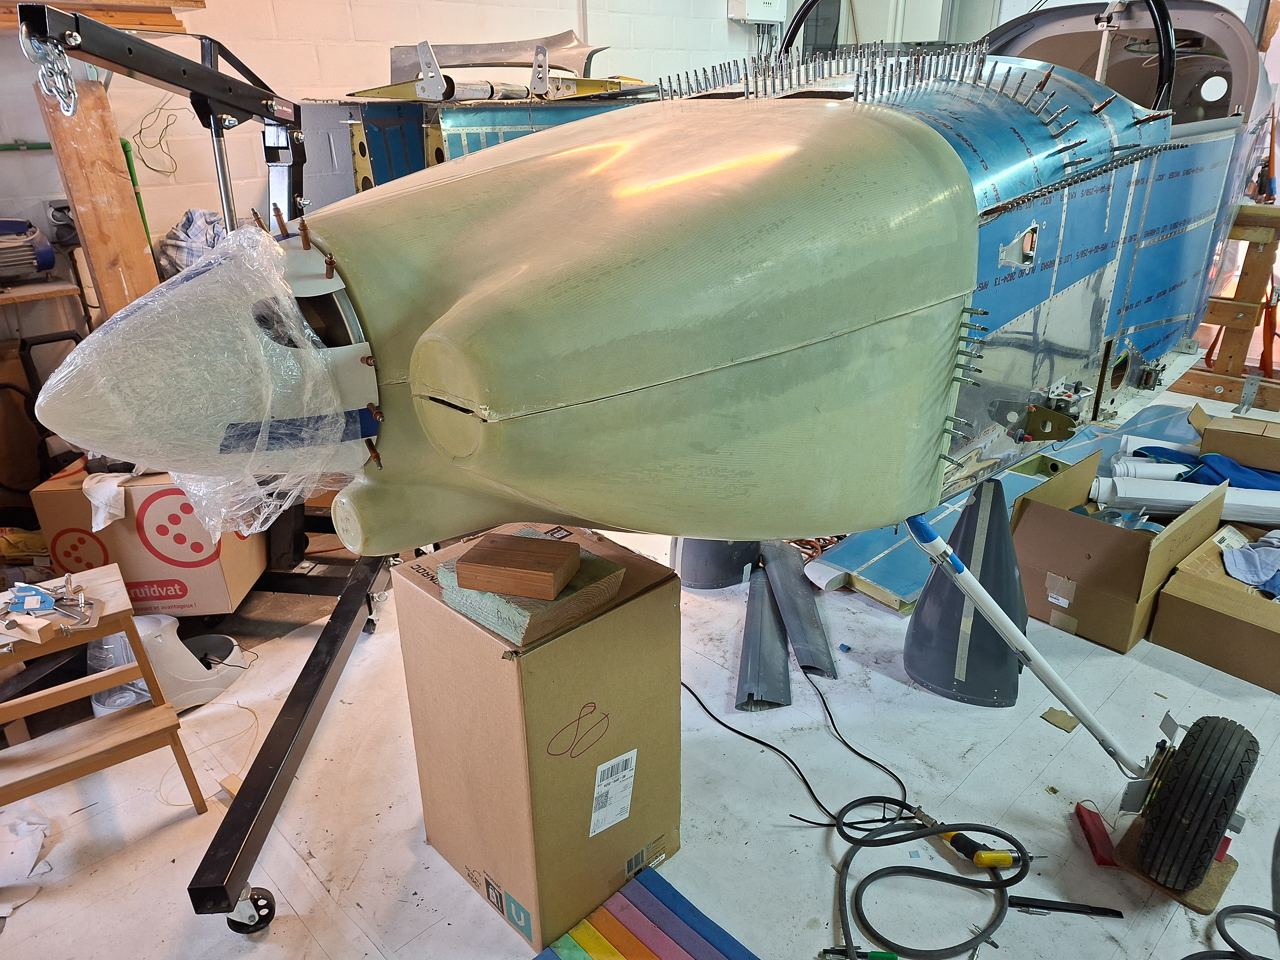
Here is a view from the side that illustrates what I just described. Use the front line of rivets on the firewall to your advantage.
The height of the sides of the cowl will be more or less equal on both sides. You can seee this on the image below where the top of the bottom cowling is pretty close to the same location as it is on the other side (image above)
I took this wide angle shot from the front showing the top cowl positioned over the drilled bottom cowl. It looks pretty cool.
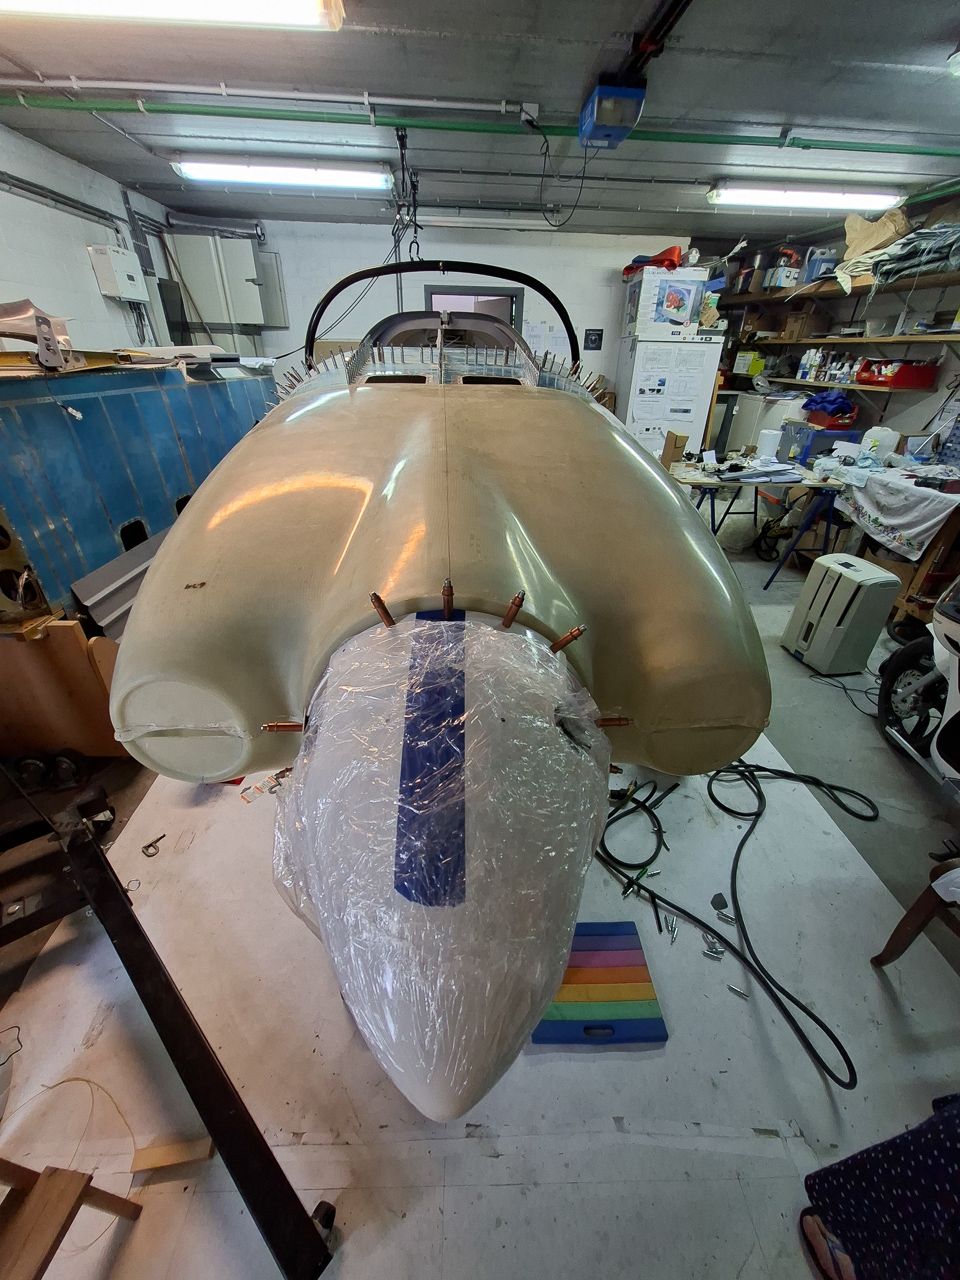
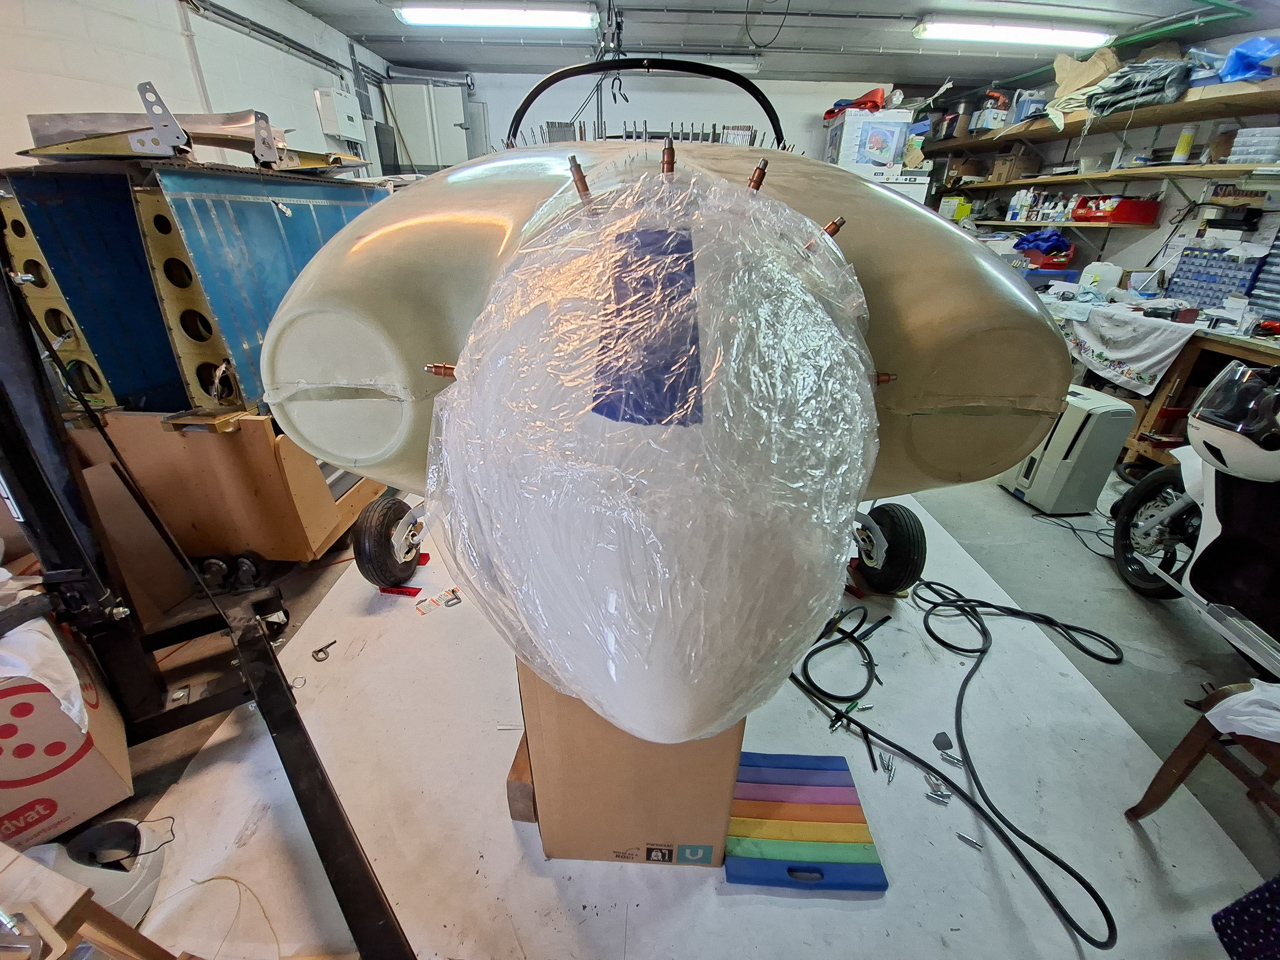
Little lower angle showing the 2 circular air intakes. Next step will be to sand and align the top and bottom cowl on that front line.
A view from the side. You clearly see the overlap on the sides. Don't cut anything on the sides at any point before your rear lines are cut and aligned with the firewall.
The overlap at the front is rough and not well defined. I will use the cardboard mockup of the intake rings and sand away material until I get a nice cirular opening and have the inner and outer front of the cowling in line.
The top cowl lays still high at this point as you can see in the image below. That is because that front line is not defined yet and material will need to be removed to lower the top. The bottom cowl is already well aligned with the bottom of the spinner to get a smooth air flow over the spinner onto the cowl spinner part.
This is how much epoxy is in my overlap. Not much to work with so defining the horizontal split line on the sides will - in the end - be more or less defined by this overlap.
The manual says you need a level line along the longerons as split line but measuring the front to middle of the overlap, the line looks like it will be slightly angled. Something only the master of the grand jury of the beauty contest will spot and honestly after 15 year in the build, I want to fly and not win kit prizes.