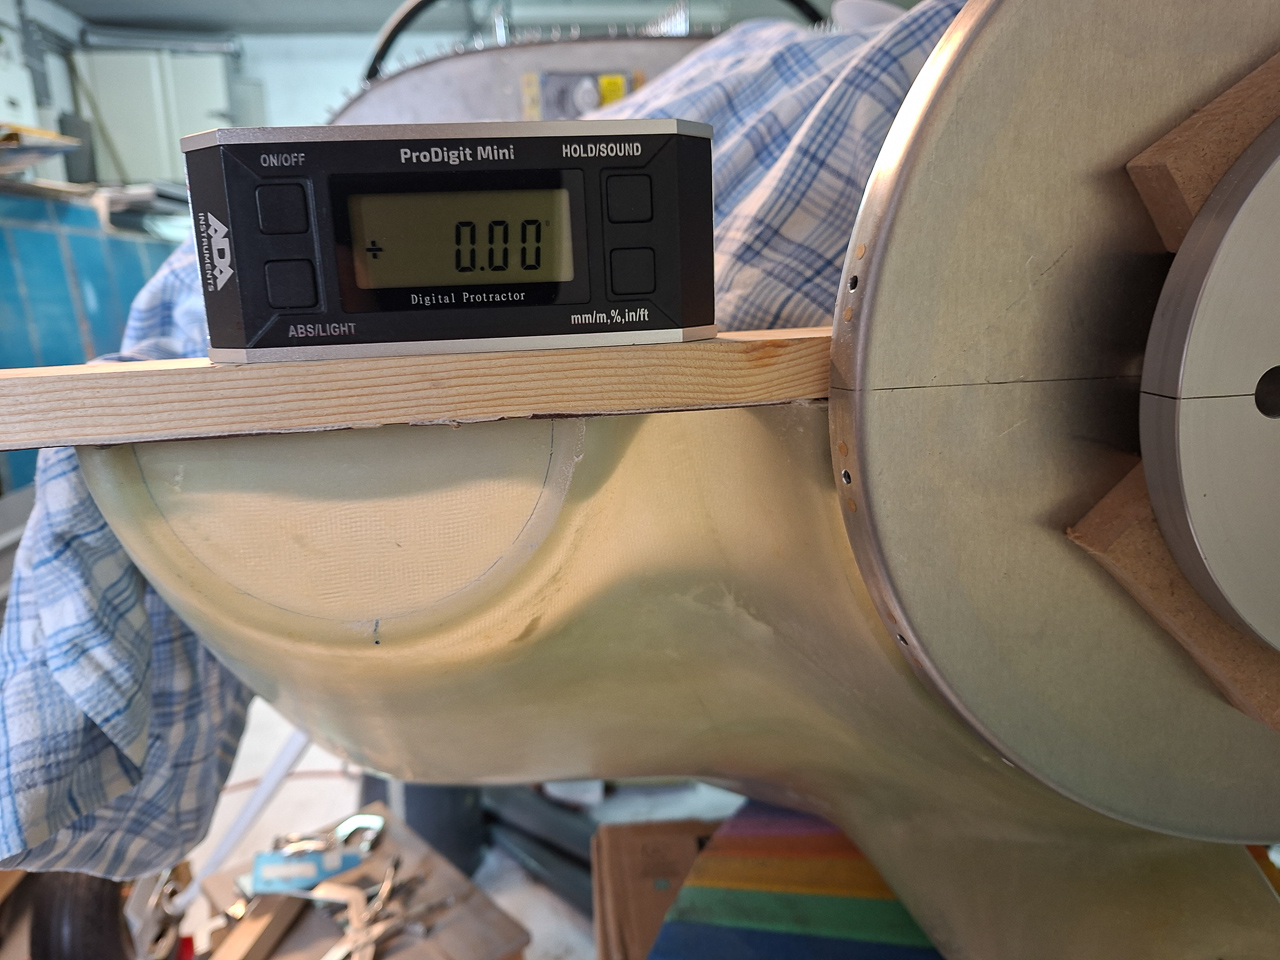
Today I worked on the forward line of the top and bottom cowling. This is a first step before you start cutting at the rear. The previous work sessions, I locked the position of the bottom cowling in place. Now I started sanding the bottom cowl line flat so that it is level. What I should also have done at this point is use a level, place it on the top of the spinner and measure the vertical distance between the elvel and the sides of the bottom cowl (the outer edges of the air intakes). This should be equal on both sides. I eyeballed it at this point but did this measuring later on and found that I was lucky.
What I did to is use a straight sanding block and put the level on it in order to make sure the front line stays level horizontally.
Other side I also got the 0 reading.
One thing I haven't mentioned yet in previous articles : whatever you do, do NOT sand without using a long sanding block. It is almost impossible to keep a long line straight and level by sanding using only 2 fingers or the palm of your hand. Glue and stick the sanding paper to a long wood sanding block. That's the only way to make this work.
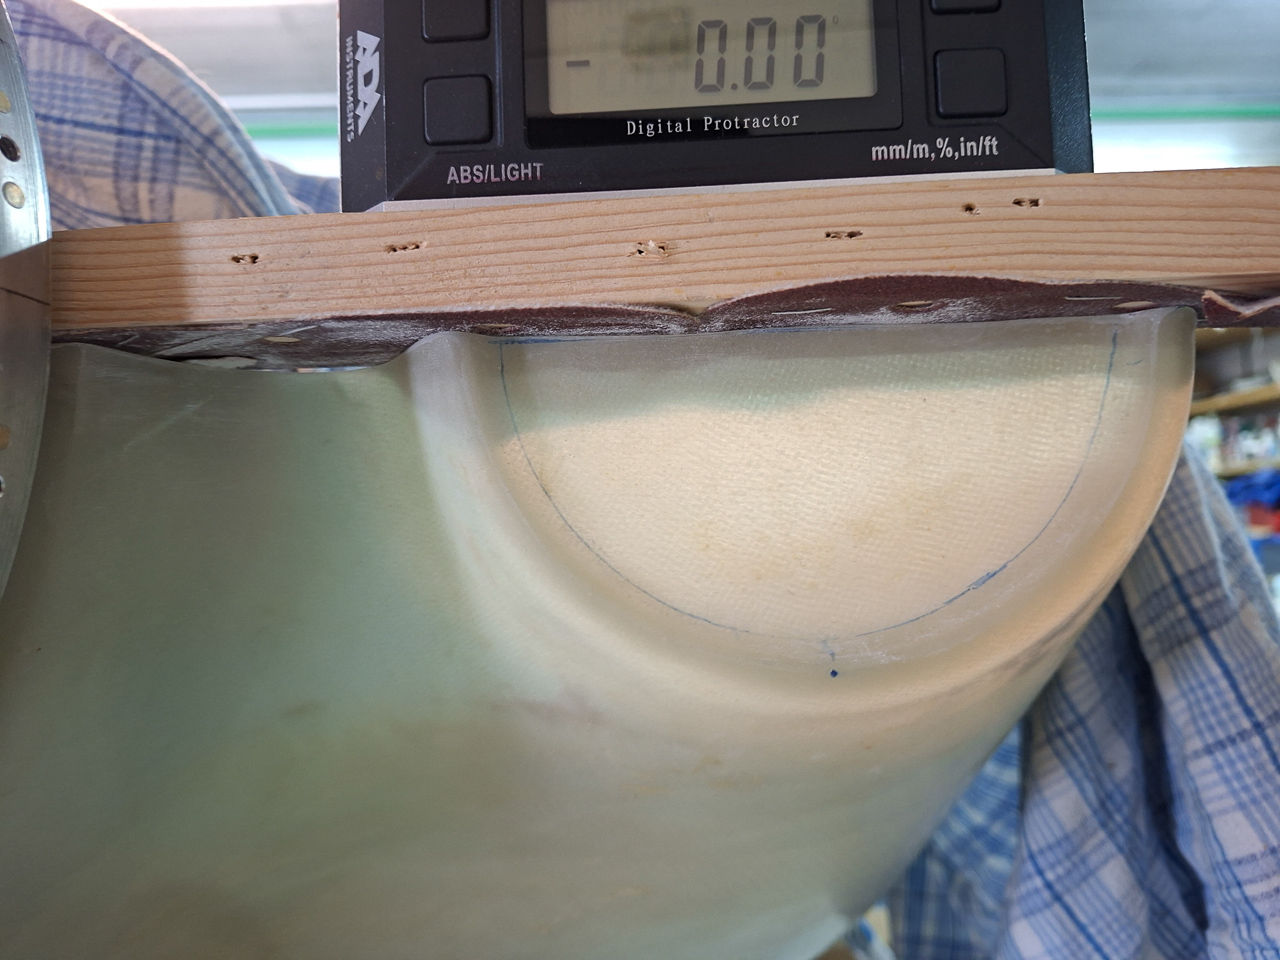
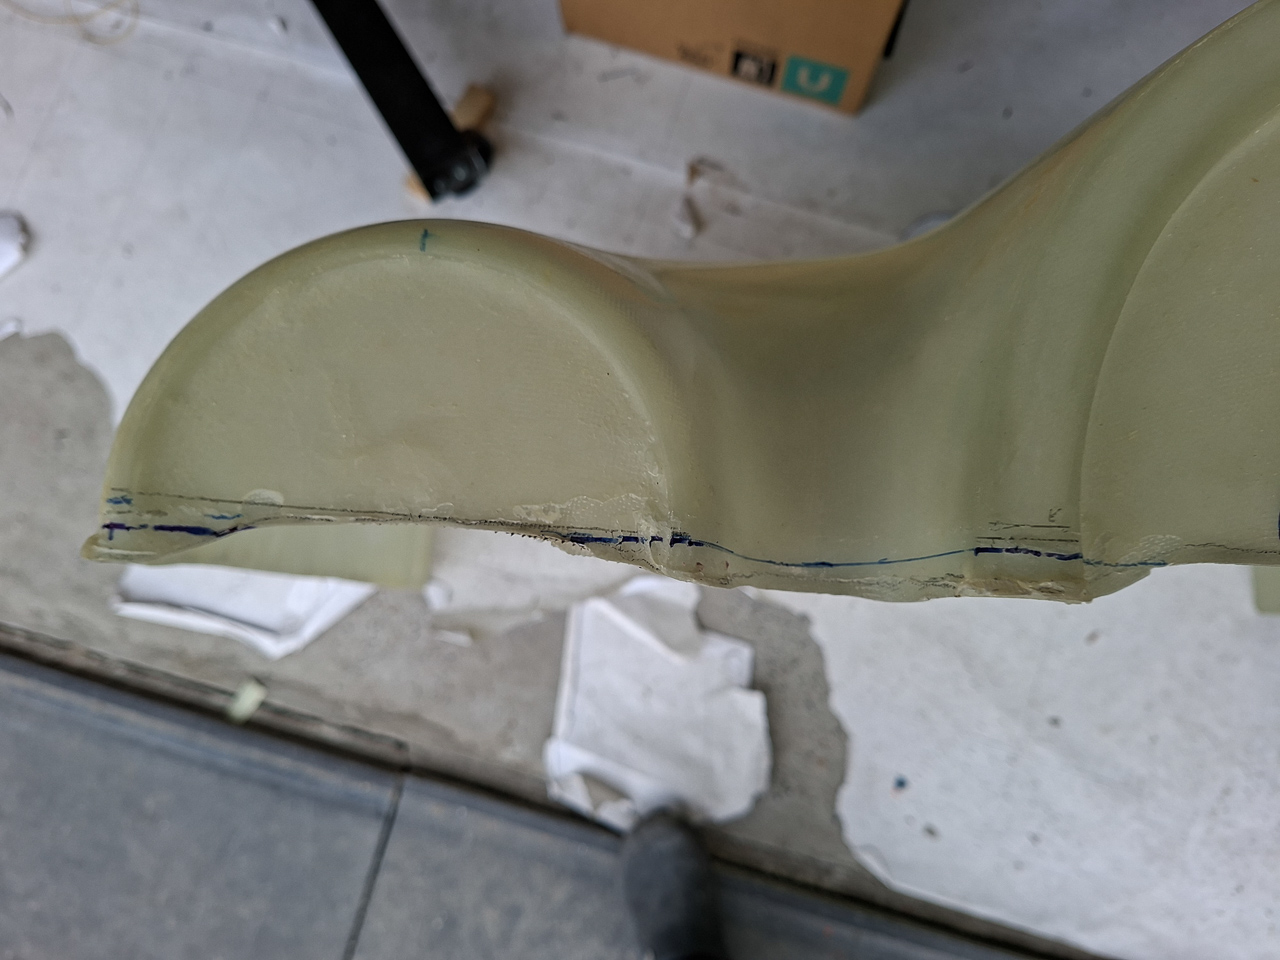
Here is the finish of the lower cowl split line.
Then I started matching the top onto it. I drew a cut line on it but stayed far away from it when doing the initial cuts. You don't have to remove much and it's quite difficult that make the line straight with all the compound curves at the front. A tricky process. Trust on your long sanding block to get the line straight.
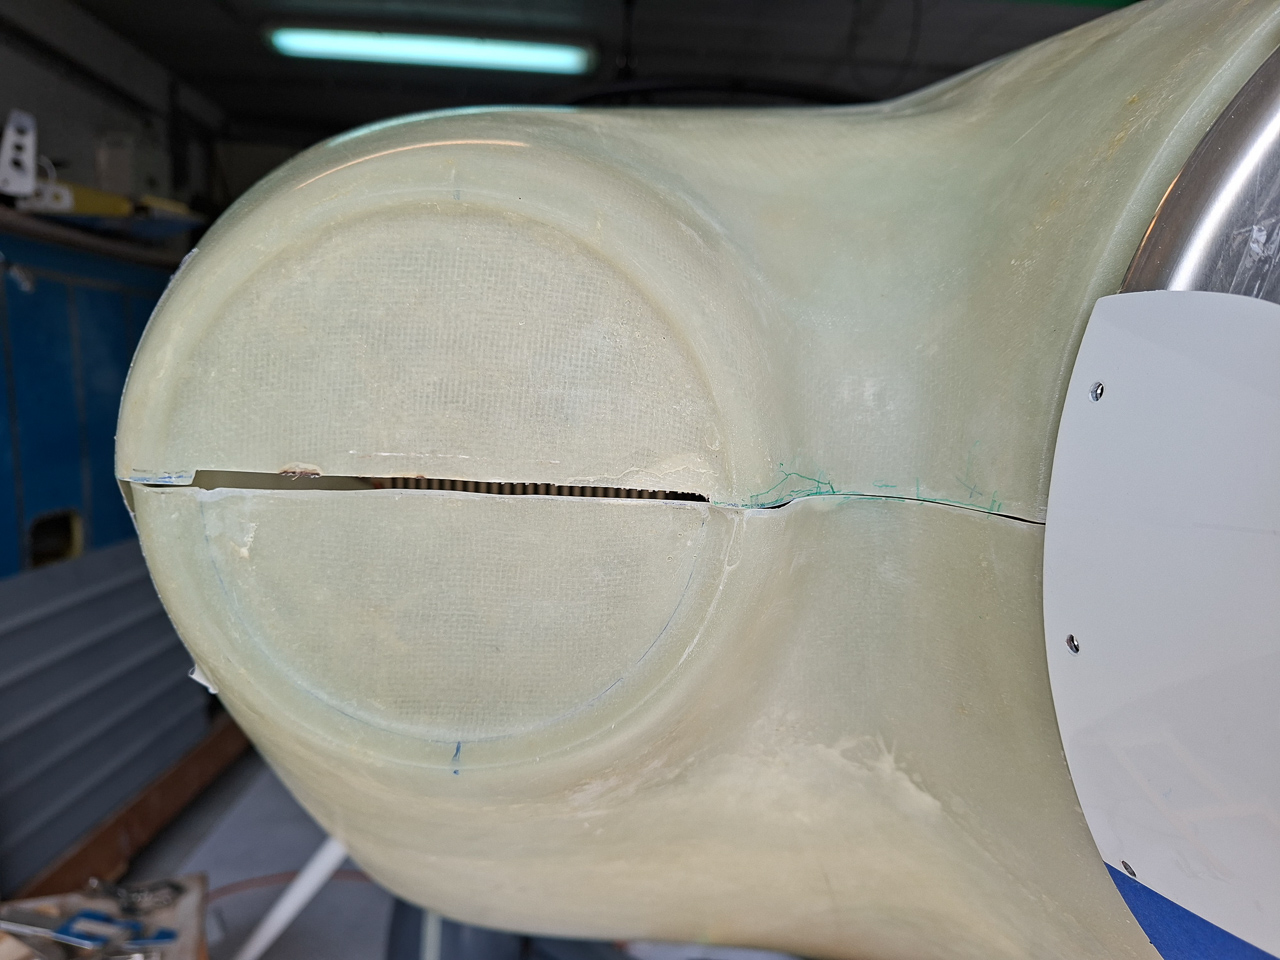
After initial cut, I got closer to a fit but it was far from perfect. You can clearly see here that the rear part between air intake and the spinner still had too much material on it. I used the sanding block to take away material from both the top and bottom cowl in the rear cavity.
Some iterations later, closer but still not perfect
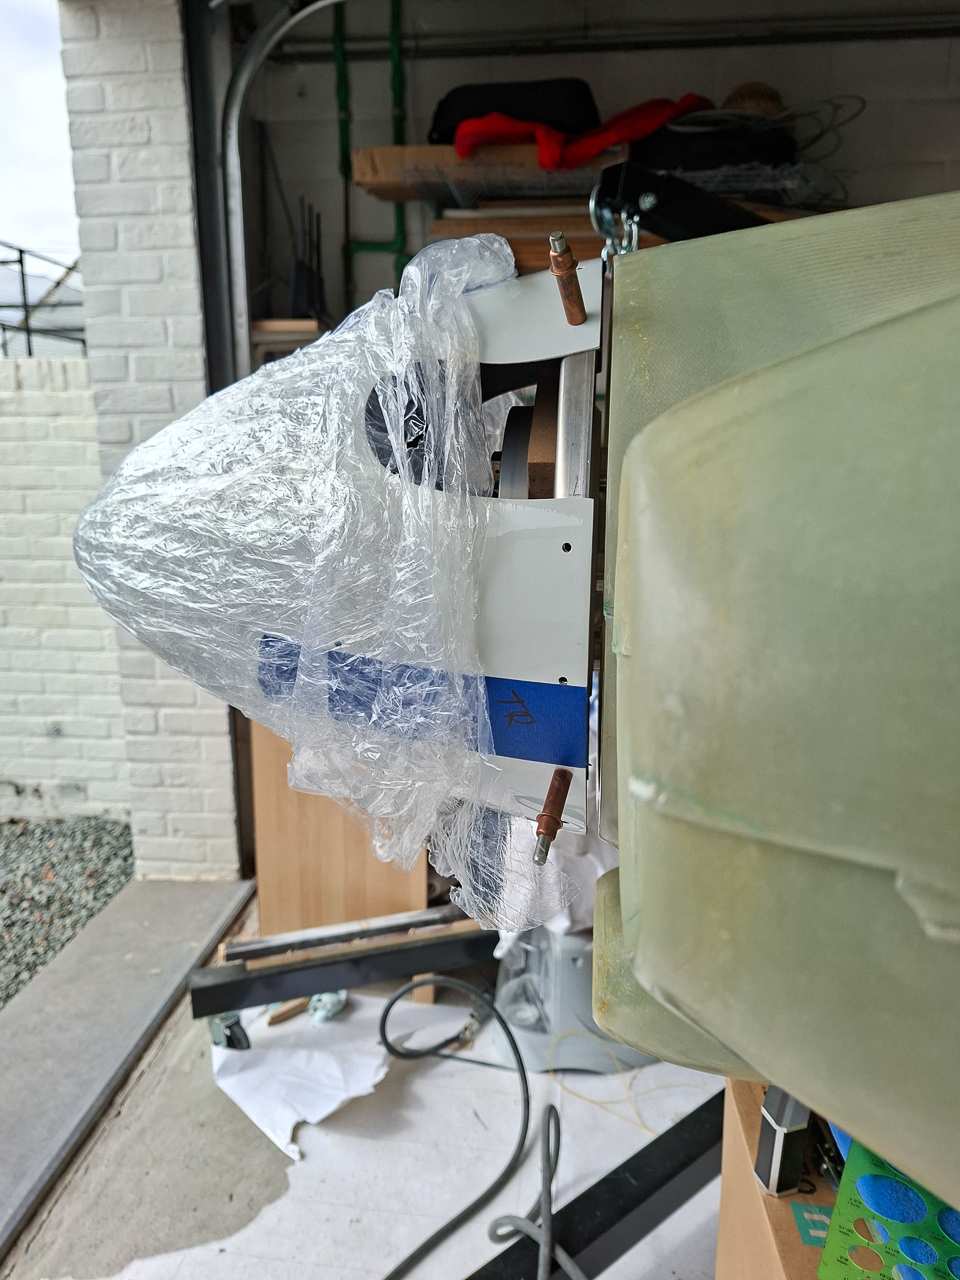
Much better already though compared to what you see in the first picture.
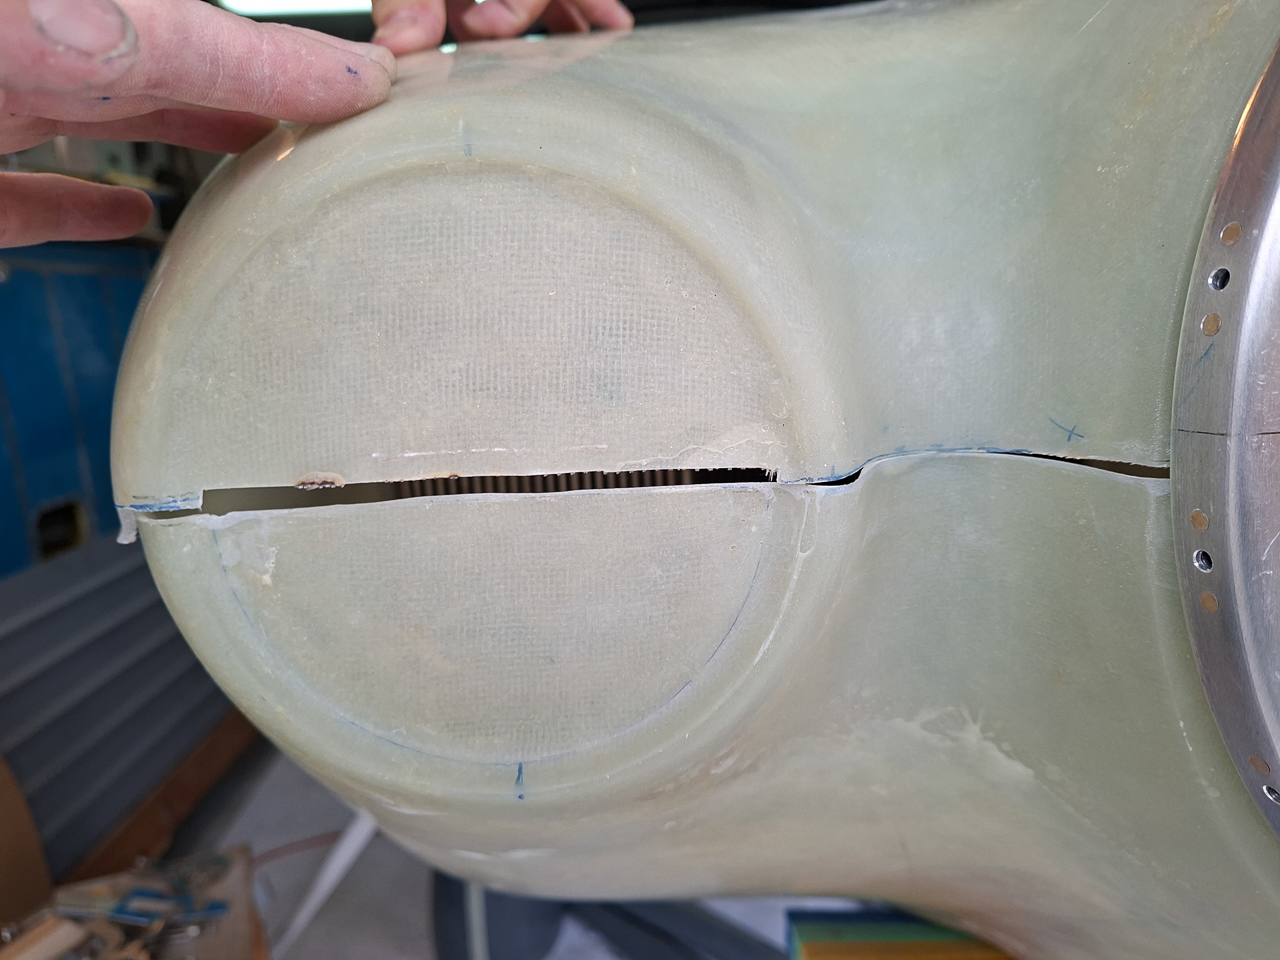
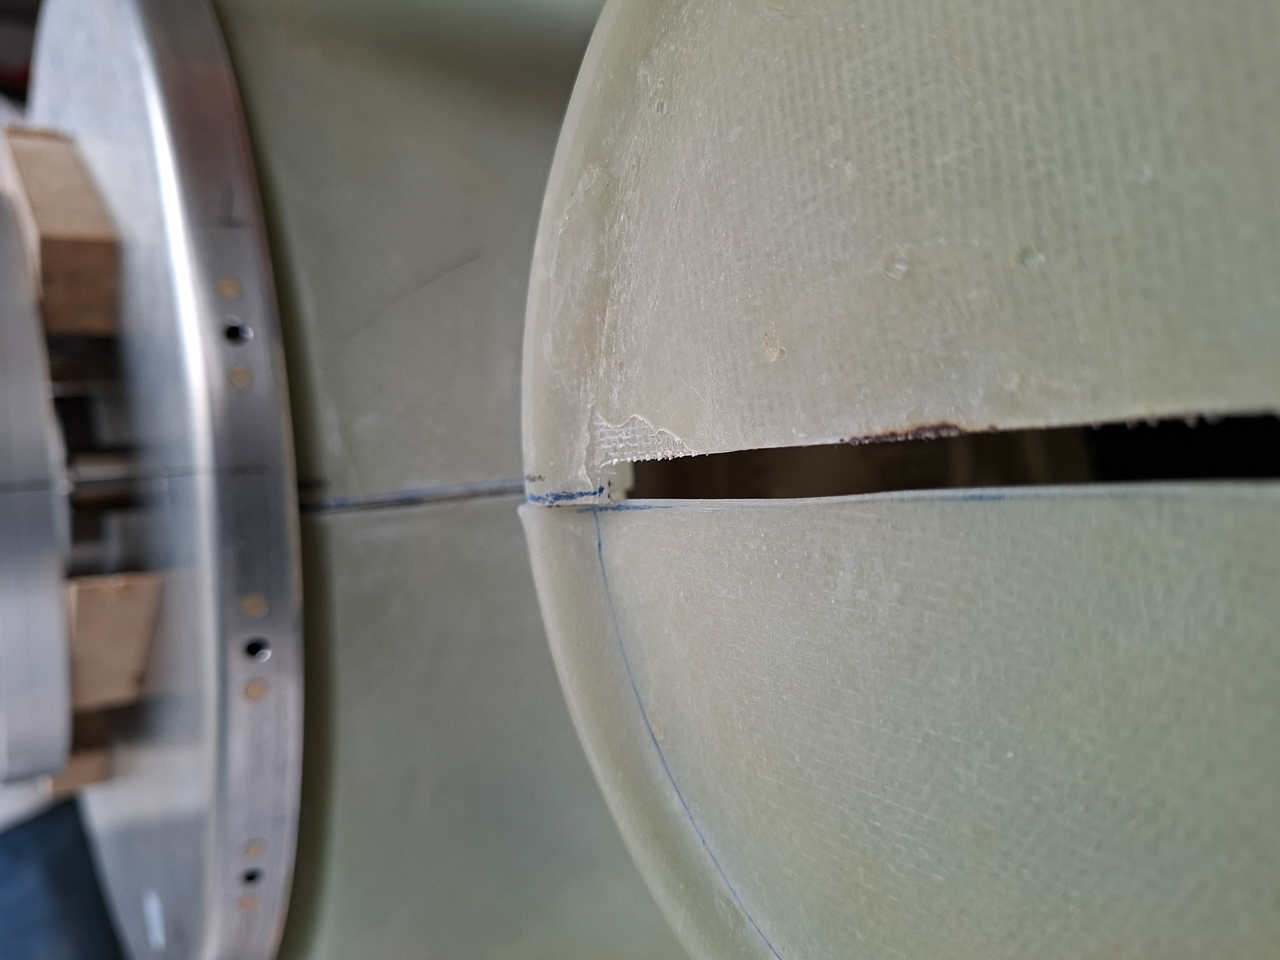
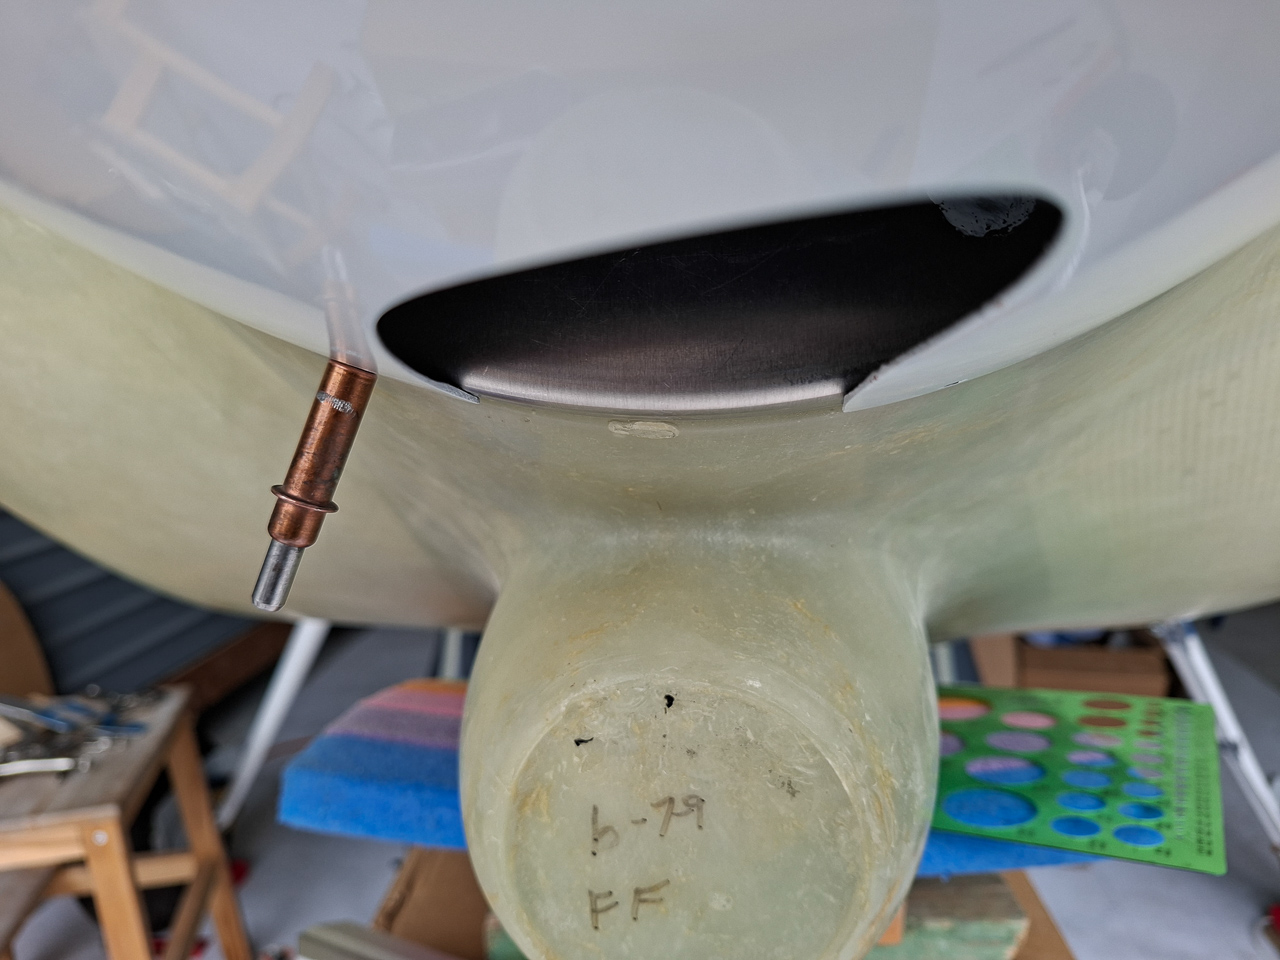
To make the fit clearer I needed to take away a bit of material in the void space between to top and lower air intake part. it really doesn't matter how that part fits as it will be cutout later anyway. I didn't want to be influenced by that so I cut out a small strip so the focus would lay on the middle and sides of the front cowl. (the black part of the image below is what I cut out)
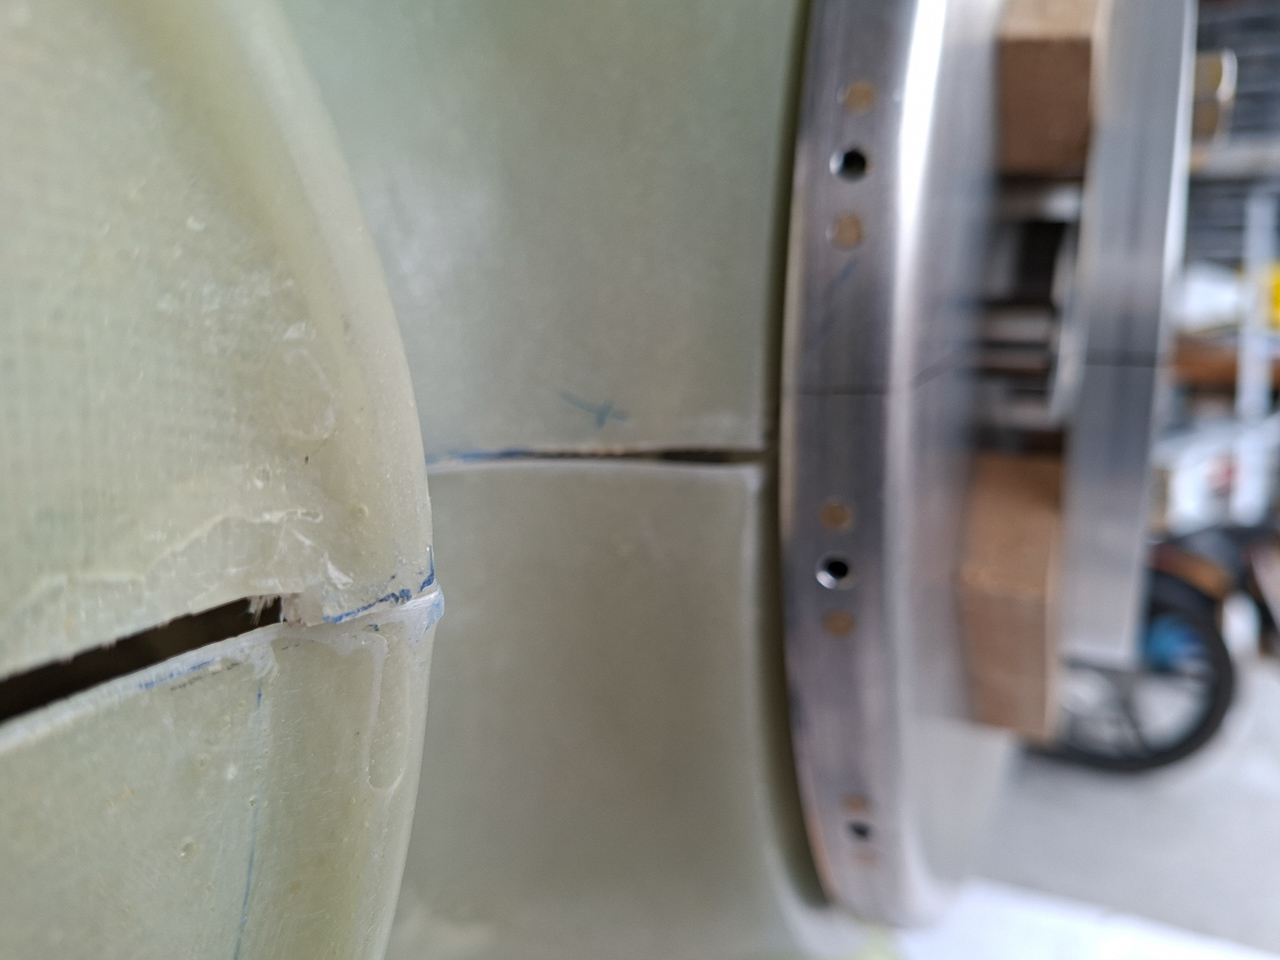
Some iterations later I got to this point on the left and right side.
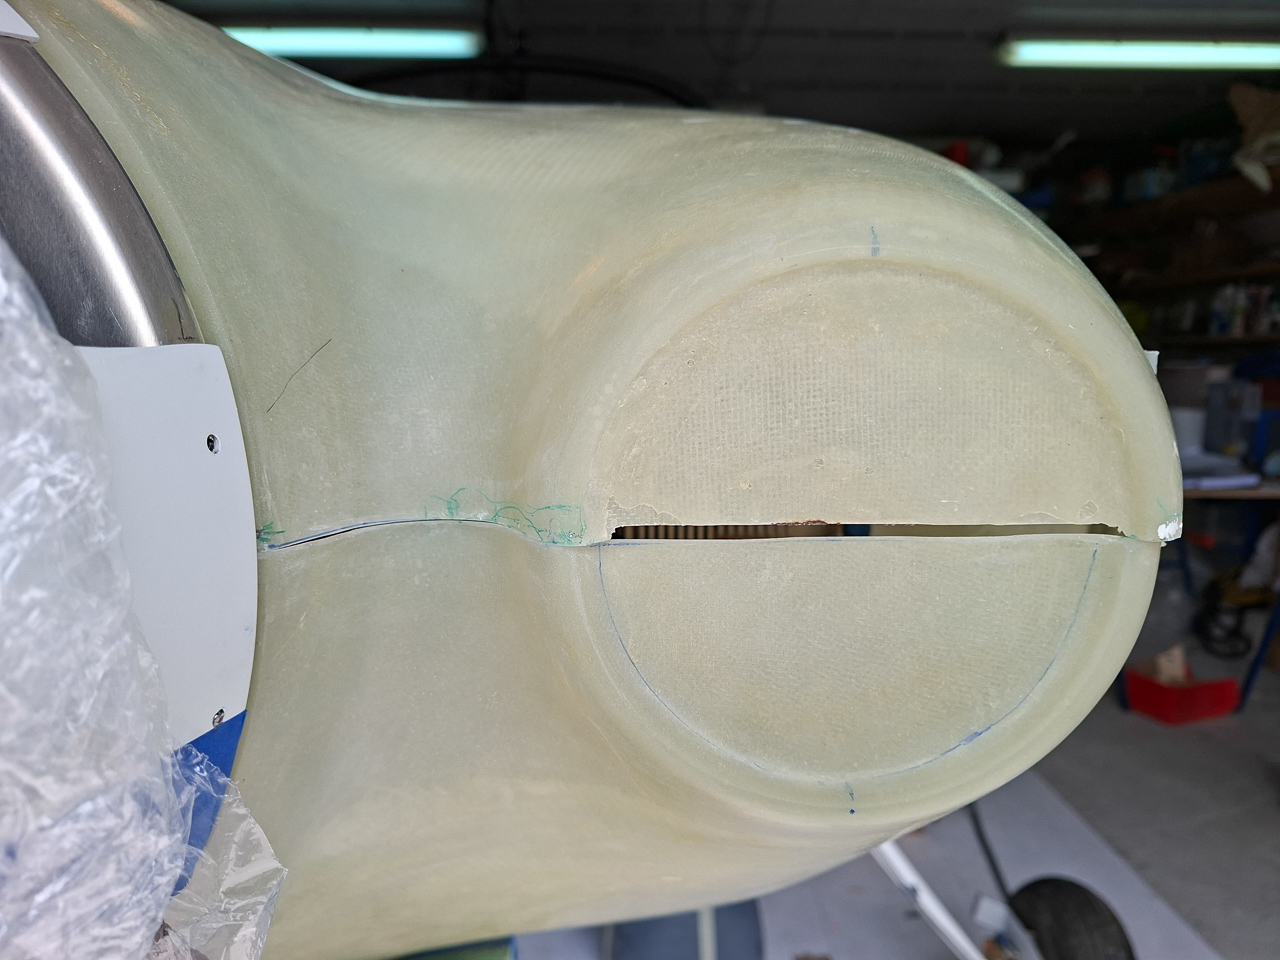
You can't call it perfect, but it's damned close to a straight line. I you get it this close, don't stress any further in trying to make it perfect. At this point you want to get very close to what it will become, but it ain't final yet. It's close enough though to start trimming the rear side.
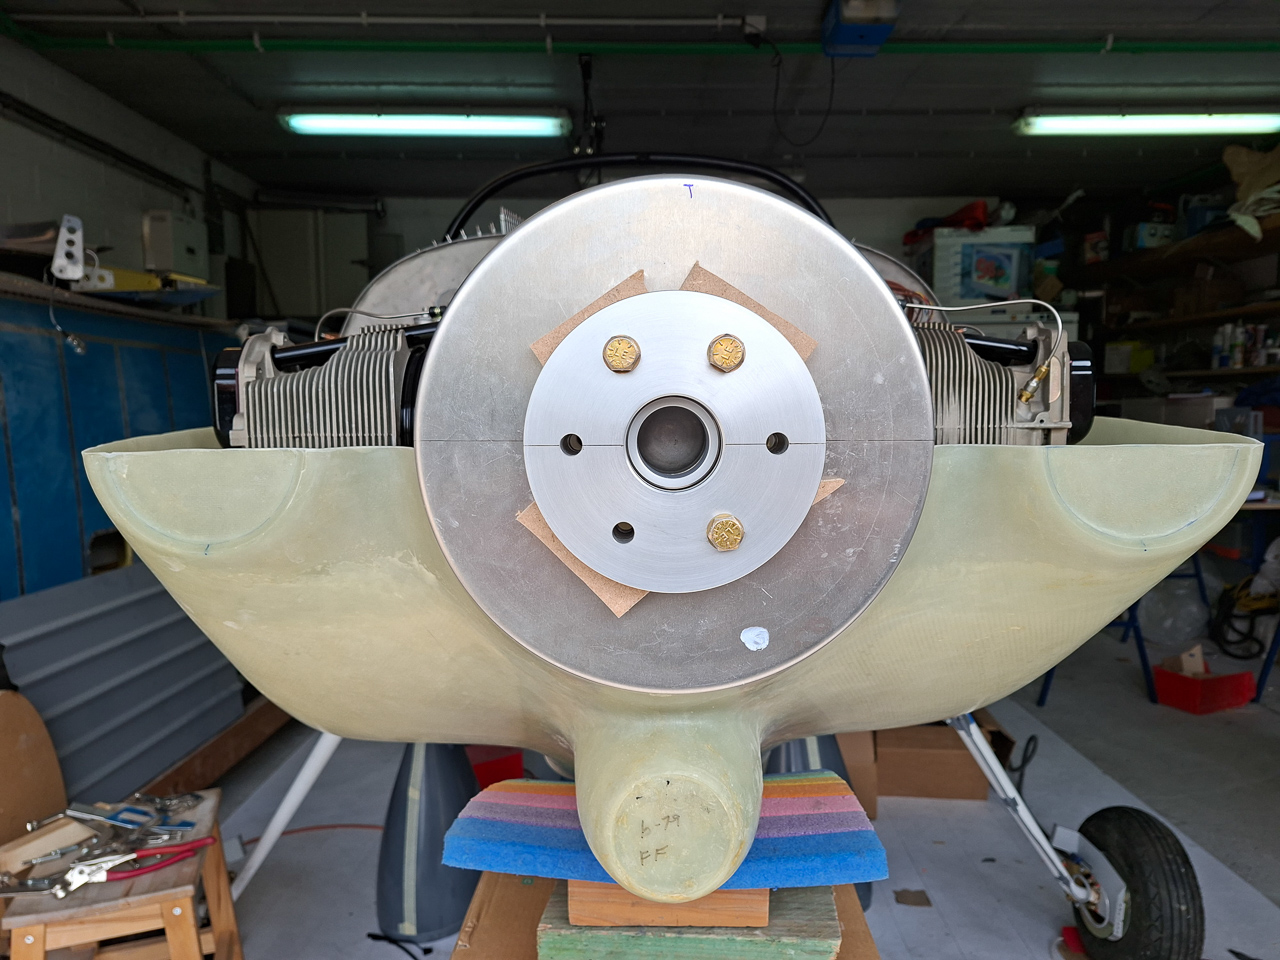
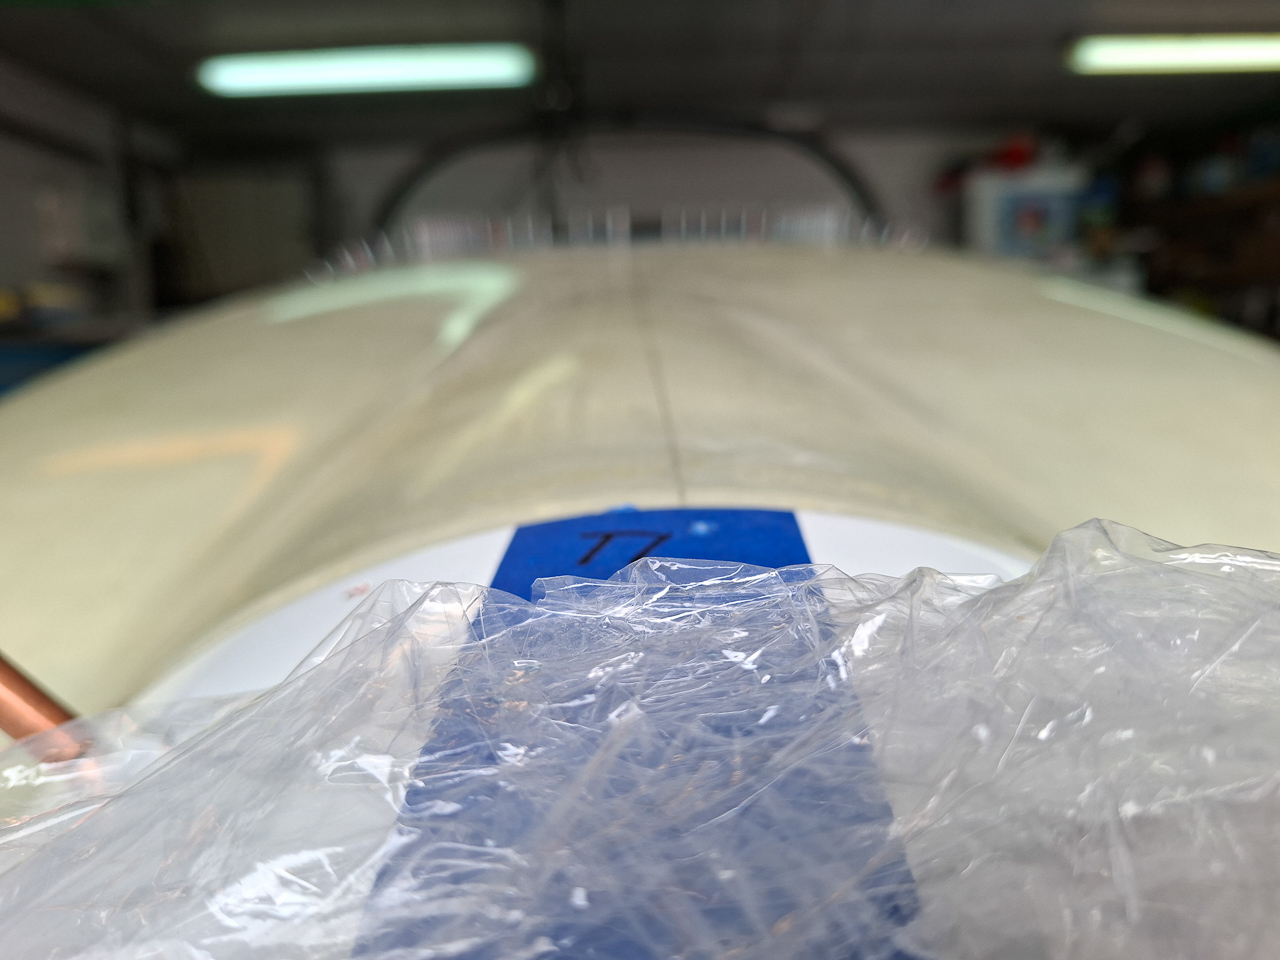
The top cowl aligns well now with the top of the spinner. It's almost equal to the height of the spinner.
At the bottom side, the spinner also sits flush with the bottom cowl.
So far... so good
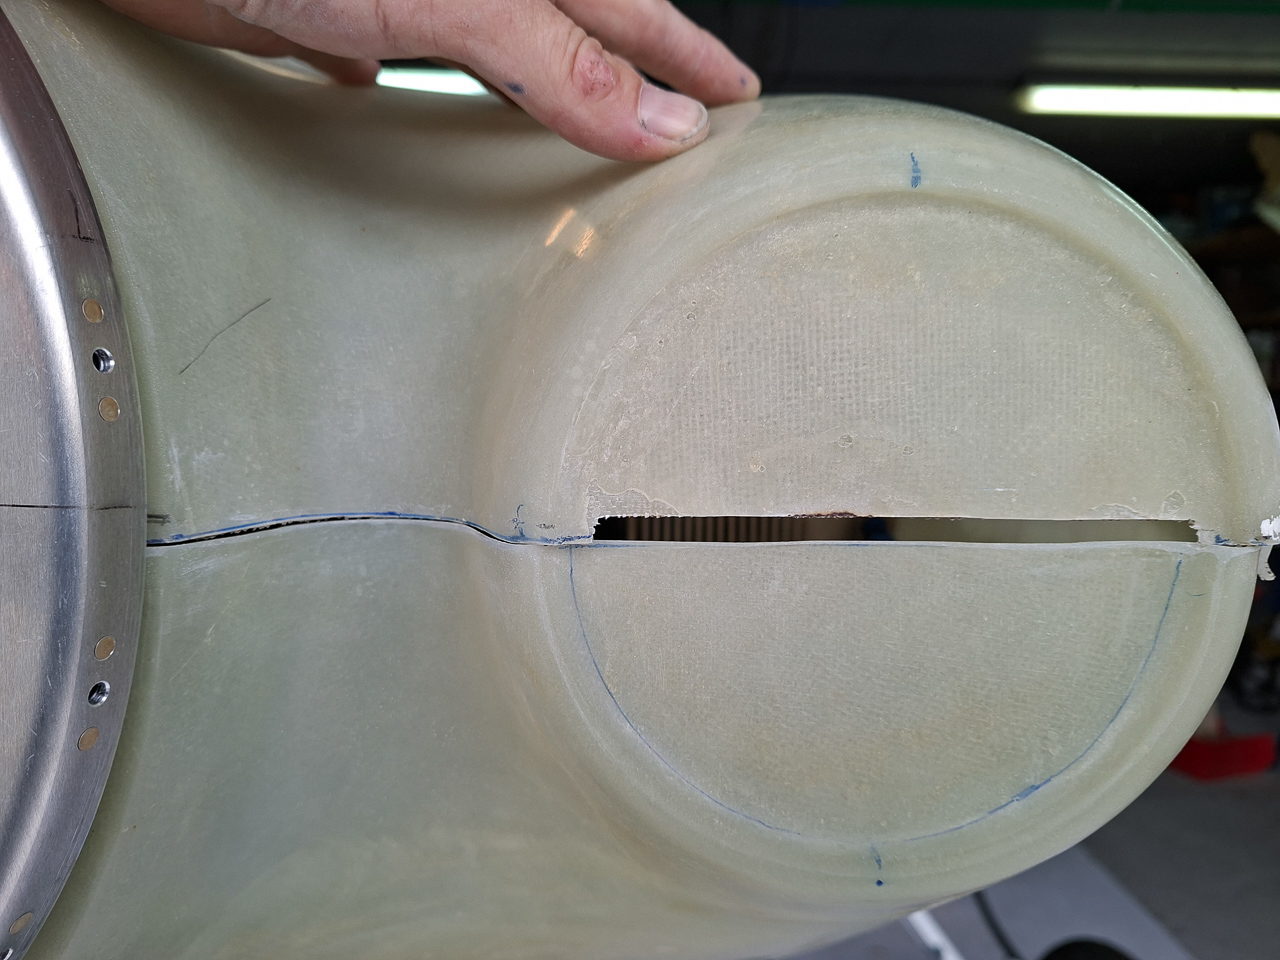
You can see the relation of the top and bottom cowl to the spinner in the image below.
The spacing between the spinner and cowl lengthwise also still looks ok. The image doesn't really show it well but in reality the fit was ok.