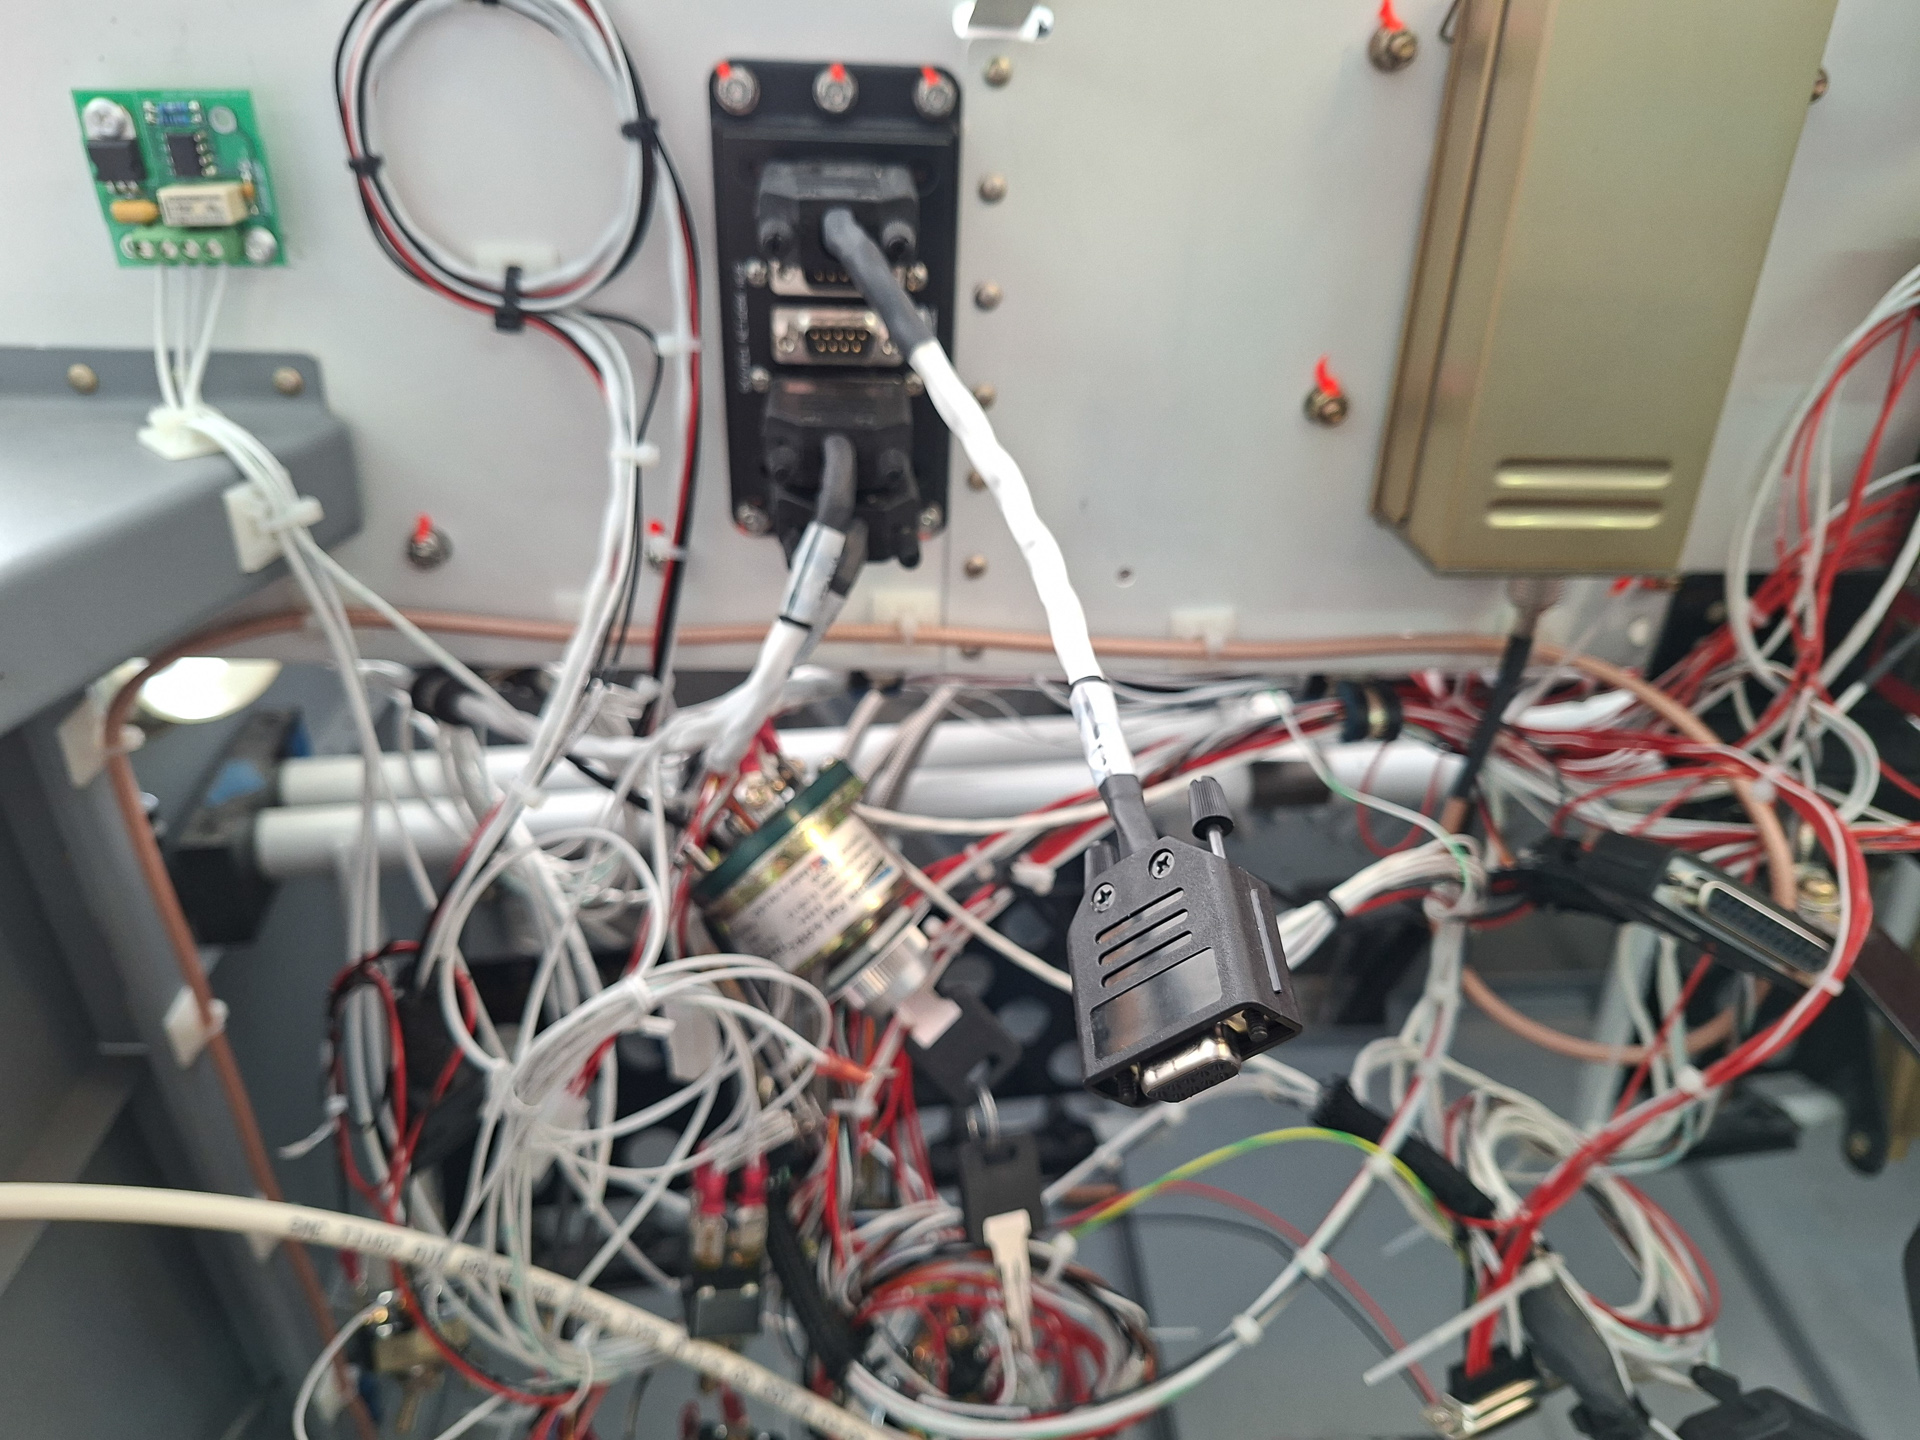
One of the more dreadfull tasks when building an airplane project is bending fuel lines. Doing this work requires skill and in my case I feel it's more like doing a piece of art than doing something technically. You get a coil of aluminum tubing and need to stretch it into a long straight line. Once that is done, you have to put bends in at the right location and the right angle without crooking the inner diameter of the tube. This sounds easy but it's not.
I still had to do the connection piece from the auxiliary fuel pump to the firewall. This funky part runs under the middle cover and ends up on the firewall in an AN fitting.
I am finally satisfied with my aux fuel pump support brackets and verified that the conduit with electrical wiring can pass underneath them. So the position of the pump is now defined and this last piece of fuel line was still missing.
Anytime there are tight turns inolved and flaring immediatly behind it, it creates additional difficulties. It took me a full day to get this to the result below.
I actually restarted 2 times scrapping a lot of material. First the bends didn't turn out well, second time I accidentally bent the last part in the opposite direction and cursed the hell out of me. 3rd time was a winner.
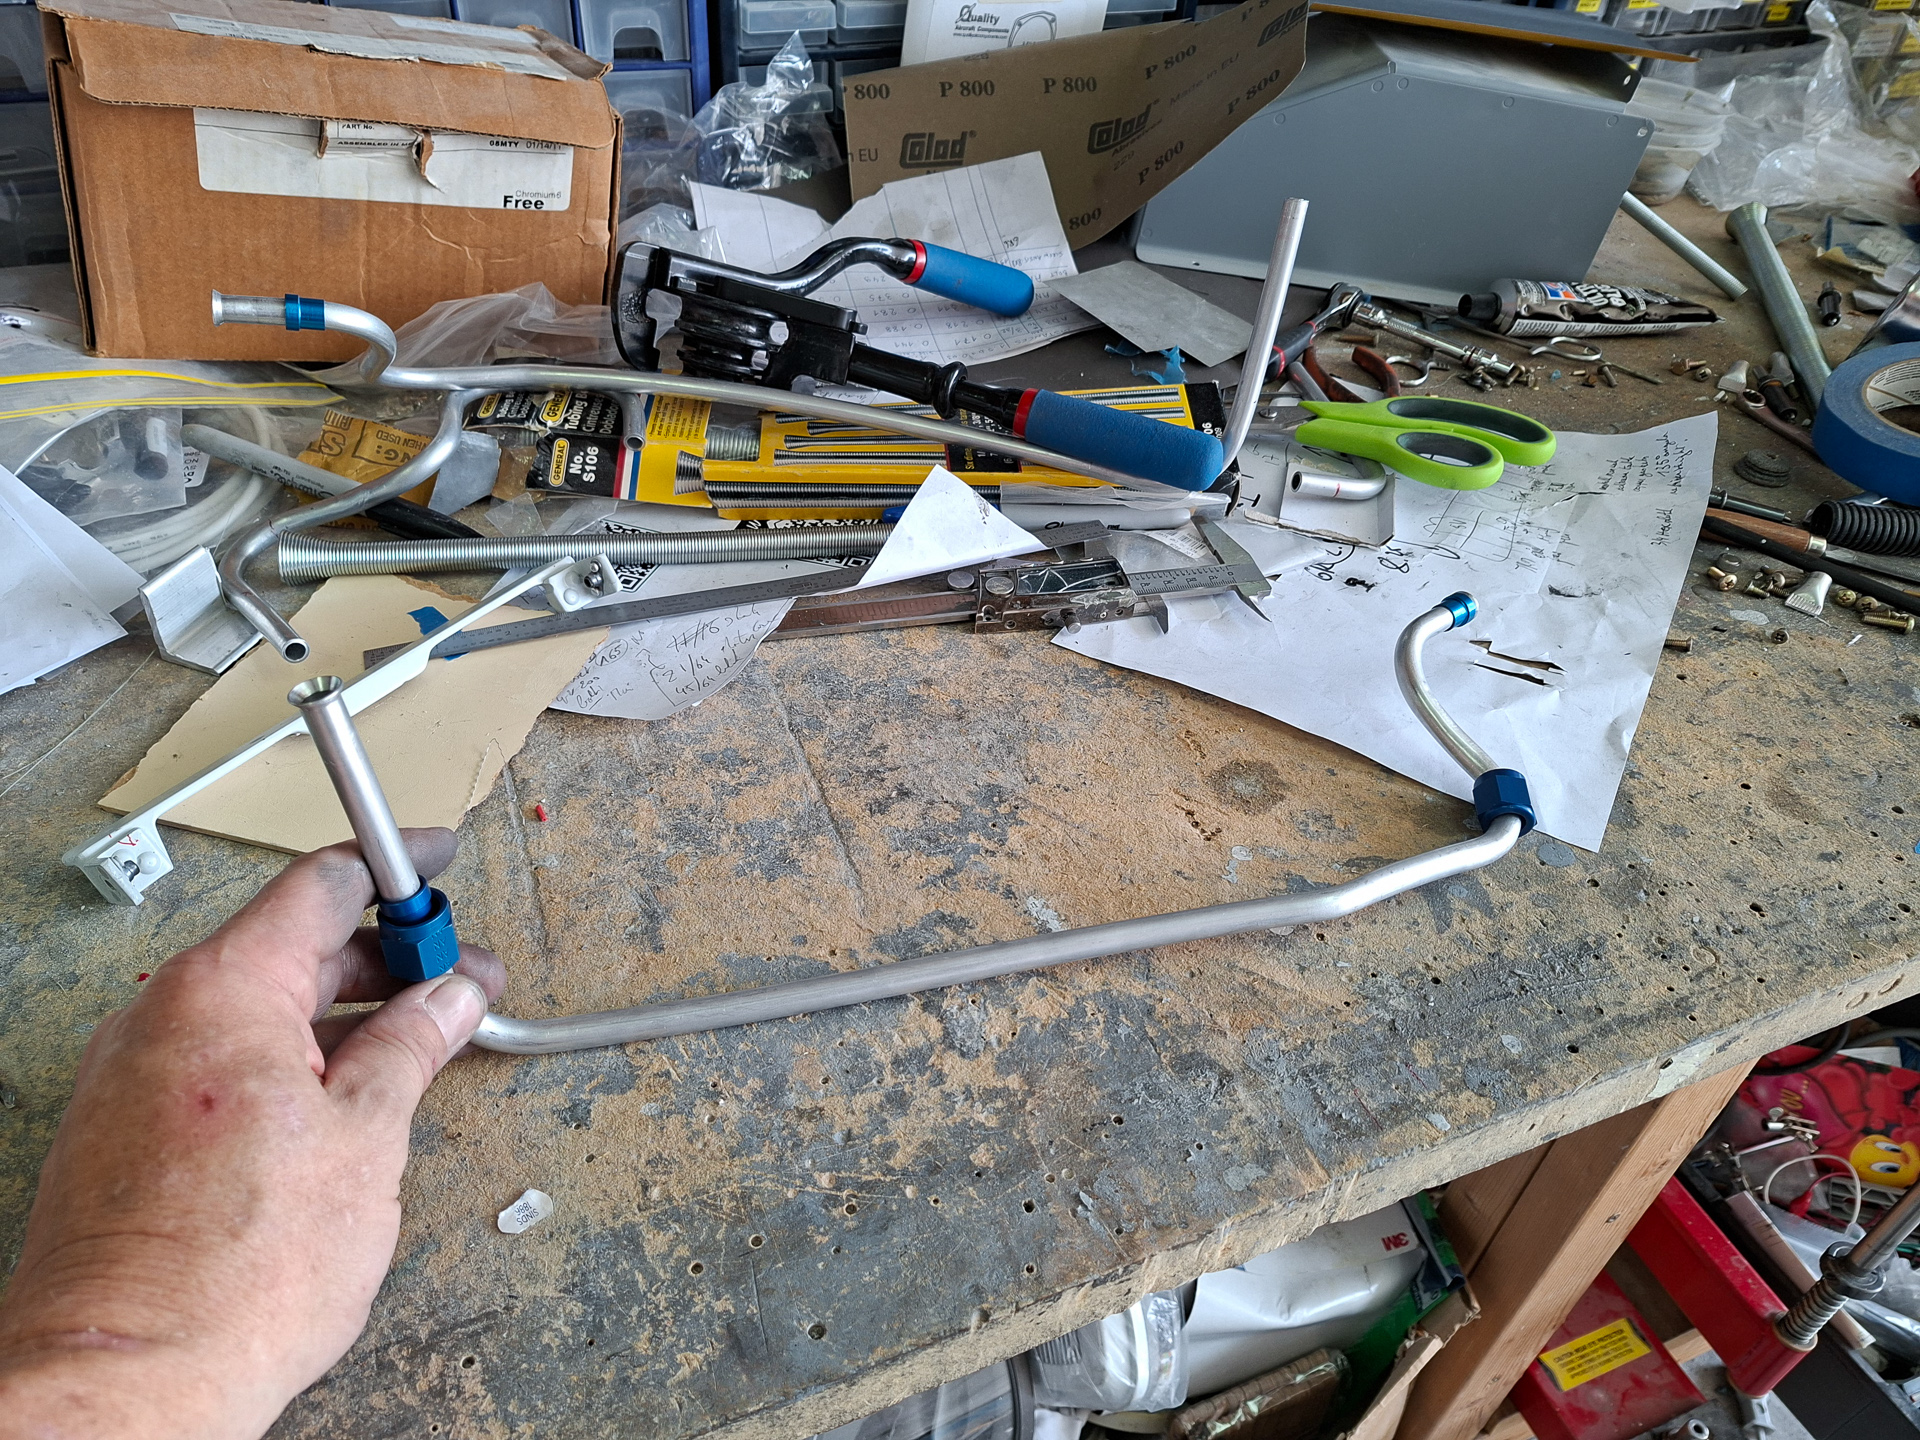
This is how it runs underneath the central cover plate. The wiring conduits also run underneath here and I had to check if the conduit could pass through next to the fuel line near the aux pump opening. It fits but it's hard to tell how the position is as you can't look underneath once it's installed.
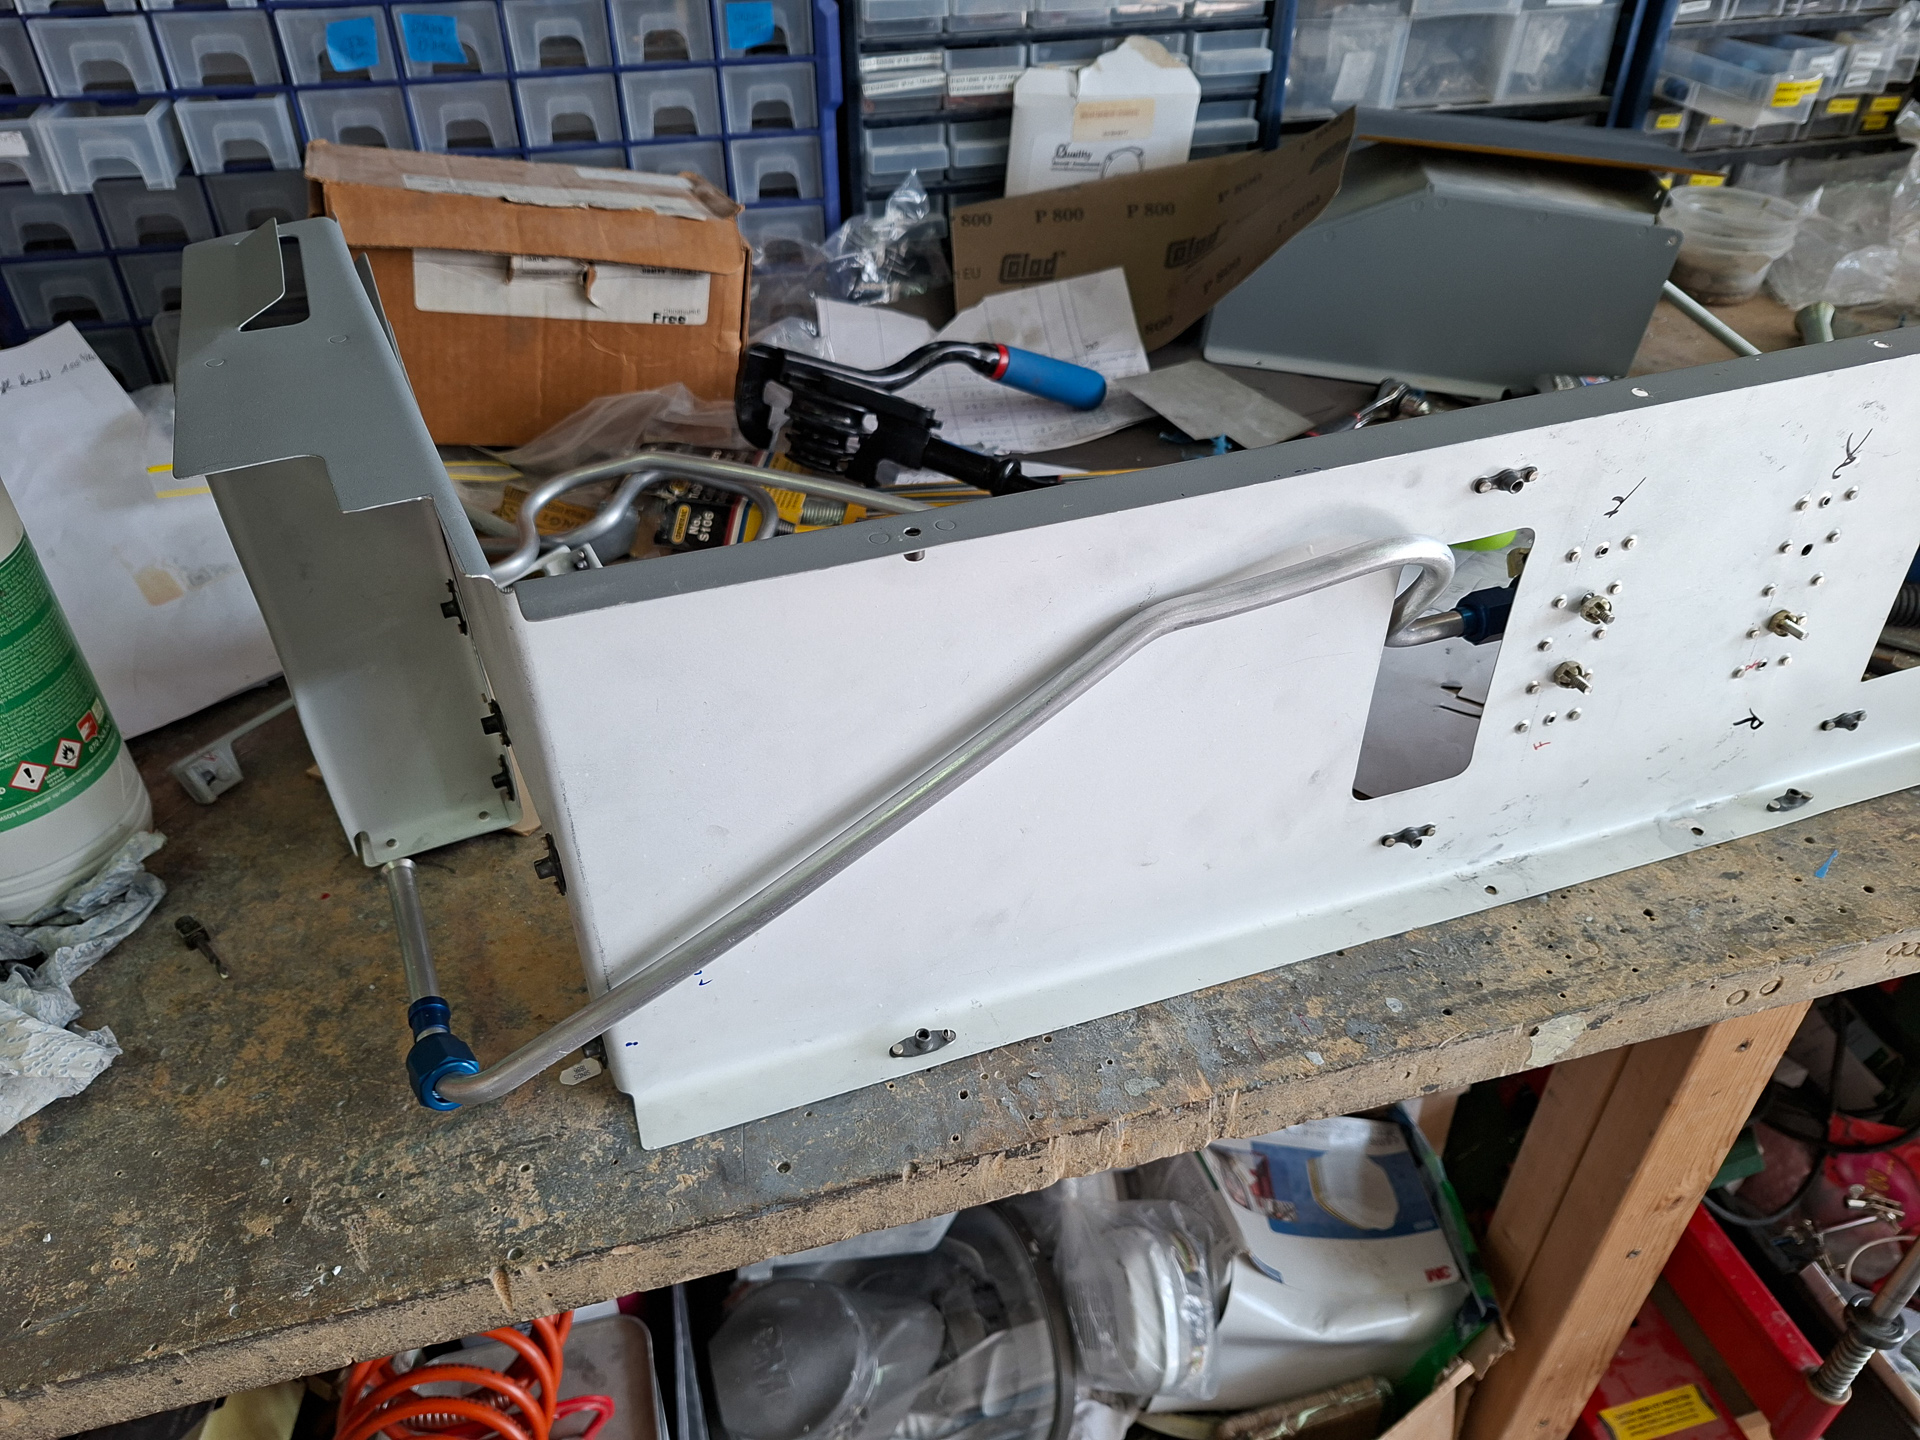
Here's how it connects to the fuel pump and bends under the cover.For safety, I removed some additional material (in the opening in the left corner in the image), to avoid chafing due to vibration. It's still covered by the dog house that goes on top of it so all is well.
On the firewall side, the line connects to the firewall passthrough elbow fitting. the conduit with main wiring bundle runs next to it.
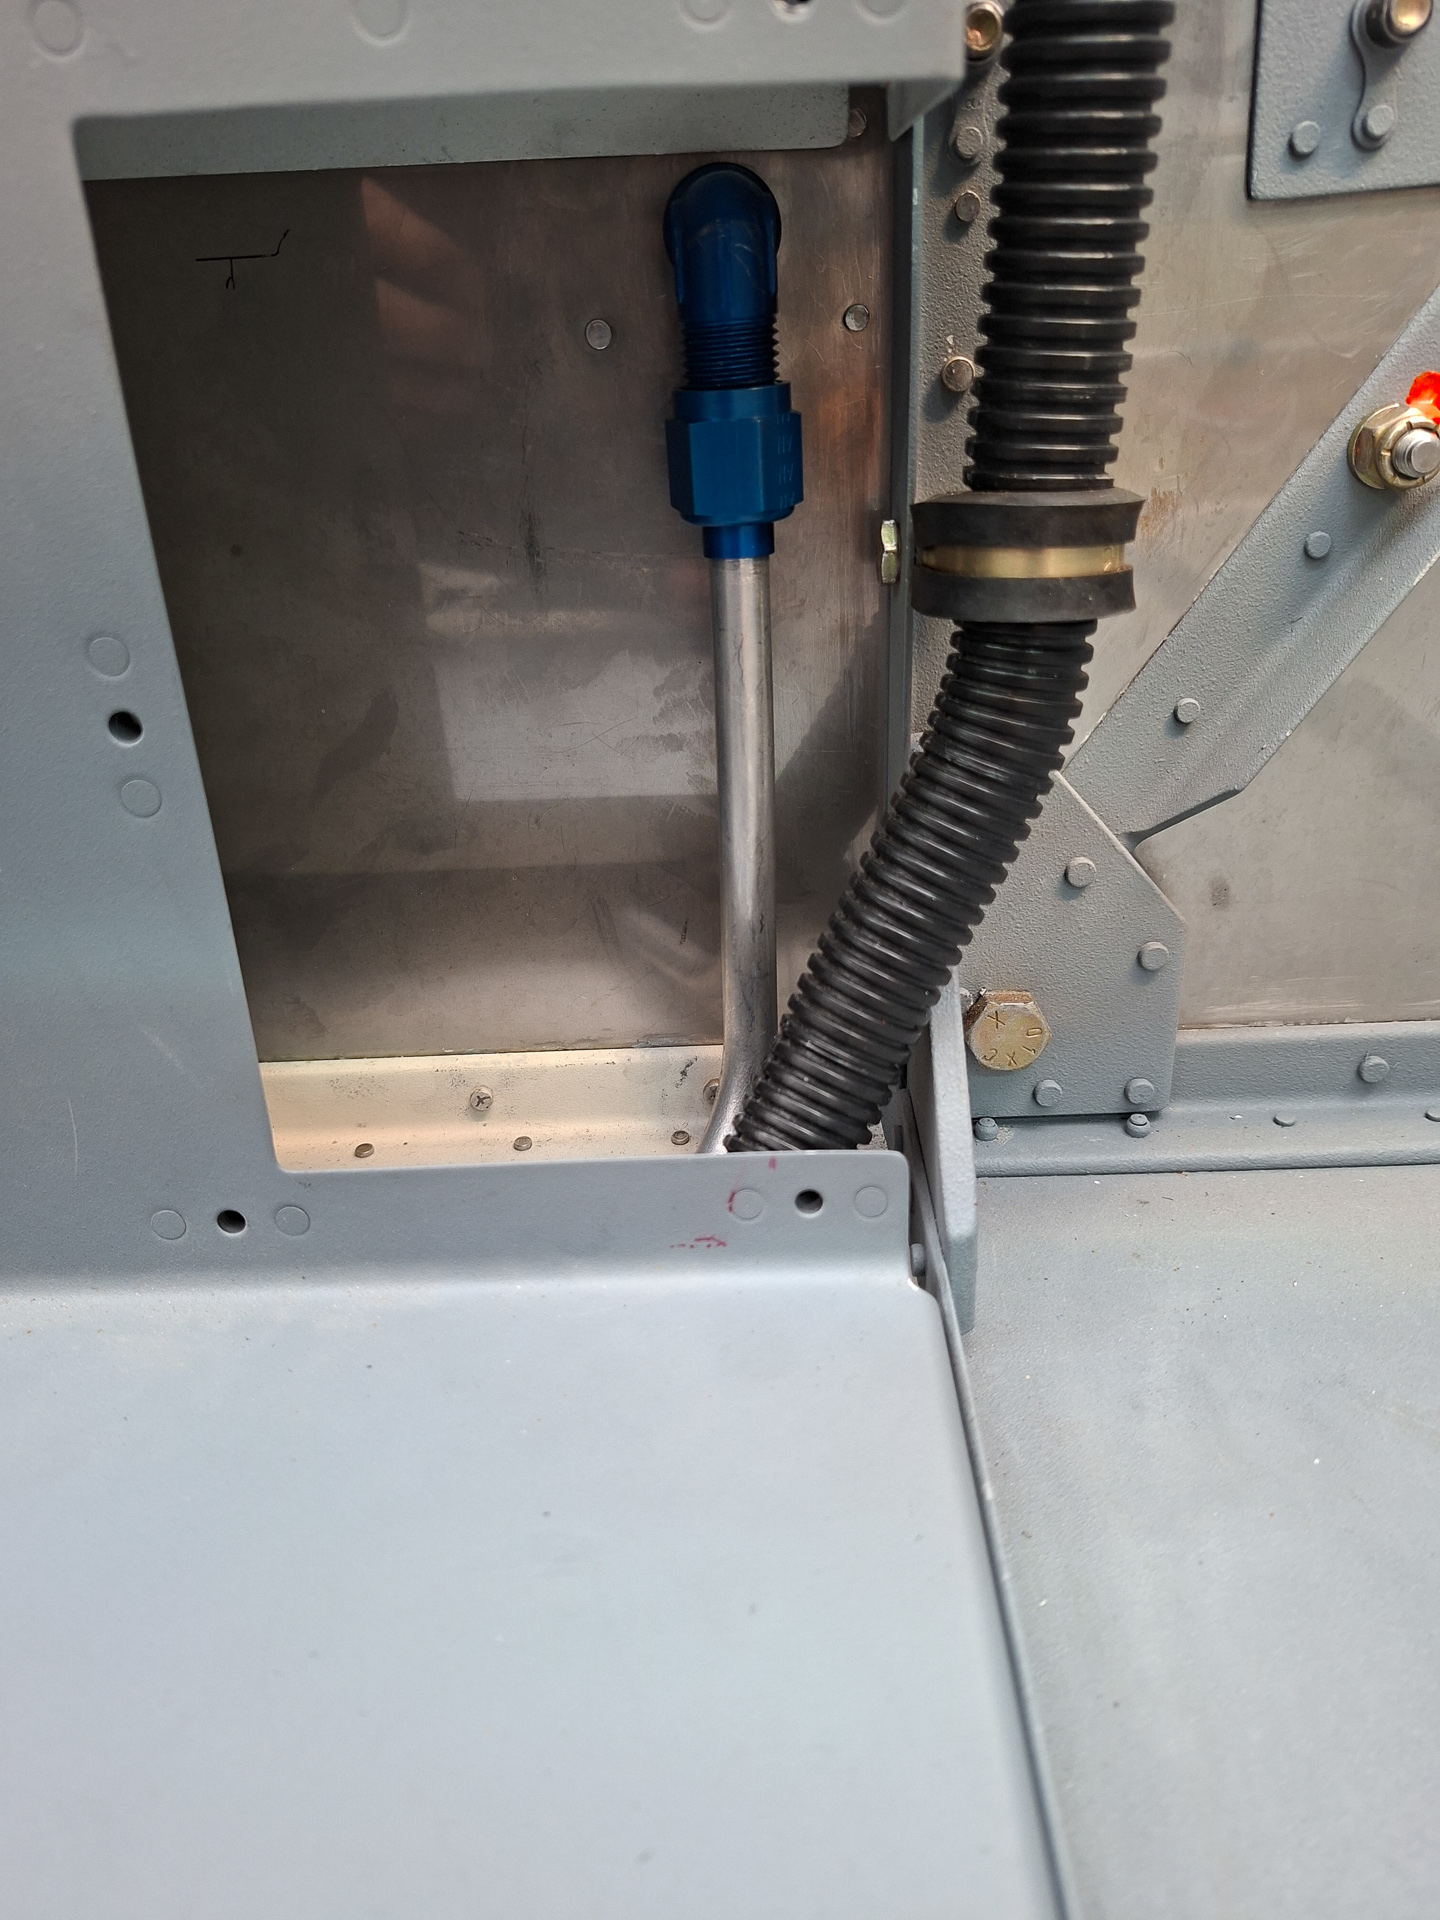
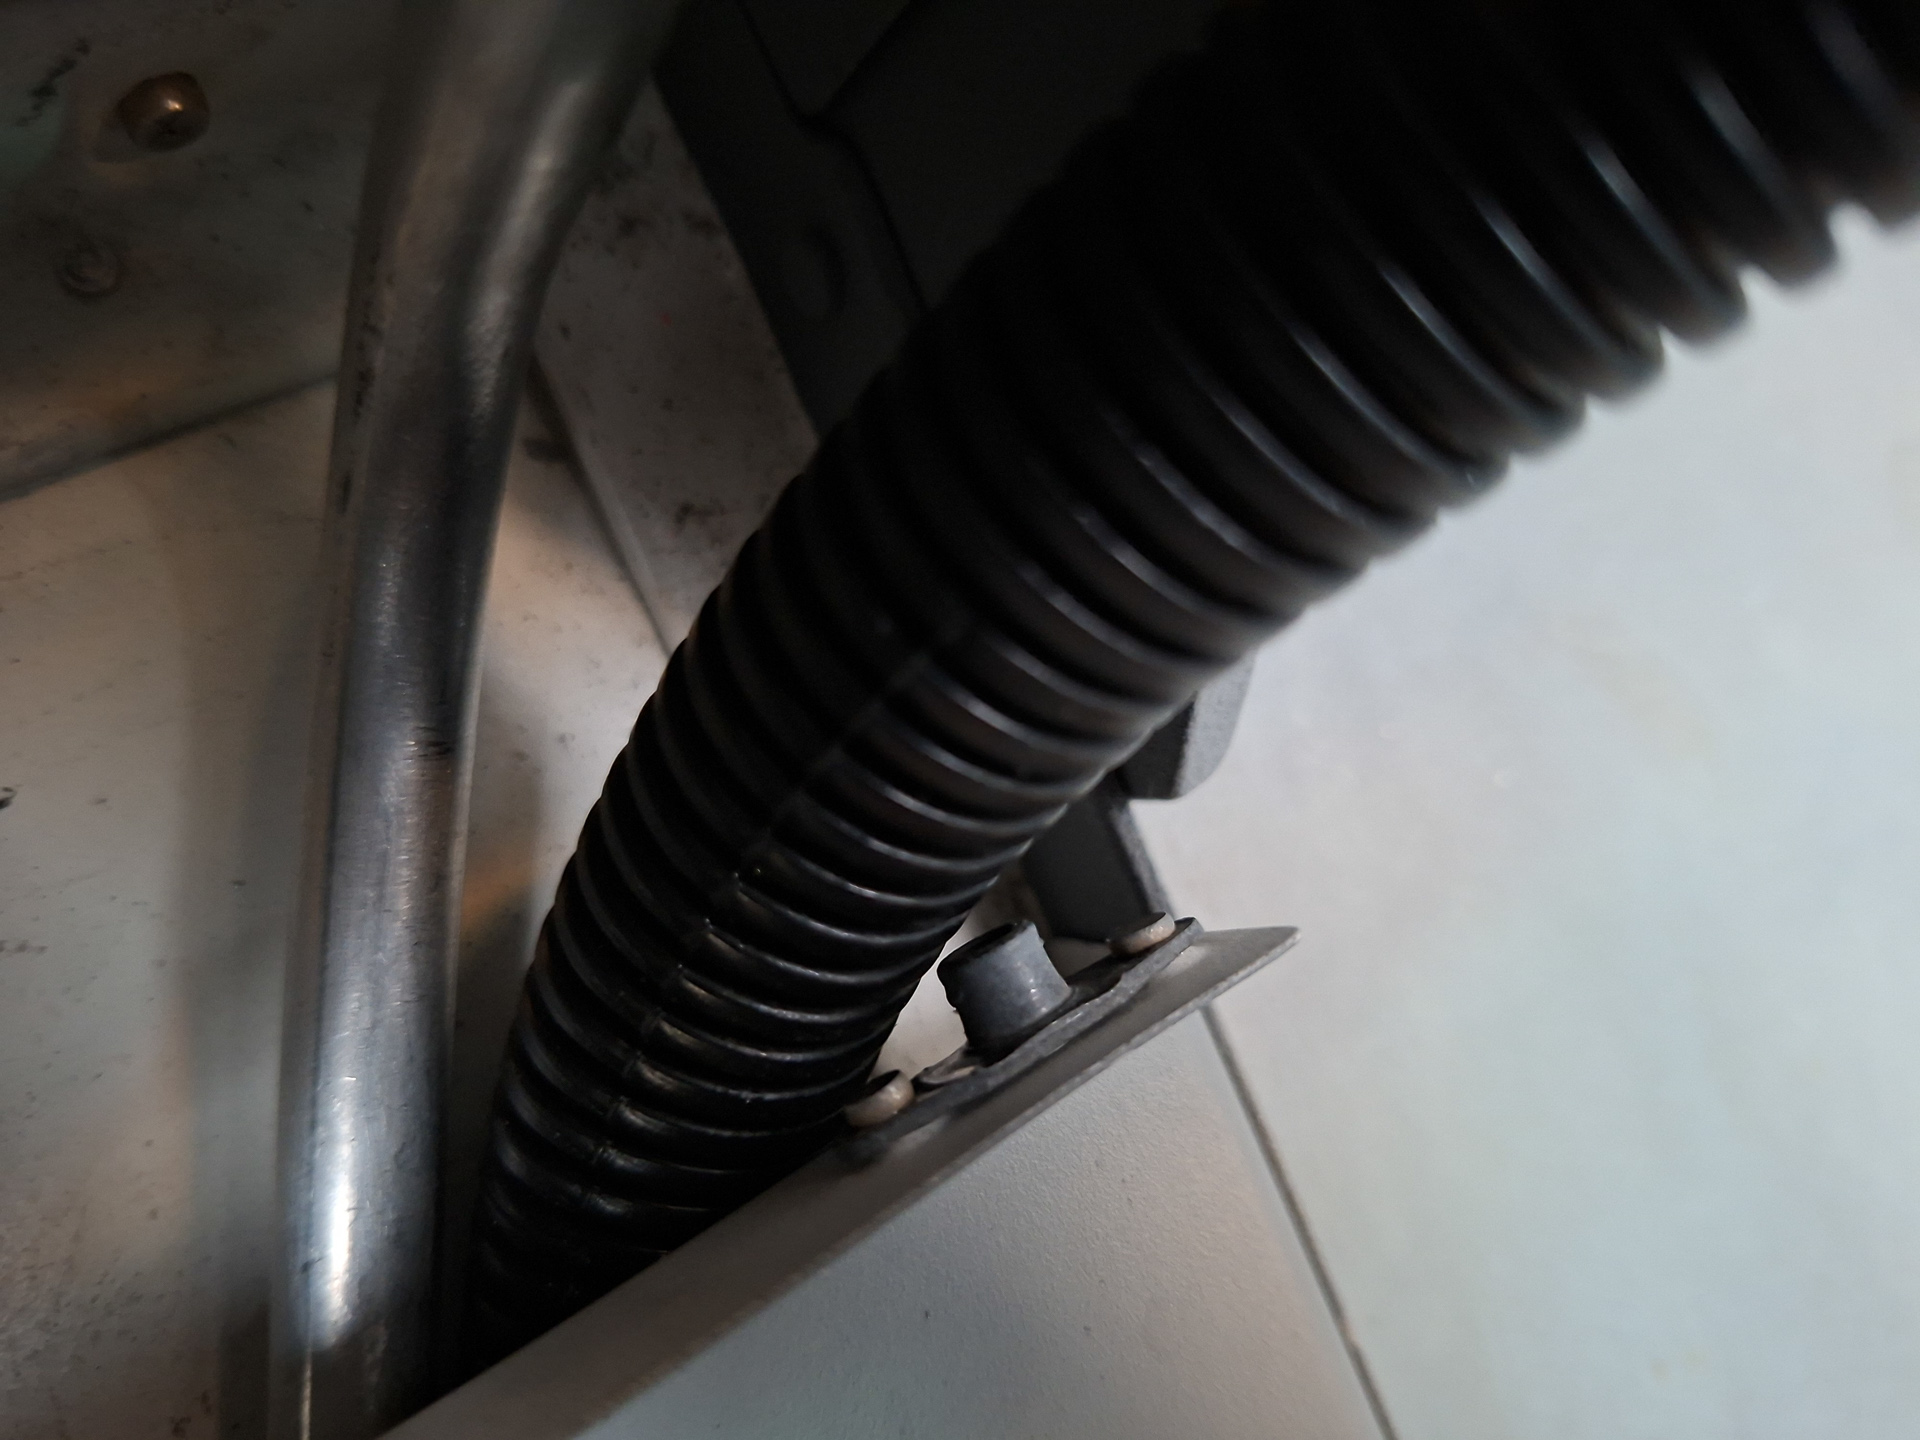
It's a close call but I read that foam is sprayed in here and under the cover to keep things securely in place so I'm not worried about this. I'm more worried about the nutplates being close to the conduit . I have read that people had developed electrical problems due to screws cutting into the conduit. it will be a place to put some rtv on the screw to protect the wiring.
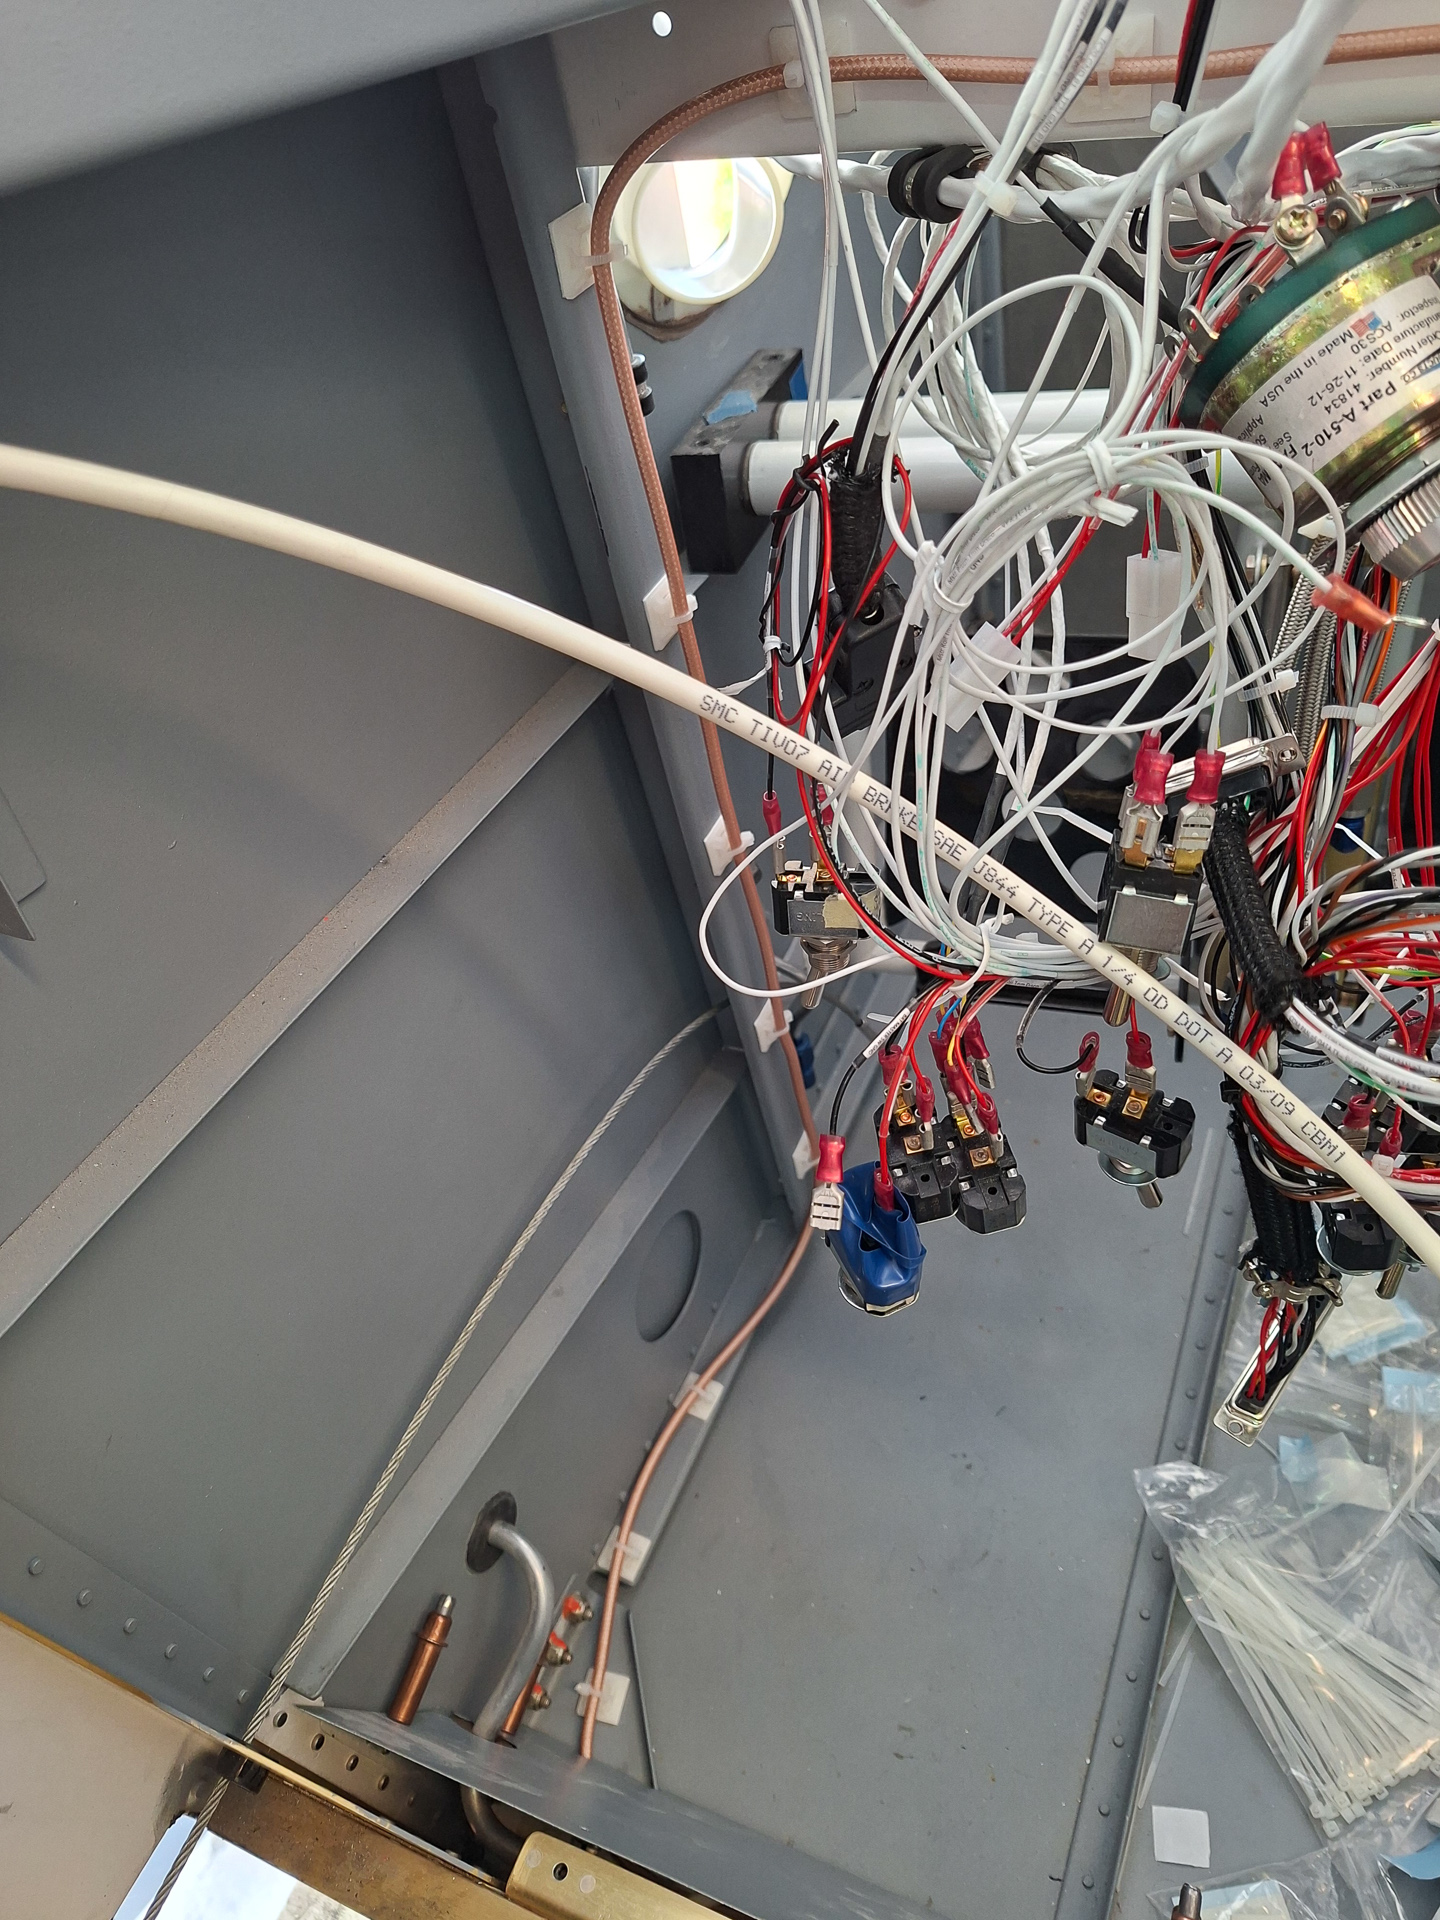
With the time left today, I routed and attached the coax cable from the com antenna to the com radio on the sub panels. I tried to hide the coax on the inside of the vertical rib but the rudder cable came too close to it so I pulled it back out and attached it to the front.
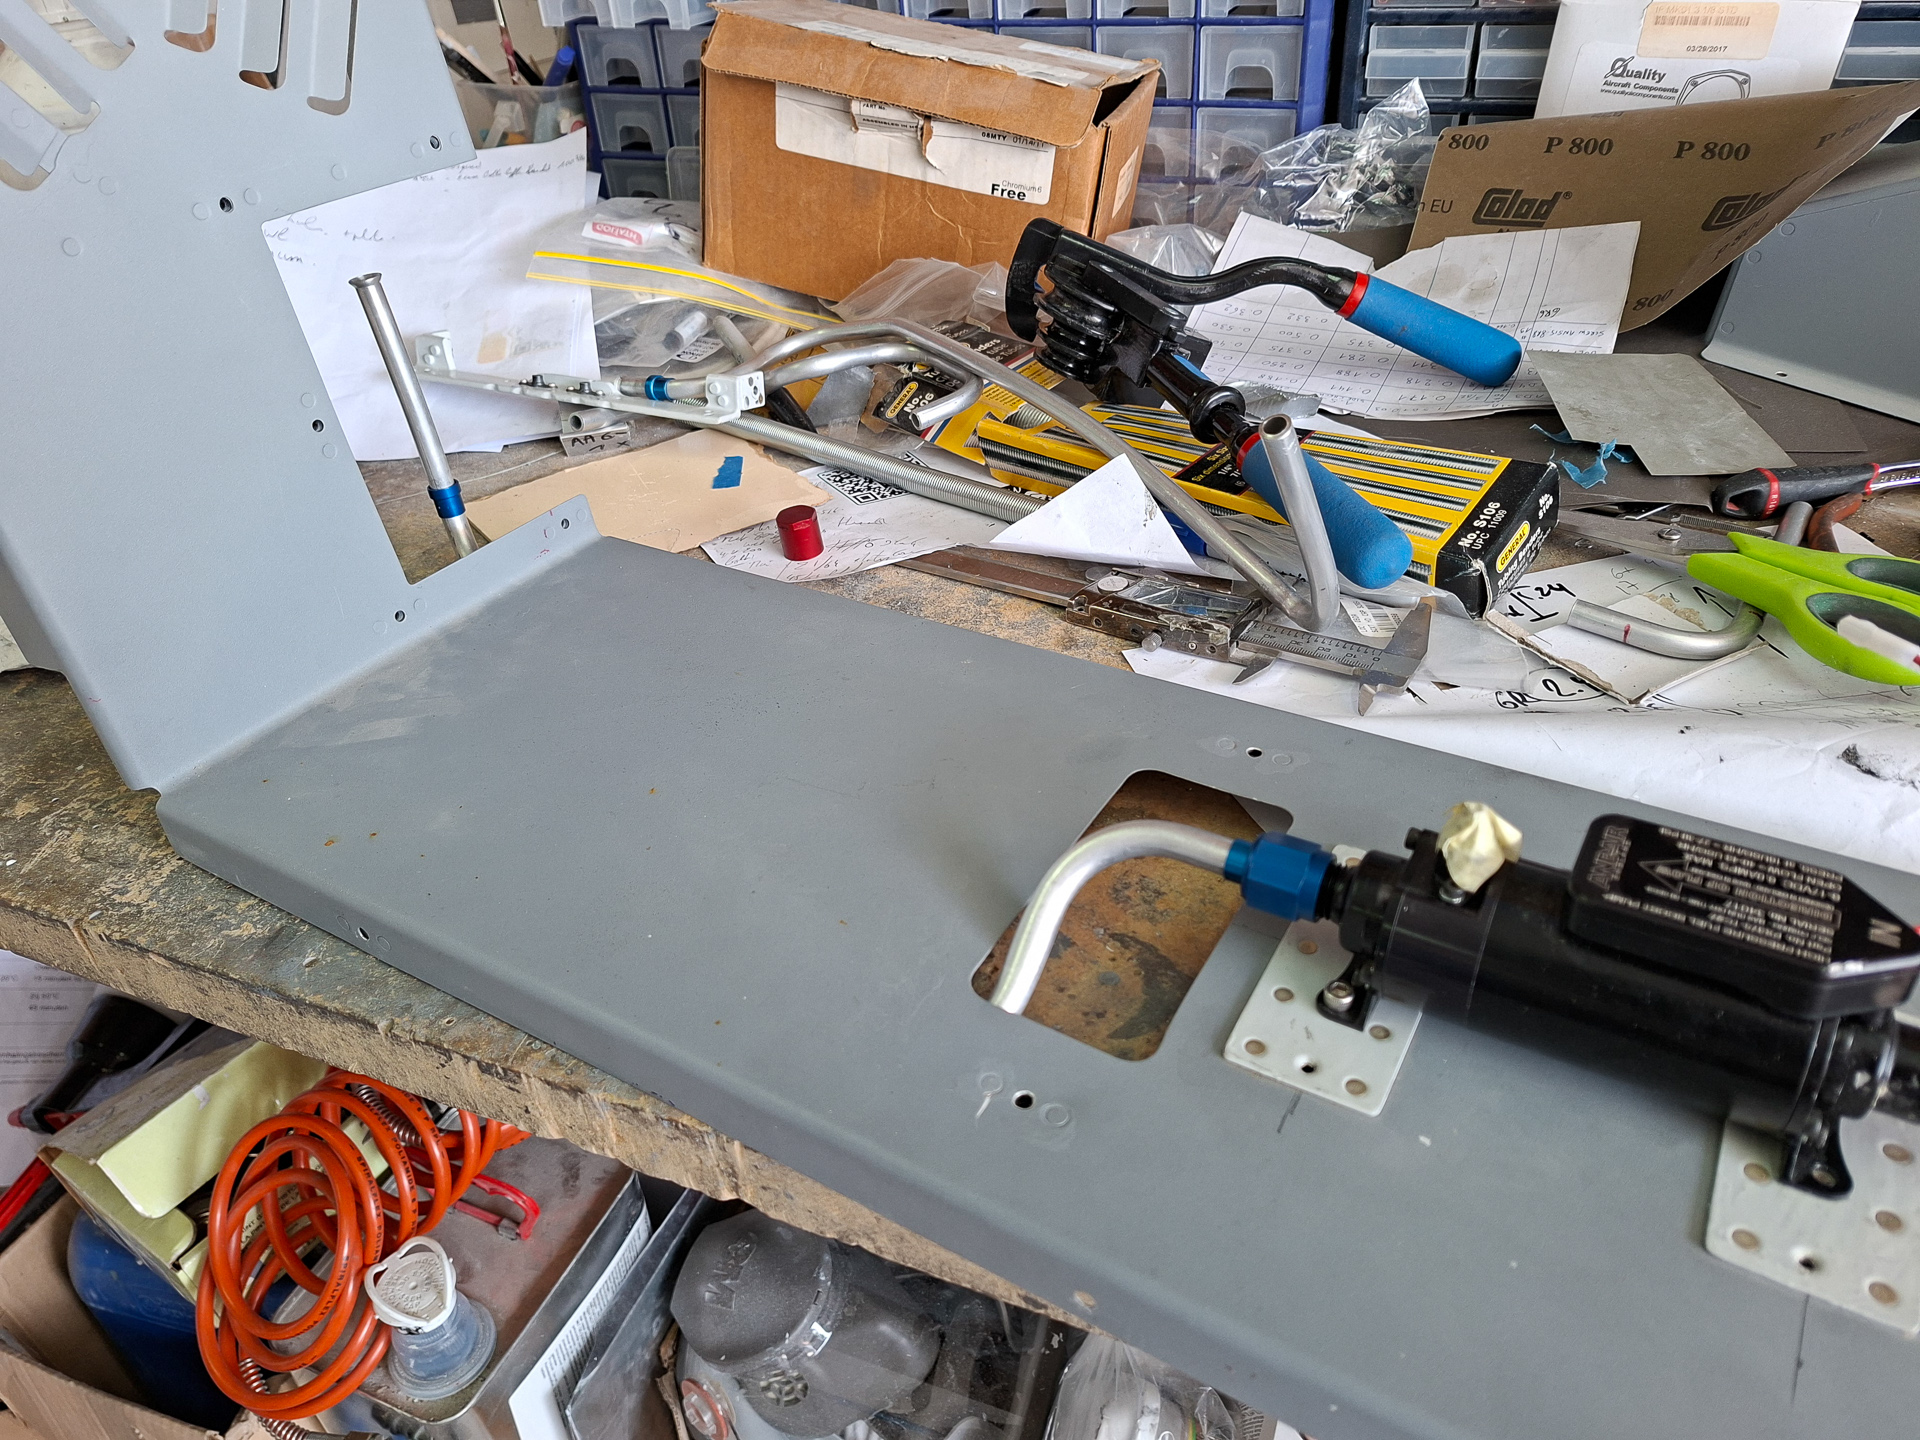
Don't pay attention to the wiring mess in the right of the picture. Everything is bundled but I had to remove the panel for painting and everything is kind of just hanging there in total chaos for the moment.
From there it runs on the sub panel into the gold box which is the Dynon COM radio.