
Soon I will be testing the landing lights and nav lights. I though this would be a good moment to install the wingtip lenses as well.
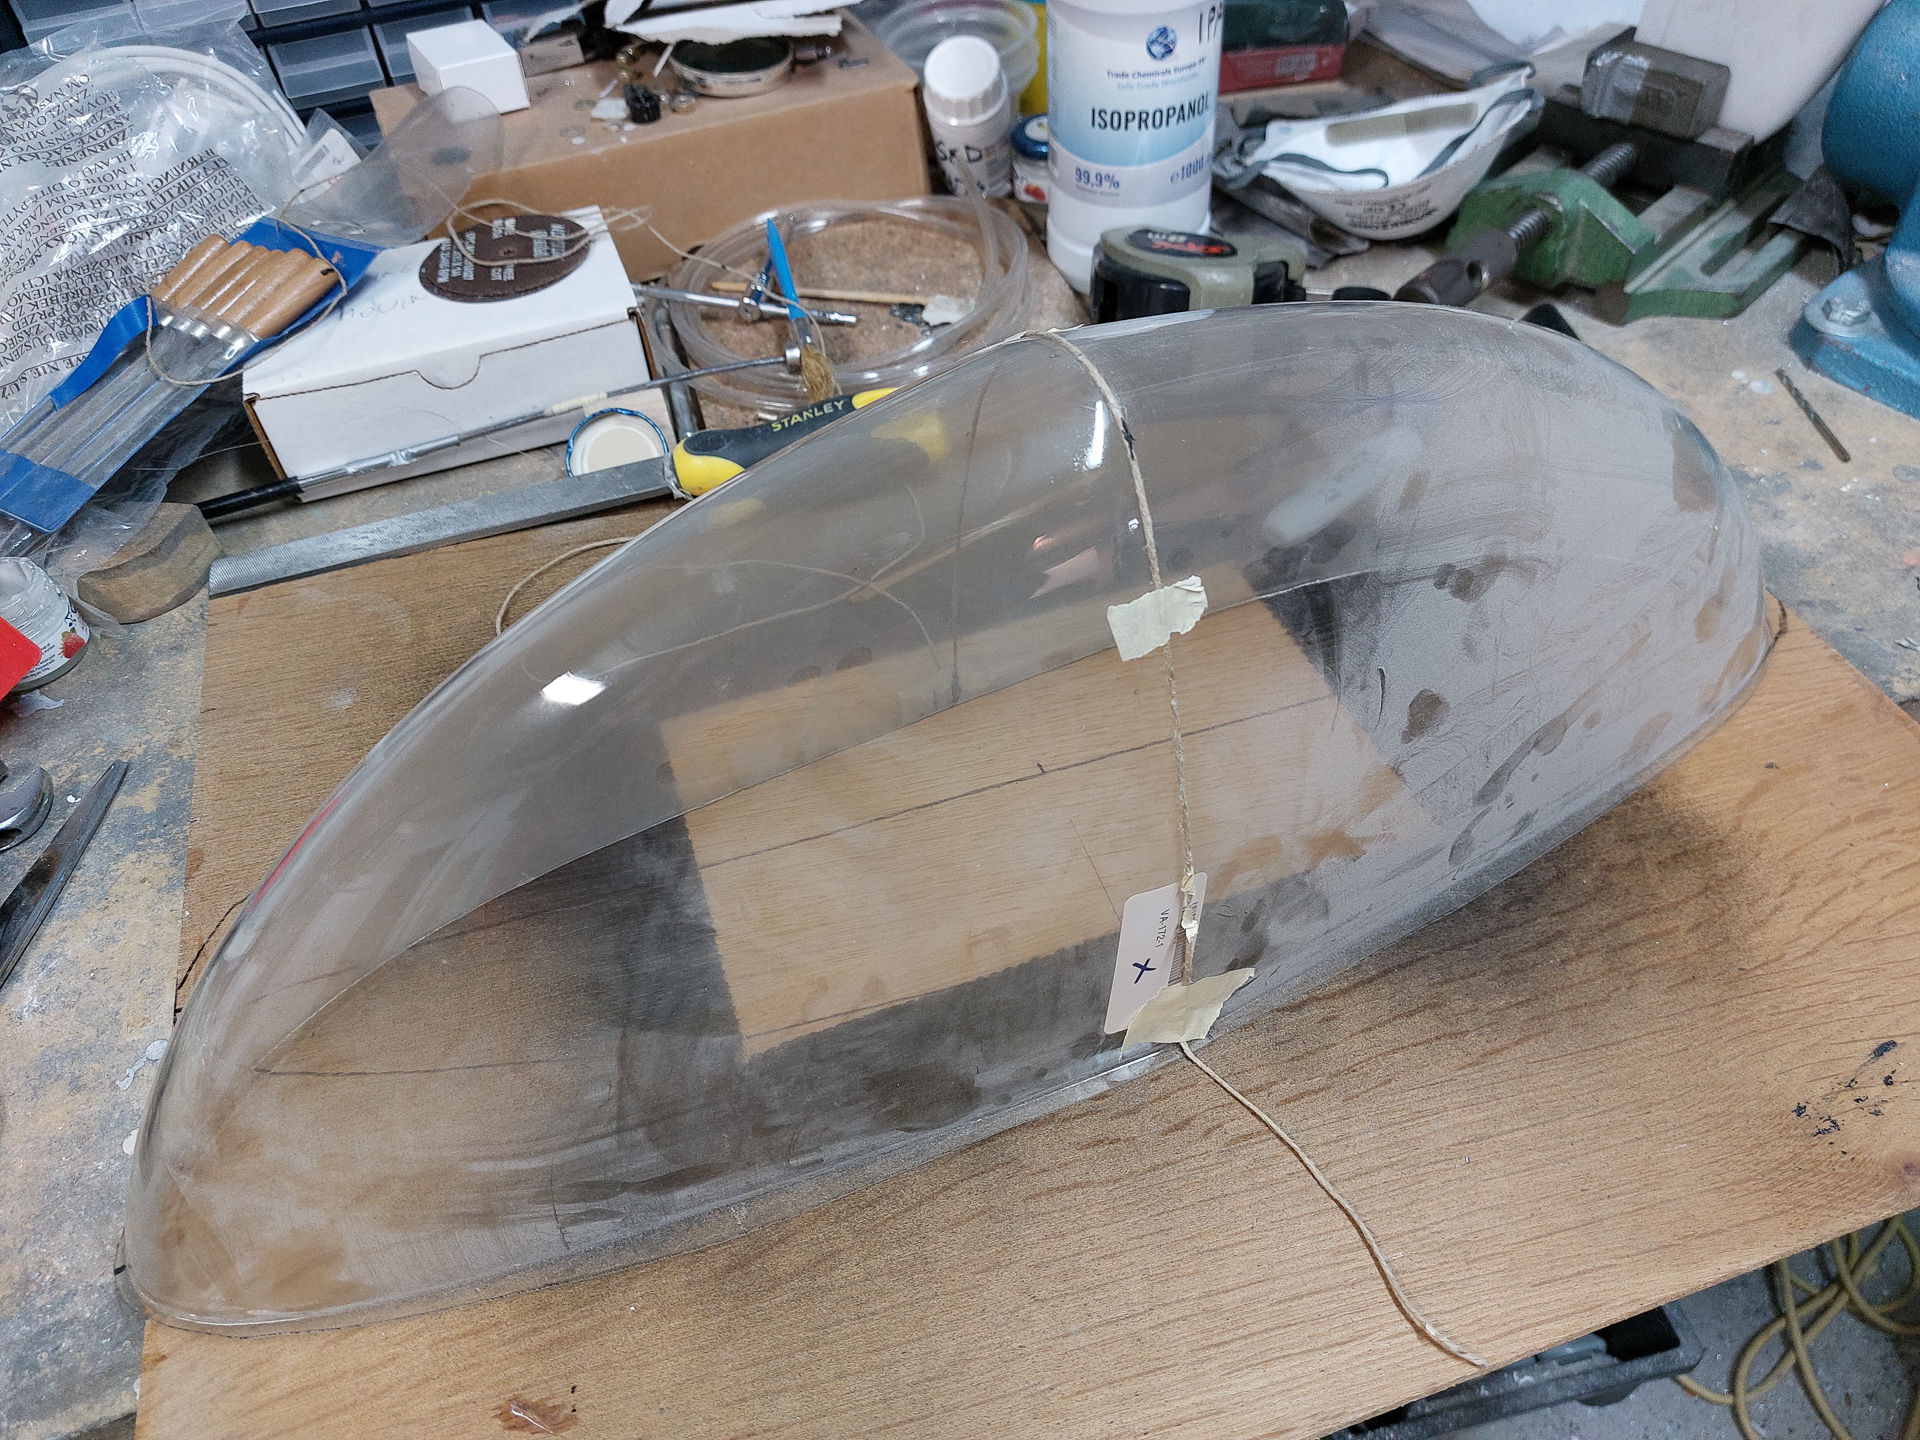
Vans provides you with a single transparent lens which you will have to cut in half. Since you probably already cut your canopy in half, this should not be scary anymore. The material left on the lens will be liberal so you don't have to be very precise on making this initial cut in half. I just pulled a string over the lens and marked the line with a pen.
I used the same cutting disc as used for the canopy cutting and some minutes later, the lens is split and ready for fitting on the wingtip.
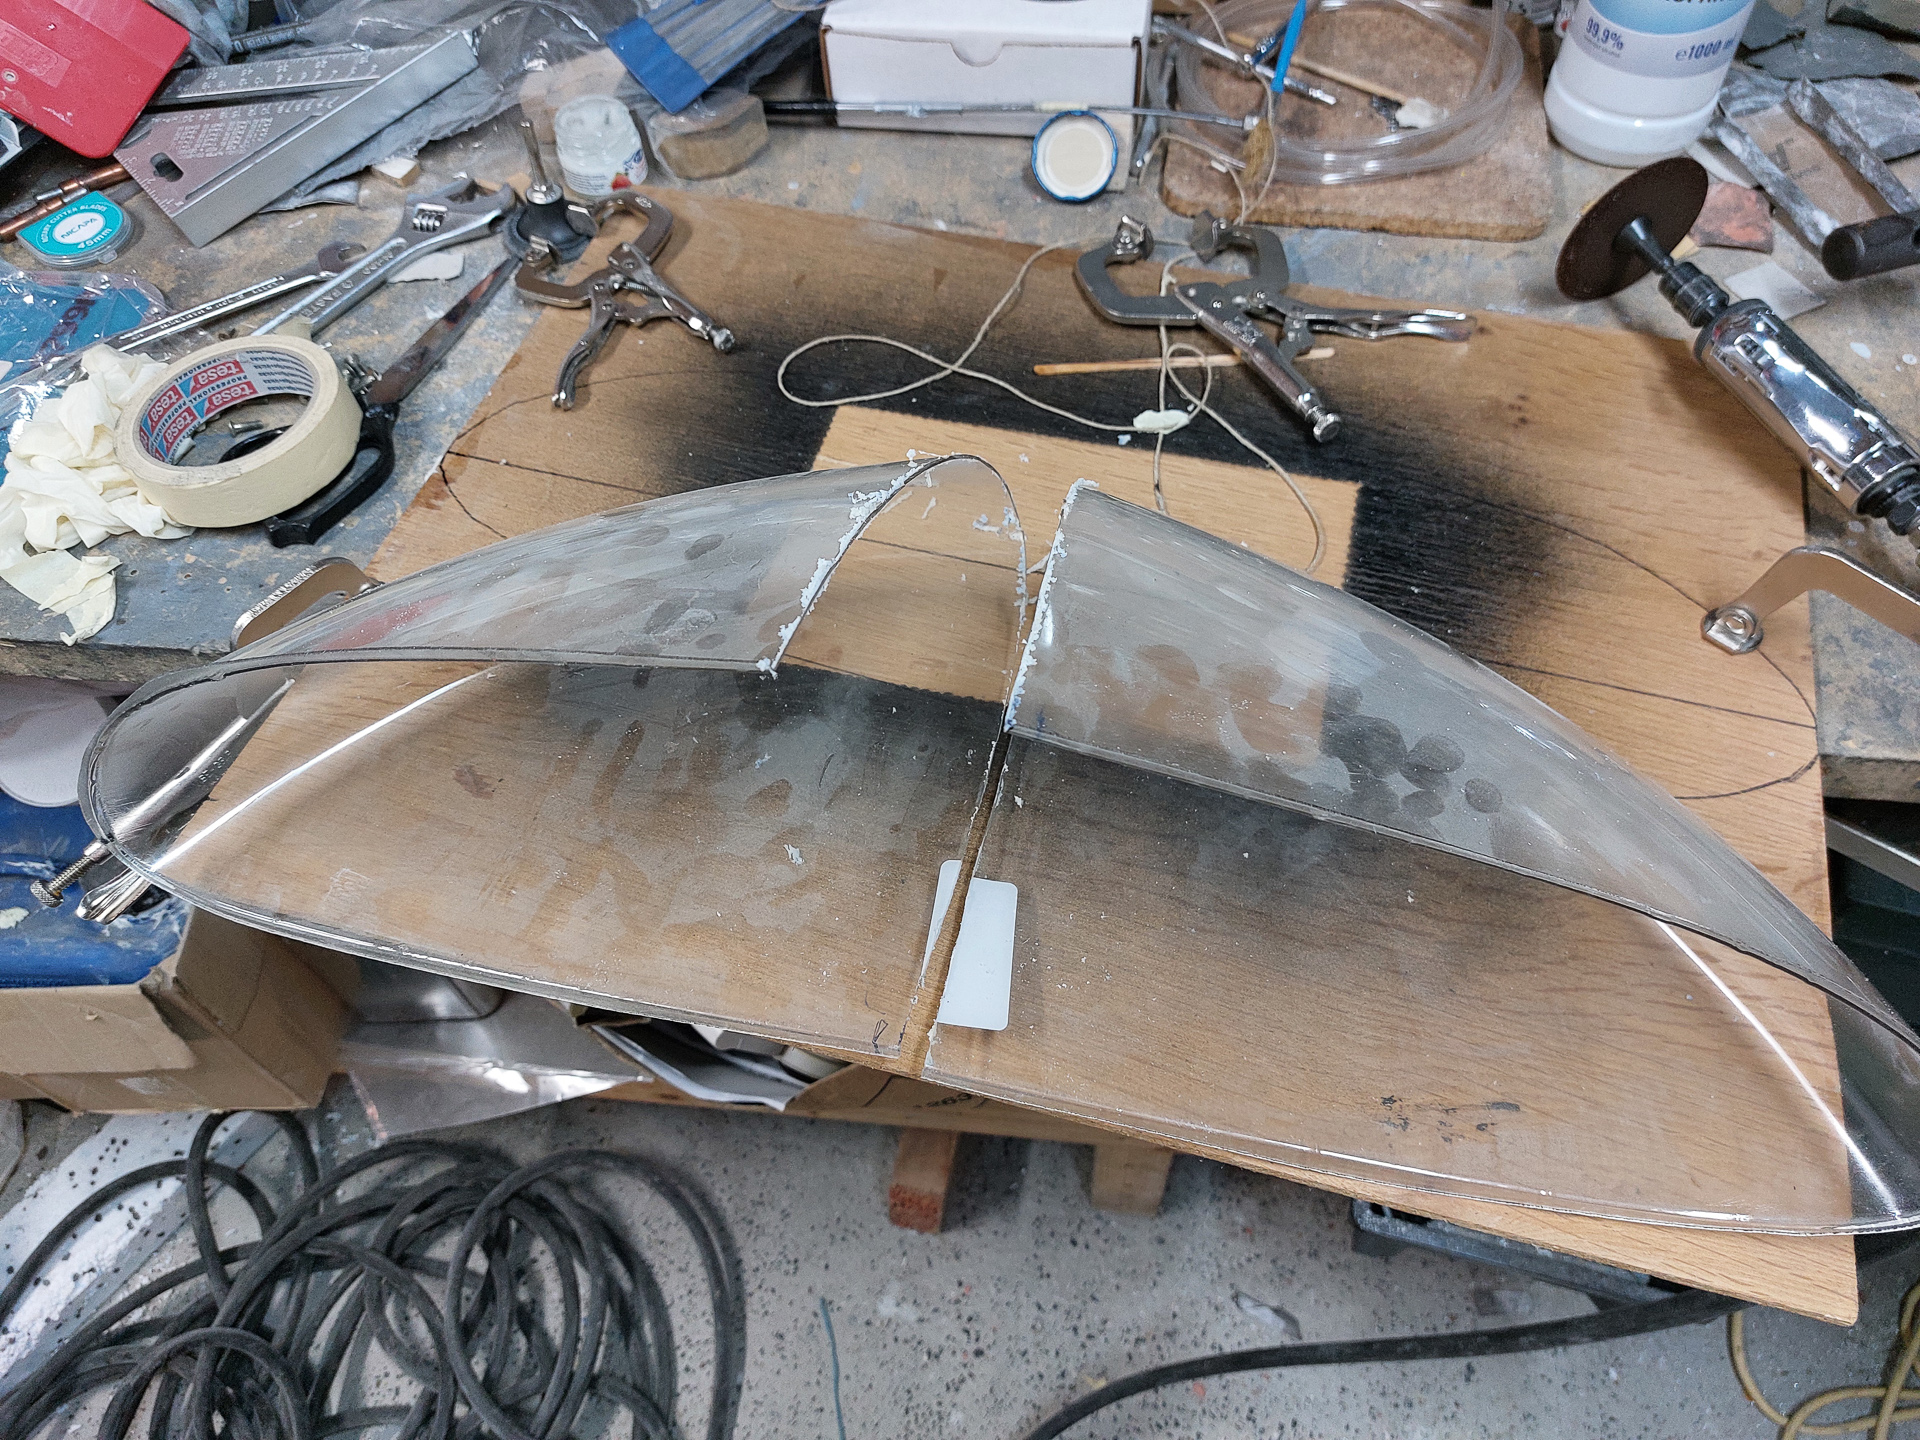
As you can see, there is plenty of material left to work with so the initial cut is not critical.
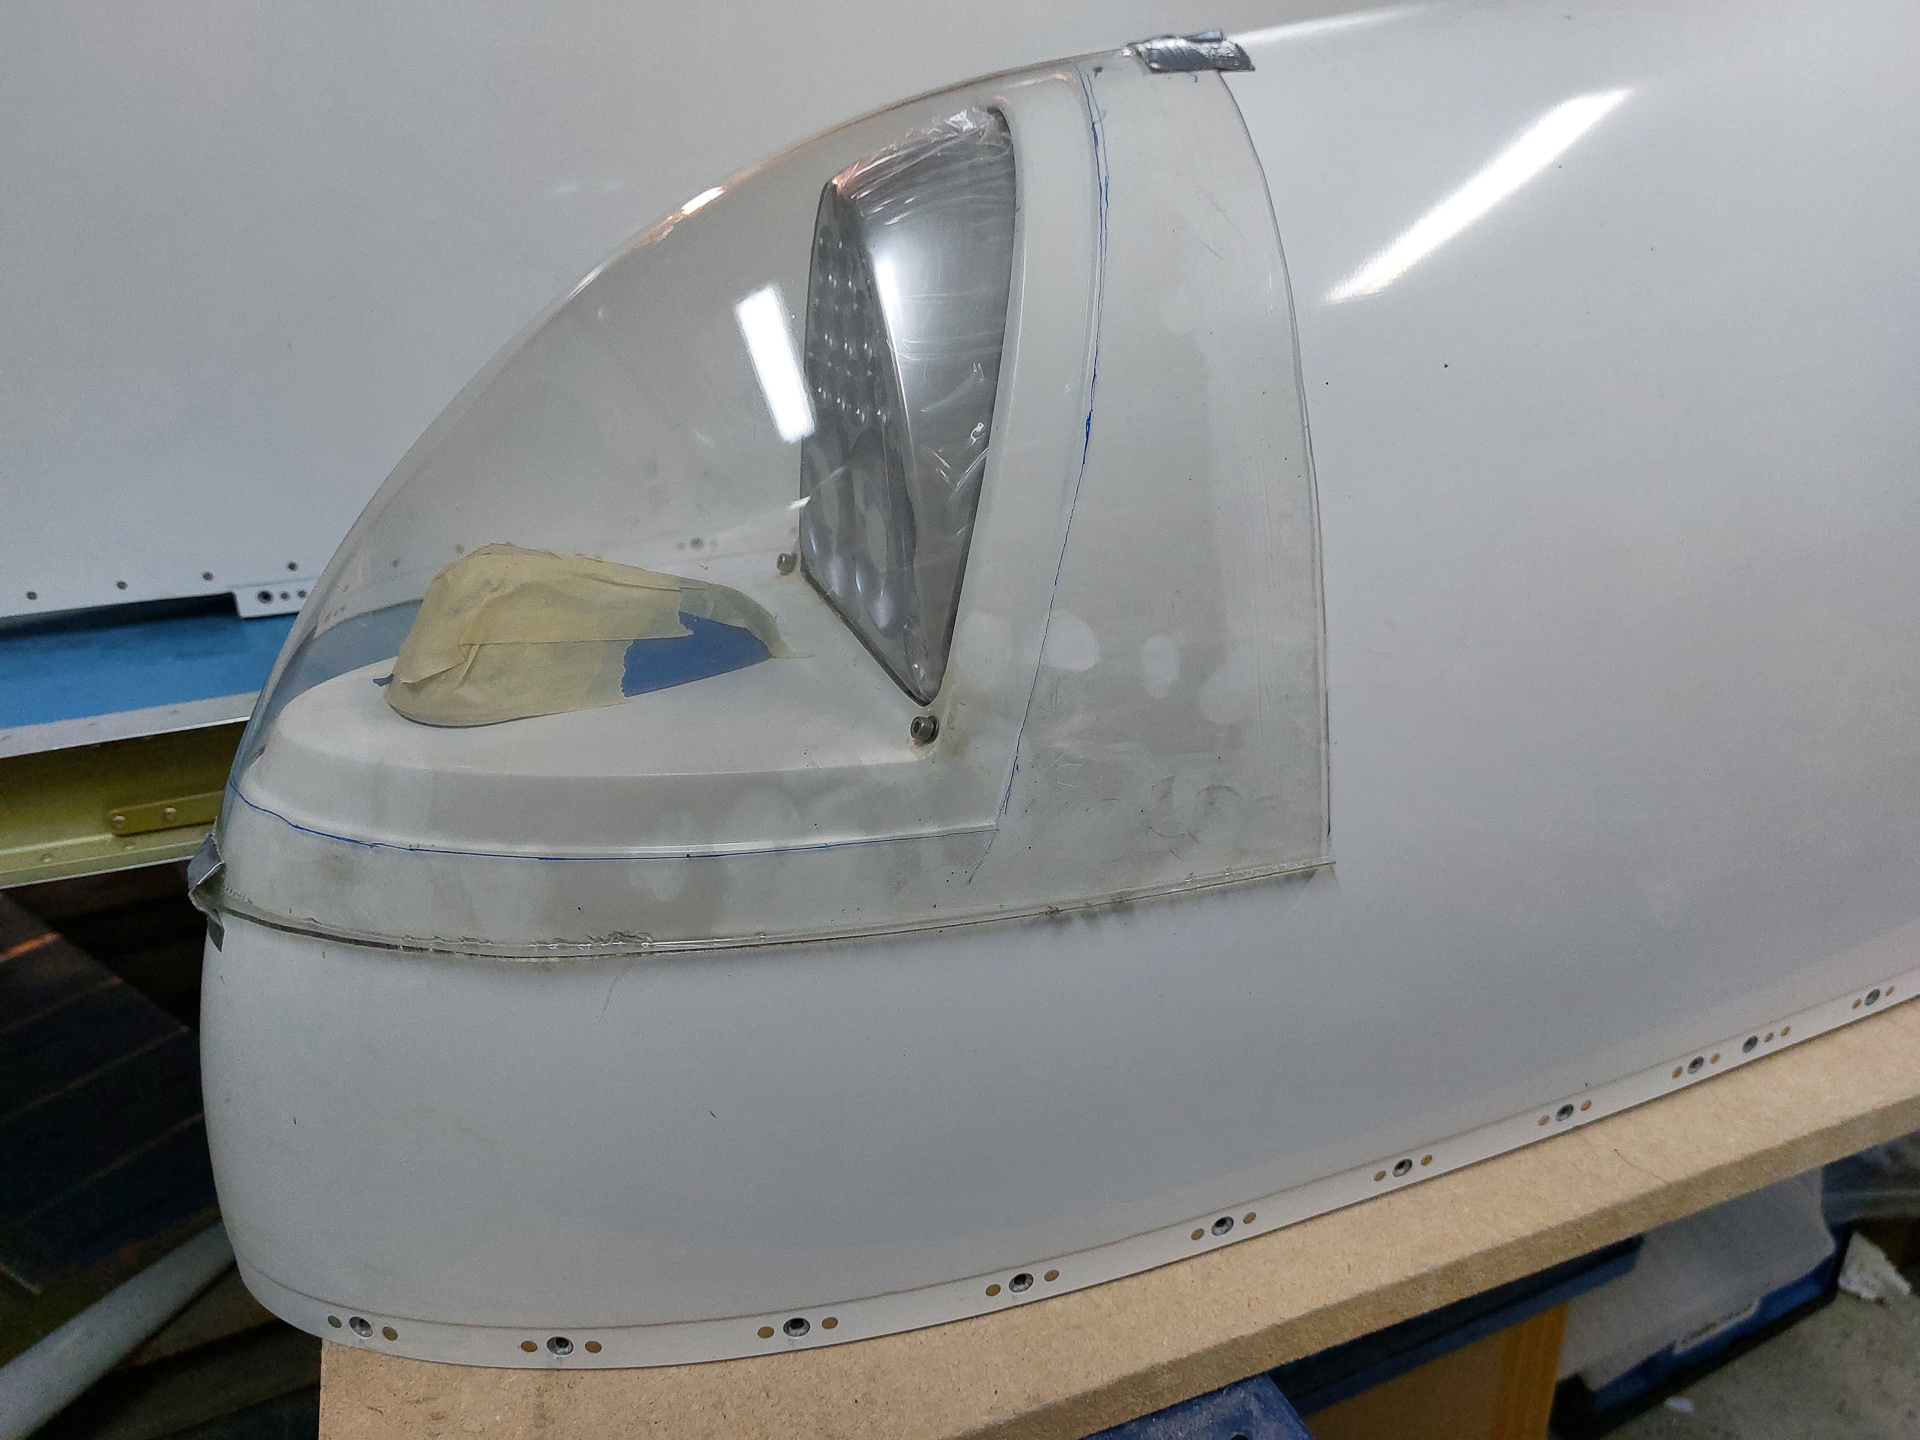
The next step is finding the ideal fit for the lens. This is more difficult than it seems because the 3D shape of the lens can be move and positioned in a lot of positions that all seemed pretty ok but slightly change the form. I decided with the most logical way, which was measuring an equal spacing between the bottom of the wingtip line and the bottom of the lens. Tha way at least you know it's not tilted. I marked the line on the lens for further cutting. I did the initial cut quite liberal as I didn't want to run short of material once it slides in the inset. After cutting, used the belt sander to grind away more material.
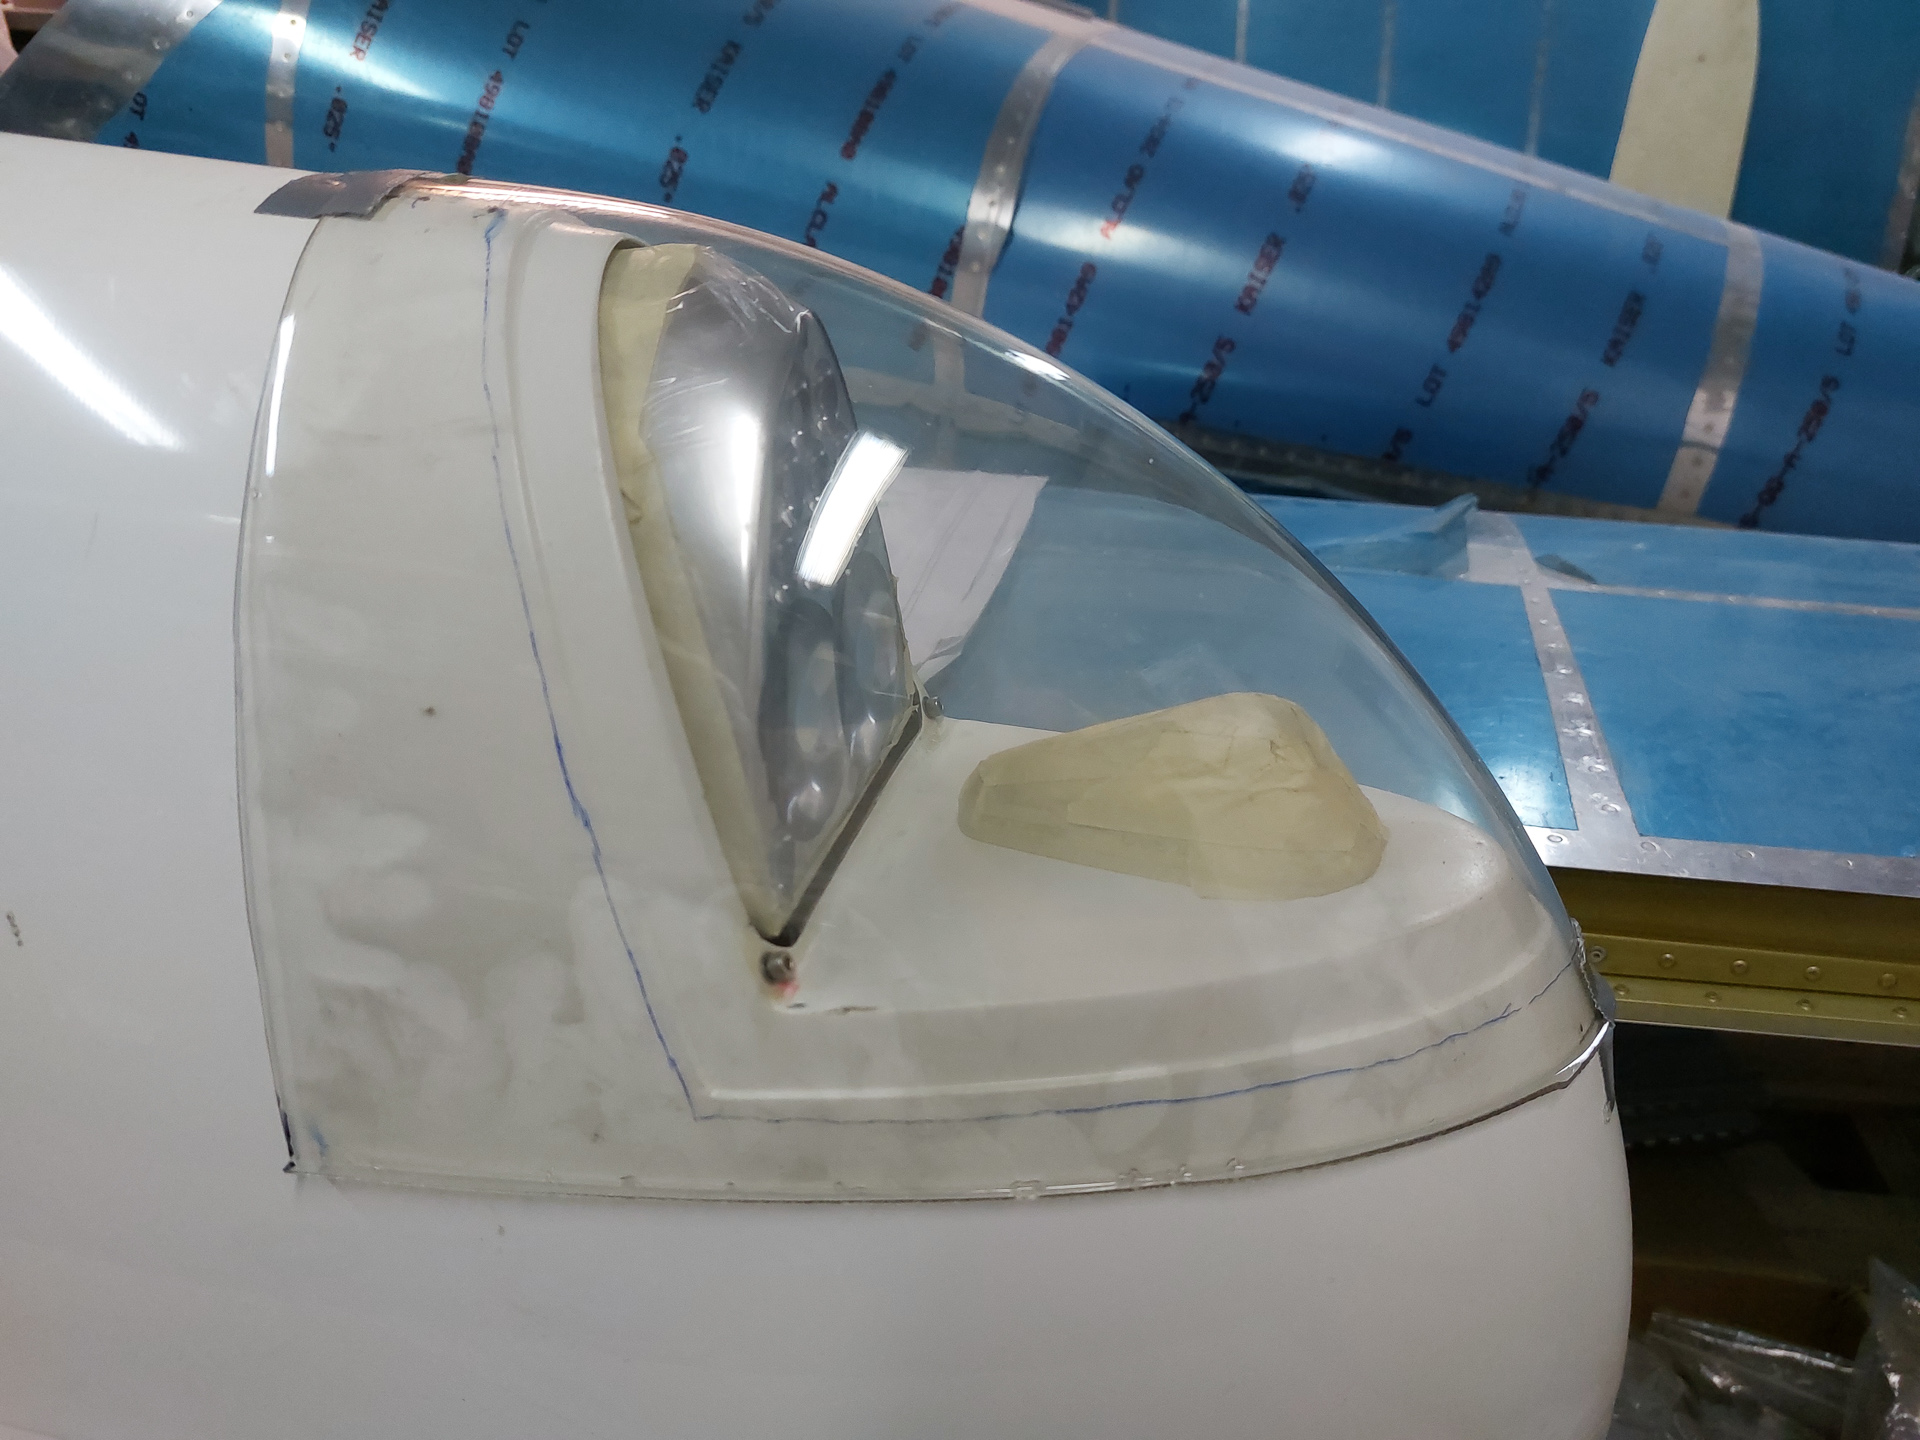
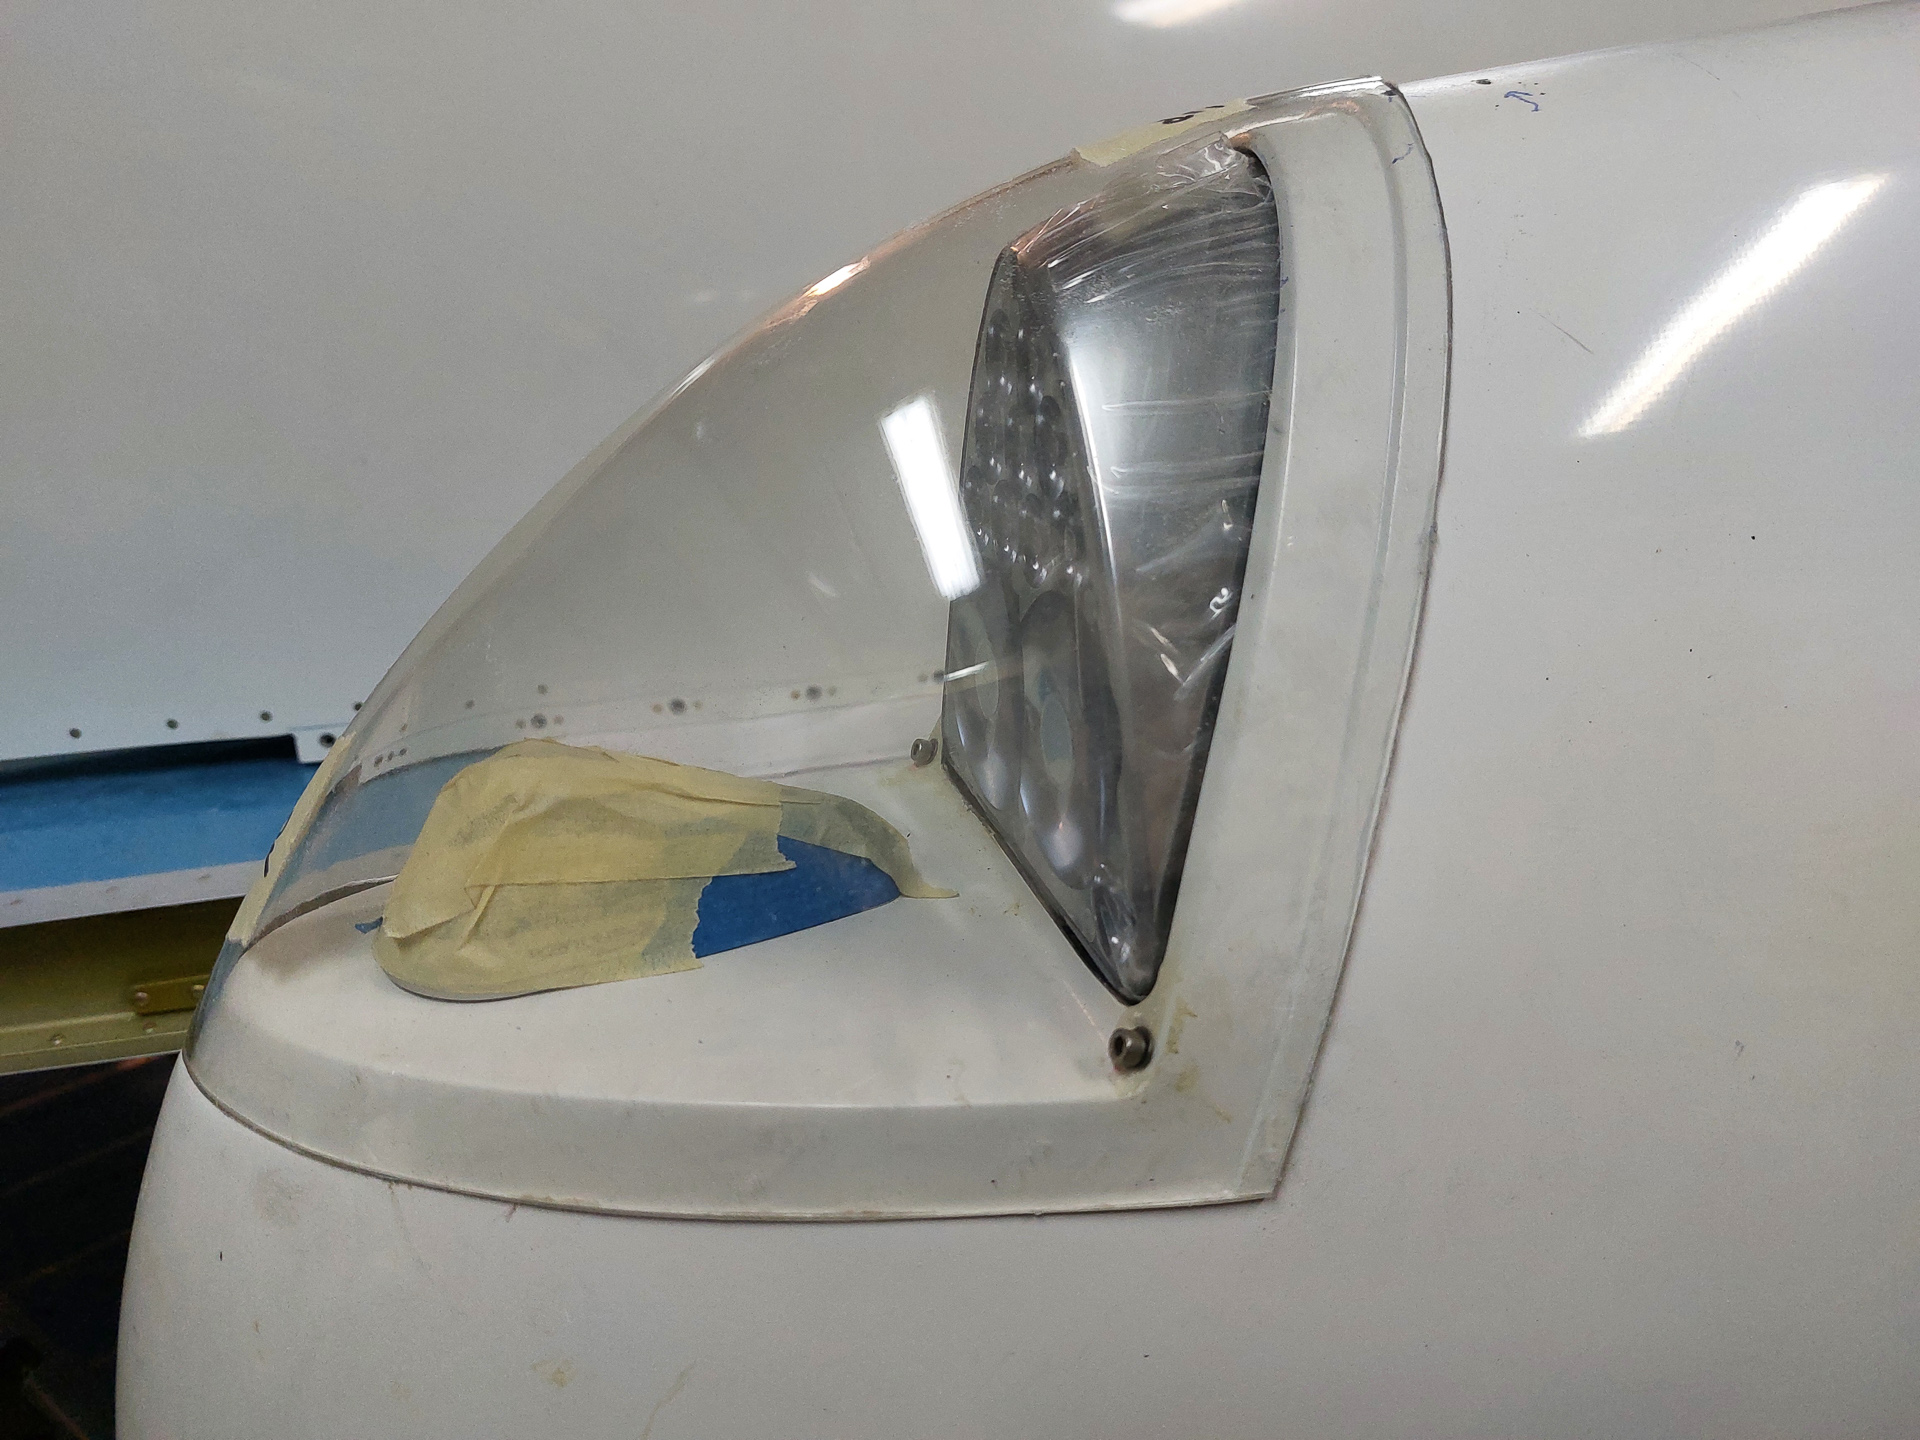
Wen all the cutting was complete, rounded the corners and sanded the edges. Quite satisfied with the result.
Wings come in pairs so up to the other tip.
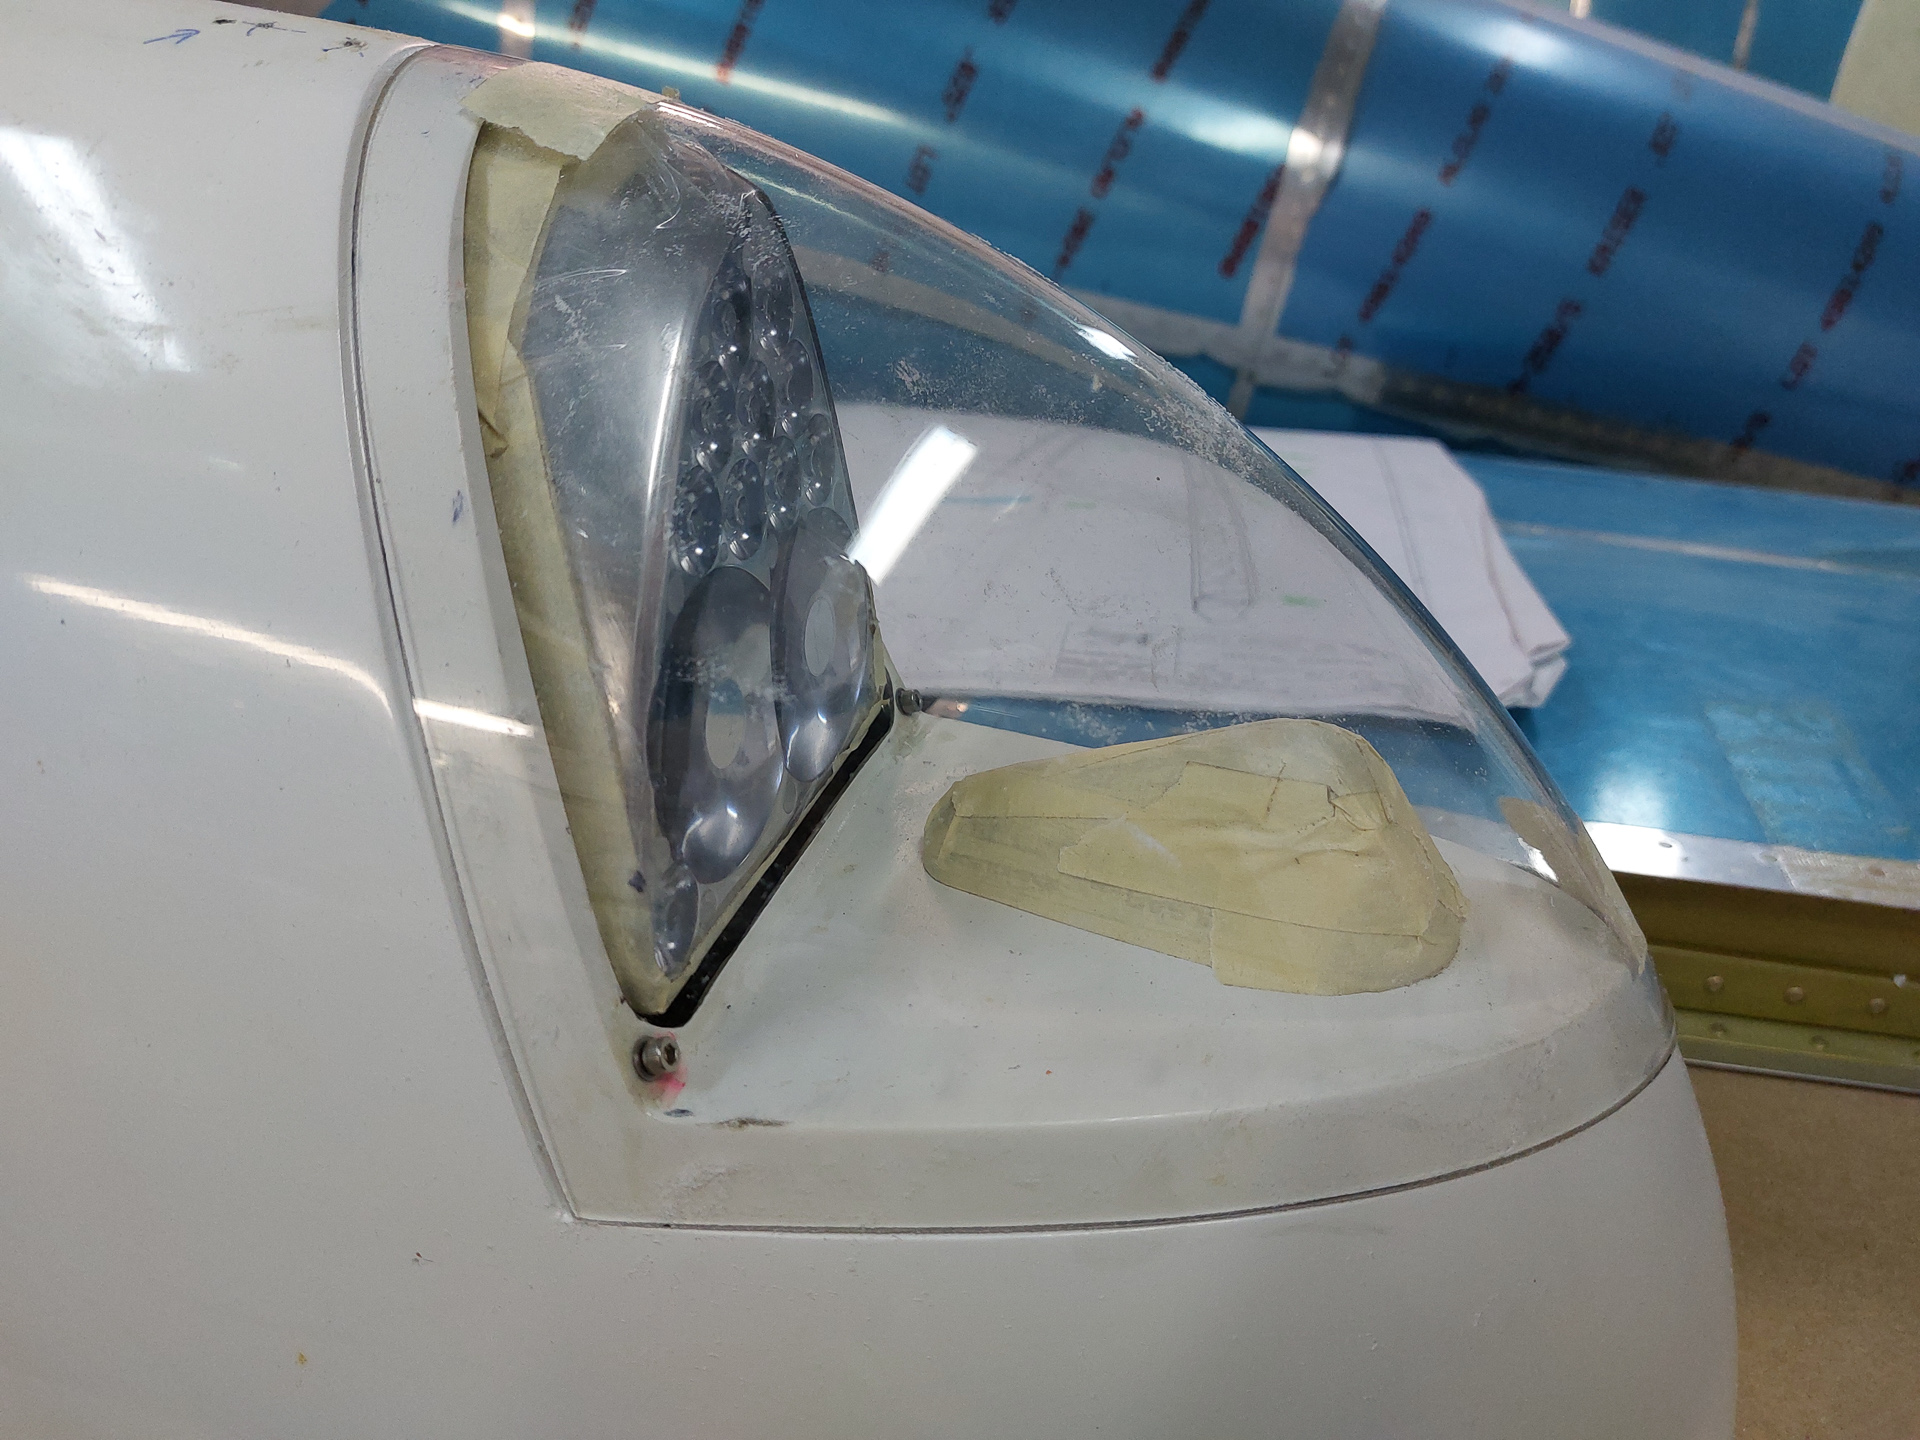
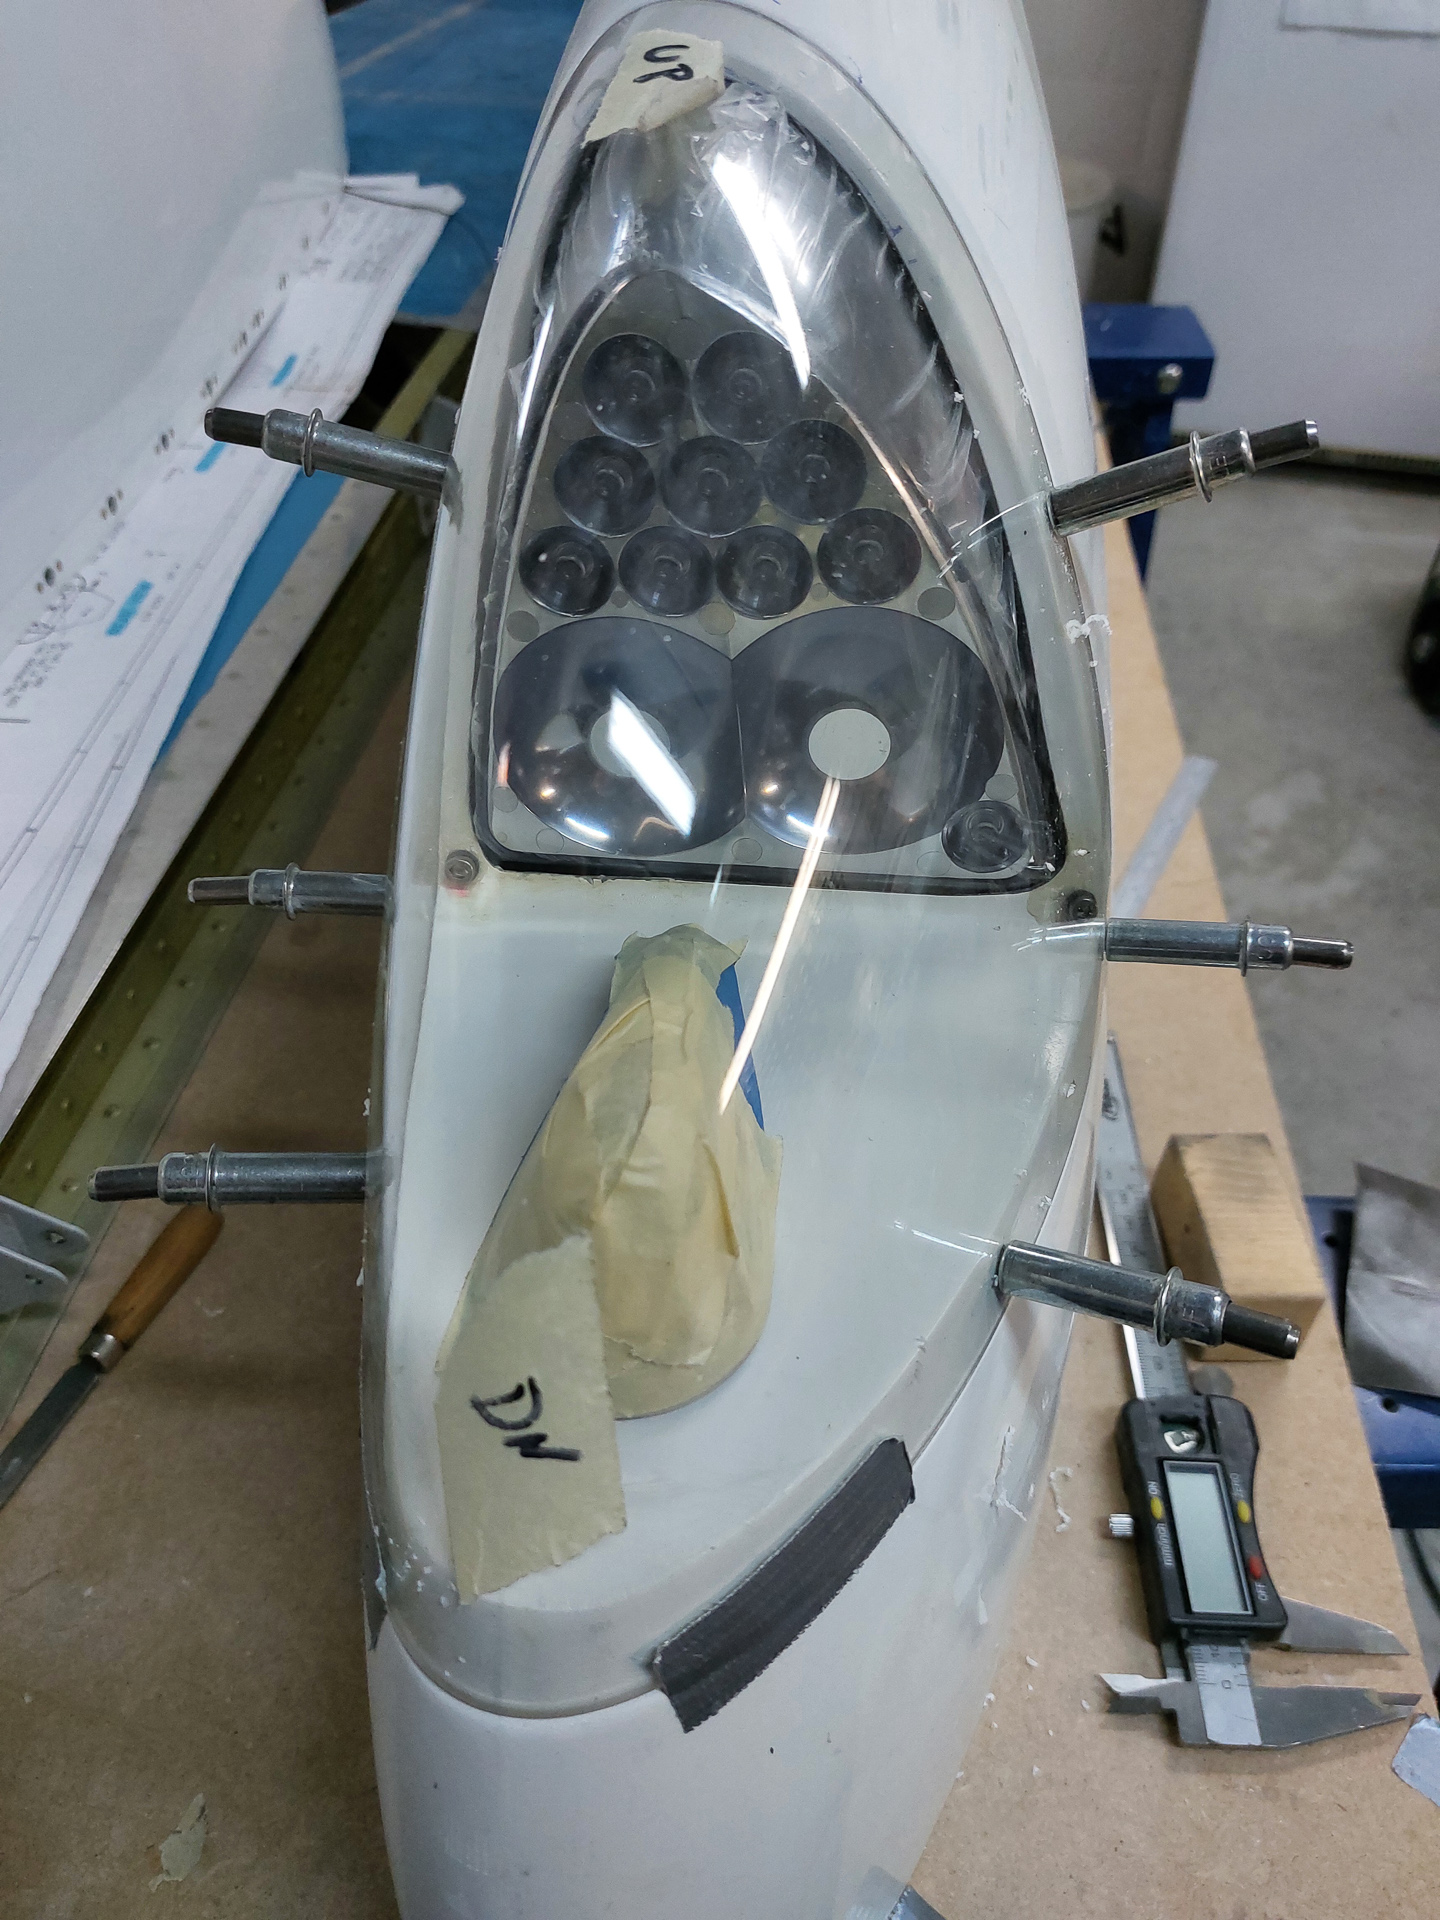
Did the same procedure on this side and fit the lens in place.
I did some more tweaking of both (read as: being anal again) and then attached the lens with some duct tape.
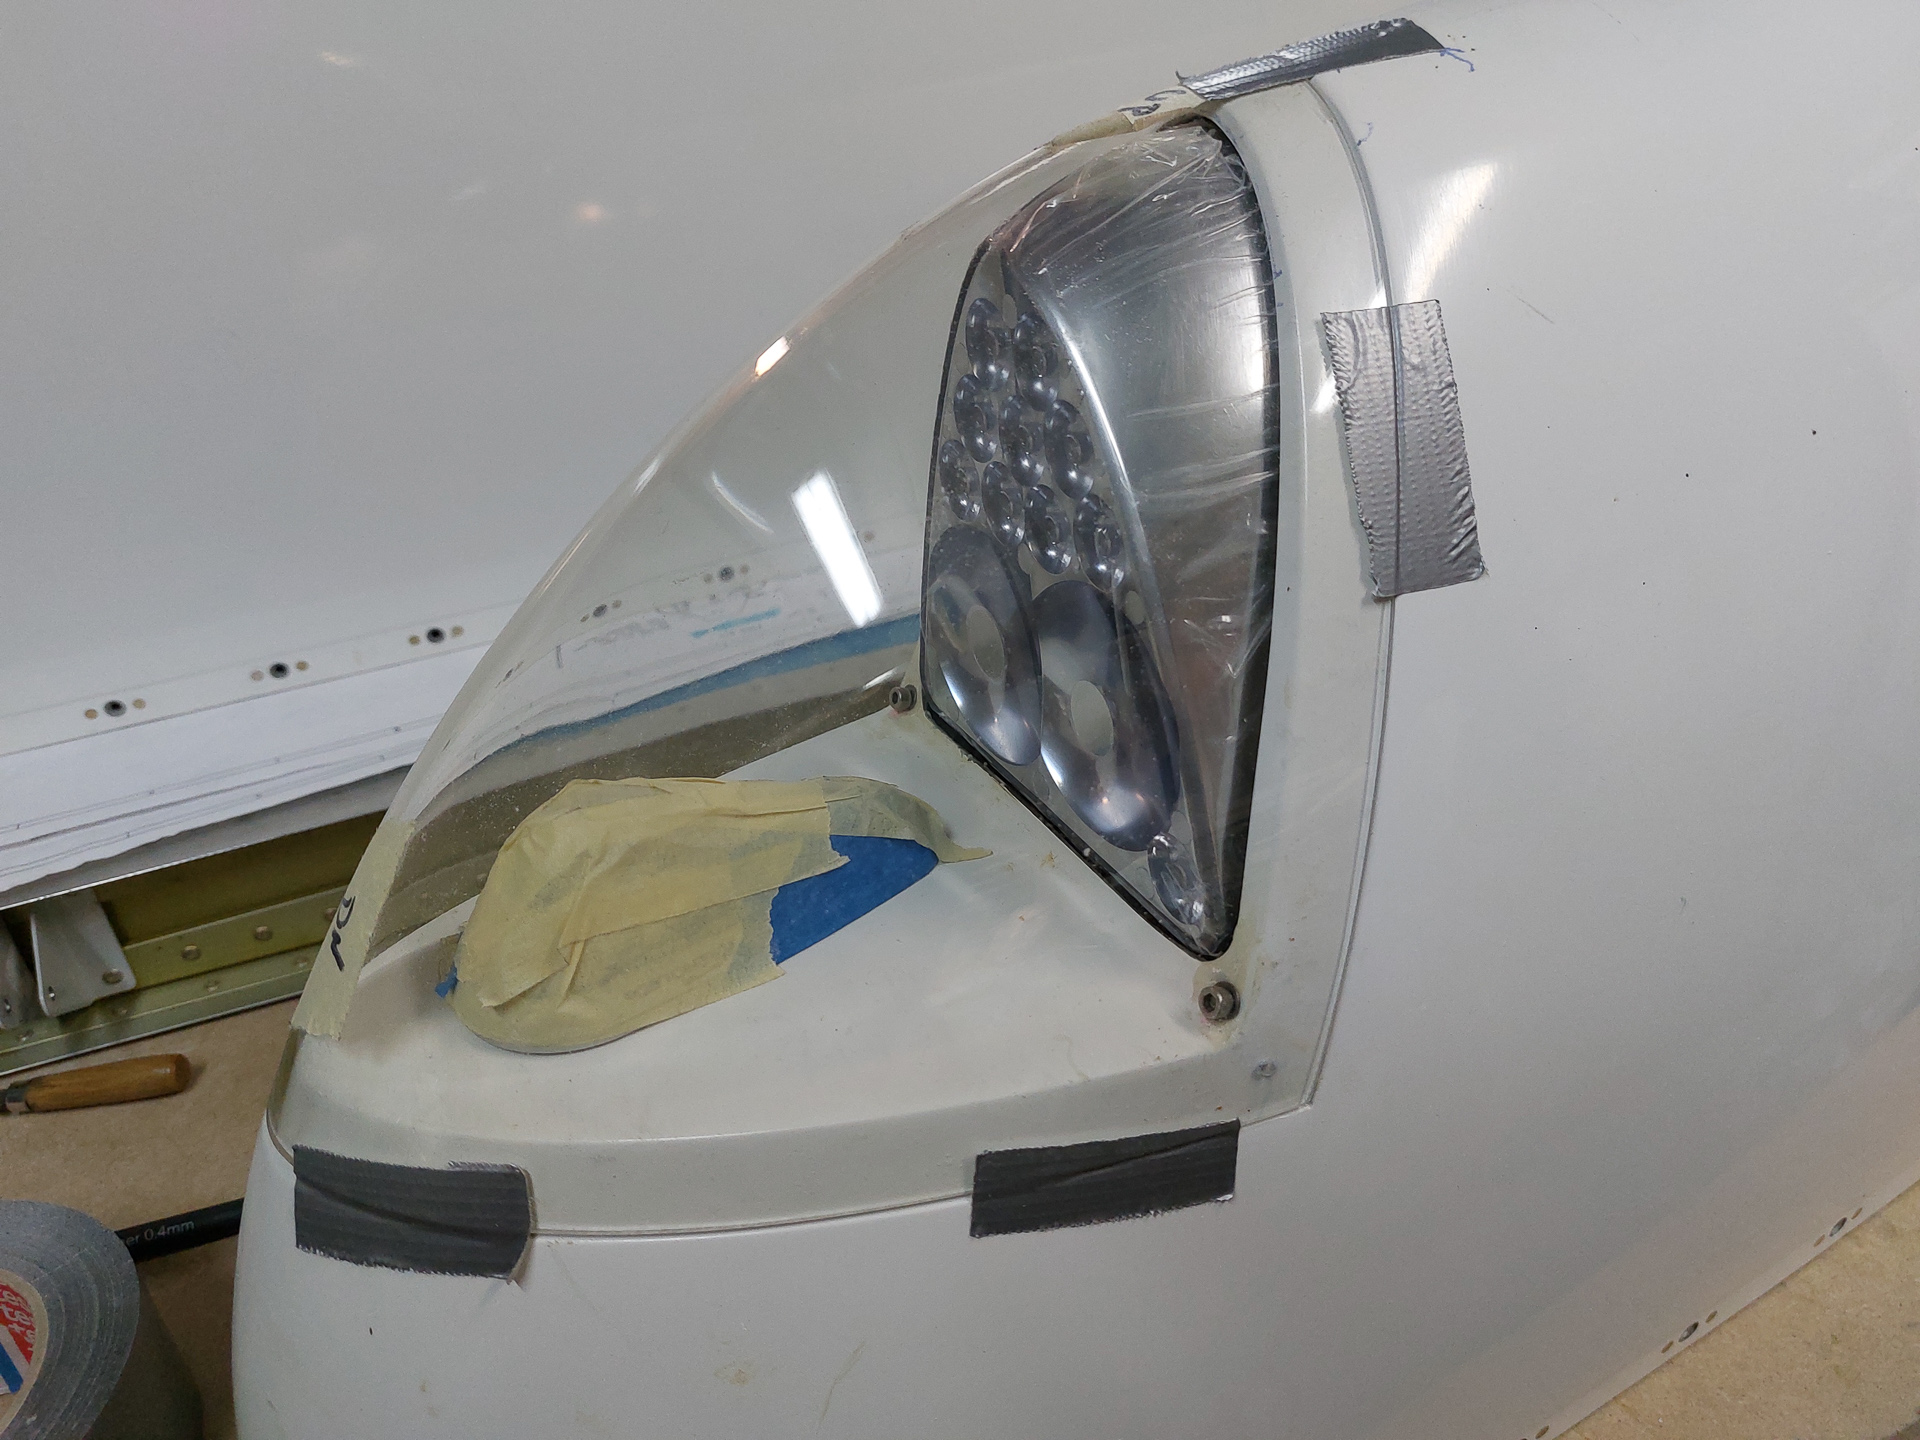
This was a good moment to drill the holes for the screw that will hold the lens in place. The manual only uses 1 nutplate on each side in the inner corner.
I didn't like that idea and wanted some additional screws so drilled two additional holes on each side in the middle.
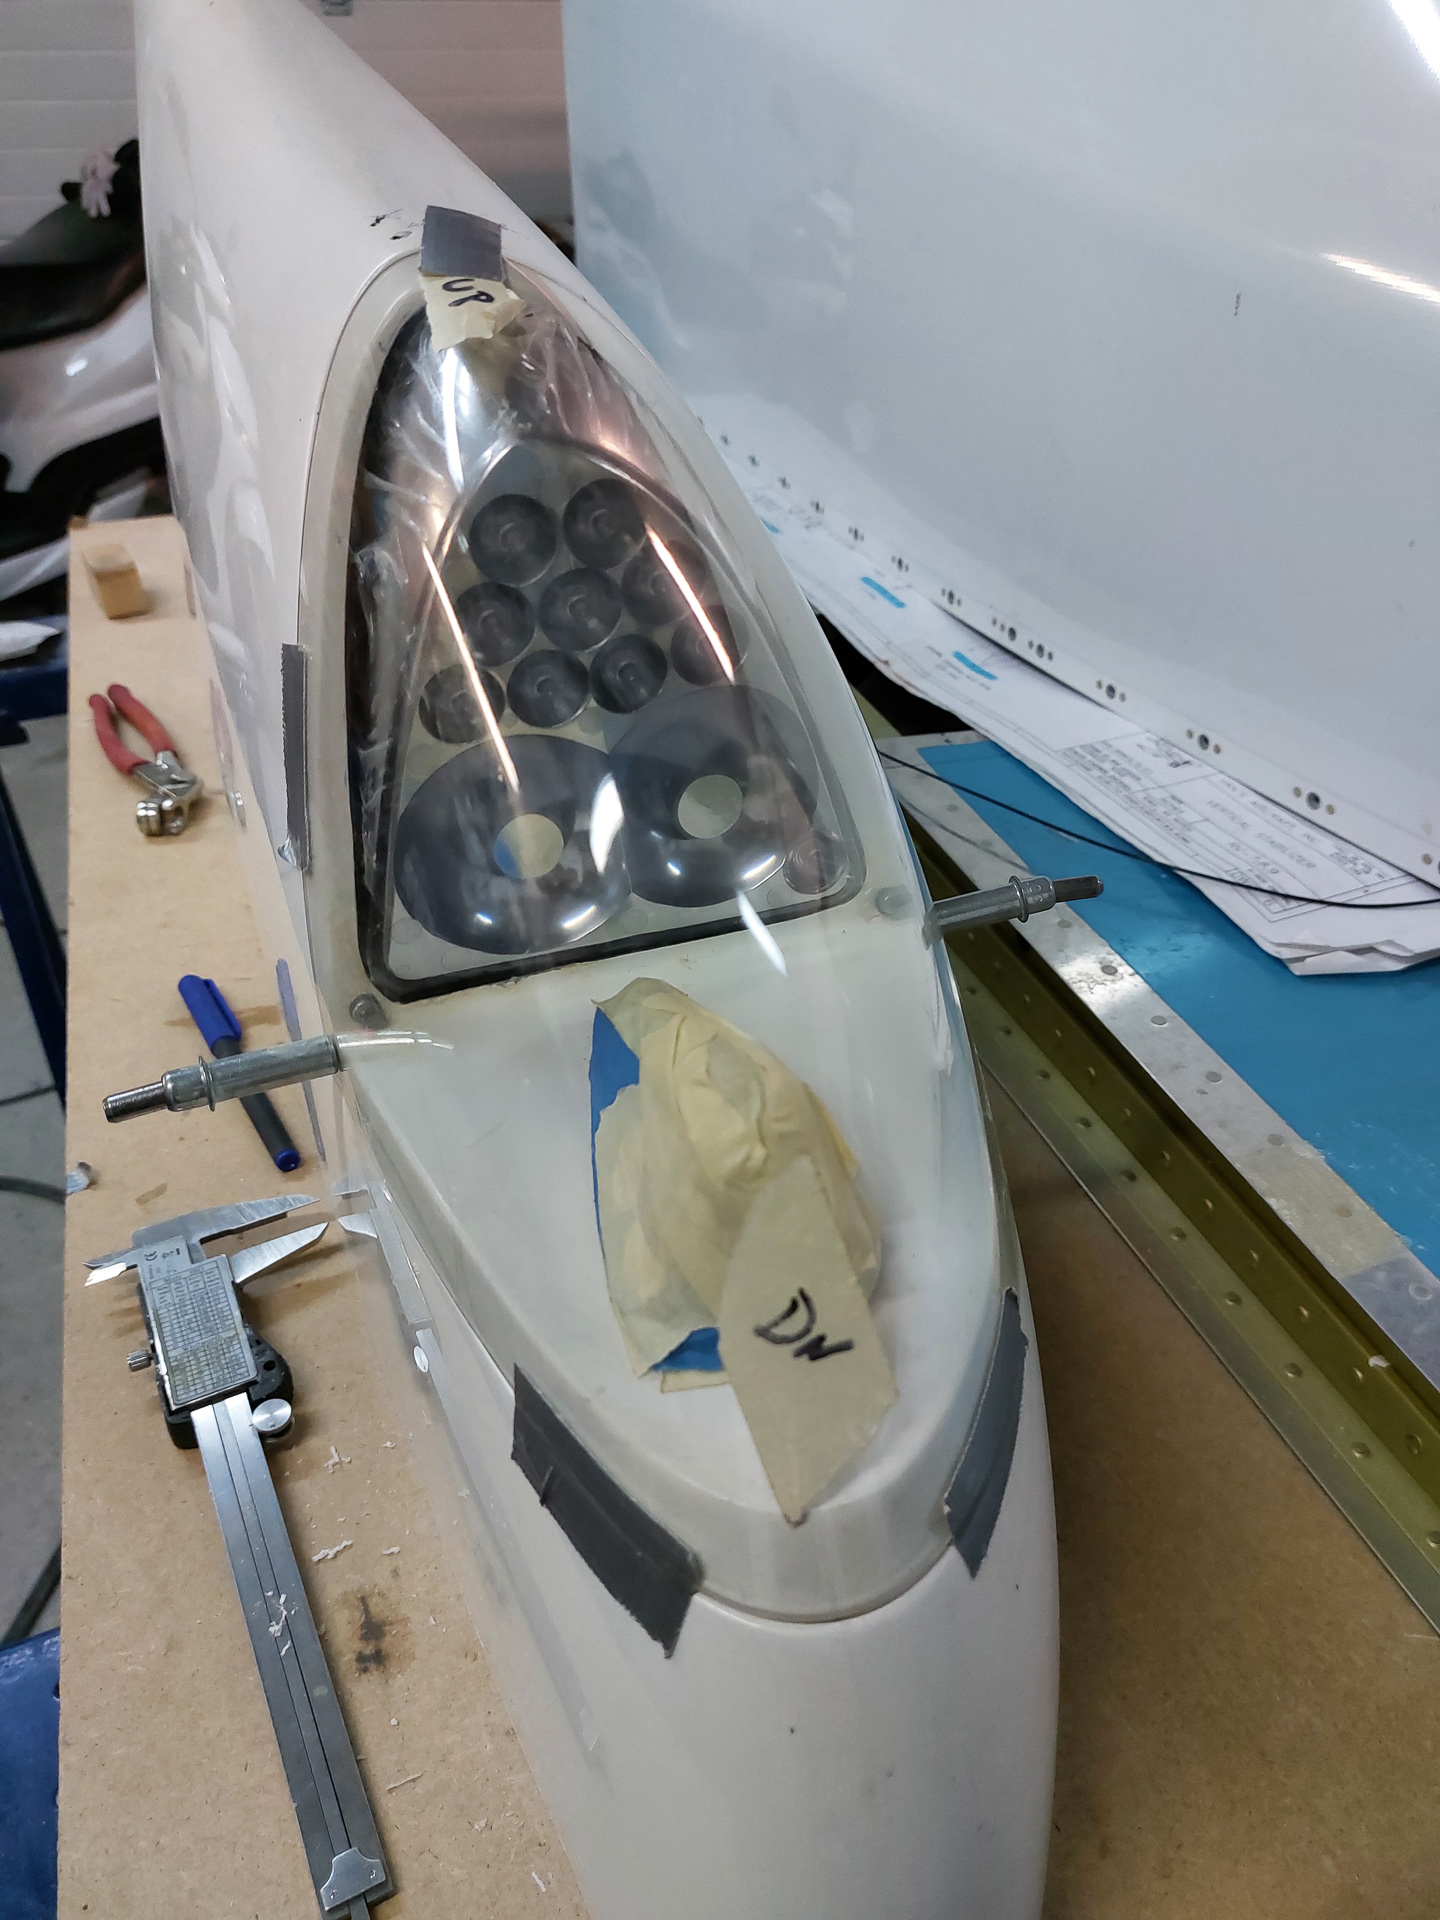
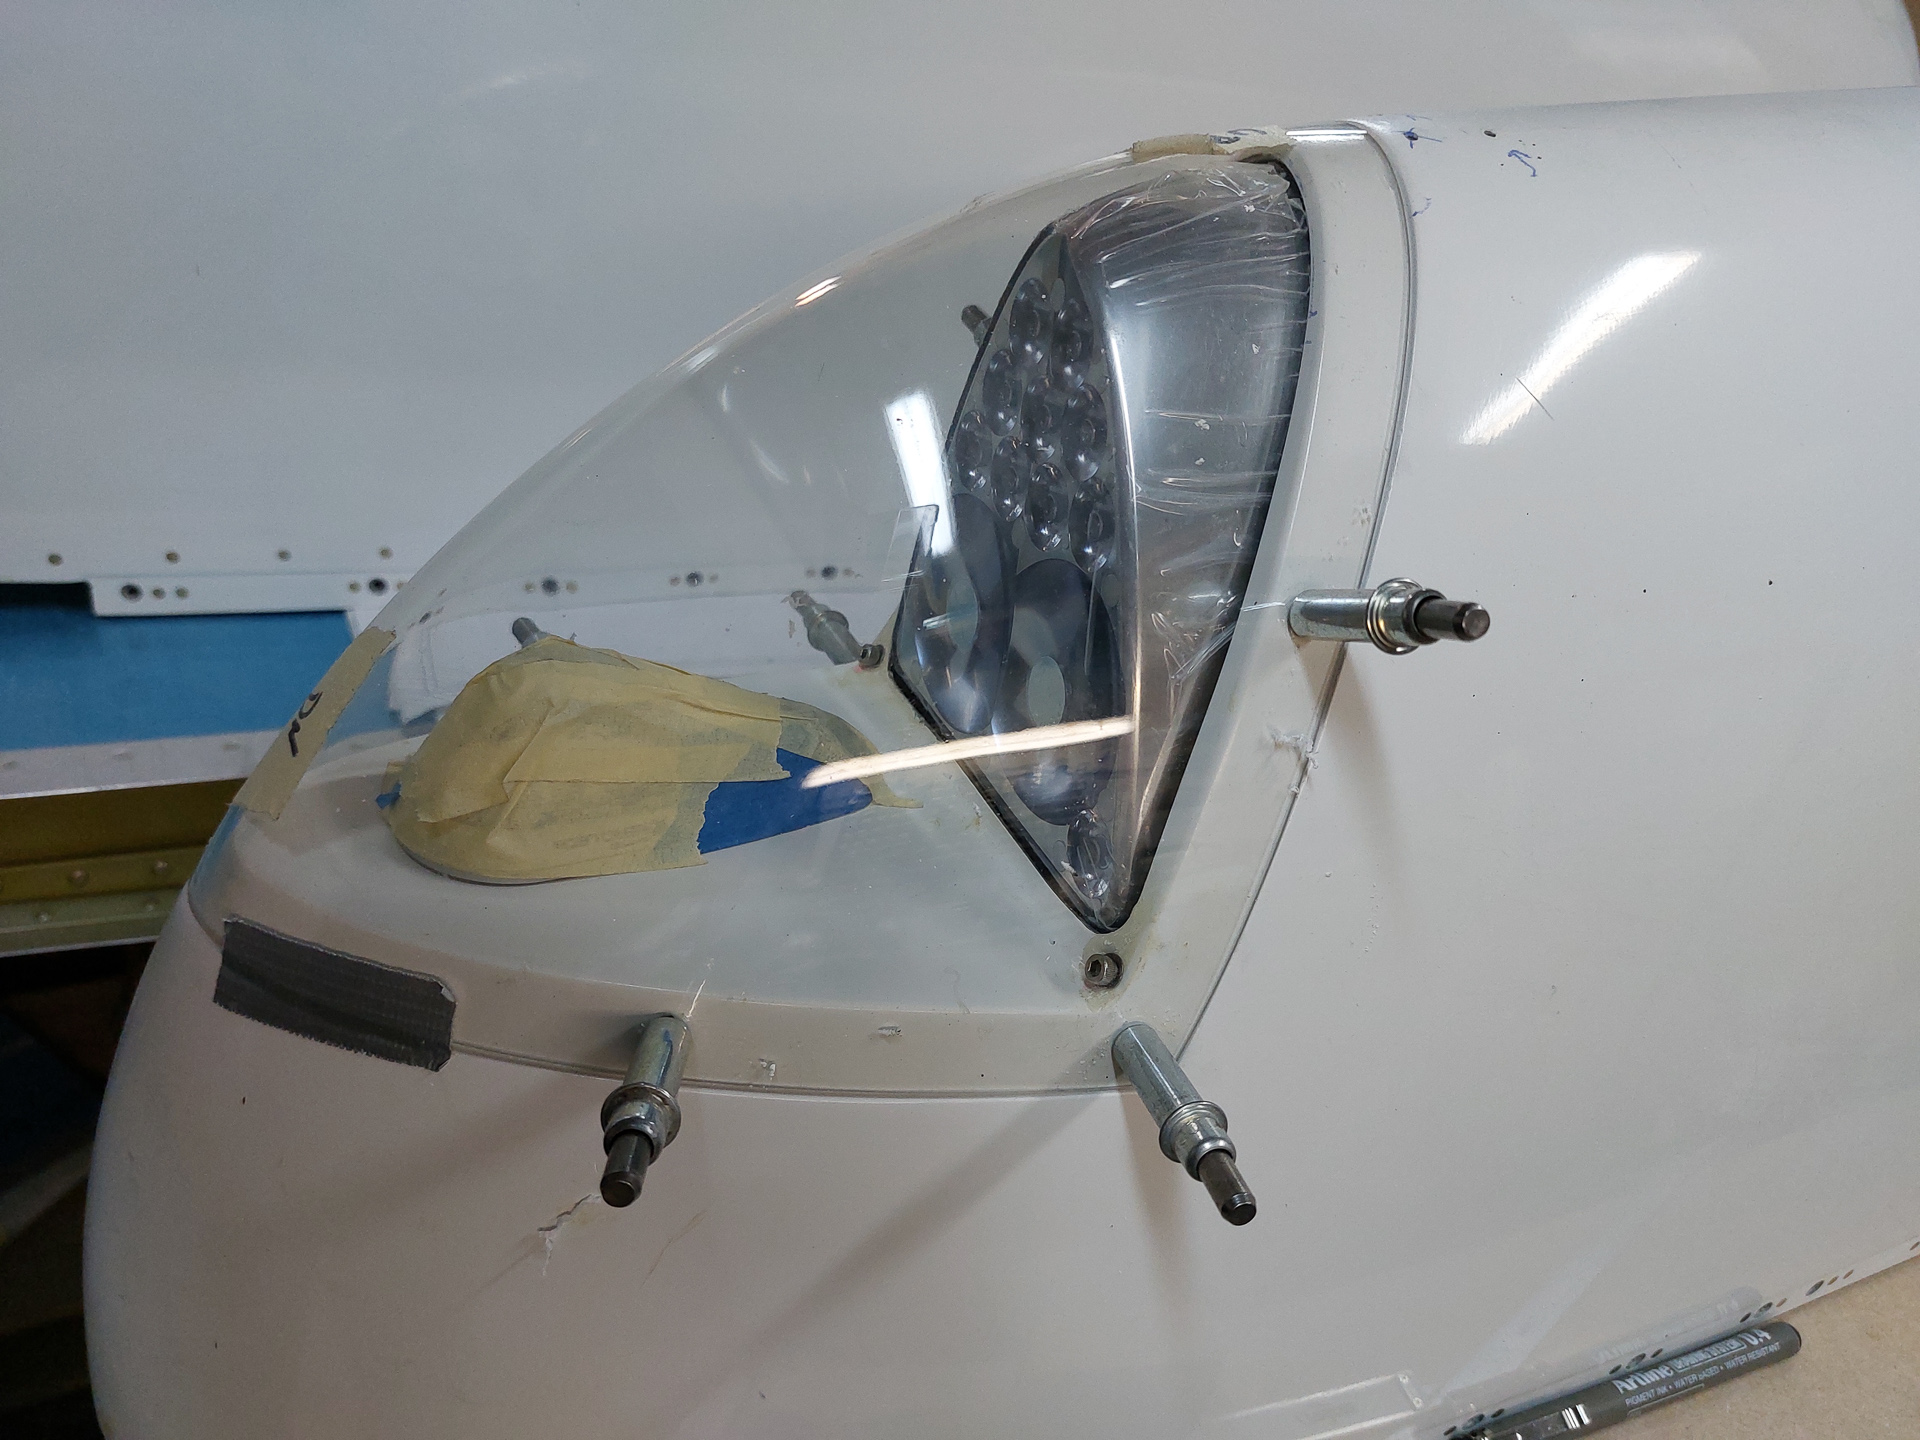
side view
Then reamed the holes for #30. will be further drilled to #19 for some stainless 6R6 screws and tinnerman washers.

