Trying to find more small tasks to accomplish on the electrical system. Next up is the stall warner sirene. This is a small printboard that converts the signal coming from the stall warner vane in the wing into a audible signal. It took me a while to fine the schema and the plans of the stall warner again as this was something I touched last time when making the wings several years ago.
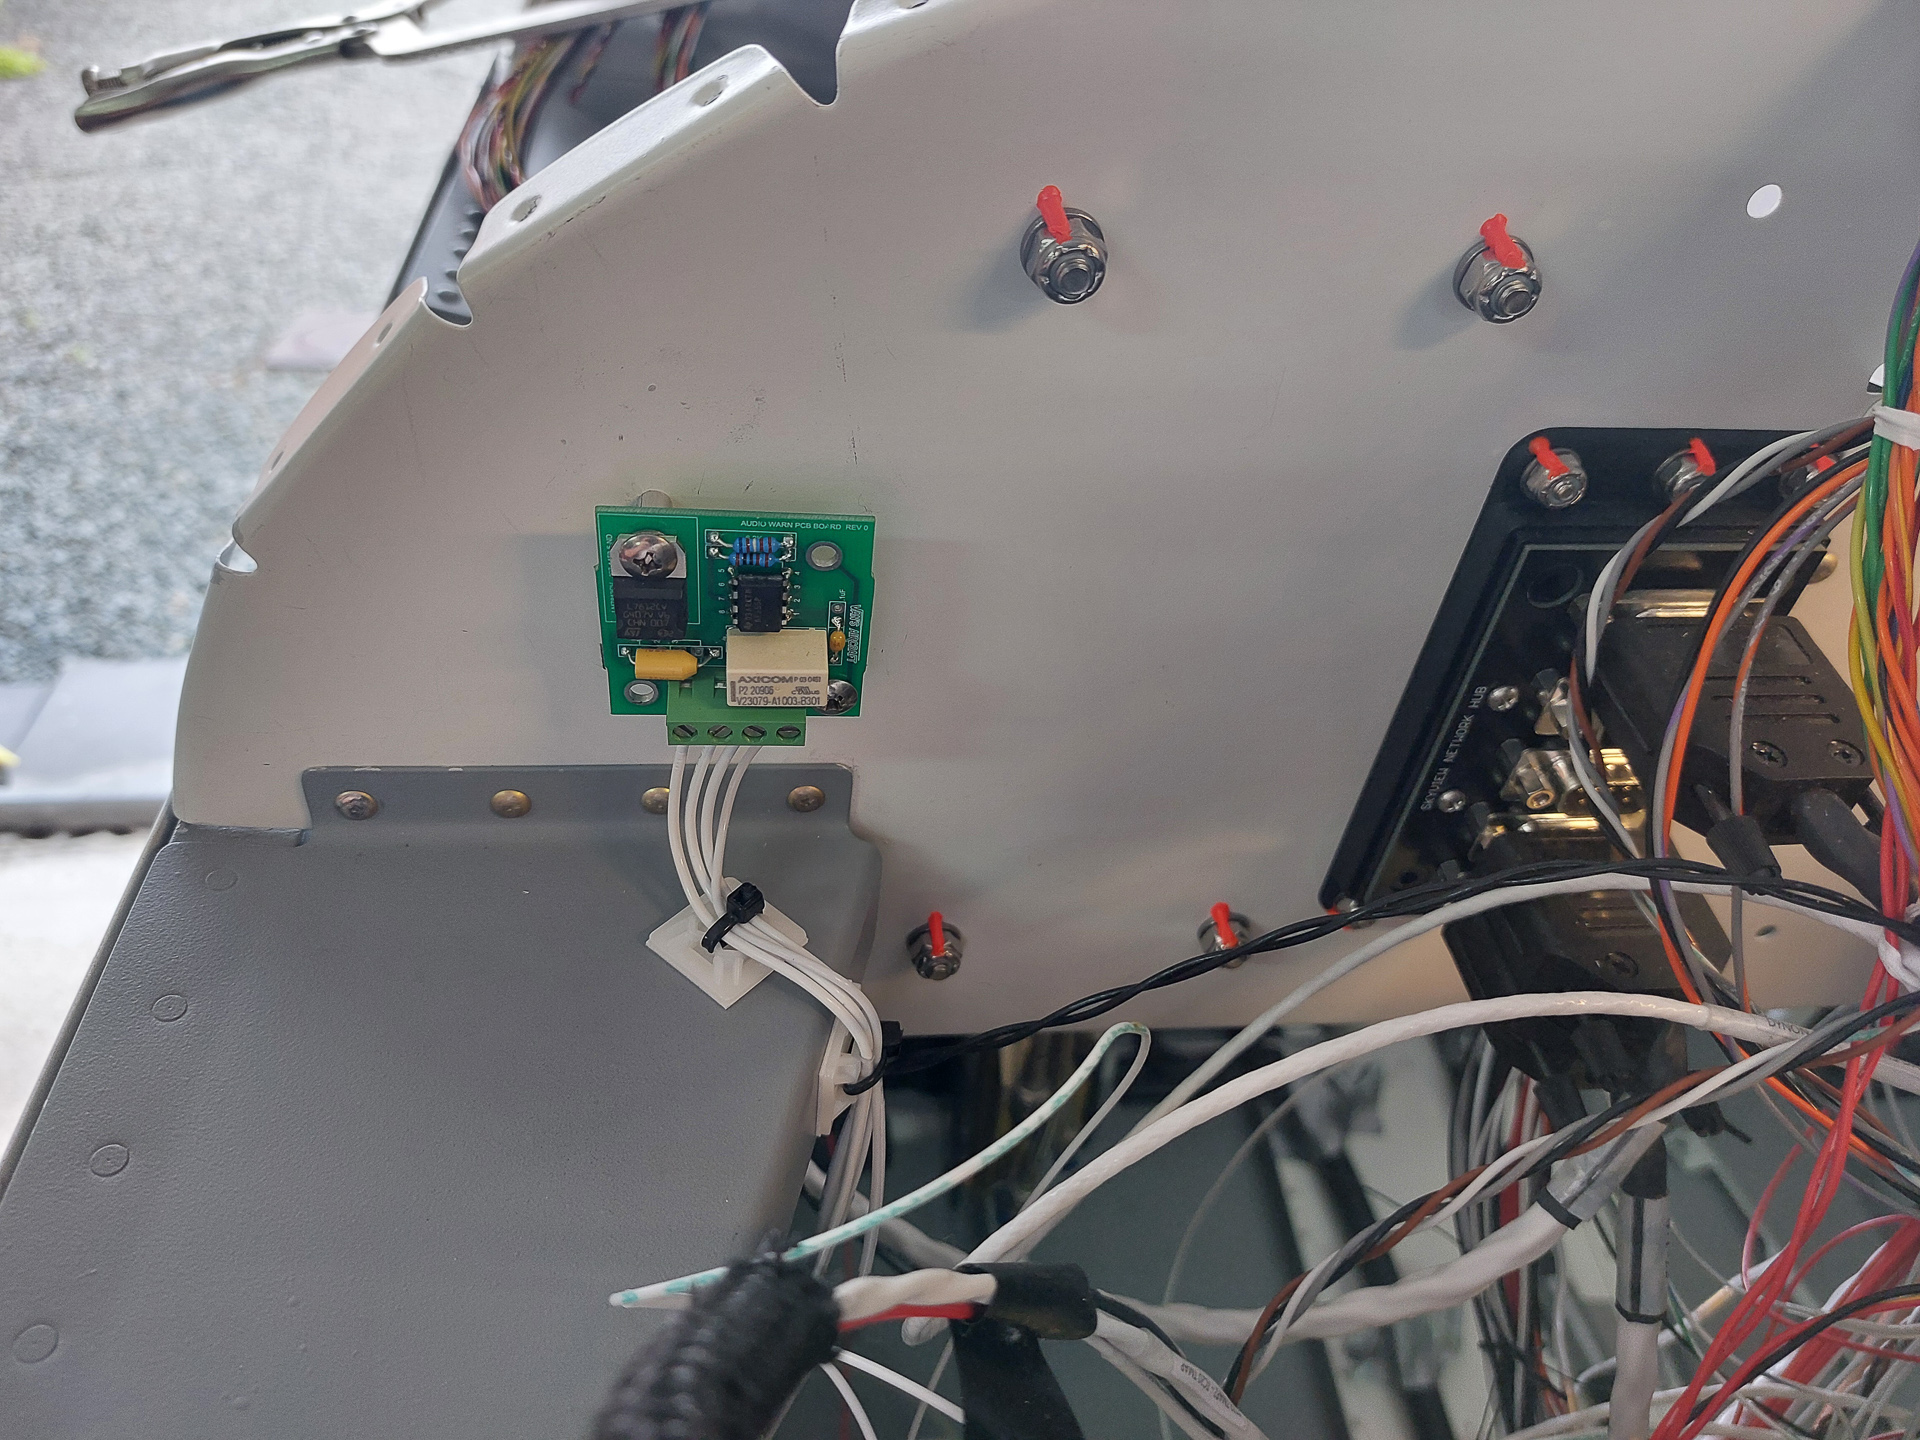
Fortunatly I could quickly find the hardware and found a suitable spot for it on the left side of the 2nd sub panel behind the instrument panel. There is some hardware in the kit but I will probably need longer spacers and screws for it. In the image below, the 2 holes are drilled and the printboard module screwed on to the subpanel
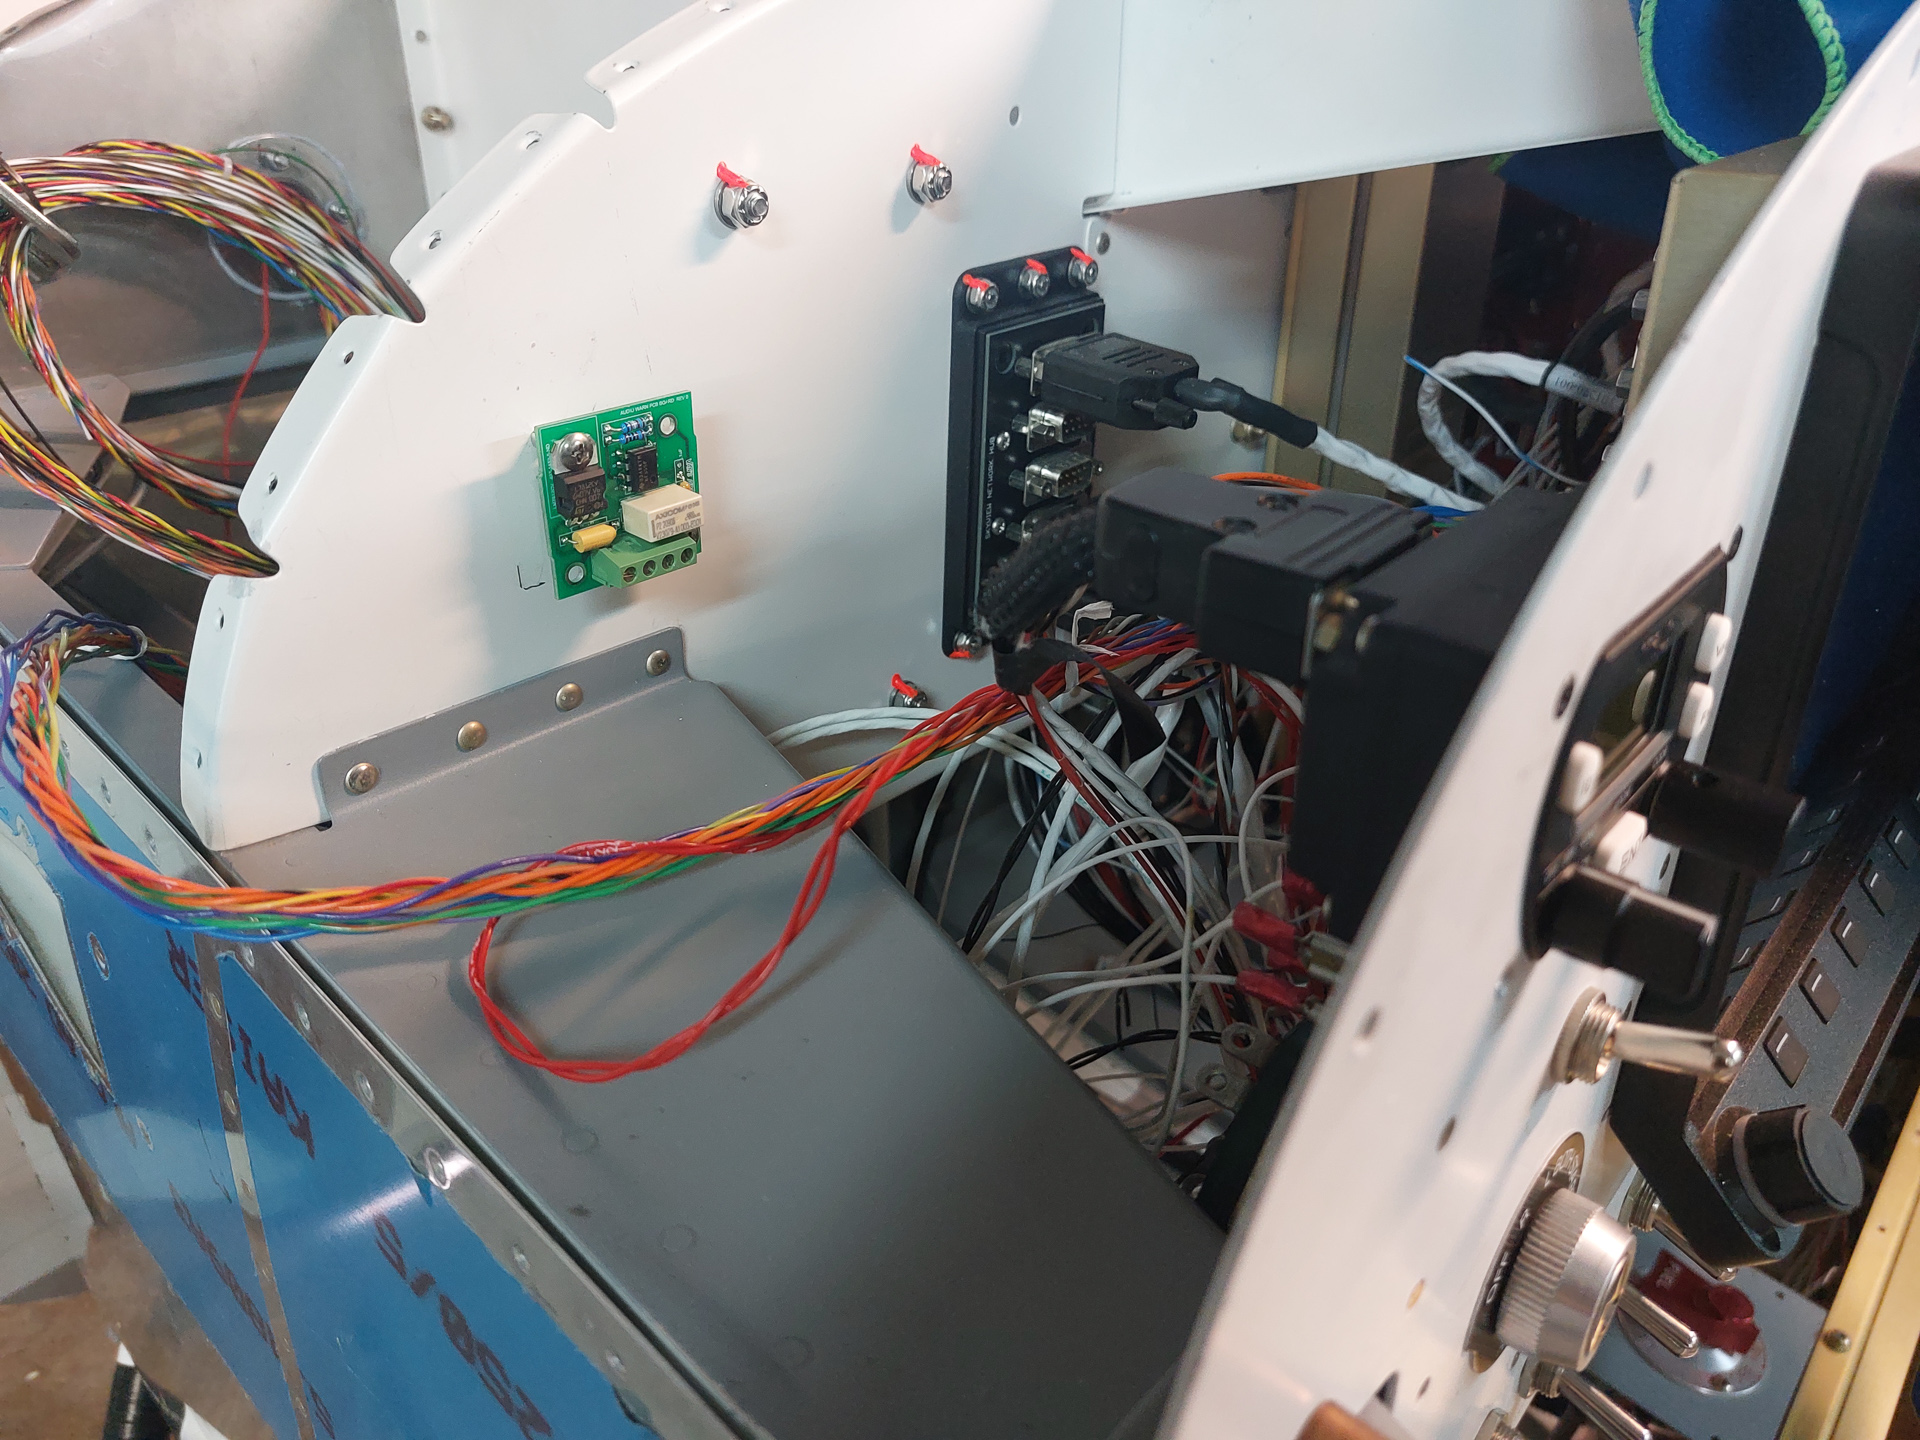
Then installed the wiring. One wire comes from the stall warner hardware in the wing. It passes through the deutsch connector in the wingroot and travels though the conduit in the center fuselage up to the sub panel. The other 2 wires are GND and PWR. The PWR is a power pin J8-1 with a 2 amp circuit breaker on the VPX that's "always on" (not switched).
I installed the sound signal wire as well and connected id to a aux input to pin 17 on the Dynon SV-Intercom-2. However, the alarm was so loud that I couldn't keep my headset on.
There is no switch or potentiometer on the printboard so the volume can't be adjusted. I did some research on the forums and found that you can install a resistor inline with the sound signal cable and this reduces the volume. Another option is a potentiometer that will increase or decrease the resistance depending on the setting. I didn't like the idea of an additional board just for a potentiometer. If the volume is good, there is no need to change it later so I decided for the resistor solution.
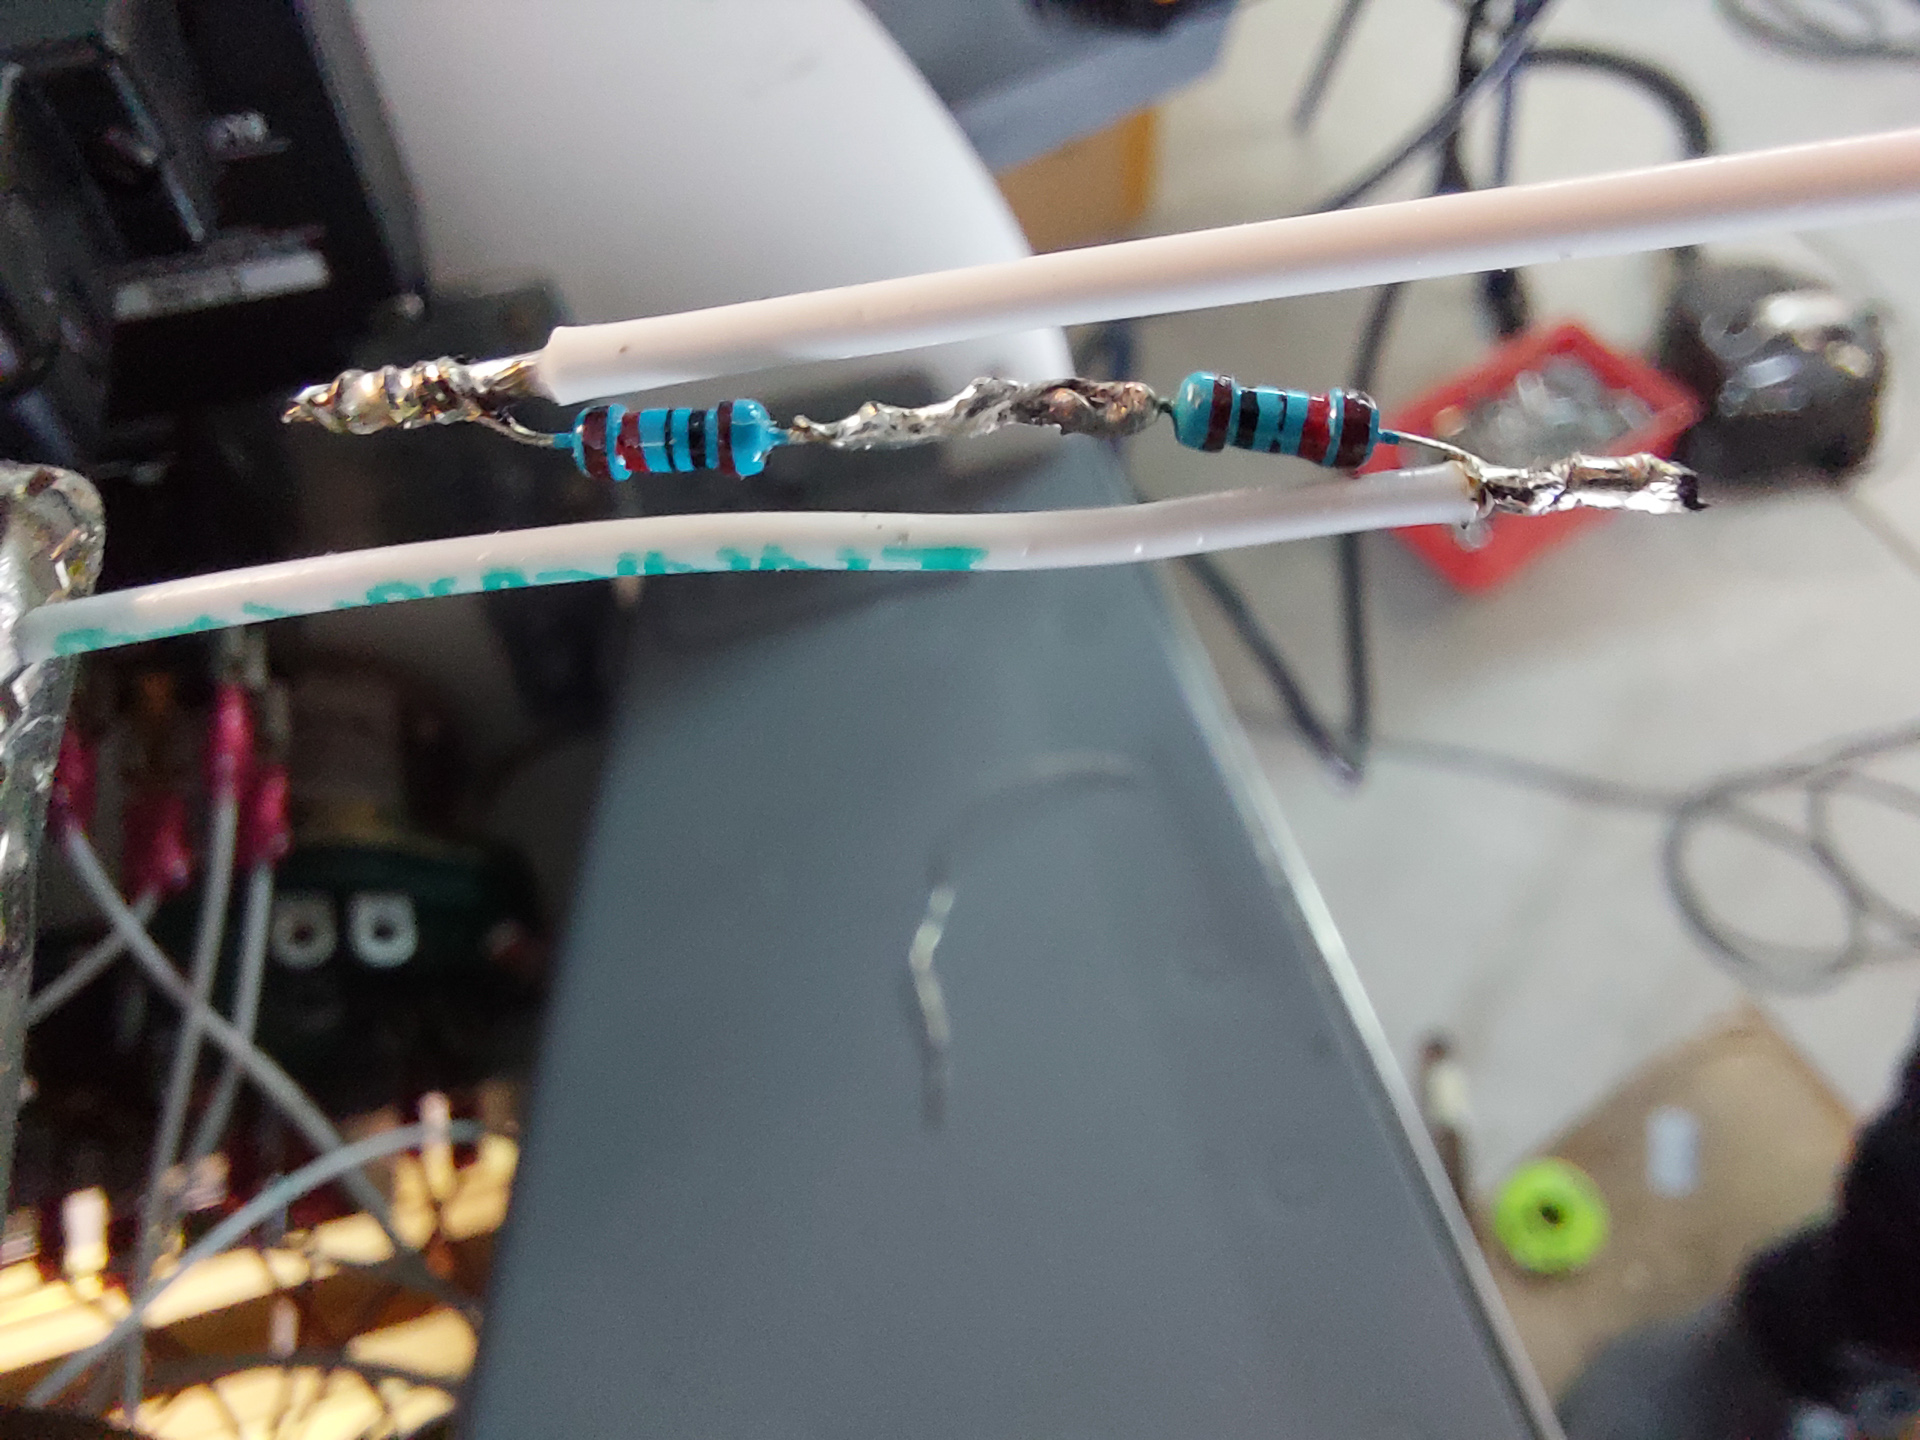
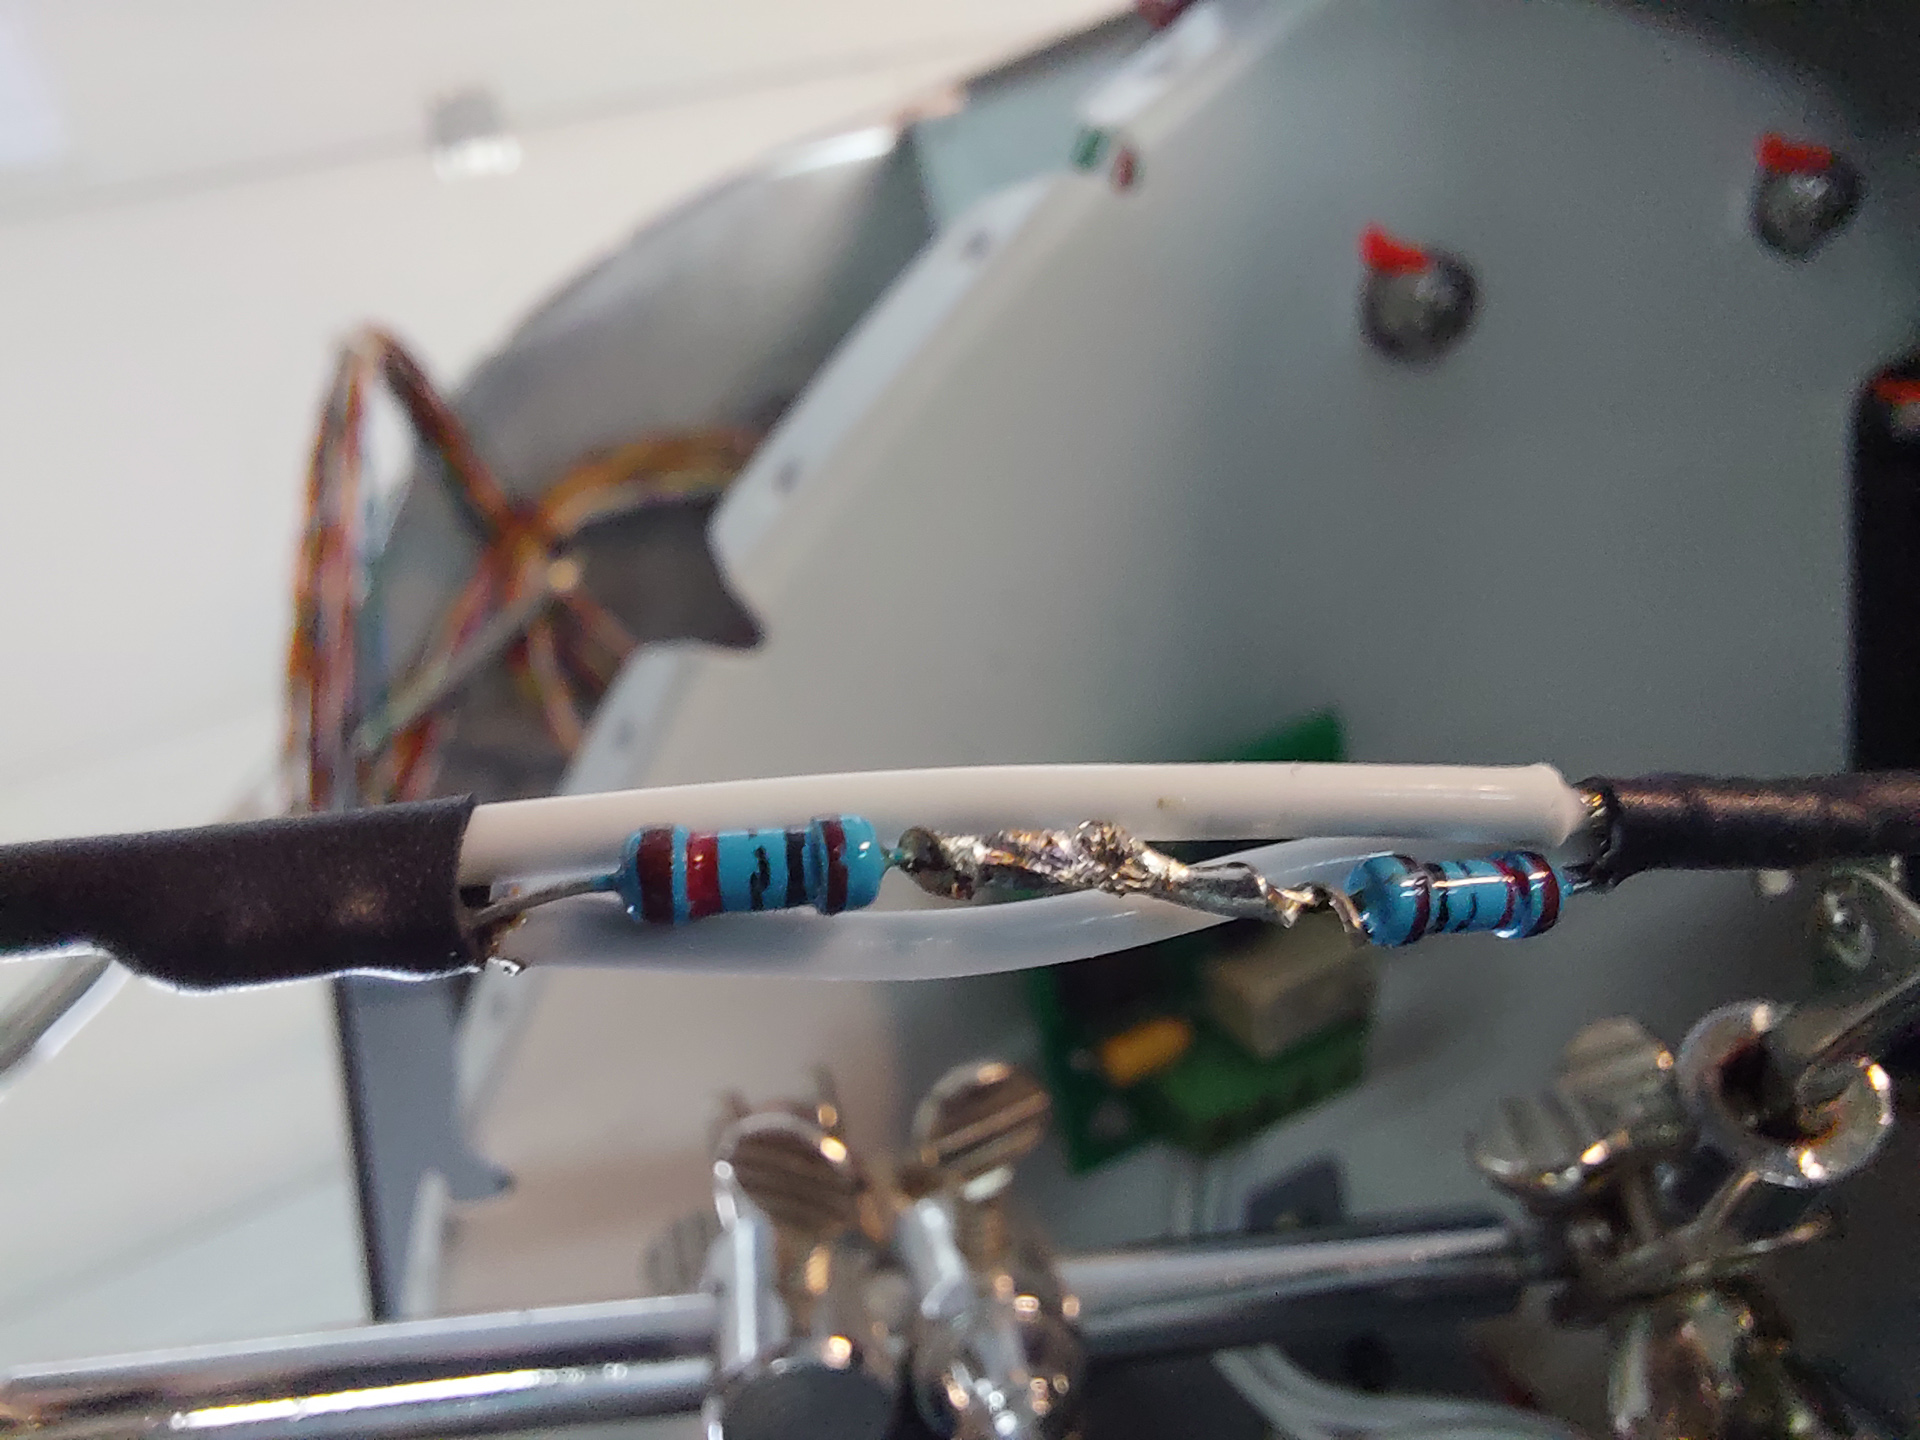
I ended up with the need of a 20K ohm resistor. As I didn't have such a resistor at hand, I placed 2 x 10K ohm resistors in series which has the same outcome.
The sound is still loud and overwhelms the radio audio but that's probably what you want when stalling.
As the values were good I started soldering the resistors. I mechanically connected them and then applied solder. Still one of my least favorite things to do when dealing with the electrical system.

Solder applied and also the 2 wires soldered on each end. This is the way you want to solder resistors inline with a wire. This method makes the connection stronger and reduces the possibility of stress and breaking due to vibration. Some heat shrink will be placed over this connection that creates a stronger joint compared to soldering everyting straight and in line.
the double wire and the resistors make it thick. You need a larger size heat shrink but this will not bind very well to a single wire. So I first took two ends of solder sleeve of a smaller diameter and placed that over the postion in front and behind the resistors. That already thickens the wire a bit.
Next place a longer end of larger sleeve over the entire assembly and applied heat. Reinstalled the wire to the Intercom and tested. Everything works as expected. I also have AOA warning via the dynon pitot tube and Dynon Skyview HDX system. So the stall warner is kind of like a secundary protection.
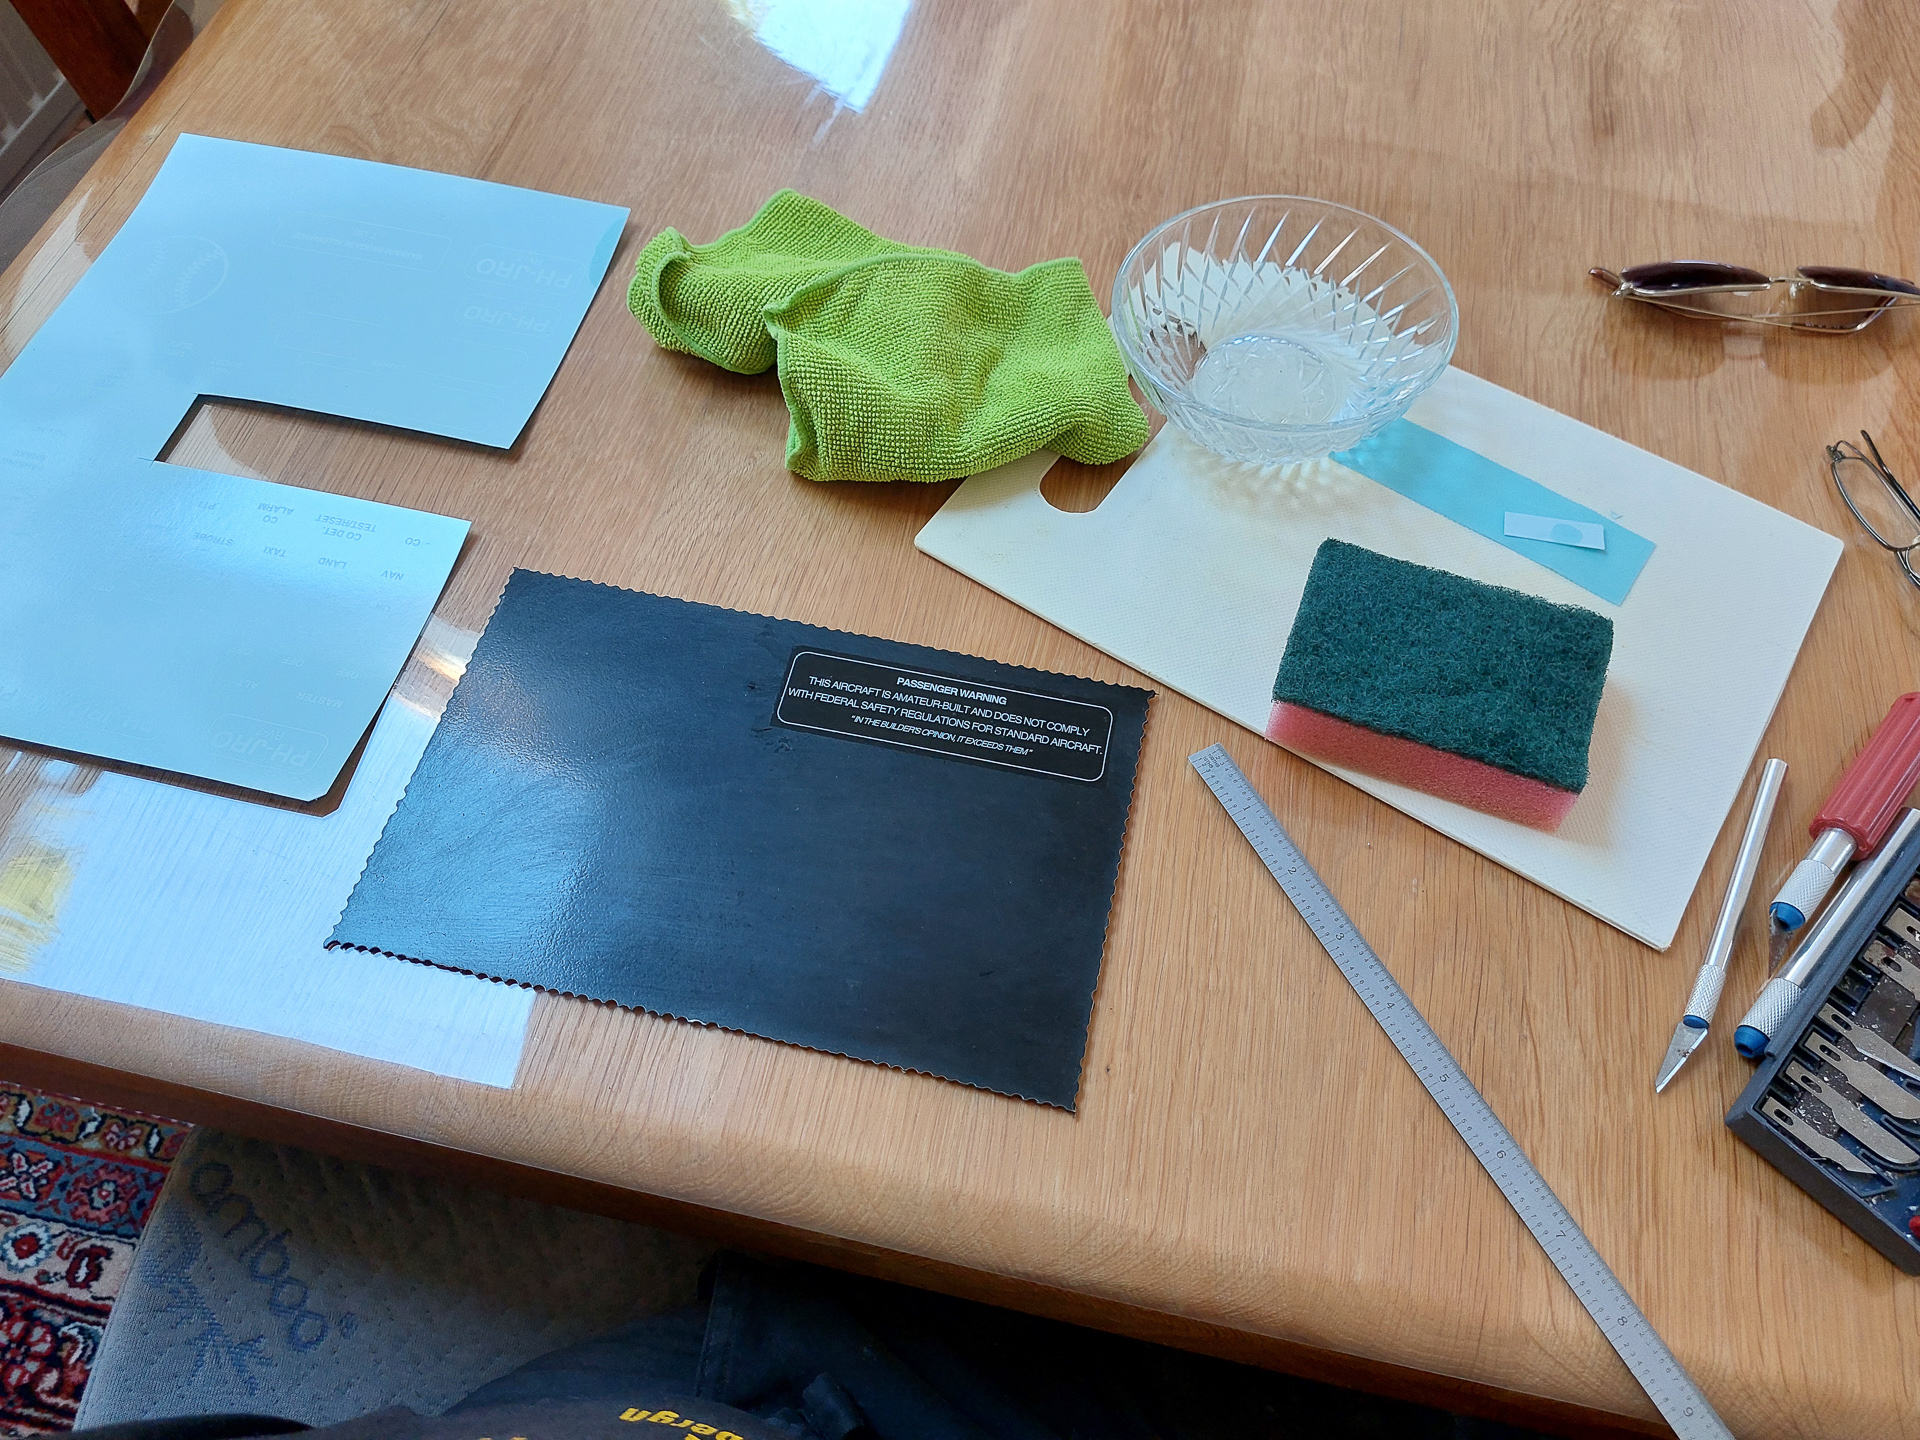
The closer I get to finishing the instrument panel, the more I worry about how to apply labels or lettering to the switches.
I have been searching for a long time but now found a great solution which I purchased and ran some test with.
I will have a black or dark grey panel so the letters will have to be in white. Not easy to print... I first tested with some decals that you push through using a pencil. After some tests I gave up on that idea. The decals are hard to find in custom fonts and applying them is a mess. Also spacing letter per letter will nog make a very nice end result.
I then came across a company called Ghost White Toner. They provide laserjet toners that can print white ink. All you need to do is replace your black toner cartridge by this white cartridge and all you print in black will now be white. The company also sells special blue decal paper on which you can print with a laser. I made some test labels and printed a test page.
You cut out the labels with a sharp knife and then make the decal wet with a spounge soaked in some water. As you wetten the decal the blue paper releases underneath the actual decal and you can slide it from underneath. As long as it's wet, you can still gently apply pressure to reposition. Once dry, it stick well to the surface. The only disadvantage to this is that it will release again when it comes in contact with water again.
My plan is to paint the panel, then scuff the panel to get is ready for a matt transparent coat. The decals will be applied to the scuffed panel. Very happy with how this turned out.
I will apply some more sizes of text and have it test coated with a final later of transparent lack.
This is the decal applied on the painted and scuffed plate of aluminum. As it's applied now, the readability is very good. It looks more shiny where the decal is but once the coat will be applied the entire panel will look the same.
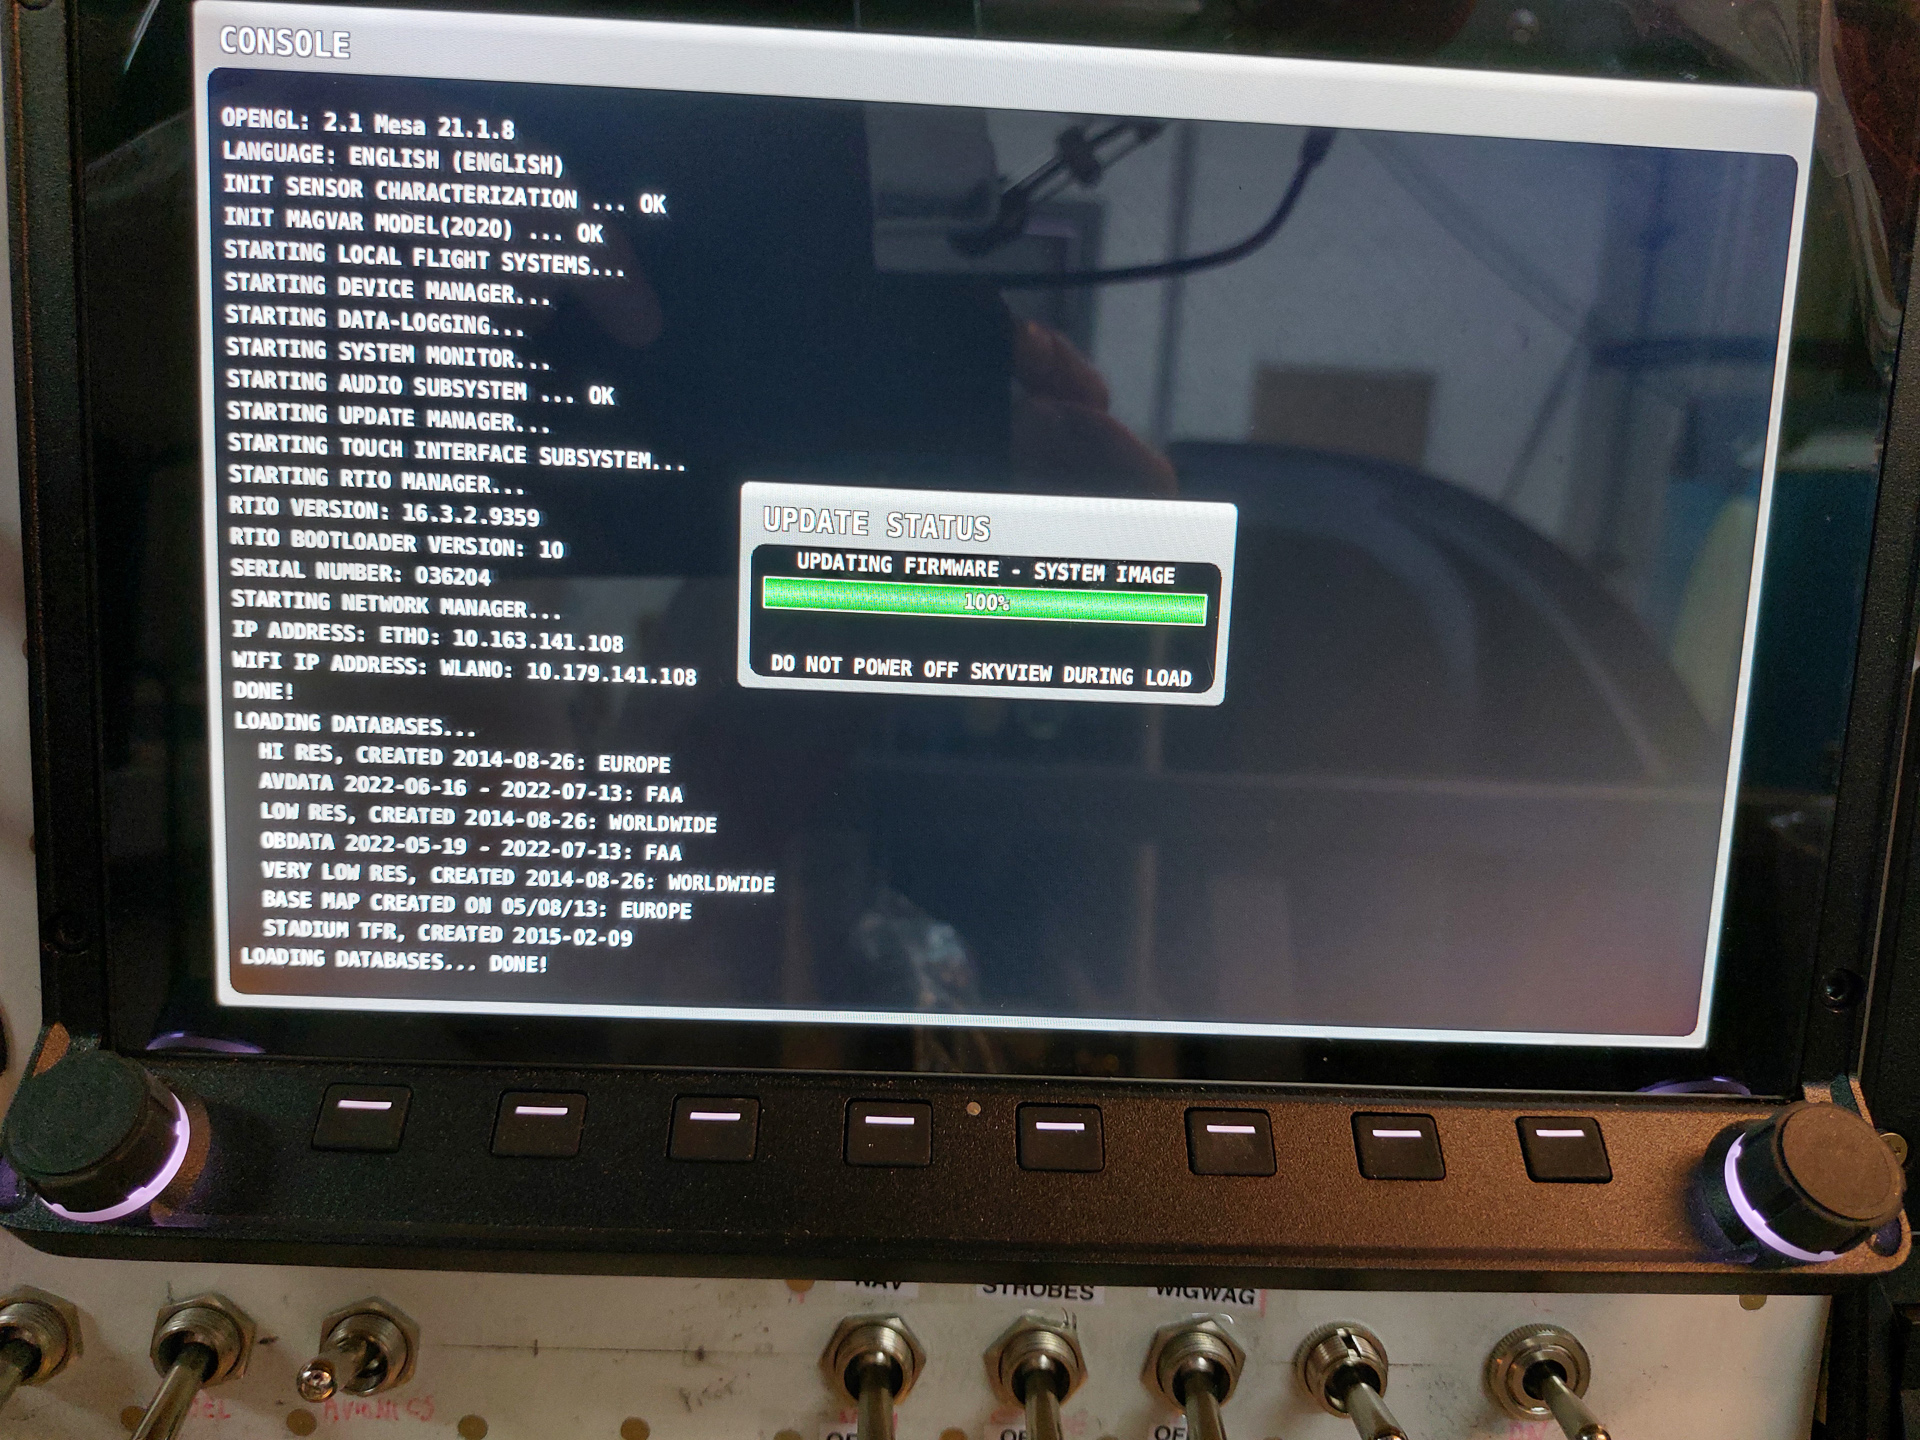
Finally, to finish the day, I updated the software on the Dynon HDX. Doing firmware upgrades is always a stressy moment as I know as an IT guy how much can go wrong during firmware upgrades but this time also it went smooth.