
19/07/25 - Firewall preparation / retorque gear leg and engine mount - 6h30
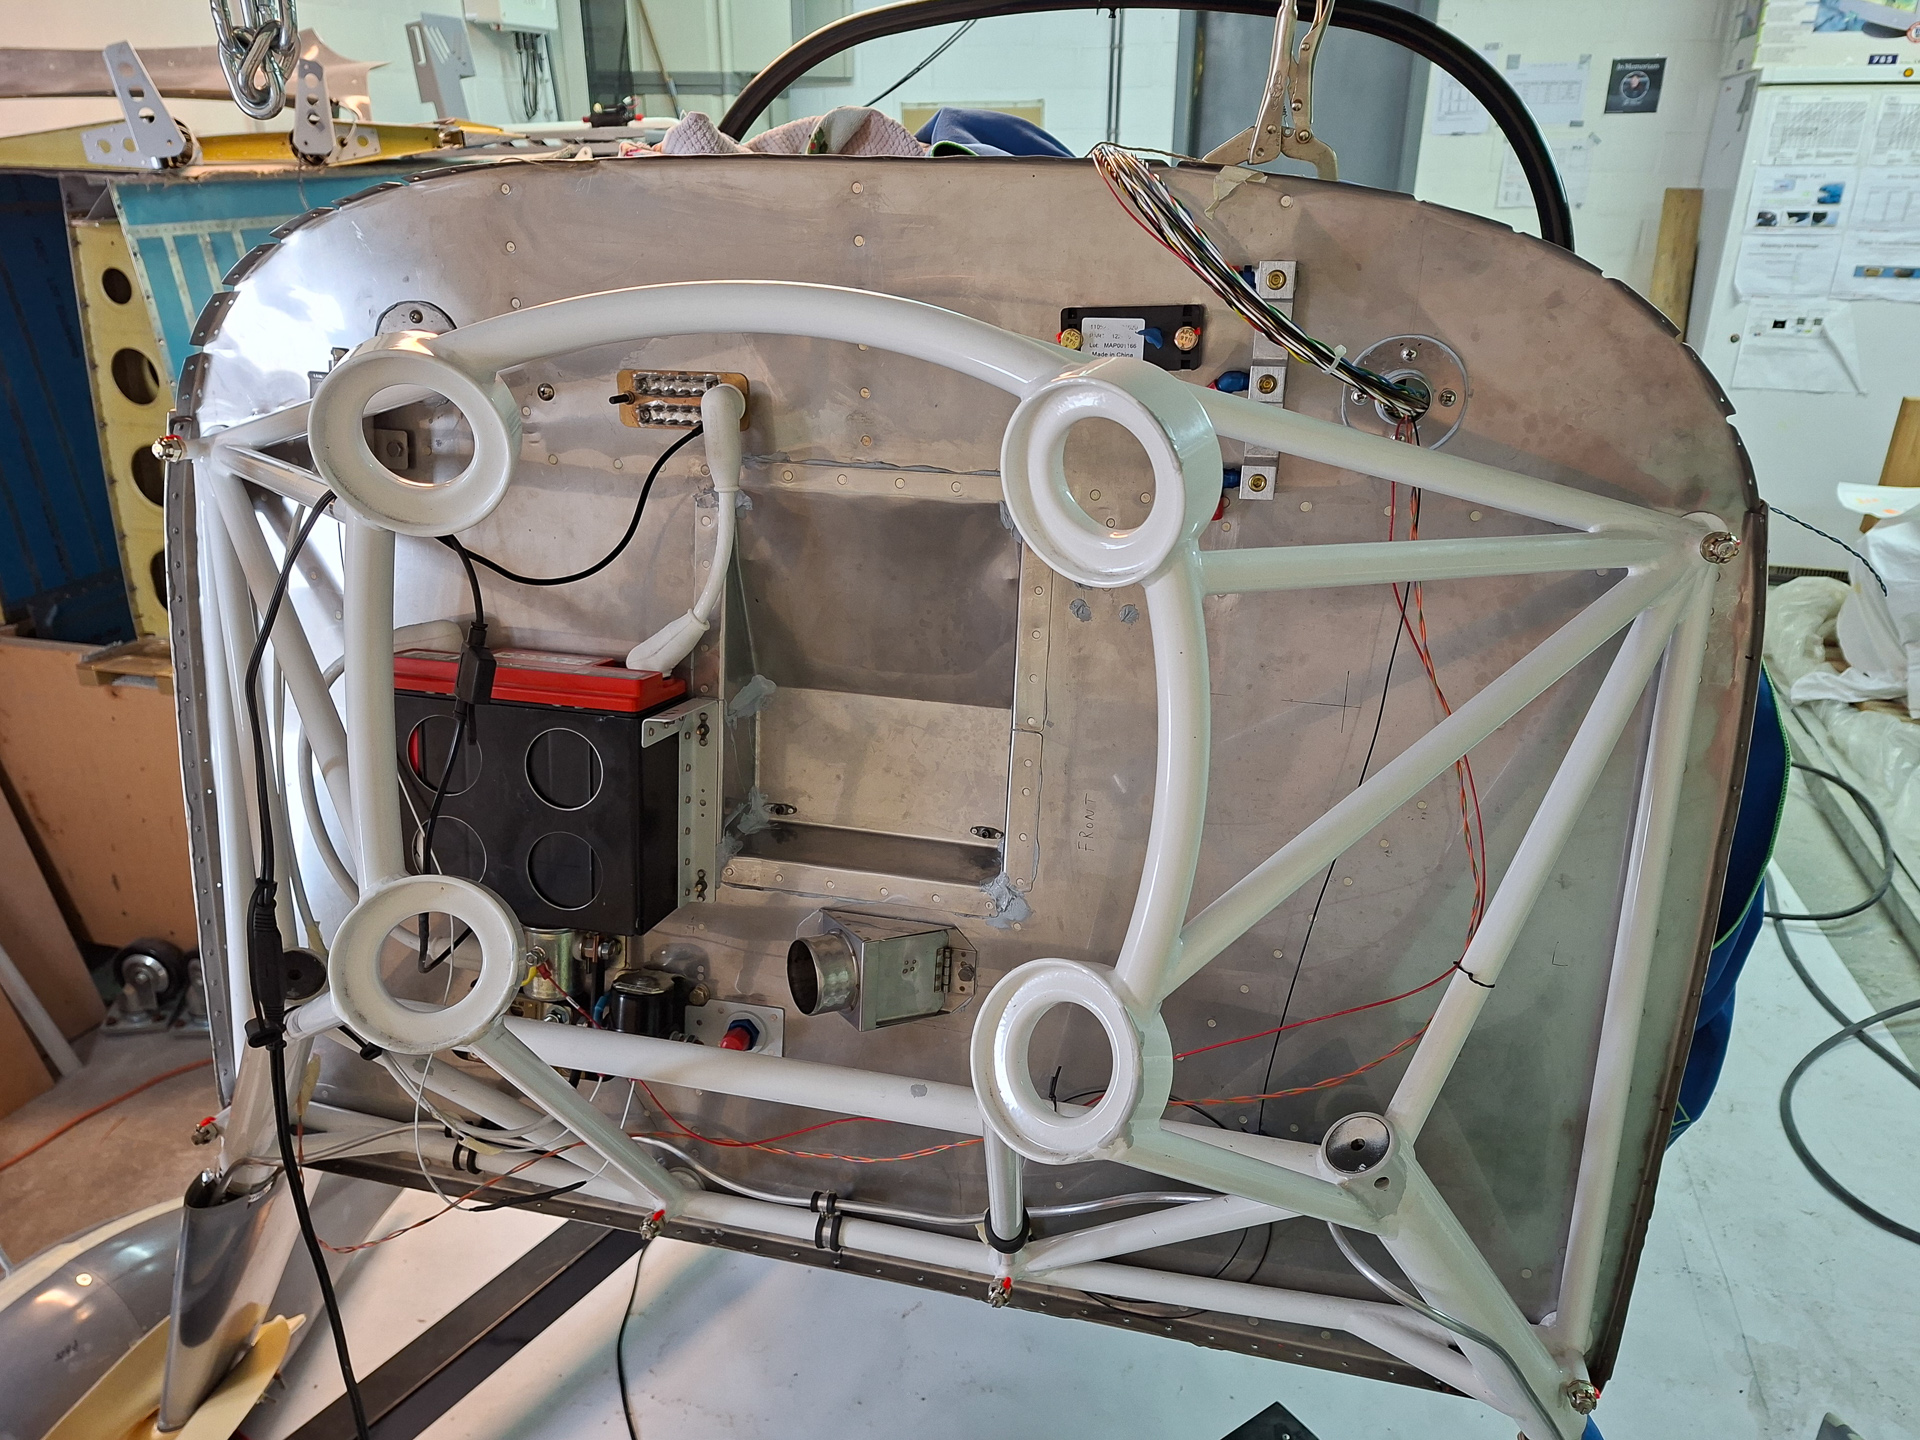
A lot of small tasks done in further preparation of the firewall to receive the engine.
As I was installing the fuel pass through doubler and rivetted the firewall recess, I had to remove the battery box and contactors.
So first I reinstalled all those components.
I recently have purchased 2 new top-of-the-bill digital torque wrenches from SNAP-ON.
I had found that my old one (purchased at the beginning of the project was undertorquing) and I bought a new one from WERA but the snap through mechanism on that one just didn't give me the required confidence of precision. So when I went to PMM wingservice for assembling my engine, I saw Patrick using these SNAP-ON wrenches and was convinced that was the right tool to purchase.
So I bought the Snap-On TECH2FR100 and TECH1FR240. Expensive stuff... but so is the hardware are attaching so it's worth every penny.
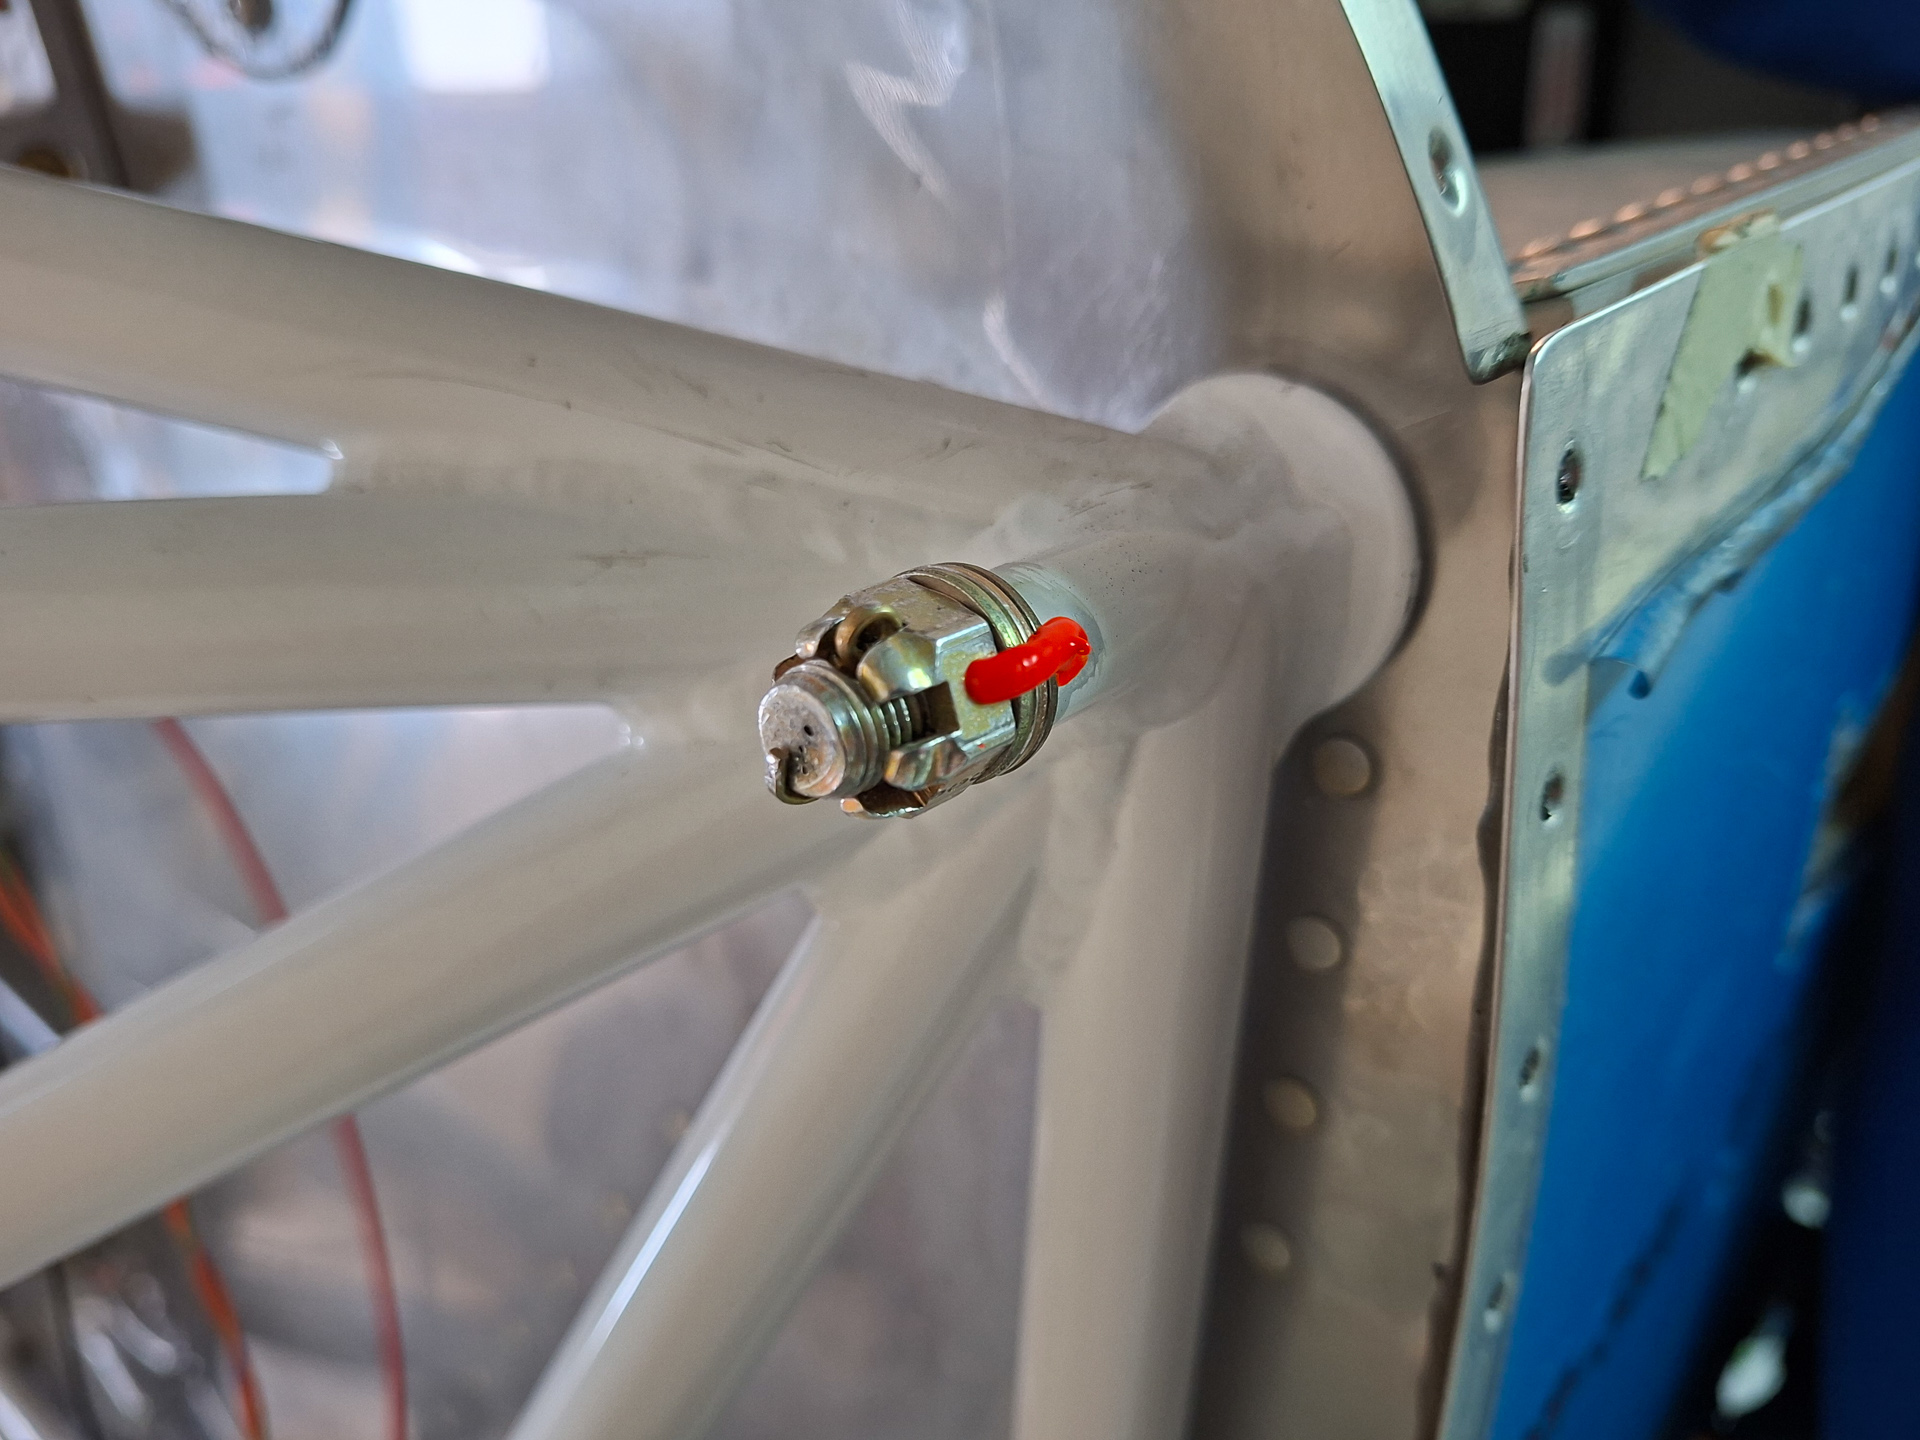
Having those in the shop now, I retorqued the Engine mount castle nuts and the landing gear nuts.
The engine mount nuts are for AN6 bolts which require 160 - 190 inch/lbs torque.
The technique for torqueing castle nuts is to torque to the minimum, so 160 in this case and then see where the opening lines up for the cotter pin.
Don't just add torque until the alignment without checking the final applied torque. With the digital torque wrench, you can see how much you actually pulled and I was blown away how fast the torque grows on small amount of extra rotation. The one in the picture below was an example of that. After adding the required torque from minimum, I ended up with 220inch/lbs. In this case, remove the nut again and either use a different nut which might have different alignment or add an extra thin washer. This will change the position of the minimum torque and in the end allow you to get within the acceptable torque range.
All of the 6 engine mount bolts were close to 180 in/lbs on final install.
I had some time left and final installed an AN nut and 1/8 pipe plug on the top line of the transducer.

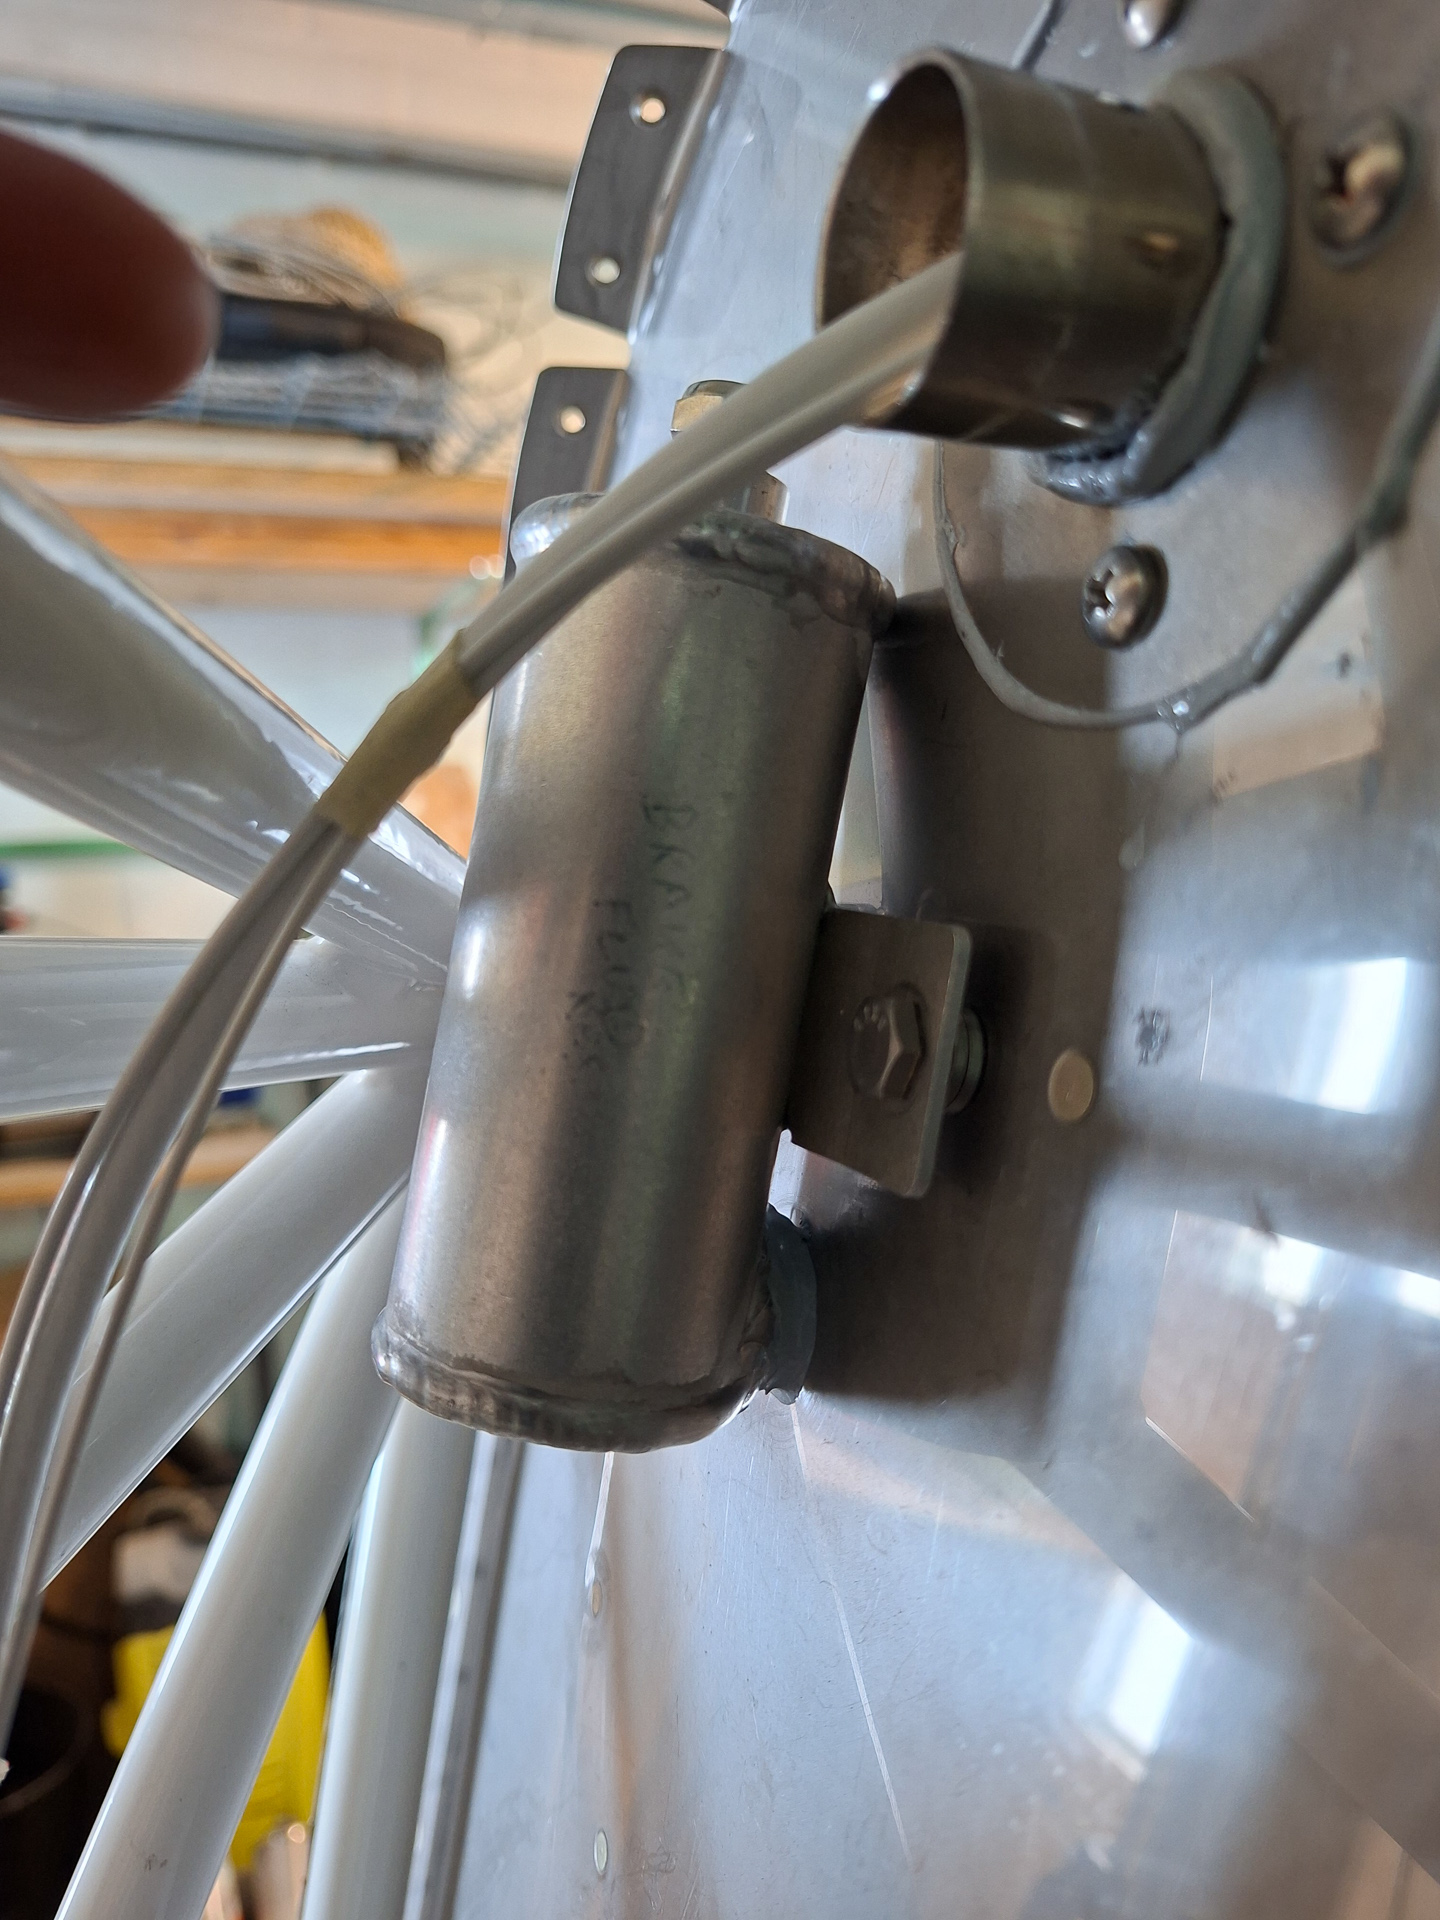
Next I torqued the brake cylinder in place on final install after having applied 3M fire barrier on the cylinder opening in the bottom.
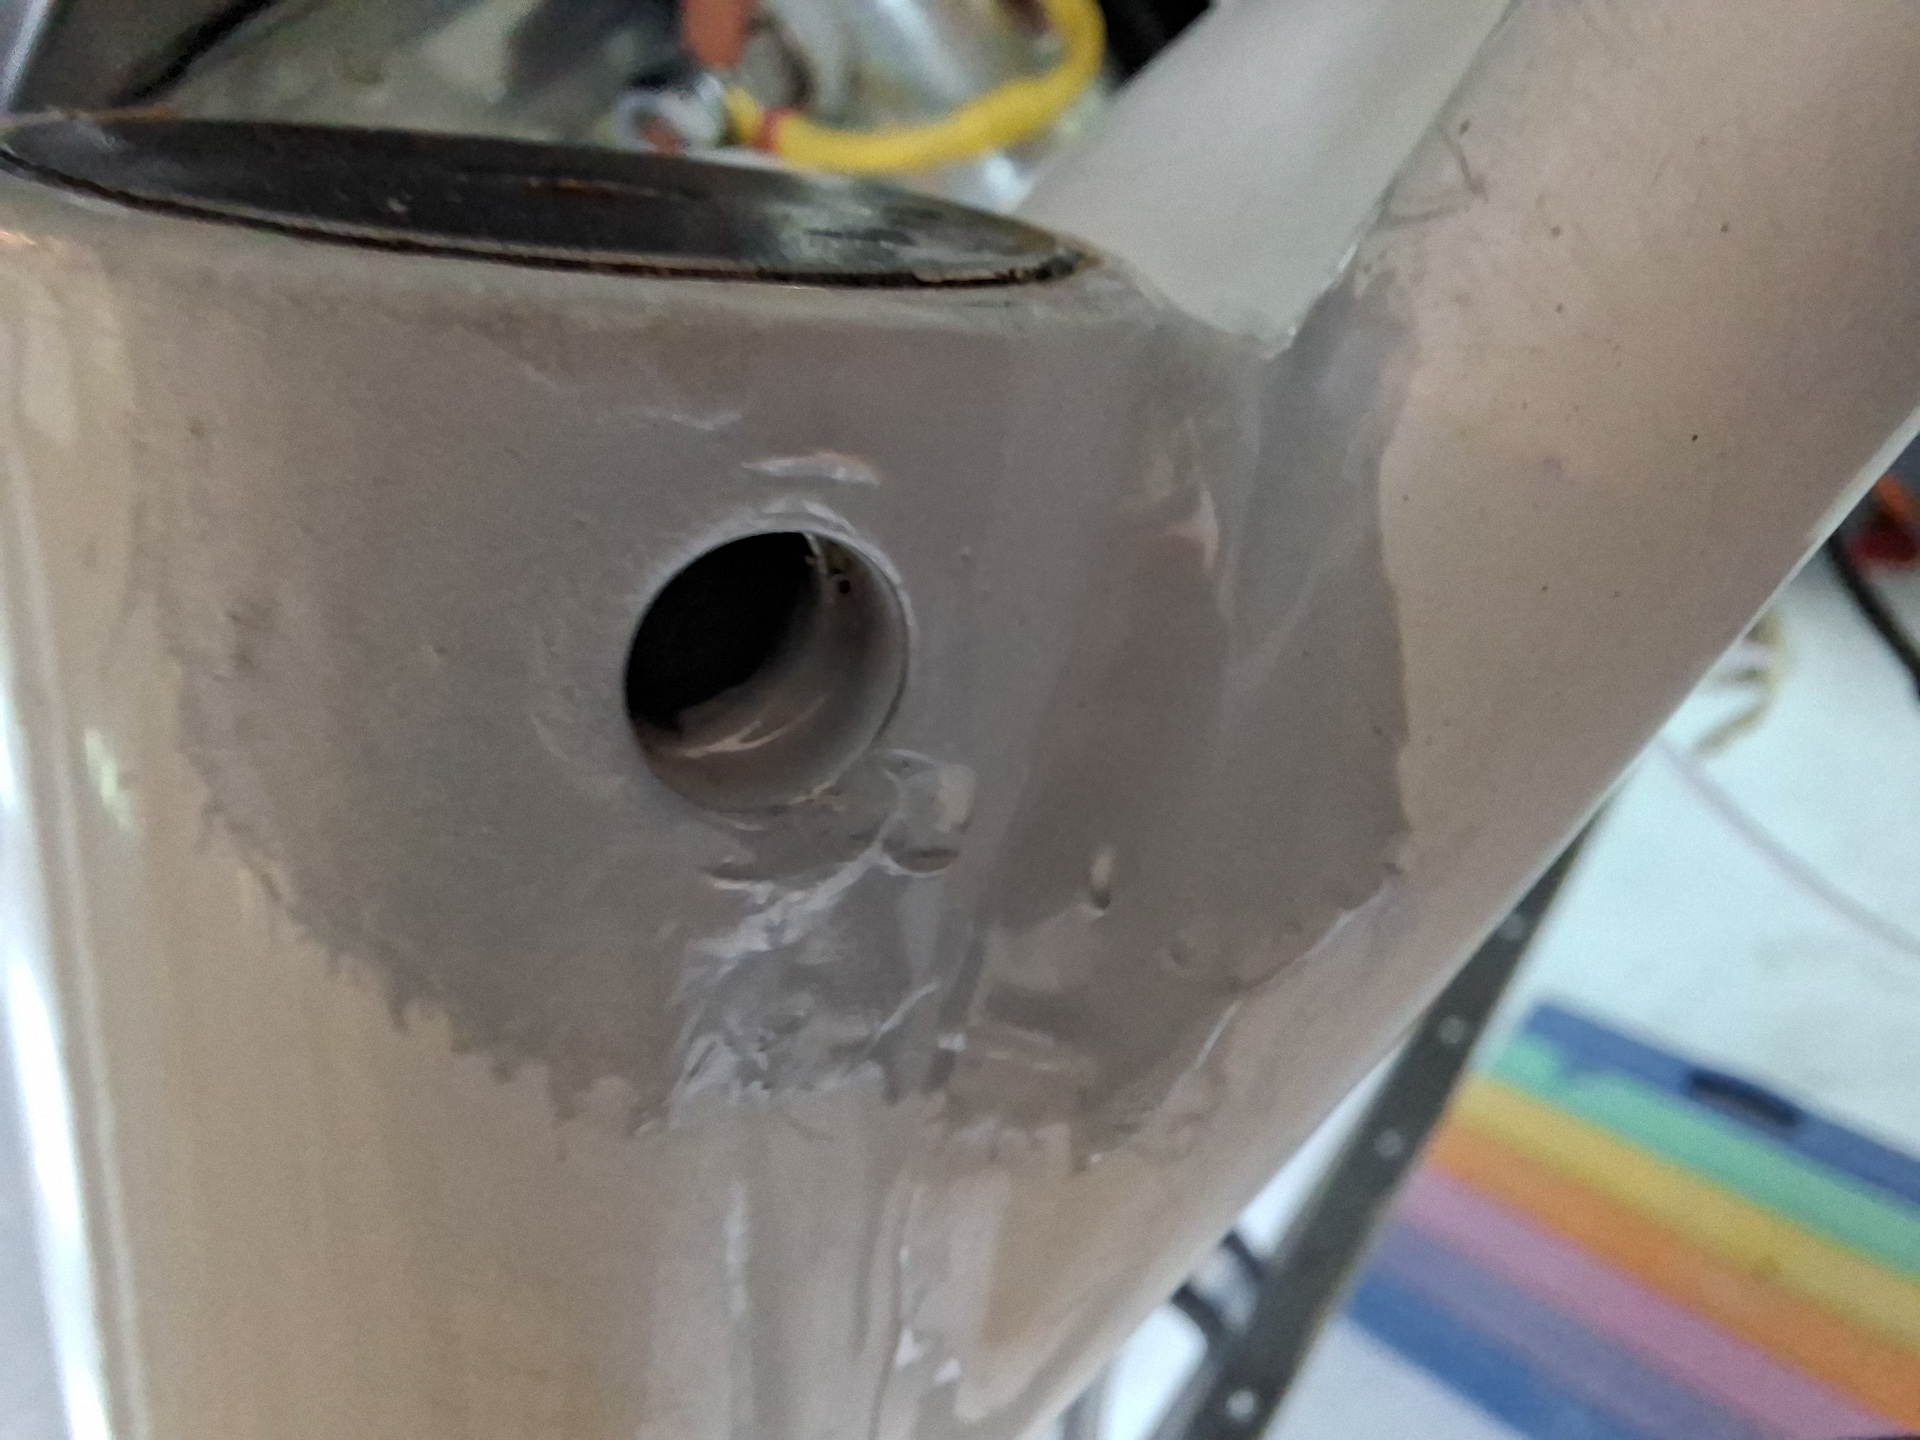
Some small flakes op coating came of of the engine mount near the landing gear nut so I scuffed this up, degreased and used a brush to apply some new primer.
It's a bit messy with a brush but it's a bit overkill to get the spray gun out for these small patches.
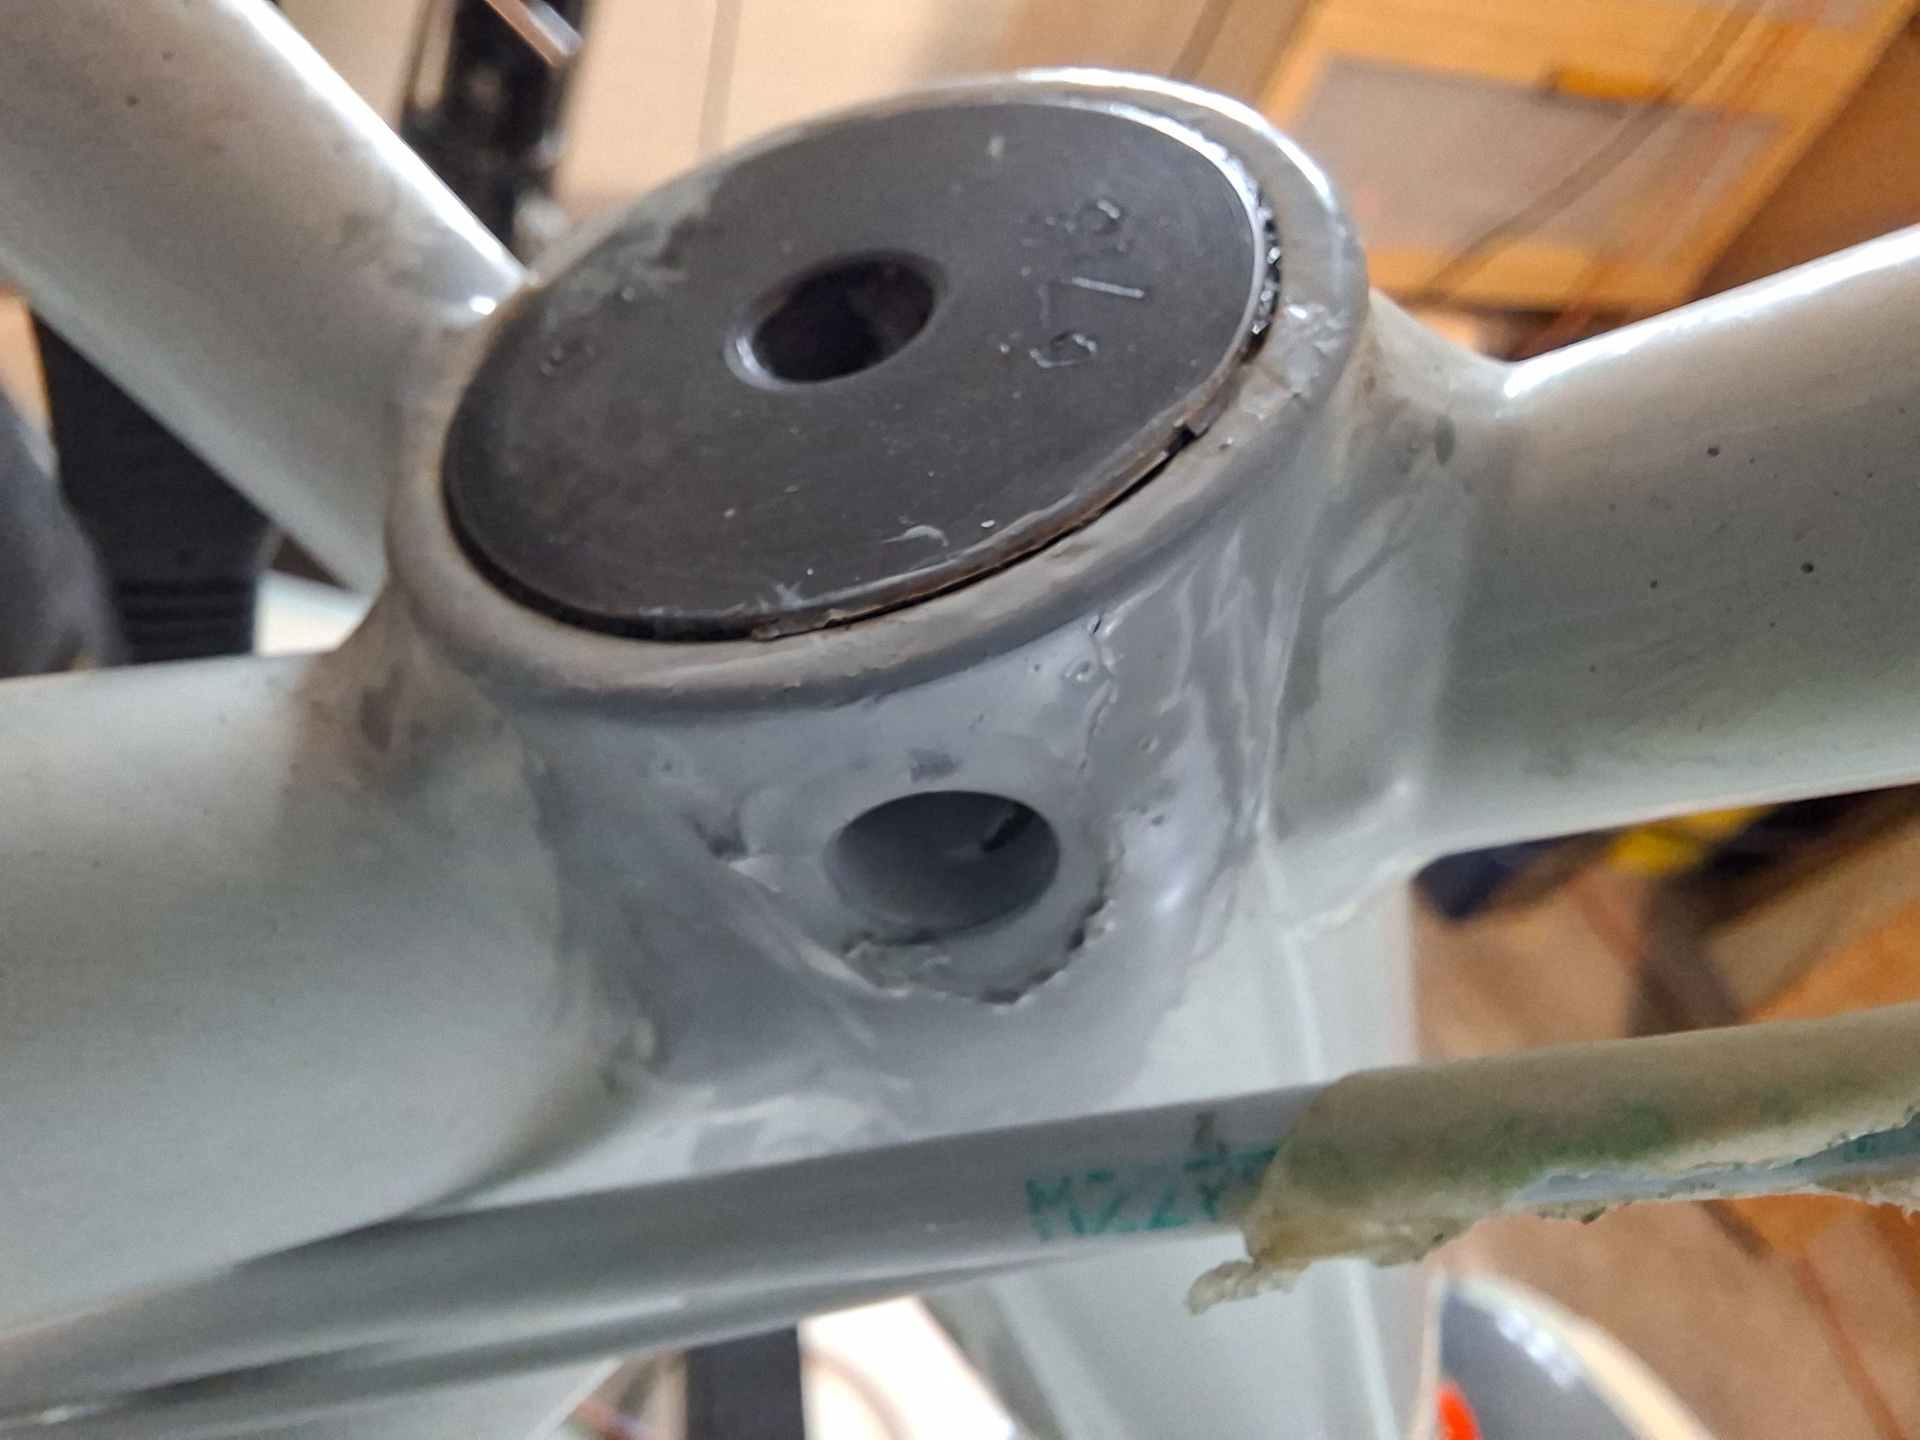
Finally re-installed the AN5 bolts and all metal nuts for the landing gear and torqued them.
I smeared some Aeroshell 64 grease on the bolt once it was partly in, but not on the threads.
AN5 need 100-140 inch/lbs and I torqued them at final value of 135.
Only one more thing to decide before I can hang the engine : the location of the external voltage regulator for the alternator.