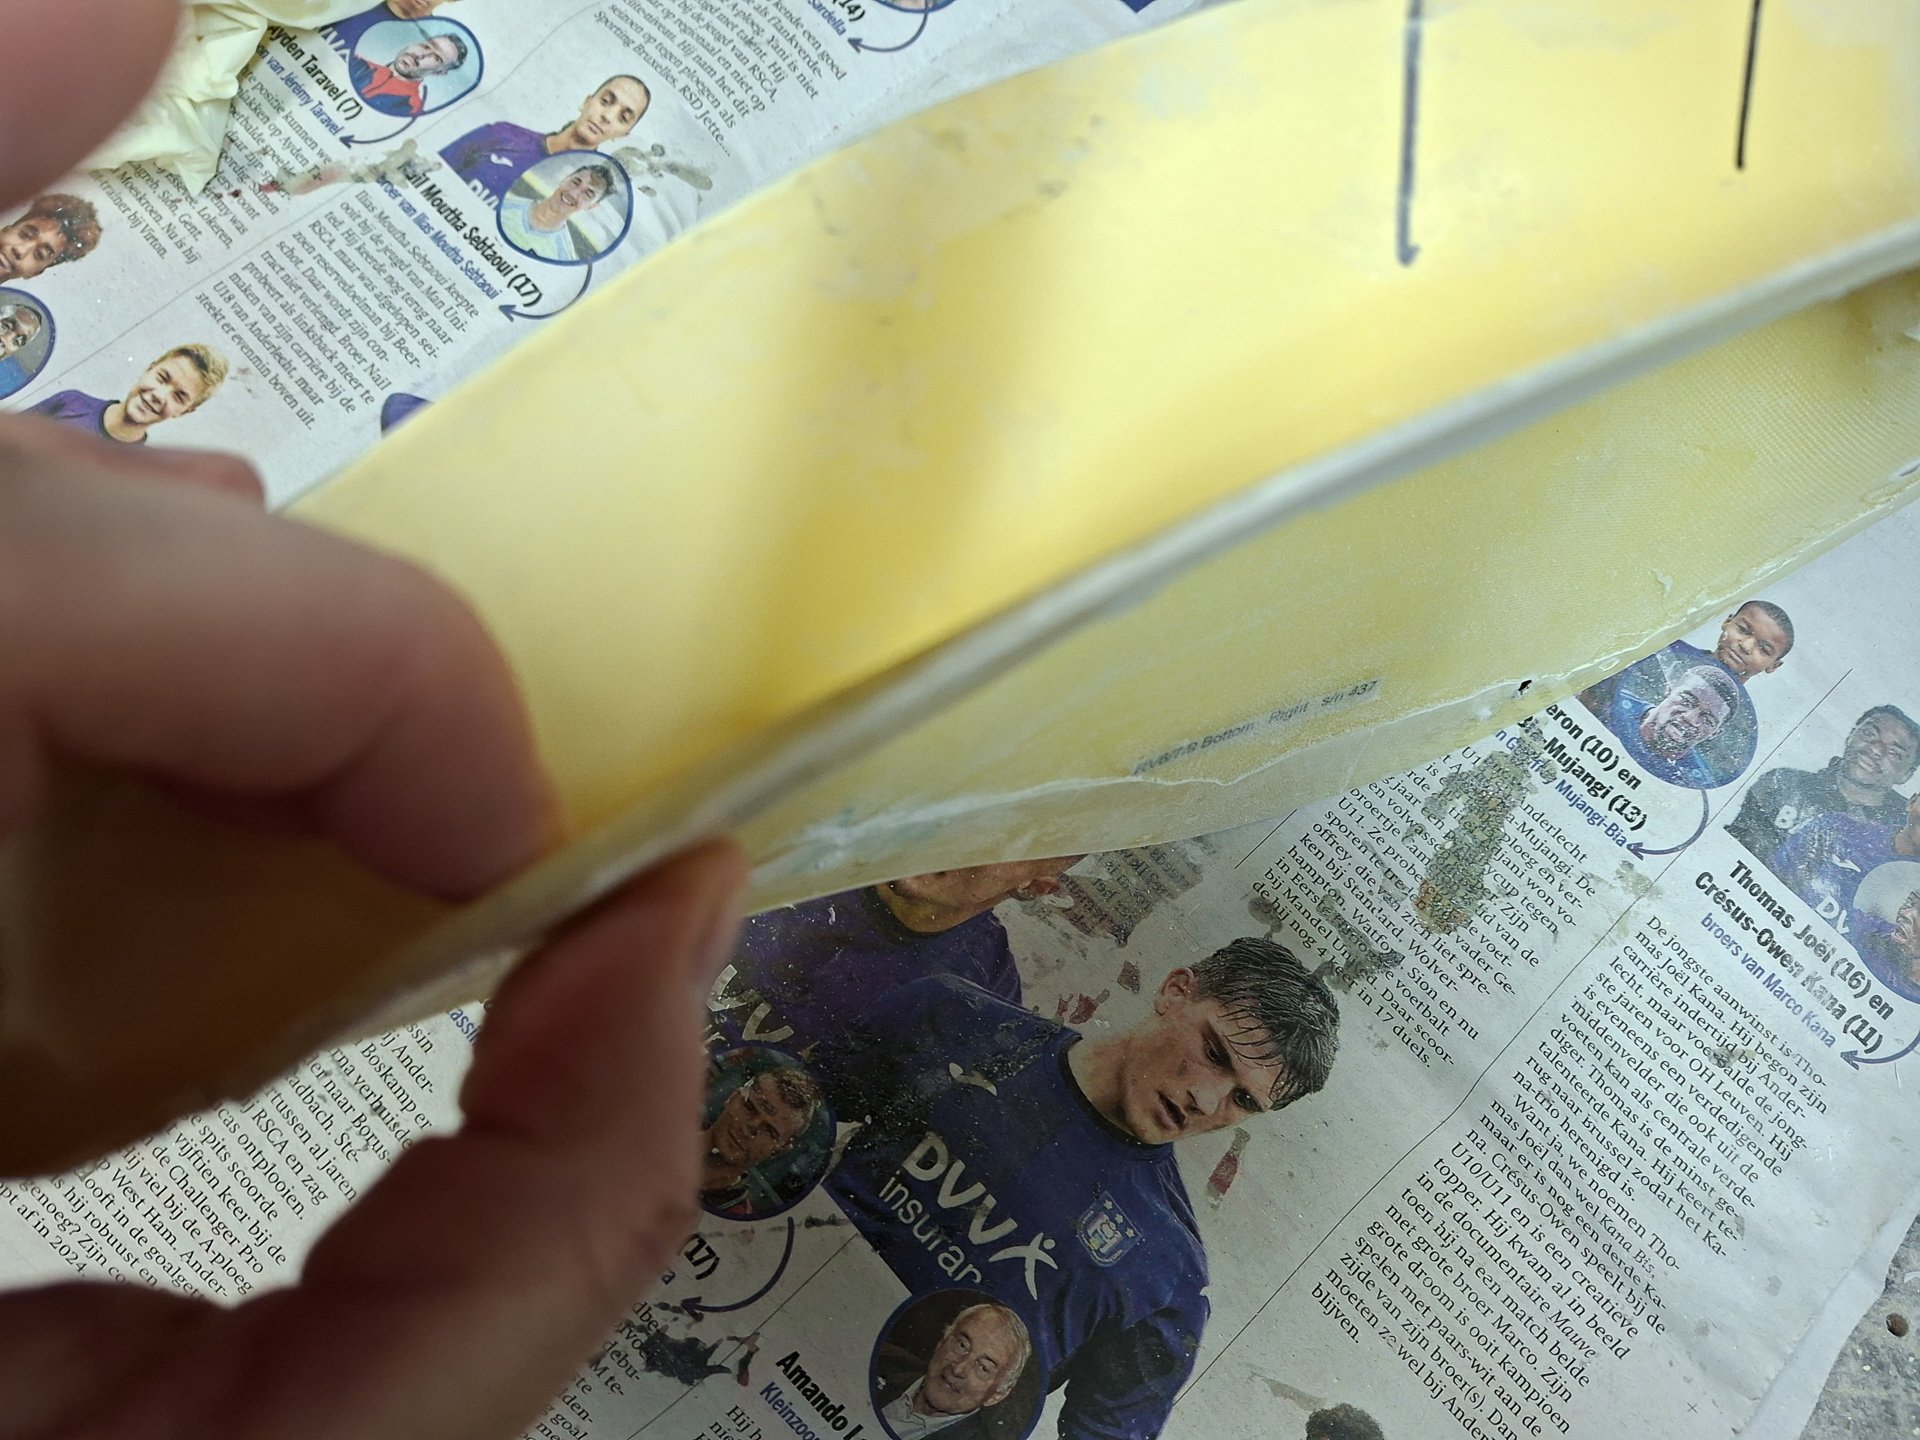
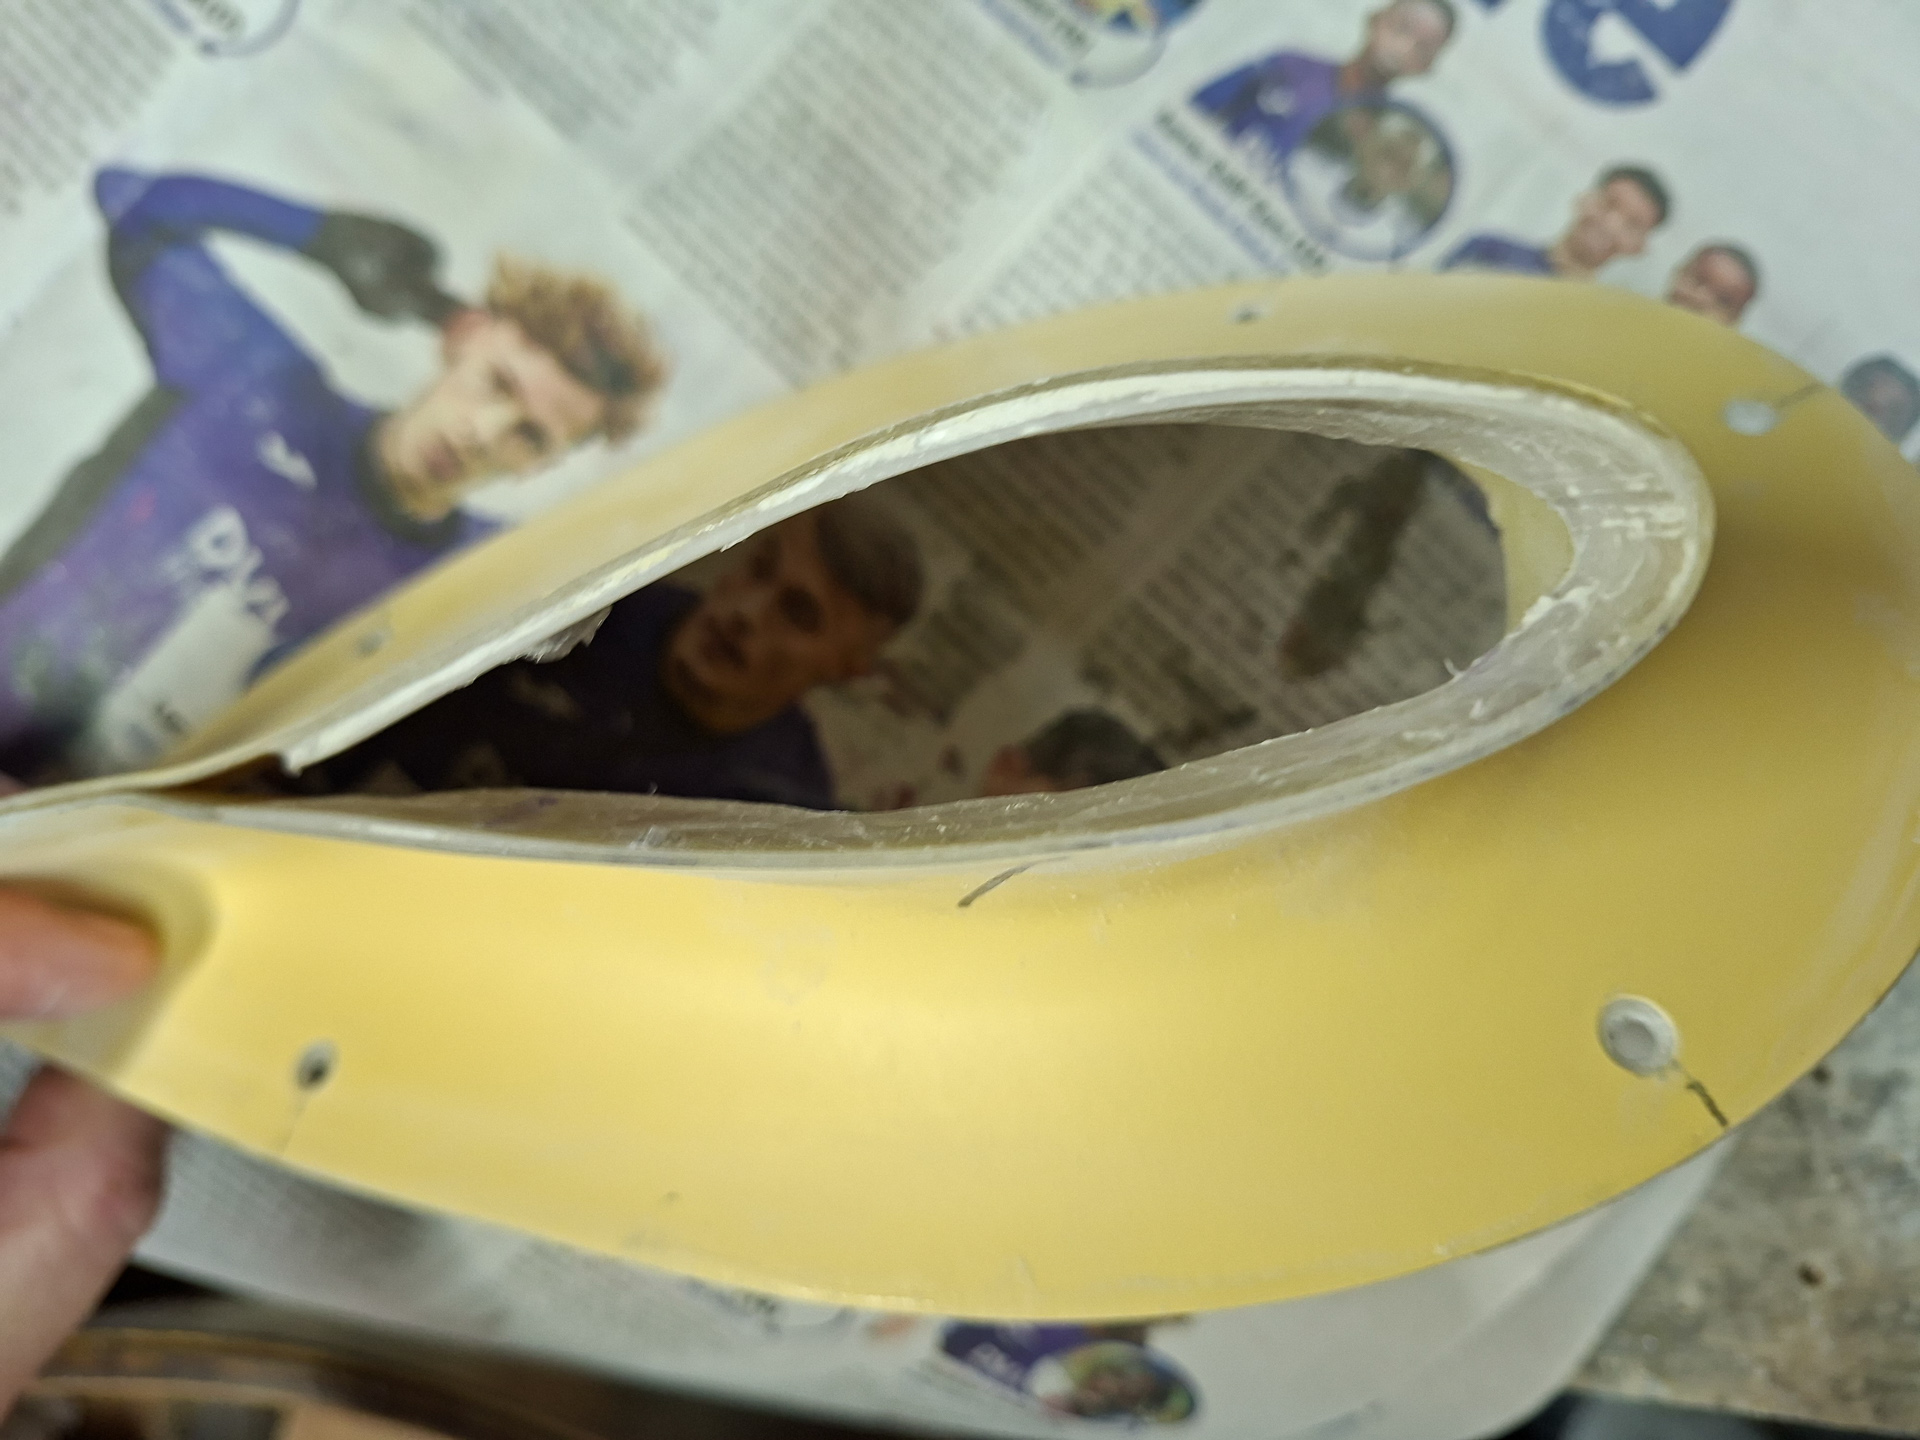
Having some final fun on the gear leg and intersection fairings.
The rear side of the intersection fairing was a bit too much open to my liking. Also on the wheel pant itself, the intersection fairing could be slightly closer.
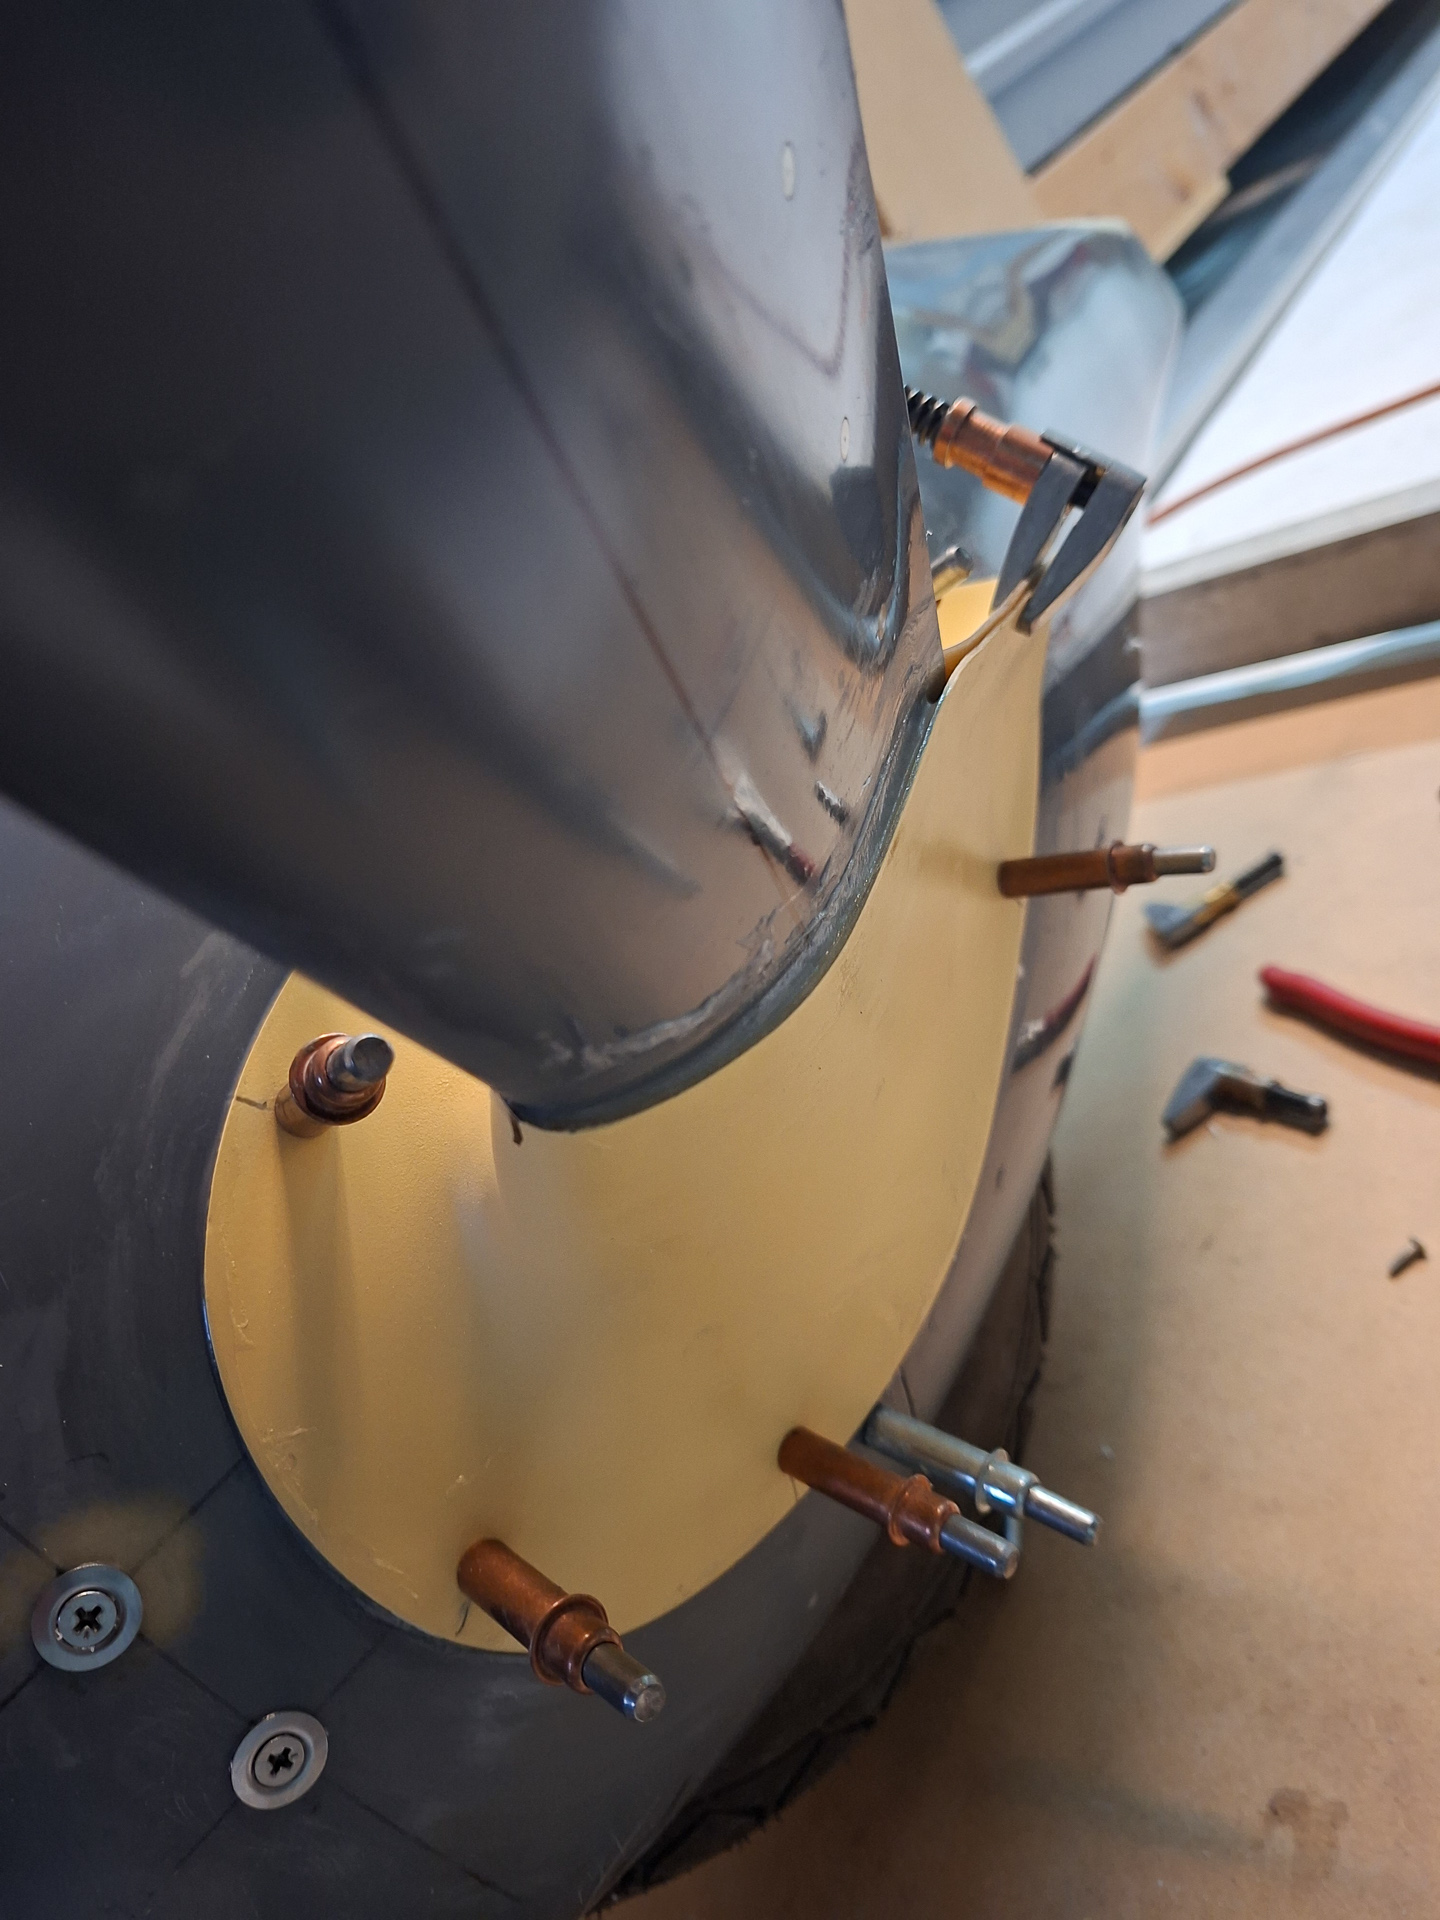
I decided to work on this and bring things closer together. The image below shows the intersection fairing unclamped so the read opening is really wide. This is not representative for how it's like when closed. I took this picture to show how I wrapped the entrie wheel pant and leg in plastic foil in order to create a not sticking surface for the epoxy.
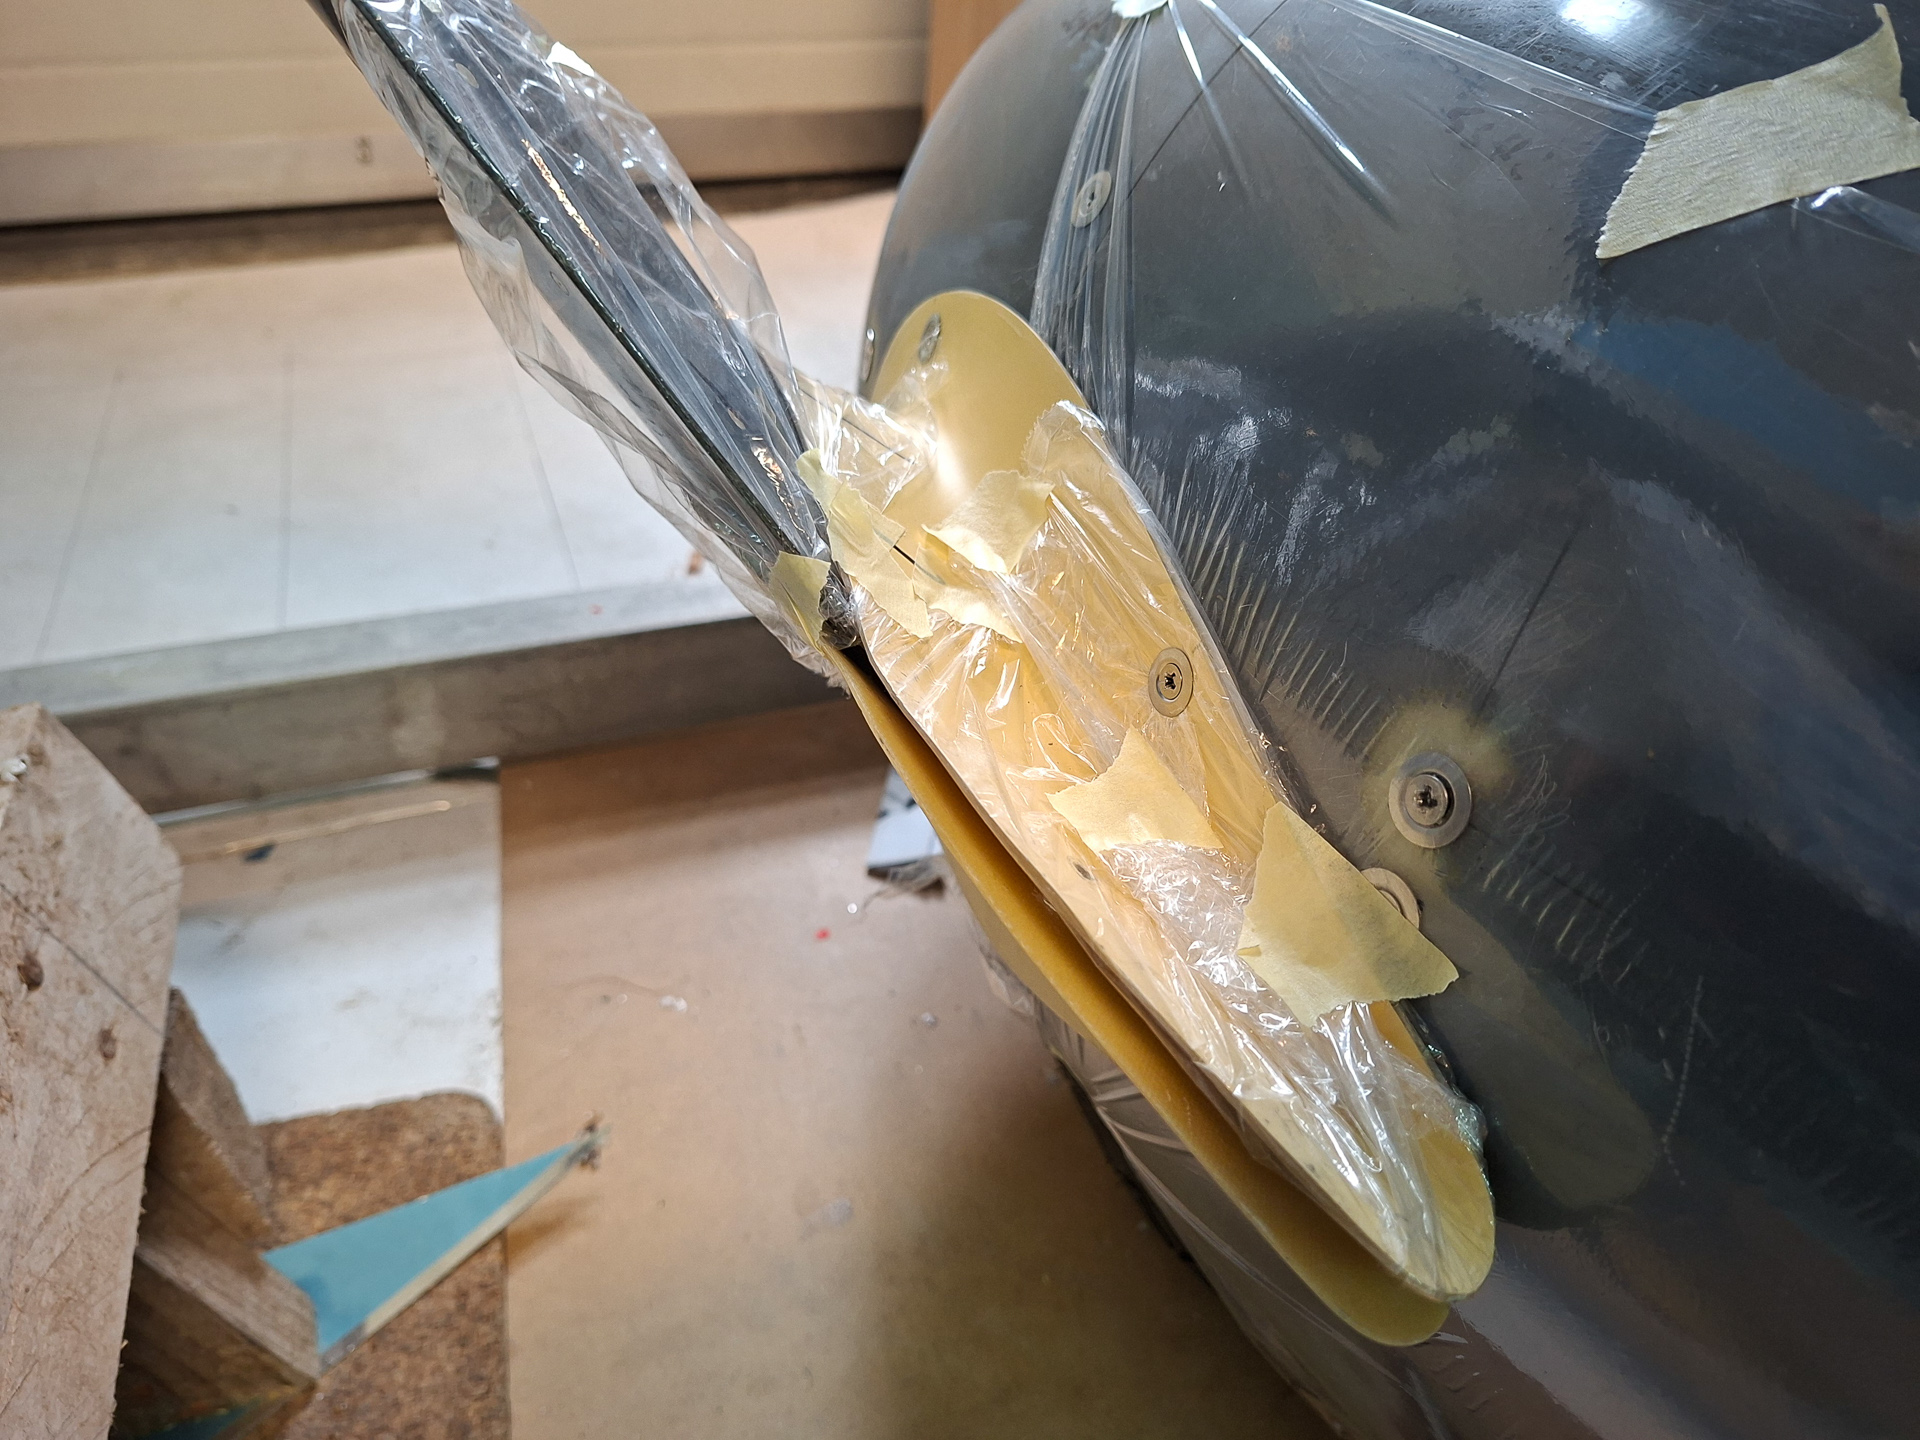
Here you can se the epoxy blob applied and the intersection closed using the rear fastening location. This will be a screw and nut but used a cleco for now.
I'll sand of the excess when cured.
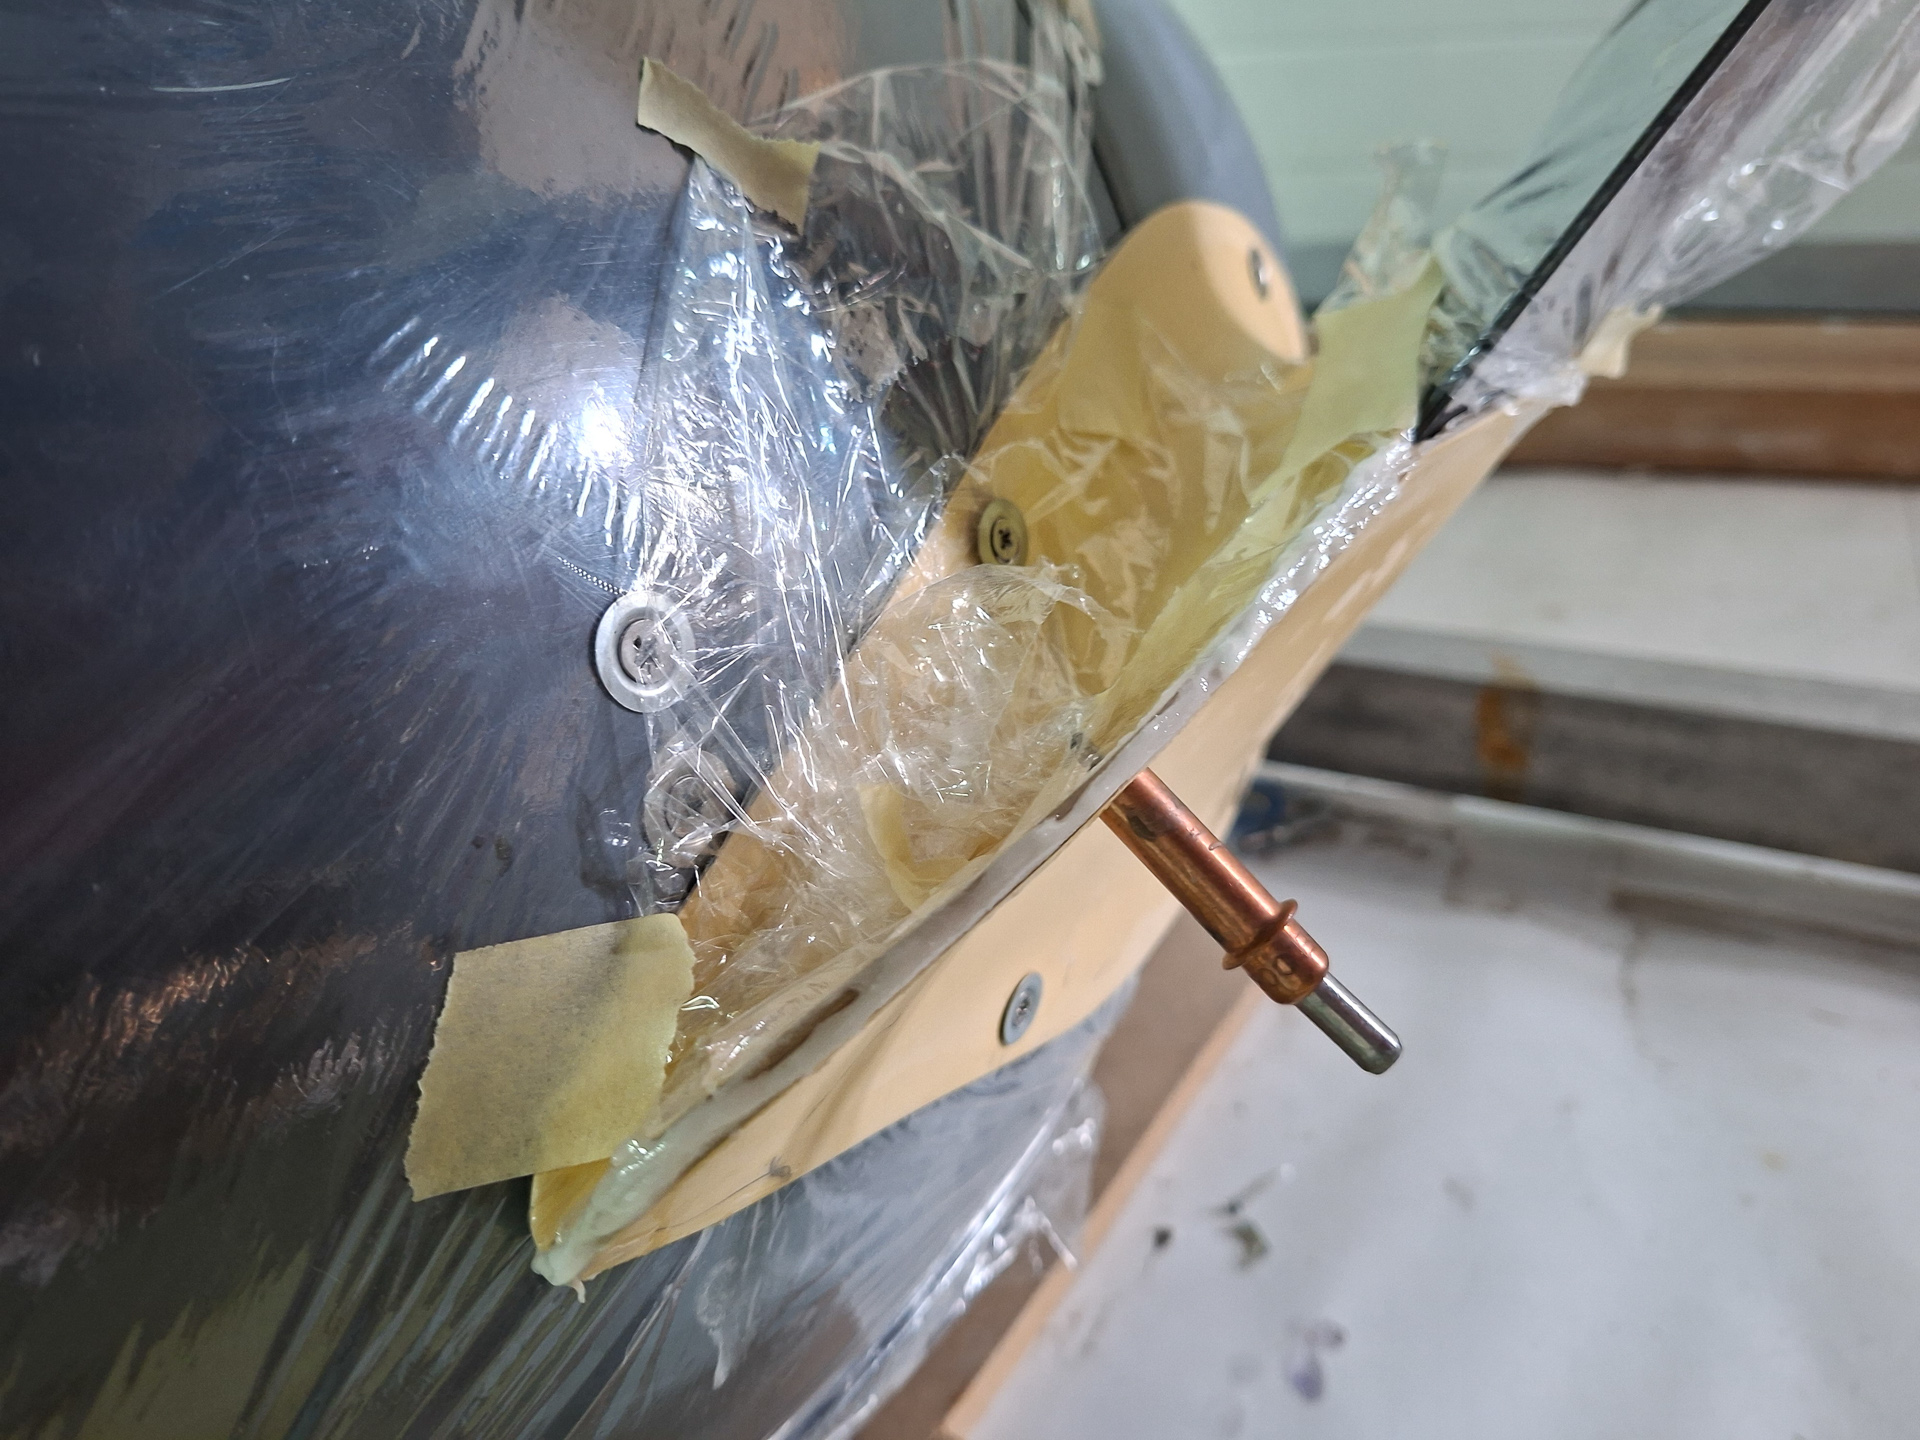
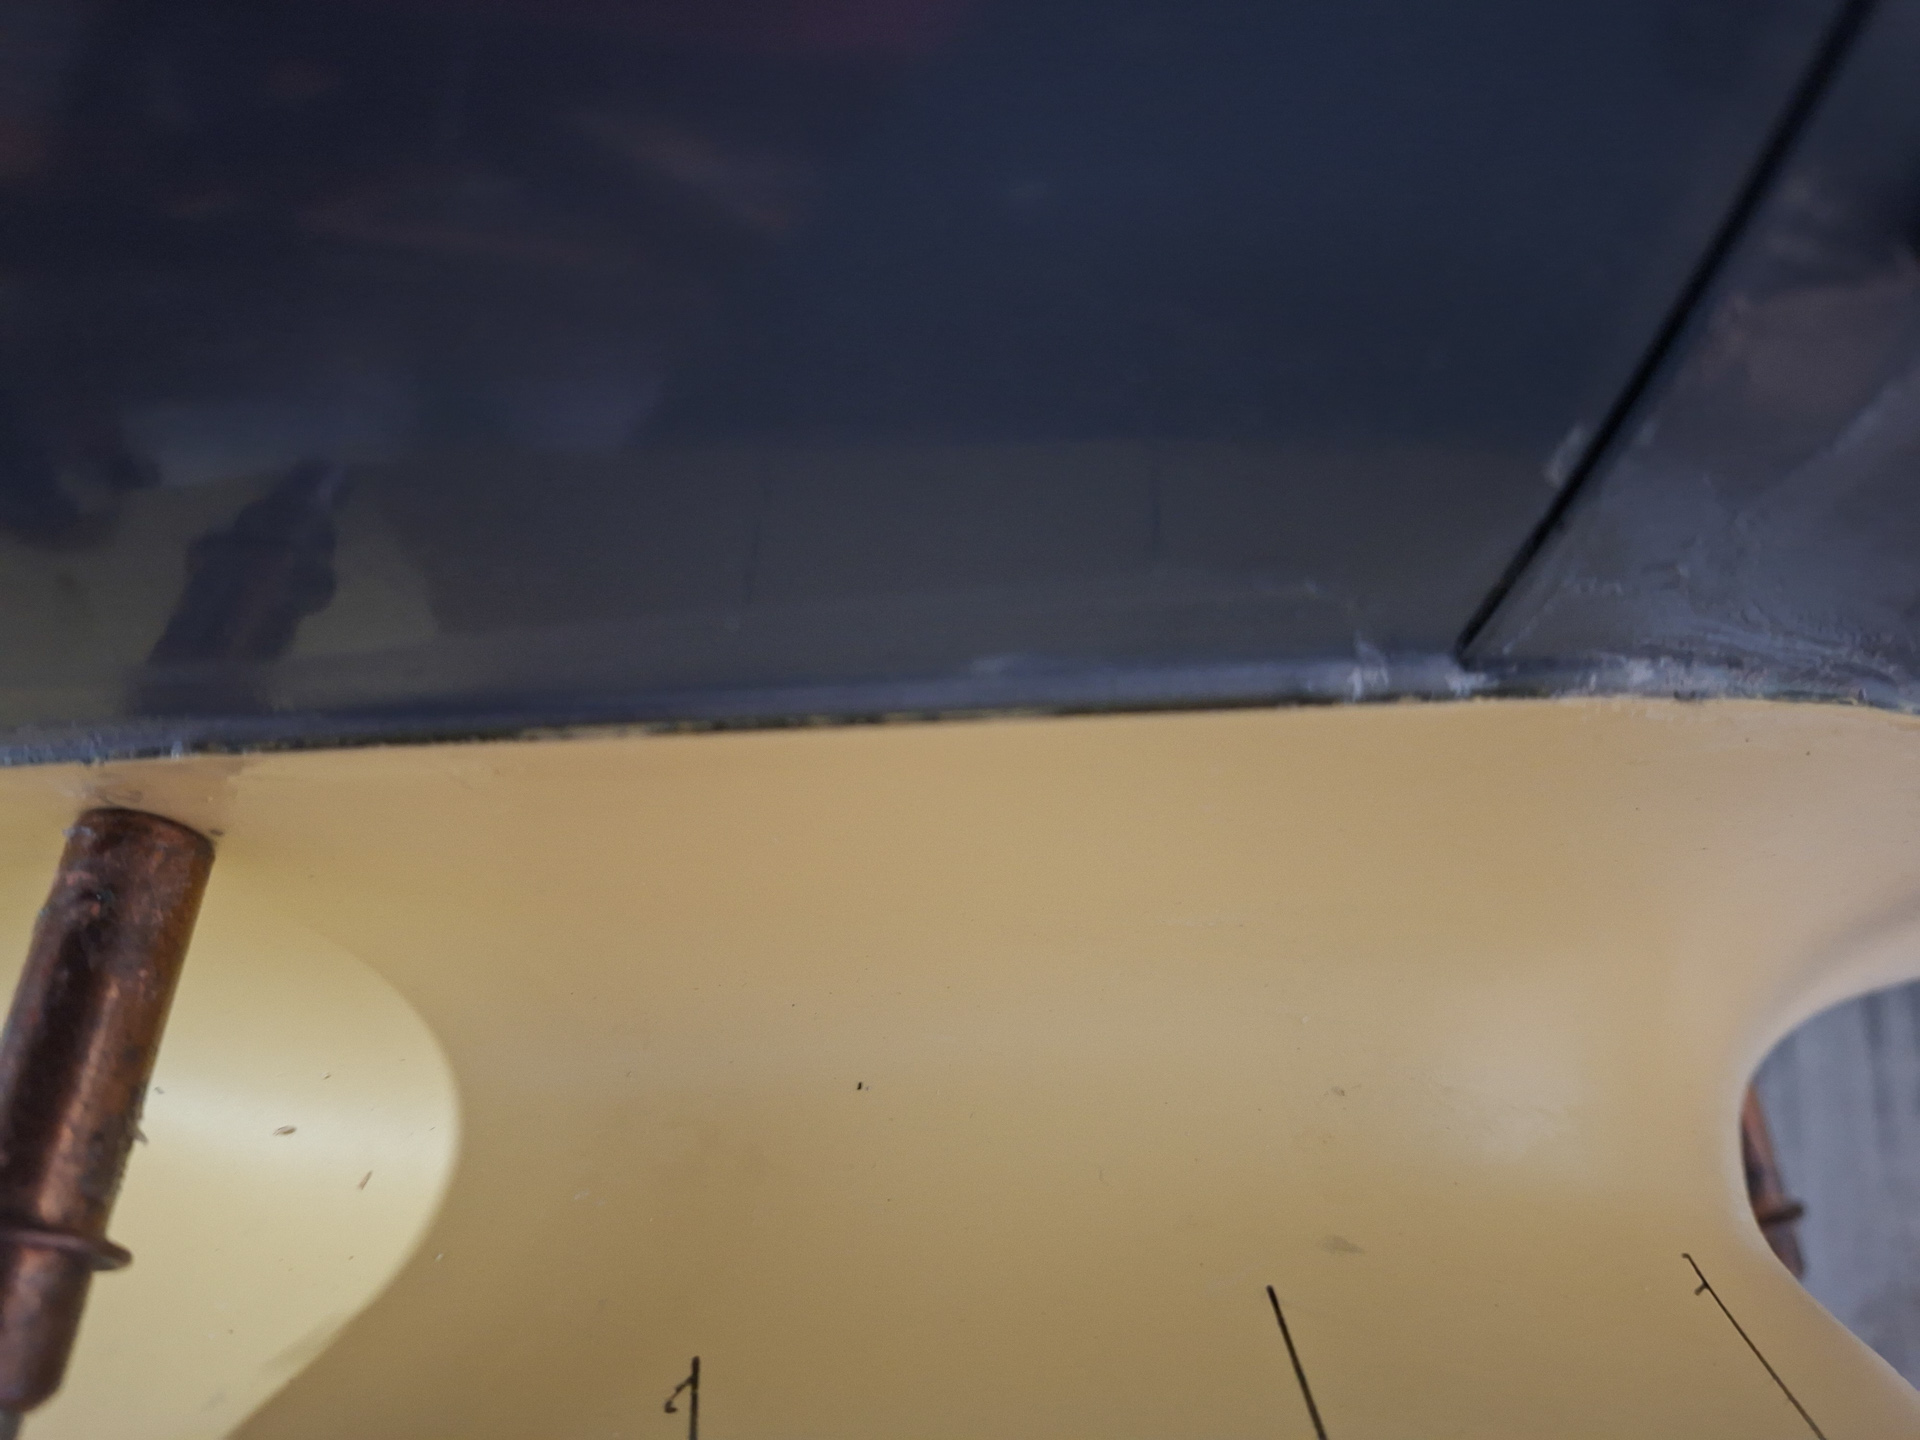
Also applied some epoxy underneath the butting surface on the wheel pant to close a small gap.
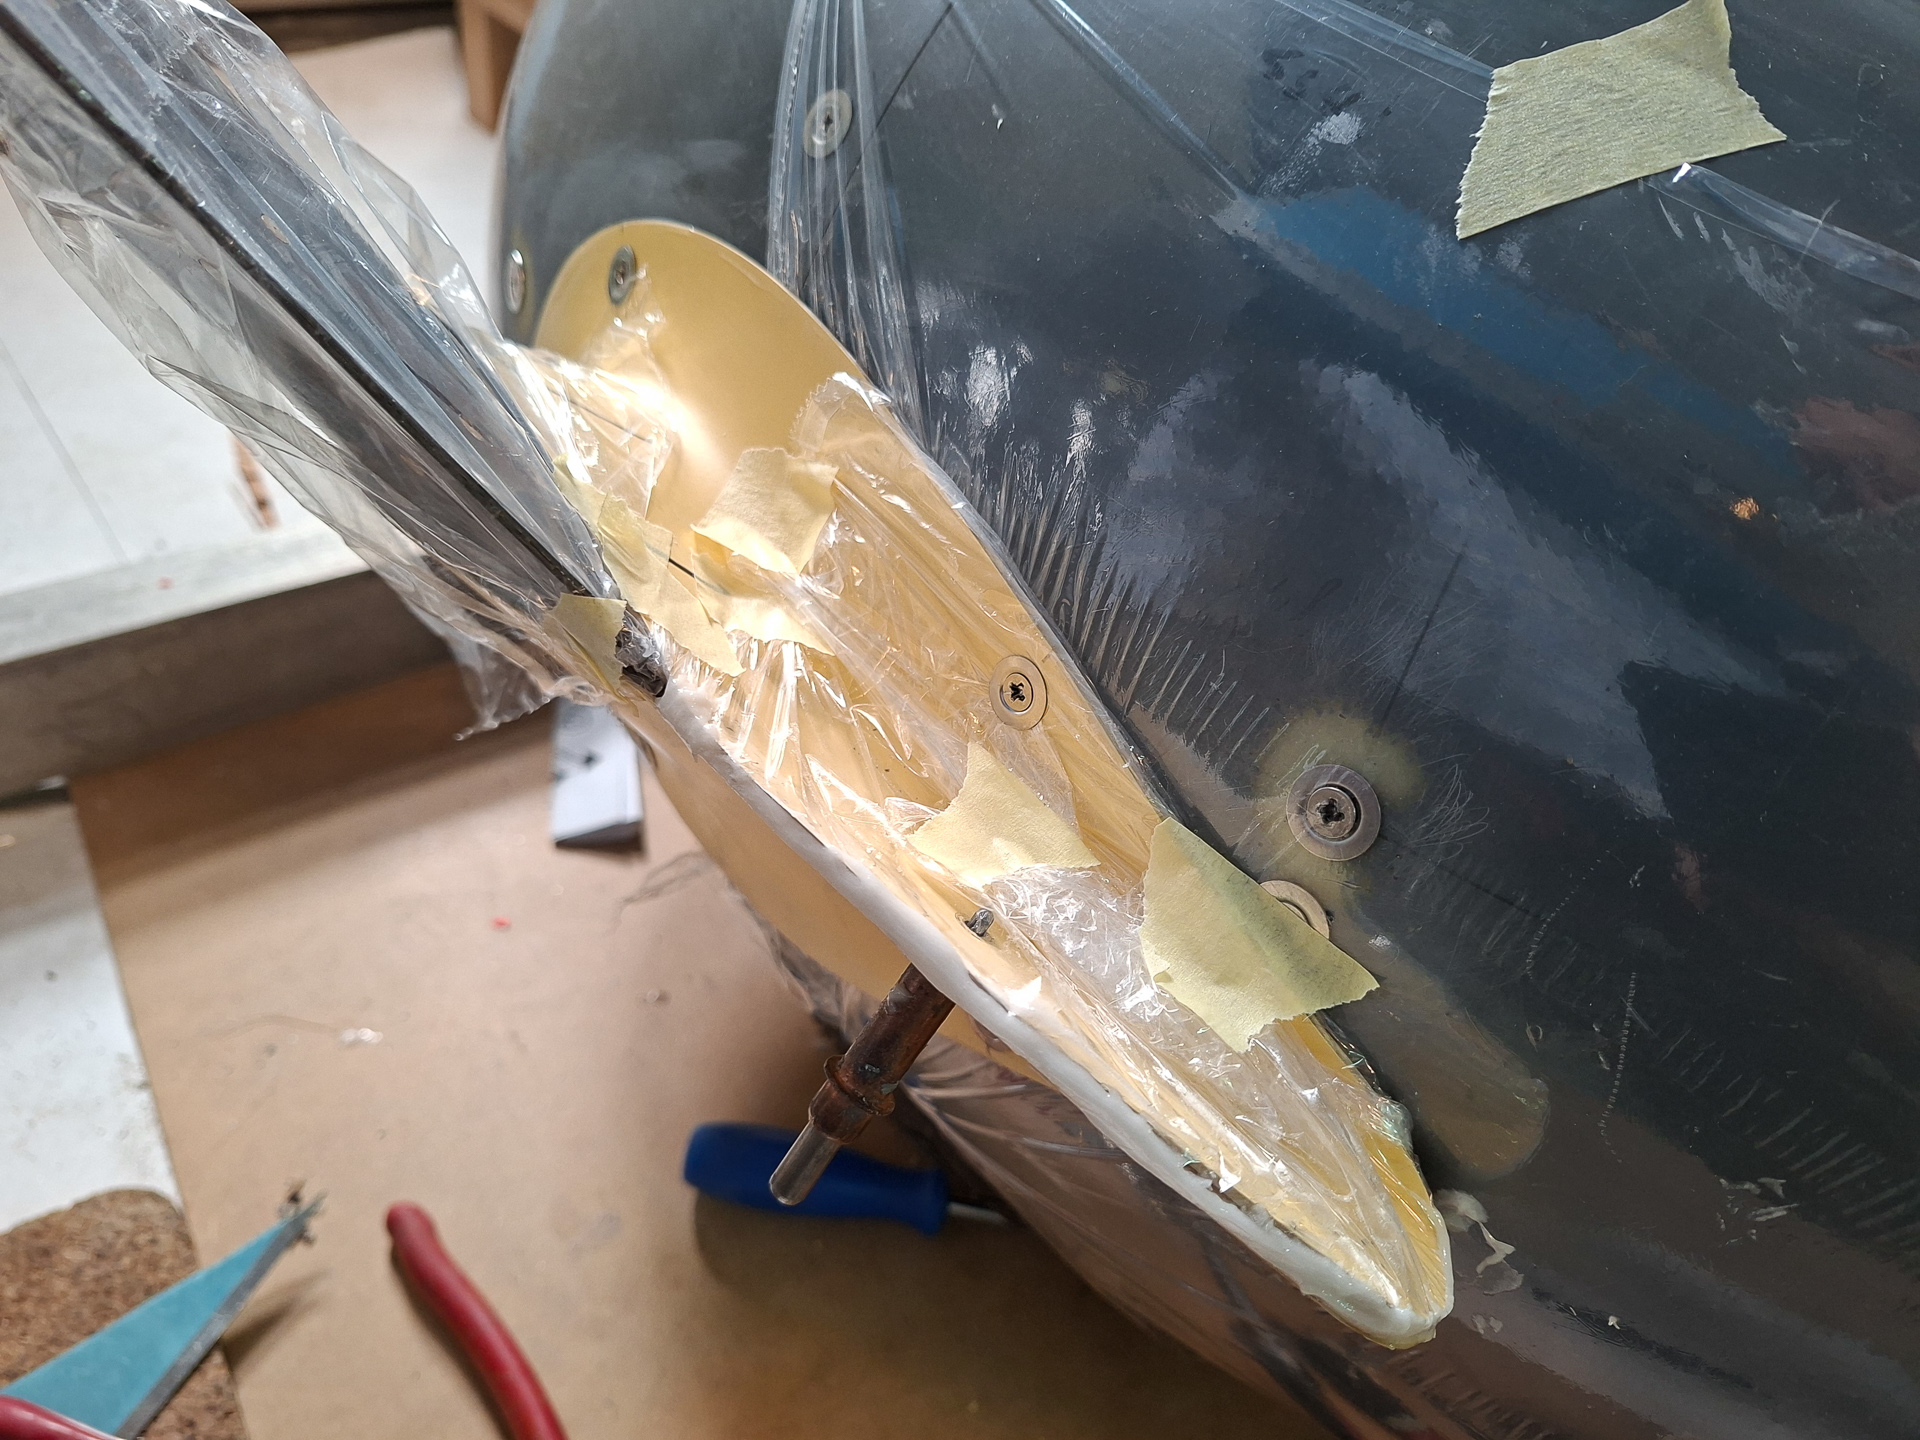
Will had to let this cure for now and it looks like this will be the final work to do on the intersection fairings. (finally...)
Some days later I revisited the intersection fairings and removed all the plastic. It came off easily.
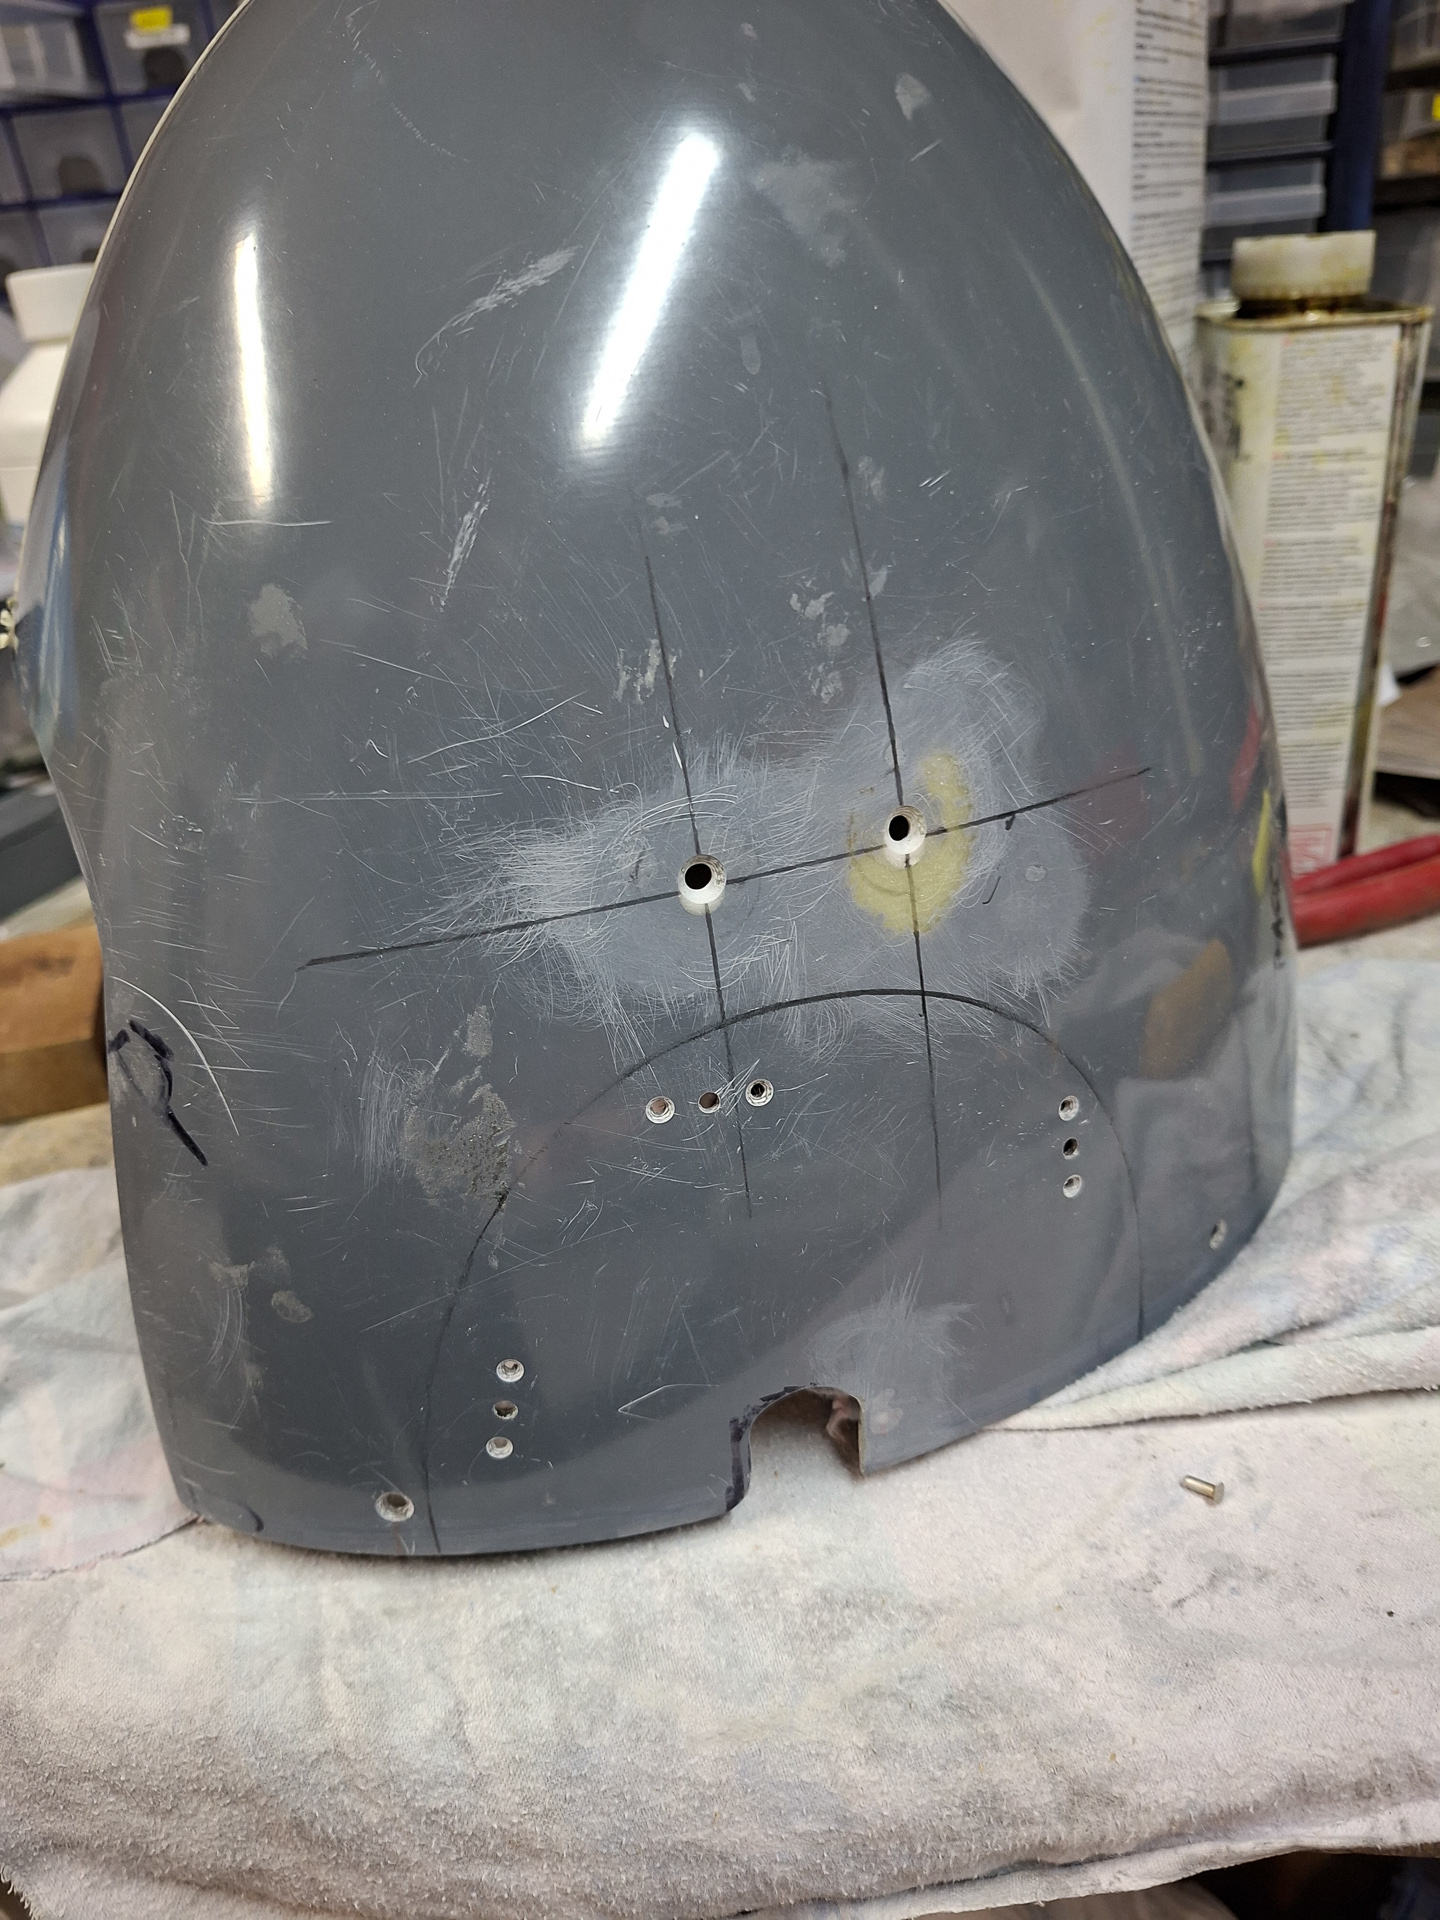
First I countersunk the drilled holes in the fairing. You can only do some of them with a countersink cage, the rest is improvisation with the countersink bit in an electric drill and being carefull not going to quick or too deep. I always use a backing plate with predrilled hole to avoid enlarging the drilled hole.
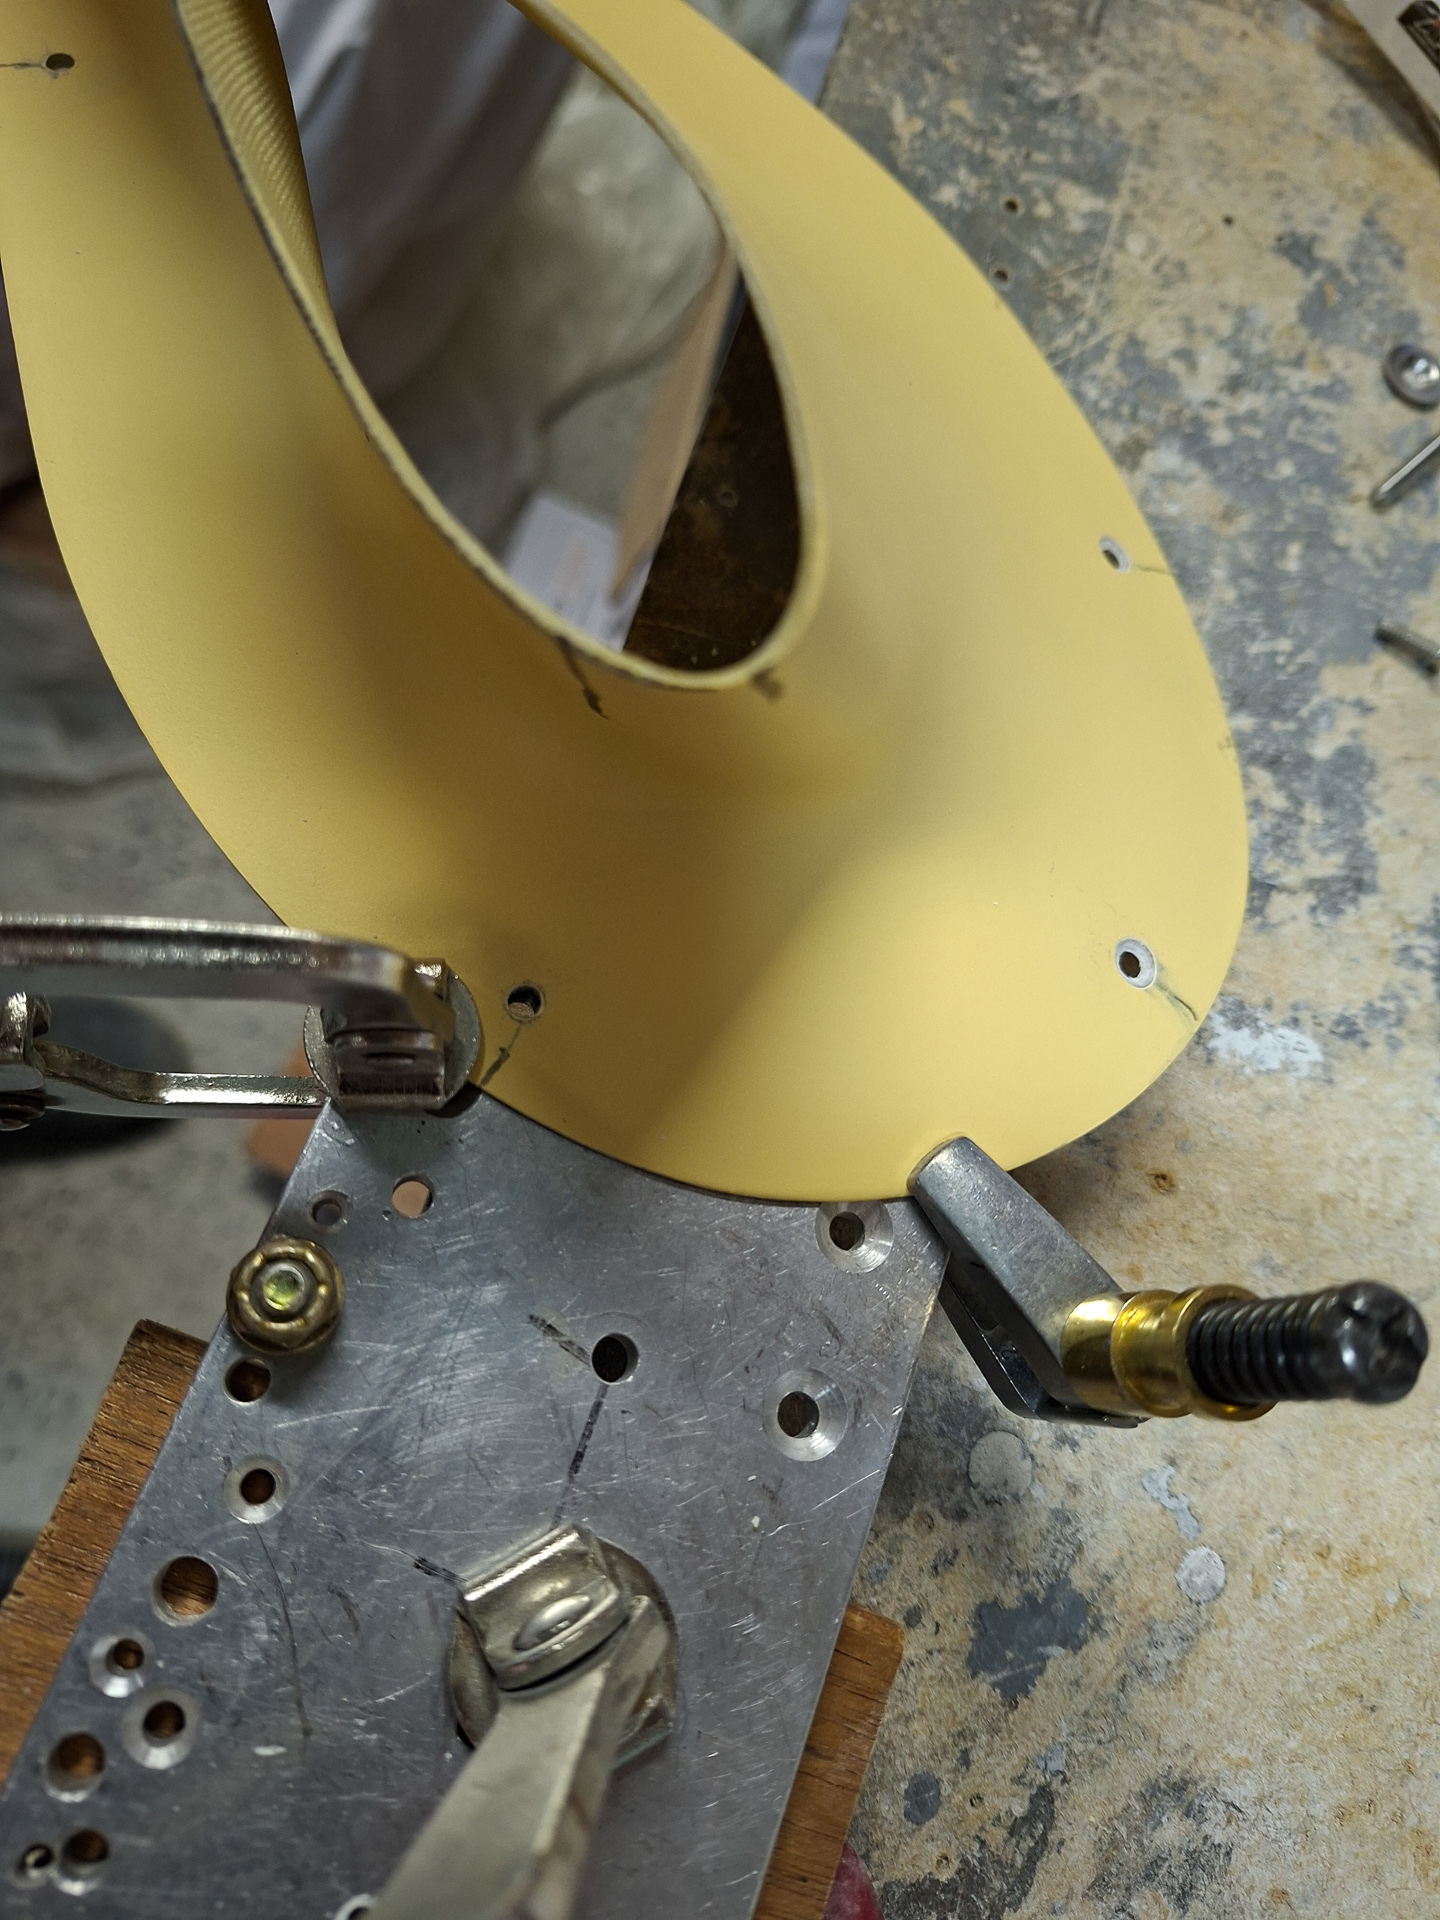
Also countersunk the wheelpant covers.
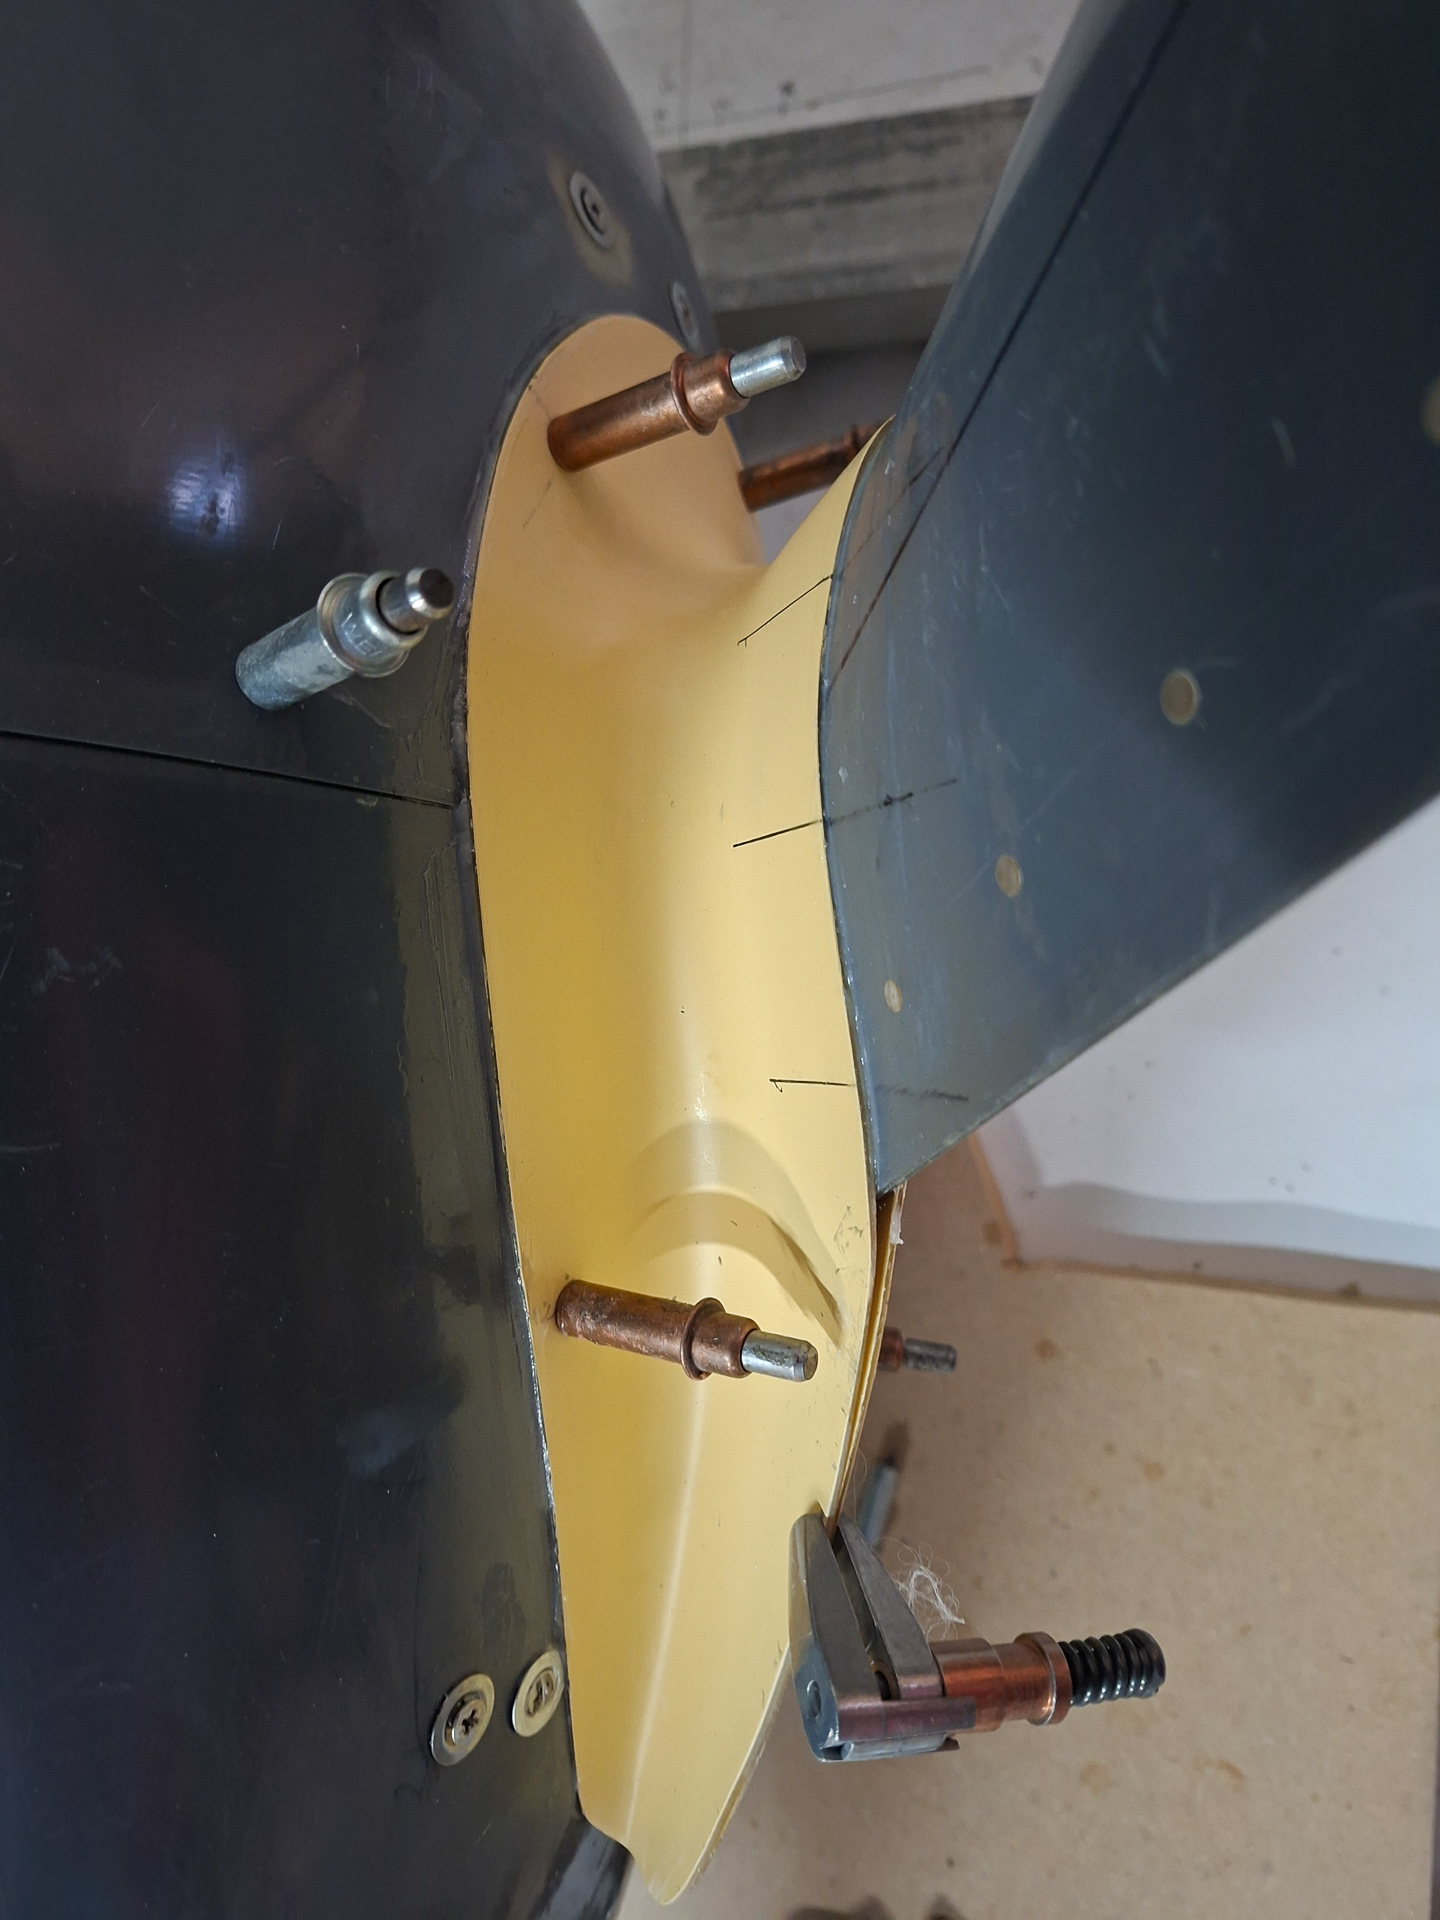
Then refitted the fairings. The epoxy filling worked very well and the fit is now very smooth. I will probably sand some locations a bit for an ever nicer transition but that will be details. This is now in perfect airworthy condition.
Front view
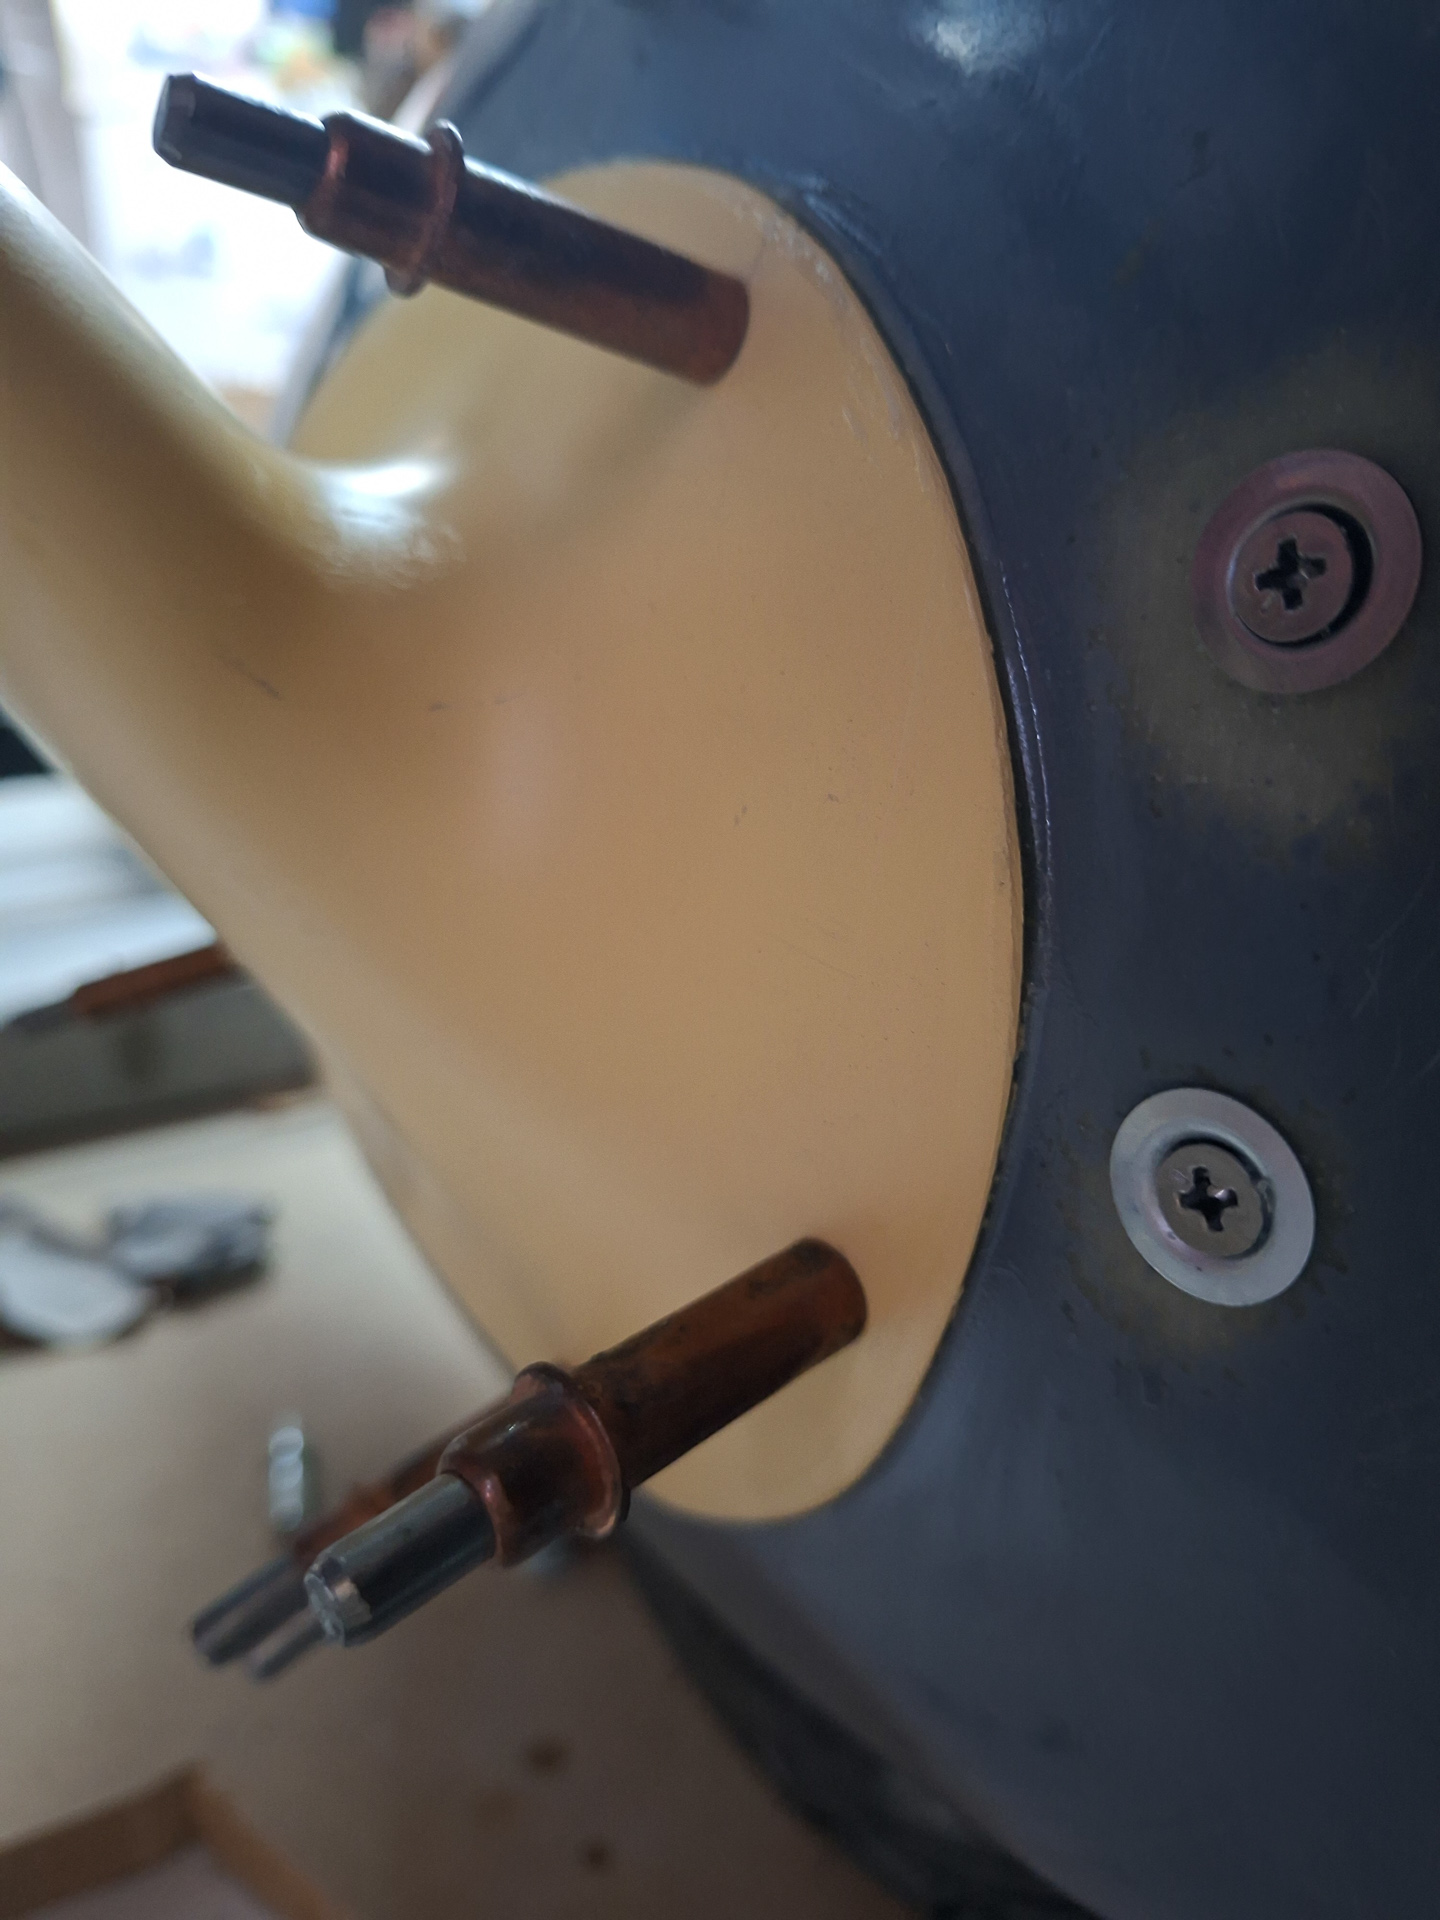
Front view passenger side
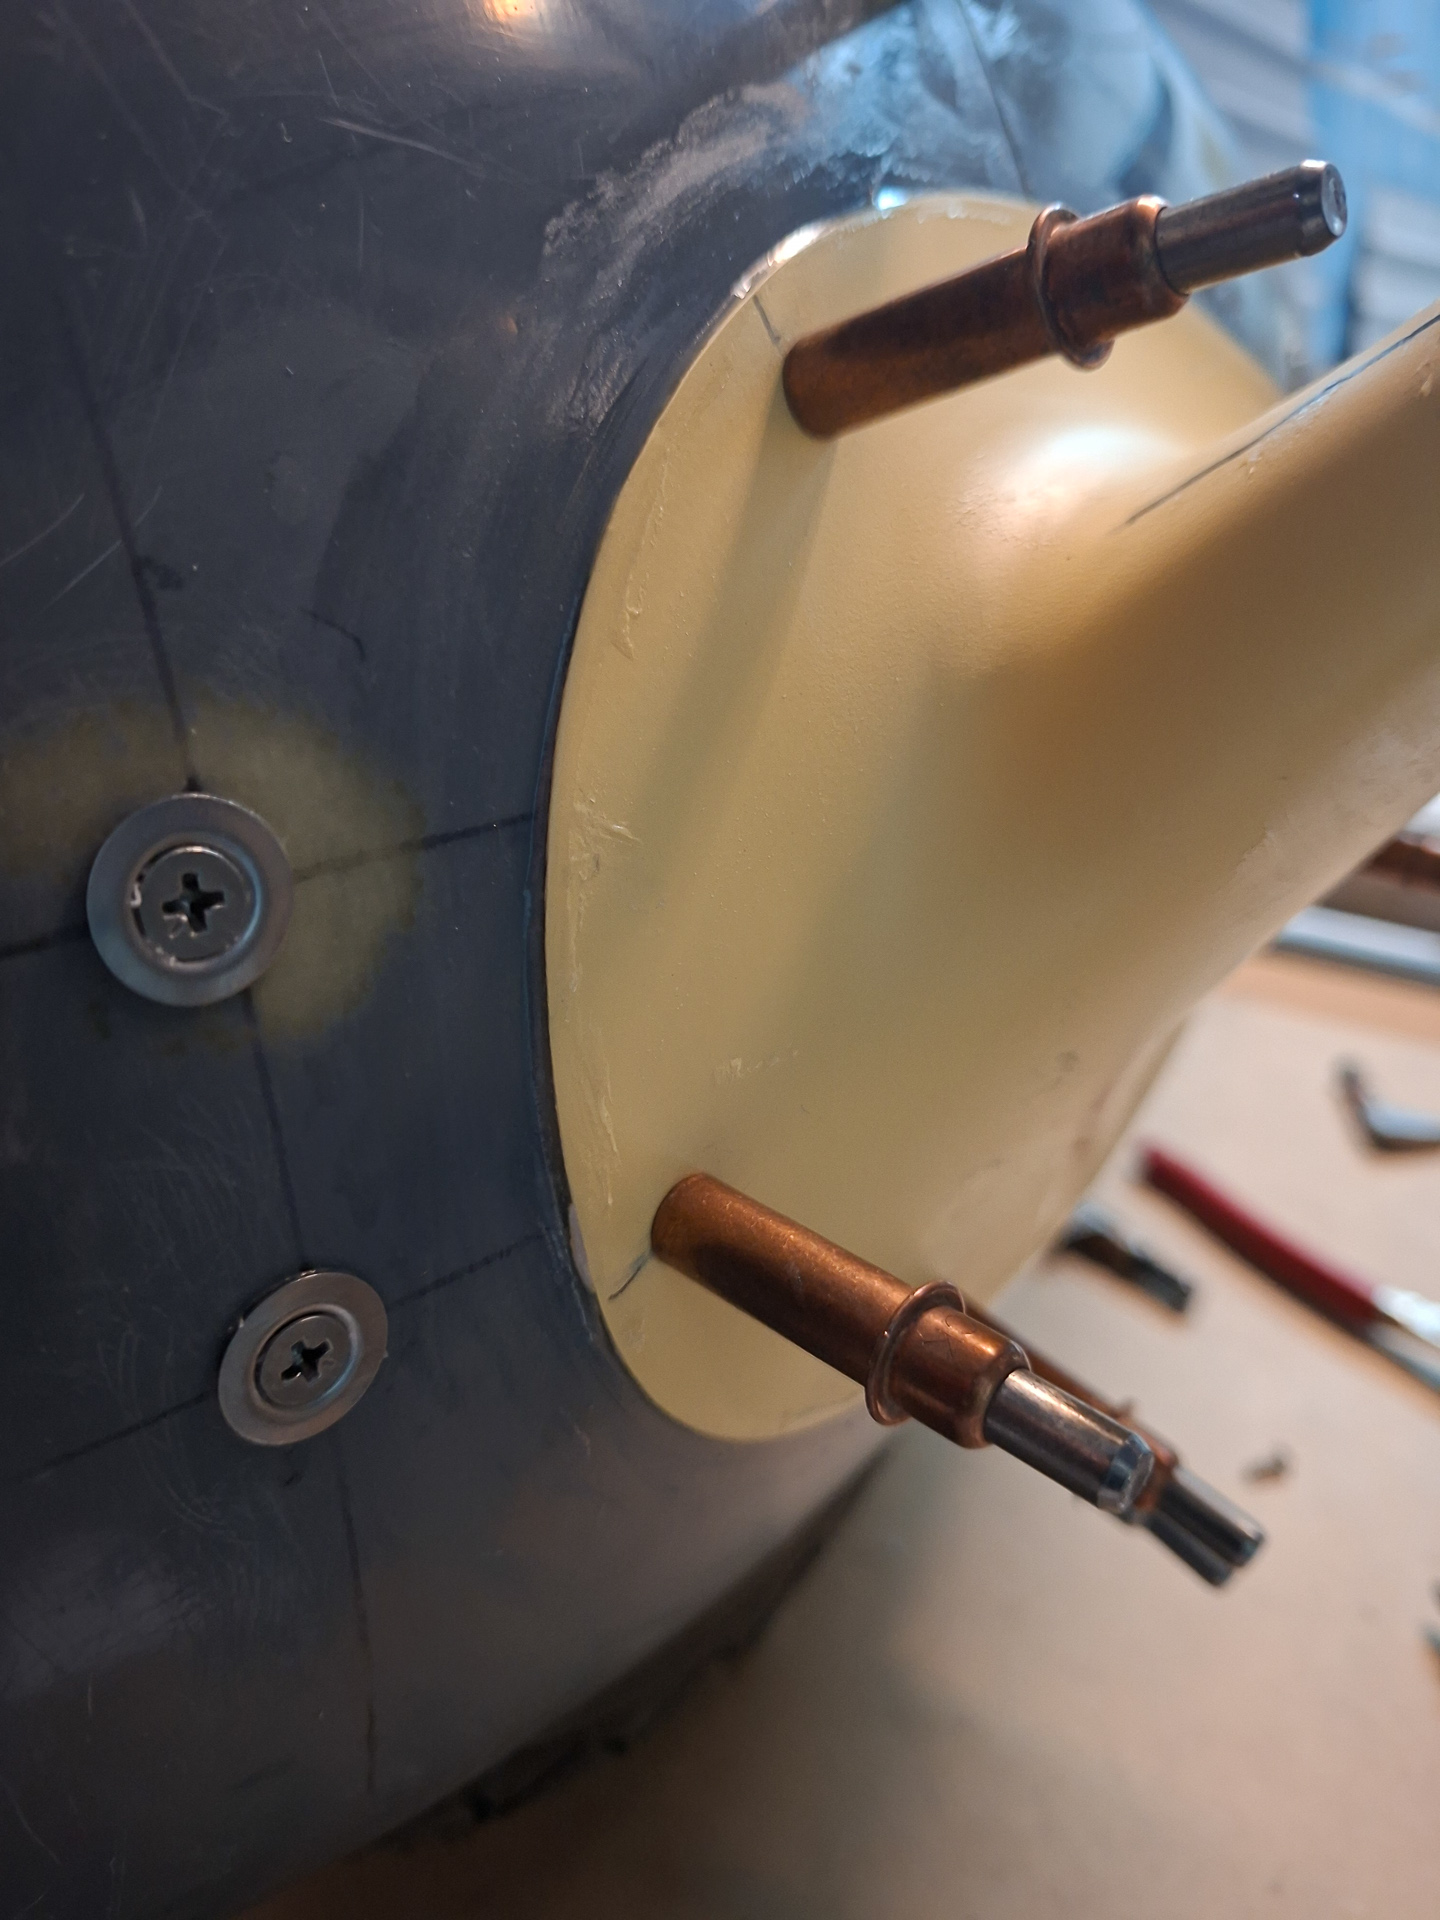
On the passenger side you can notice the small gap that existed on the upper rear.
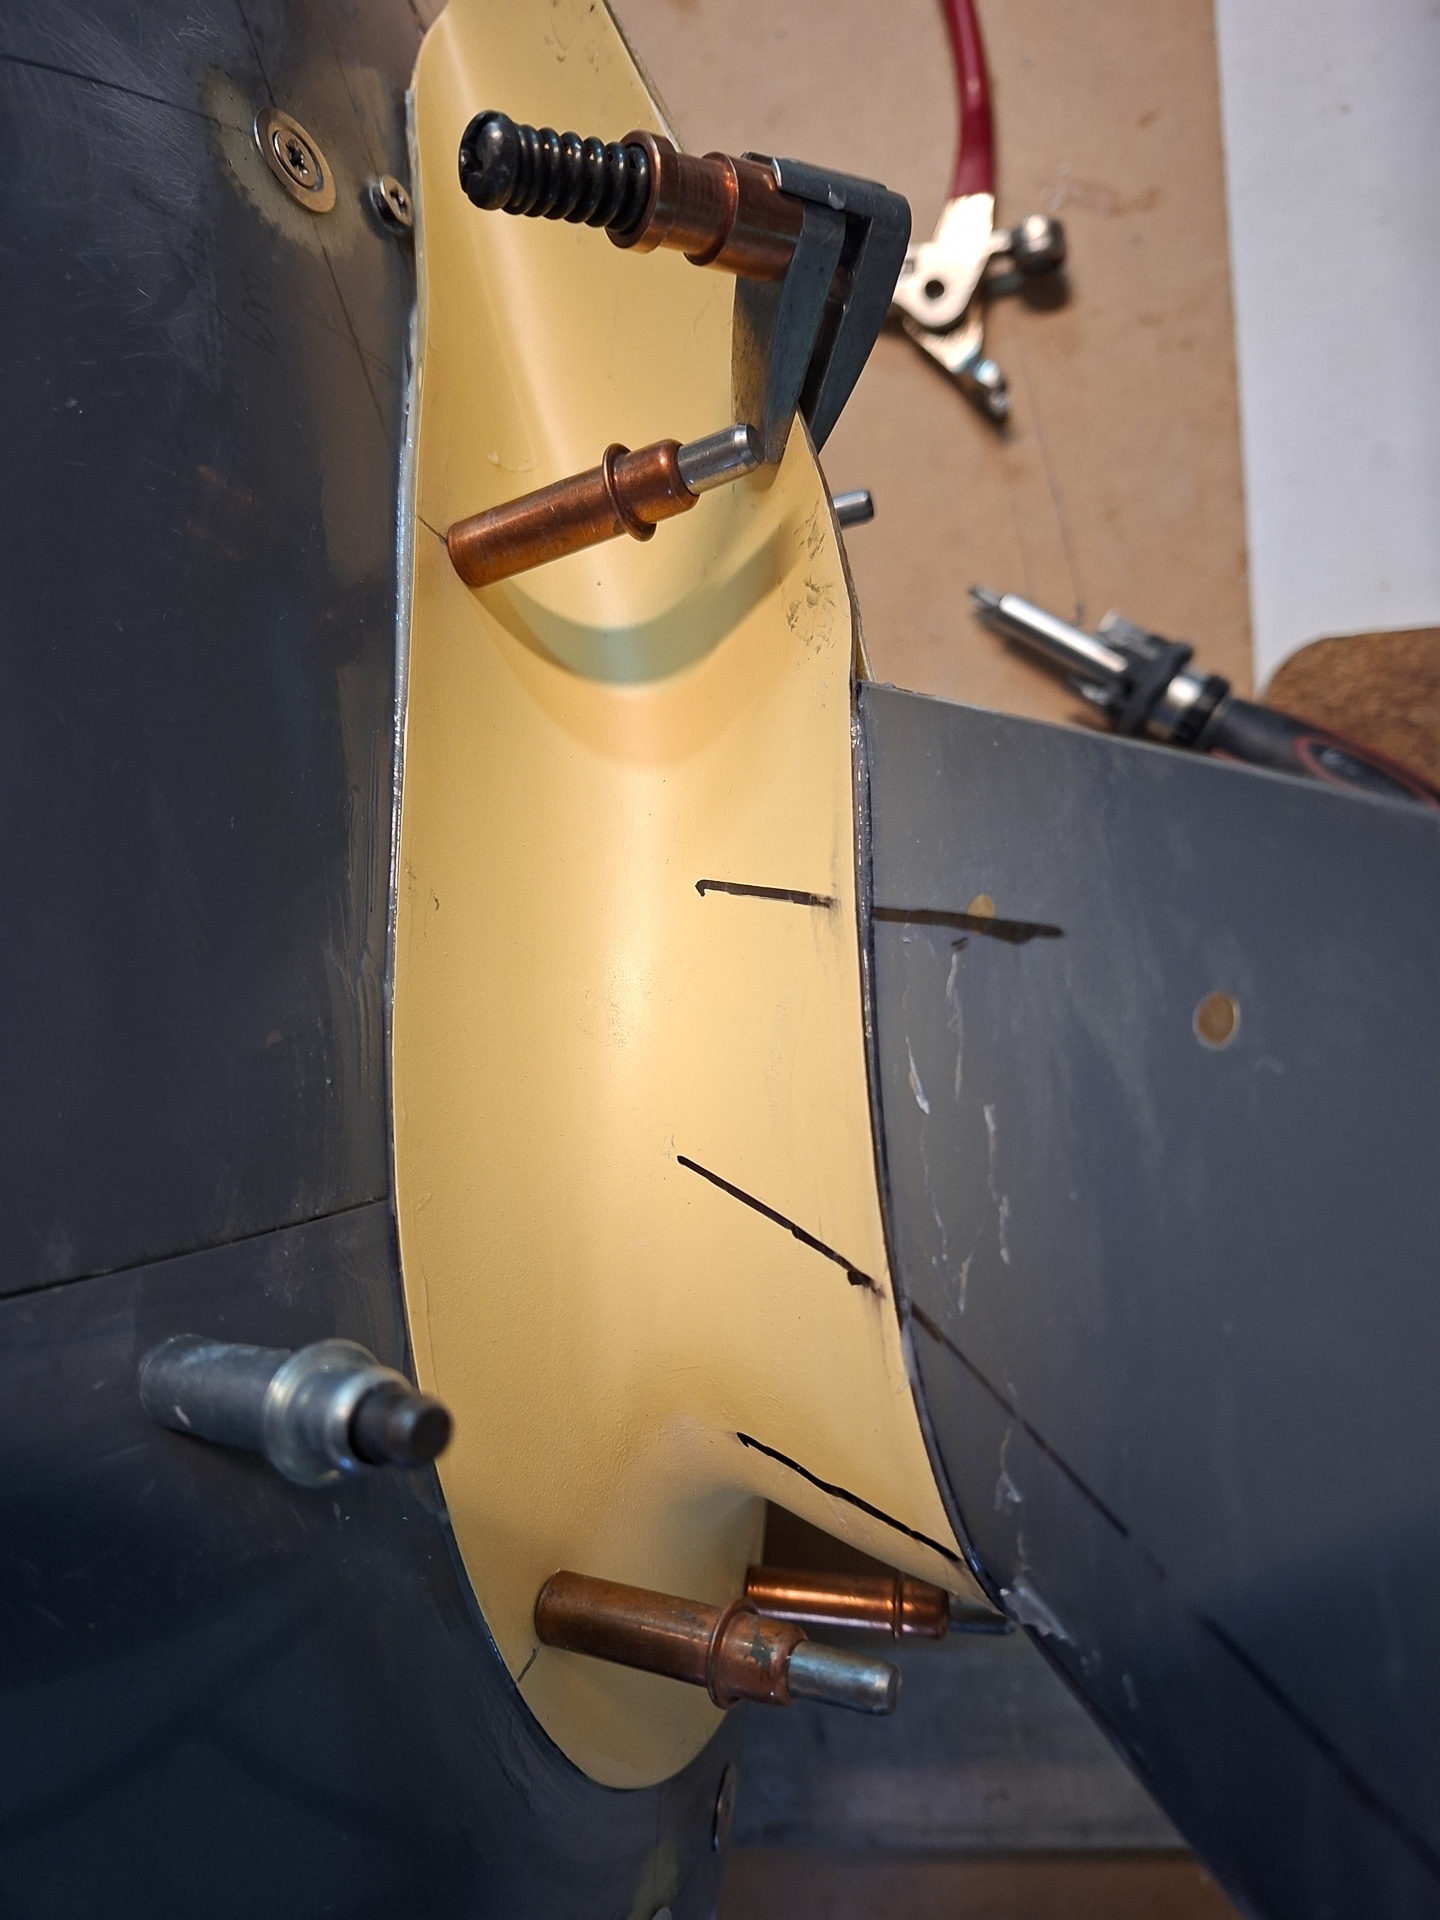
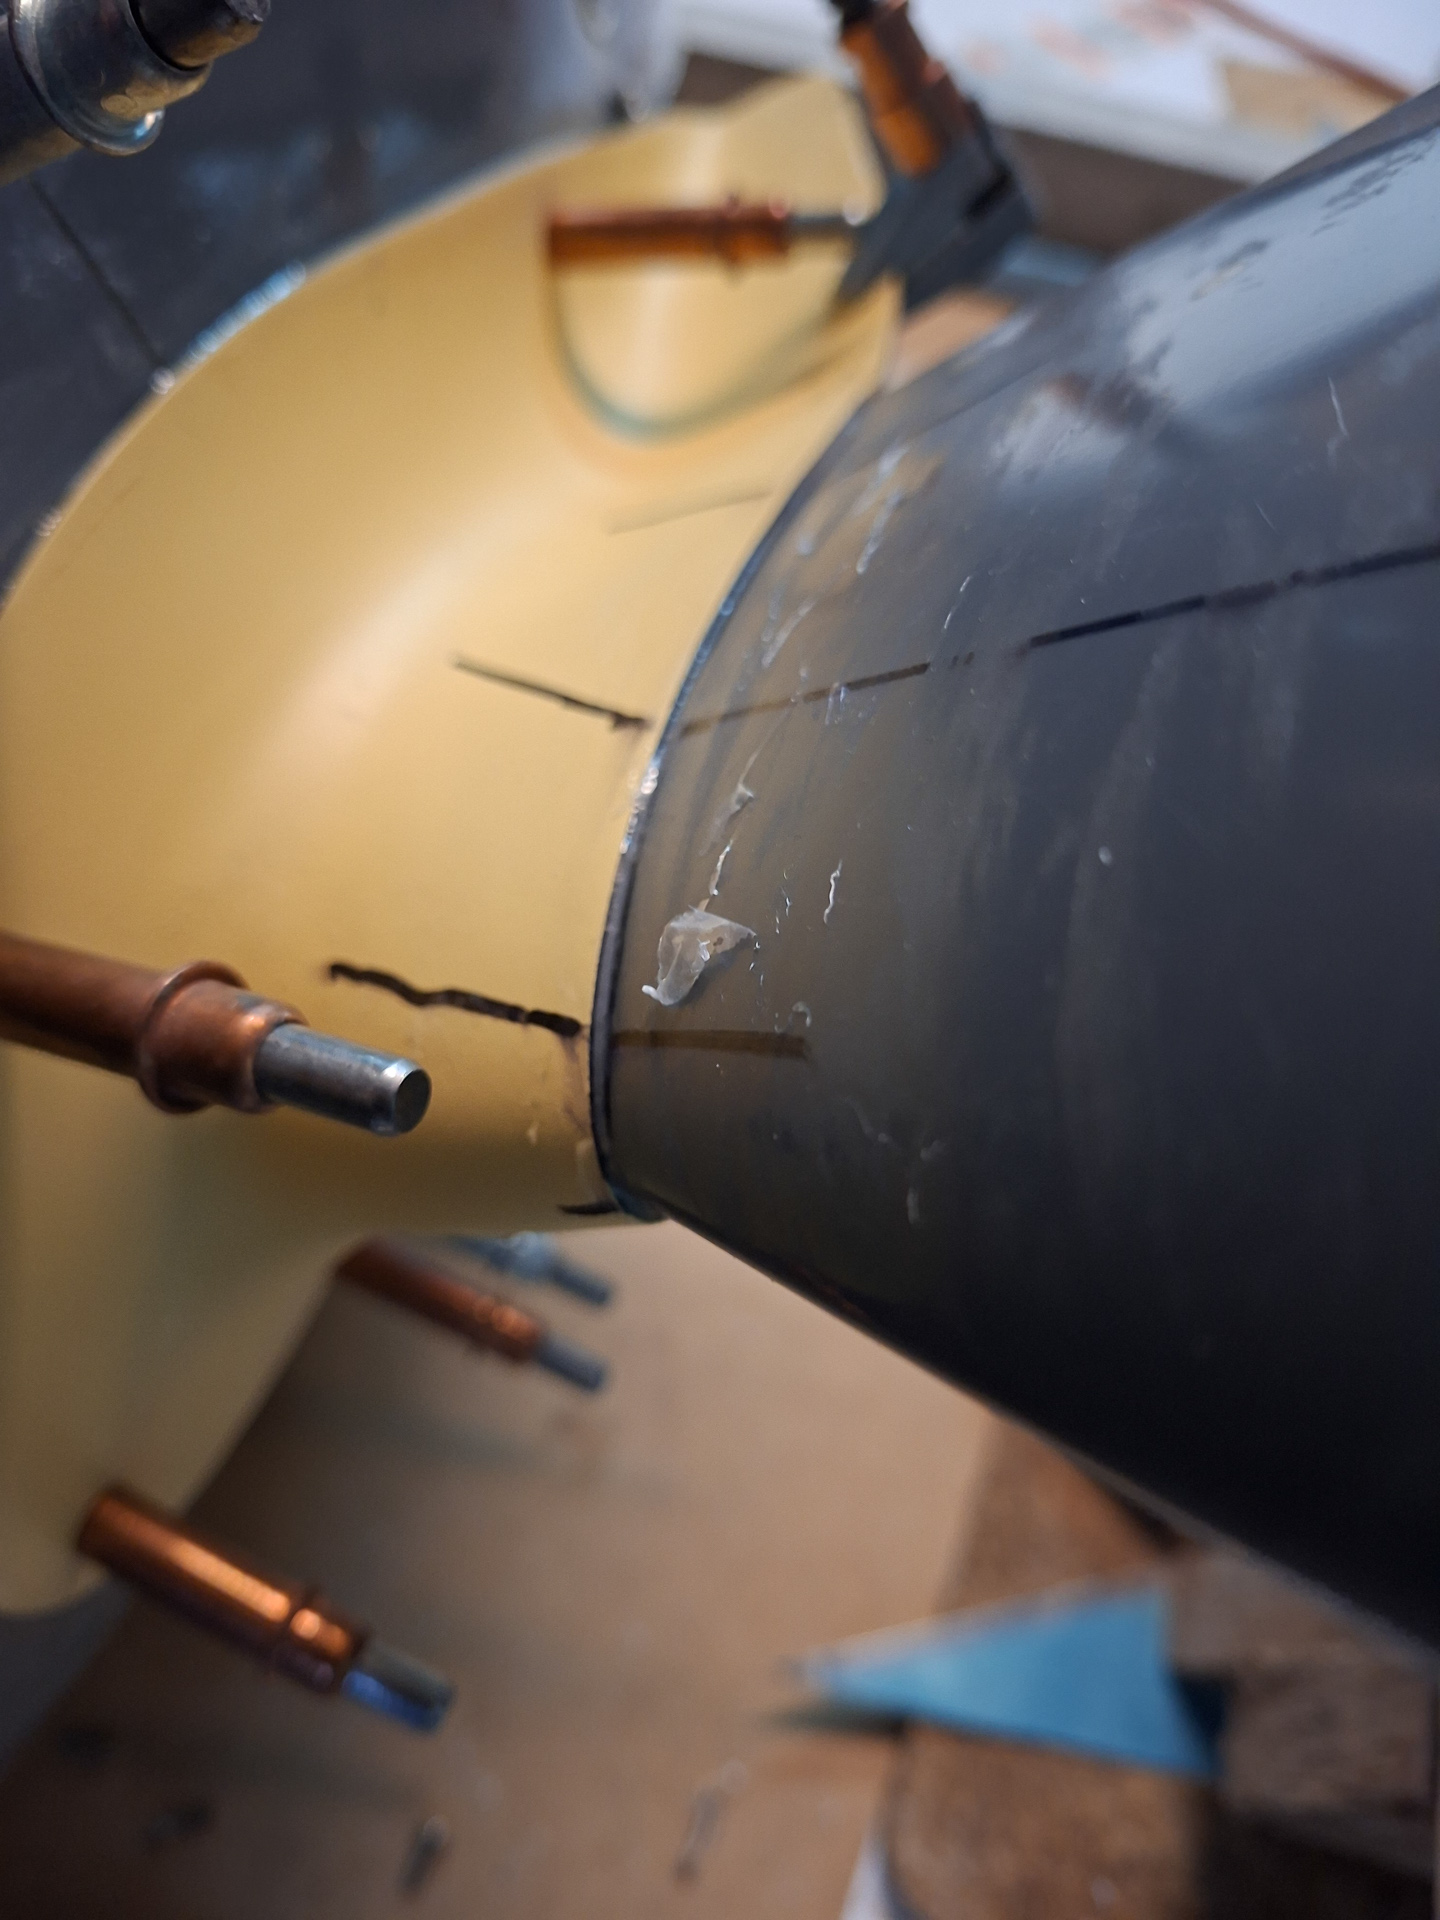
Then inner fill up on the passenger side is beefy, that's where I will probably sand down the outside a bit to get is thinner.
On the inside the epoxy is nicely spread.
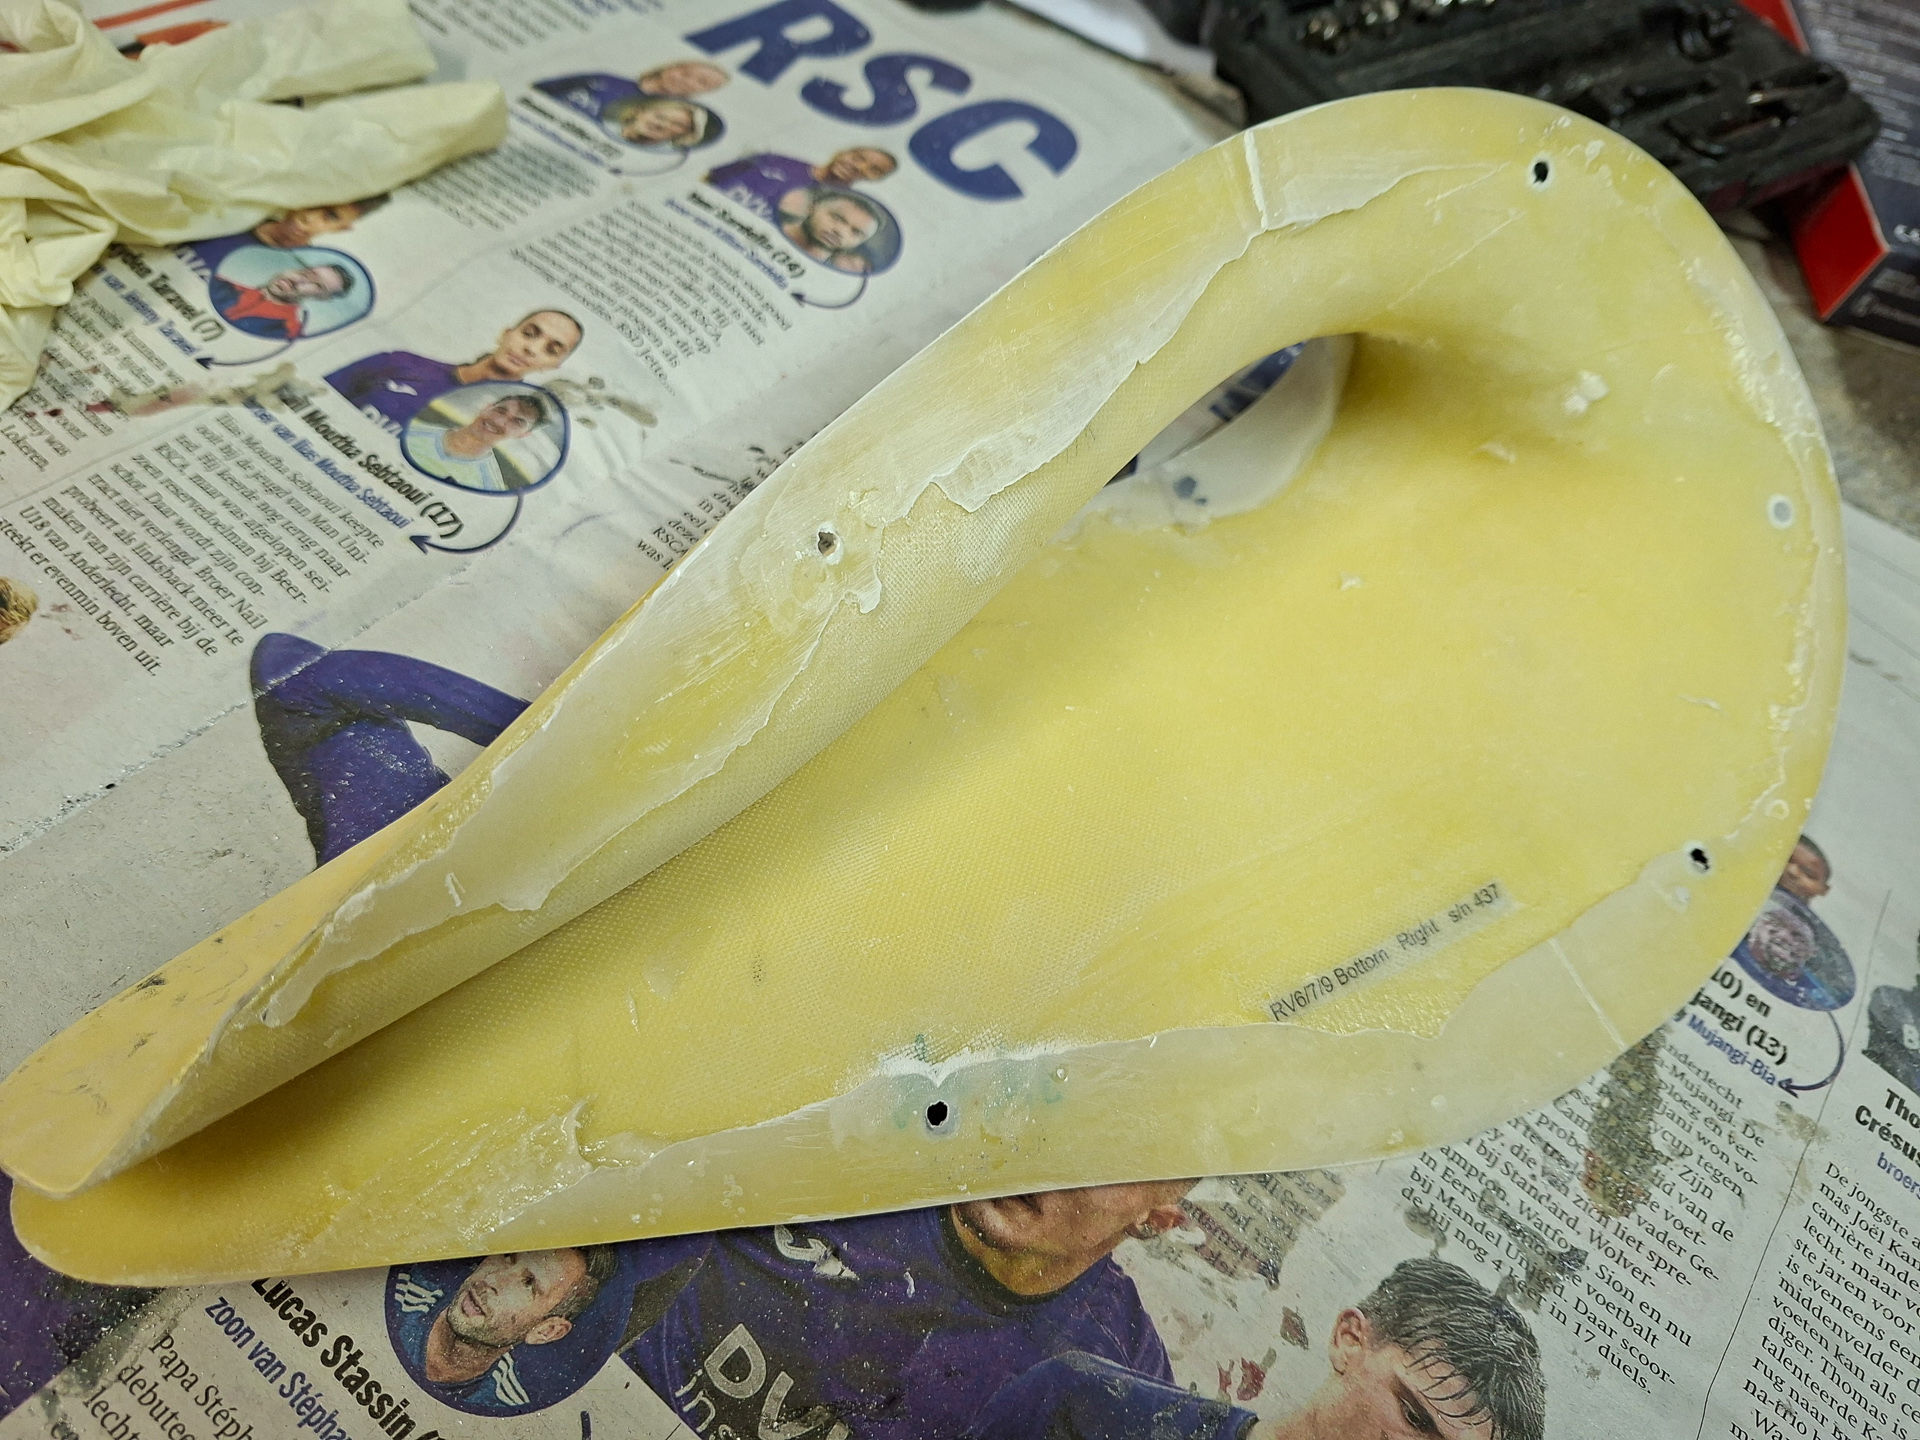
top side