

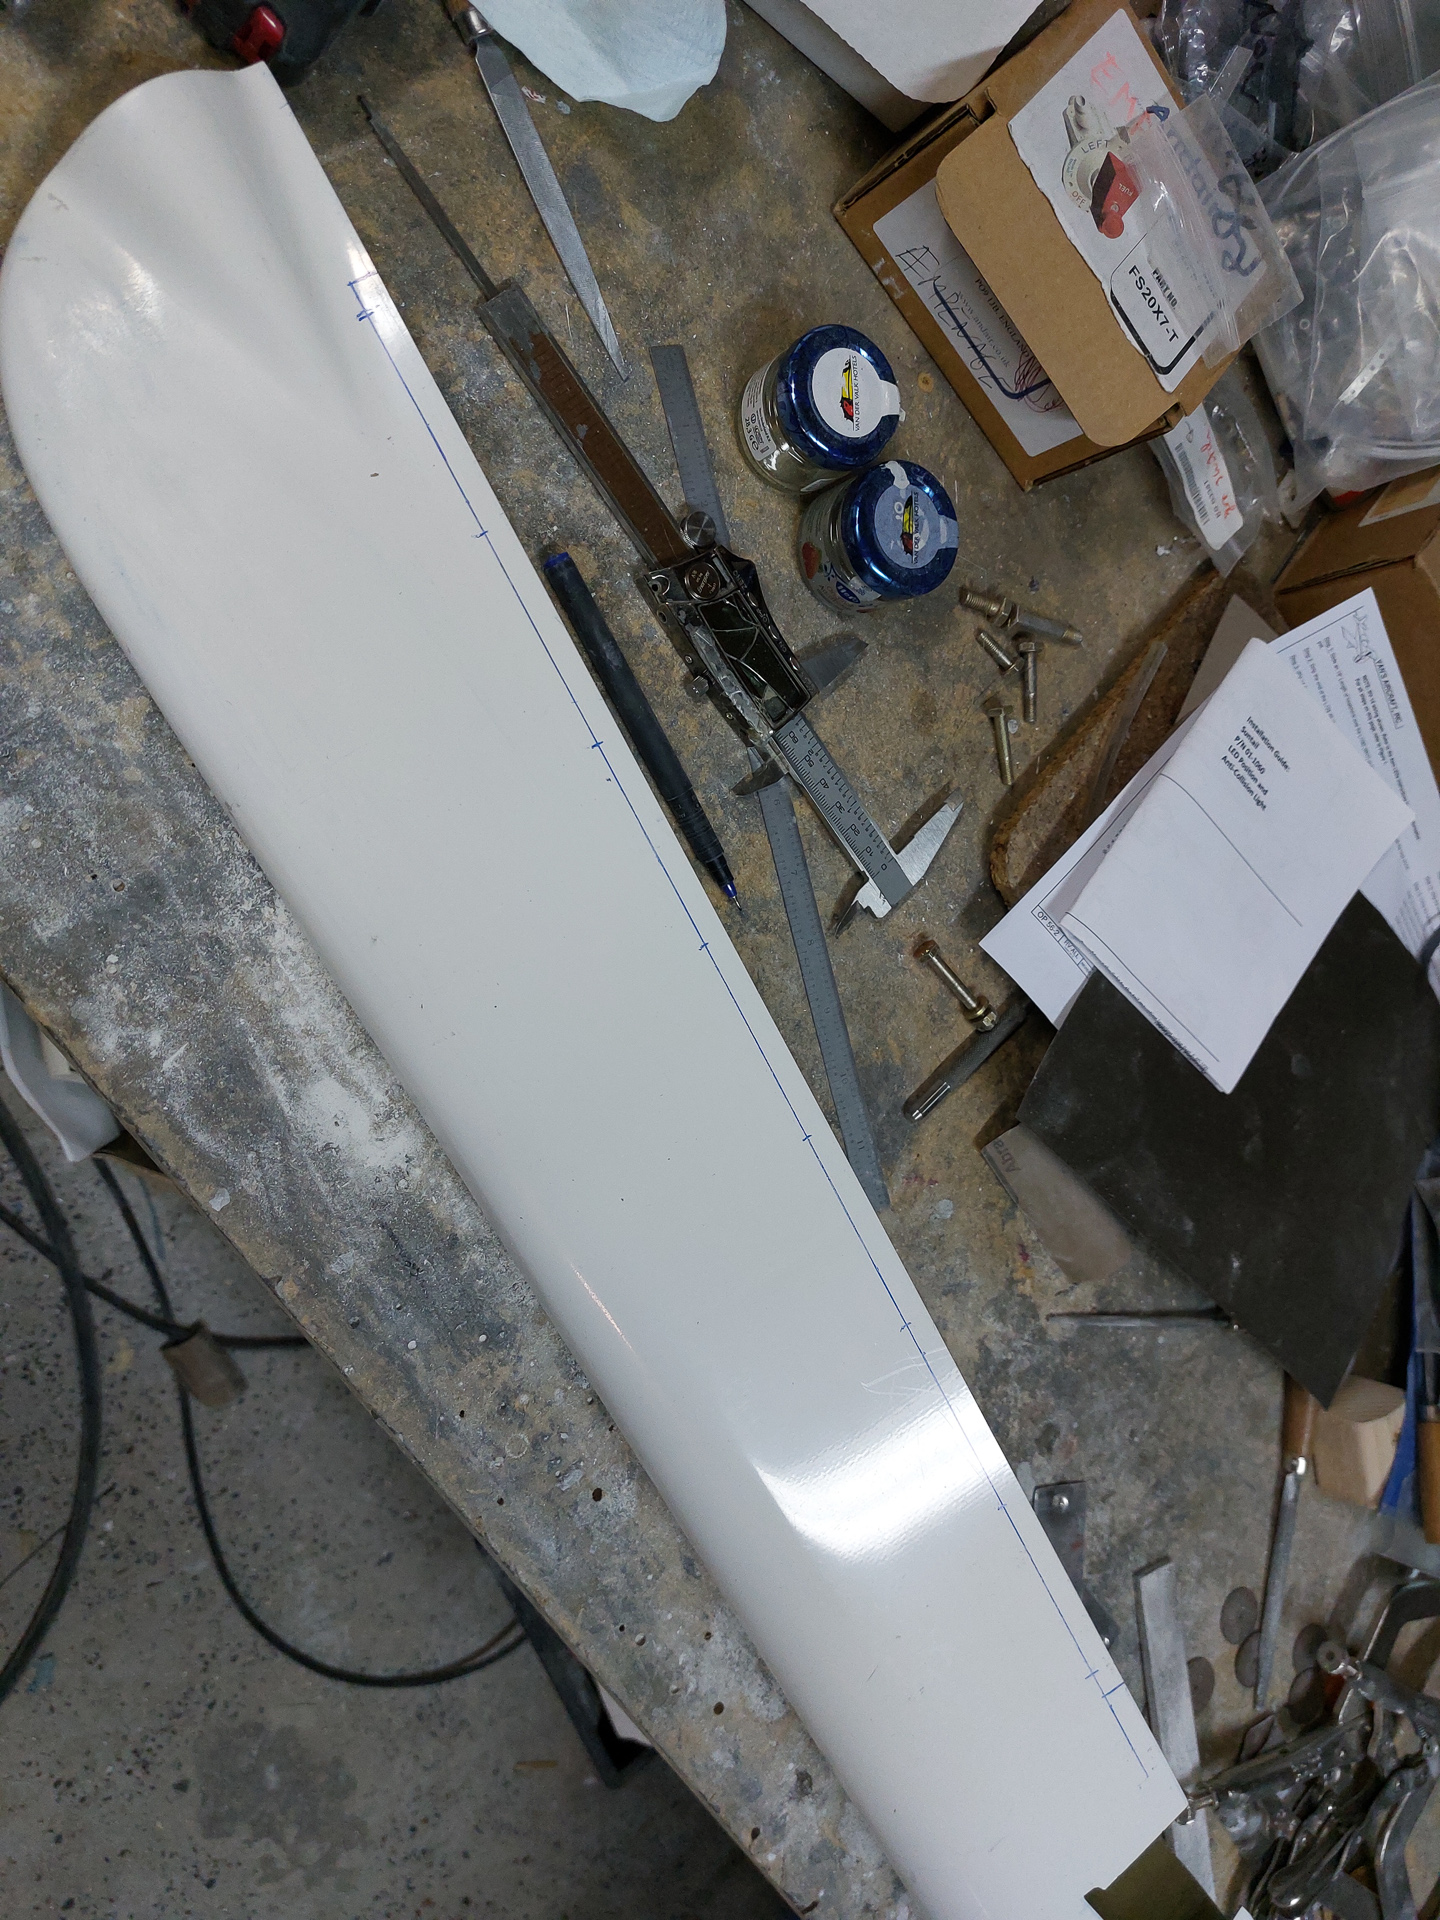
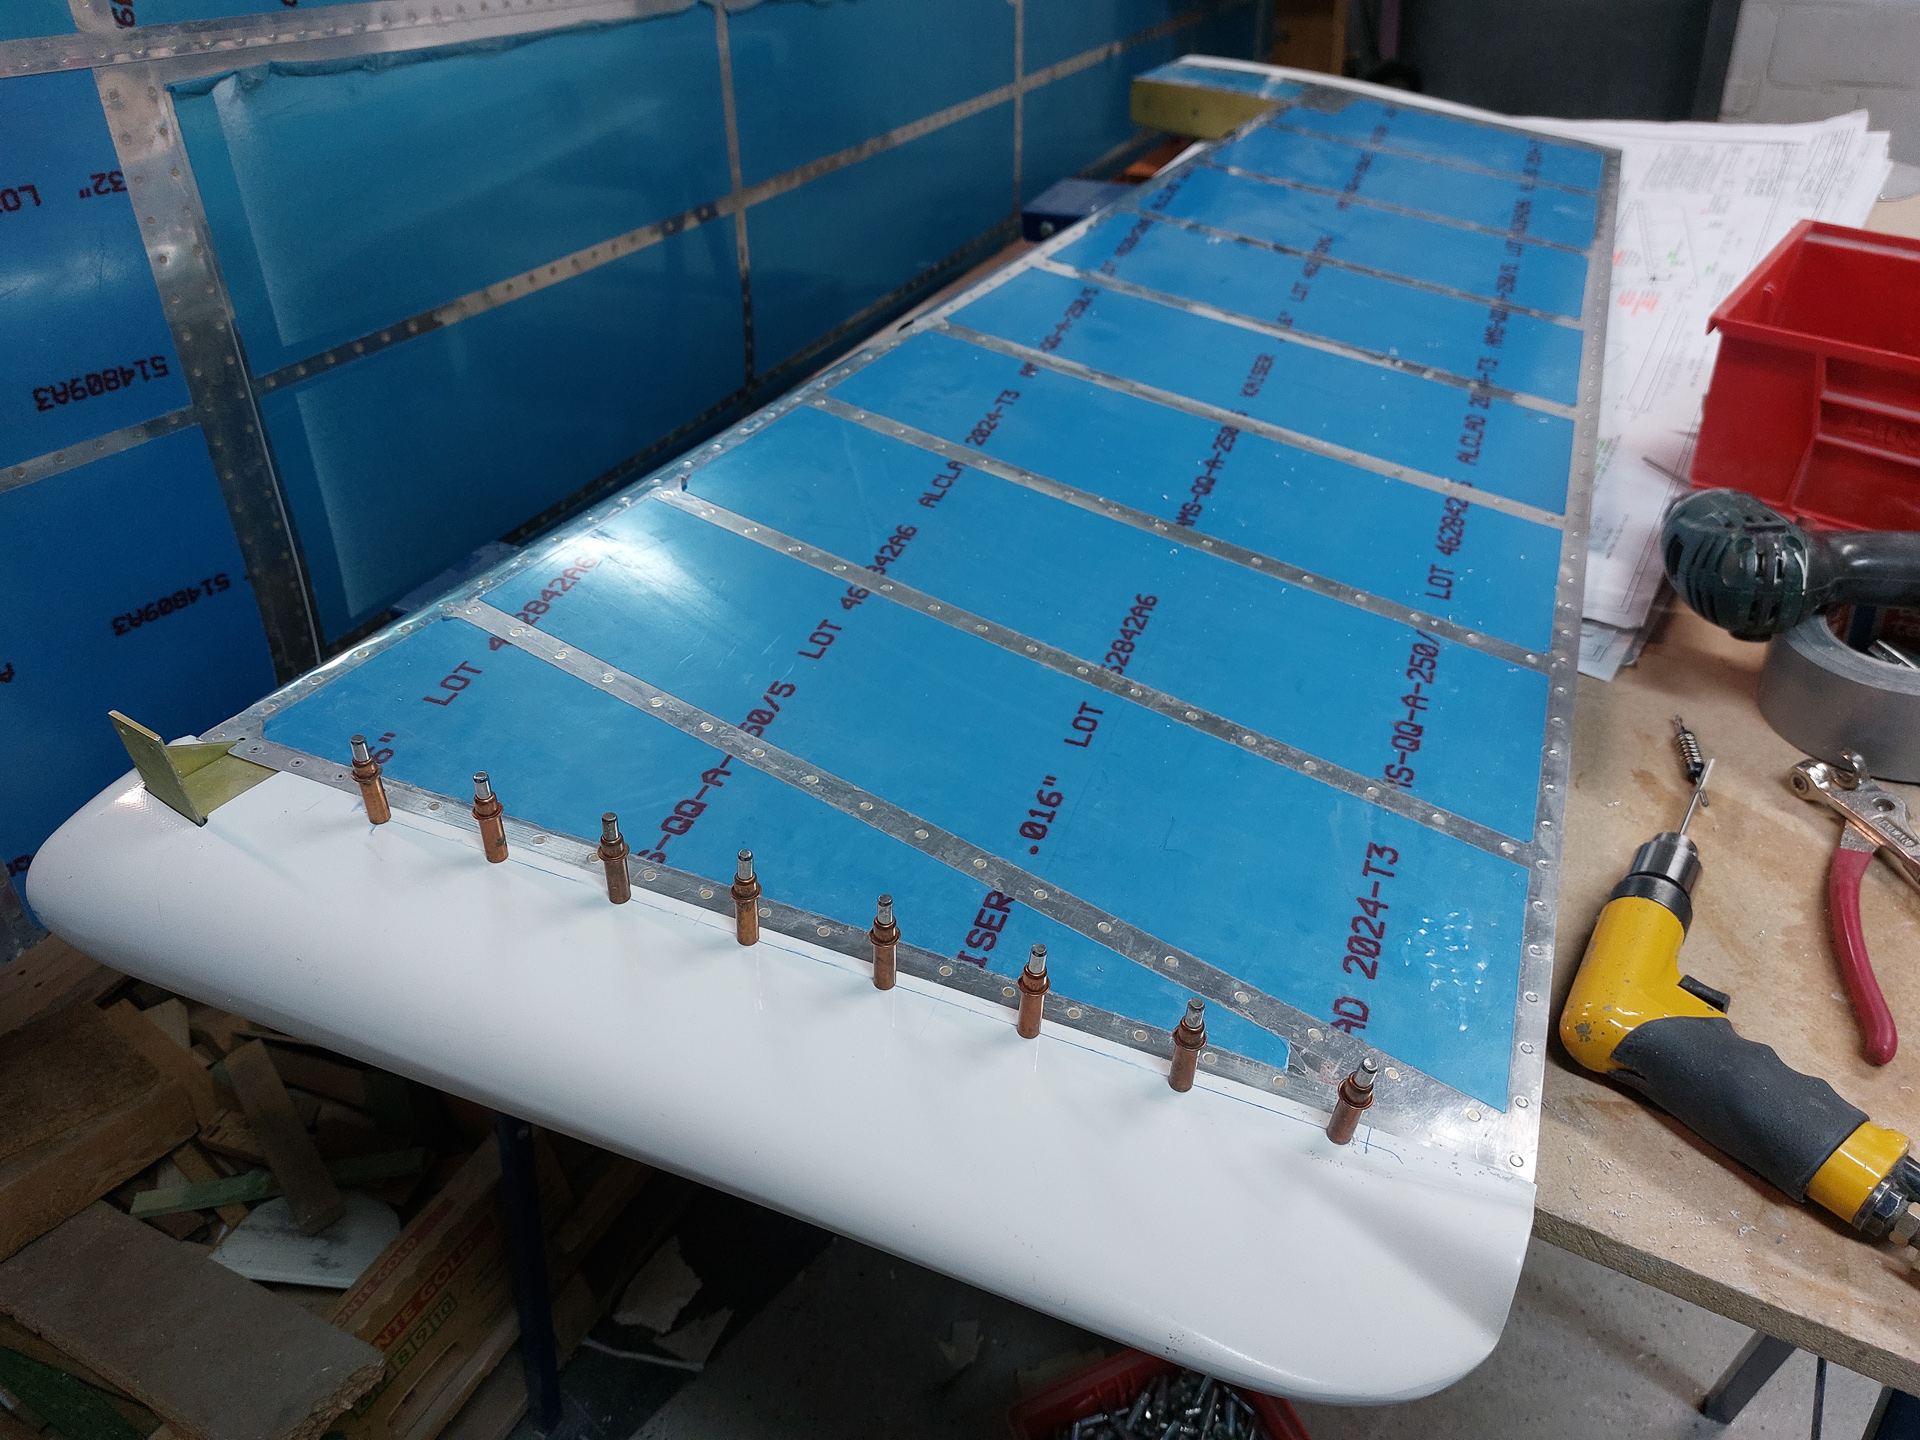
Moving on with the R-911 rudder bottom fairing. The cutout and fitting is finally ok. The next step is drilling the fairing to the R-918 bottom attach strip.
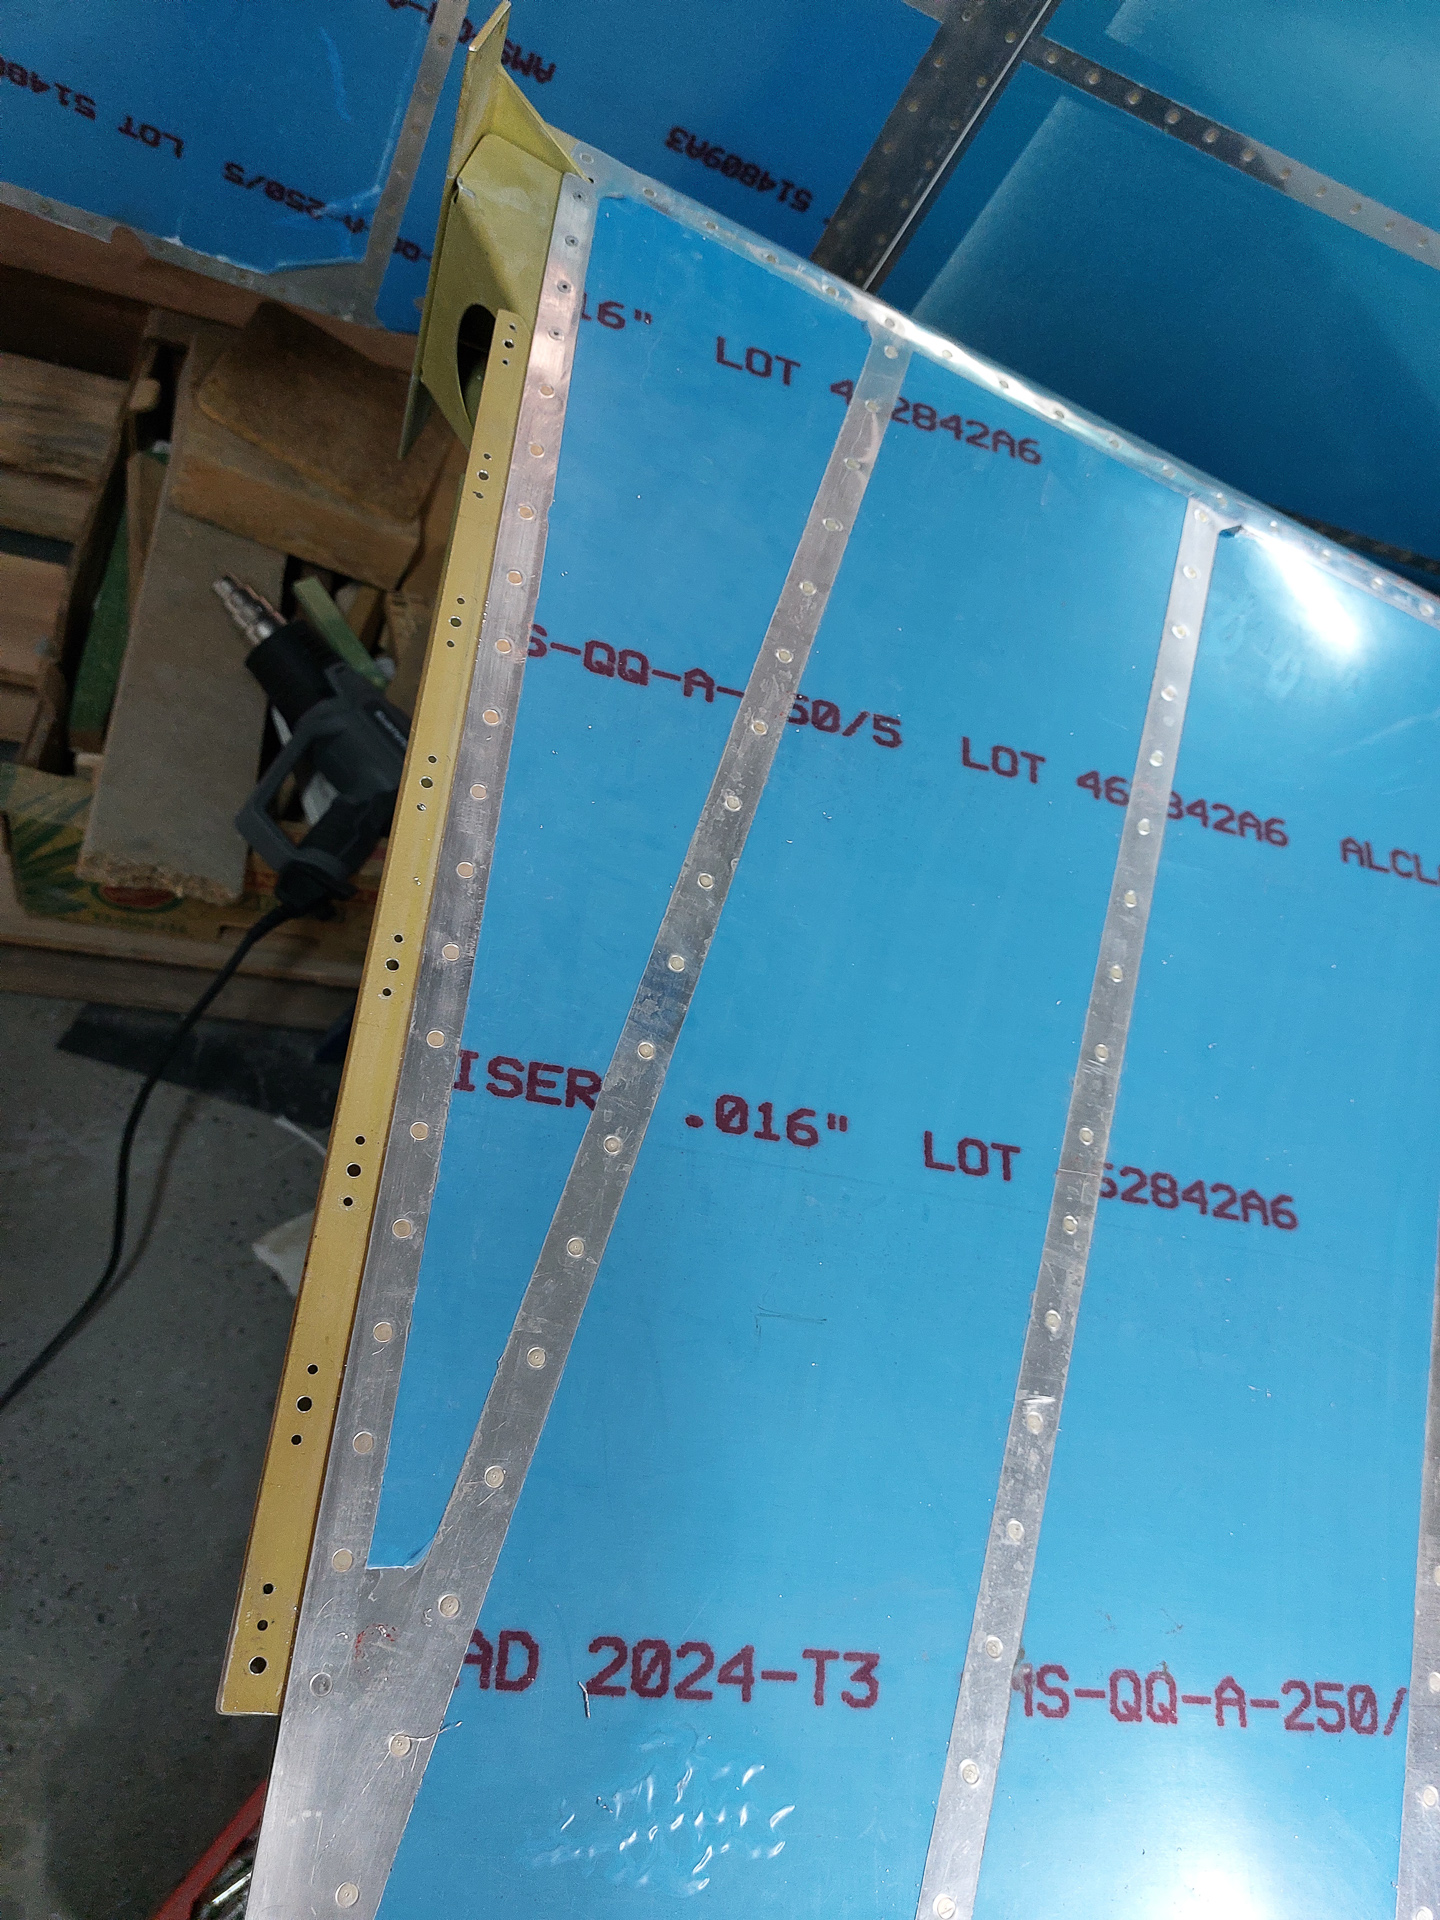
I started by laying out the positions to drill the holes. There are 8 holes from the rear up to the rudder horn.
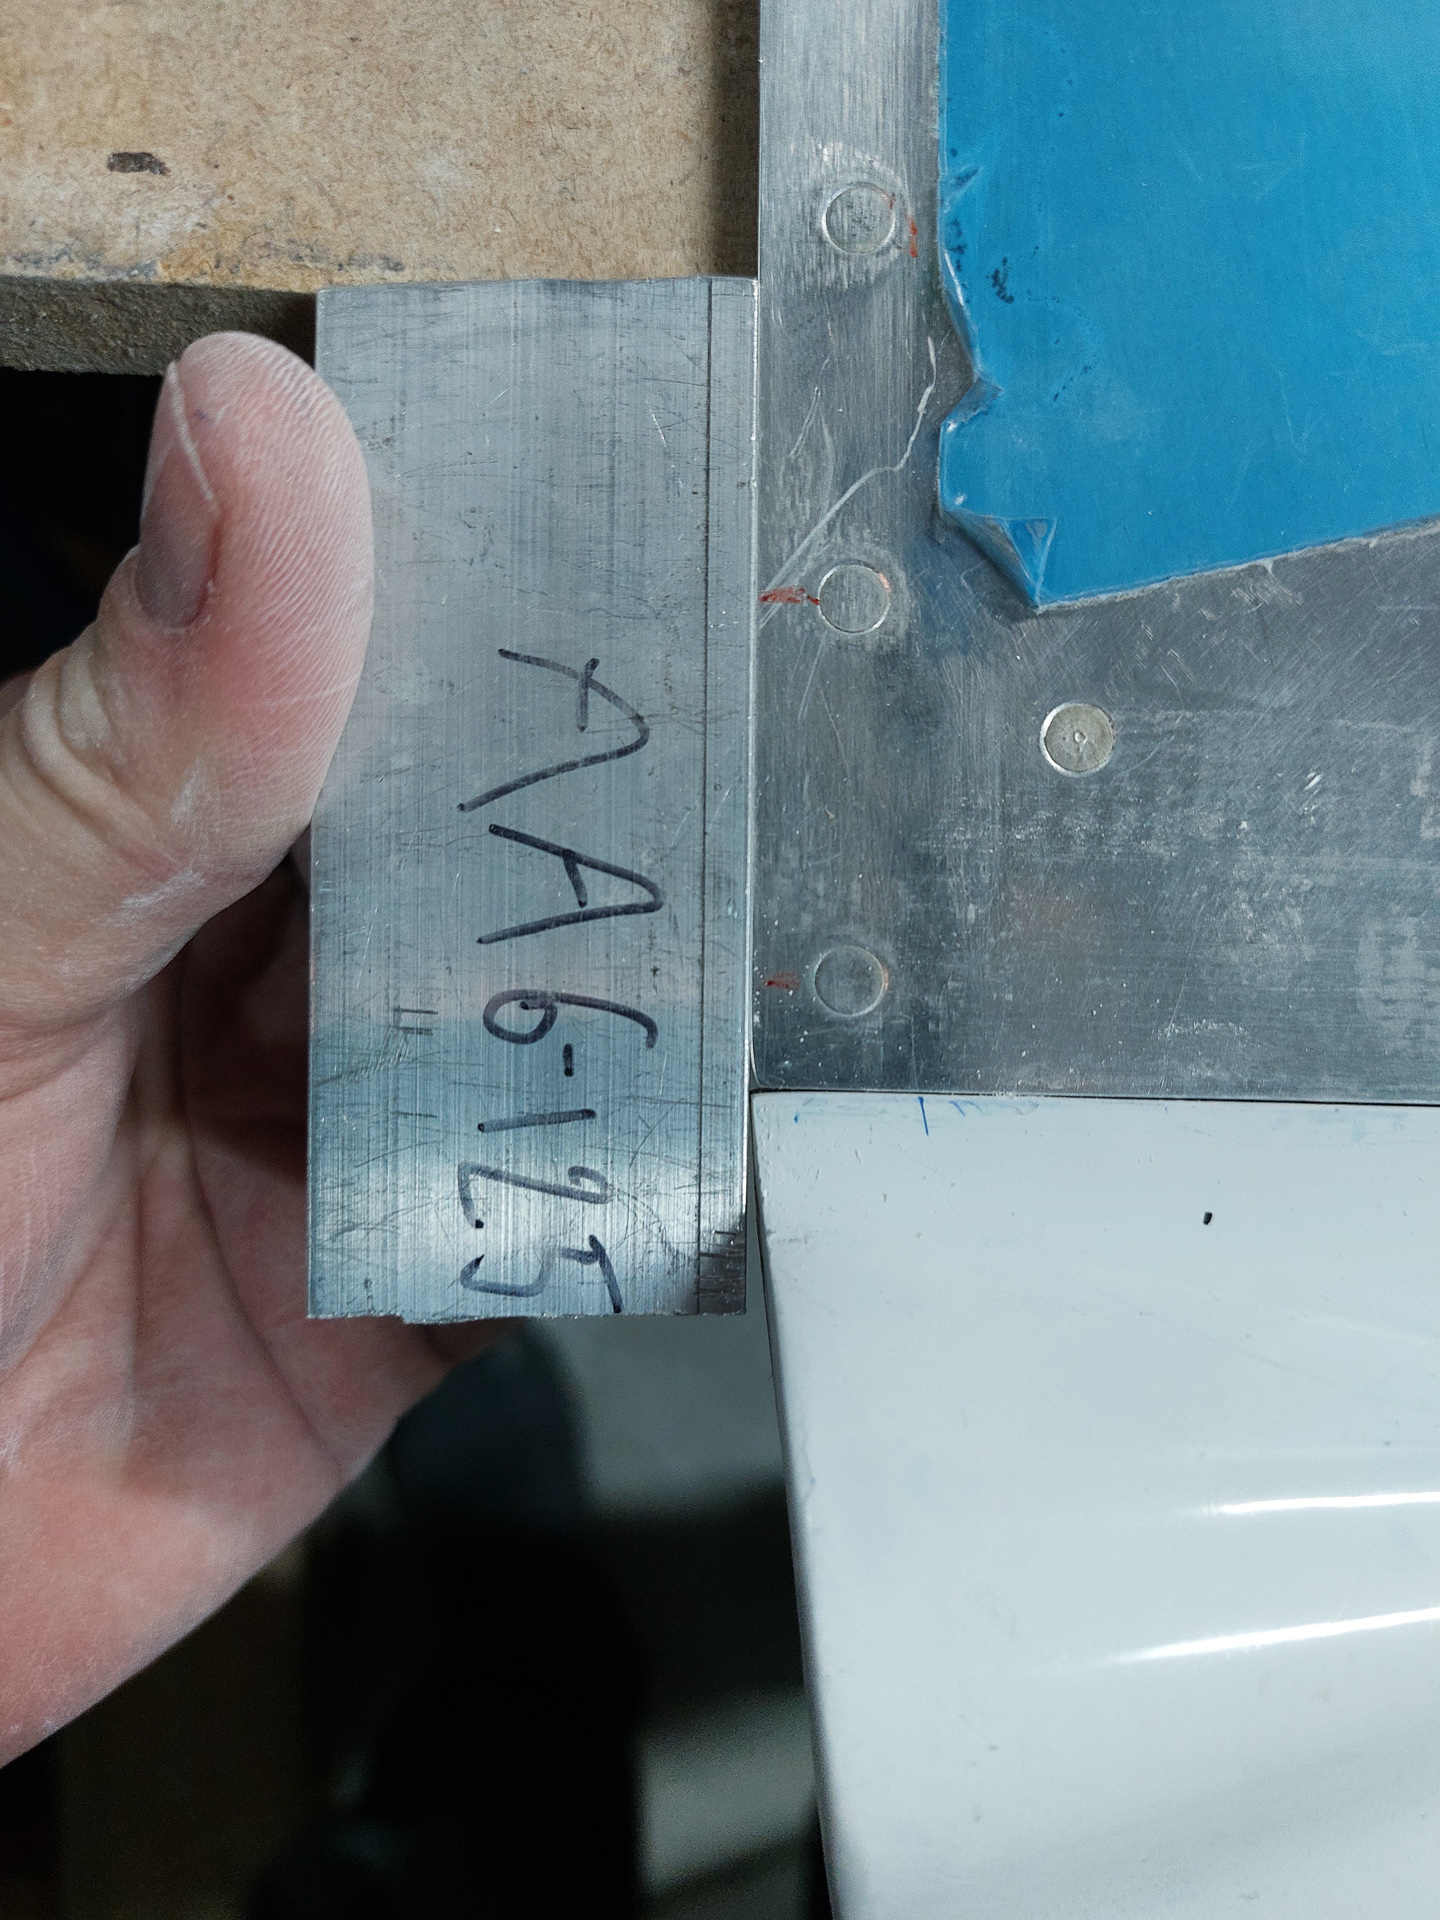
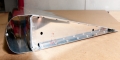
To ensure perfect rear alignment, I placed a piece of scrap aluminum angle along the rear edge of the rudder and ensured the epoxy fairing butts against the angle.
There is a slight angle between the rear of the rudder fairing and the rear edge of the rudder. This is because the front of the rudder fairing has been lifted up a bit to give sufficient clearing for tail wheel spring. On an RV7-A you can probably have a nice straight line here but with a taildragger, you have to take into account the flexing of the tail wheel spring during landing or tailwheel shimmy.
Then used some good old duct tape to keep the rudder fairing in place on both side during drilling.
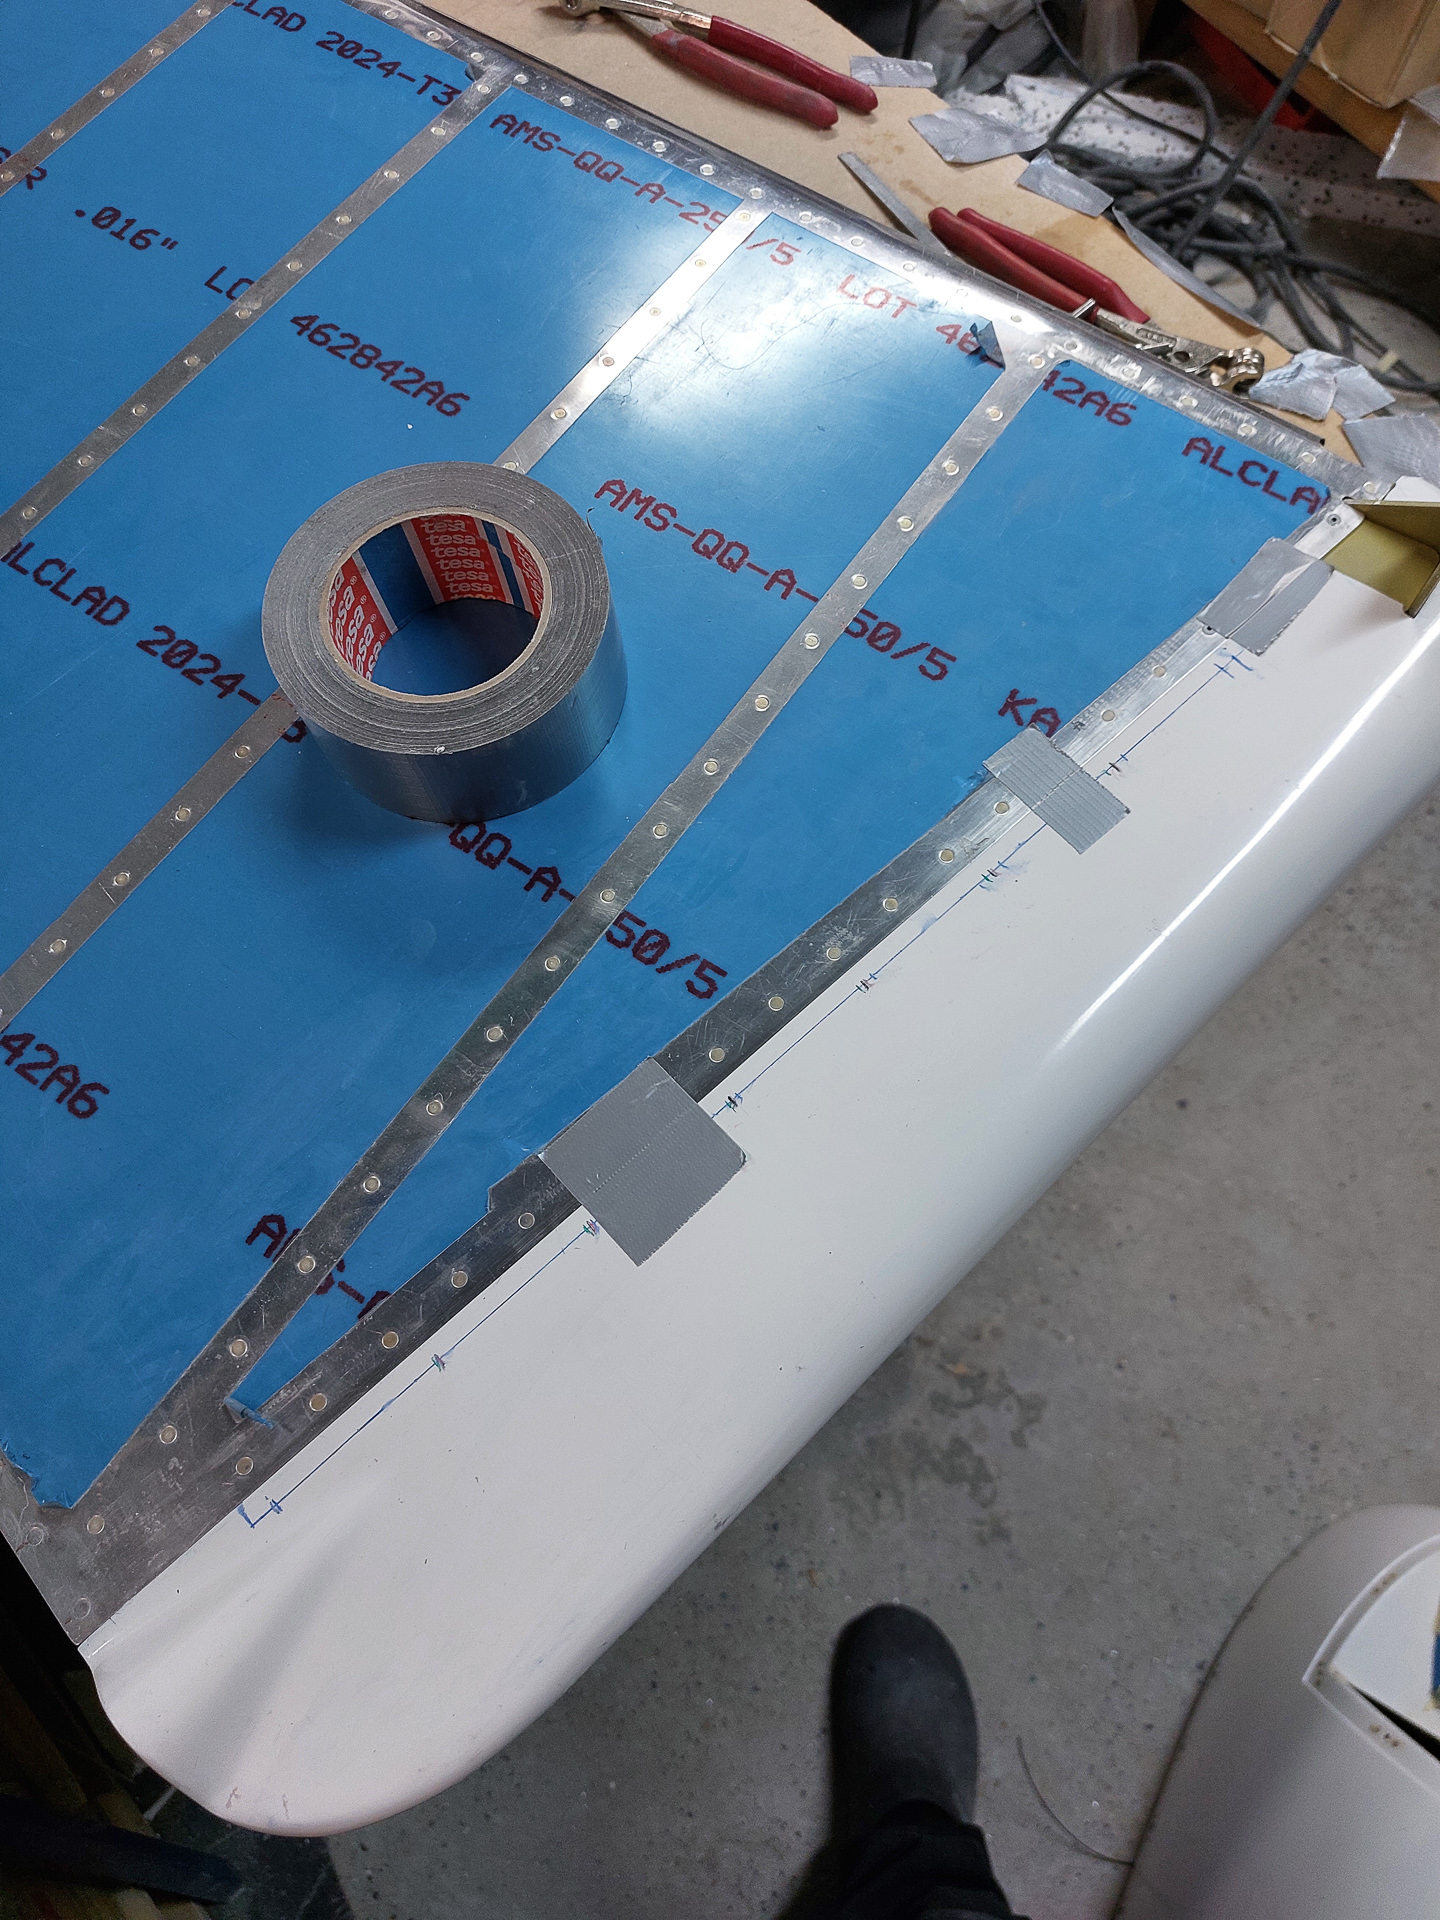
Drilled one side, as usual started with #40 and will updrill to final size when the other side is also done.
Updrilled #30
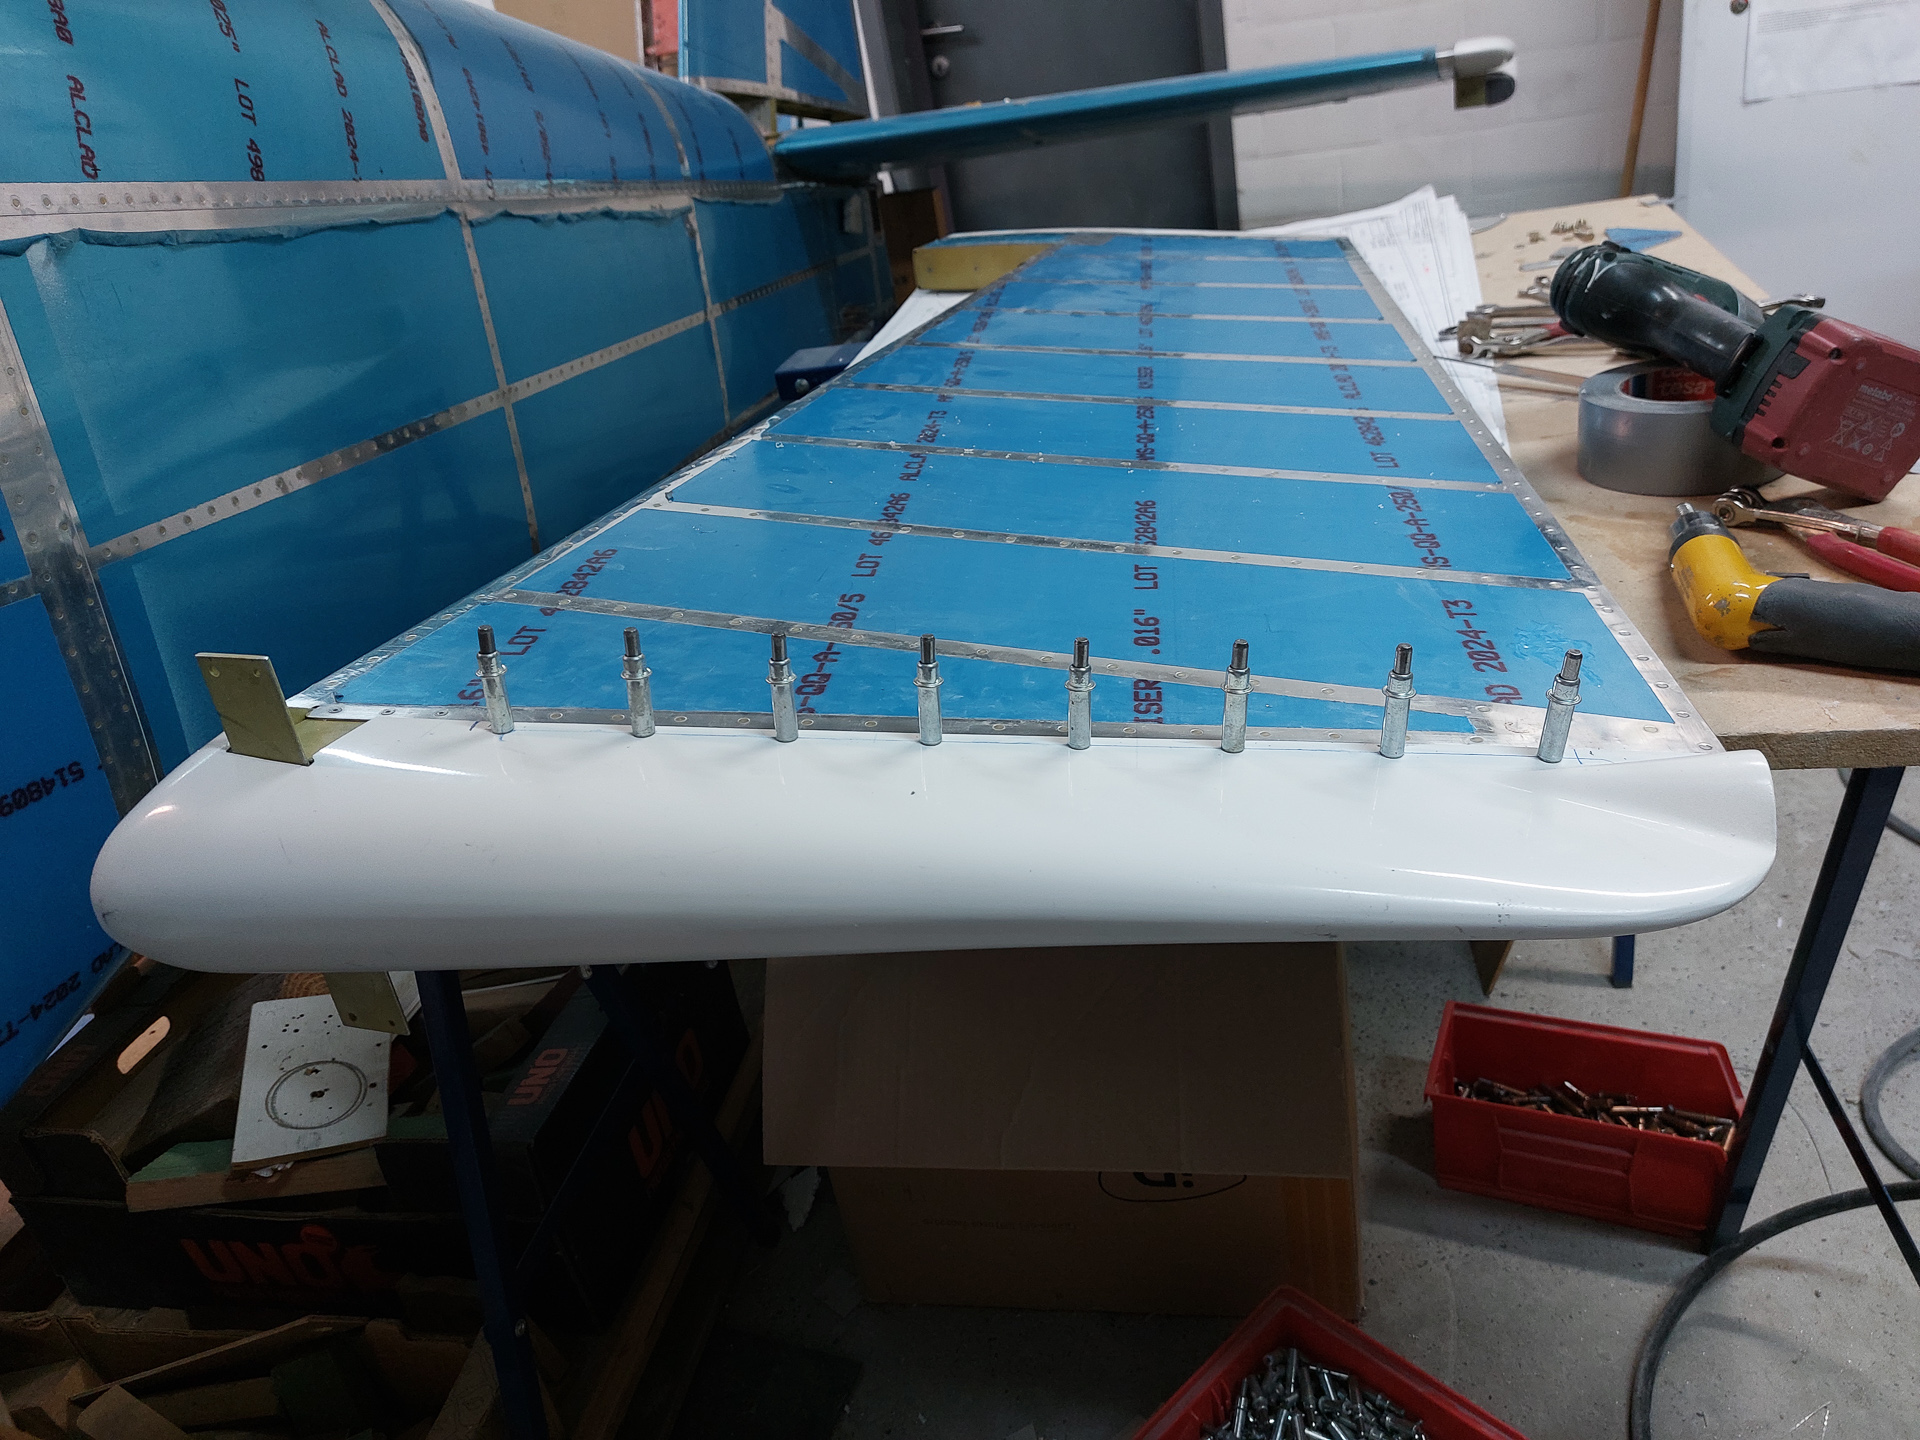
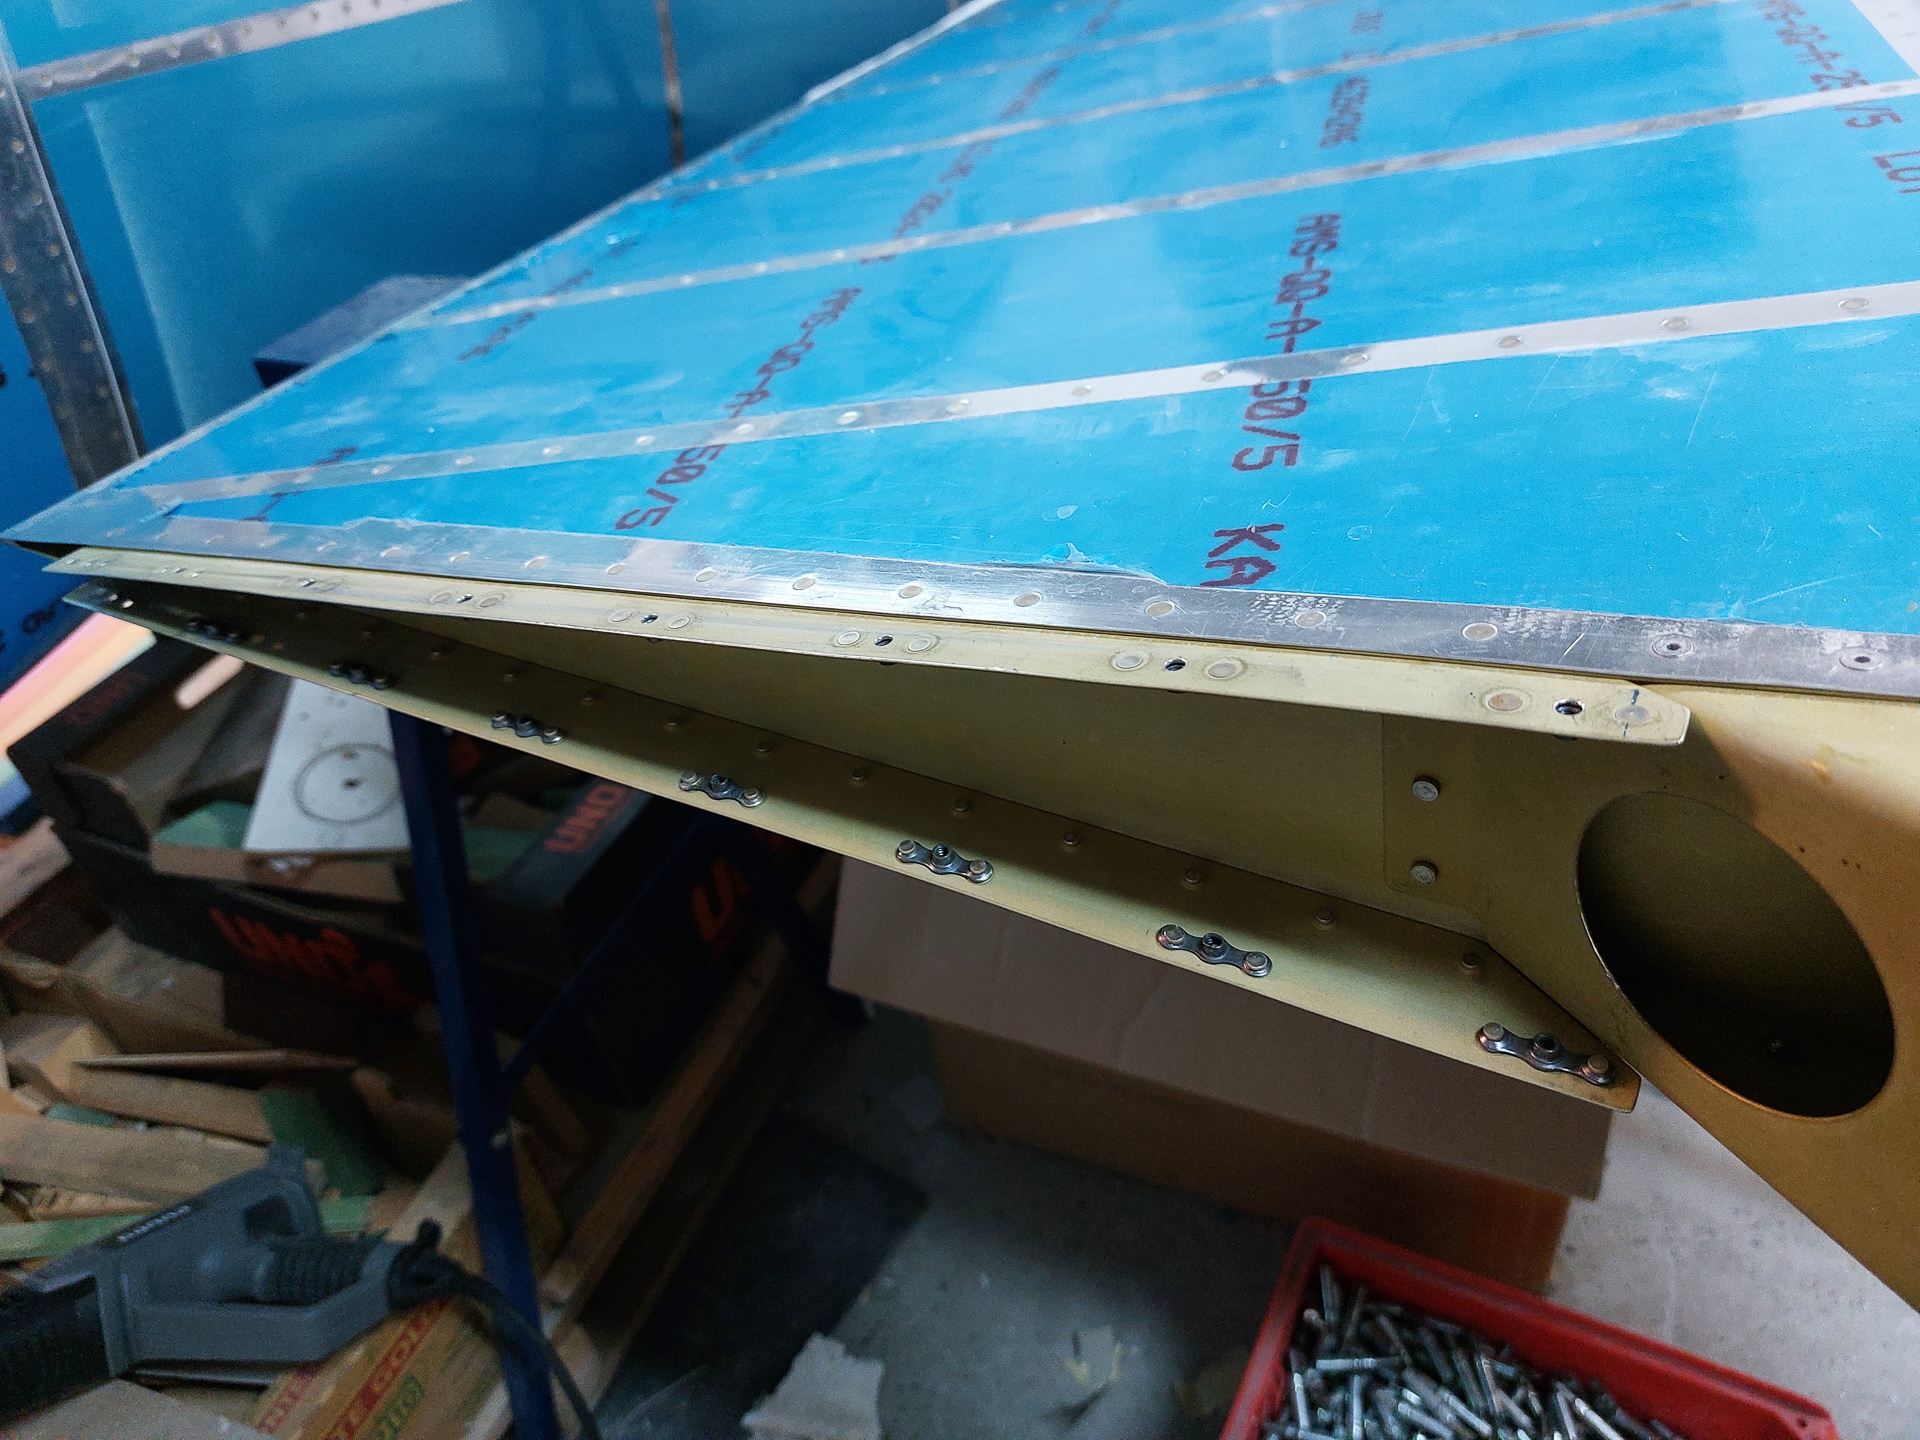
Finally reamed #19 for 6R6 screws and drilled the nutplace ears. The rear hole is for a one-leg nutplate..
Nutplates installed with AN426 rivets and ready to receive the fairing


