With the rear baffles on the engine, the plans tell you to install a bracket on the engine that supports the rear baffles. The triangular bracket is installed using two engine case bolts. It's a bit scary to unscrew engine case bolts. I unscrewd them and retorqued them to spec as indicated in the Superior installation manual appendix C.
Tihs is how it looks with the bracket in place. I'm still just following Vans baffle plans here. I'm not sure if this will be applicable with my Sam James plenum but we'll see that when we get there.
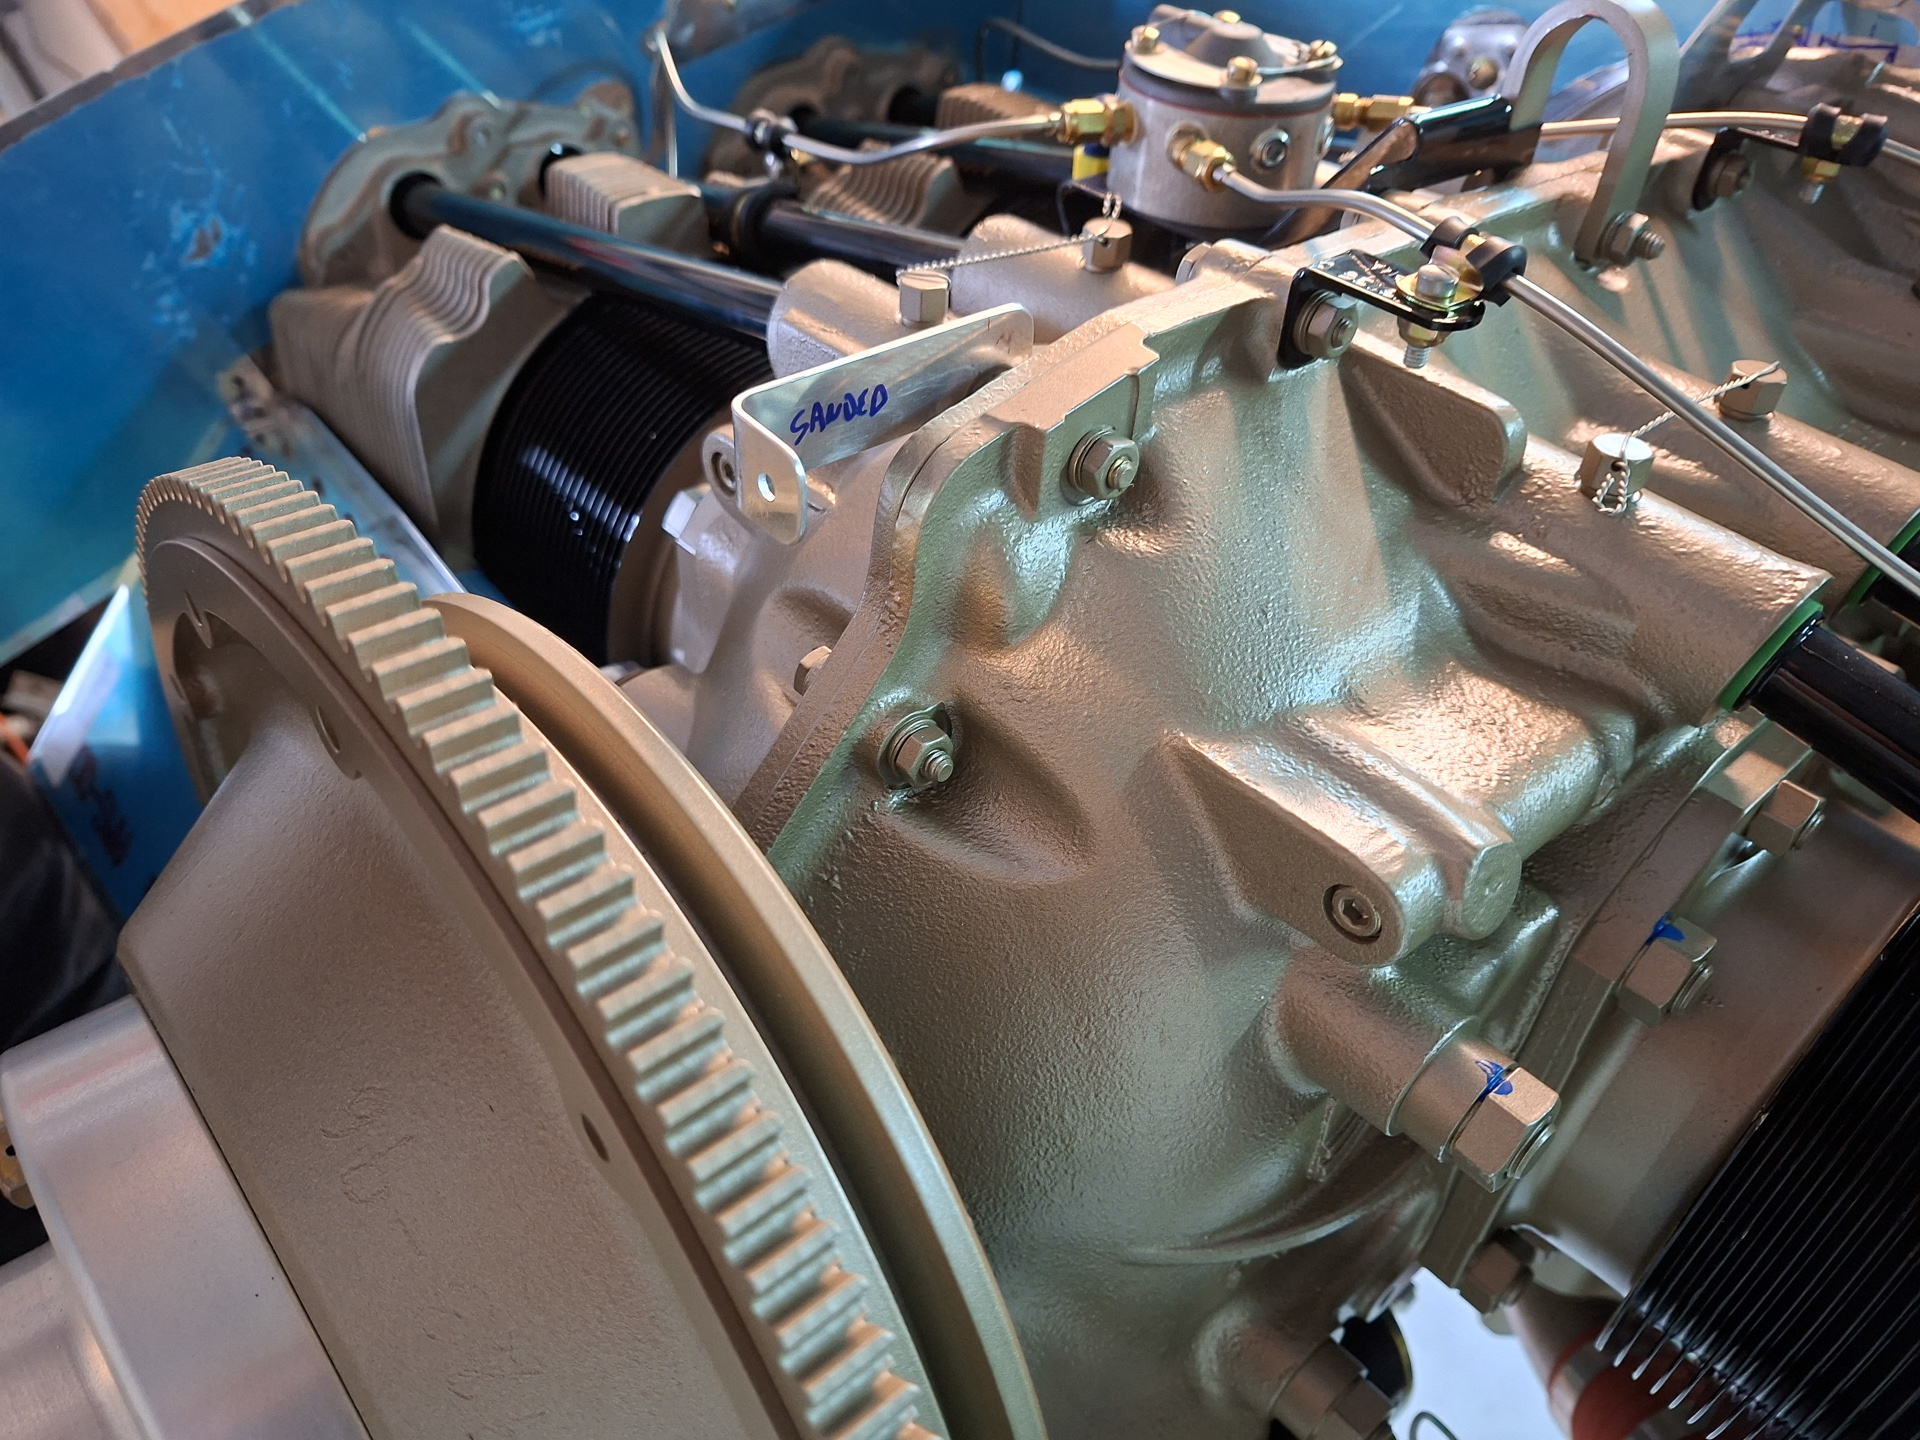
Another bracket is installed in the front of the engine just behind the starter flywheel. This bracket will support the forward baffle structure.
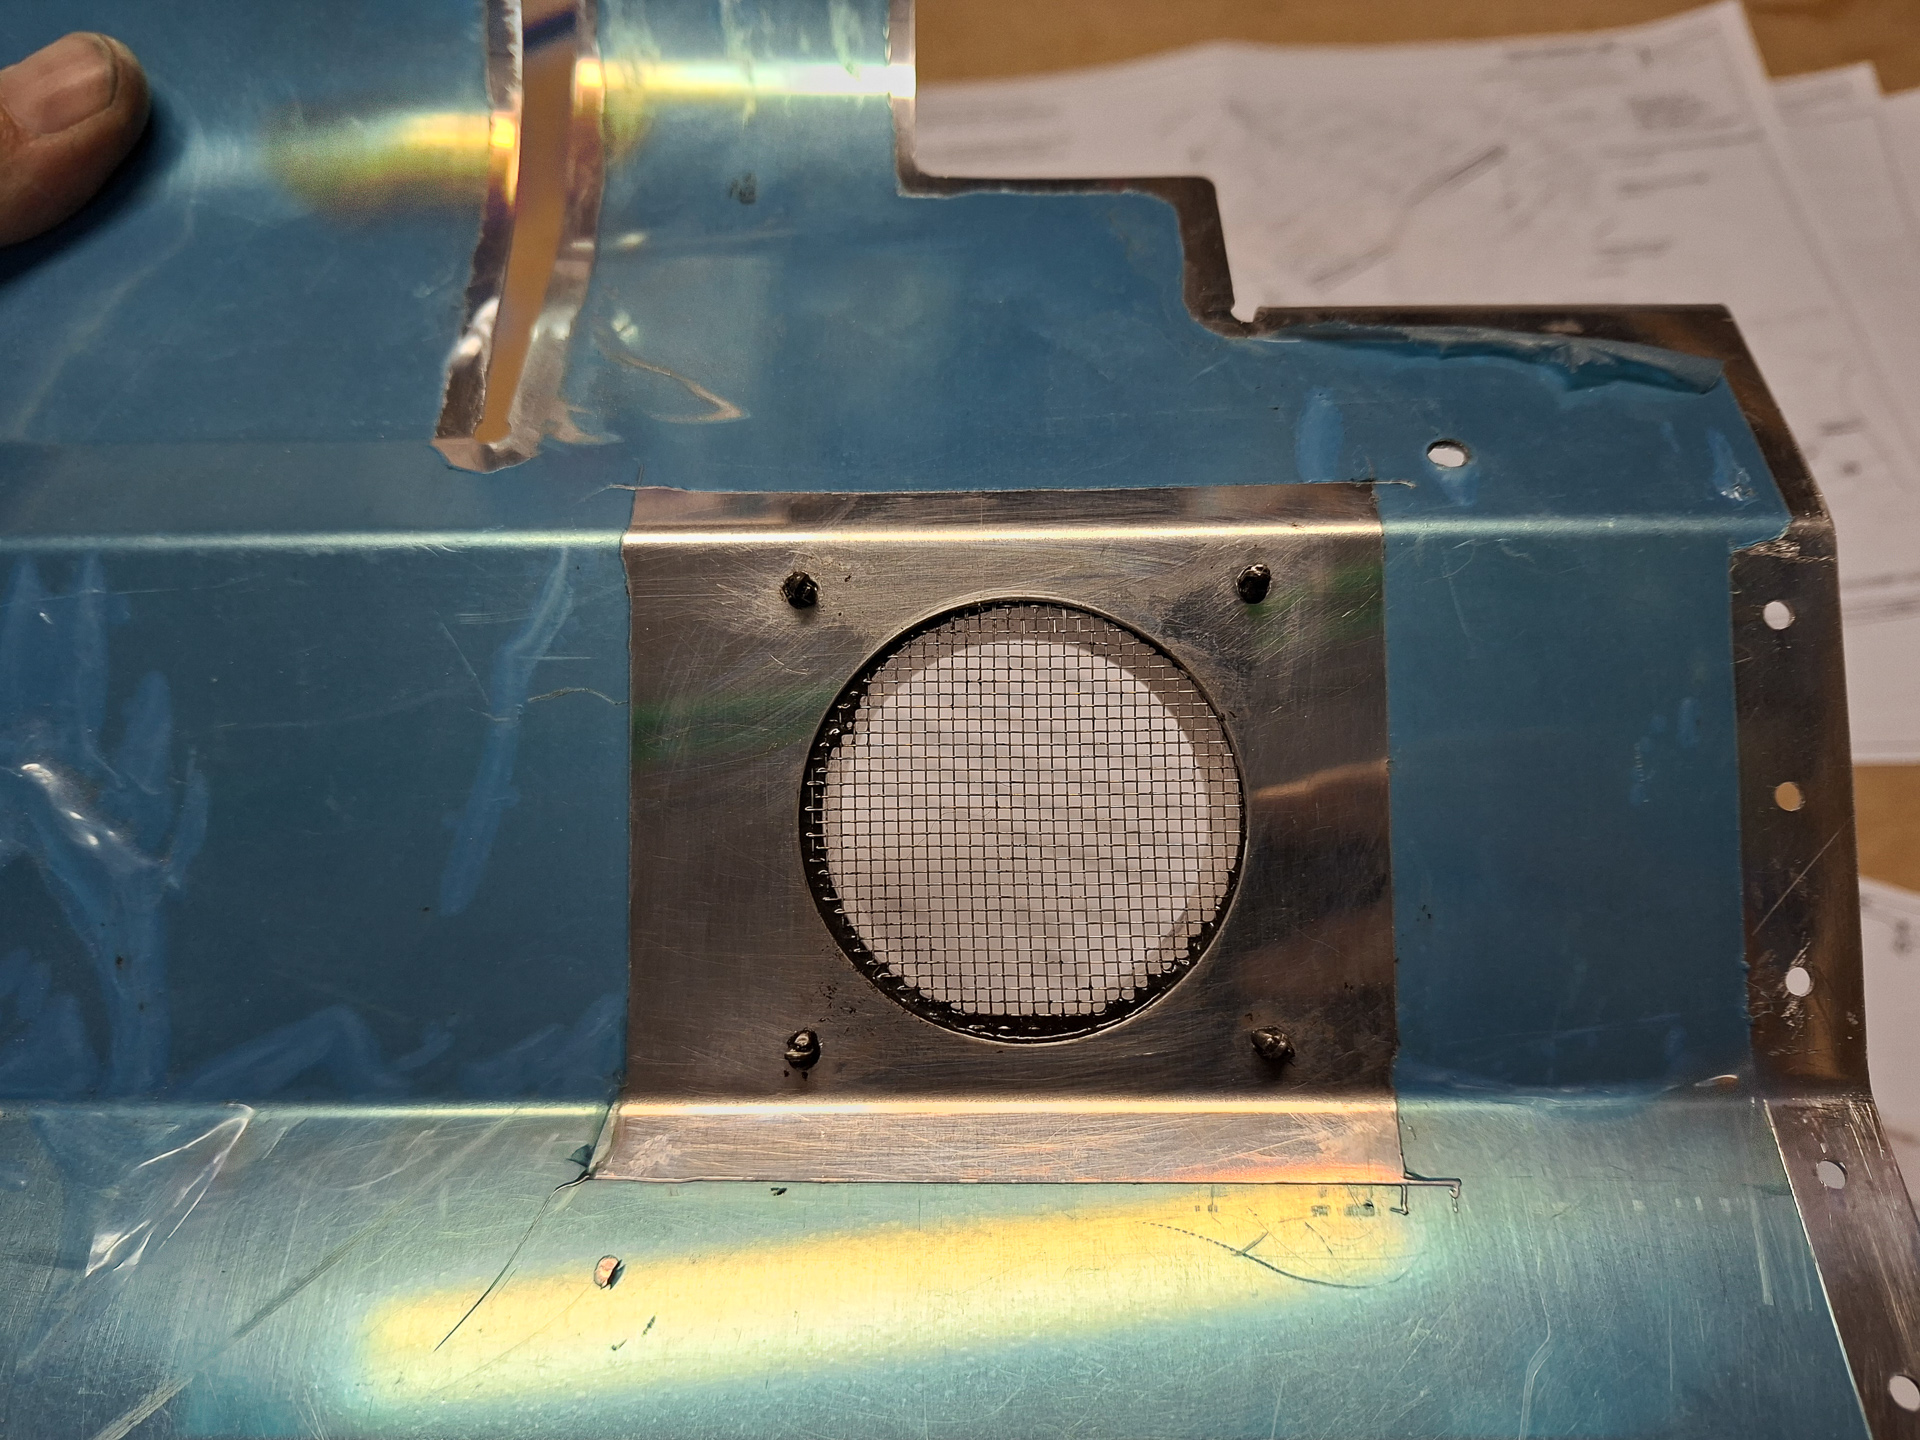
Next I cut out an opening in the passenger side rear baffle. This opening will guide fresh air into the exhaust muffle for heating air that will be redirected to the firewall heat valve. Used a flycutter on the drill press to get the correct diameter hole.
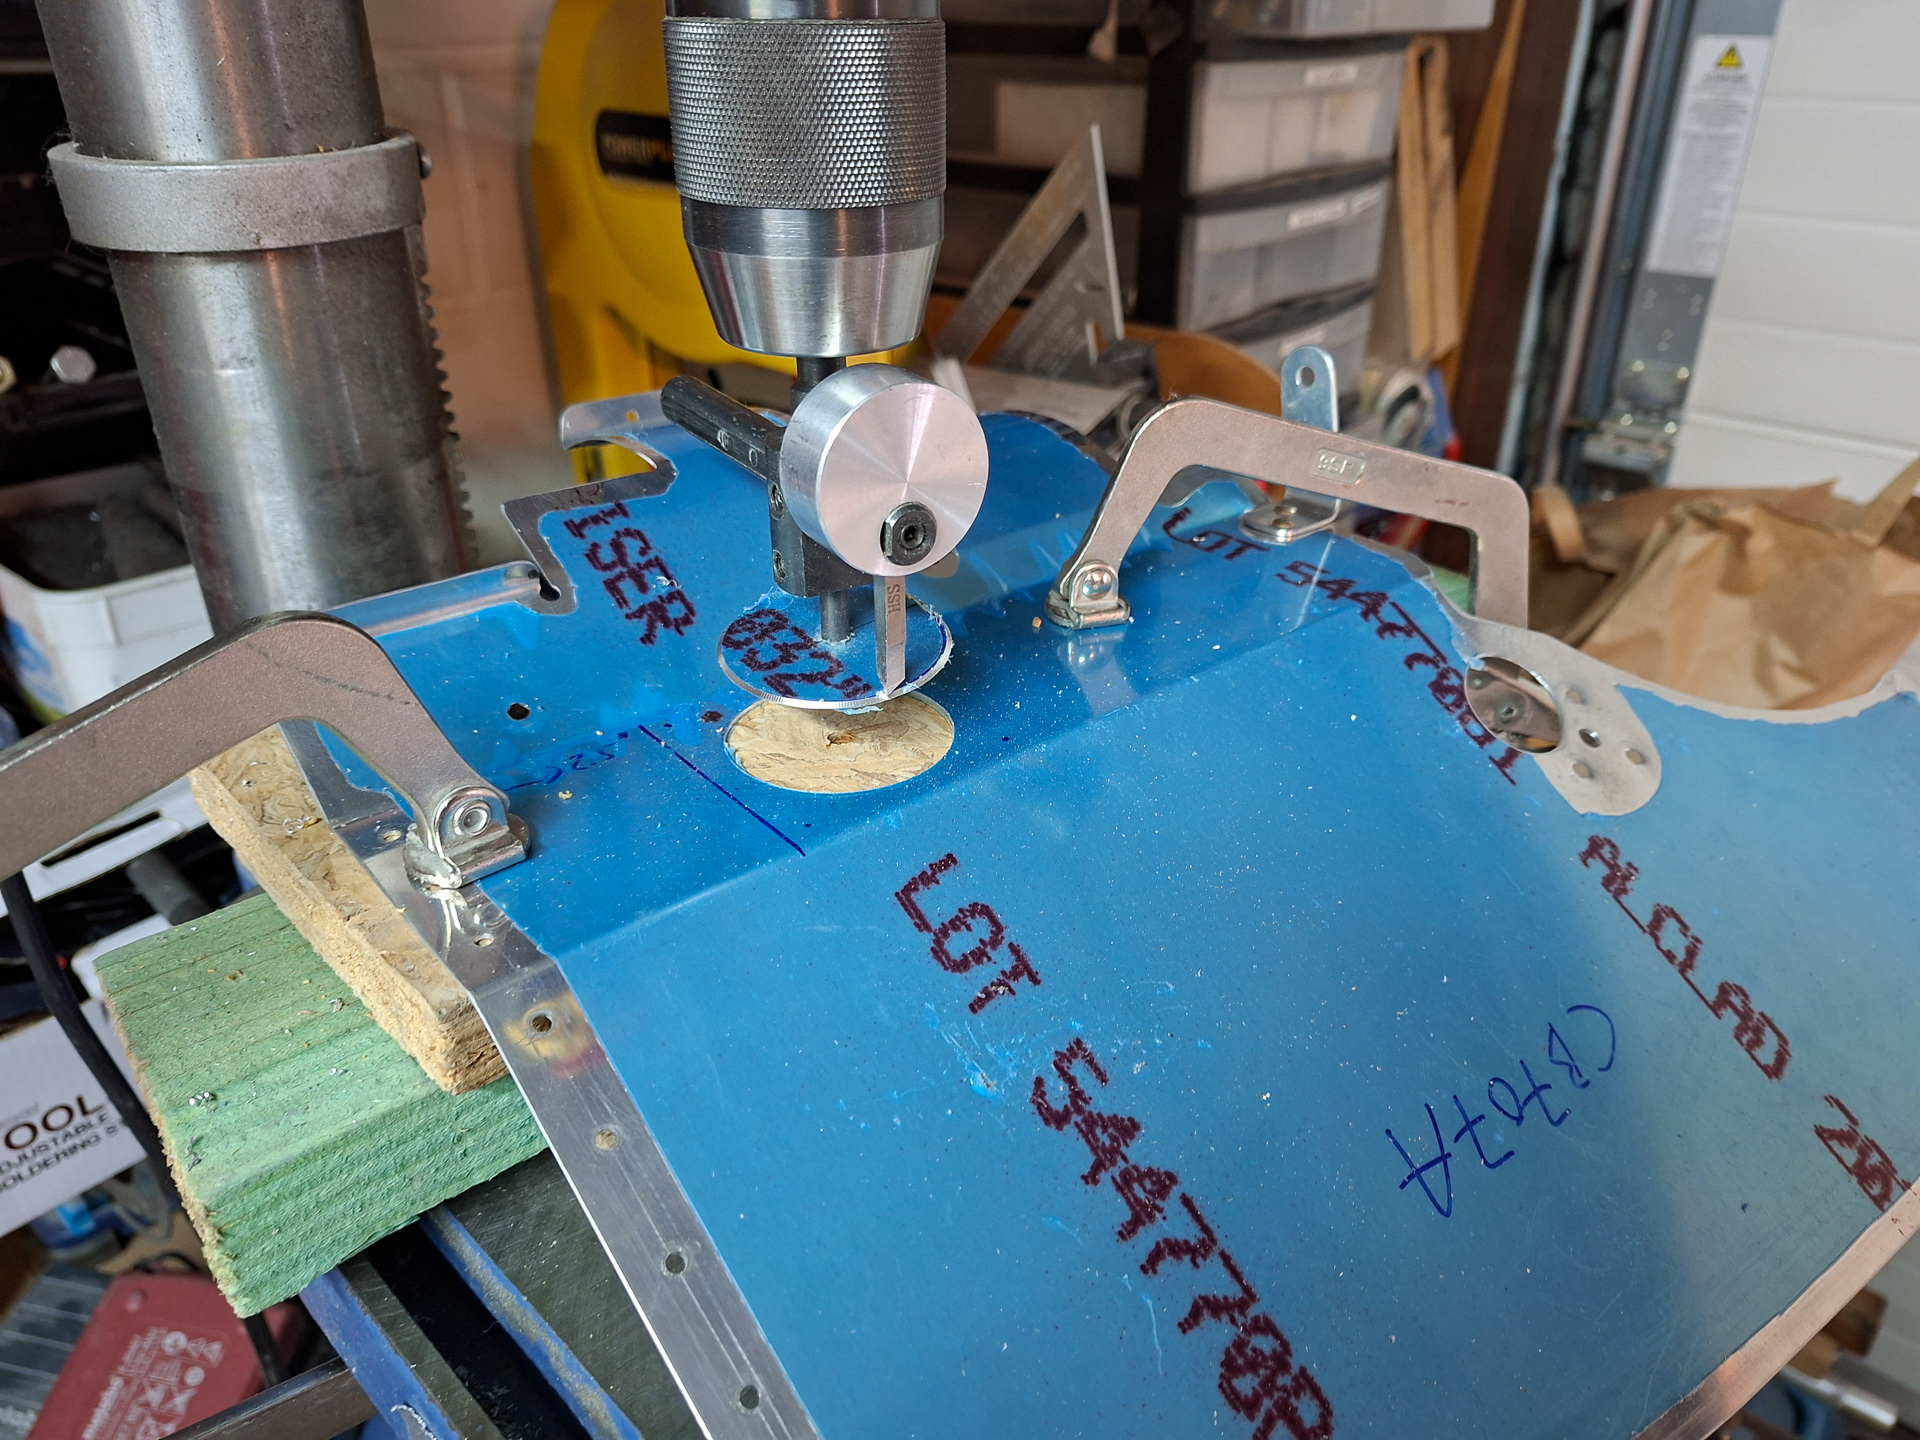
Then drilled the part that accepts a ducting over the drilled hole #30. There will be a mesh in between to avoid foreign objects to enter the heating system. The mesh will be prosealed in place.

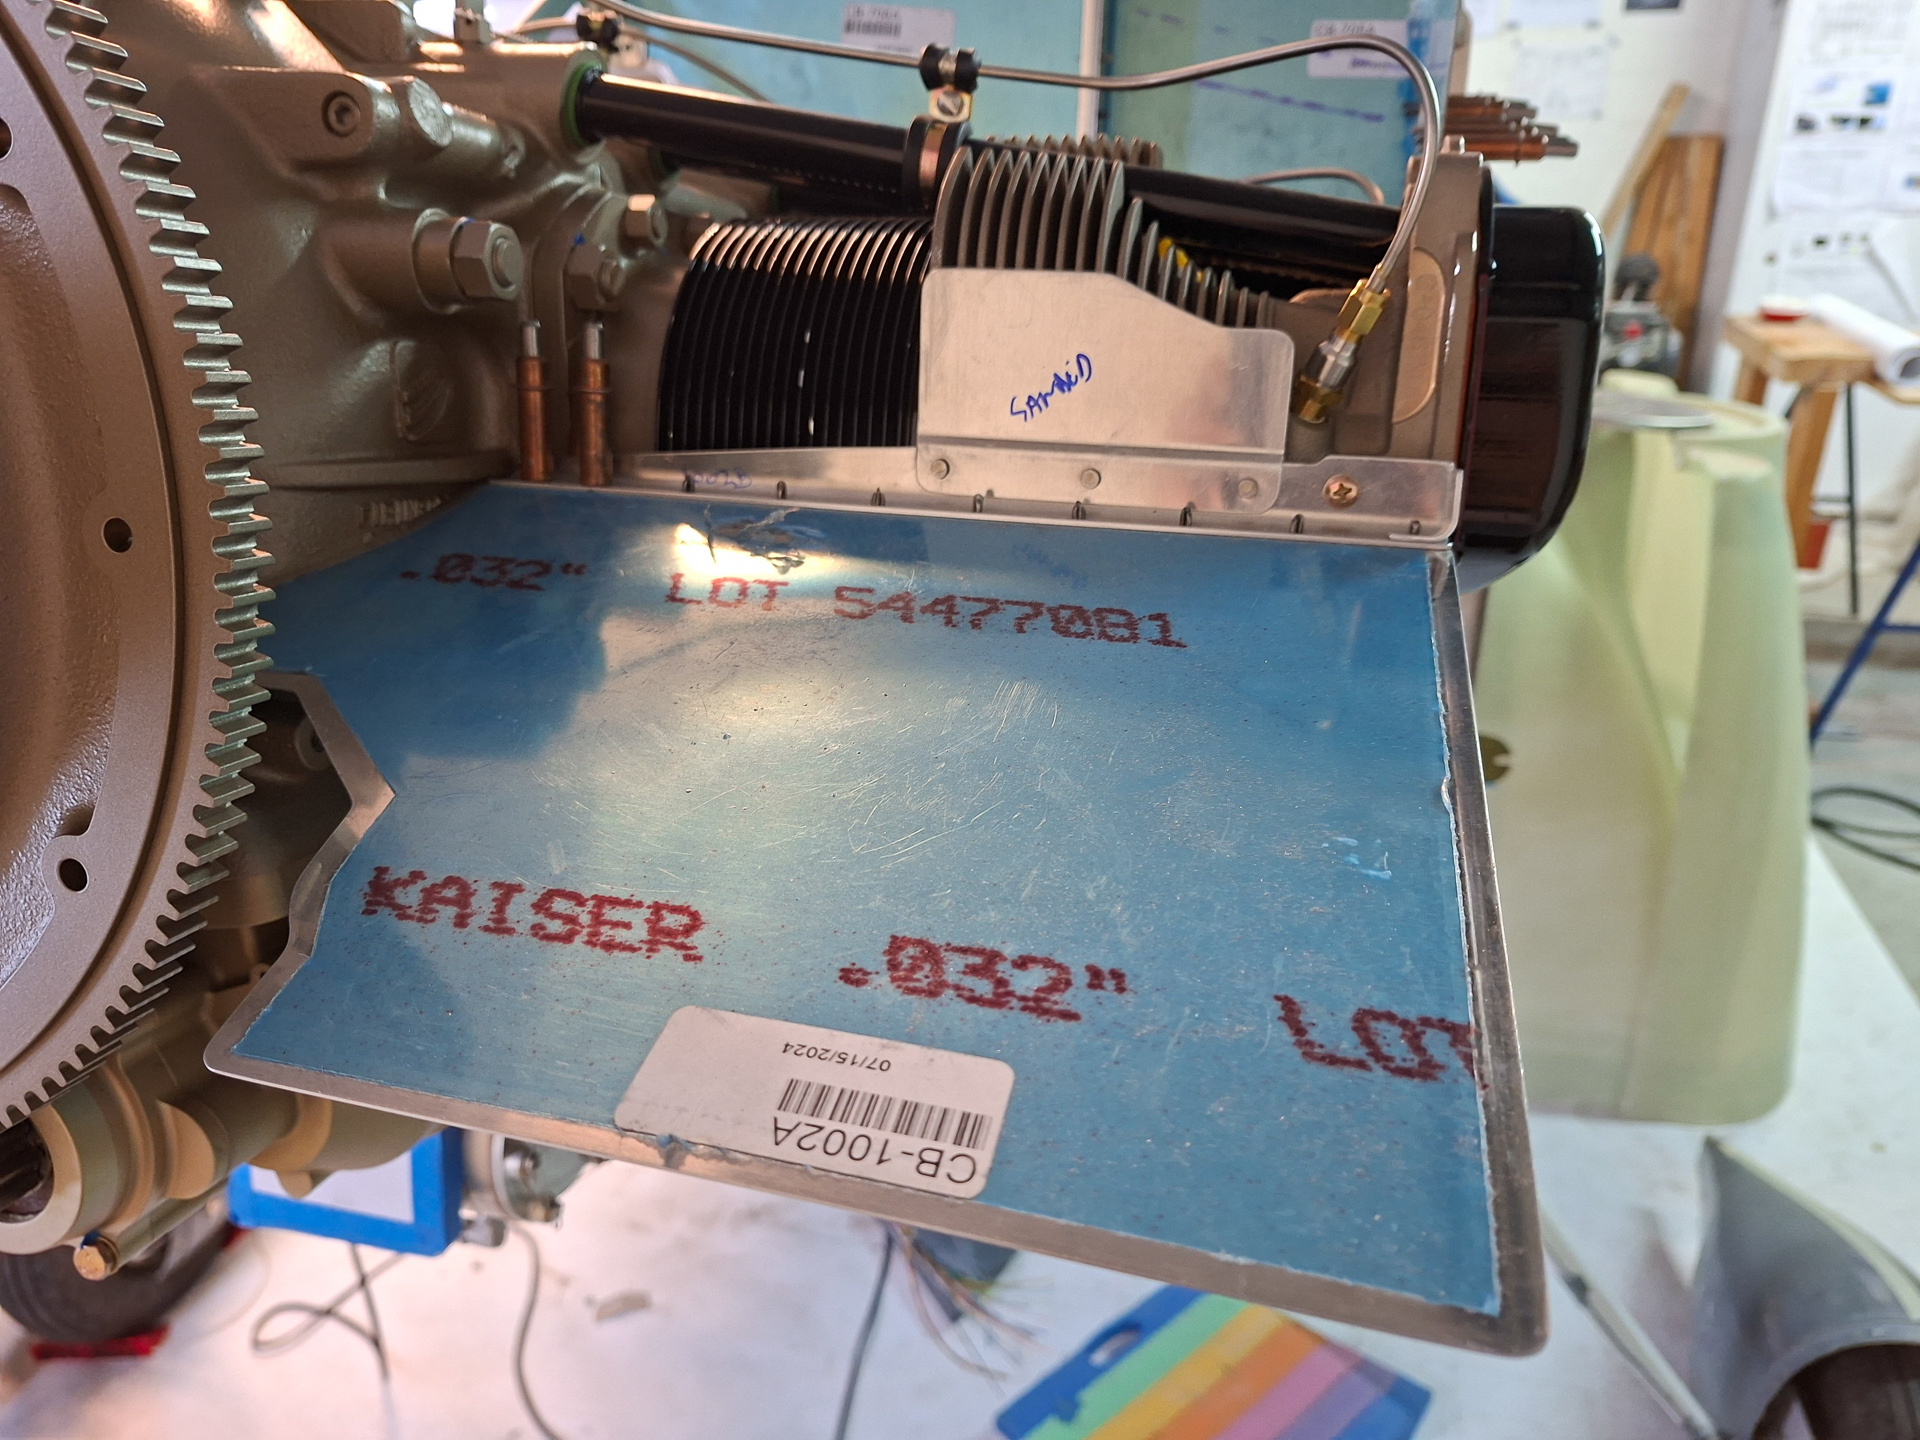
Next I worked on the forward baffle pilot side. An angle bracket supports baffle and attaches to the engine case.
On the outboard side, a second screw attaches to the engine case near the cylinder head.
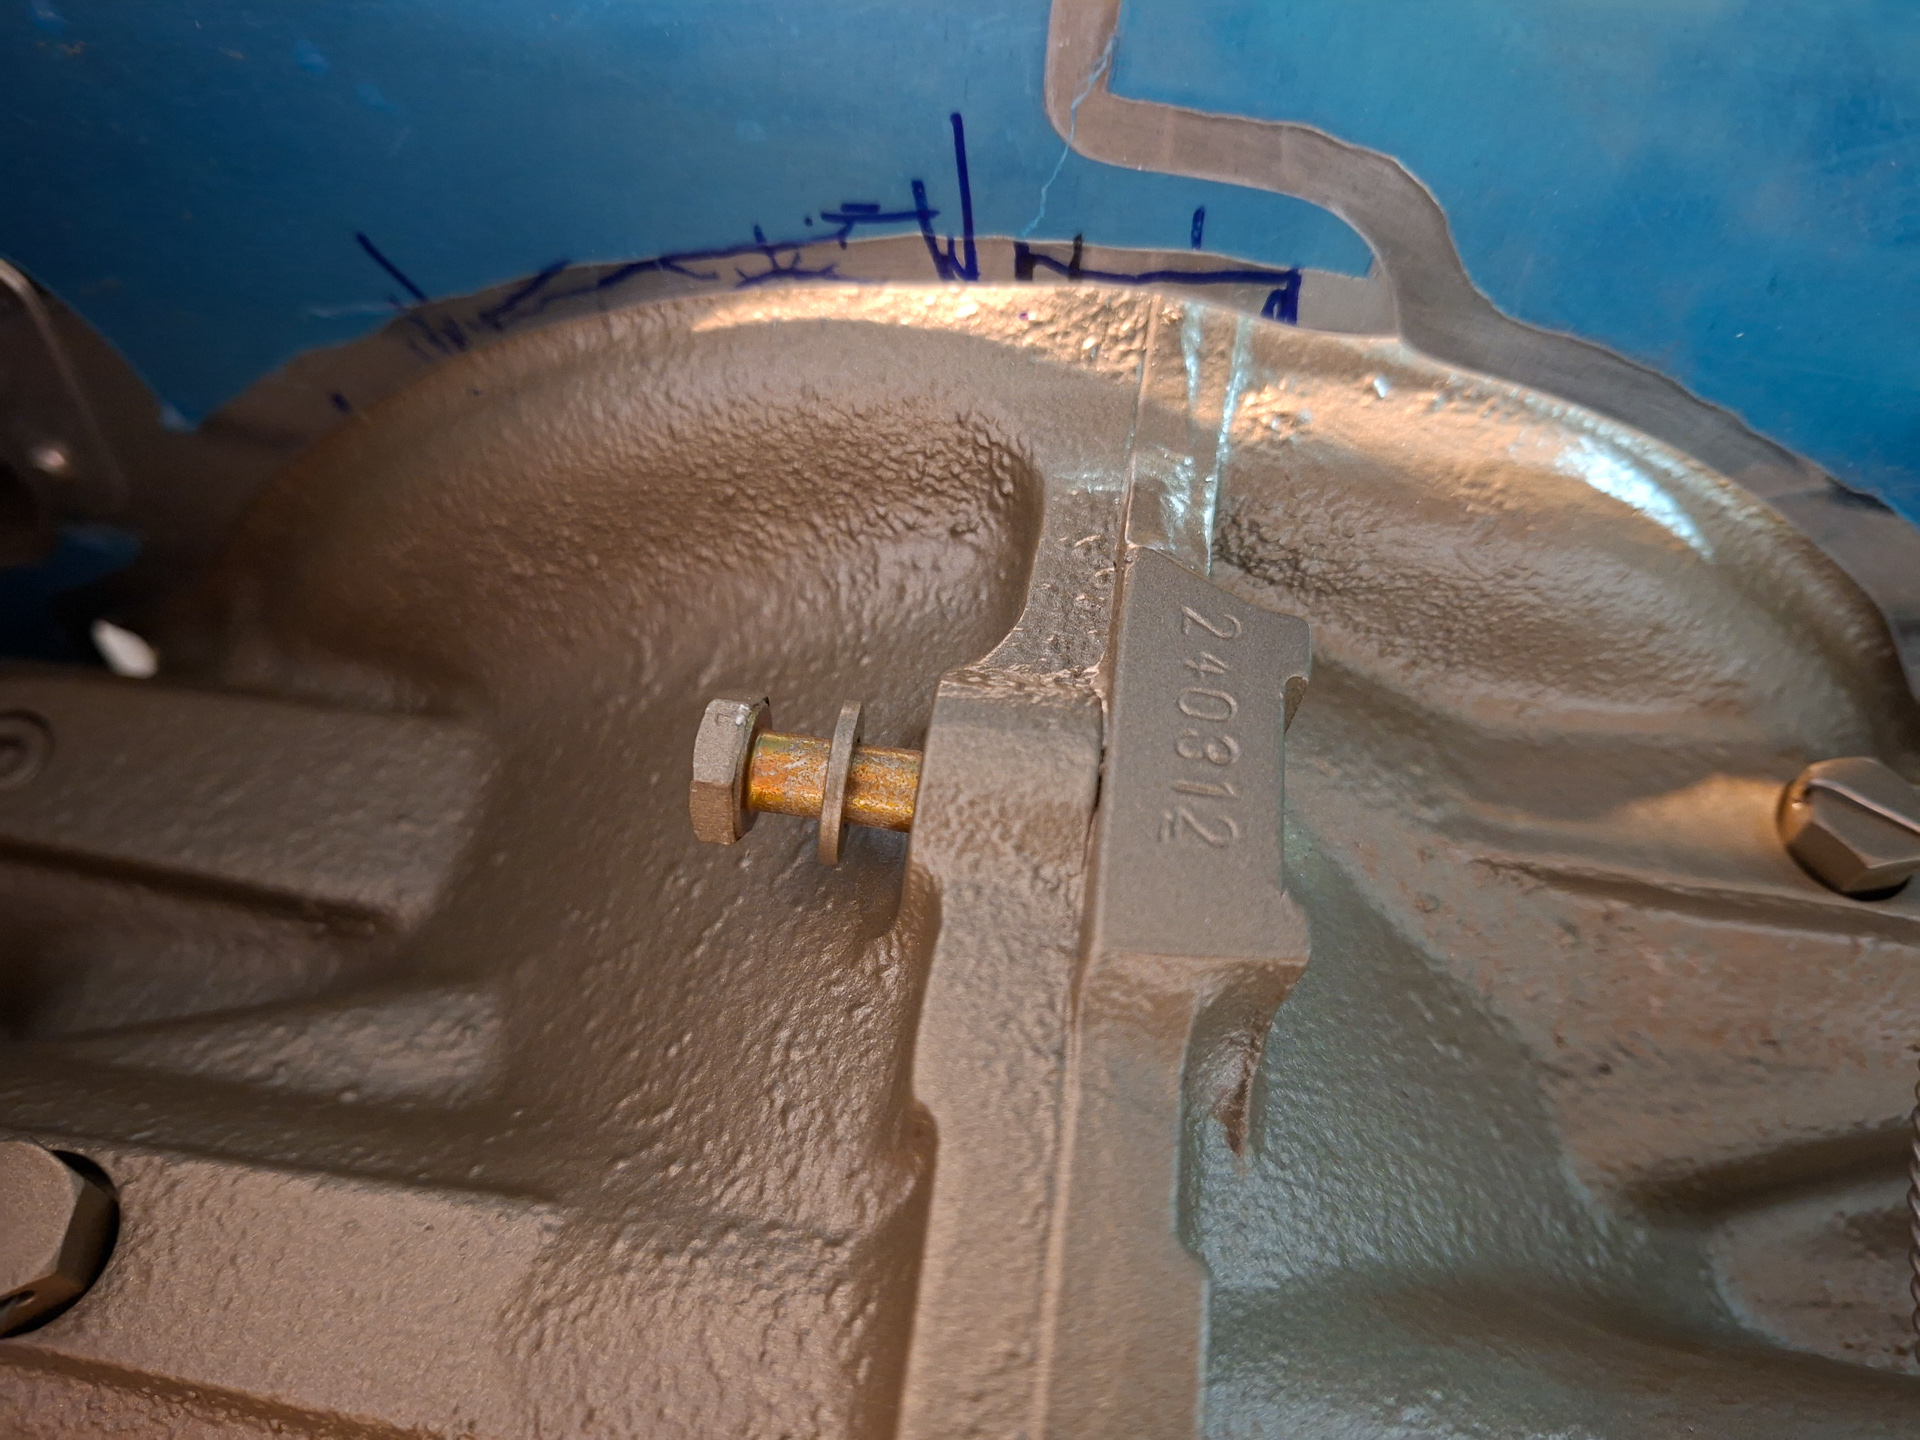
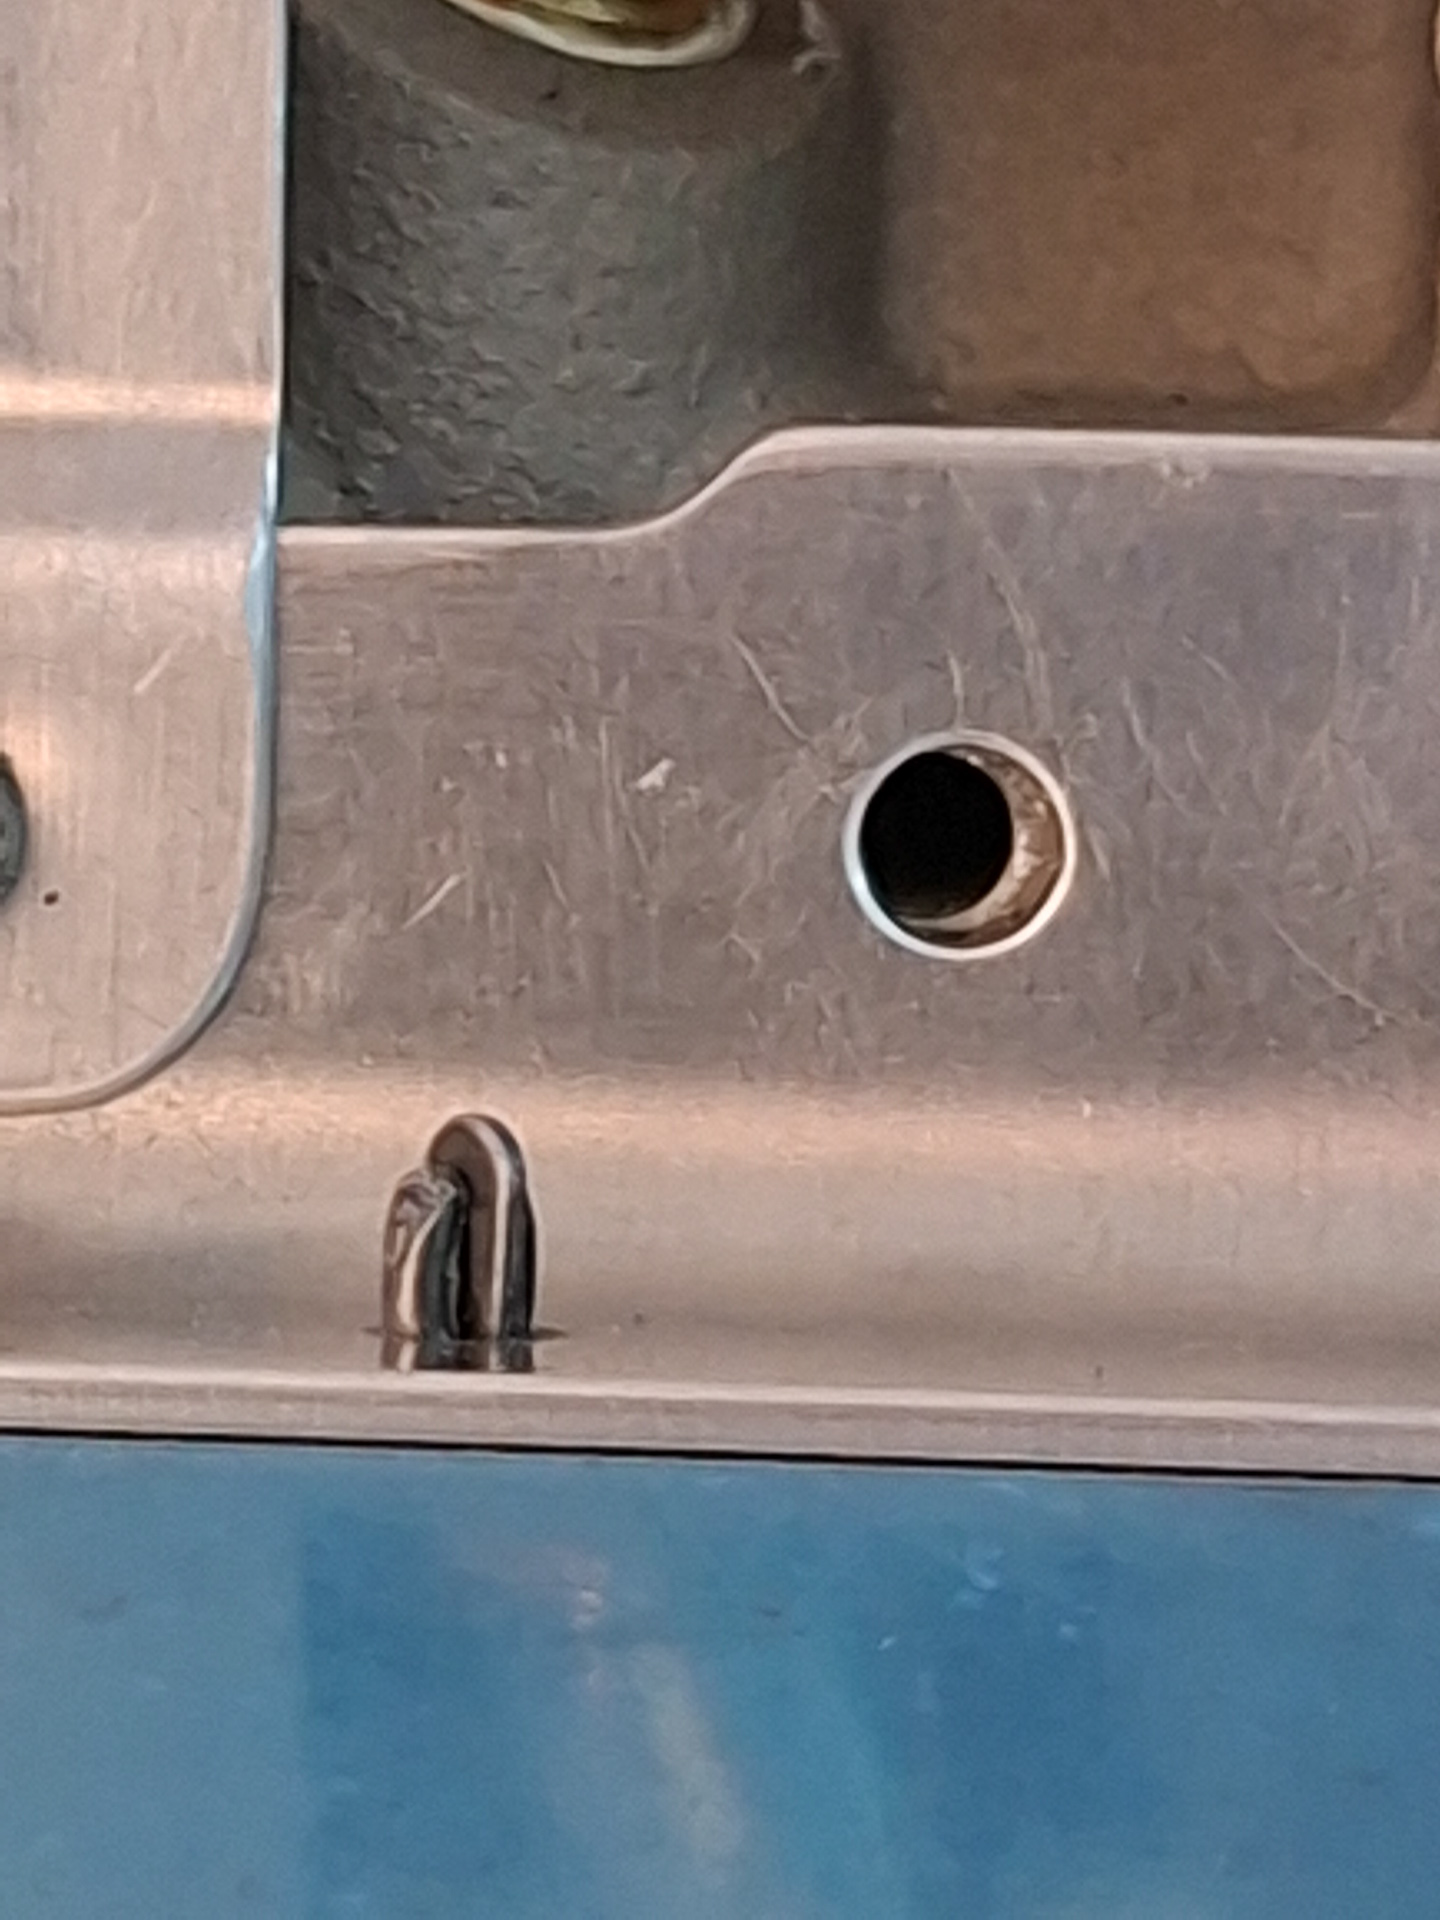
This is where I encountered another problem. The baffle bracket does not align with the engine case hole. I try to move things a bit but I couldn't get it even close. The macro image shot below shows the problem.
I realized soon that the probem originates from the inboard side. At first, I noticed the baffle interfered with the lower engine case and I started removing material from the baffle to align to the engine case shape. Lower left cut out in the image below.
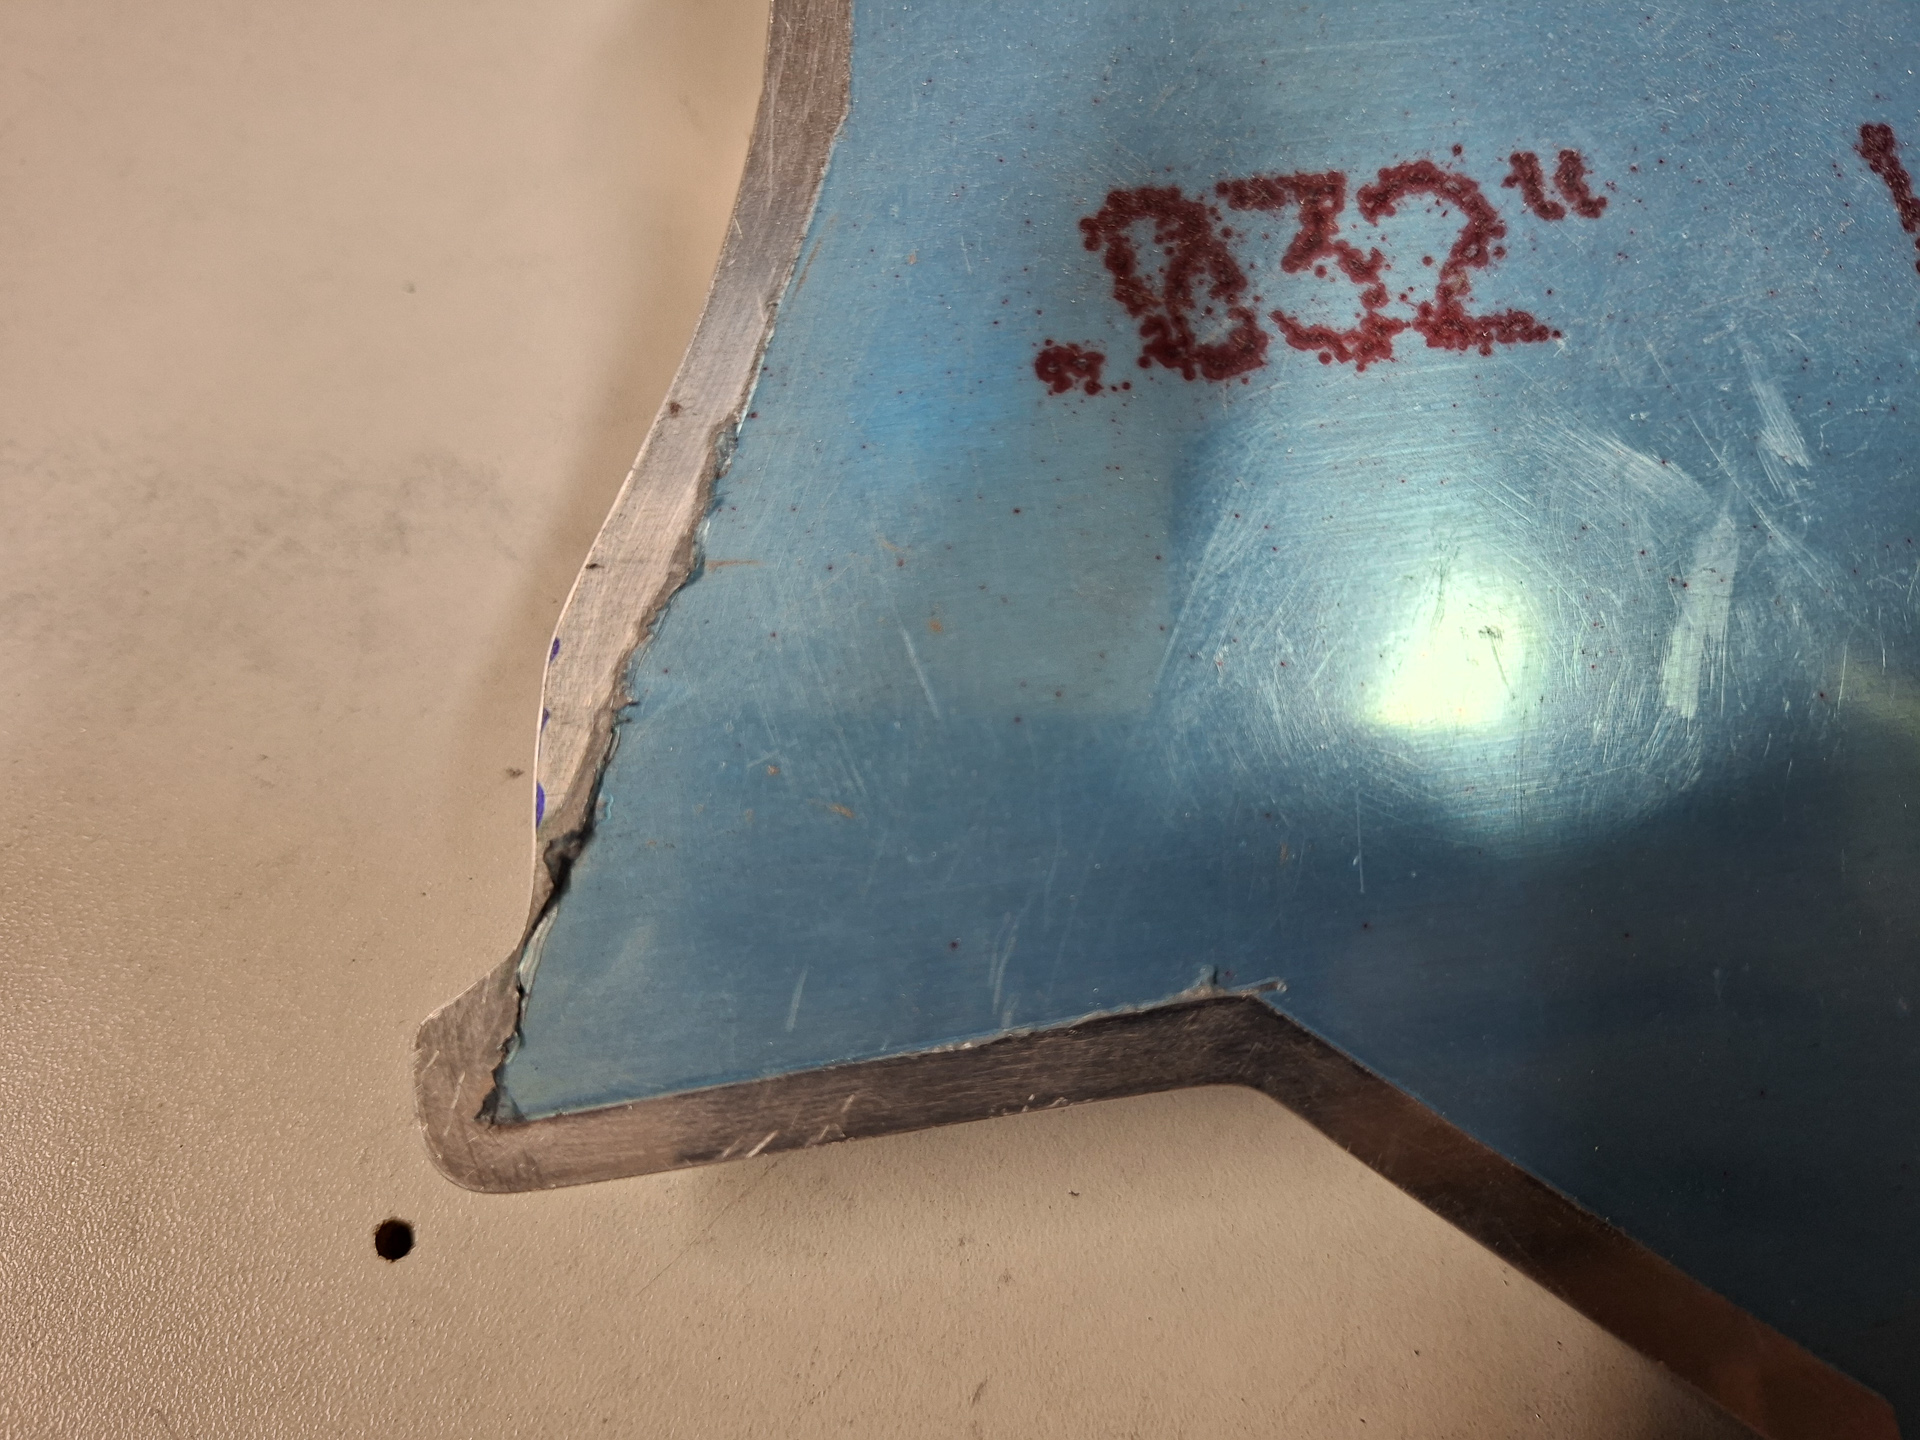
It still did not completly solve the problem. As second measure I was able to re-bend the angular bracket supporting the baffle on the inboard side (see the angle top left in the image below) The material is quite thick and it took some work to modify the bend.
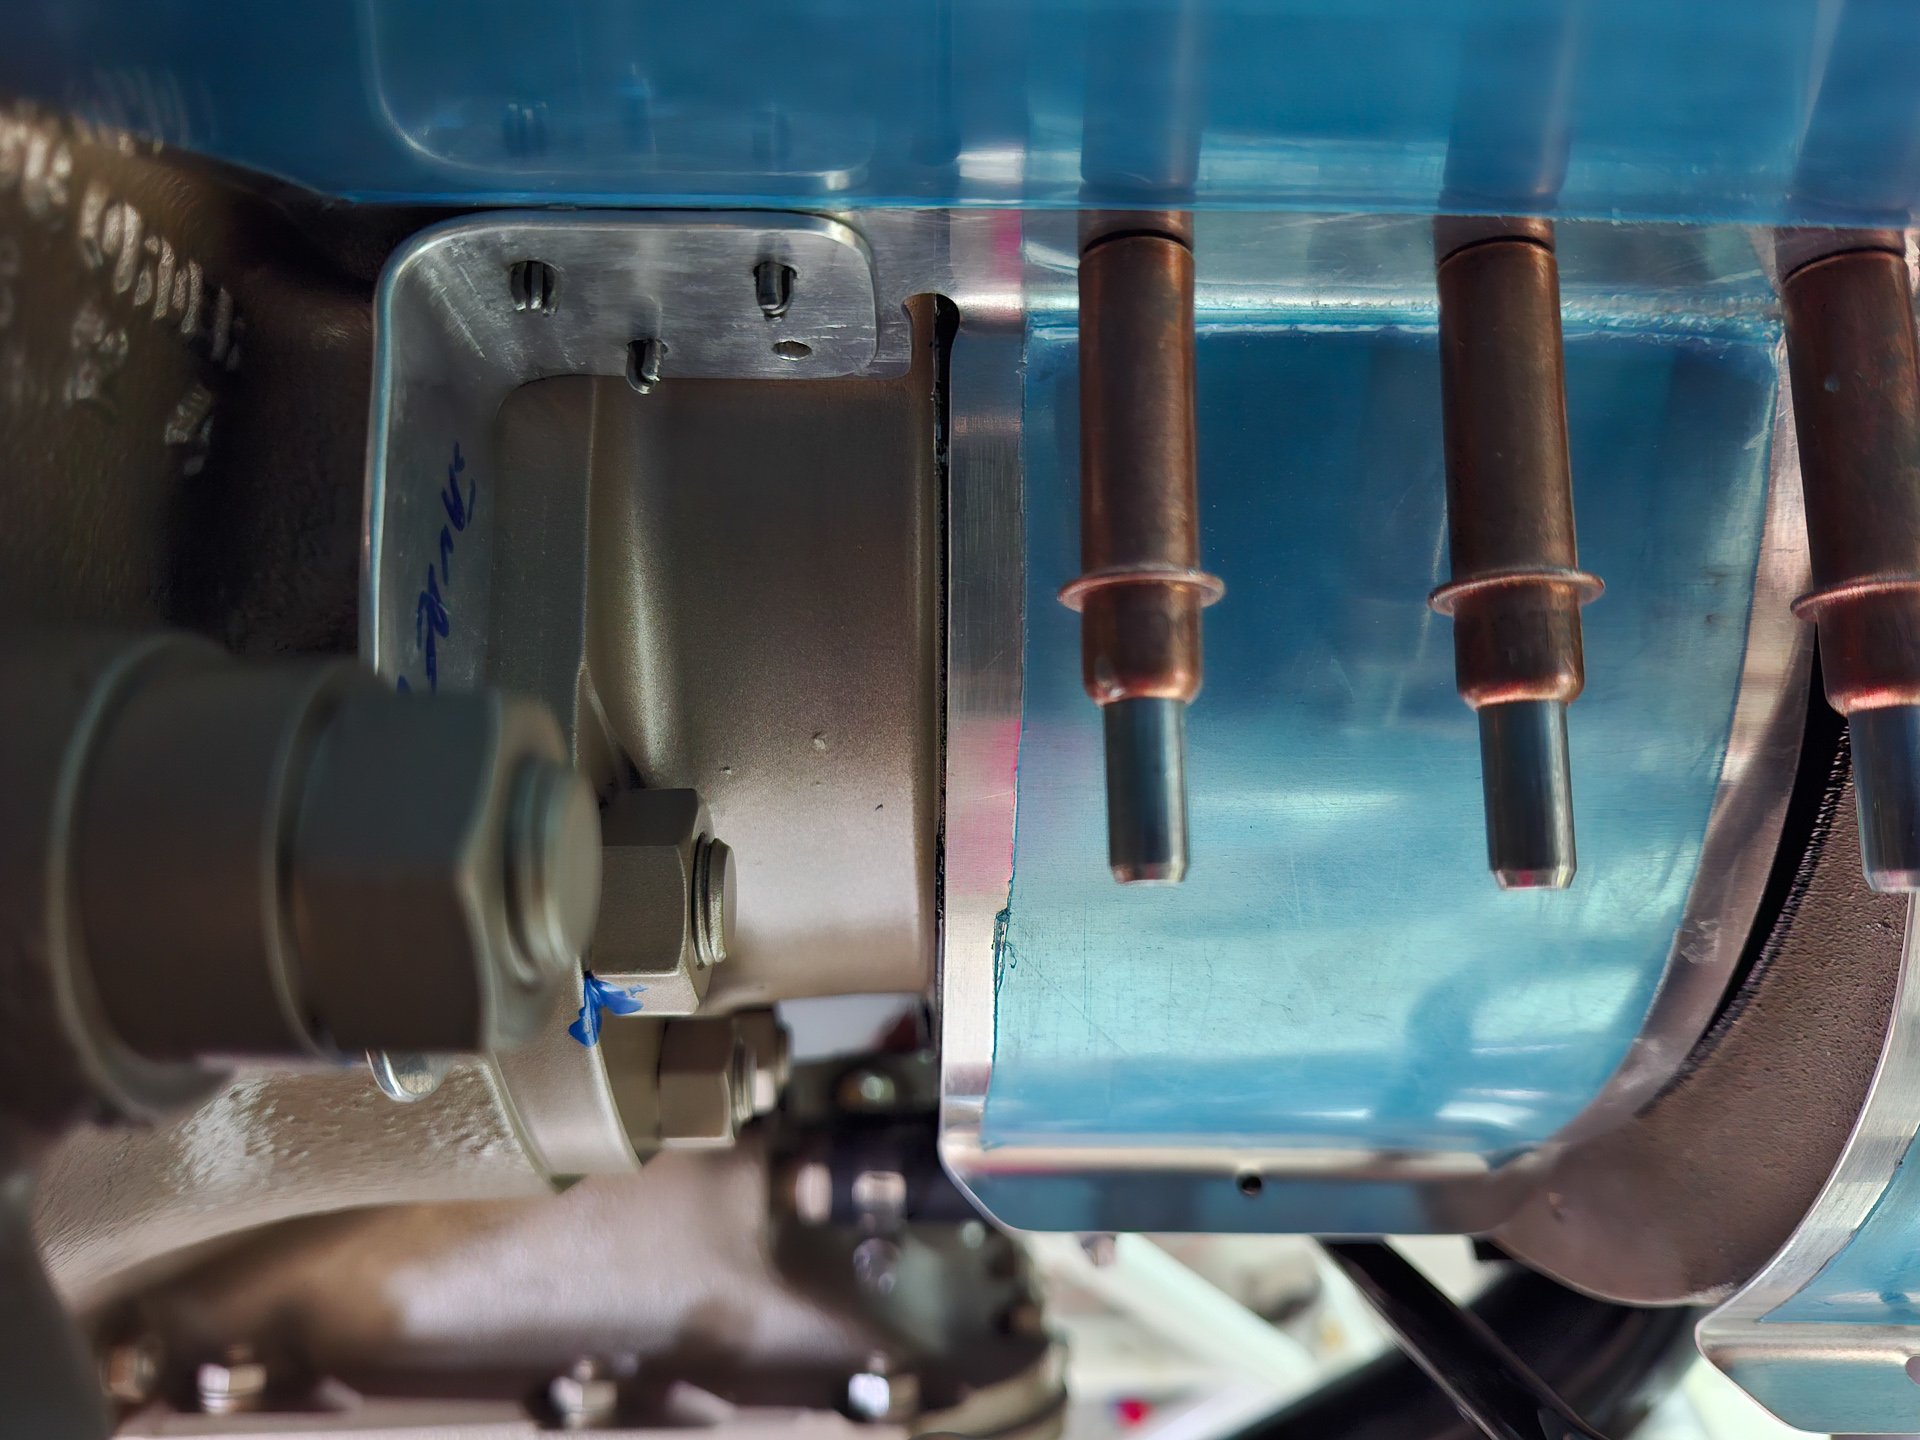
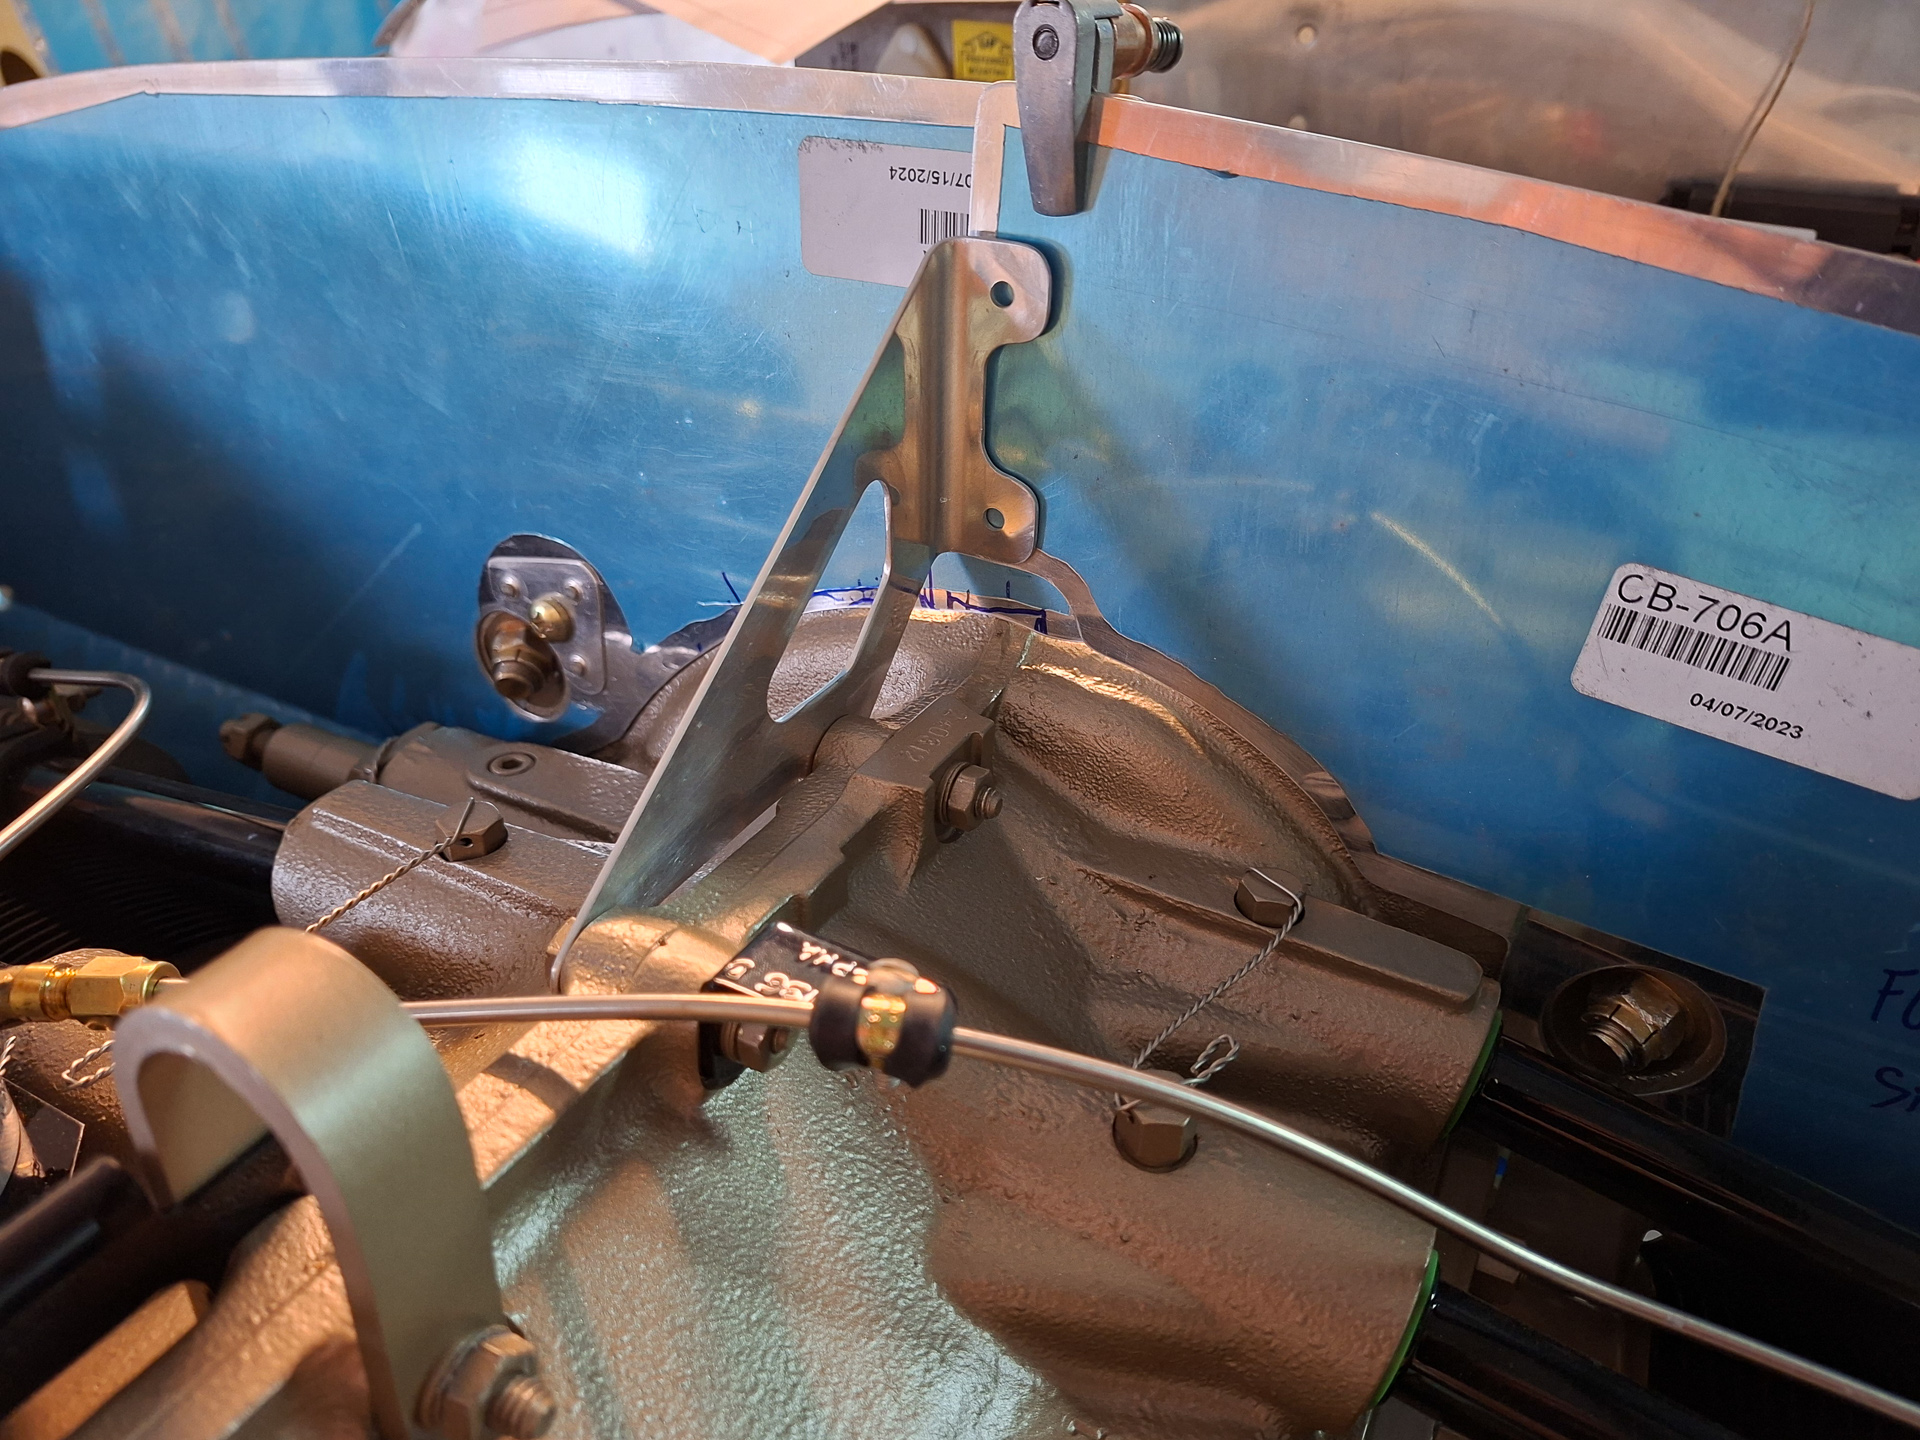
The image below shows the screw installed now on the outboard side.
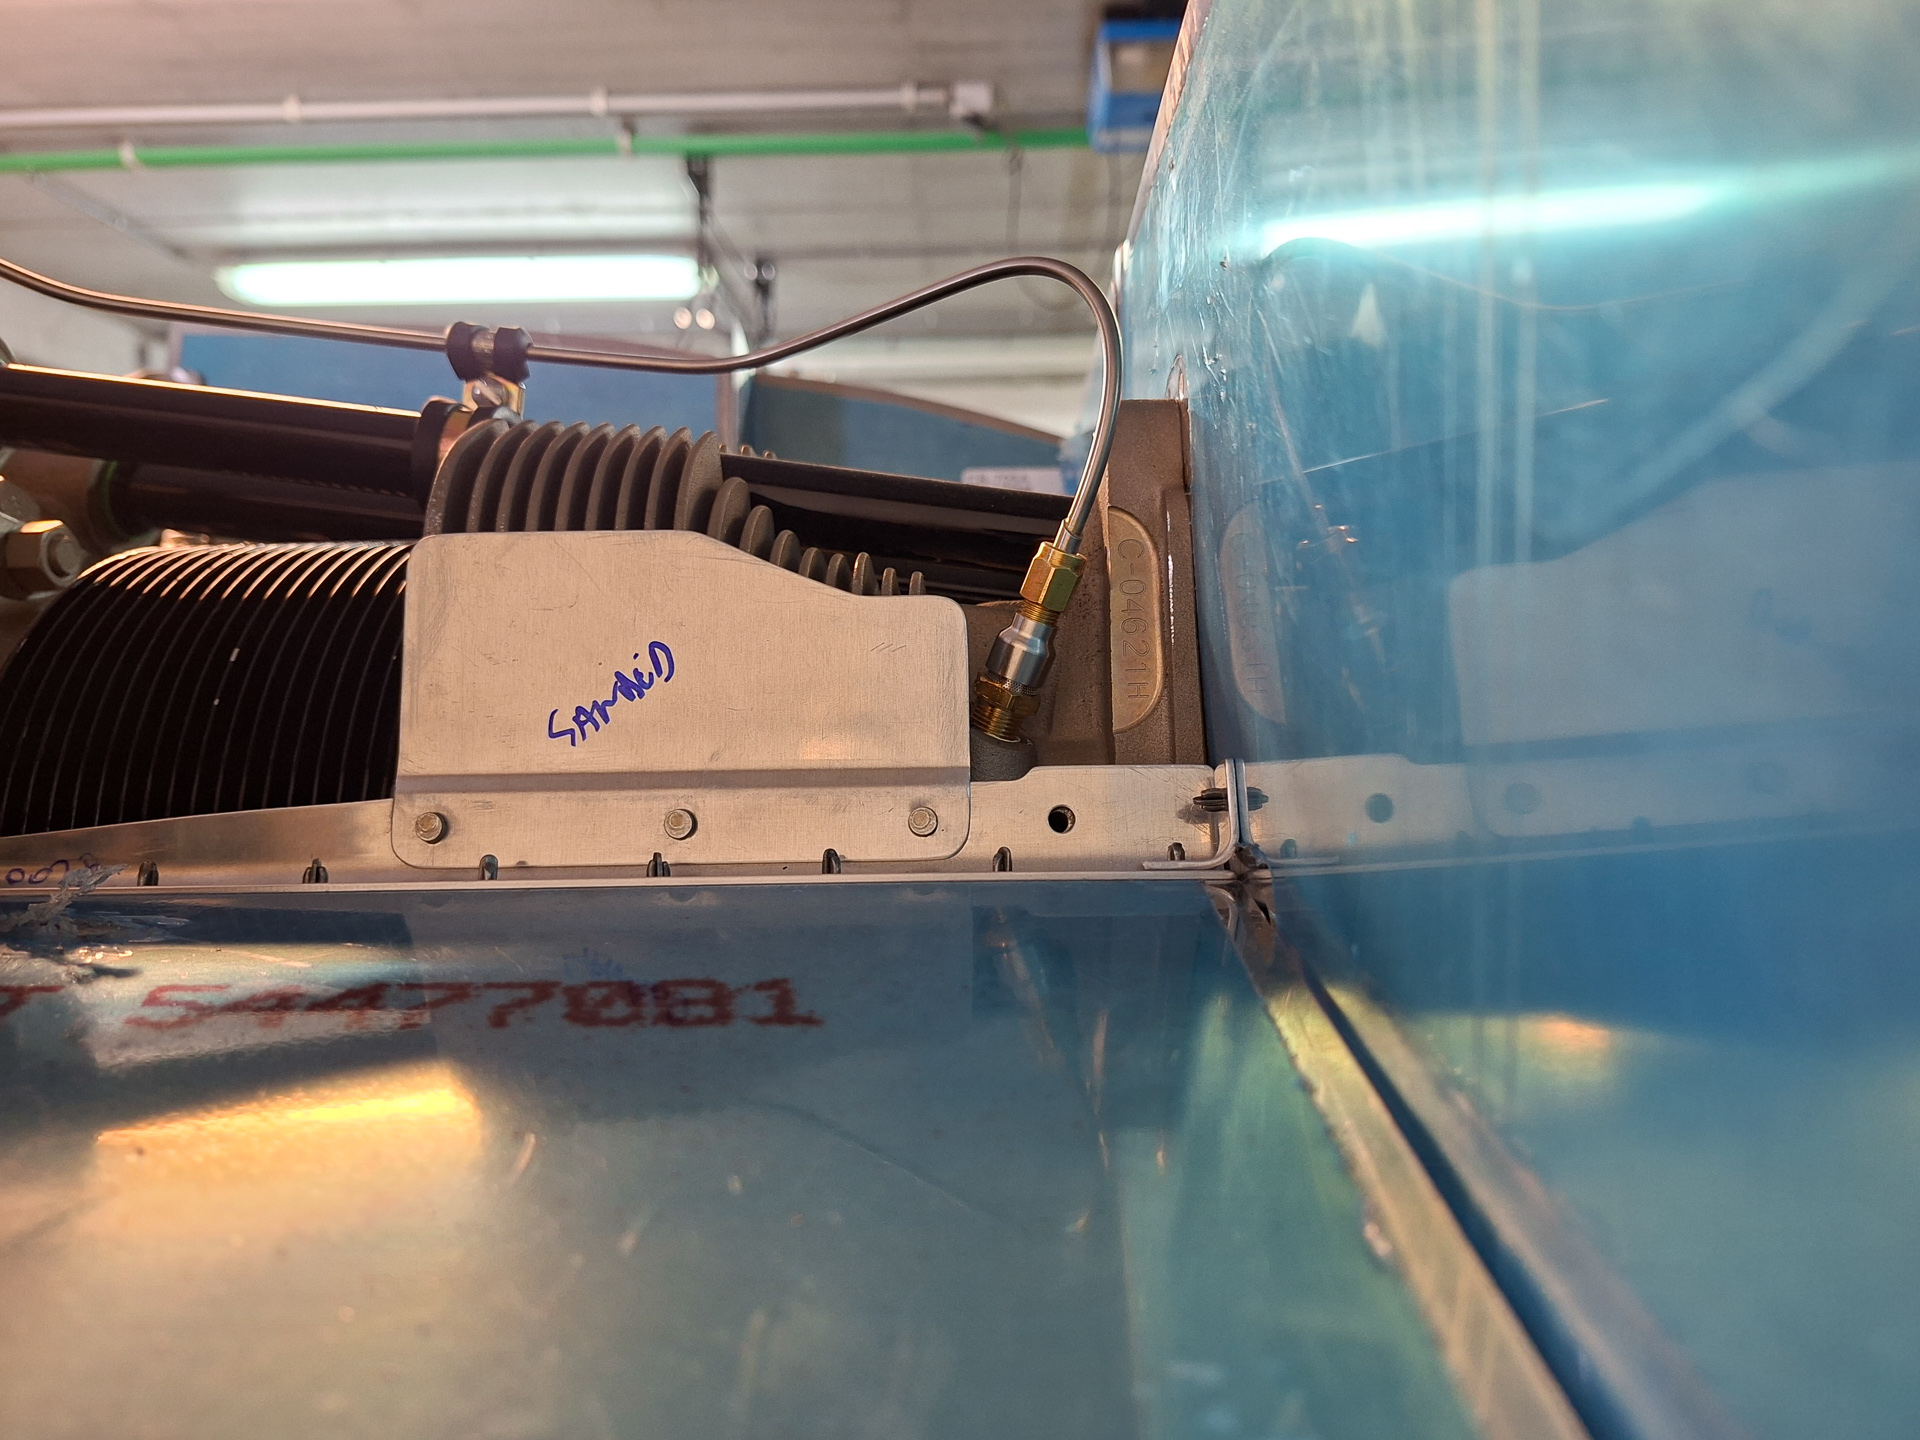
Same part show below but from another angle showing both the inner angle and the outboard screw installed. When using the Sam James plenum, the 45° ramp up will probably be cut off later as the air intake with the plenum and Same James cowling is different than with the Vans cowling.

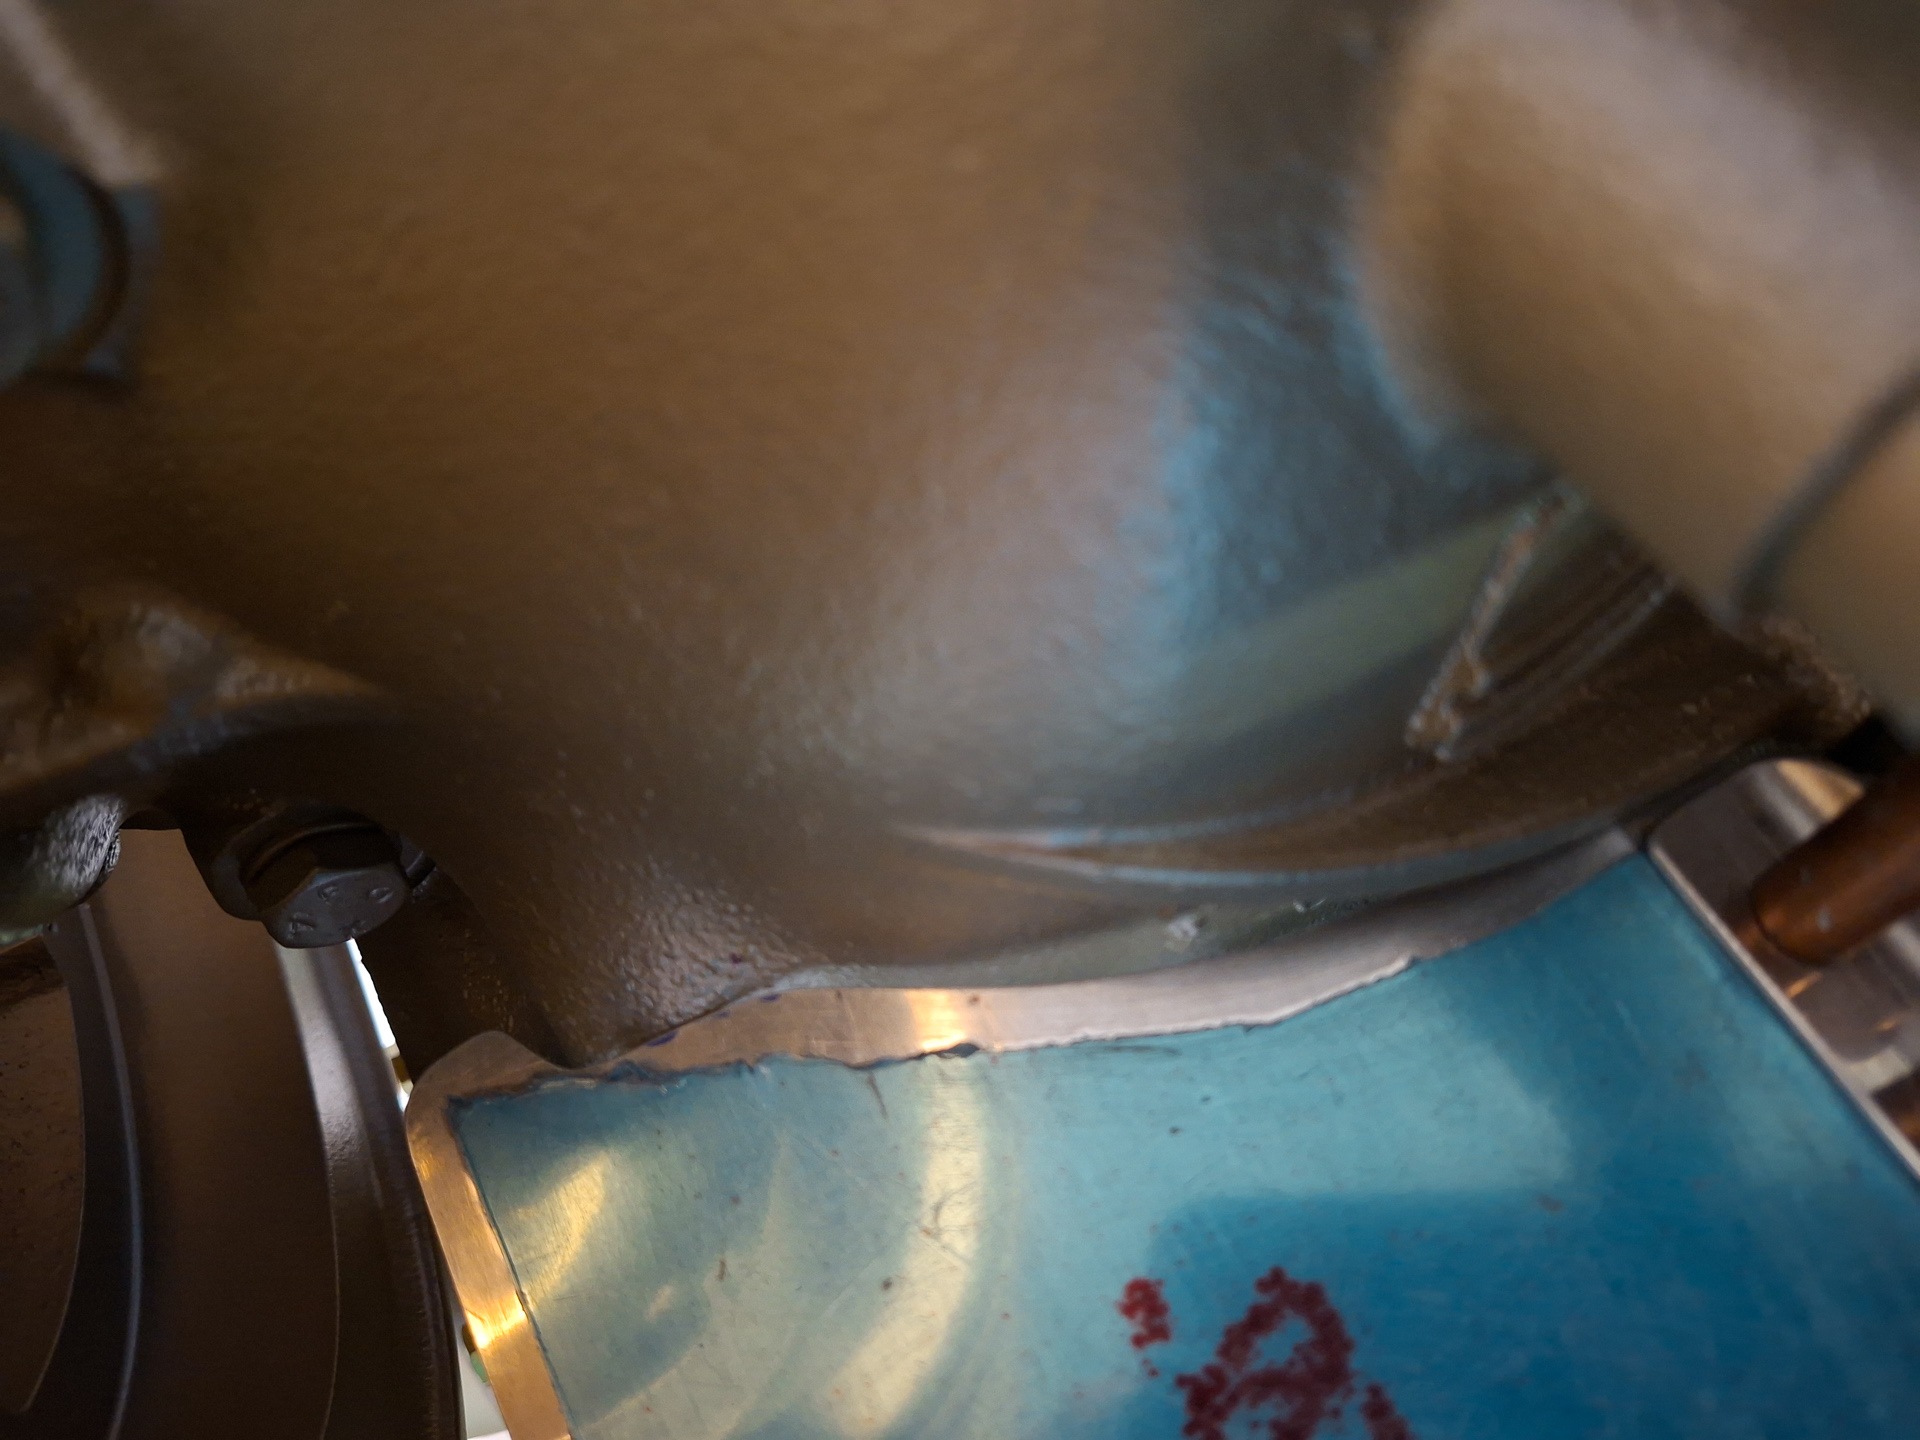
I had to further fine tune the part at the engine bottom. You can see the cutout below. I'm surprised that the Superior engine is any different in this place than the Lycomings.
Finally I prosealed the mesh in the air intake hole. This will dry overnight and I can then set the 4 rivets. My pro-seal still dates from years and years ago and is way passed shelf date but it has been in the freezer and this is a non critical application. The 4 rivets will anyhow hold all together. I checked the next day and it still cures very well into the gooey substance it's supposed to be.