
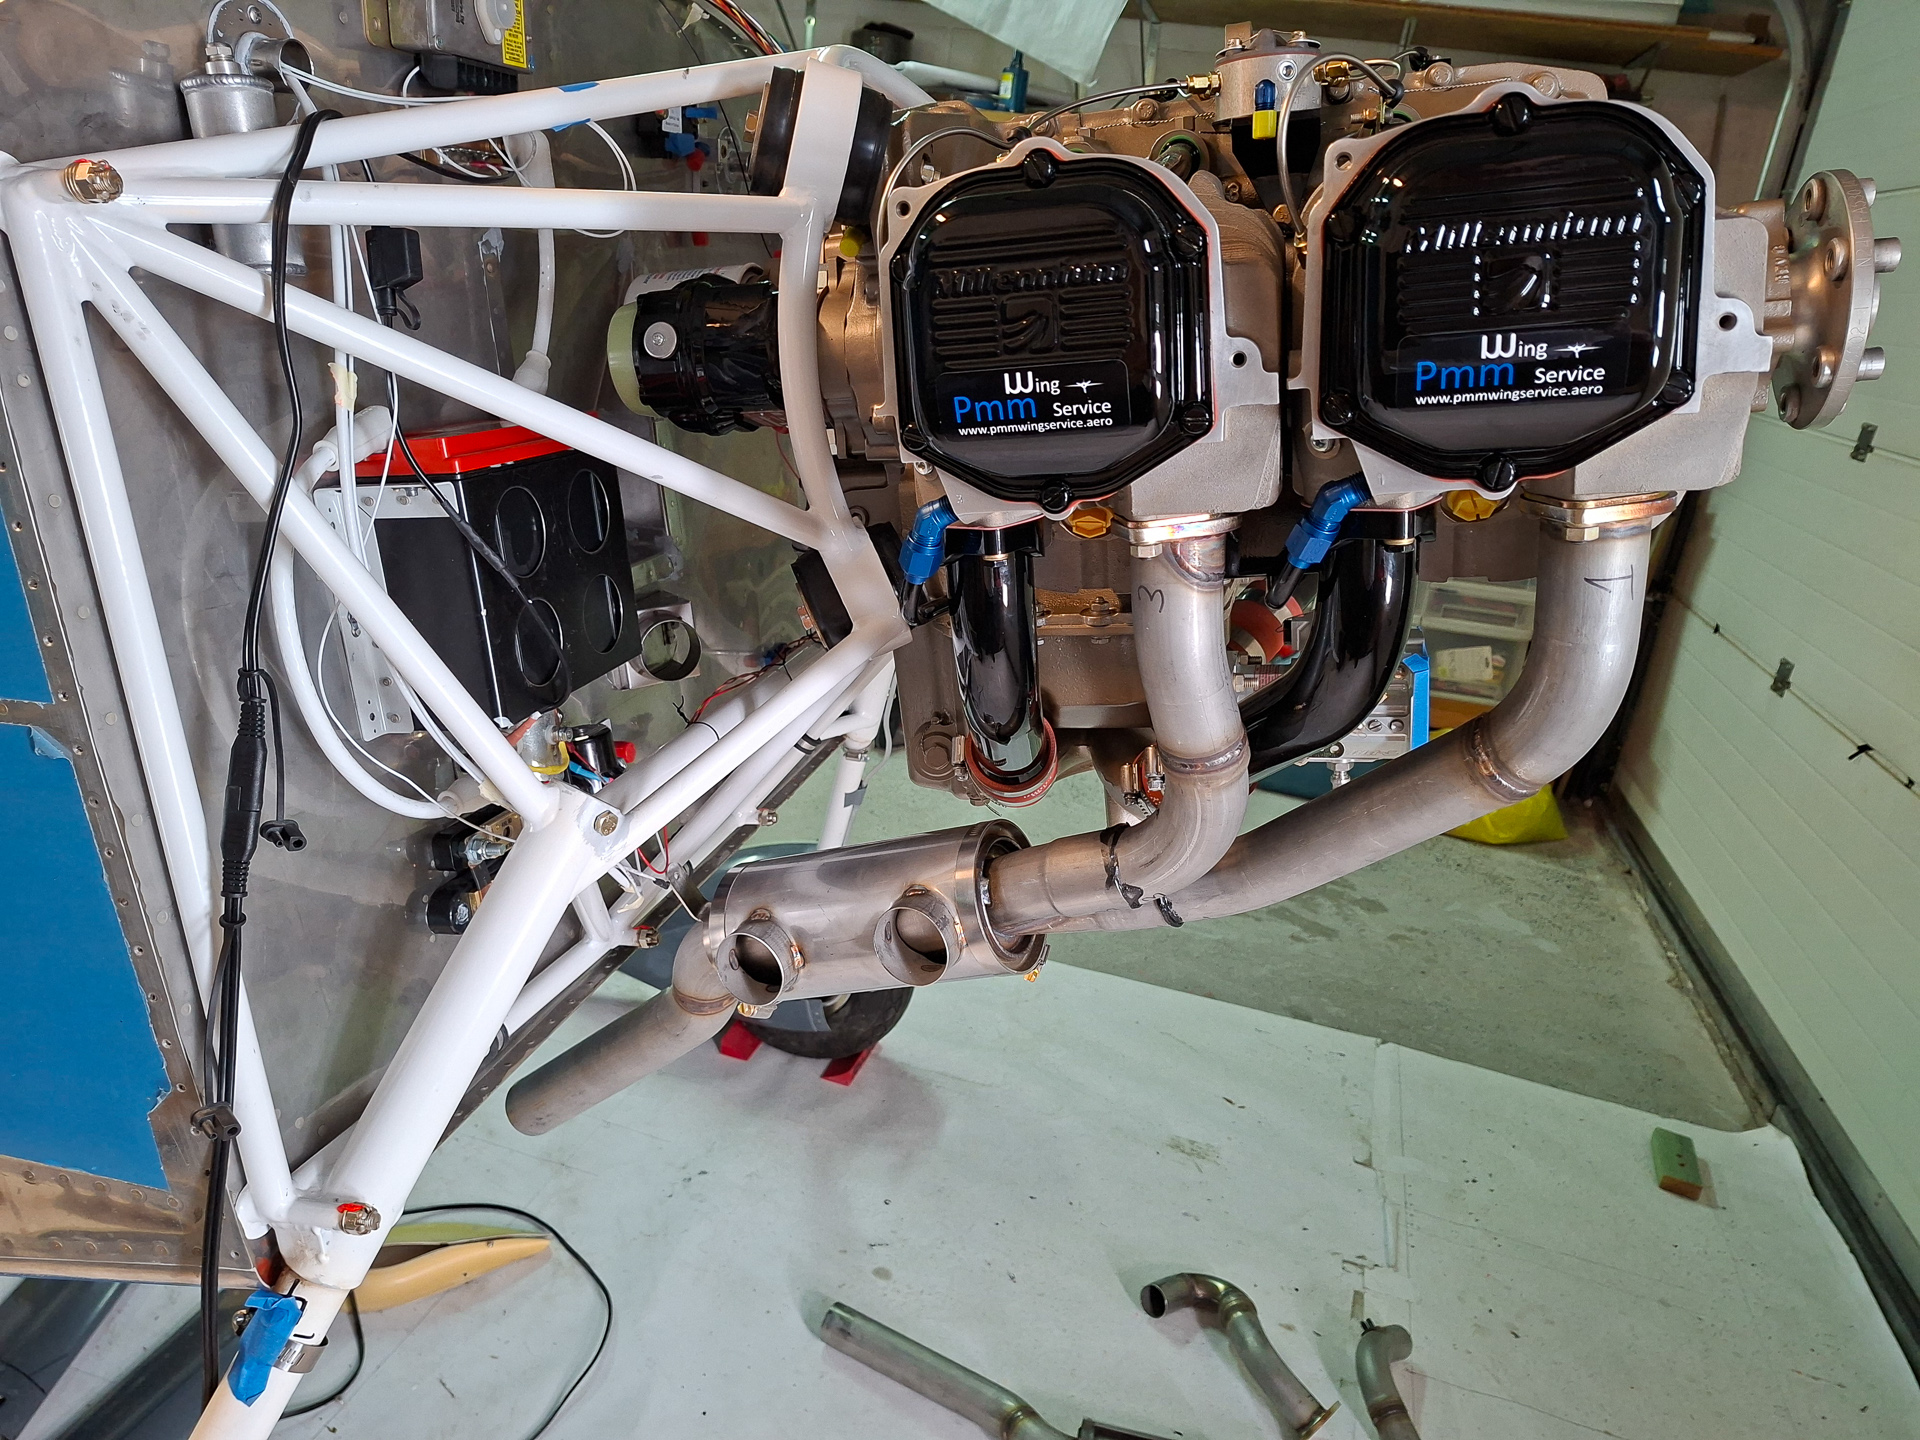
Next day after hanging the engine, I took out my brand new 2 in 1 Vetterman Exhaust pipes and puzzled them together.
I have chosen for the 2 in 1 side by side system including dual mufflers. I had a long conversation with Clint from Vetterman as he first mentioned that the dual muffler system with a Superior engine would not fit inside the Sam James cowling. This is actually correct but I visited an NVAV meeting in Breda earlier in this year and talked to Joop St Jago who also has the same engine and did install it in a Sam James cowl. He had to cut out two rectangular shapes from the cowl and made some custom extension for it. A small bulge that is hardly visible and has little or no impact on performance. In Europe, noise abatement is a big issue in many airports. Although an RV7 is not required to have a noise certificate (aerobatic) , it's probably not a good idea to rely on that. It won't help a lot if you are taxed on every airport at the highest noise cost (yes in Europe you pay more if you make more noise ***sick*** ). And it also will not help if sensitive airports don't allow you in because you don't have a certificate (the airport I fly now does not allow airplanes without noise reduction system/mufflers). So for all this, I decided it's better to ask for the dual muffler system and cut up my nice Sam James cowl.
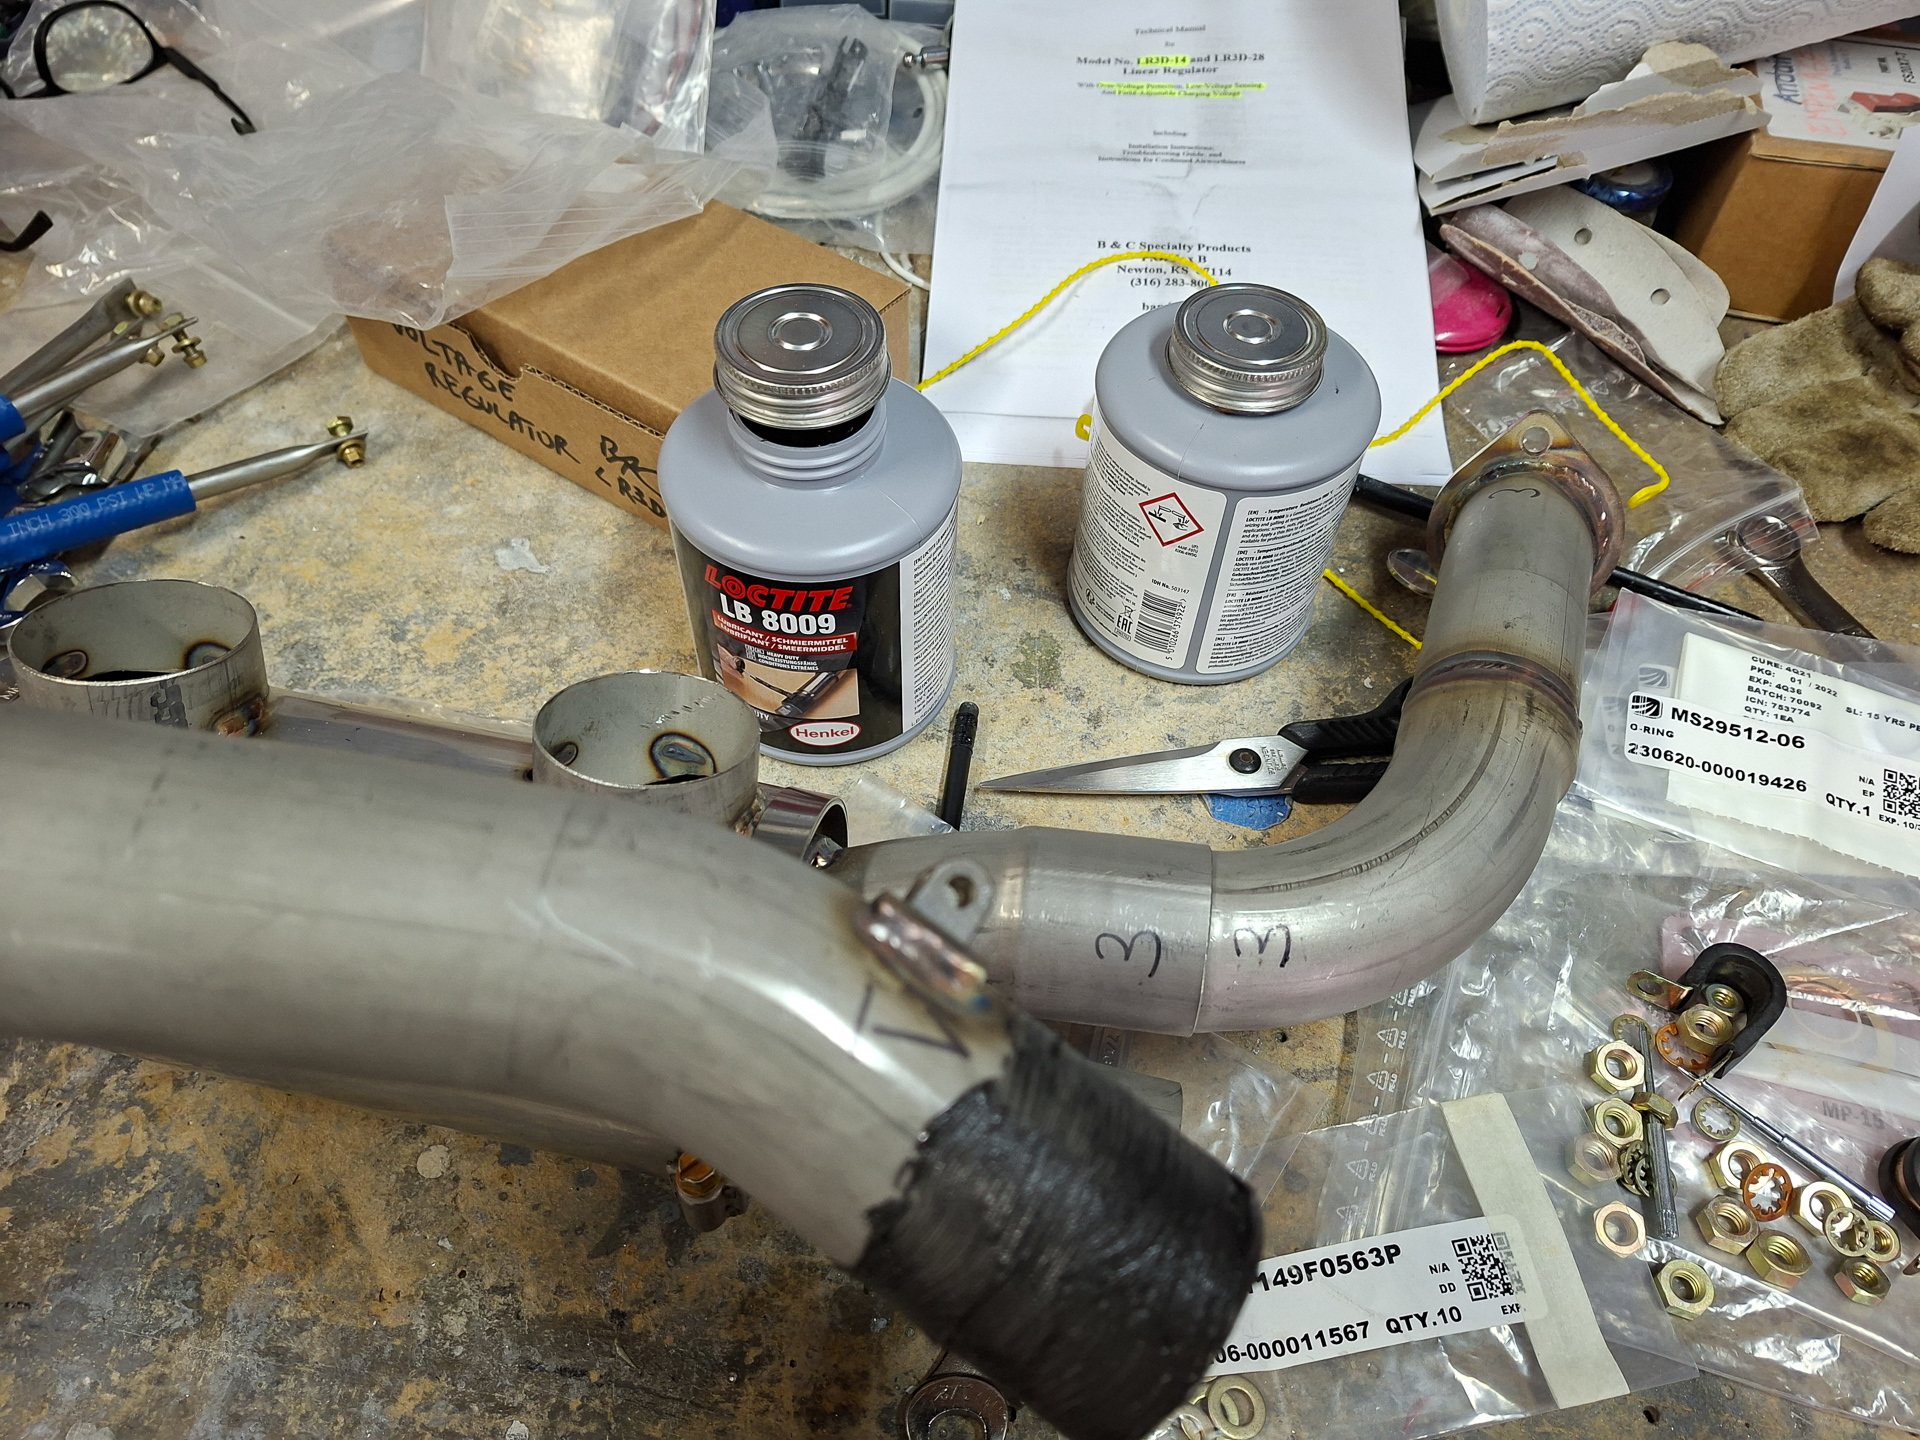
The installation itself is quite self explanatory on how these go together. Clint has marked numbers on the pipes so it's just a matter of sliding them into eachother.
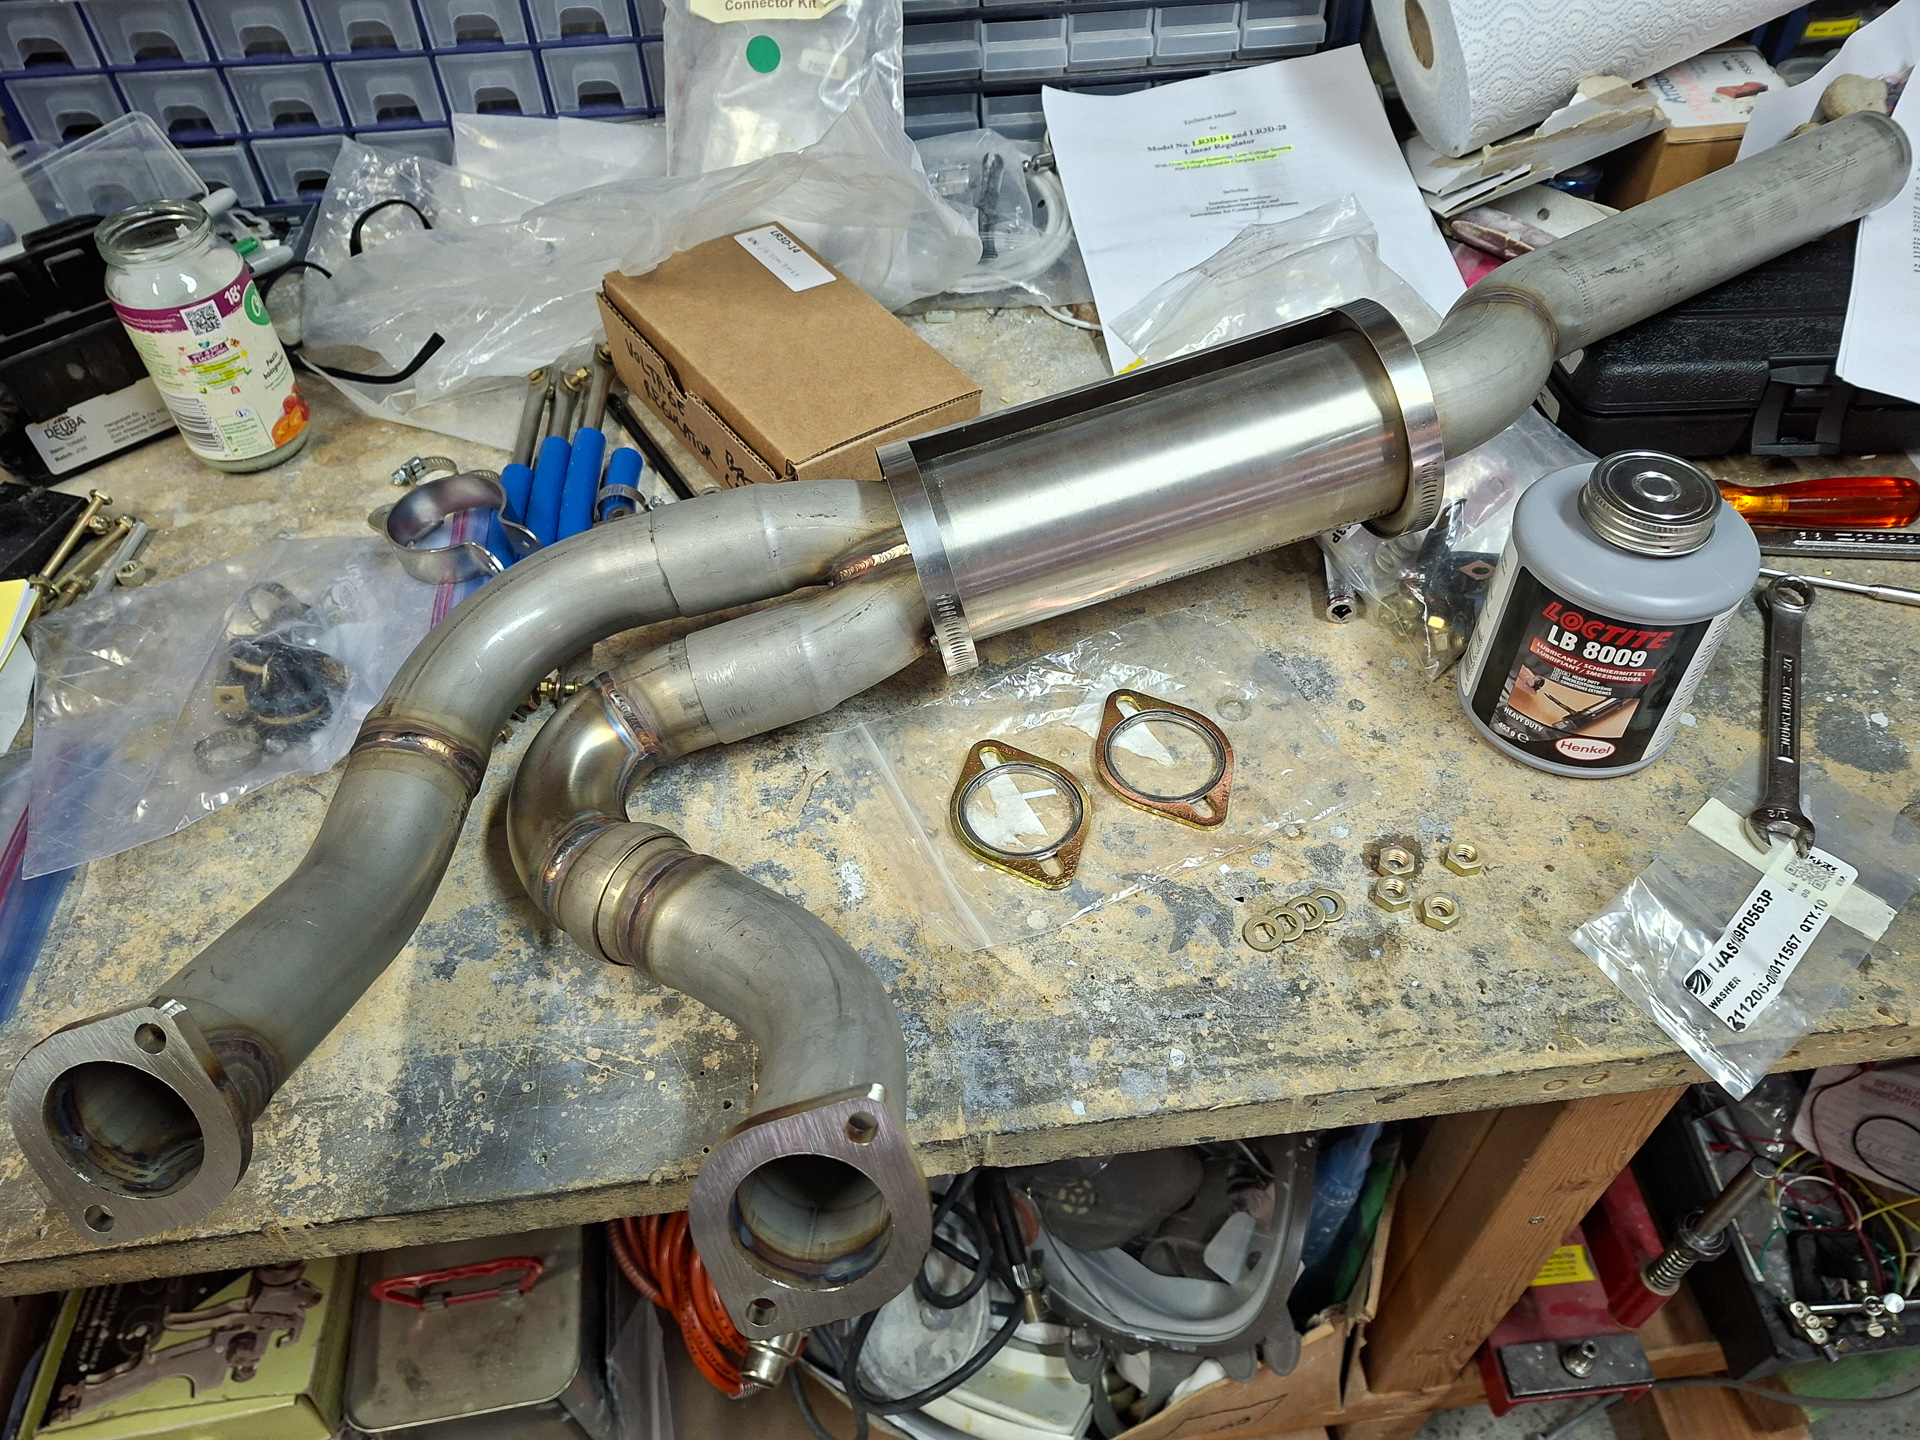
I used nickel based anti seize (Loctite LB 8009) on the slip joint of the pipes. Don't use copper based as this corrodes stainless steel. There are some clamping tabs which hold top and bottom pipe together with some bolts and a connecting stud. This will ensure that the pipes don't loosen up with engine vibration.
Made a test fit on the airplane and temporarily fastened the nuts with a lock washer on the cylinder studs. I should not have used the lock washer as you can only use these once and as I mentioned earlier, my engine will need to come off again when it goes on the test bench. I learned this later on so I'll have to buy a bag of new ones with my next spruce order. The nuts used here are 5/16” and the Superior overhaul and install manual tell you in appendix C that 5/16" (Nut & Cap Screws) are torqued to 200 inch/lbs.
Then put together the pilot side exhaust and did the same. Don't forget the gaskets between the pipes and the cylinder head. These can be reused so no issue to put these on.
More nickle based anti seize and install it.
So far things were easy... now for the real problem... I have literally no idea yet on how I'm going to hang the exhaust pipes. Vetterman has supplied 2 clamps and some support parts that go together with a rubber connection piece (the blue part in the image).
The drawing that came with the exhaust is not applicable for me. The muffler is in the way.
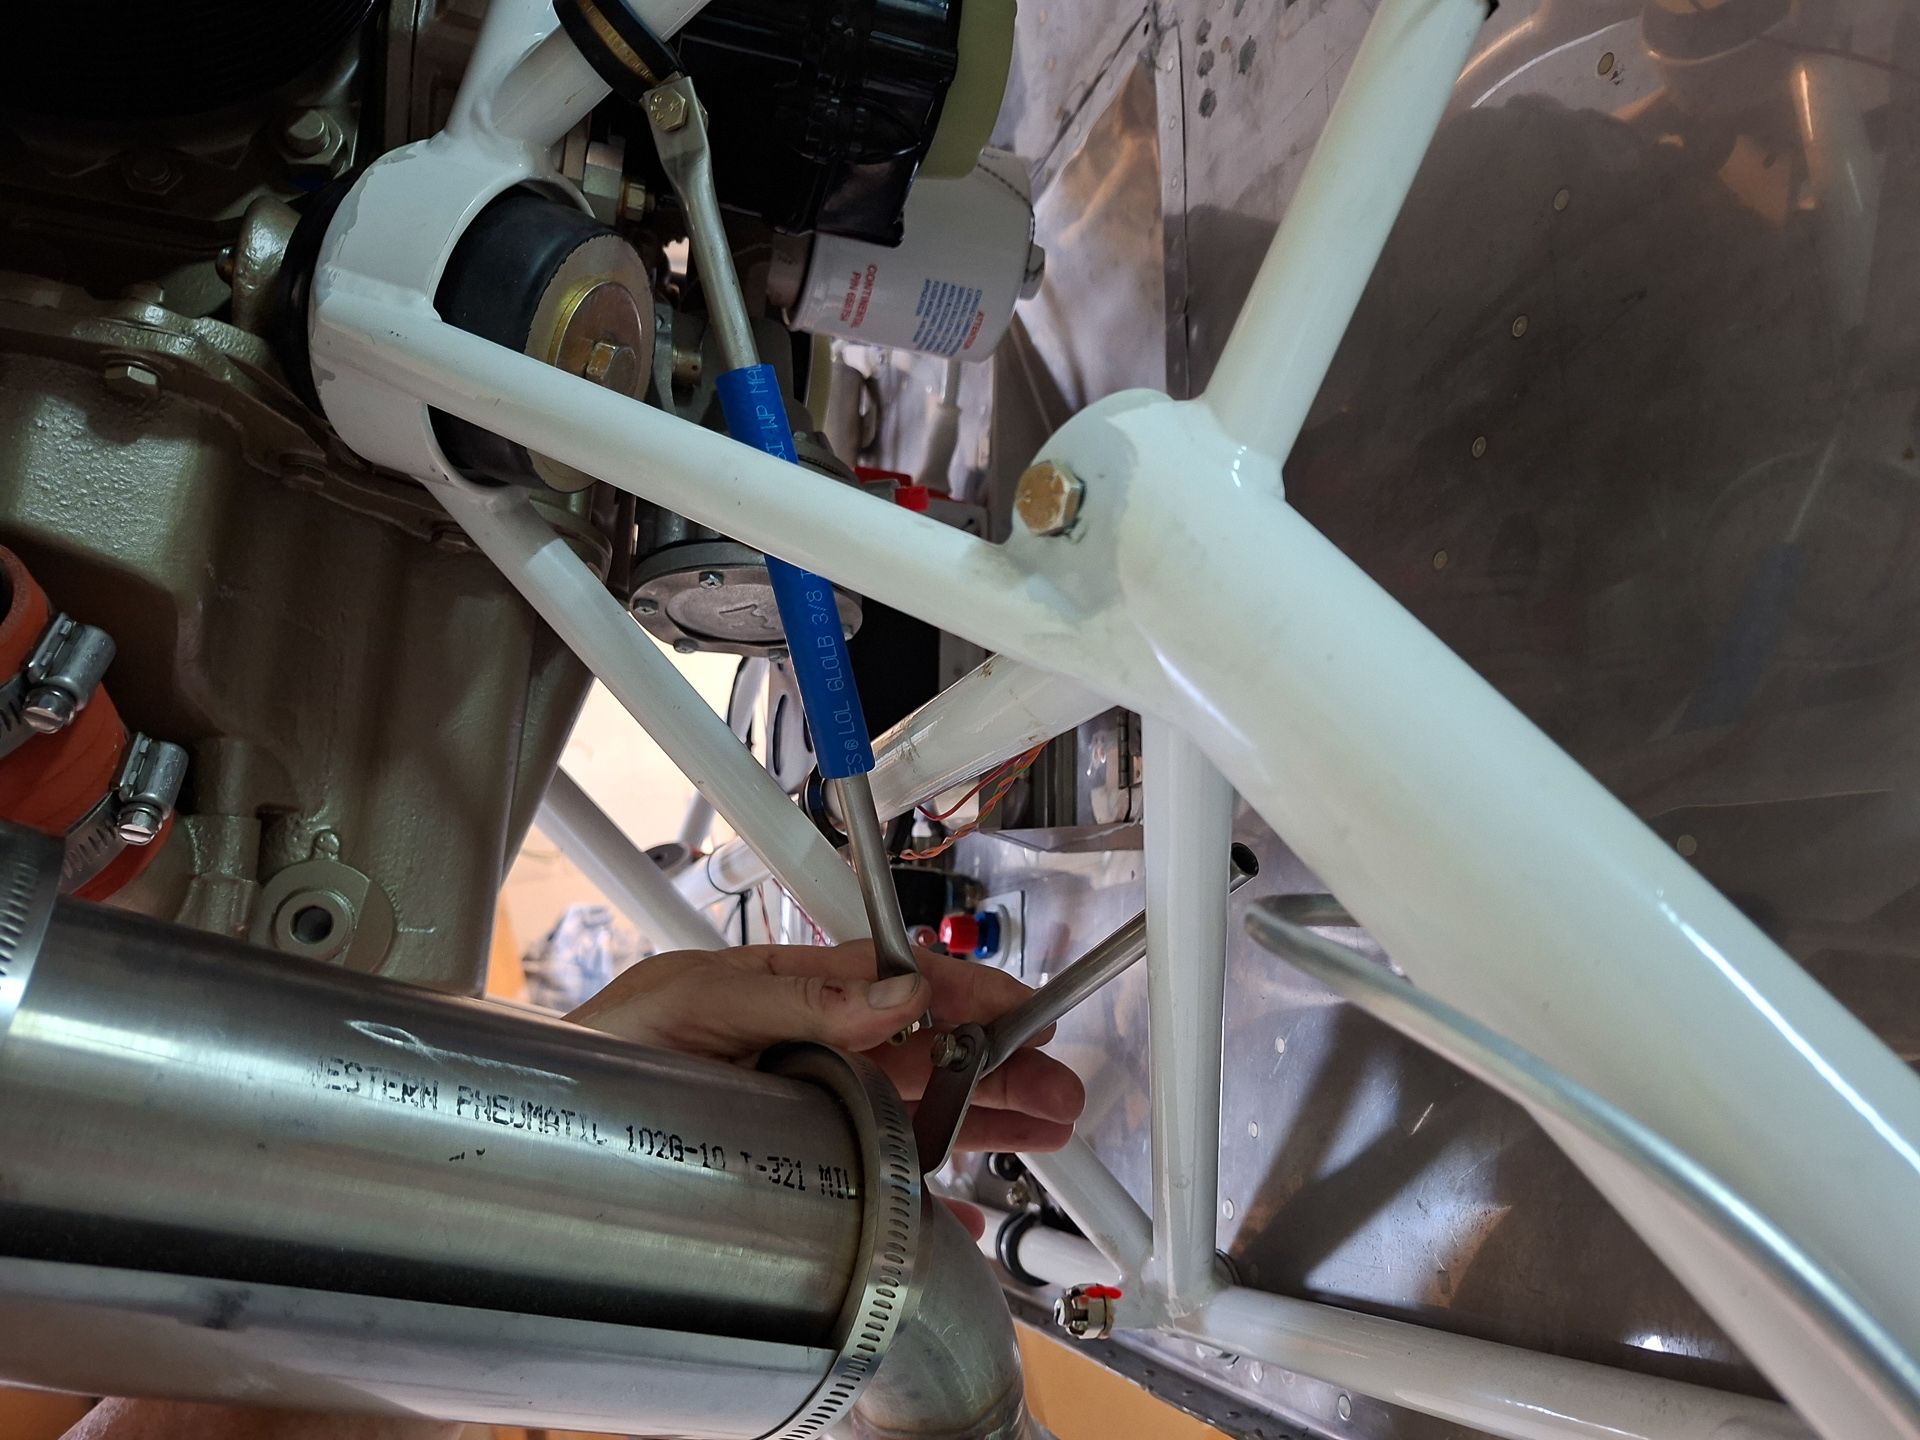
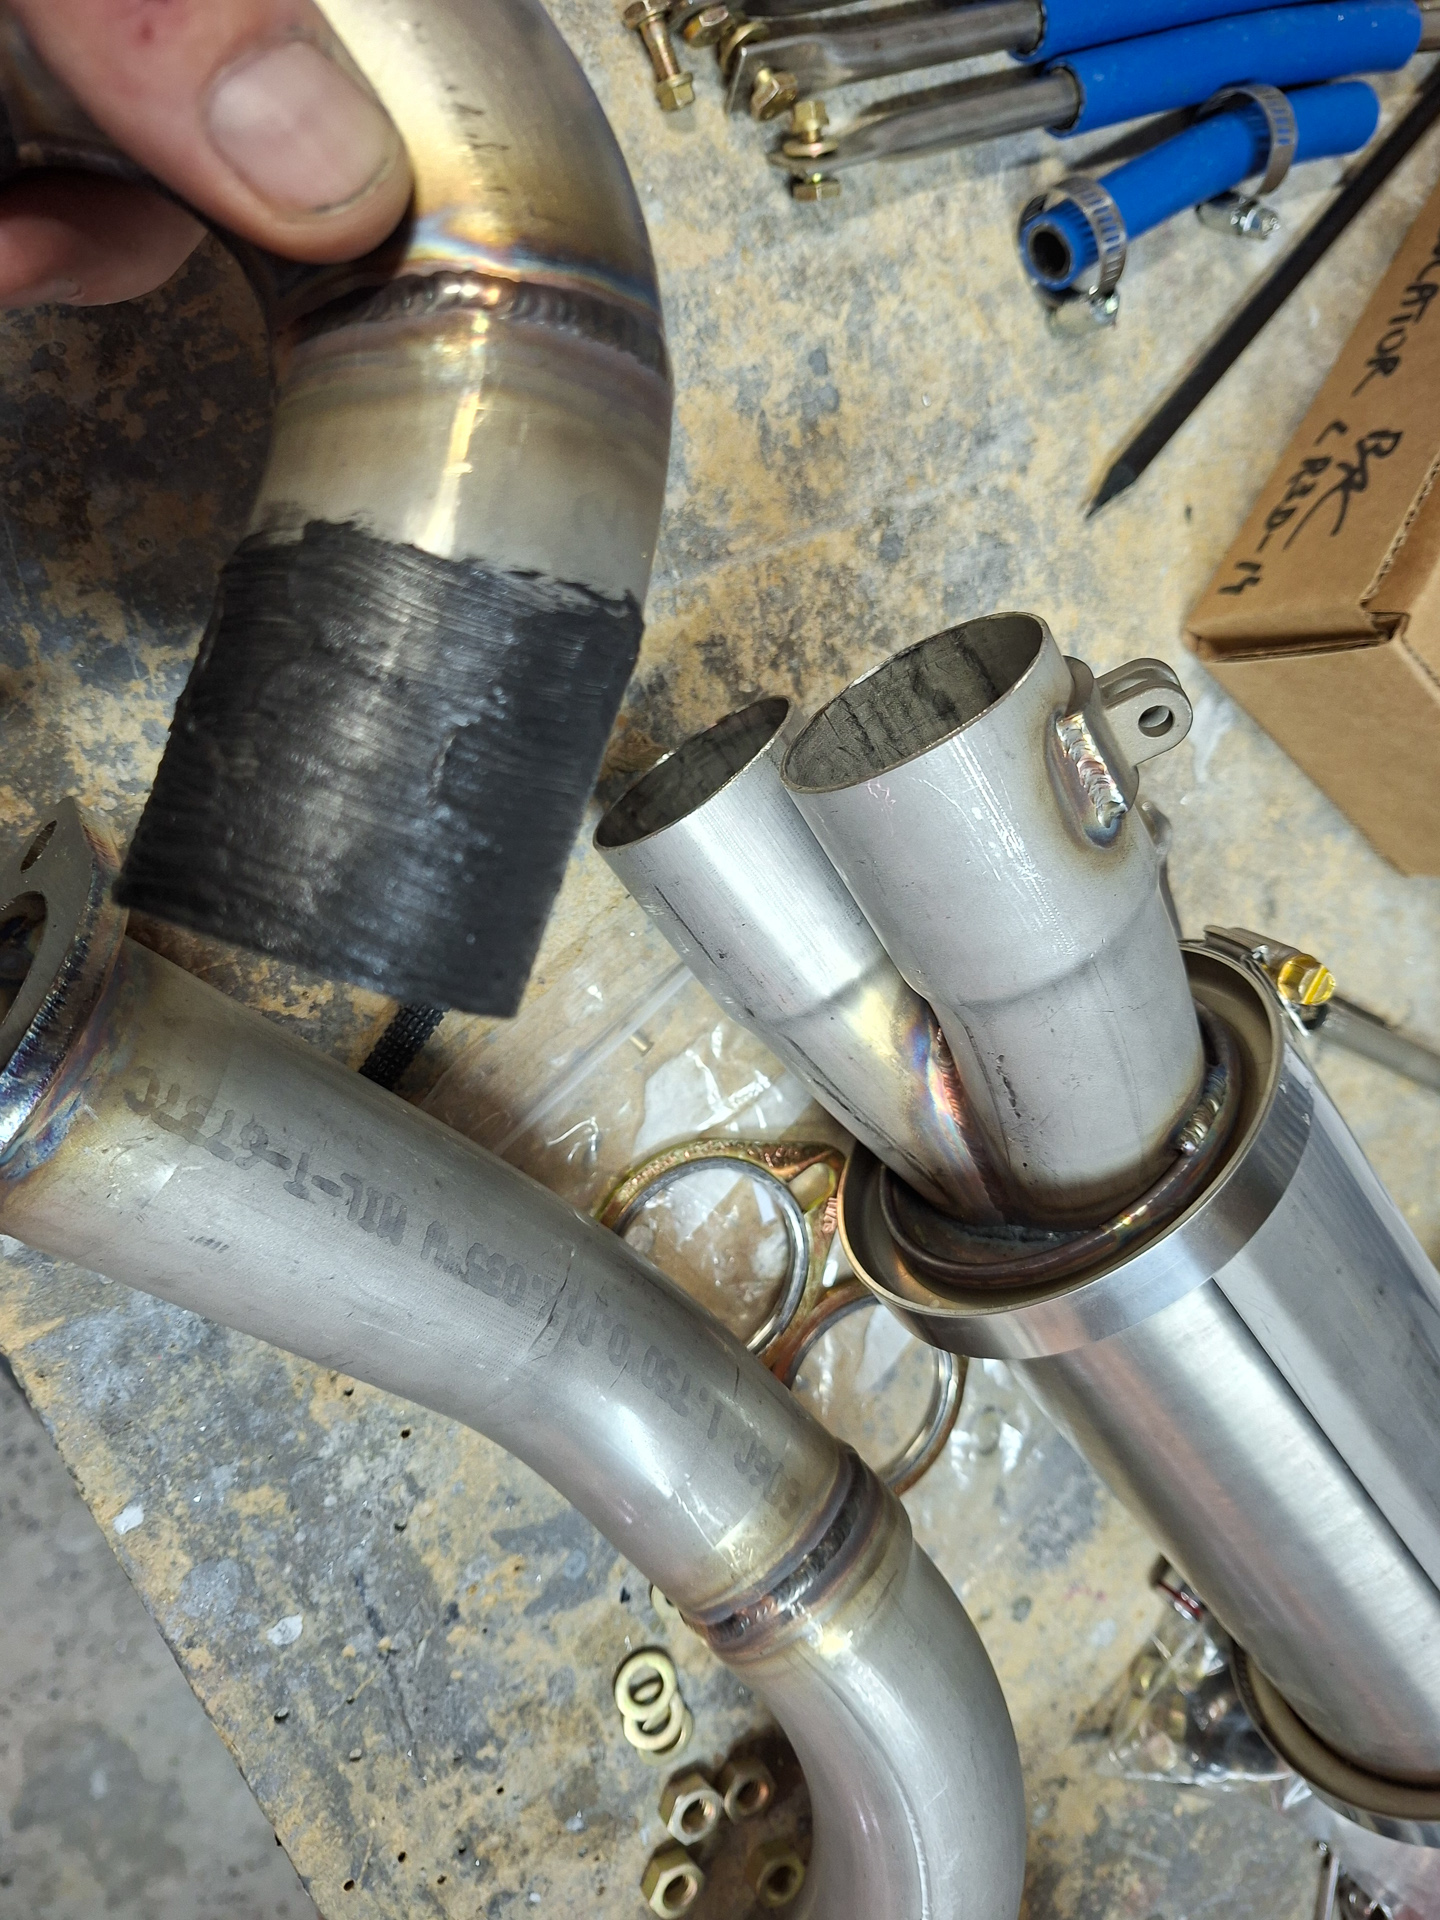
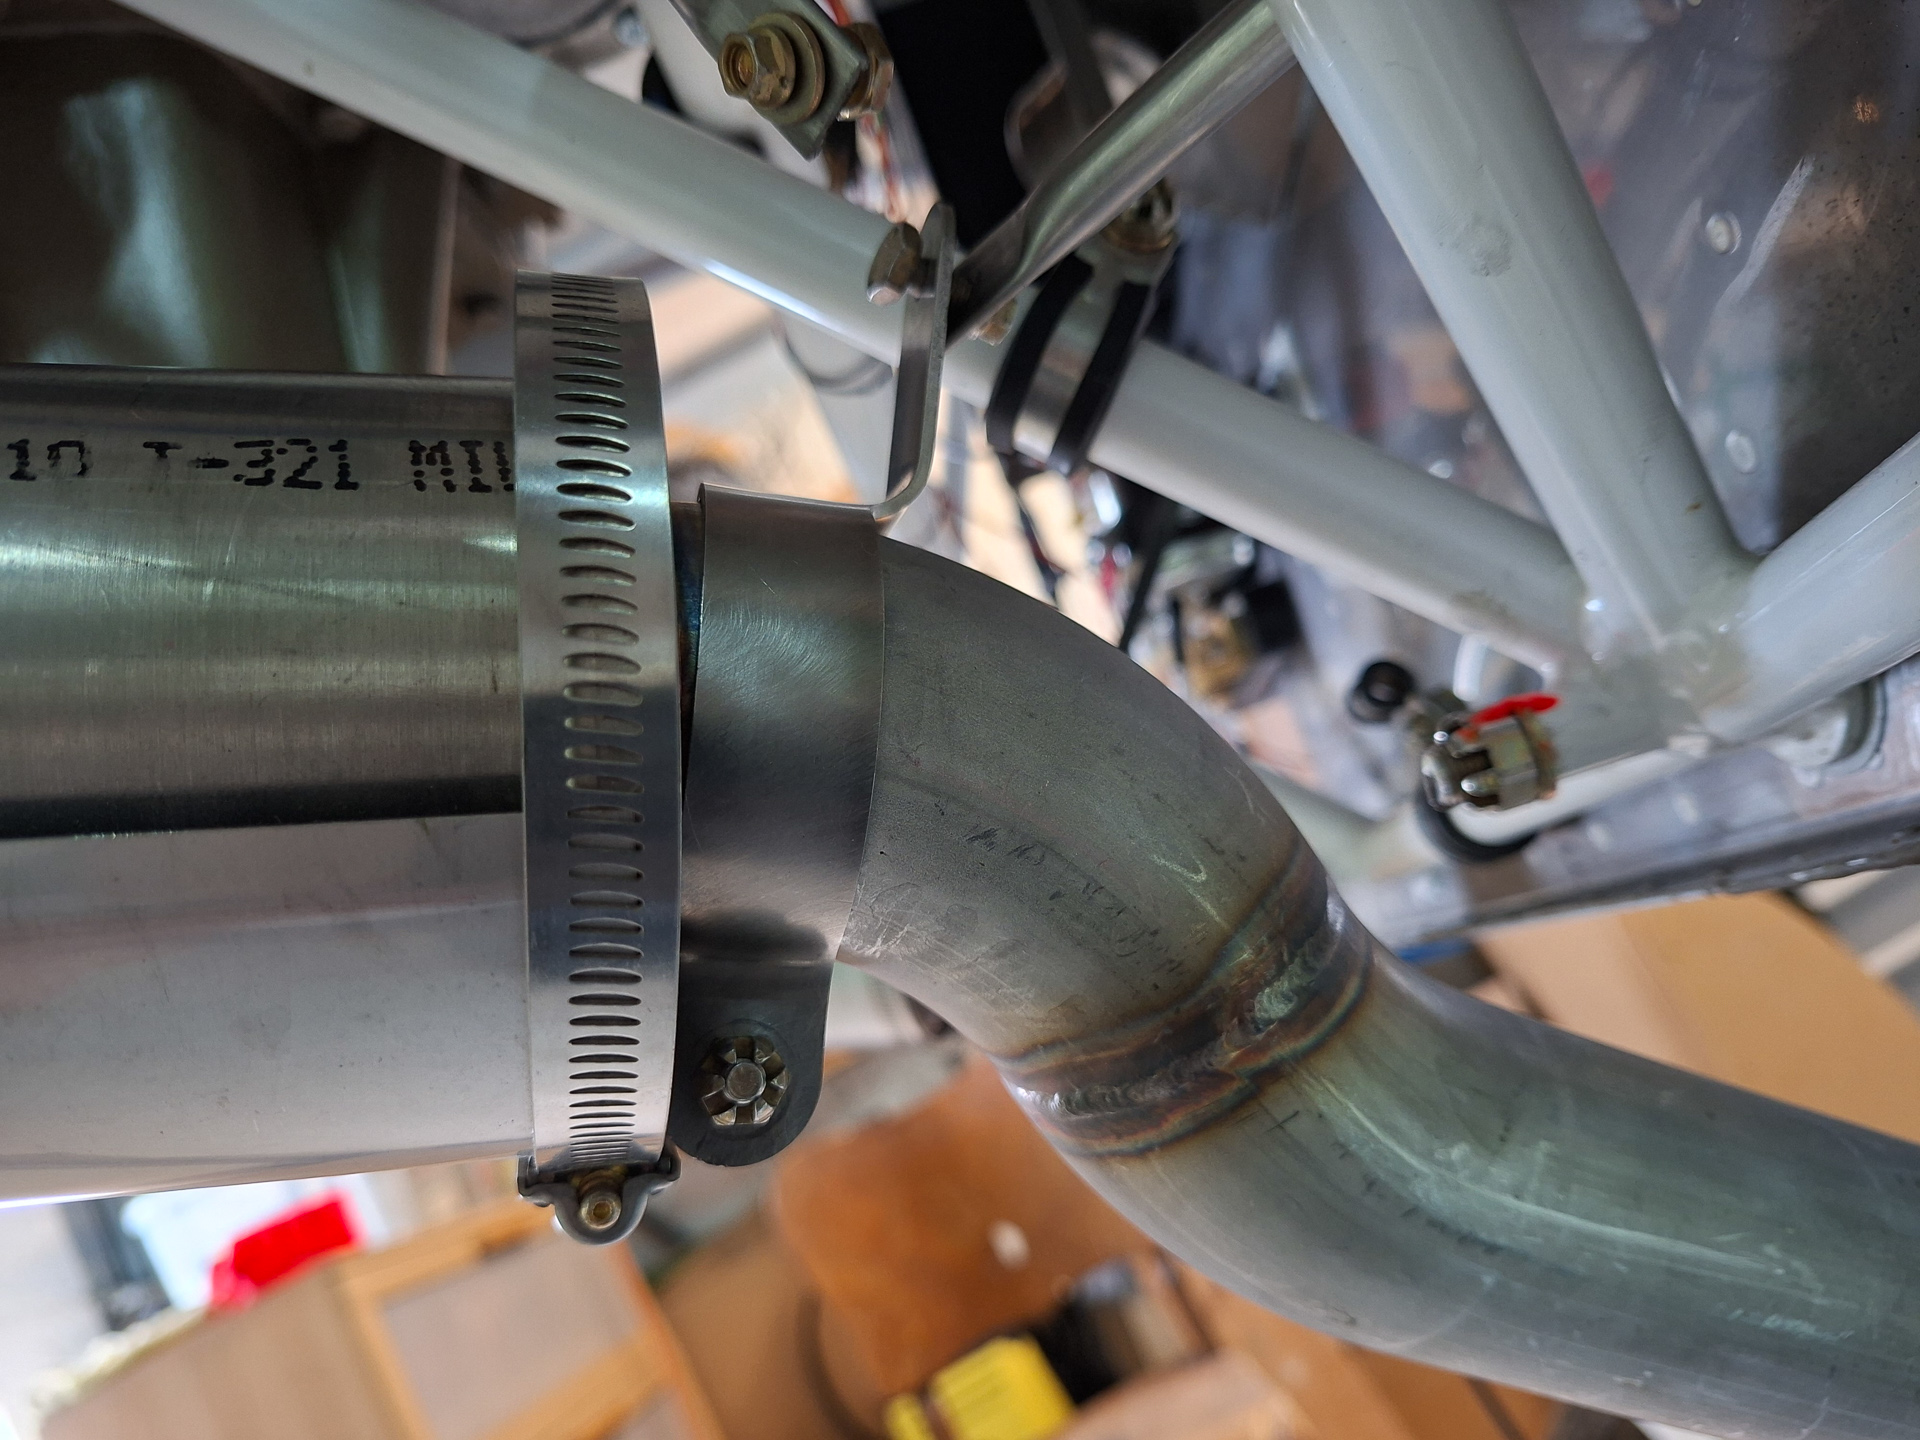
I can either install the clamp next to the muffler or move the clamp lower on the exhaust pipe. The position near the muffler is not ideal. As you can see in the image below, the clamp is too wide to fit nicely over the pipe and I'm afraid it will nick the bend of the pipe. On the other side it also interferes with the weldings from the muffler on the pipe.
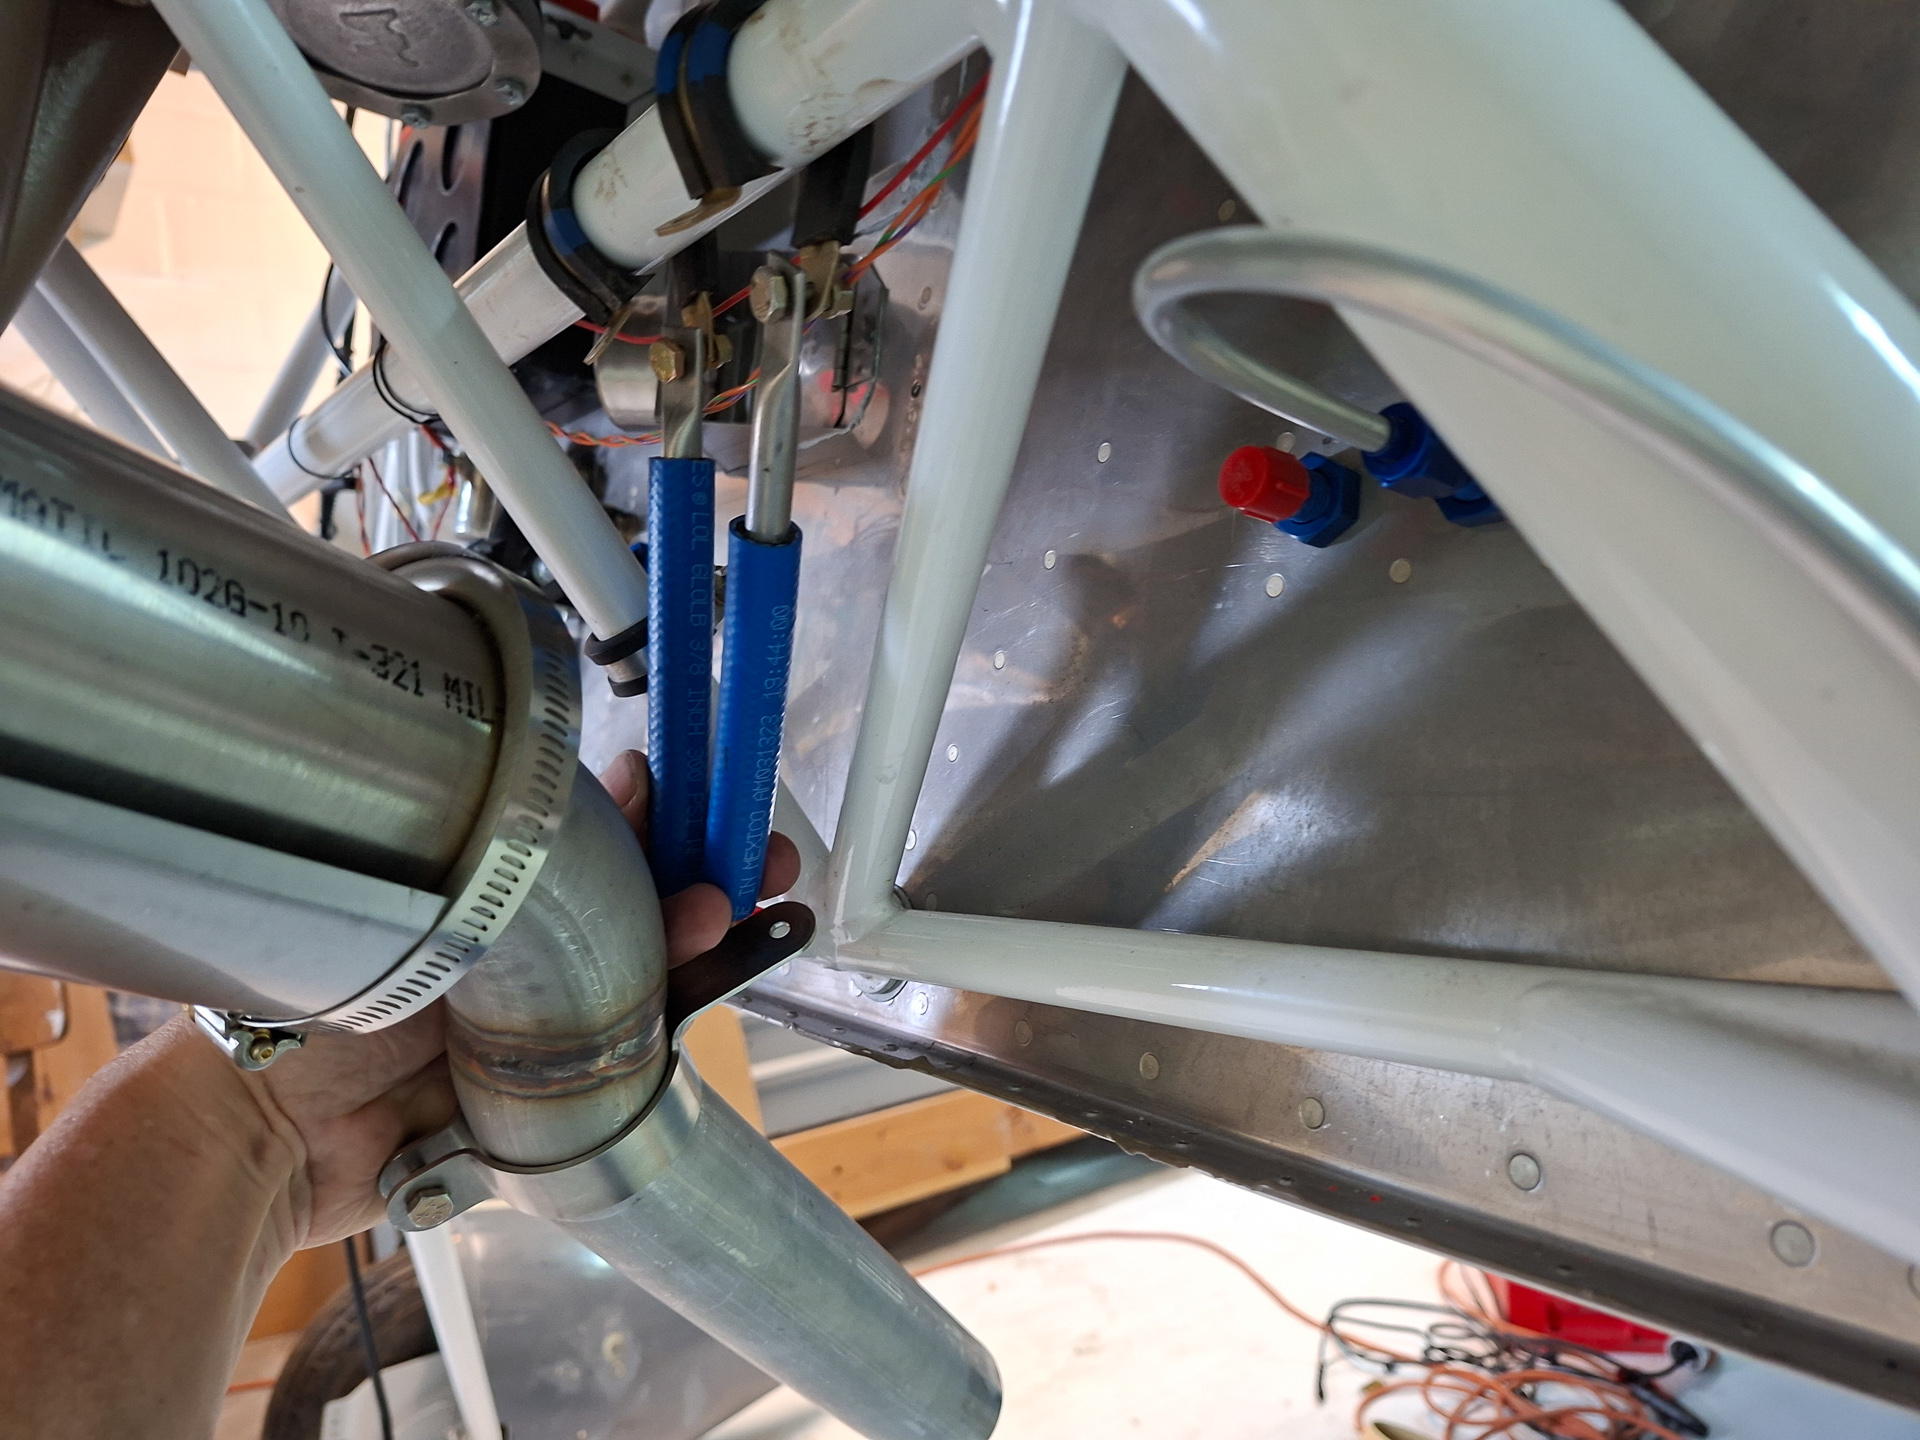
The other option is to move the clamp down as in the image below. The distance do the cold air sump is too long so I probably won't be able to hange the exhaust pipes to the engine. Another option is to hang them from the engine mount. That's not ideal as the engine vibrates and the engine mount is static.
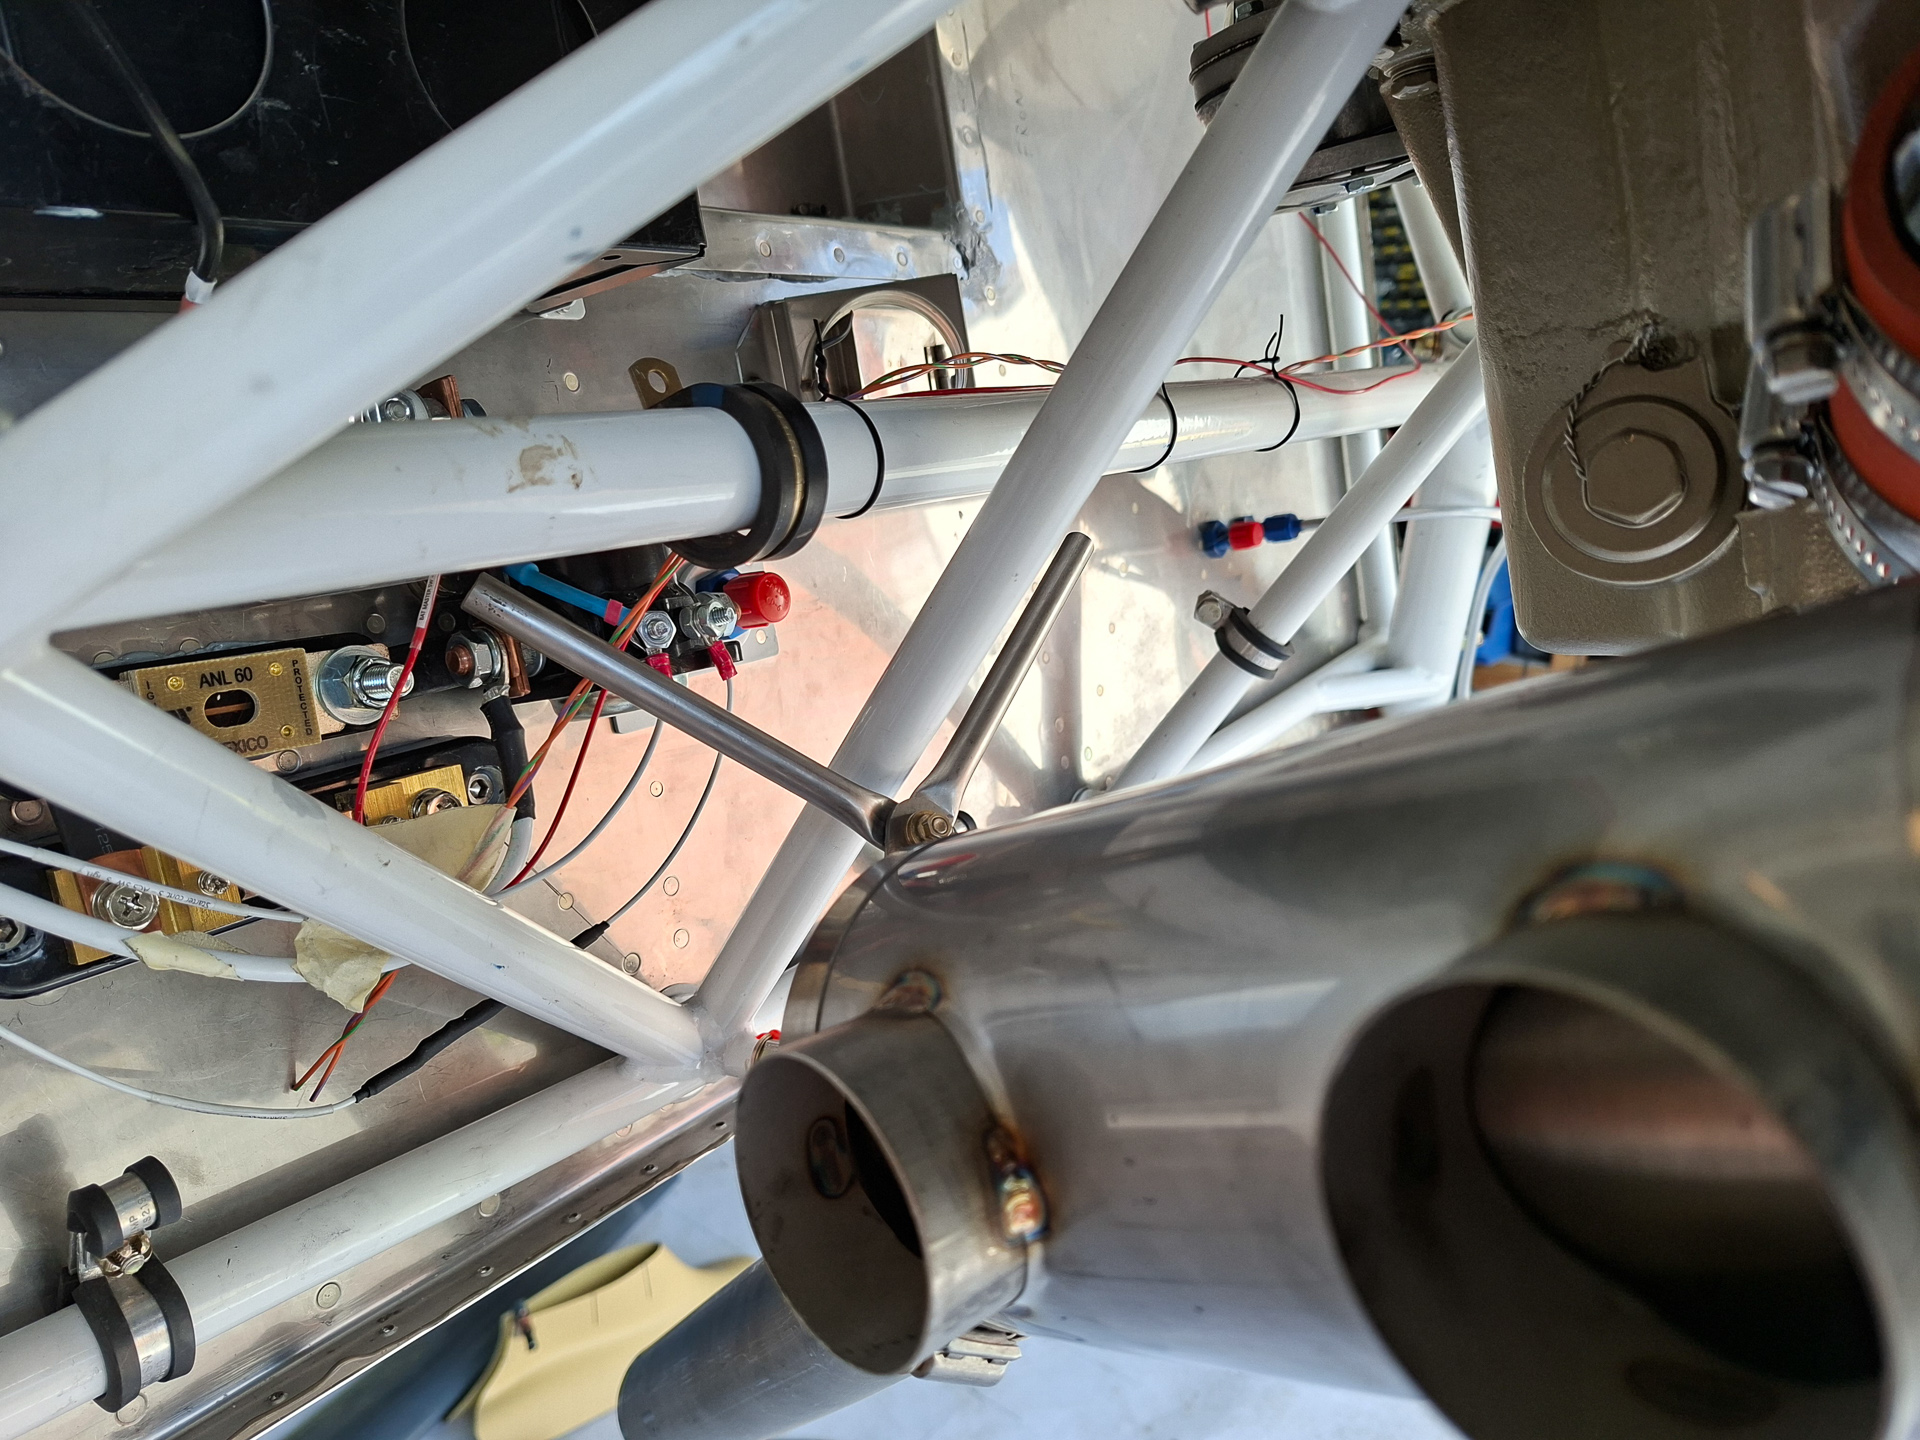
Here is another variation of hanging from the top position.
At this point, i'm going to let this rest for a while and try to do more lookup work in how others have also done this. I have seen an image on the Vetterman site where he hangs the pipes using an angular support from the bottom engine mount tube. I have also seen a builder hanging the exhaust of a piece of rubber (as used for sealing the cowl) from the bottom of the firewall. We will see how this turns out at a later stage.