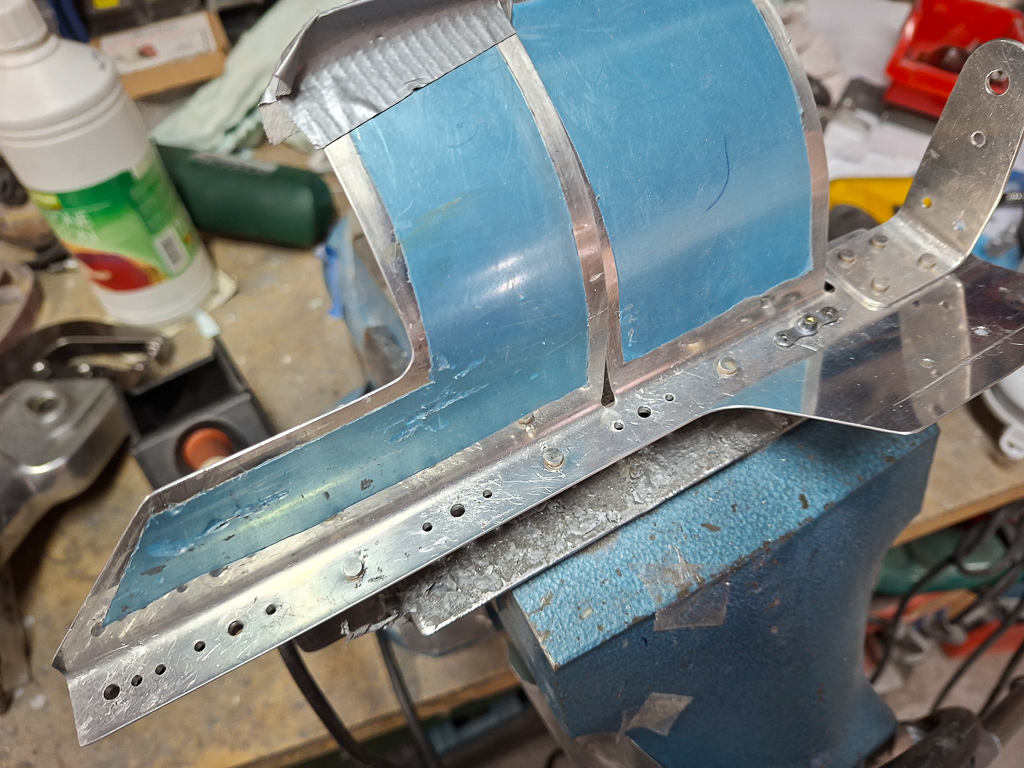
Continueing to work on the front baffles. With the baffles cut, I got a better idea of the inclination of the front baffle and how it would fit on the remaining ramp on the pilot side. Only the pilot side has a small part of the original Vans ramps remaining on the inner side near the engine. I have been cutting conservativly. Now that I have seen how the front baffle fits, I was able to construct the small angle which holds the lower edge of the front baffle with 2 screws. I traced the contour of the front baffle while it was installed with a red line so that I could further trim the ramp.
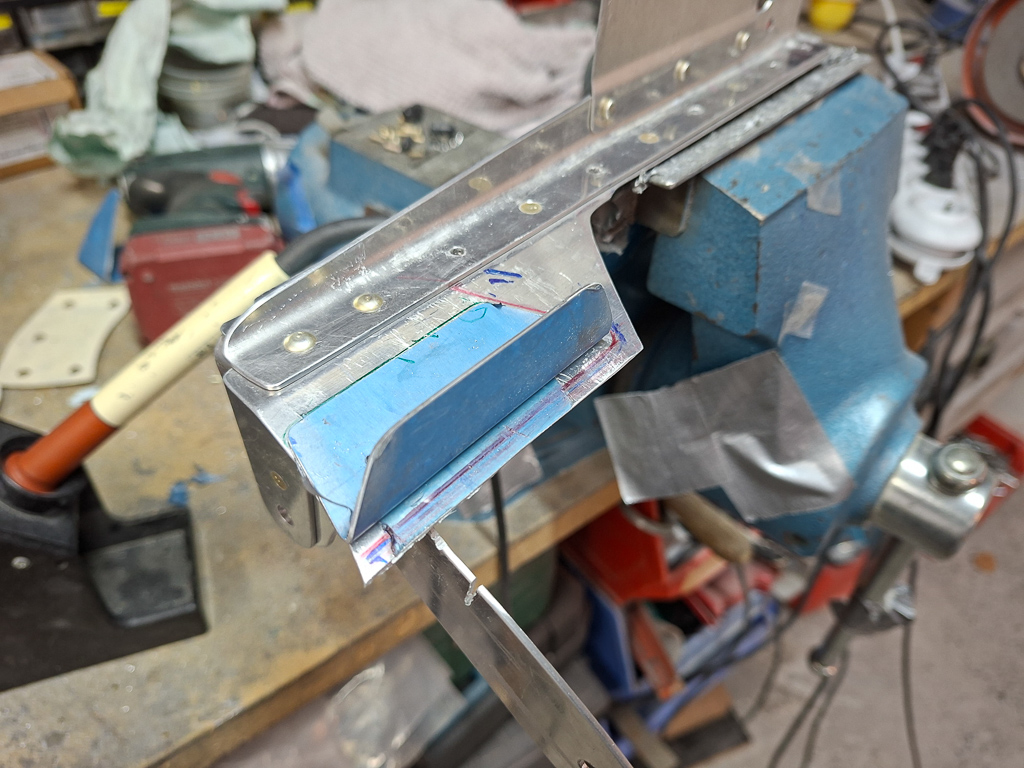
I drilled 3 holes for AD4 rivets on the bottom of the angle and will drill the front to the angle once it's installed again.
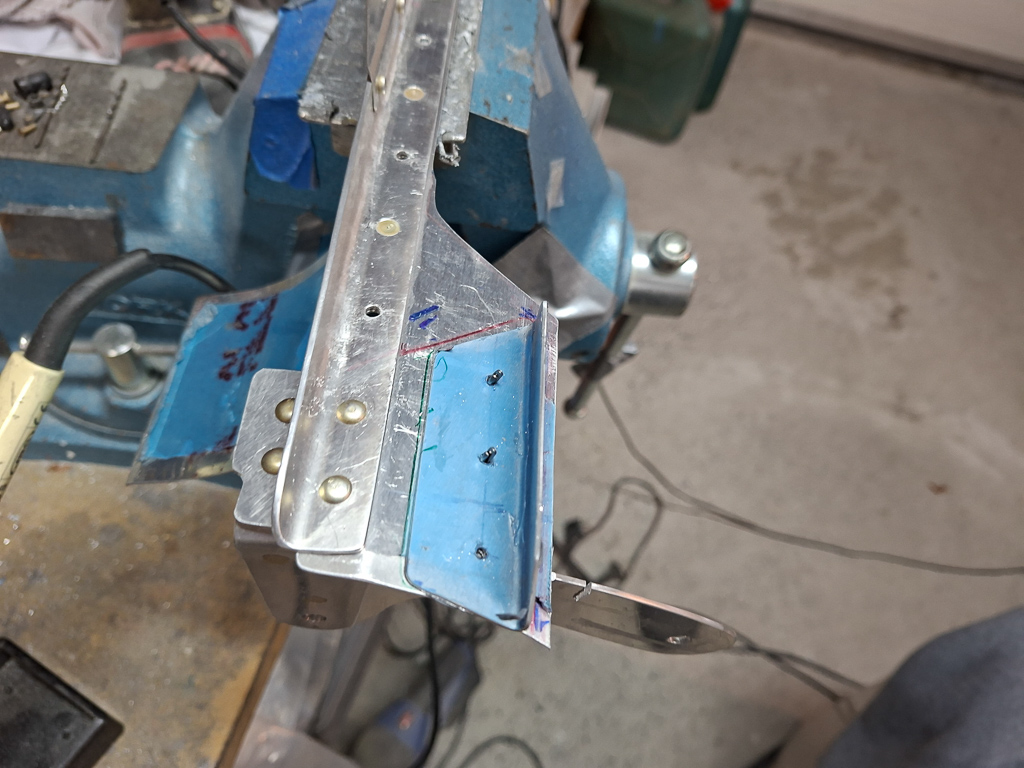
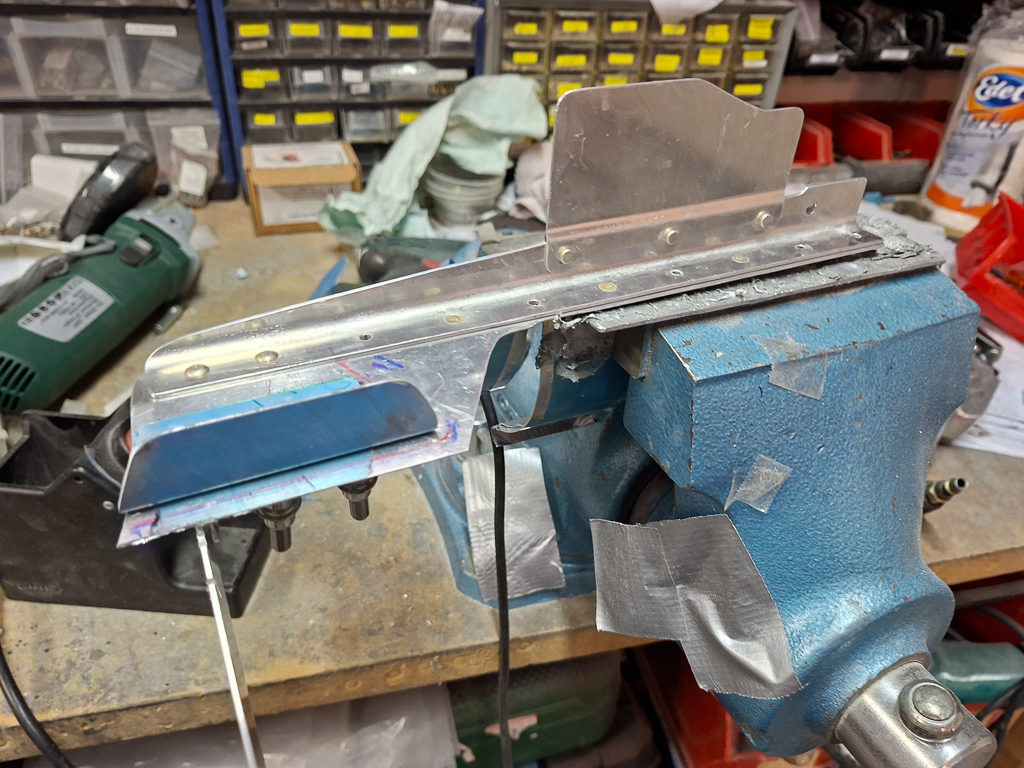
Then reinstalled everything and drilled the lower 2 holes in the angle to #40.
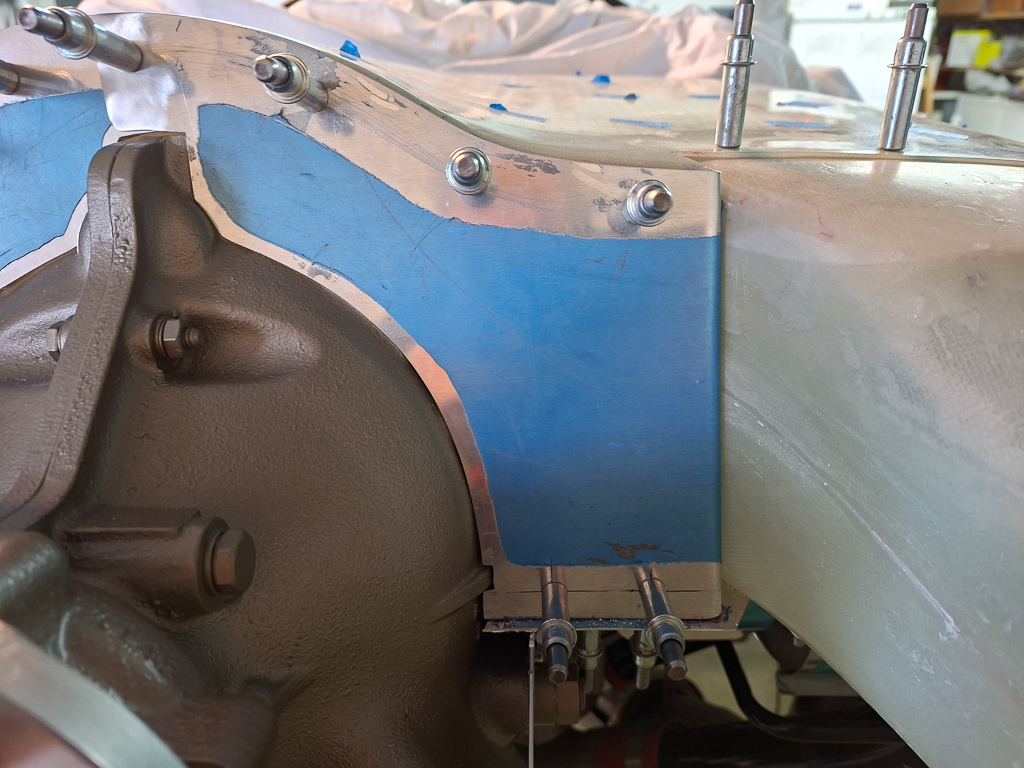
The holes ended up a bit low on the bracket but I will be able to install a nutplate
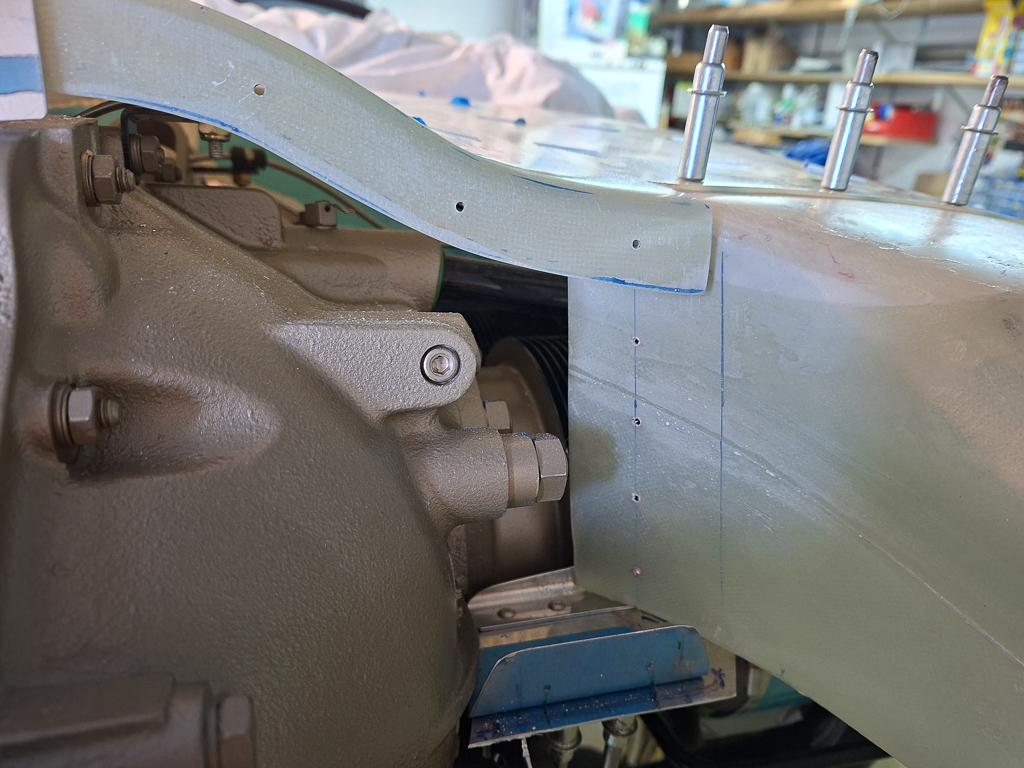
With the lower holes drilled, I clamped the side of the front baffle to the diffuser and matchdrilled it #40. This will be updrilled for #6 screws in the end but I just wanted to get it all pilot drilled for now.
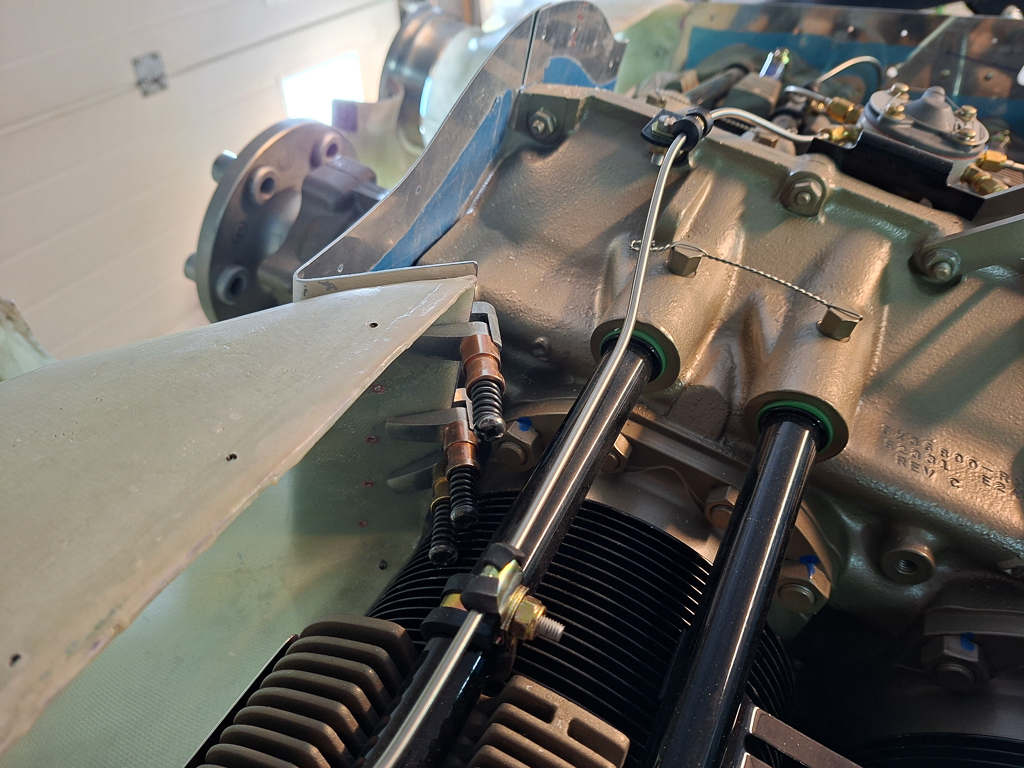
Some holes drilled.
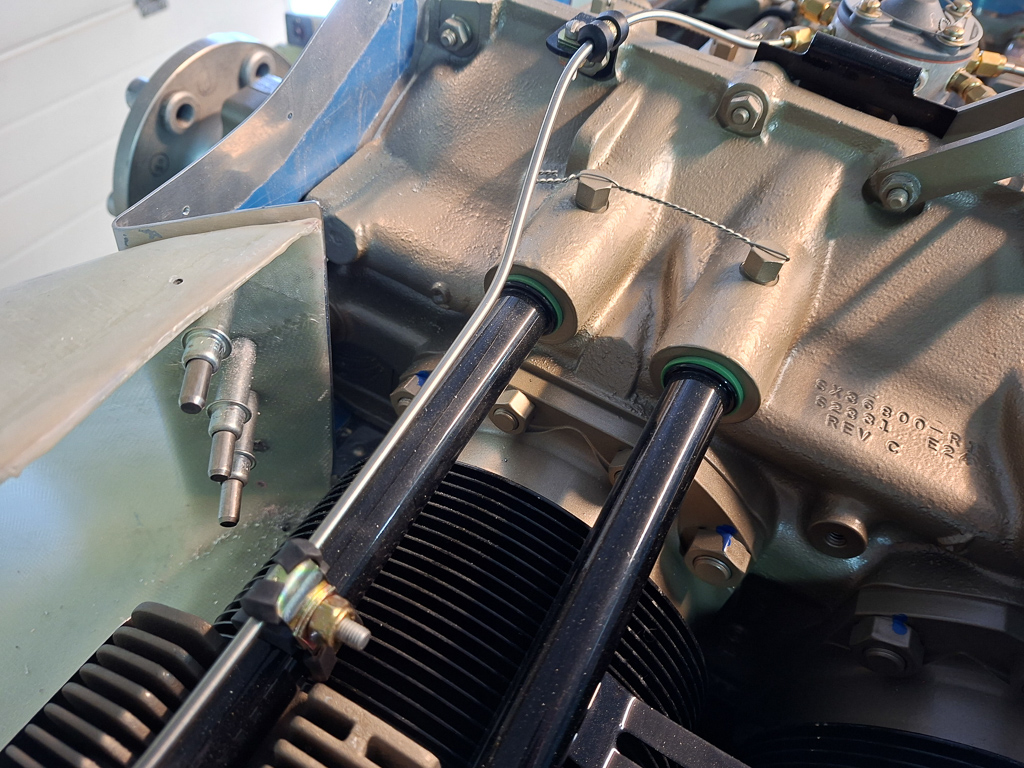
I had a good look on the intersection at the top. This will need some more trimming to get the plenum roof aligned with the inward lip of the front baffle.
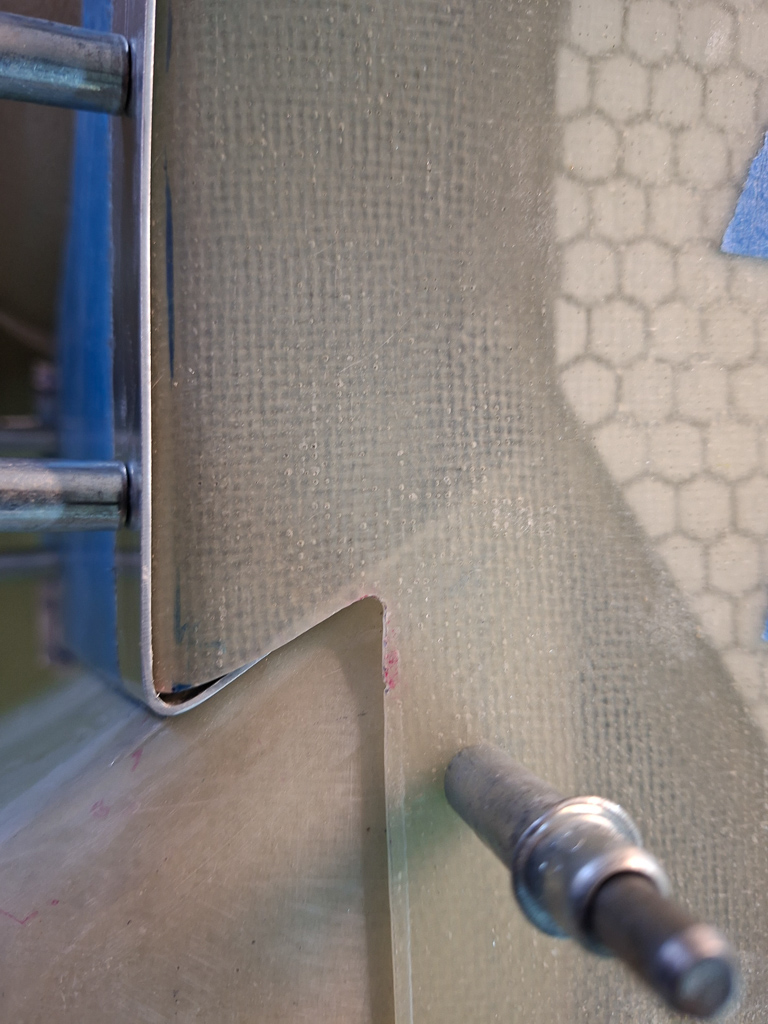
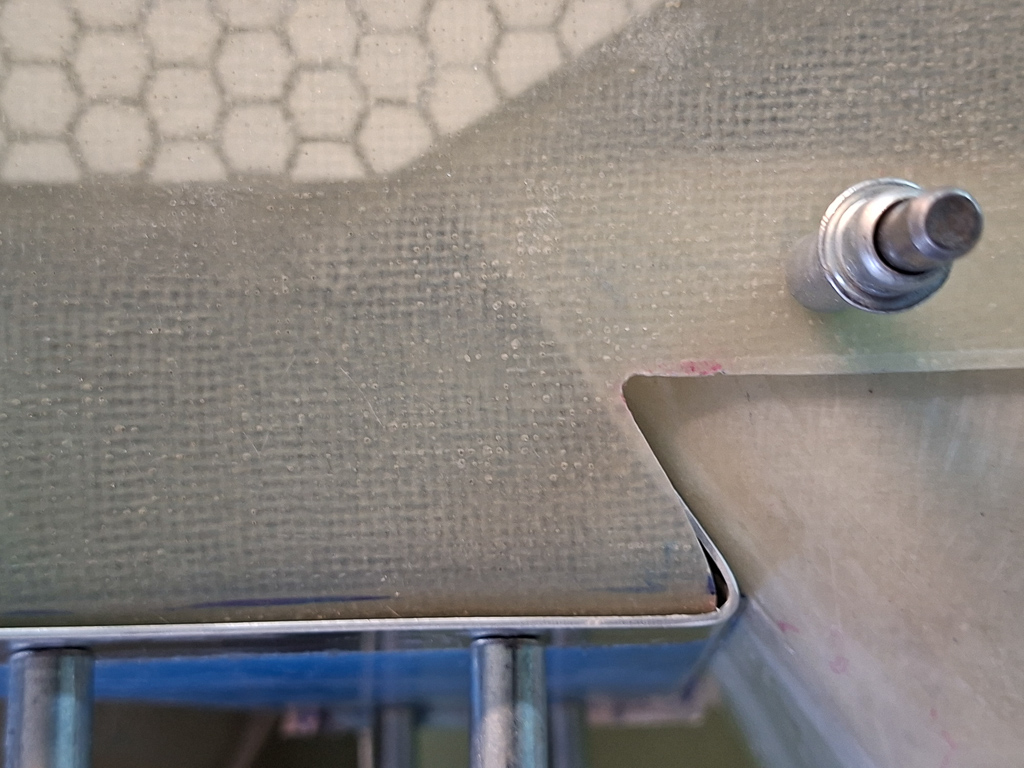
Overall, it looks good. I'm happy with the outcome, I can now safely trim down the remainder of the ramp floor.
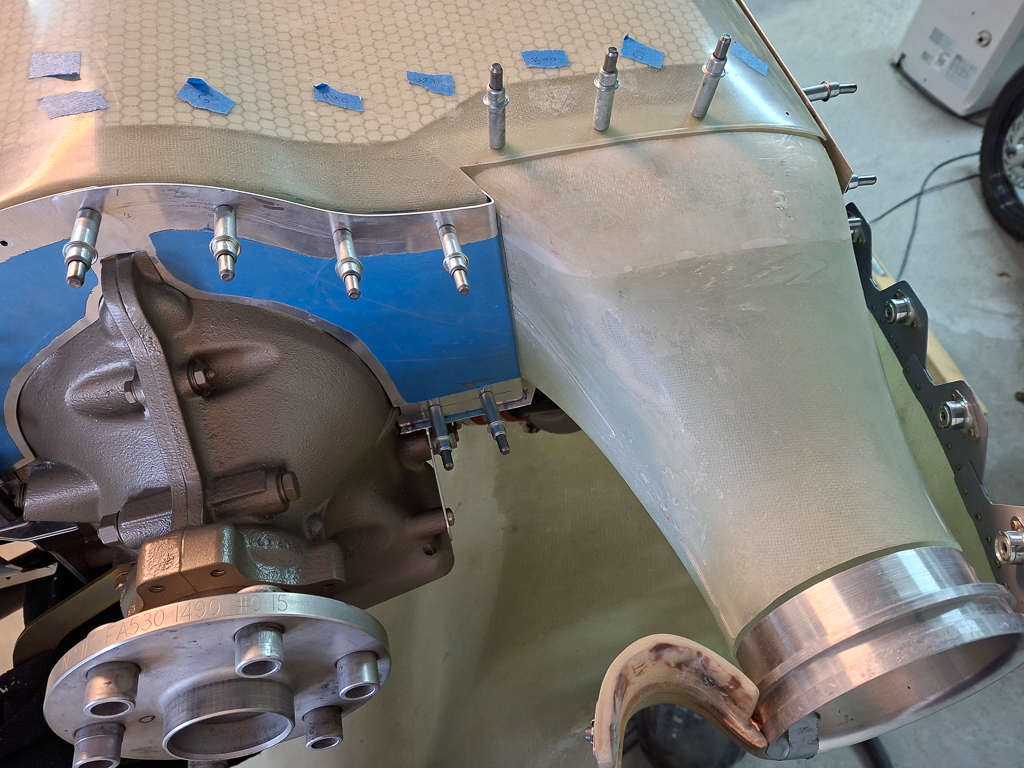
This is the inner top corner. This will need some love and care to close the gap. You want as little air leaks as possible. Most of the contours of the engine to baffle get red rtv paste to seal the gaps.
As the plenum roof needs to be removable, you can't use rtv here and the fit needs to be as good as possible. I will fix this by using some flox and squeeze it between the diffuser and the plenum roof.
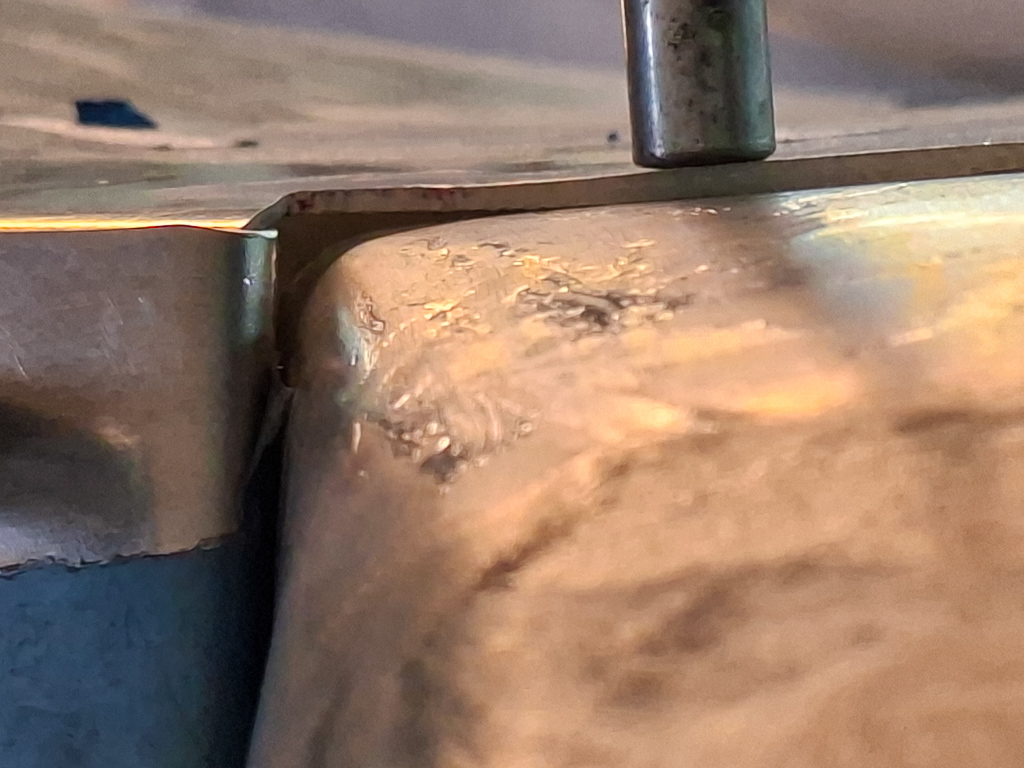
It's hard to use the nutplate template on the front baffles so I decided to use real nutplates as templates to drill the nutplate ears. A screw with some #6 washers in the hole. Then drilled one nutplate ear. Put a rivet or cleco in to fixate it and drill the other nutplate ear. You can see what I mean in the image below.
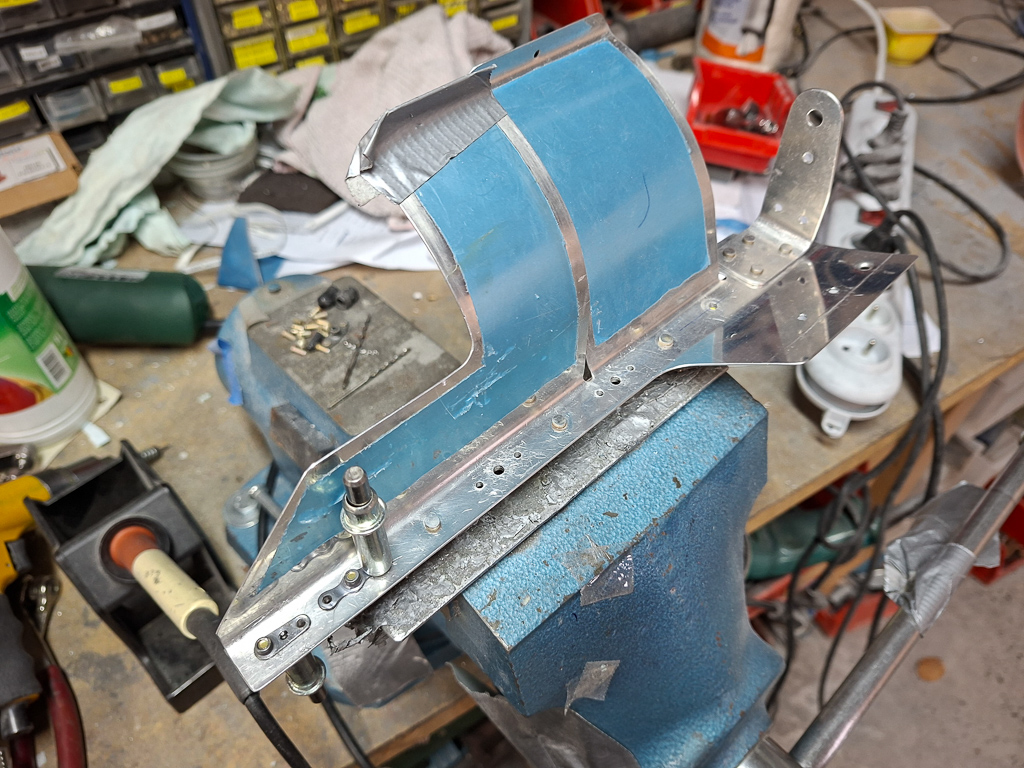
Finished drilling the last nutplate location.