
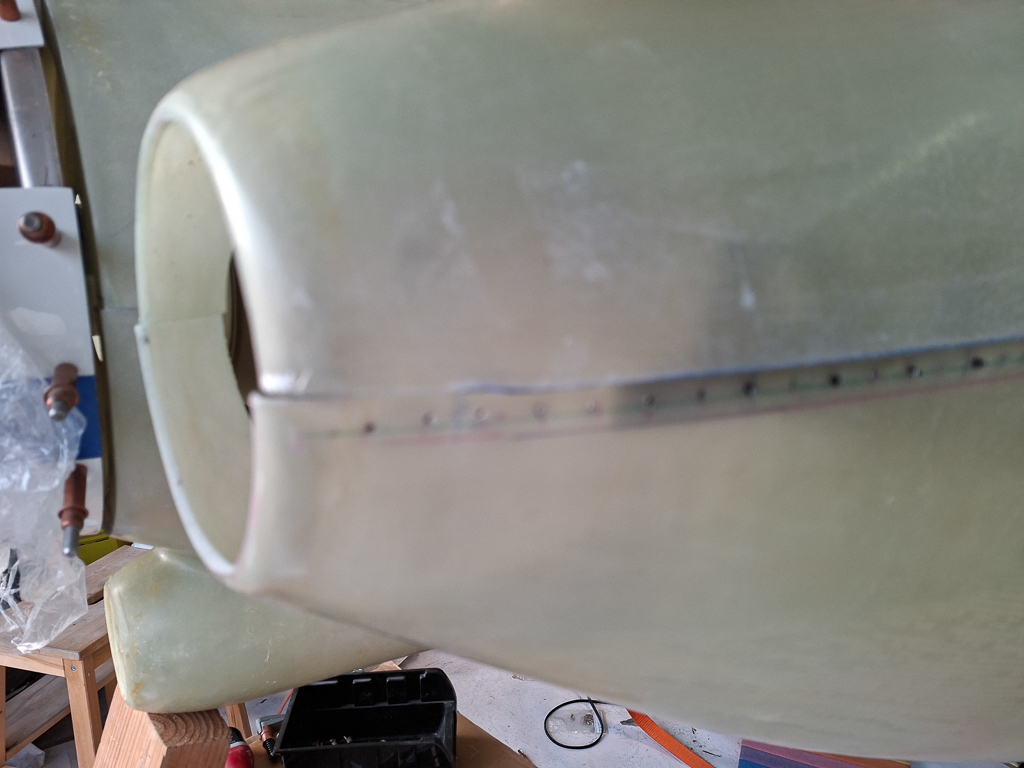
Getting into the final steps of trimming the top cowling. I have been trimming back on the horizontal split line on the top cowling to get the horizontal line closer to the final position. By doing this I got rid of the annoying overlap that distorts the bottom cowl when fitting. It's still about 1/16" too long but it allow butting the two halves together nicely now and work accuratly on the rear line at the firewall. I was unsure if this was a good idea to cut already the horizontal line as in the manual they say to do this only after the rear line is done but I'm really satisfied and happy I did it this way.
With the sides aligned close to the final position, this is what I see on the rear line at the firewall. There is still some more material to be removed. I'm using a blue thick sharpie pen to mark the places where I need to trim down the line. Most of it was in the bends on the sides, the top was getting pretty close.
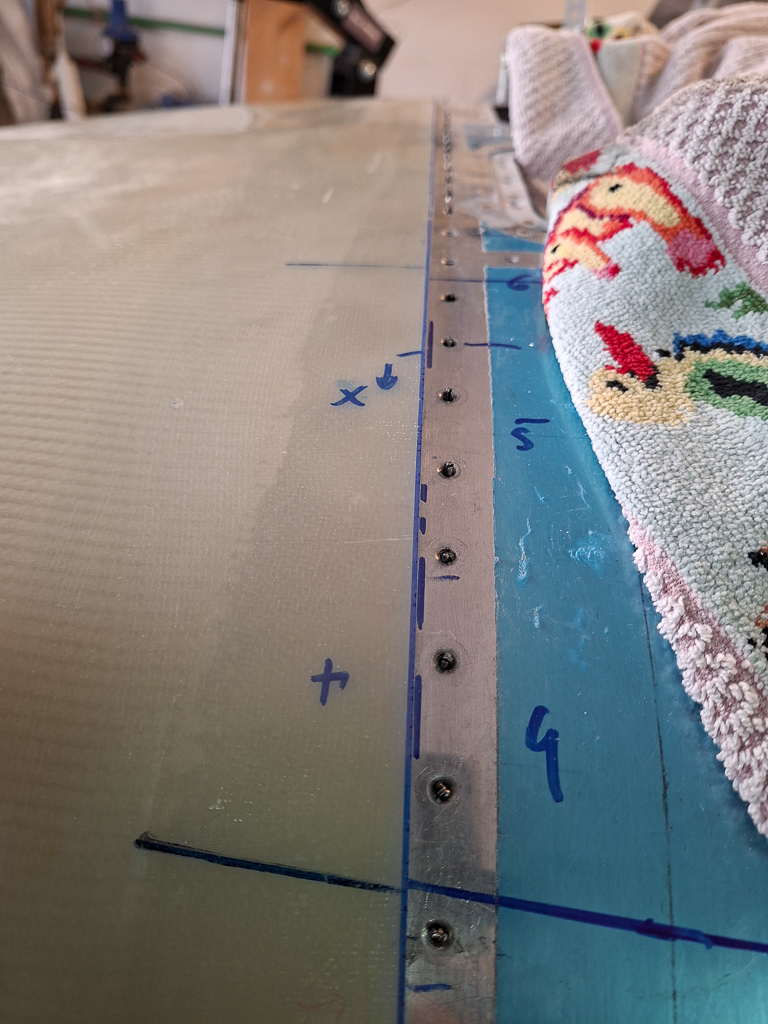
For now I don't bother about the vertical side underneath the bend in the firewall. Once the top falls in place, the cowl will move down another 16th of an inch and that angle may still change so you don't want to cut this side yet. First do the middle top and work your way to the sides.
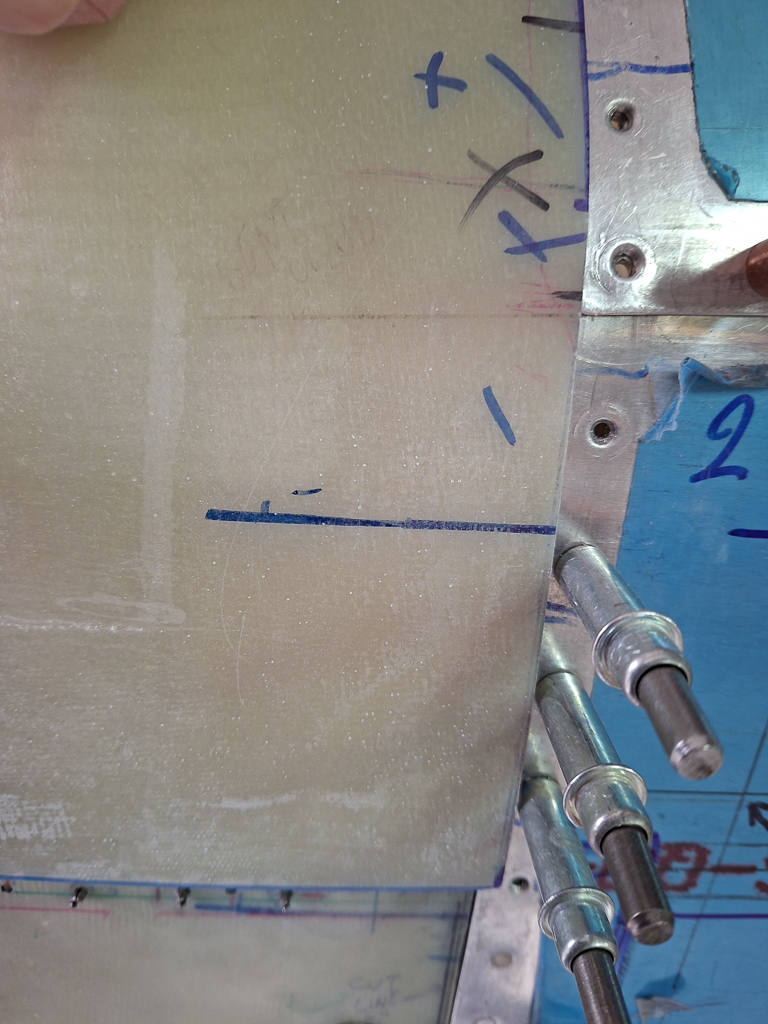
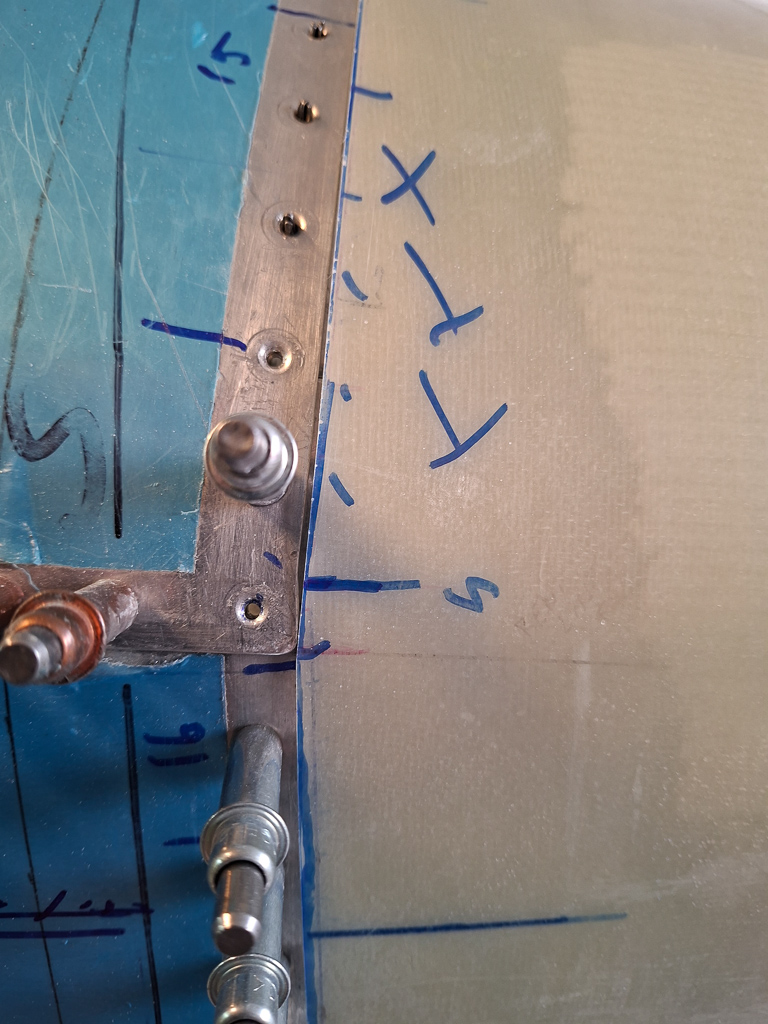
Here you see that once the cowl came down and fitted on the flanges, the horizontal line has to be trimmed down again. I marked a blue line and took of another millimeter.
By doing so, the front starts also to get more in alignment and I was also checking each time if the ring still fits nicely in the open air inlet.
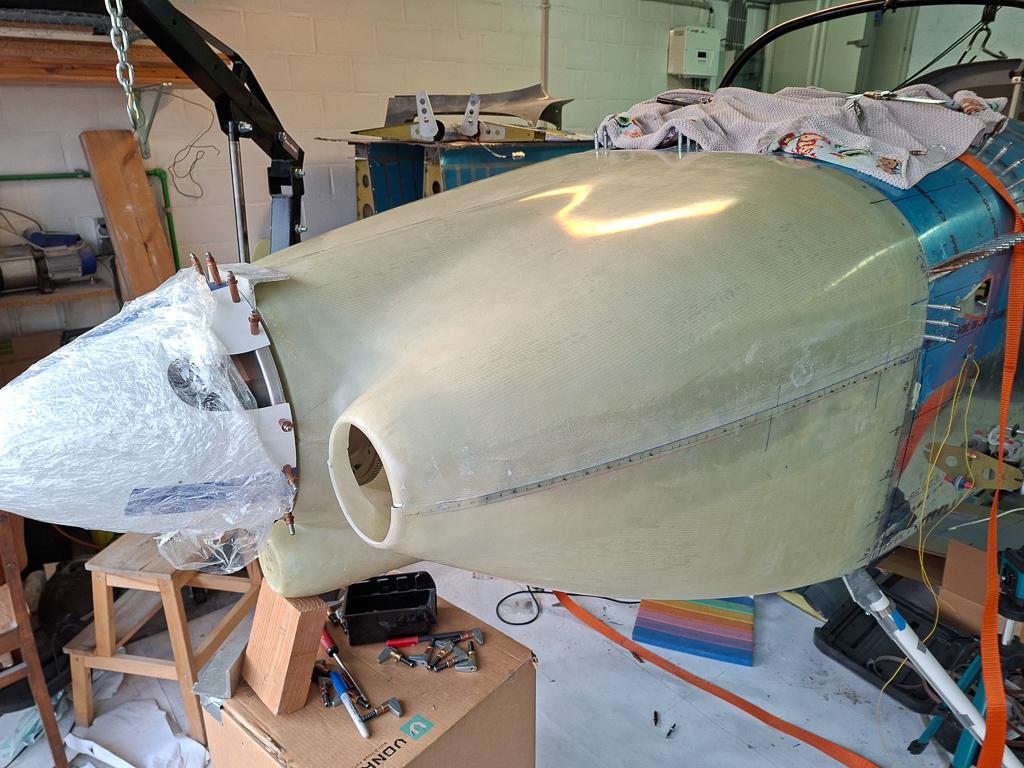
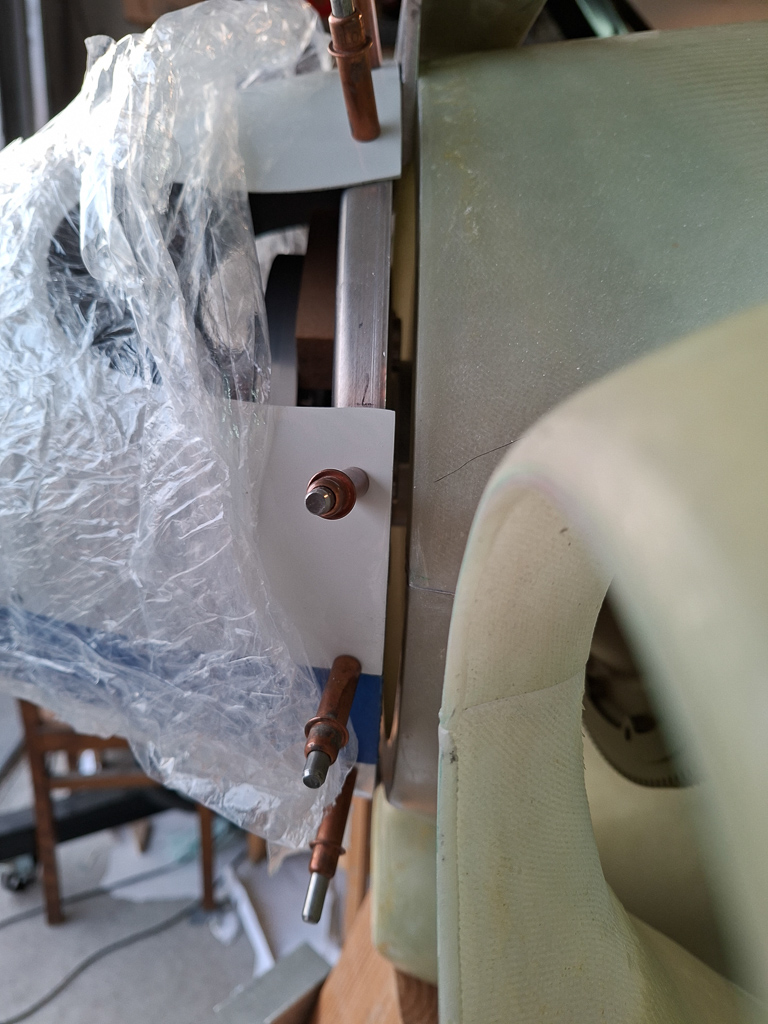
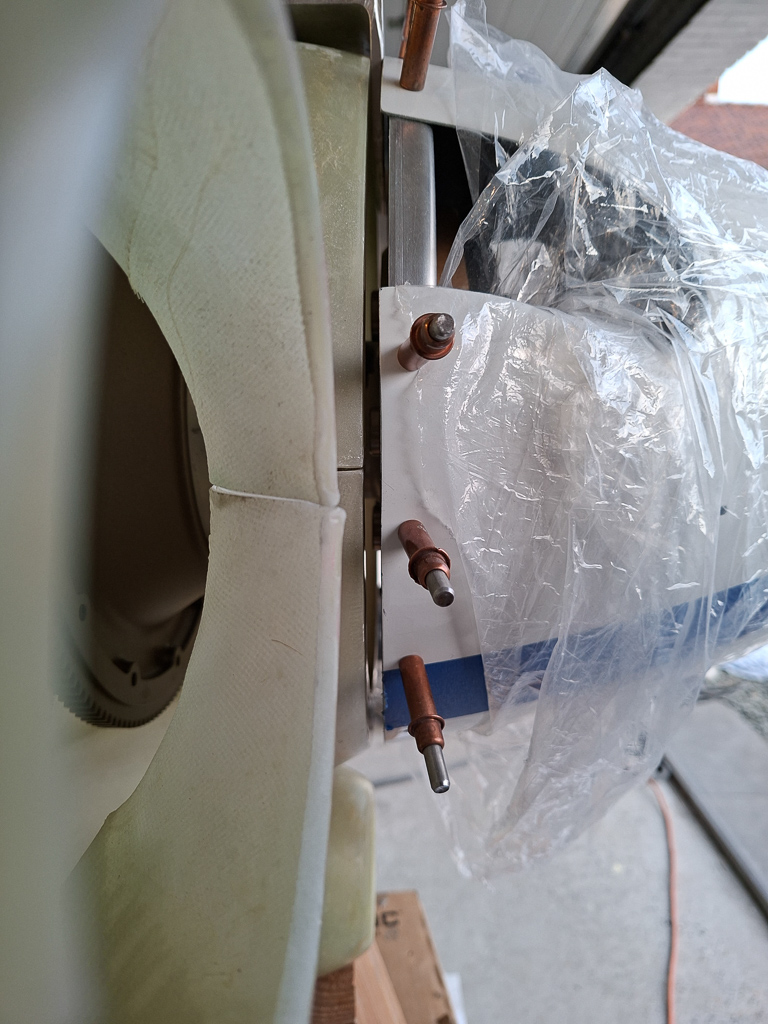
Key is to place the cowling at the distance from the spinner which is equal on all sides and has sufficient room so that the spinner cannot touch the cowl. A too big gap is also not good as it will be visually unappealing. I used the stock angle between the spinner and cowl to ensure the ideal distance. You can see the stock angle sticking between the parts in the image below.
Also make sure that the cowl is supported from the bottom to get the top cowl front aligned vertically with the spinner. In my case, the weight of the top cowl is moving the bottom cowling down a bit creating a too big step between spinner and top cowl. I put a wood block under the bottom cowl scoop to support it.
I hope that when I drill the holes for the fasteners in this way and attach top to bottom along the firewall line and sides, the cowling will become stiff and the whole thing will support itself and remain in the positions I defined here without any sag.
Hard to know now, but I'll see that when we get to that point.
Same view from the passenger side. There is a very small difference between the distance between pilot and passenger side but it's really minor.
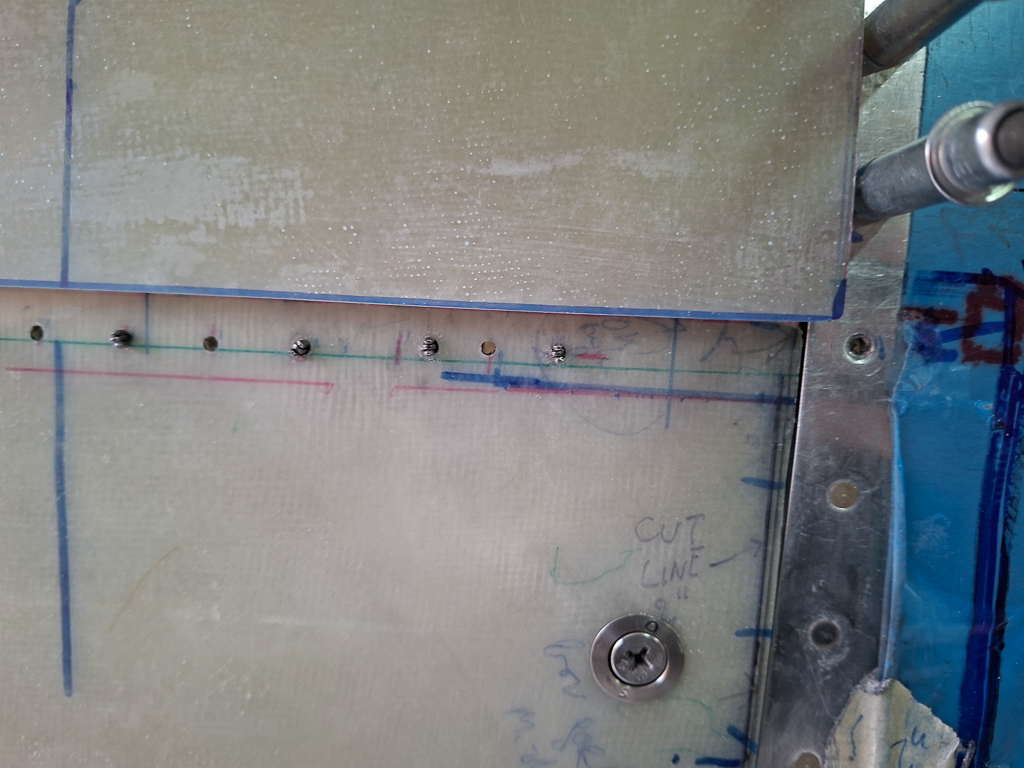
More trimming on the passenger side. The curved sides are good now so I marked them as 'no more touching', the top still needs some more trimming. I'm using the hand belt sander with 120grit paper on low speed to take away more material. On slow speed, you don't take away much material and you can be very acurate. I'm always using my long wood sandblock after using the hand belt sander to ensure the line remains straight. As the top line and side line is now pretty well defined, and the top cowl lays on the flanges, I can also trim down the rear vertical sides below the firewall bend line.
I'm getting very close to drilling the first fastener holes on the top cowl. It took a lot of patience and placing the cowl a hundred times on and off the plane to fit but I'm close to a good fit and it was worth the effort so far.