Continued work on drilling the passenger side flanges.
Used the steel ruler do determine FSF-R position and mark a line on the firewall skin. This is than the reference line to position the center of FSF-R flange.
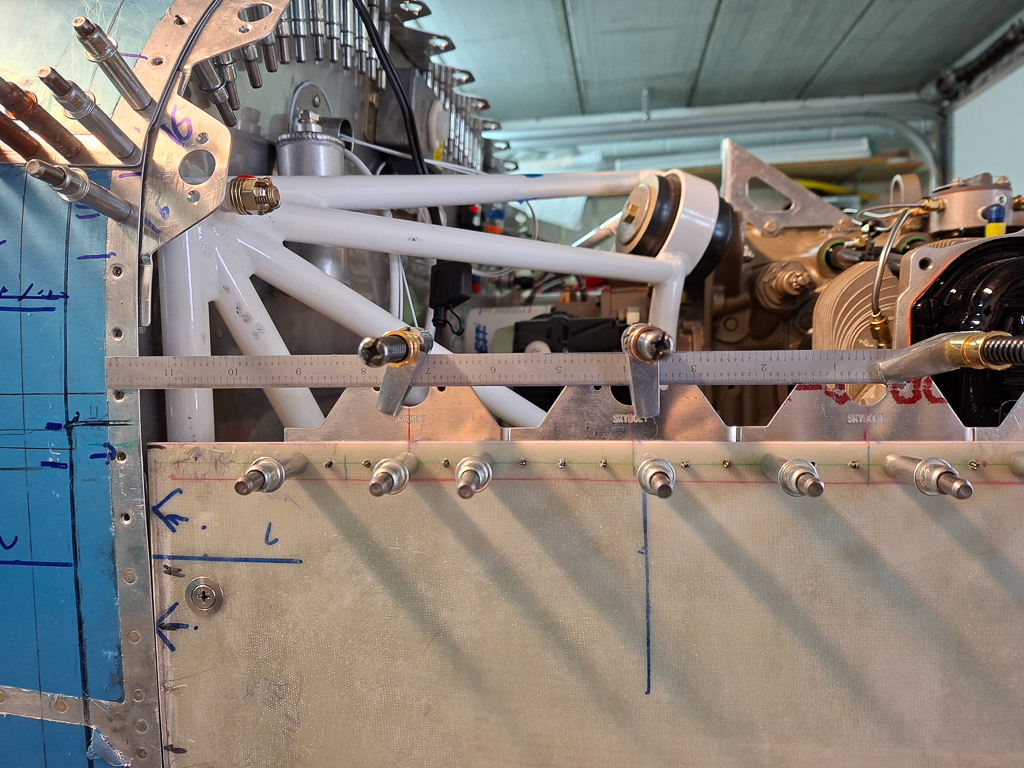
Here FSF-R is added and drilled in place.
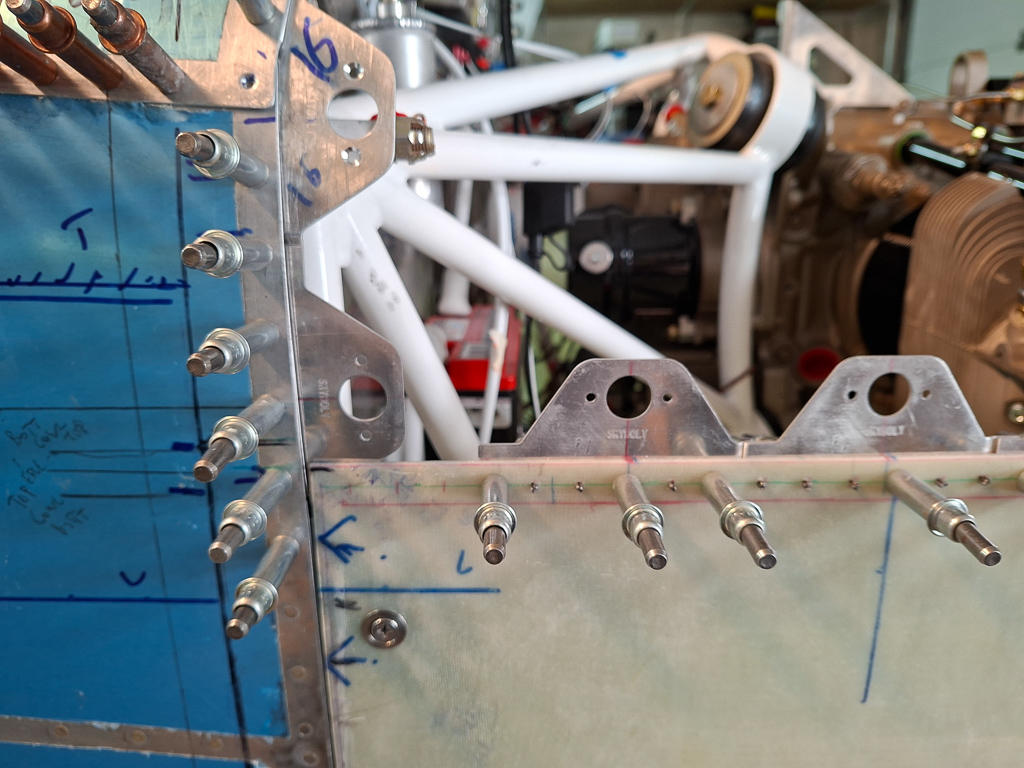
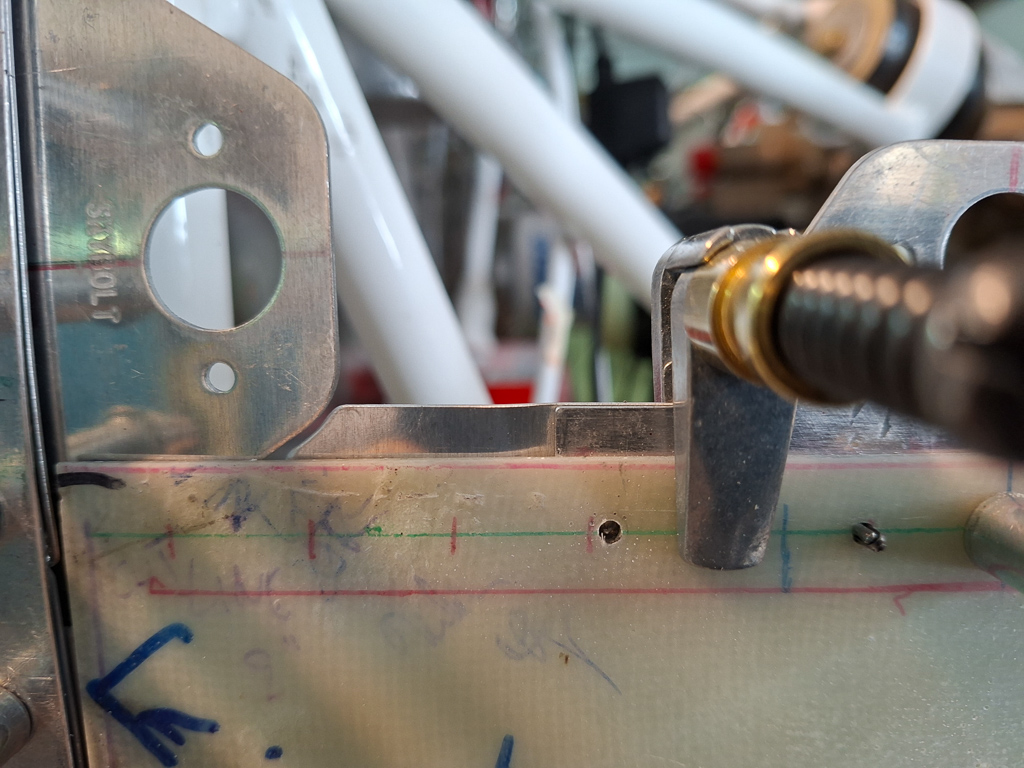
The gap between the first flange on the side and FSF-R is a bit more difficult to cover here. You need a longer piece simulating the joggled bend in the flanges to cover the back of the last flange on the sides.
I managed to make a bend that works well.
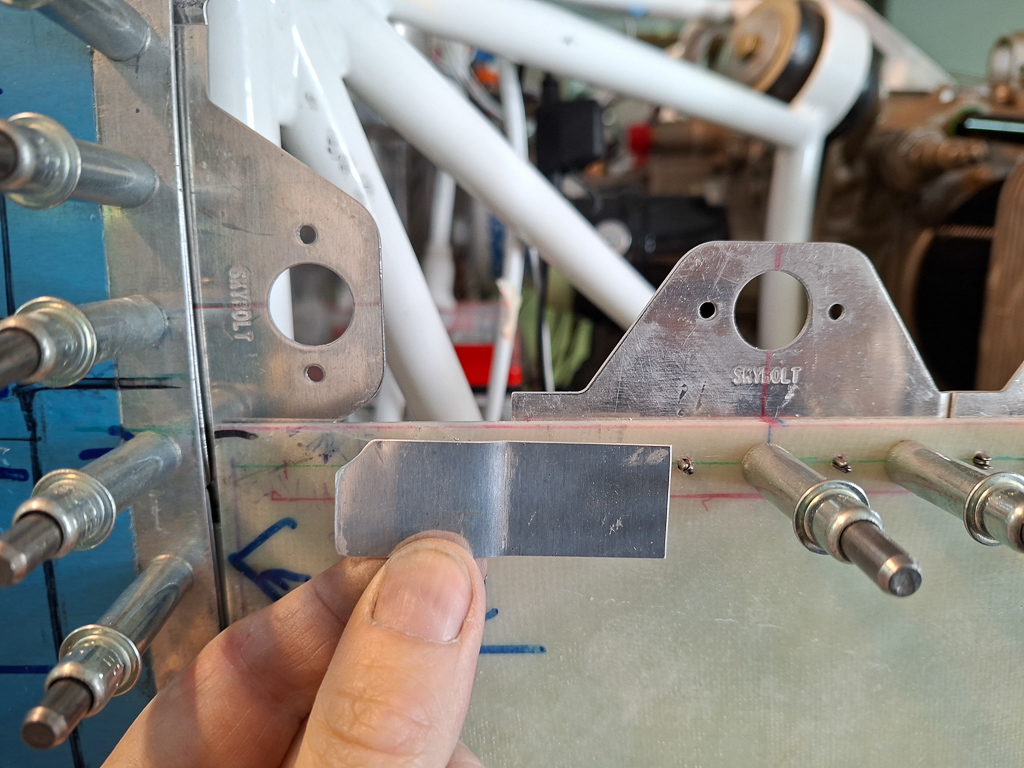
Clamped it in place and drilled.
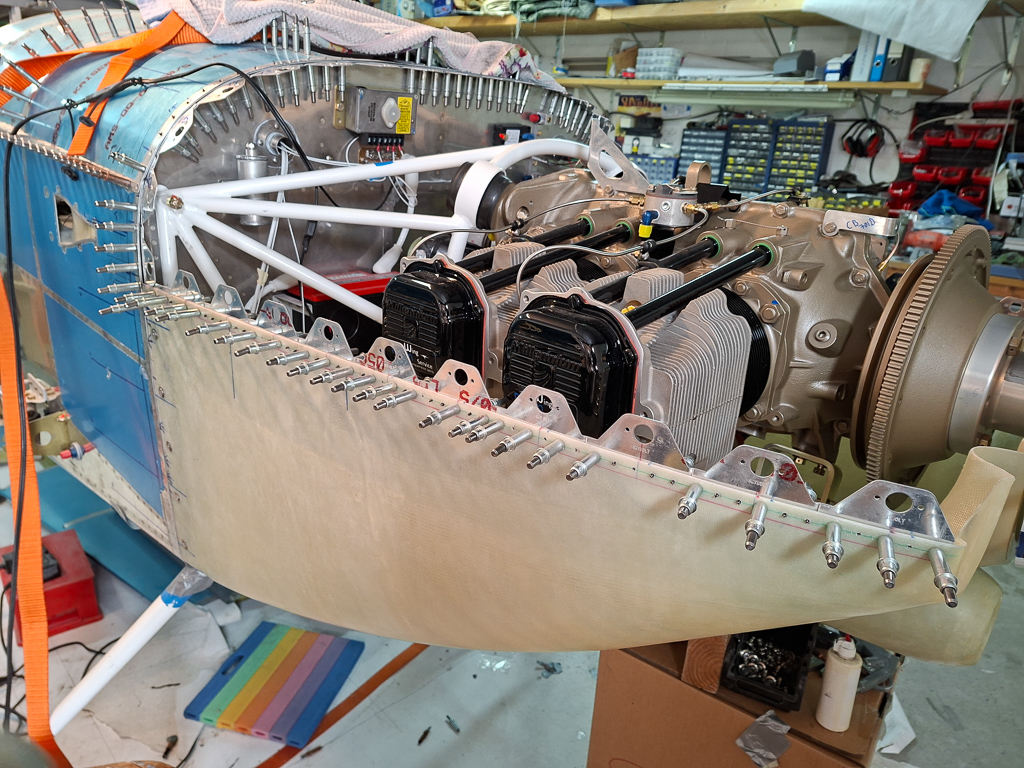
Passenger side fully drilled.
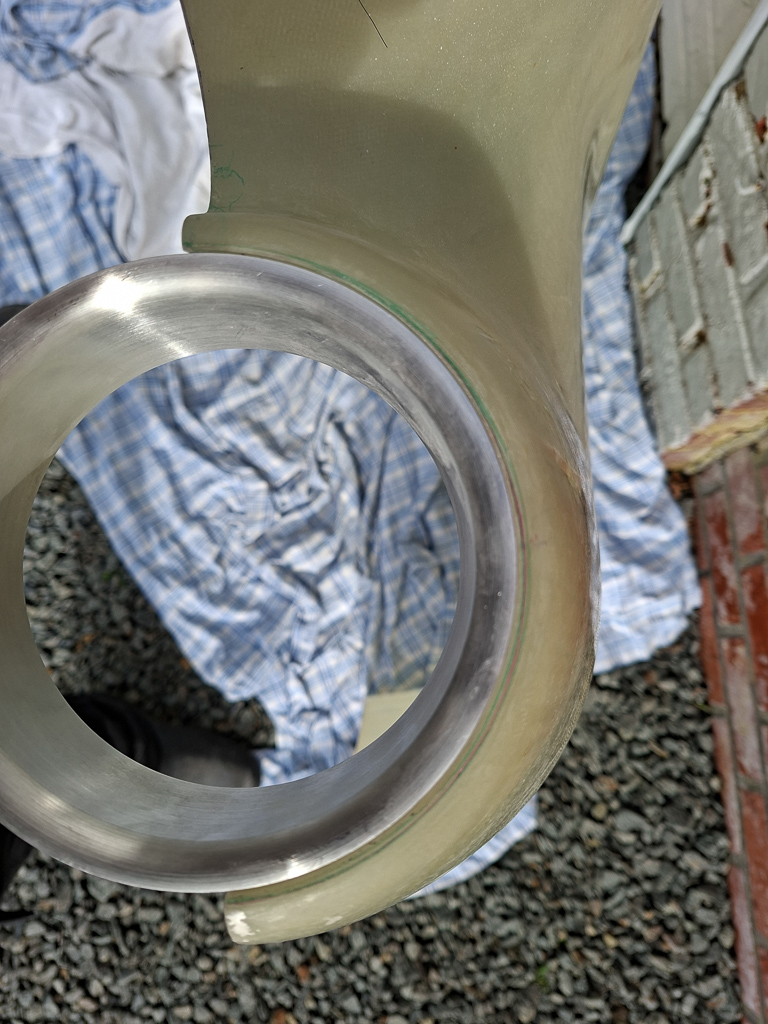
With the time left, I started marking and cutting out the air inlet holes from the top cowling. I placed the rings directly on the cowl and traced the edge.
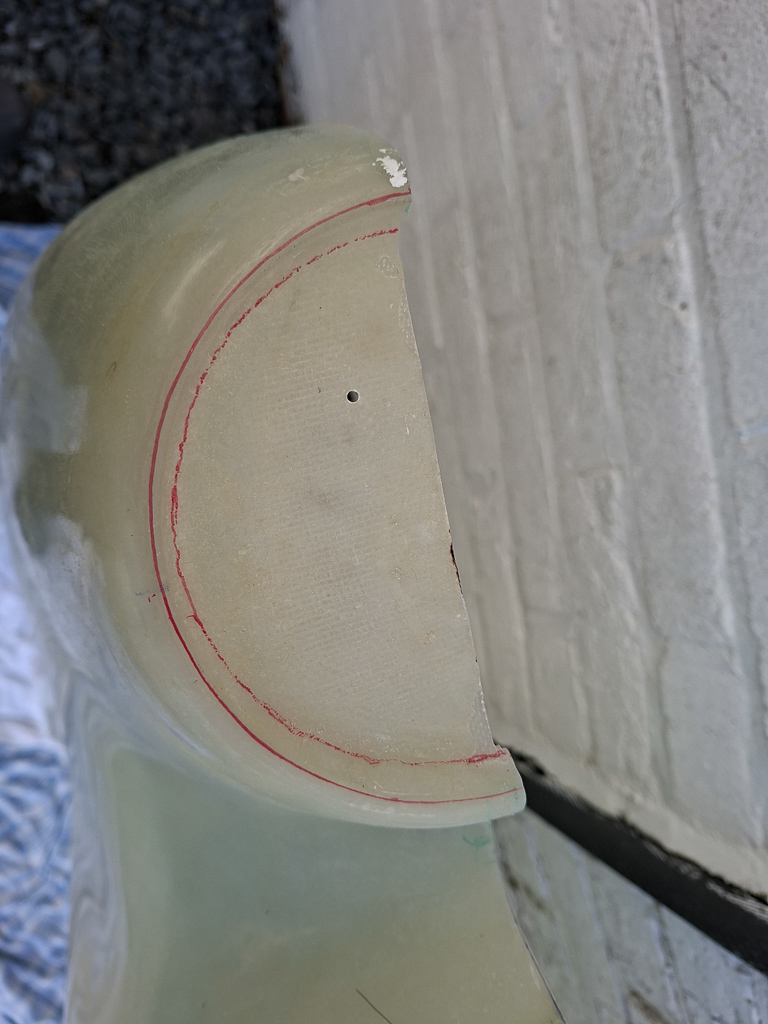
Then I started cutting close to this line and using a dremel with sanding disc curved it nicely round. Each time checking the fit of the air intake ring. sanding a bit more and trying again.
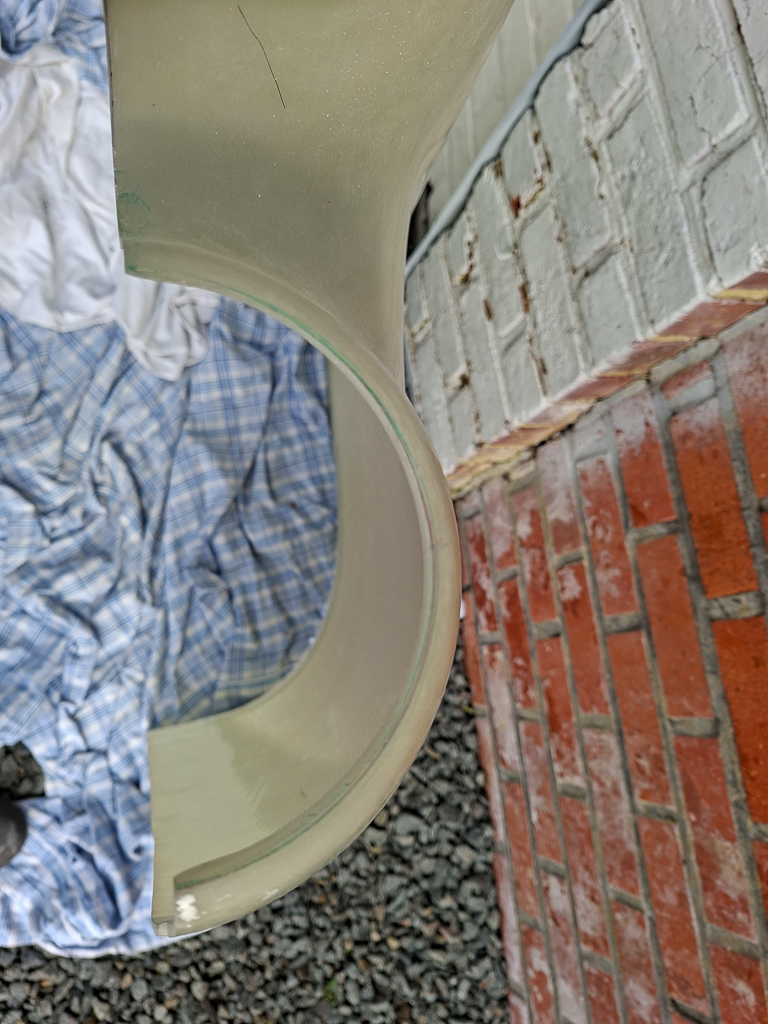
This is as far as I will go for now. I might go a bit wider but I first want to cut the bottom cowl side as well and verify the global fit.
The reason I'm doing this now is because I want to get a better idea of how good my initial cut on the front of the top cowl was and if I need to cut a bit more there. I can only do that if I know both halves fit nicely around the intake ring. The reason I want to know the front is because I also want to start cutting back the bottom of the top cowling side line in order to get a closer fit without overlapping. This will give me a less distorted bottom cowl and hopefully allows me to cut back precisely on the top cowling at the firewall top line.