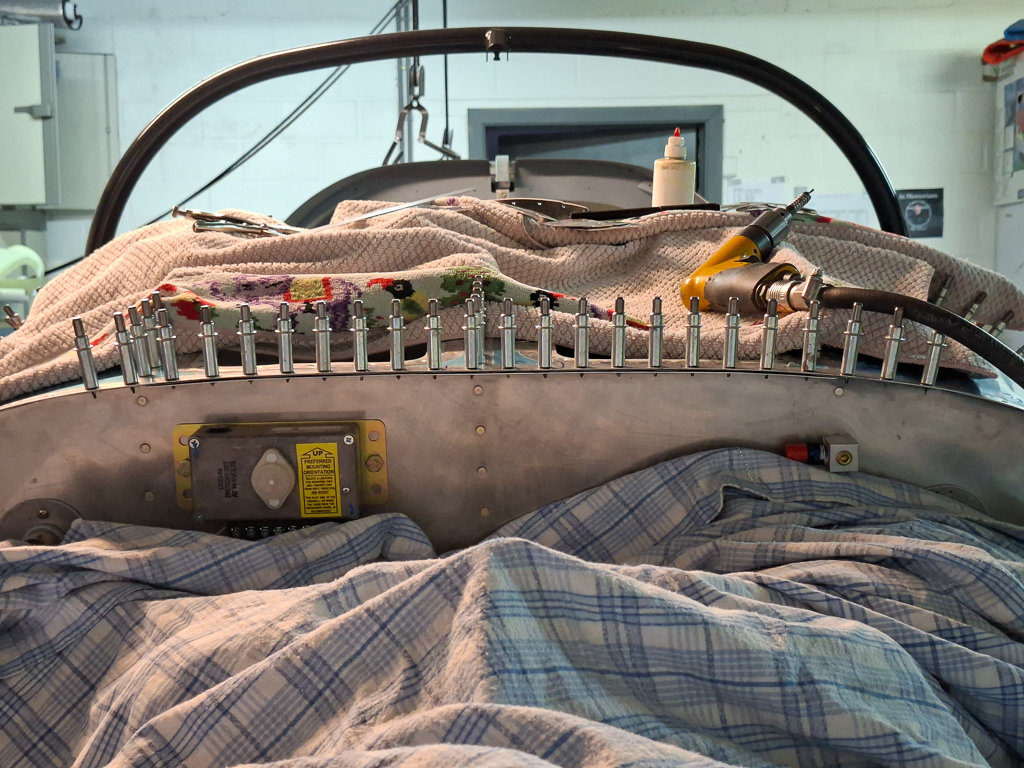
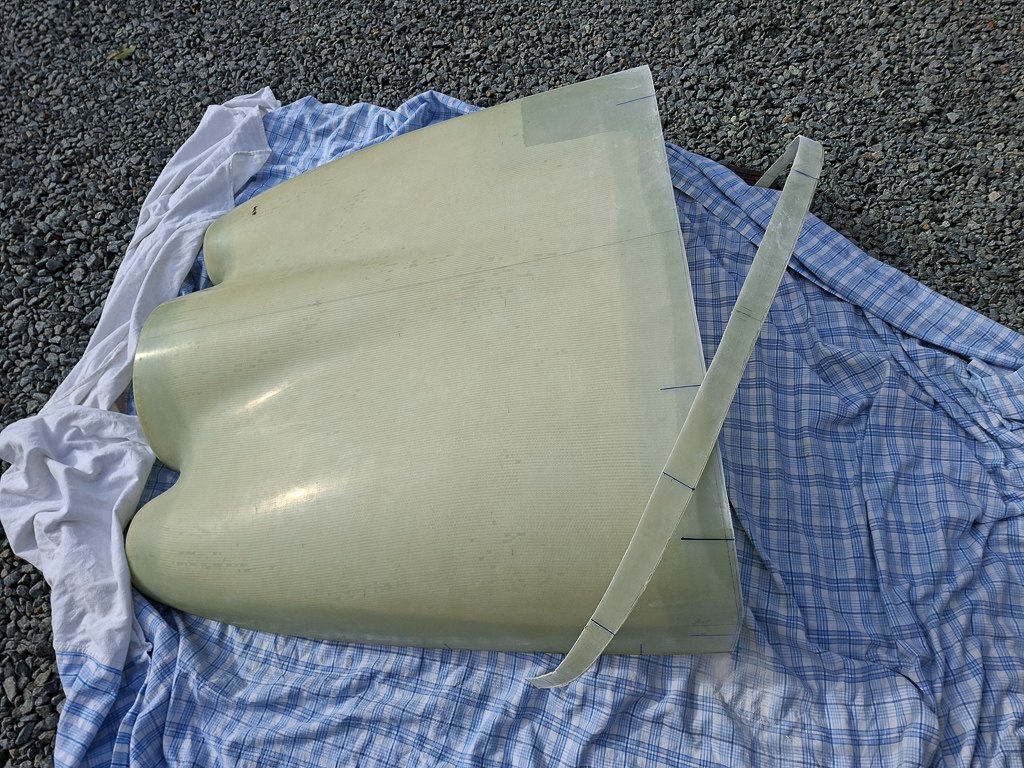
I realized I forgot one important detail before starting cutting of the top cowling. I still needed to create some 0.032 shims underneath the flanges to lower the flanges in order to get a good transition with the fuselage top skin. So had to take them all off again and make some long strips of aluminum stock along the entire length of the firewall flange. I made multiple sections, the image below shows the top center section drilled in place. I remember Vans delivered some long strips of aluminum cut to width and I always wondered what they were used for. In the end I cut them up and used them as shims under the empenage fairing. I hate myself for that now as now I have to make long straight strips by hand. That takes time... Fortunatly I still had the canopy rear skirts in aluminum which I have not used as I have fabricated my own skirt in epoxy and this was 0.032 sheet. They are rather long so make up as perfect stock for cutting up into long shims.
Then moved down left and right. Clamped it on and drilled.
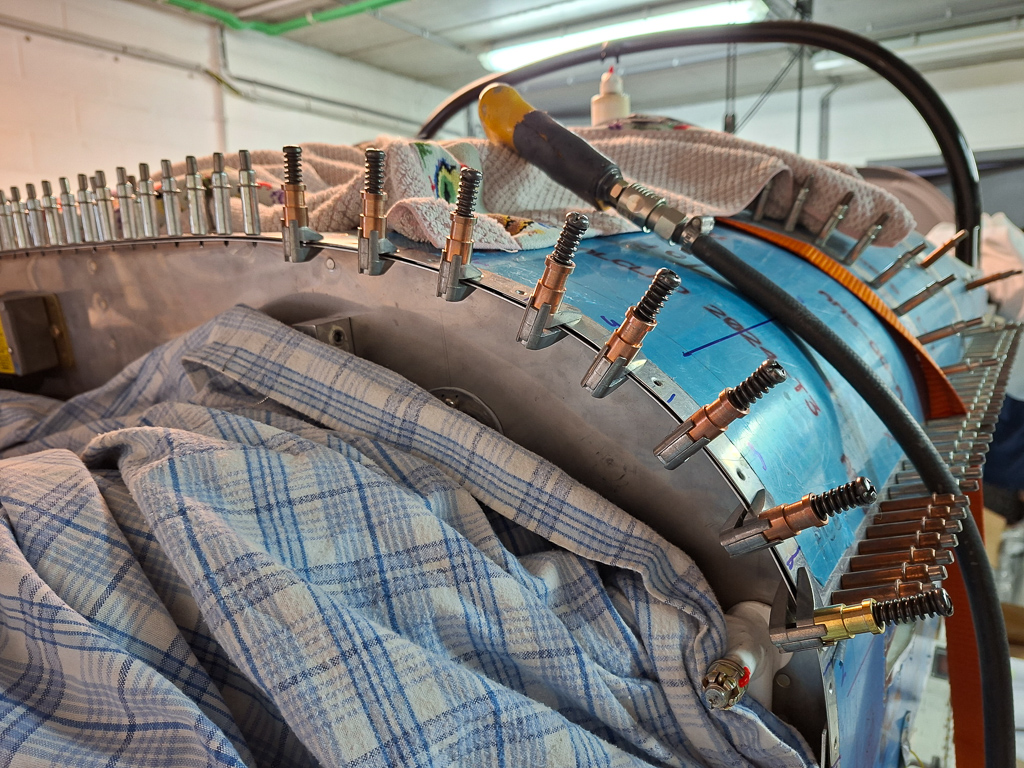
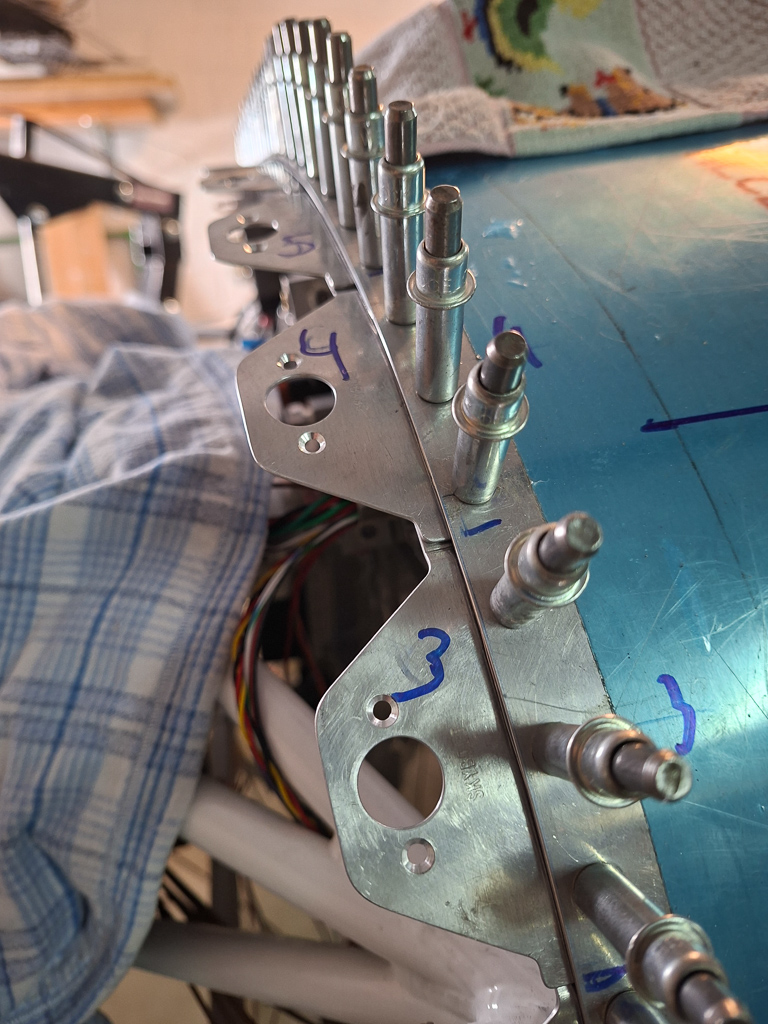
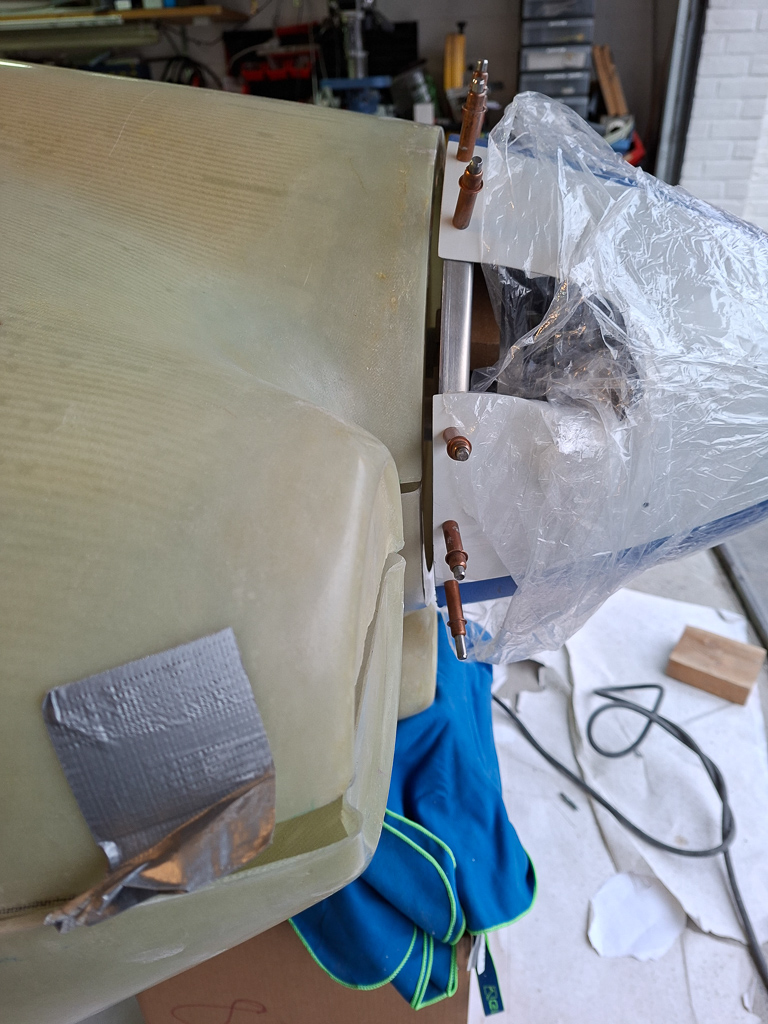
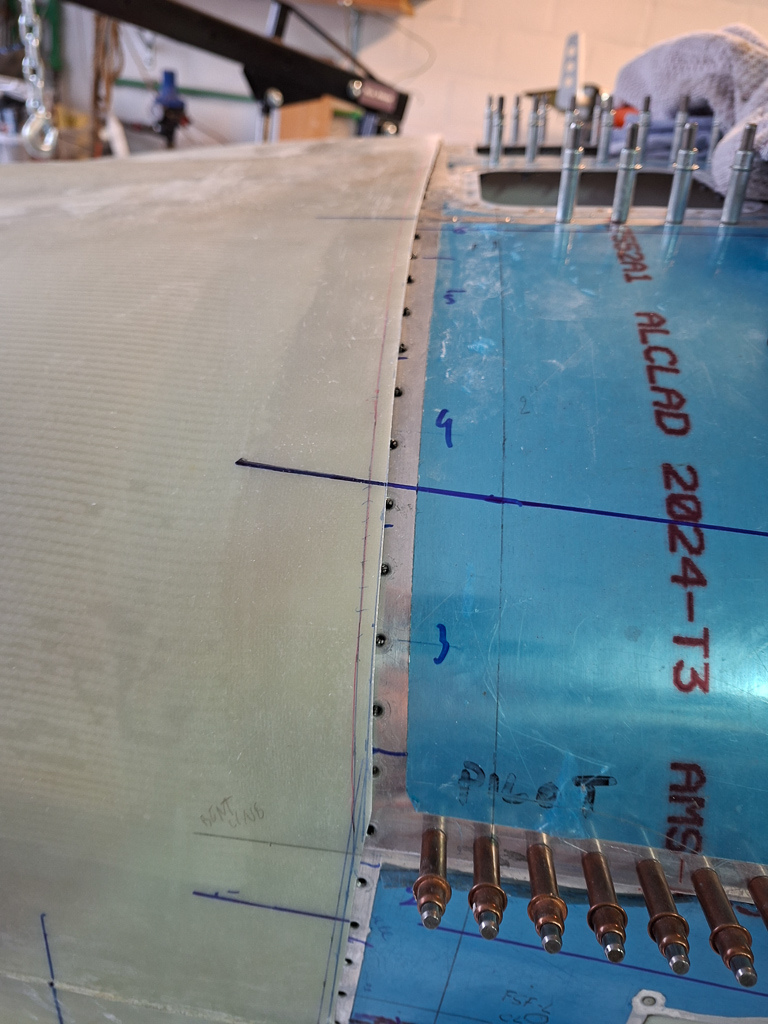
Then reinstalled all flanges to get the extra depth to accommodate for the cowling thickness. As you see, I numbered the flanges and wrote the corresponding number on the fuselage skin. I also countersunk and cleaned all edges on all top fuselage flanges. A short sentence describing what in reality took a half day work.
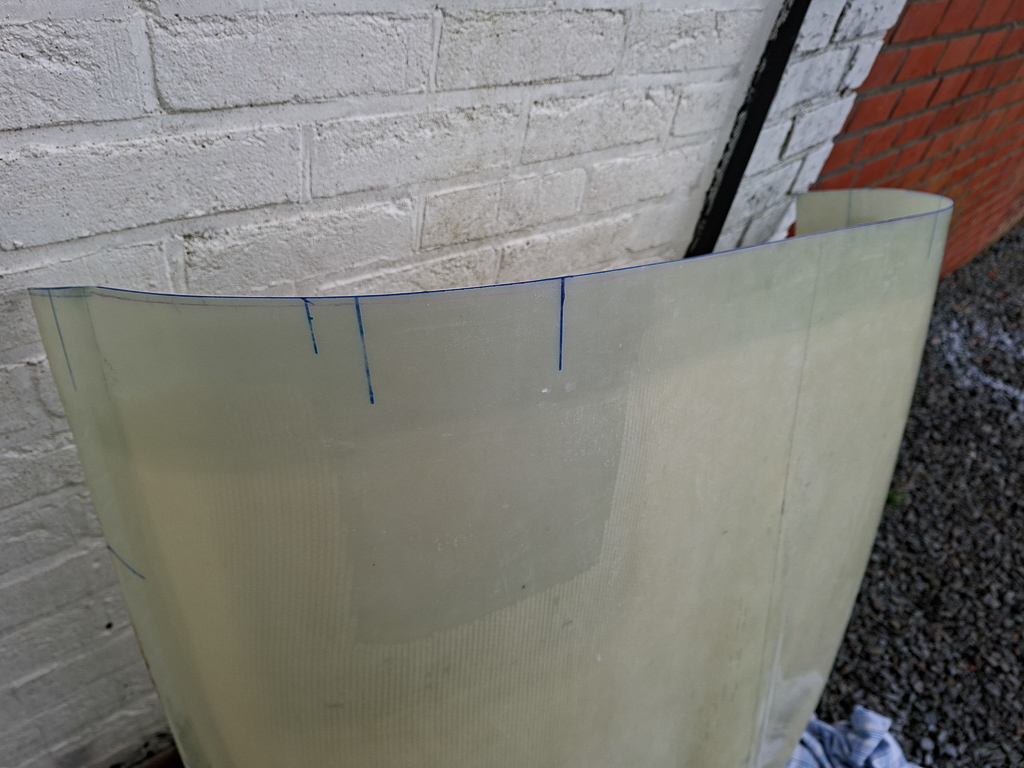
Then I repositioned the cowl, double checked cut line measurements and used the plexi cutting disc delivered with the canopy to cut a straight line near (but not on) the marked line). Be conservative at this point. It's hard to picture the final position during the first measurements so be carefull cutting to close. What's gone is gone and it's ugly to have a wide gap between cowl and skin.
Cut off complete.
Repositioned the cowl and tried to match the location around the spinner. This will always be your reference point for positioning. Everything else still can be re-adjusted at this point but the front around the spinner has to match quite accuratly.
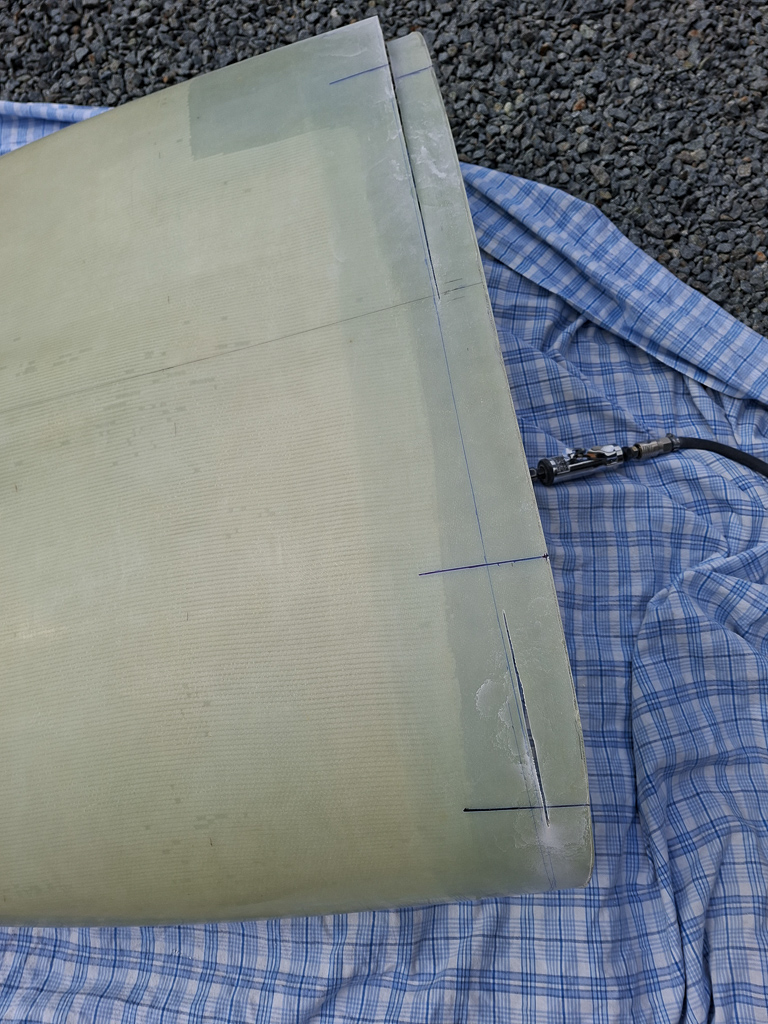
What makes this very difficult is the overlap on the sides near the front of the cowling (where the duct tape is in the image). It prevents you to lay the cowling down nicely and pulling it over de-forms the bottom cowl a bit. It's too early to cut the sides at this point so I will have to do it with this for now. What I want to do at this point is getting the spacing of the front of the top cowl in line with the distance from the spinner. I used a piece of thick aluminum angle for this as it represented the spacing I wanted to achieve (it's the material used to make is AA6-187x2x2 which is the left over of stock used to make F-601J angle on the firewall. This thickness is a nice spacing distance between cowl and spinner.
Then the process of sanding down started. It takes a zillion times positioning the cowling, marking and sanding a bit more.
I used a narrow hand beld sander. It works really well if you have the right skill and technique to sand straight lines. I used 80 up to 180 grit sanding paper belts on low speed to smoothly walk over the edge and bring the line down forward. Make sure you also have some sandpaper glued to a long straight woodblock so you can often check if your line is still straight.