Continued and finalised the installation of the Skybolt fasteners on the bottom cowling. It is now fully hanging by the grommets and retainers in the Skybolt CLoc kit. Below are some more detailed images.
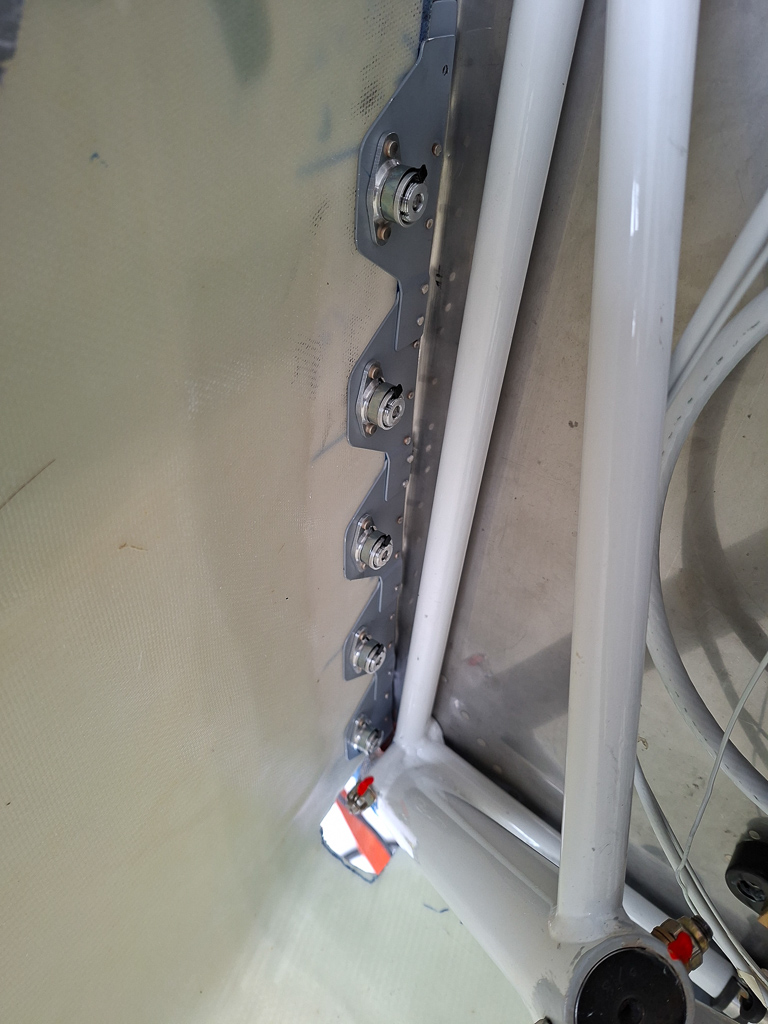
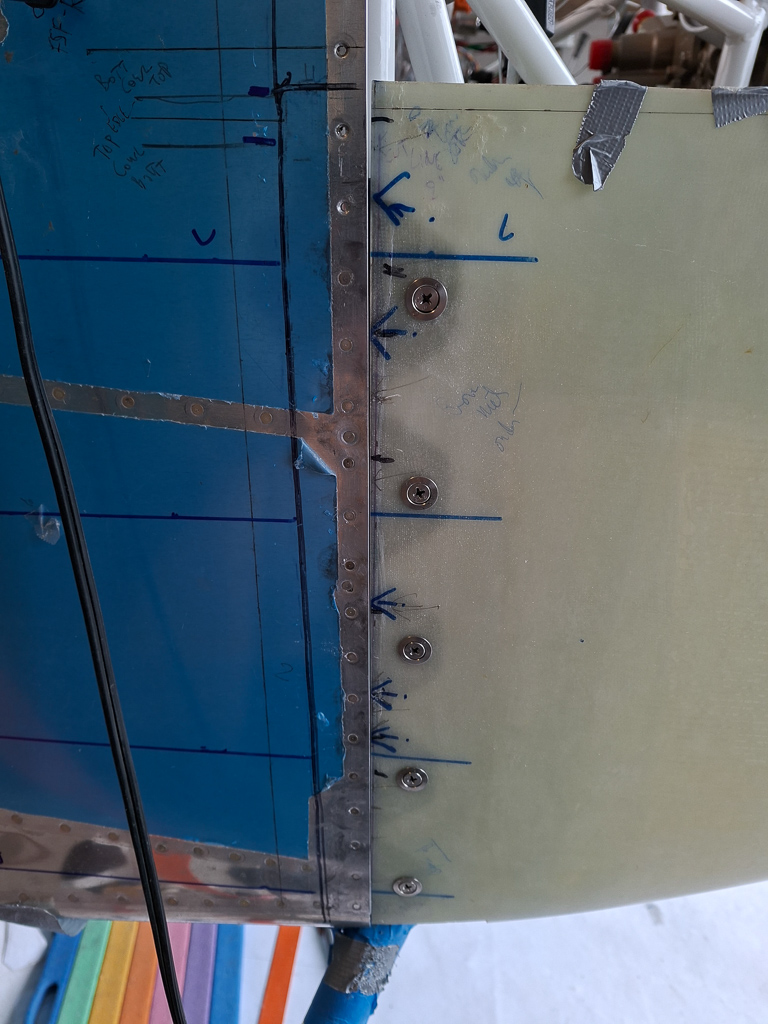
Passenger side vertical line. All locking pins in the recepticals are oriented up.
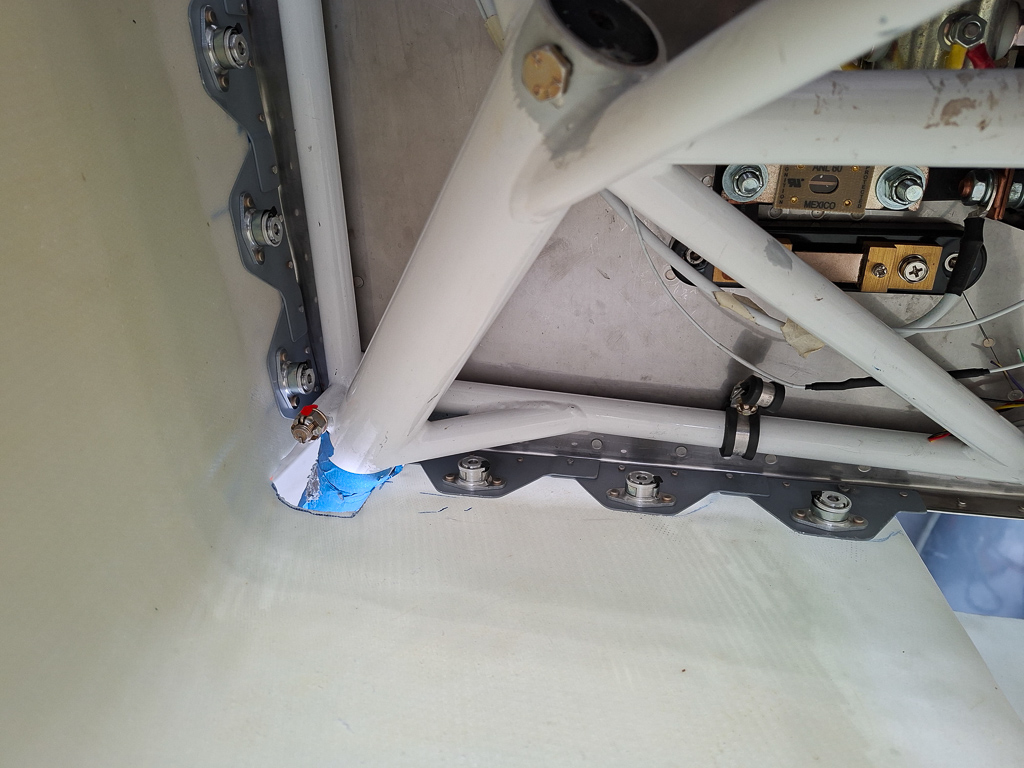
Bottom corner passenger side. The cutout for the legs are a bit large and I will close these down with some epoxy later on.
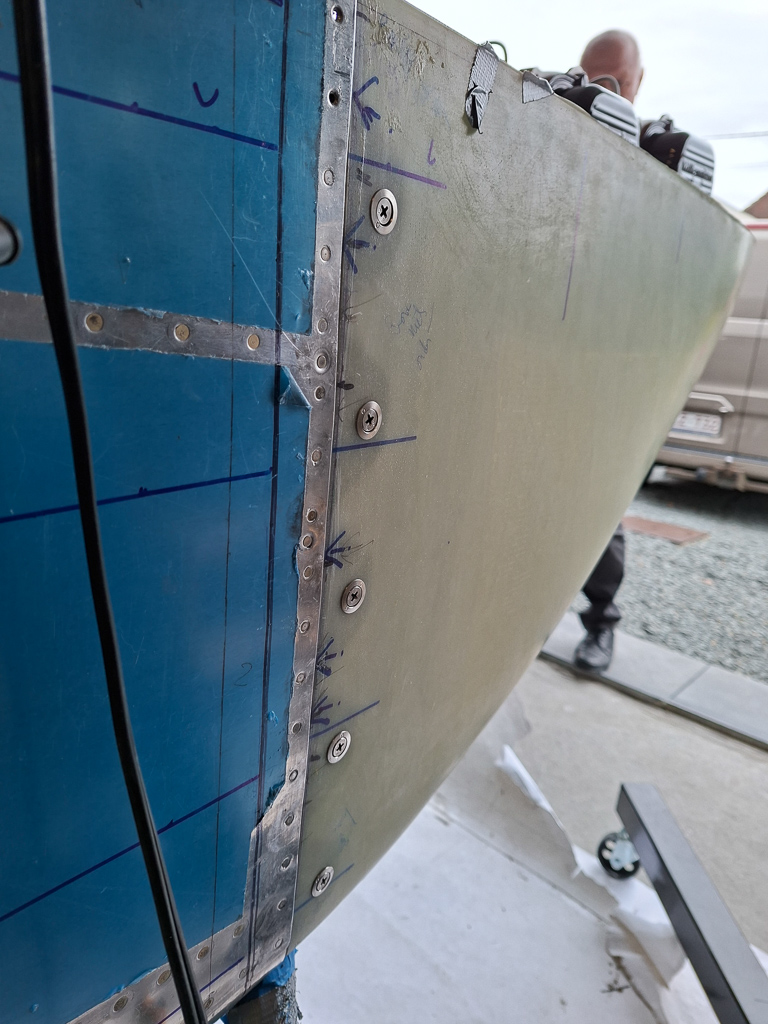
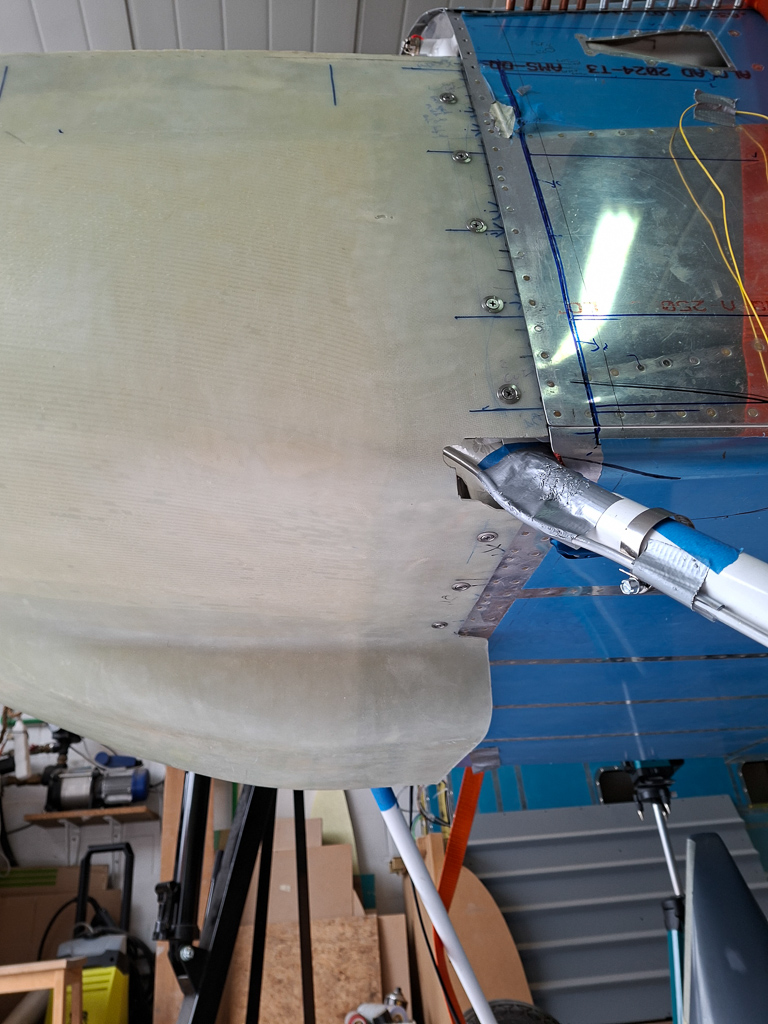
This is the same side view from the outside. The fit is good. There is a small gap on the top inch but it's due to the cowl being unsupported and hanging by it's weight, pulling the cowl forward a bit. I think this will not happen anymore when the top cowl will be installed and stiffen up the entire cowl structure.
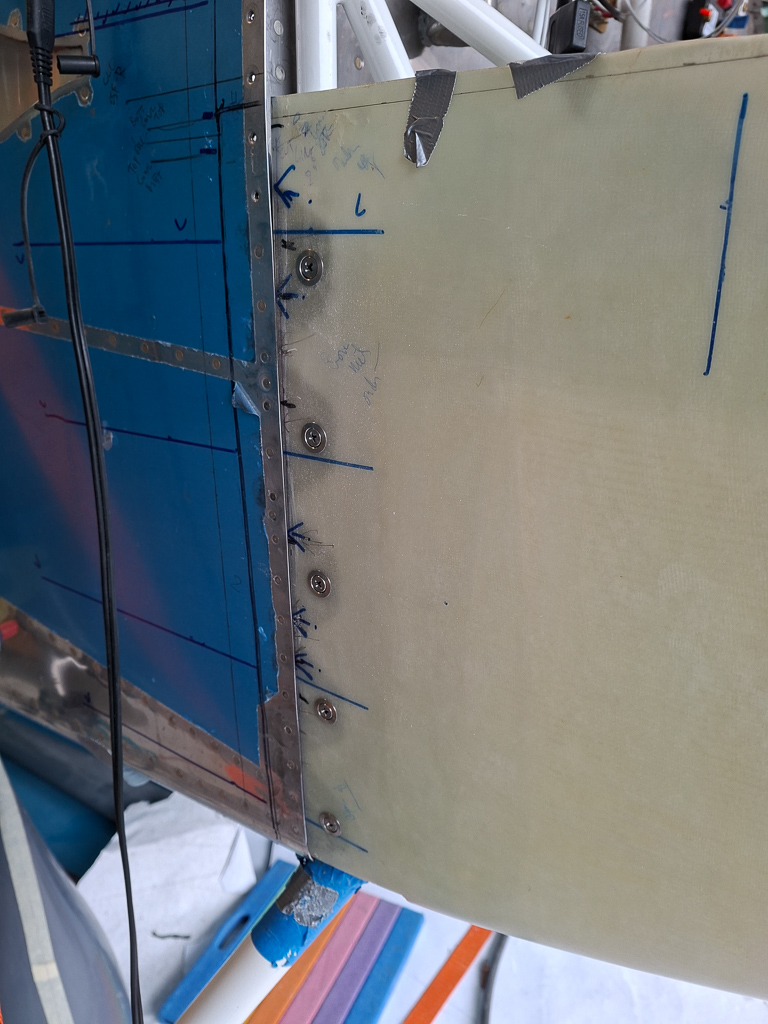
You can see the gap better in the image below. I can push the cowl back a bit from the front and then it closes up again. I'm not too worried about this now. The entire cowl back line will have to be sanded a bit more in the end to allow for the 0.02 paint gauge gap.
The alignment is good. Not perfect but more than good enough for my quality standards. I may sand the edge down a bit where the cowl is still a small bit wider than the fuselage. I would be more concerned if the fuselage would be wider. In my case there's a very minor step from the cowl to the fuselage. I could make an even thicker shim between cowl and fuselage but i prefer not to go thicker than 0.032 sheet for the shim.
Same image on the pilot side.
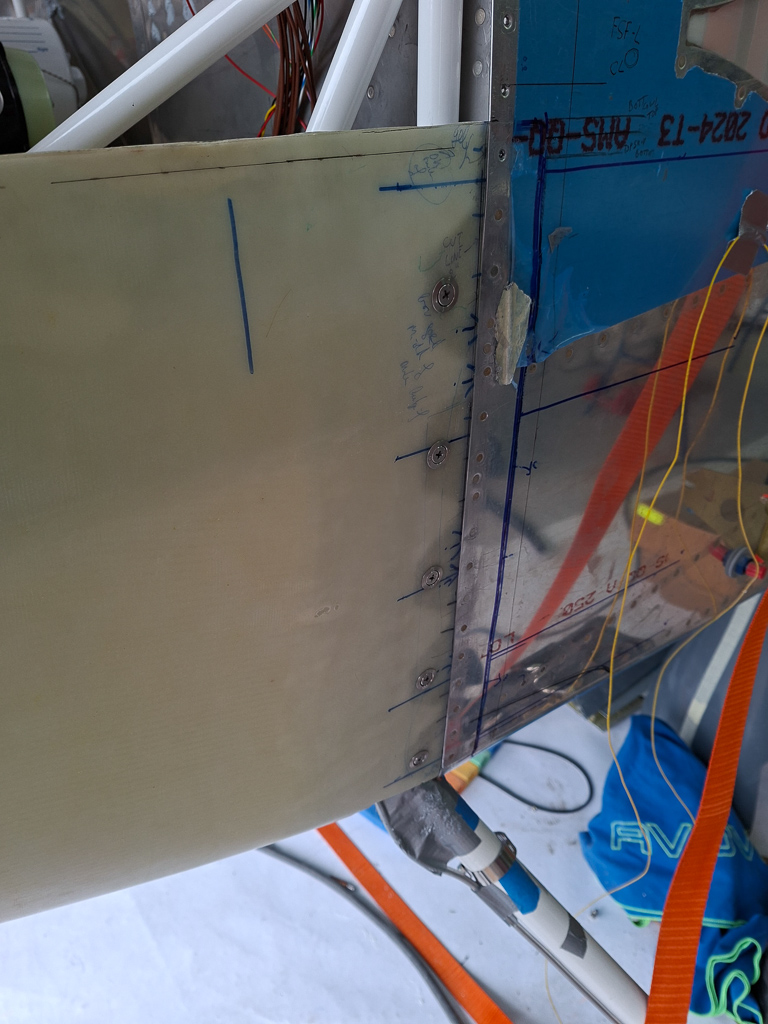
Same remark on this side. Cowl is very slightly wider than the fuselage but nothing to worry about. The Grand Prize Jury will definitely notice this but it's the least of my worries right now. After 16 years, you just want the damned thing to fly and not win beauty contests.
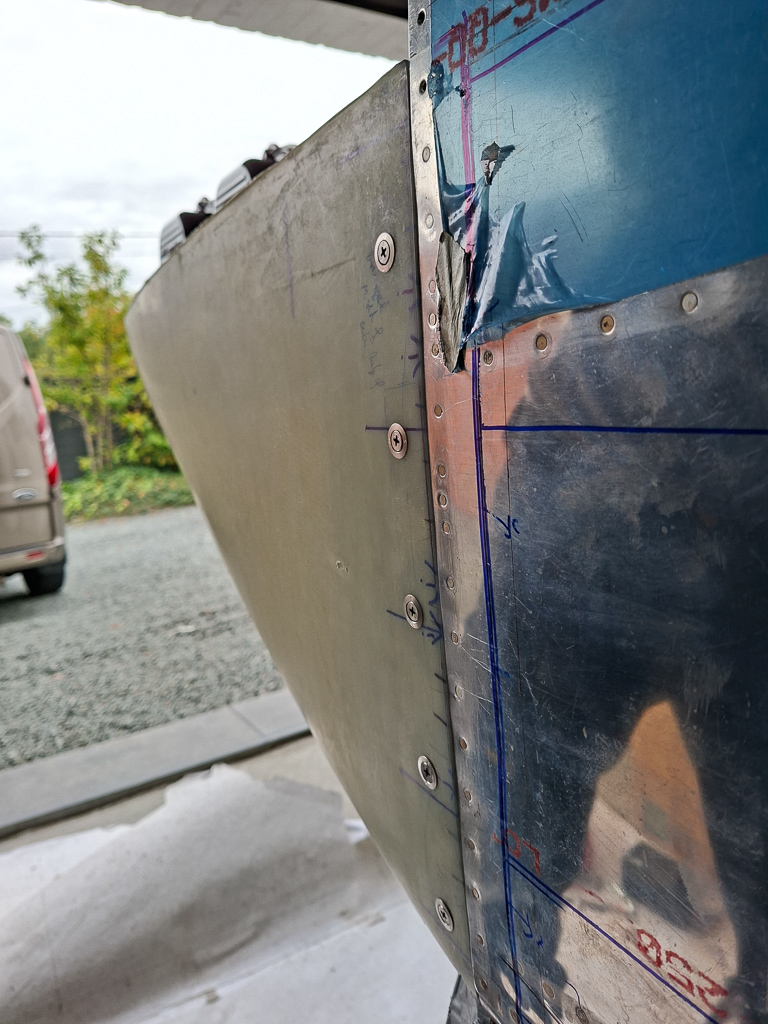
View of the pilot side showing bottom and side of the bottom cowling.
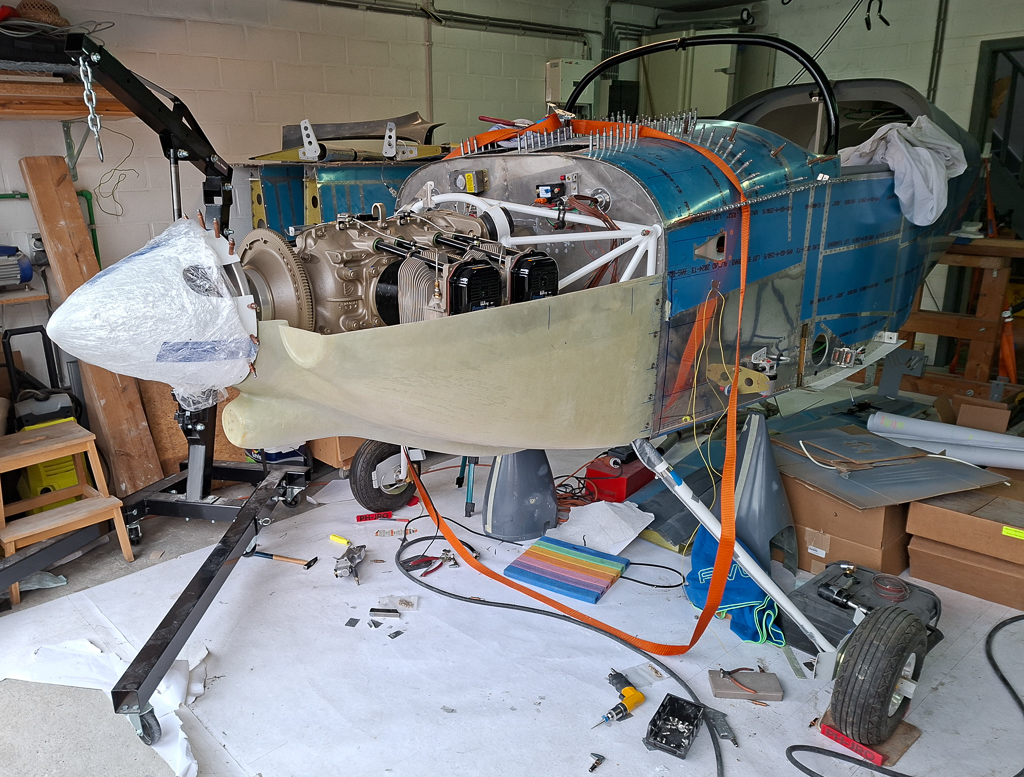
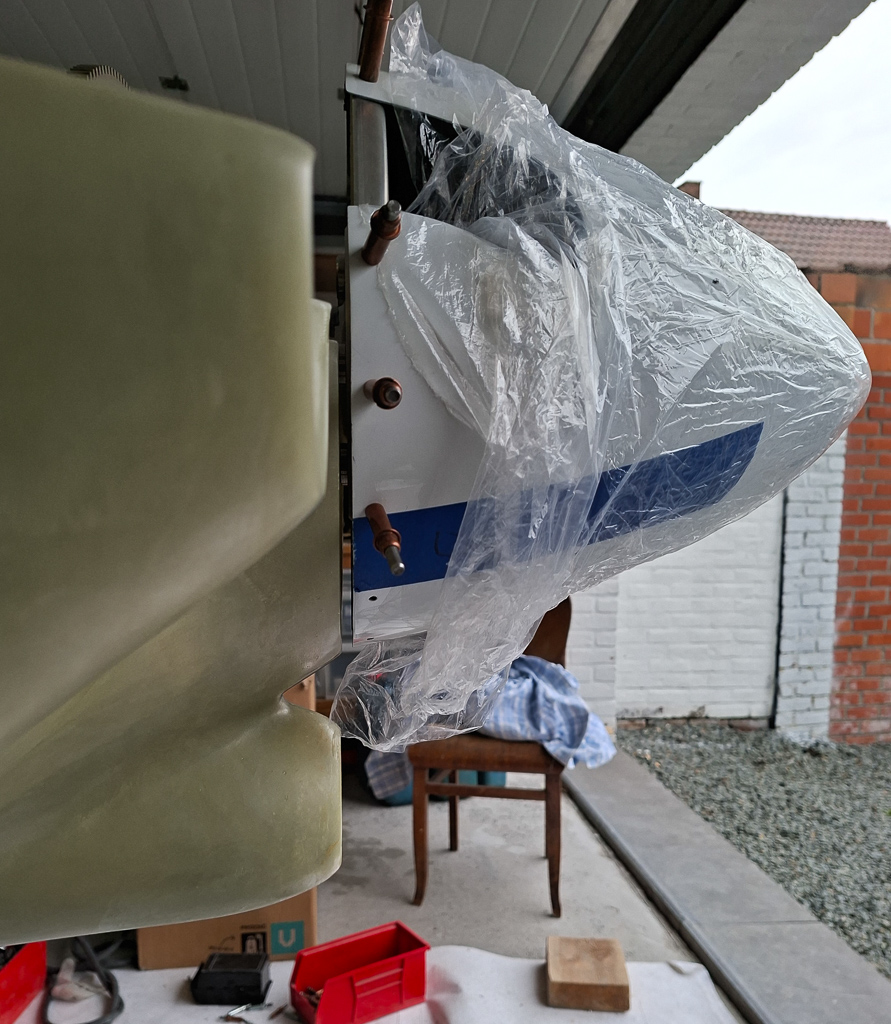
The cowl is hanging by itself now and the gap around the spinner is still in the place I wanted it to be. Good result for now, this is a good basis for starting mating of the top cowling..
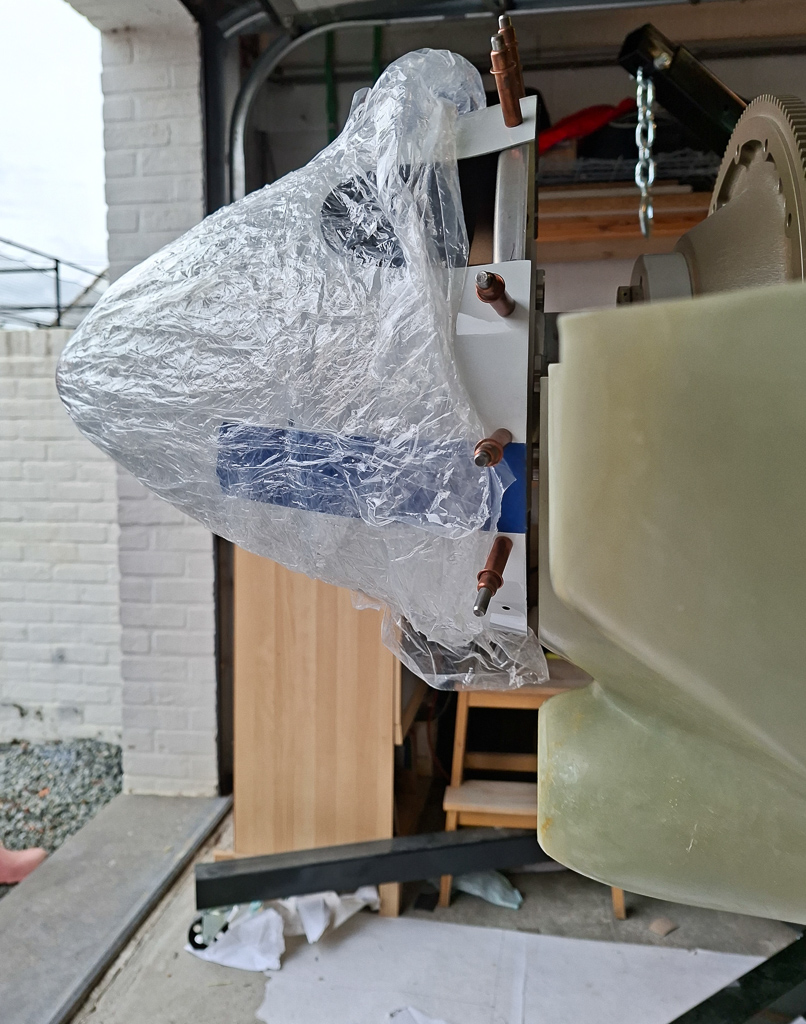
Same view from the other side