An exciting day working on the bottom cowling. Finally got to the point that I can install the skybolt CLoc receptacles and hand the cowling by it's skybolt fasteners.
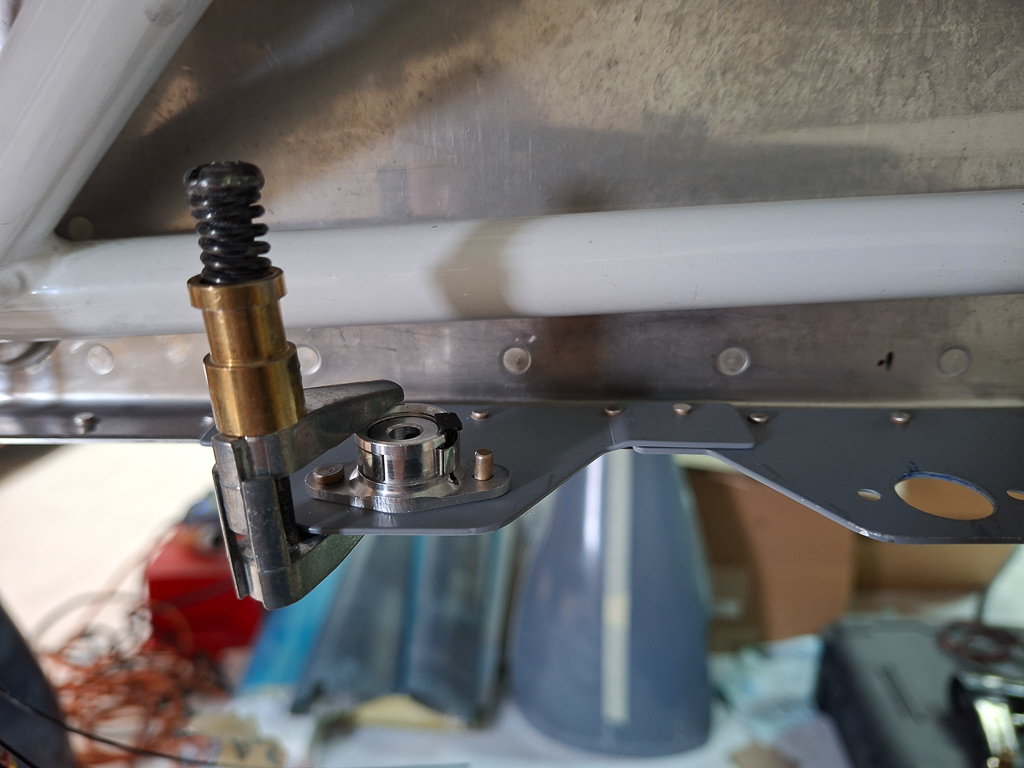
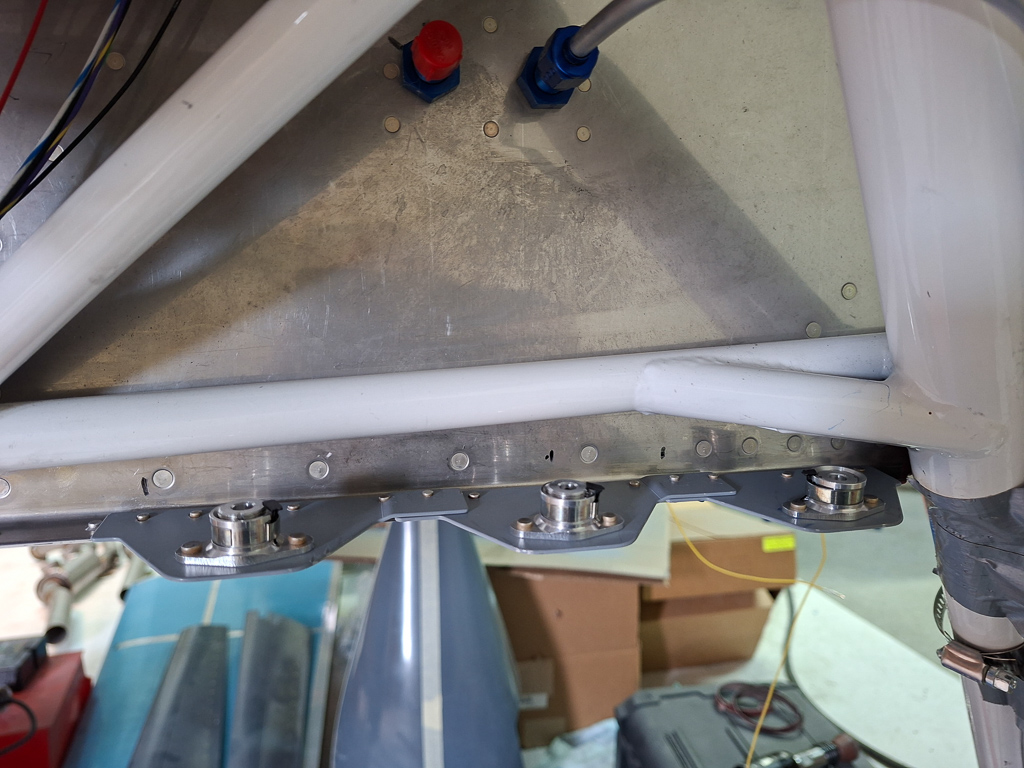
First I had to rivet the receptacles on the Skybolt flanges. As mentioned in the manual, make sure the locking pins are easily accessible. On the sides, orient them so that the locking pins are in the top, in the bottom ones (as in the image) , I oriented them to the inside. The locking mechanisms are the small black plastic pins you can see in the image on the edge of the receptacle. As long as the pin is inside, you can turn the fastener in or outwards making it sit deeper inside the cowl. You need to turn them so that the screw is flush with the aluminum grommets. Once flush, you can lock the position by removing the pin, then with a screwdriver turning the inner mechanism in the receptacle to the 1:00/7:00 position and you will see/hear the locking clip locking the insert. I will wait with this step until all fasteners are in and the cowl is fully in place.
You can still adjust the depth later but it requires inserting a metal pin (pick tool) in the same location to unlock the locking feature but it's a hassle and I prefer to do all of them at once. I used the pneumatic squeezer to set all the AD4 rivets.
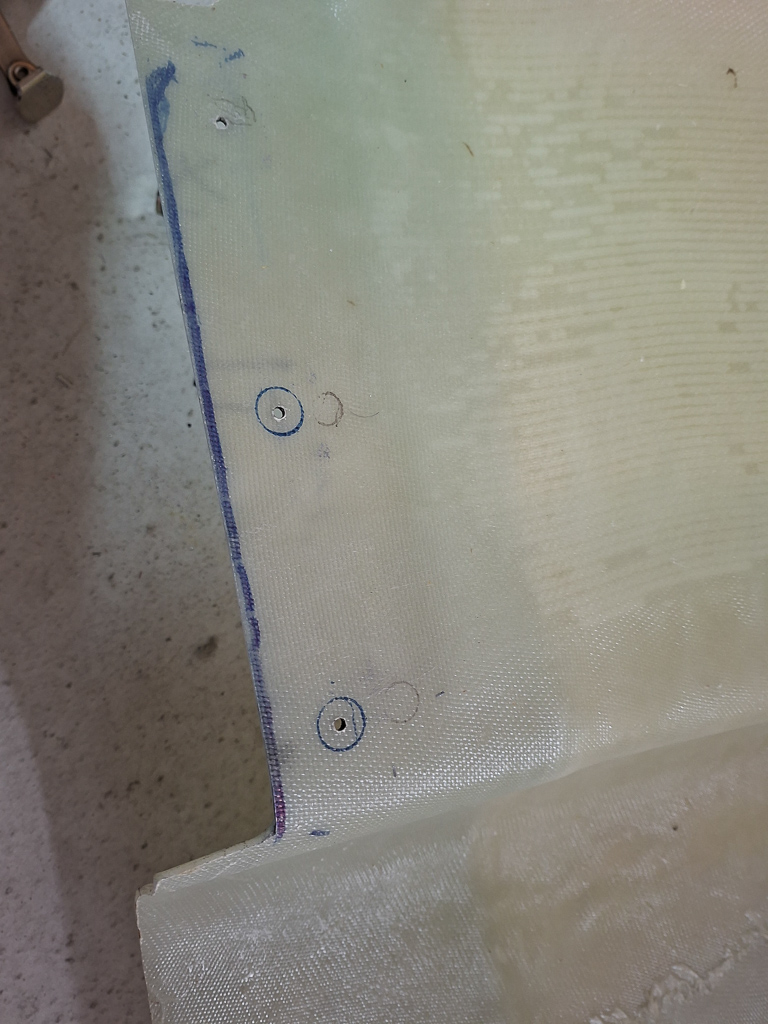
Previously , I had all the holes drilled in the lower cowling to #30 by using the cleco retainers delivered with the Skybolt kit. These things are worth gold and I wish they even would have supplied some more of them. With the cowl installed with all the cleco fasteners, I removed one fastener at a time and traced a line with a sharpie pen around the inner opening where the receptacle has to come. This gives you the perfect reference where the grommet and fastener have to come through the cowling. The bonus is that the drilled #30 hole is already perfectly centered so this makes the updrilling much easier. I did one by one, each time removing, tracing and replacing the cleco fastener so that the position of the cowl stays well in place.
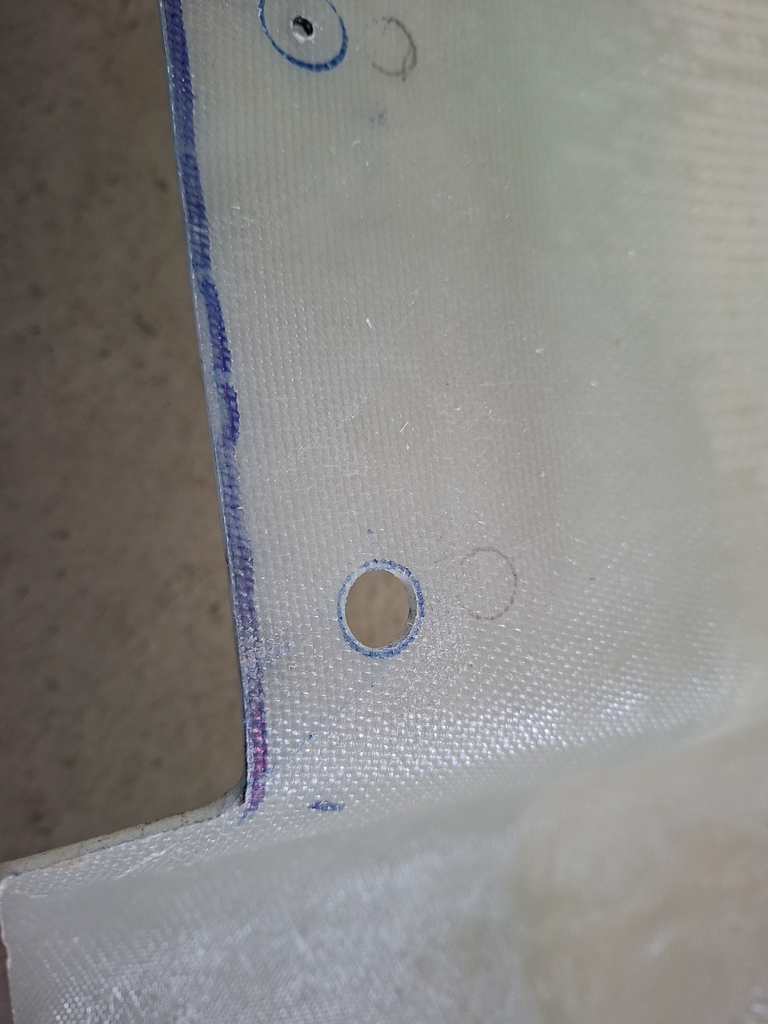
Then took out the #1 unibit step drill and enlarged the hole to 15/32".
This is actually easier than I expected. The center hole is already well in the middle and I didn't have to "walk' the unibit much to keep centered within the traced circle.
The unibit in epoxy allows you to move the hole to the center up to the last step. In my case, as my center hole was already good I didn't have to correct much and ended up with a hole like in the image below.
And now for the frustrating part of the day...
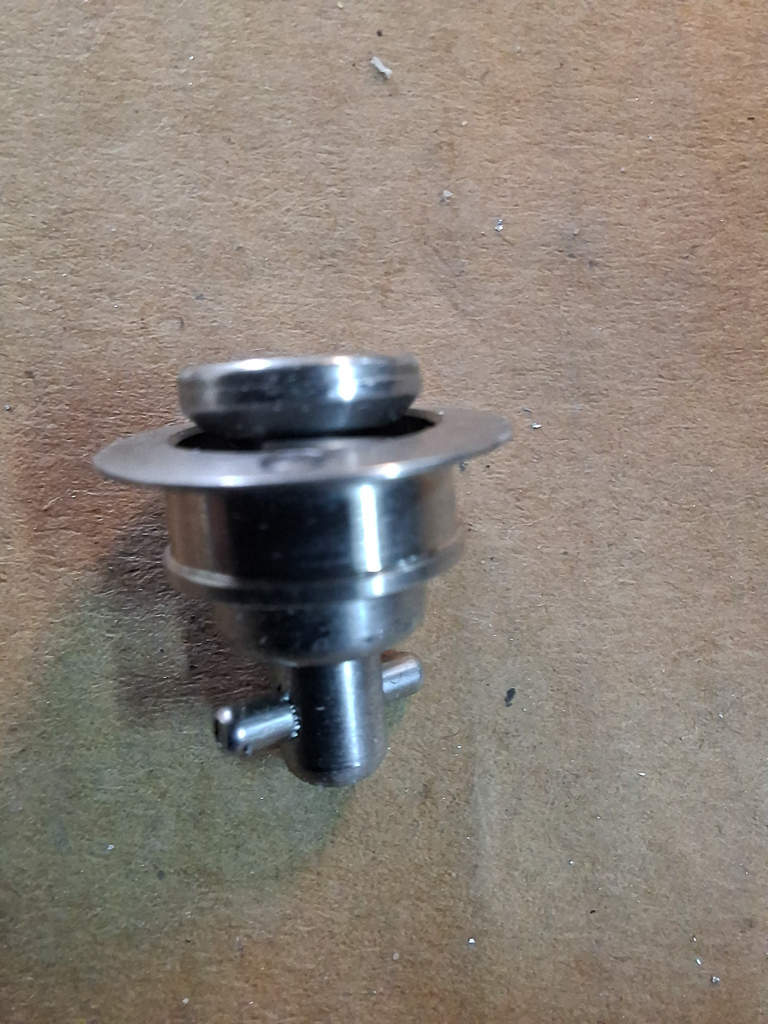
You get the grommet (top) and the retainer (bottom). You have to insert the retainer inside the grommet and at some point I was convinced it is impossible.
The manual makes a reference to the 4P3 Pliers tool and I regretted not having bought it.
The grommets are concave in the bottom, the studs will insert till about 3/4 of the way and then hit the embossed bottom part of the grommet. I'm new to skybolts and I couldn't picture how the studs work. It is very simple, the studs don't move and there is no gap or special place in the grommet that allow the stud to slip in.
But there is a trick which is easy and it took me some hours to figure it out.
You don't need the pliers tool. it work as easily in a vise, a screwdriver, wrench and drill. More about this, some images below.

This shows my problem in detail. Looks like there is no way to get this in.

Meanwhile I did some more rivetting with Matthias on the bottom flanges.

And installed the remaining receptacles
And now for the trick.
The way I got the studs into the grommt was to place the grommet in a vise and lightly press it. Not much, you don't want to deform it. The vise is just there to hold the grommet in place and have both hands free to manoeuver the stud.
I used a wrench that just fits over the stud and supported it by a drill on the vise. Make sure the stud is inserted with the bottom legs in line with the vise. The idea here is to be able to tilt the stud while applying vertical pressure with a phillips screwdriver from the top. Press on the screwdriver as you tilt and move the wrench to find that magic spot where the stud slips through the grommet. It does work, be patient.
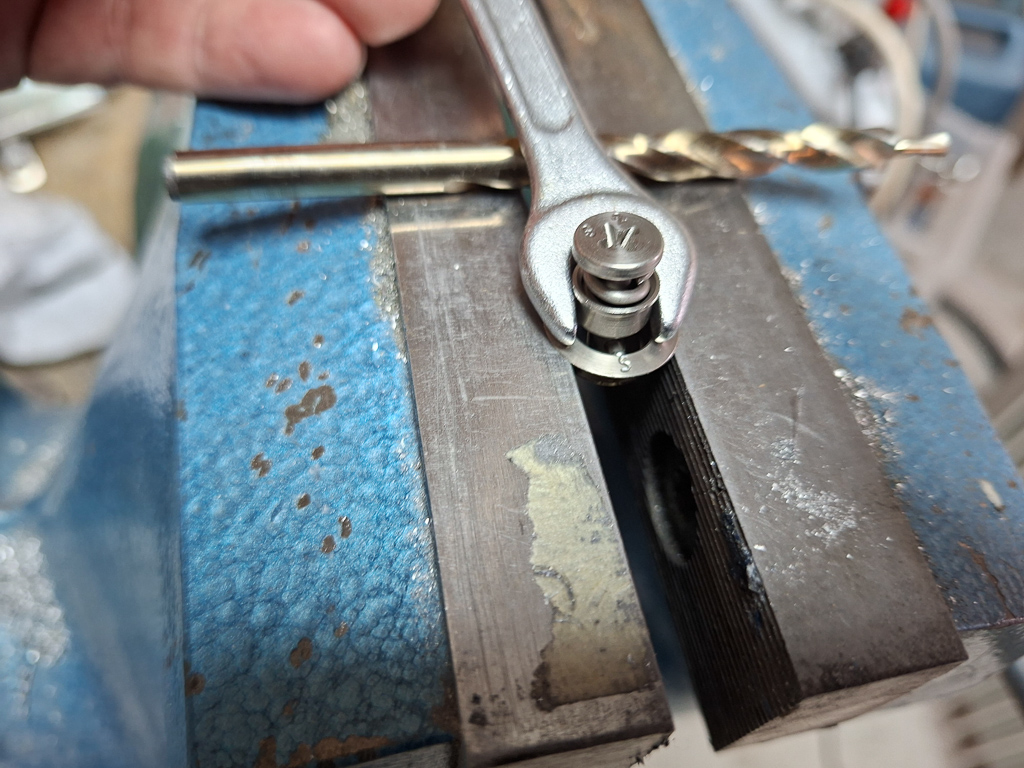
Et voila... the impossible is possible.
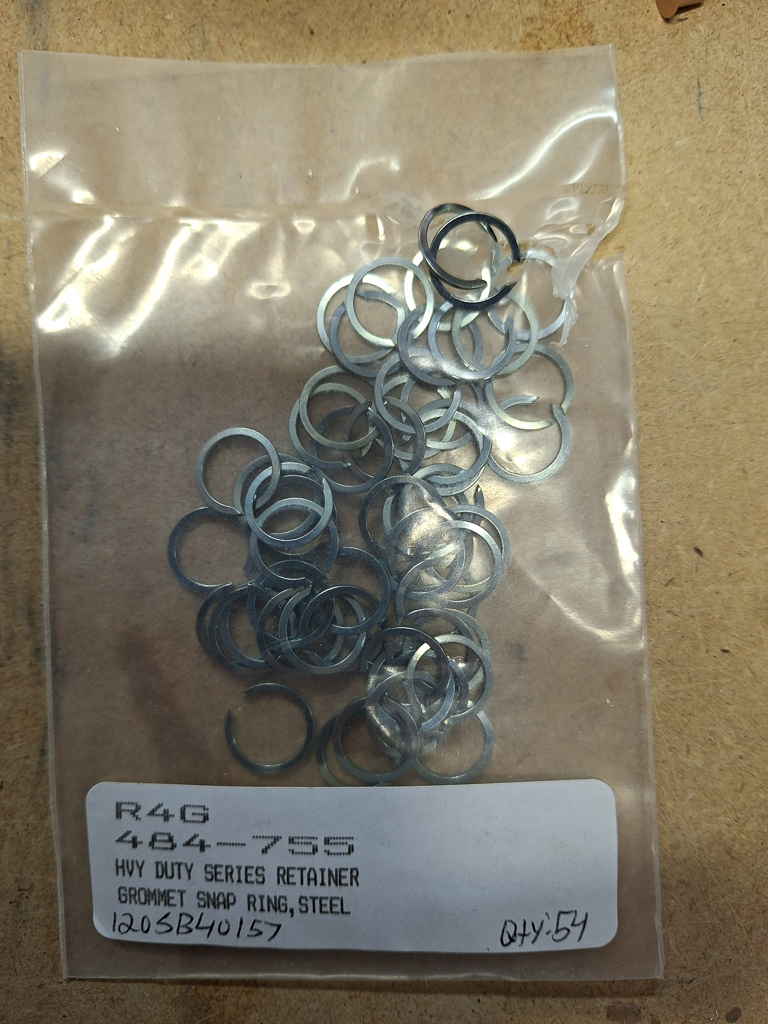
There are also some locking rings. I decided not to install these yet as it will be difficult to remove them again when the grommets have to be removed for painting.
It's not clear to me yet what they do exactly but I guess they just lock the grommet in place on the epoxy from the inside, preventing them to drop out
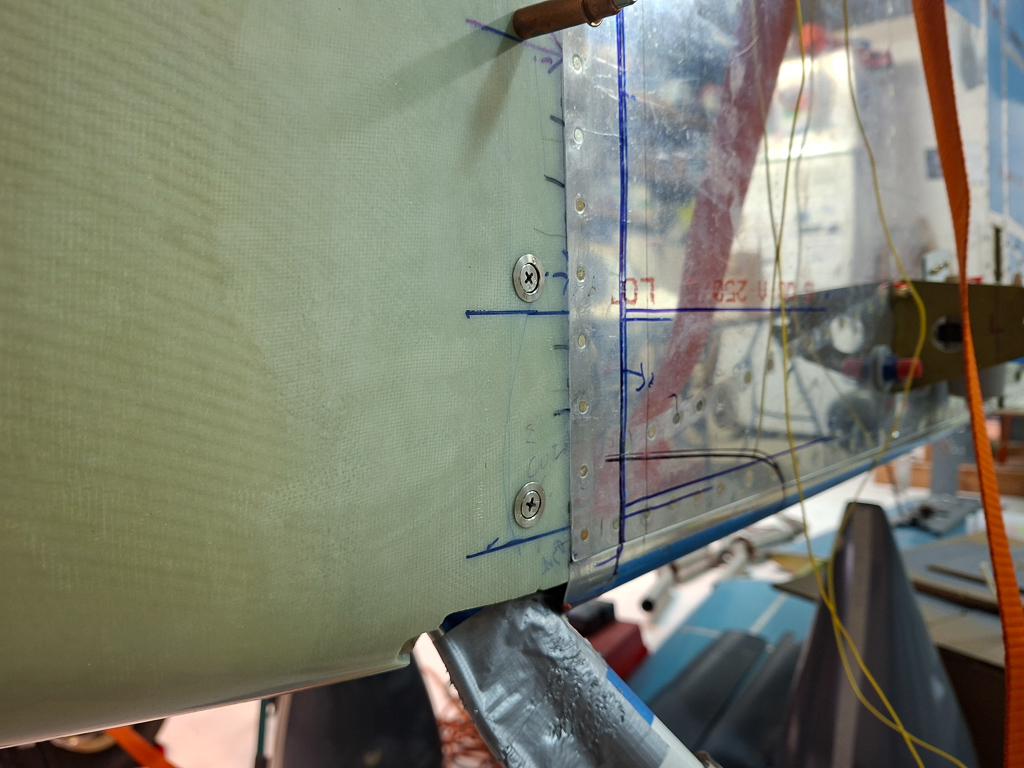
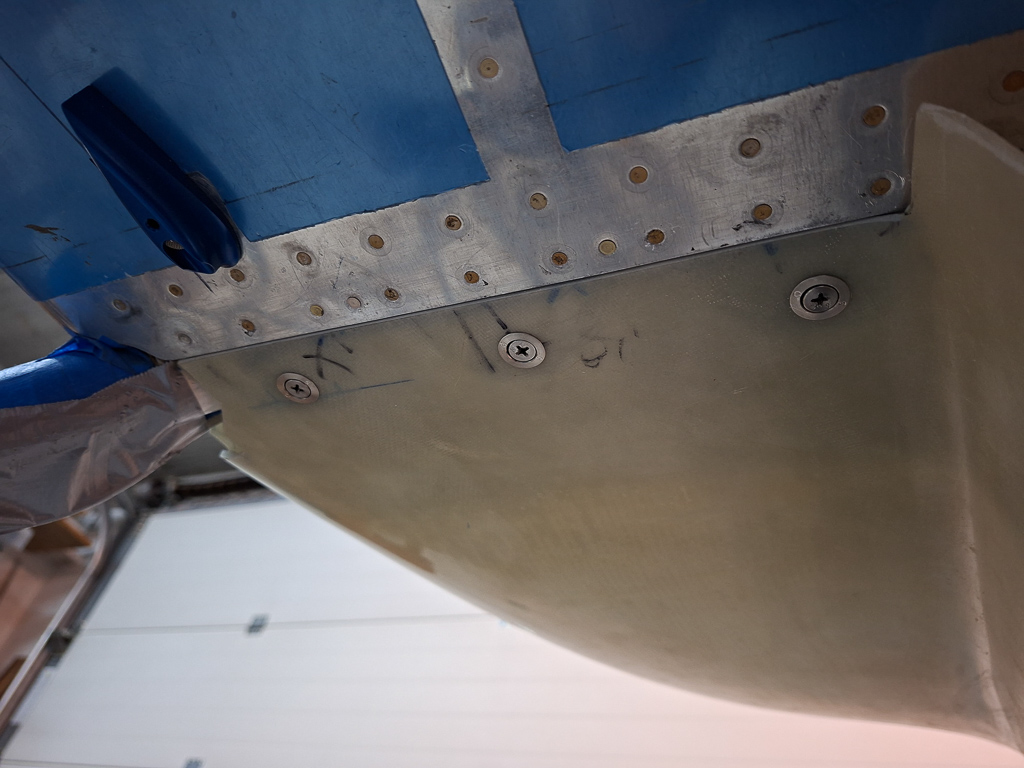
First one installed...
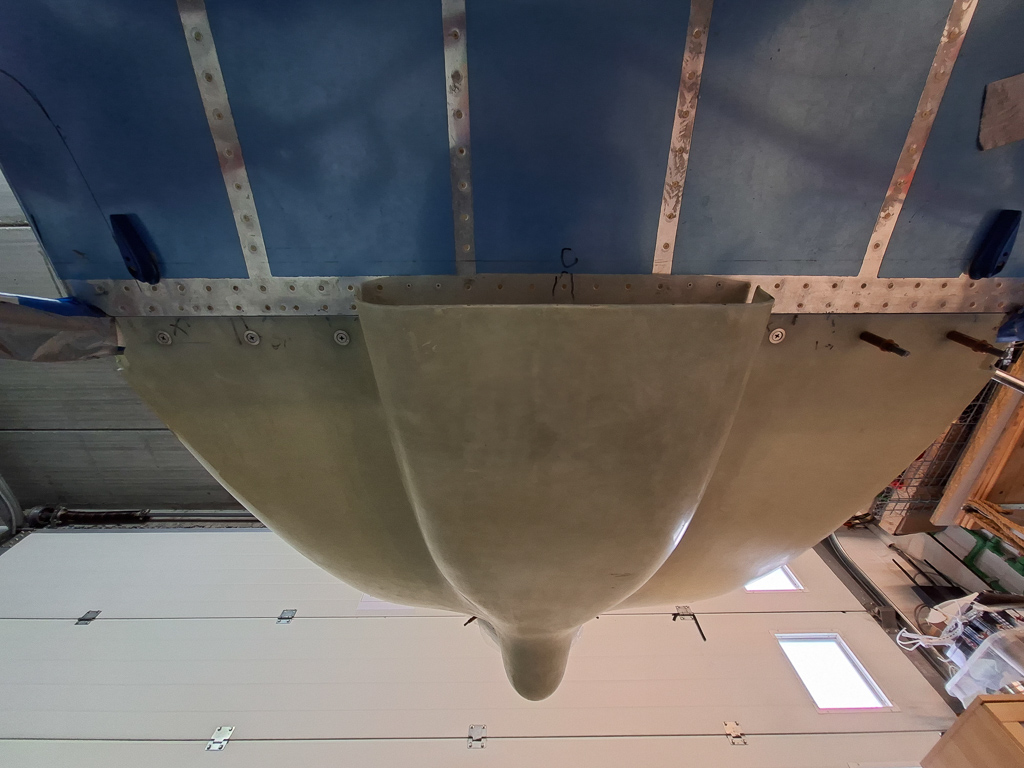
And also the other bottom cowl skybolts got installed. This looks really nice.
Continued on the side walls. Drilled some more 15/32" holes in the epoxy and installed the remaining grommets and studs, each time fitting the cowling the ensure the fit remained snug. I am very satistfied with the way this turned out so far.