

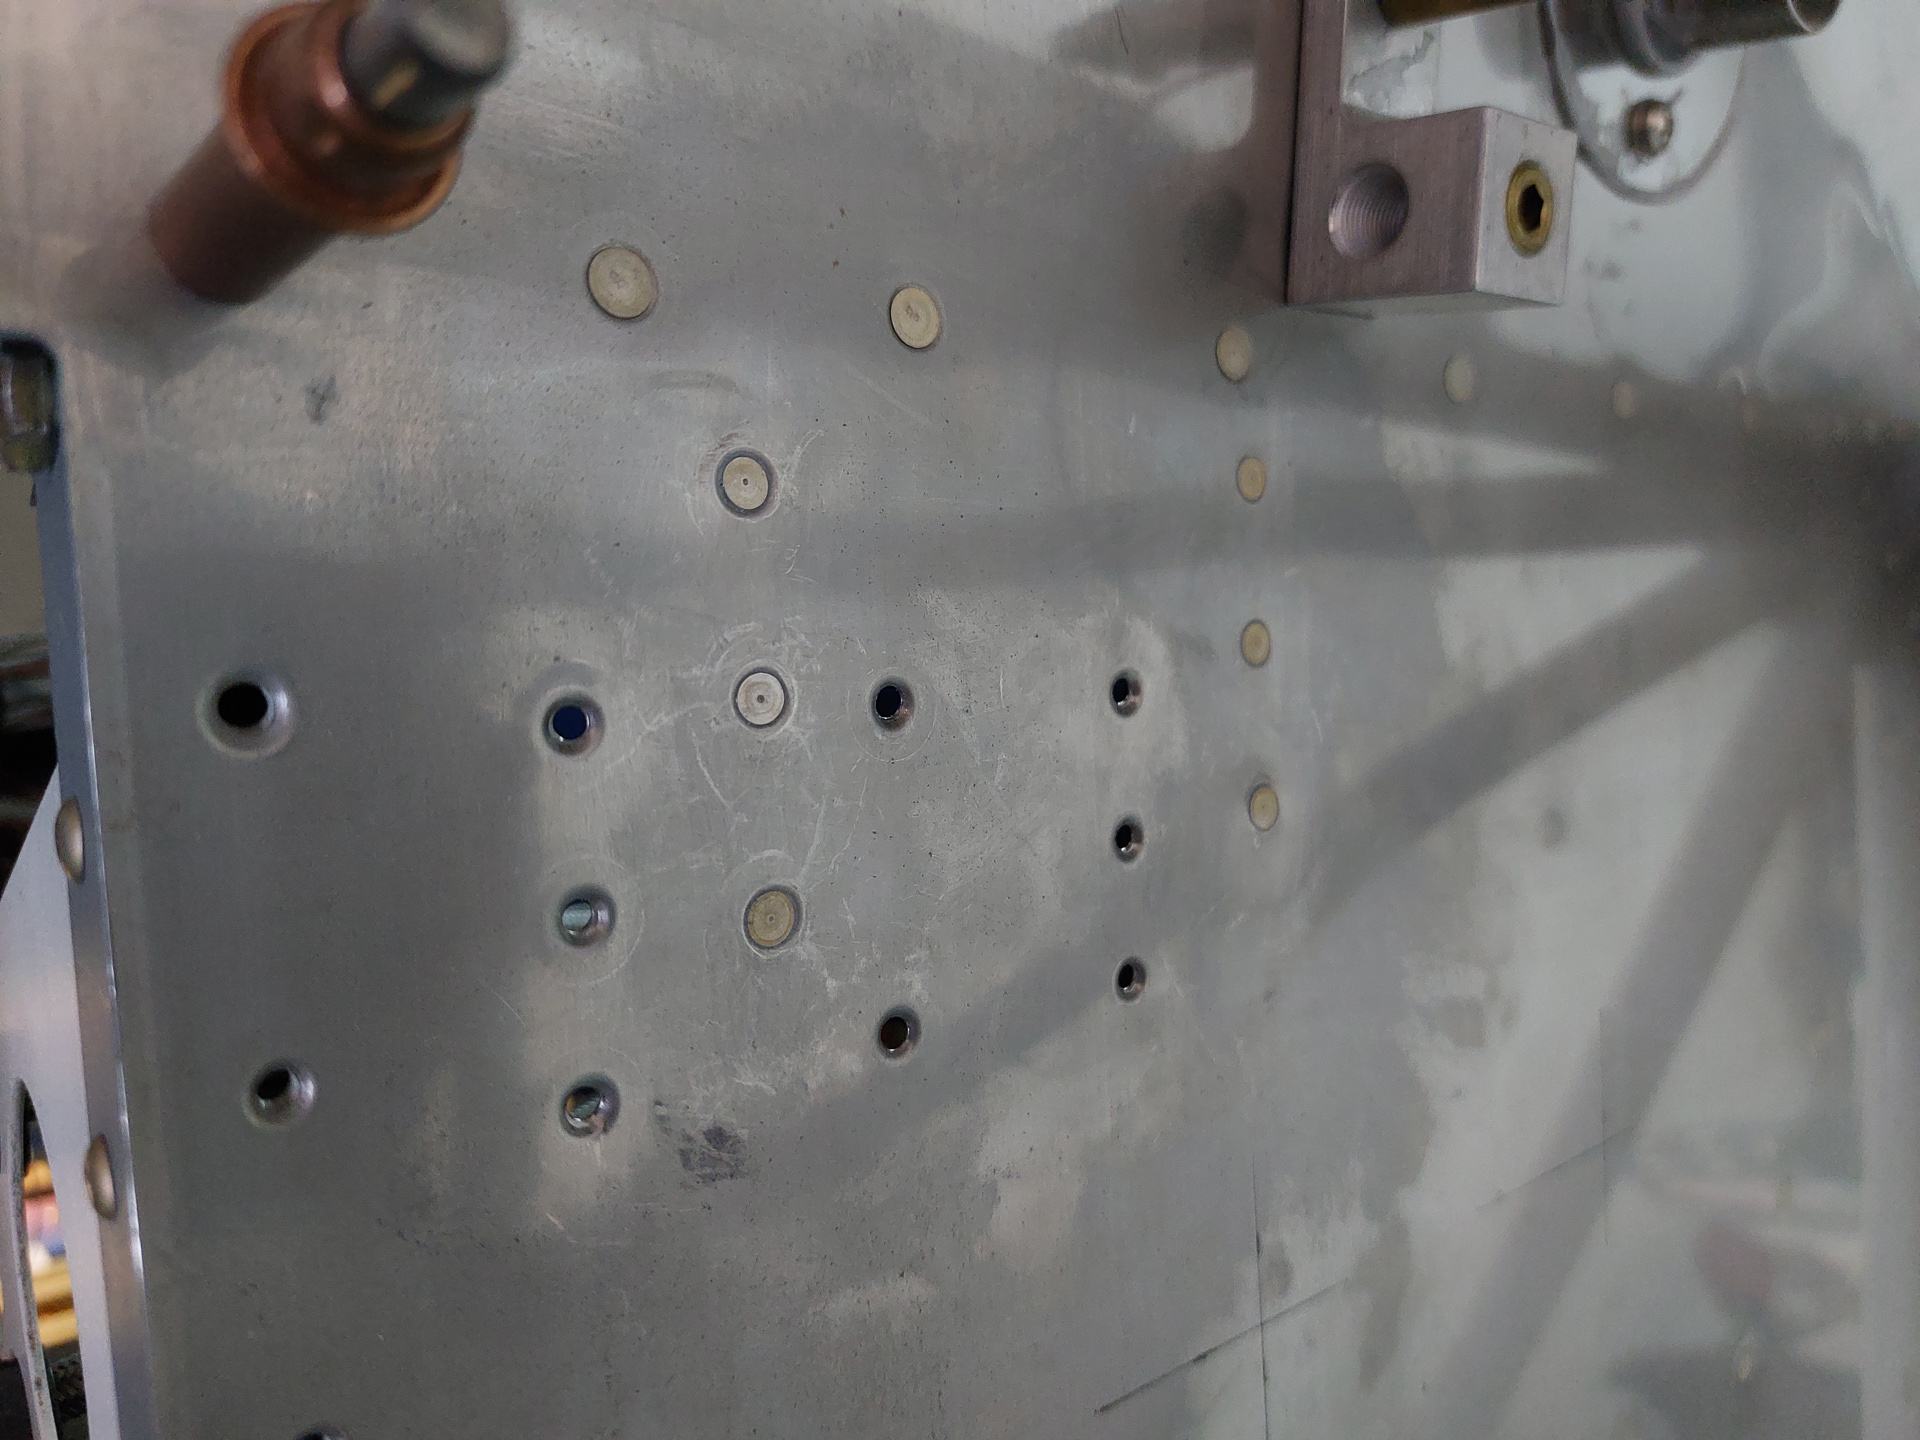
Some time ago I drilled out my custom bracket for the parking bracke and redrilled holes for the Matco parking brake adapter. This adaptor is more solid and has an arm that will hold the push/pull cable in place. A much better setup than I had initially in mind. I closed the old holes with "rivets to nowhere" and sealed them off with some 3M fire barrier on the cockpit side. Then deburred and dimpled the 8 new holes for the parking brake mount bracket.
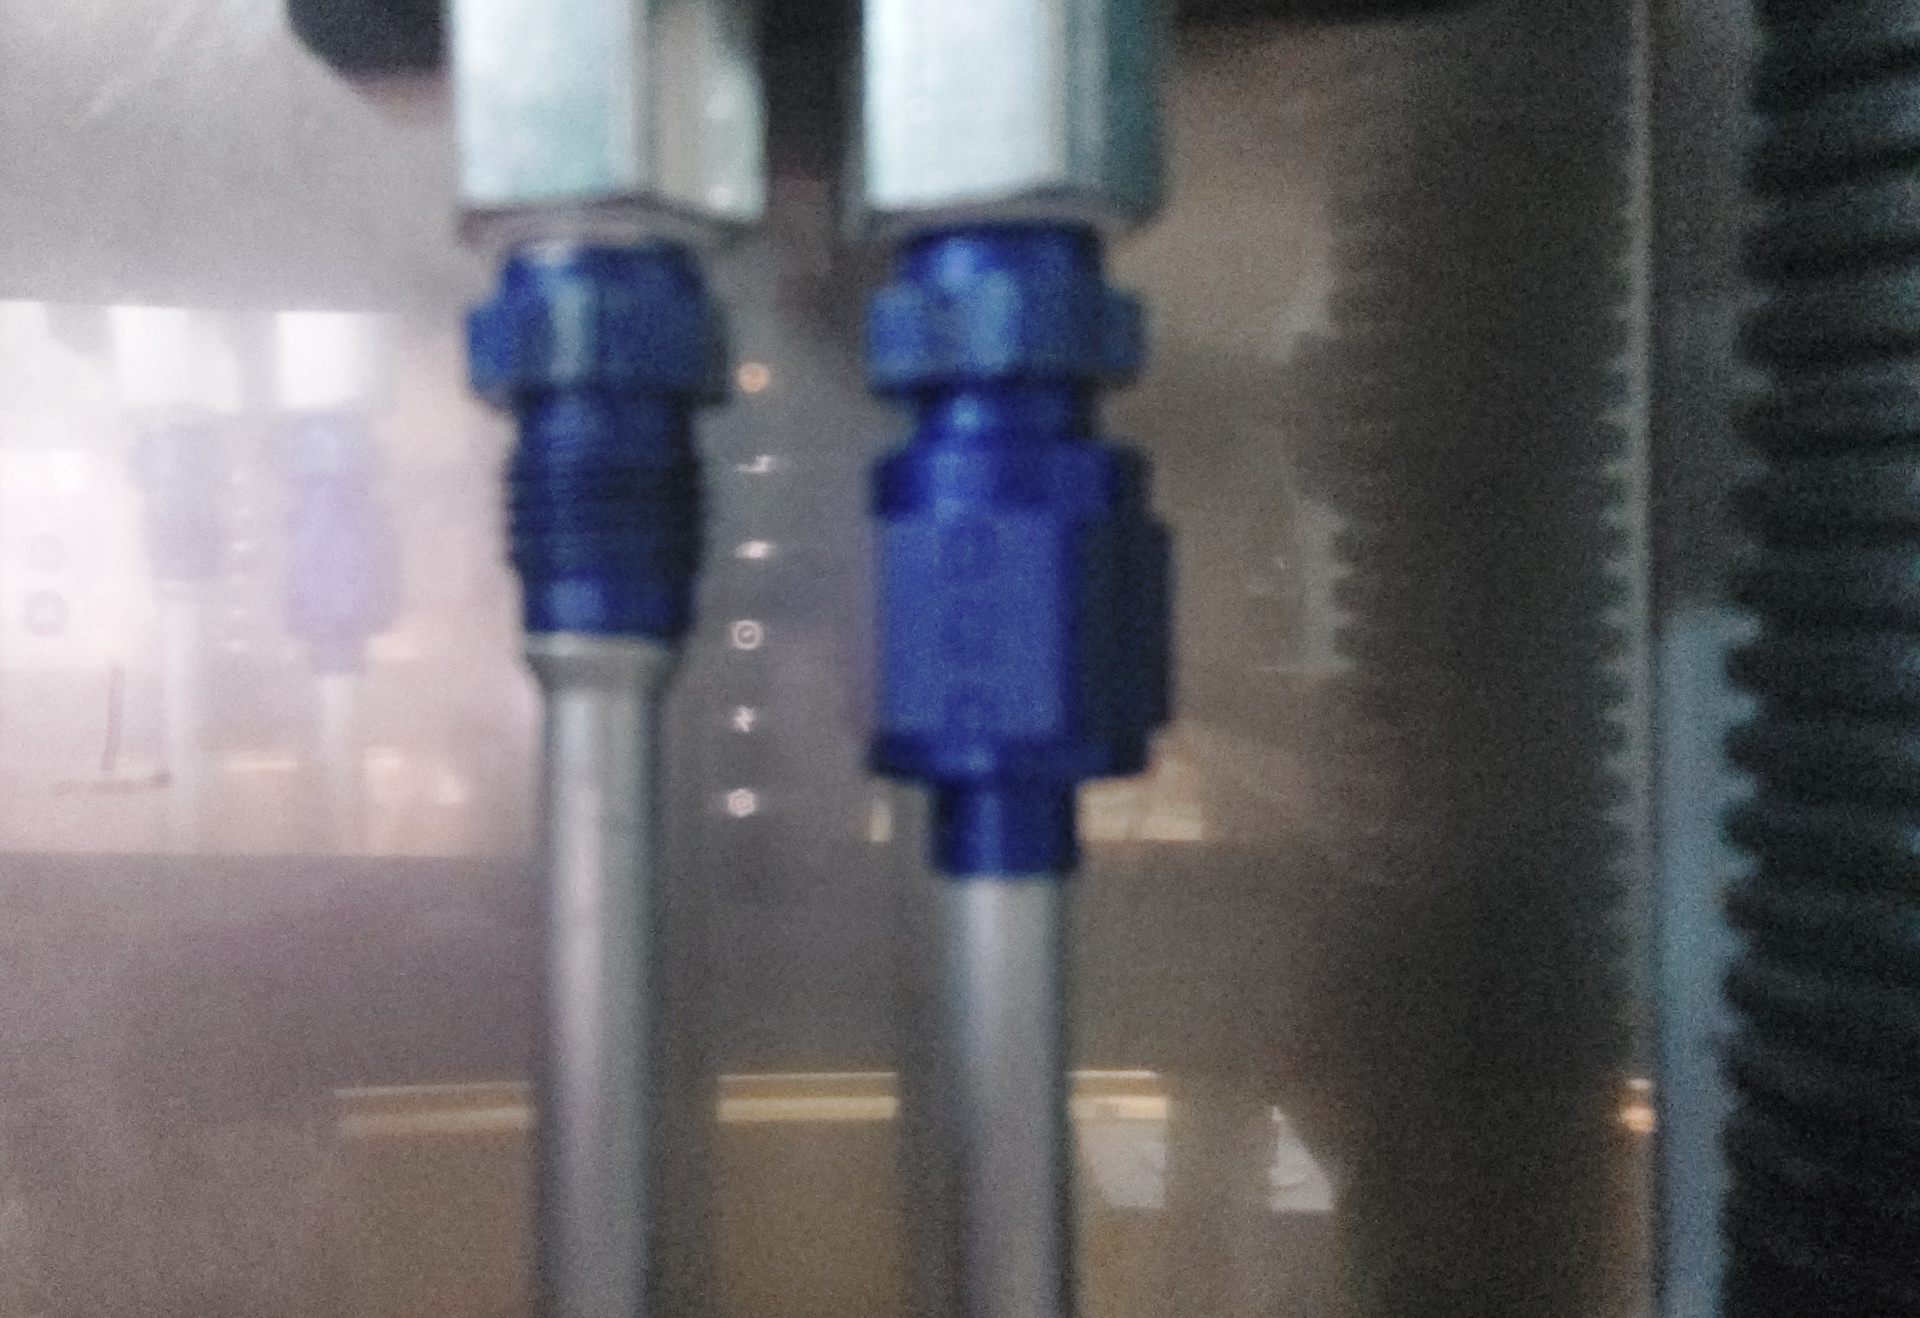
I had to remake my brake lines as the position was no longer the same. They actually had to be shorter so I was hoping just to cut of at the right length and make a new nipple. That went fine until I realised I forgot to put the colar on... grrrrr... That meant remaking the right brake line and costed me a couple of extra hours. I was able to cut off the left one and reinstall it. The image below is not the final fit but it was already close.
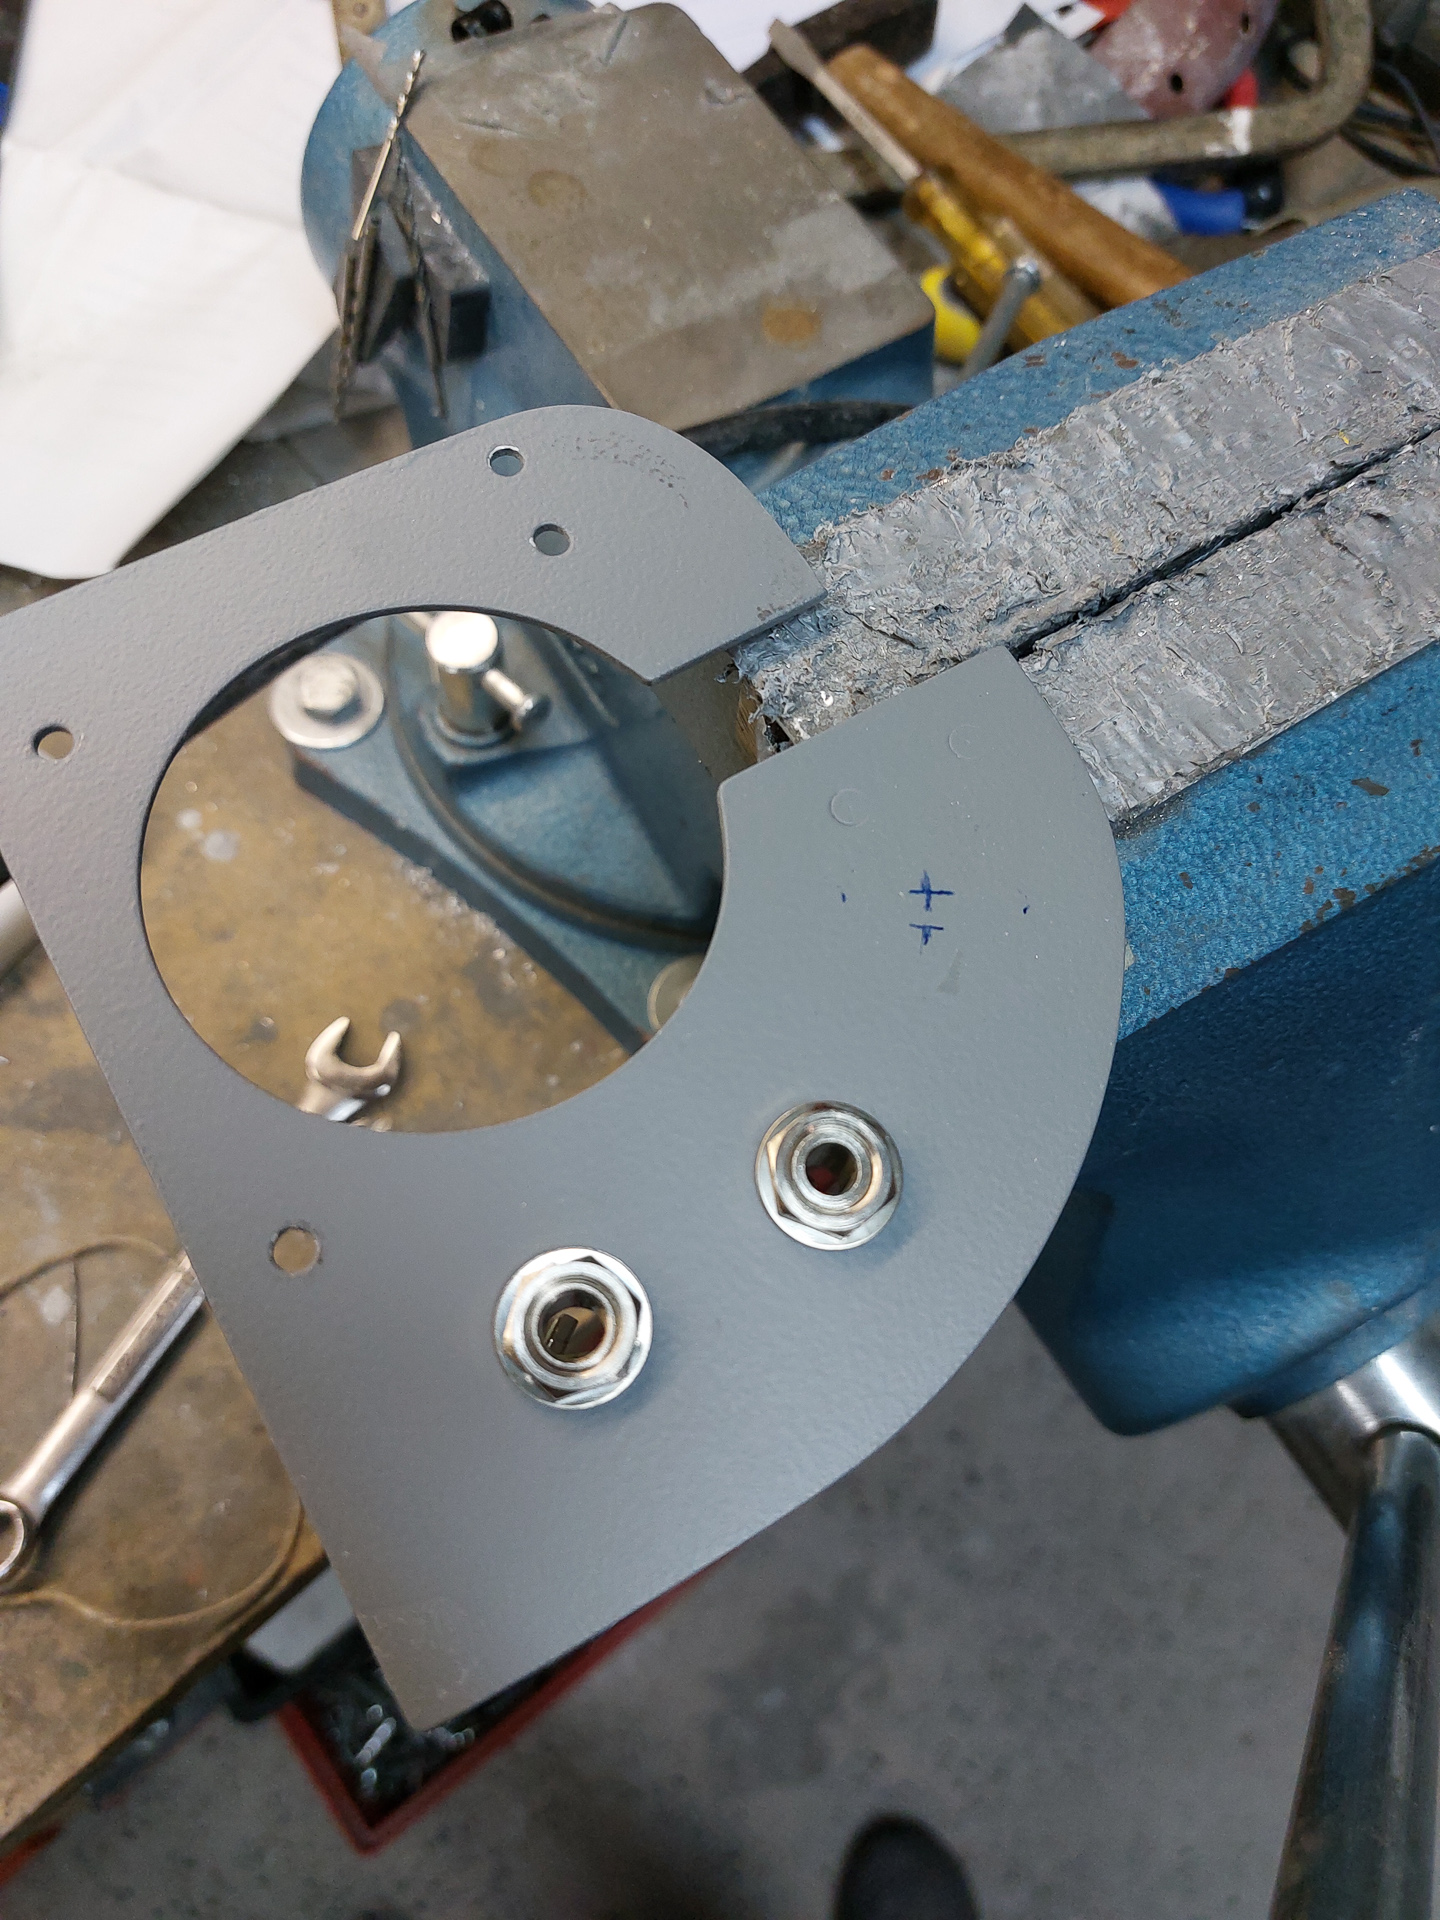
Then I removed my custom panel extensions. The extensions hold the vent adapters and the mic and phone plugs on each side. I will install my parking brake valve also on this extension. I marked the position with a sharpy, a pilot hole and the step drill will do the job.
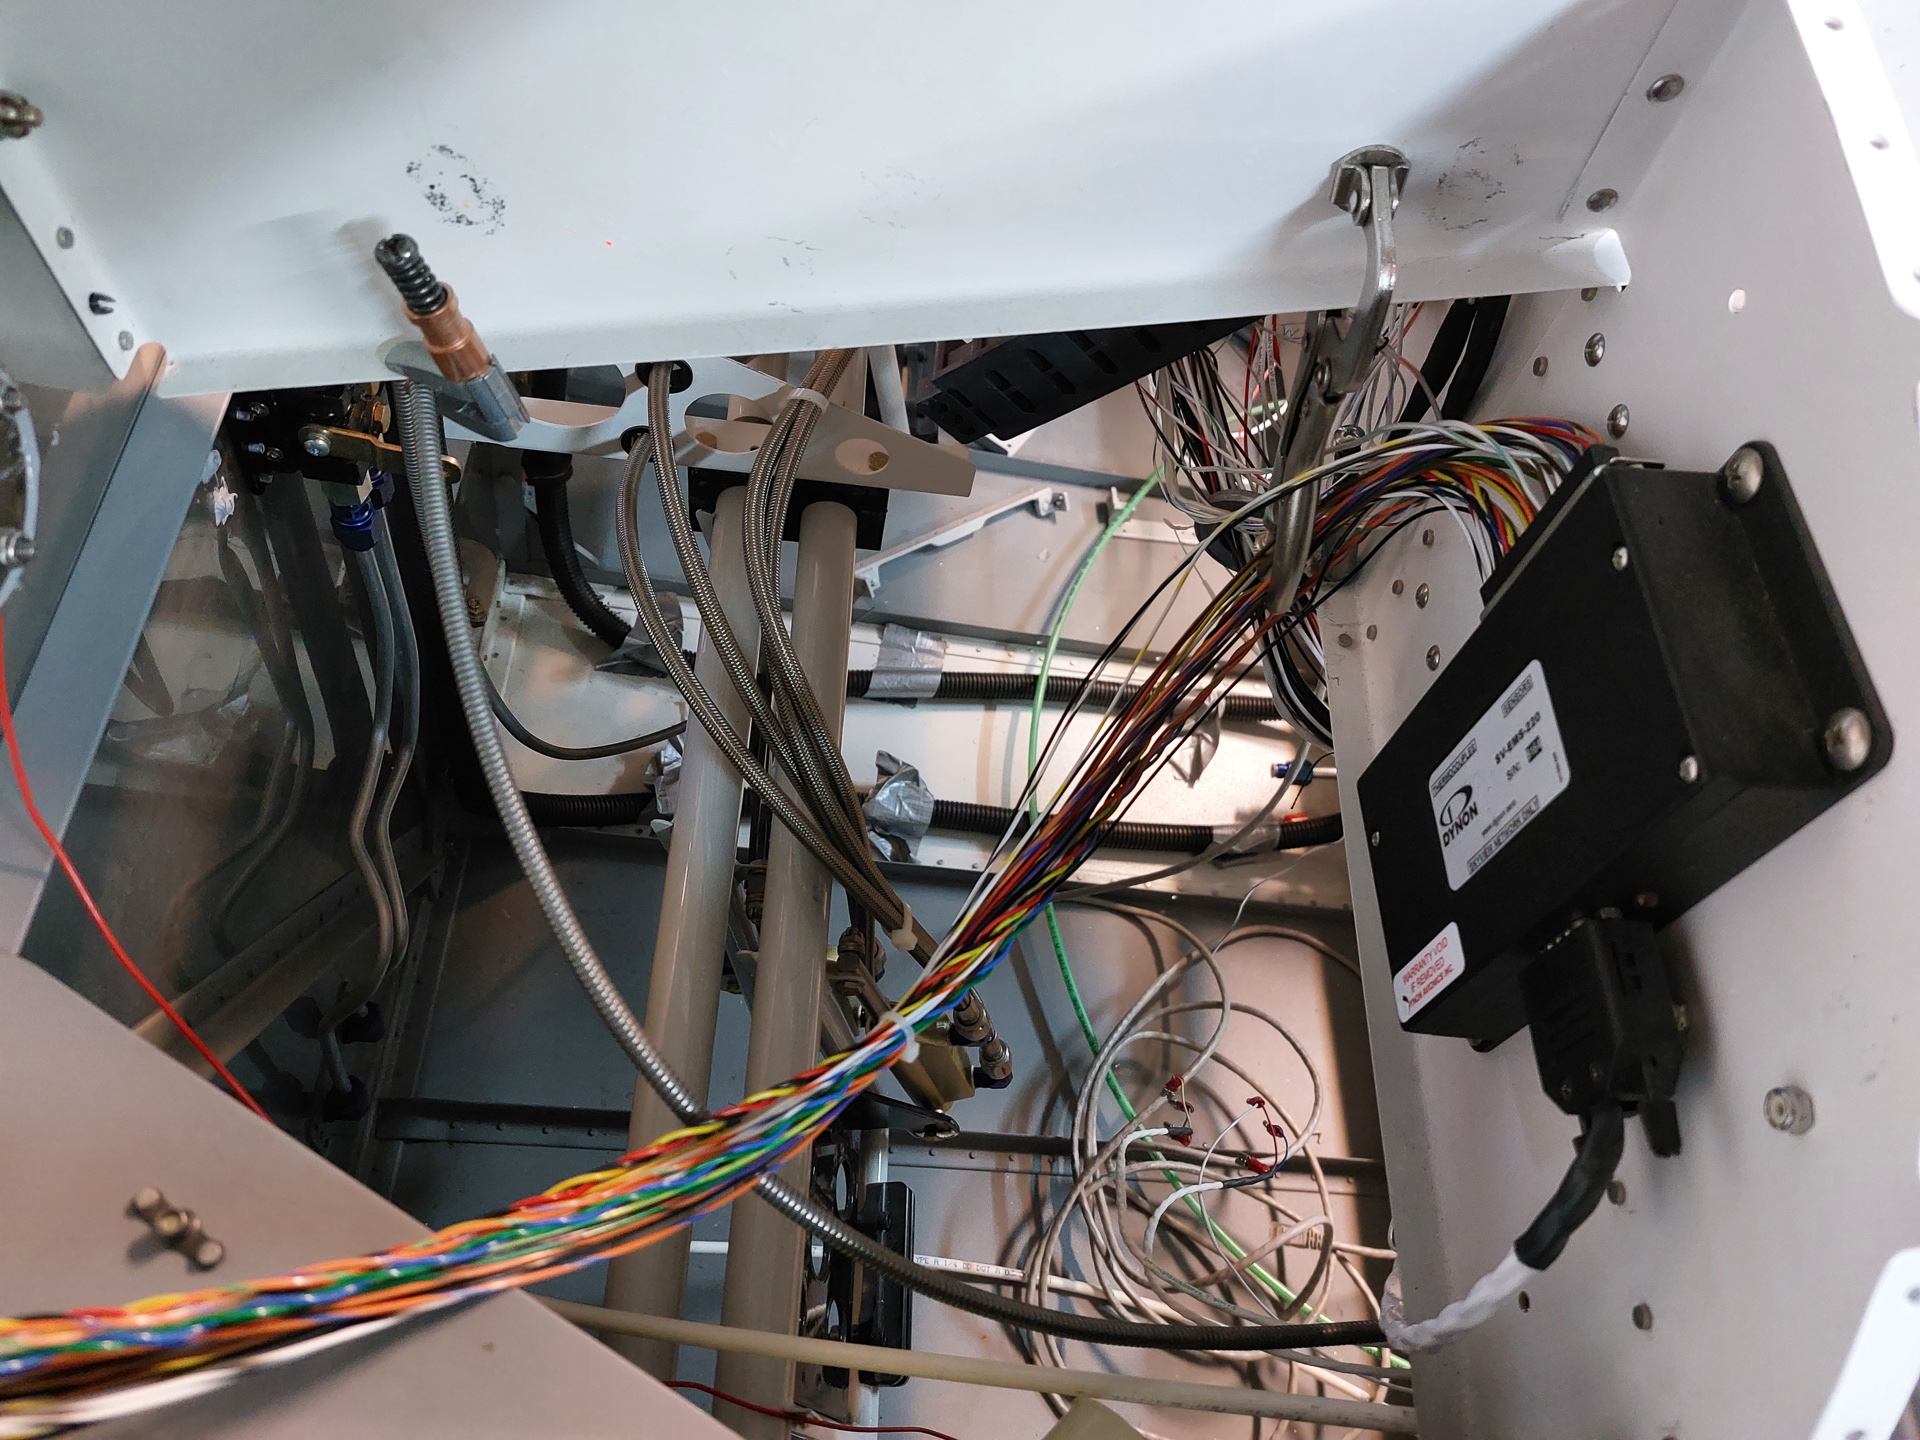
I tried to get the best possible routing for the parking brake cable. It runs parallel with the side skin, take a bend right near the end to move into the middle bay. From there on it make a 270° loop down. The loop is to avoid having sharp bend which will prevent the cable to move smoothly. Some adel clamps along the way will keep the cable in position. It swirls around the electrical cable coming from the fuselage floor but once these will be wrapped and tied, there cannot be any interference that could cause chafing.I tried also to keep the bend thight enough so that the cable would not rub the top fuselage skin. There 's about an inch clearance there.
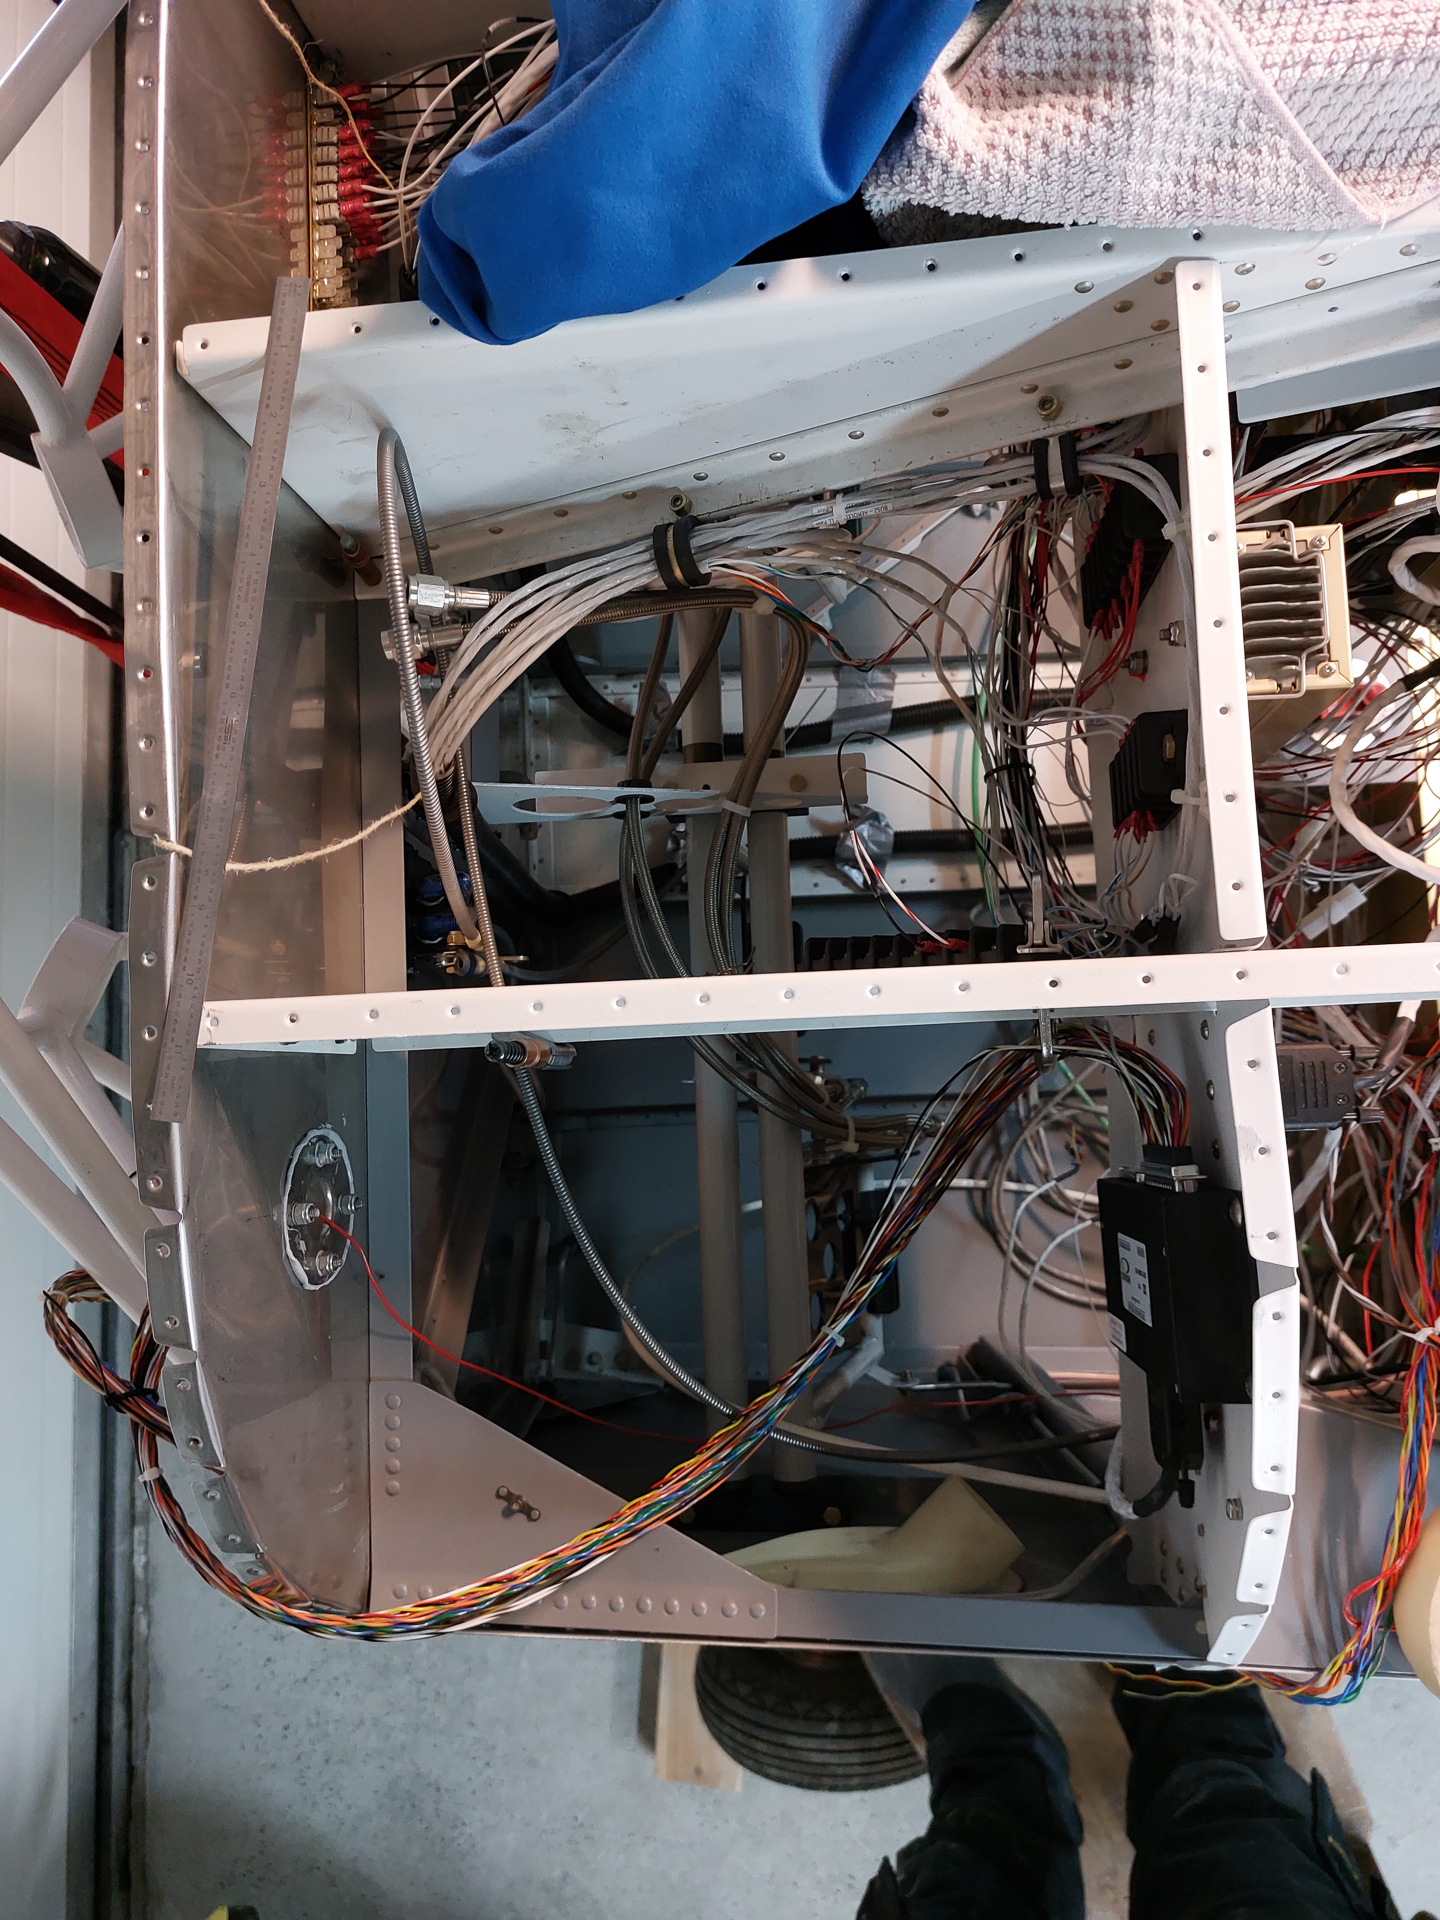
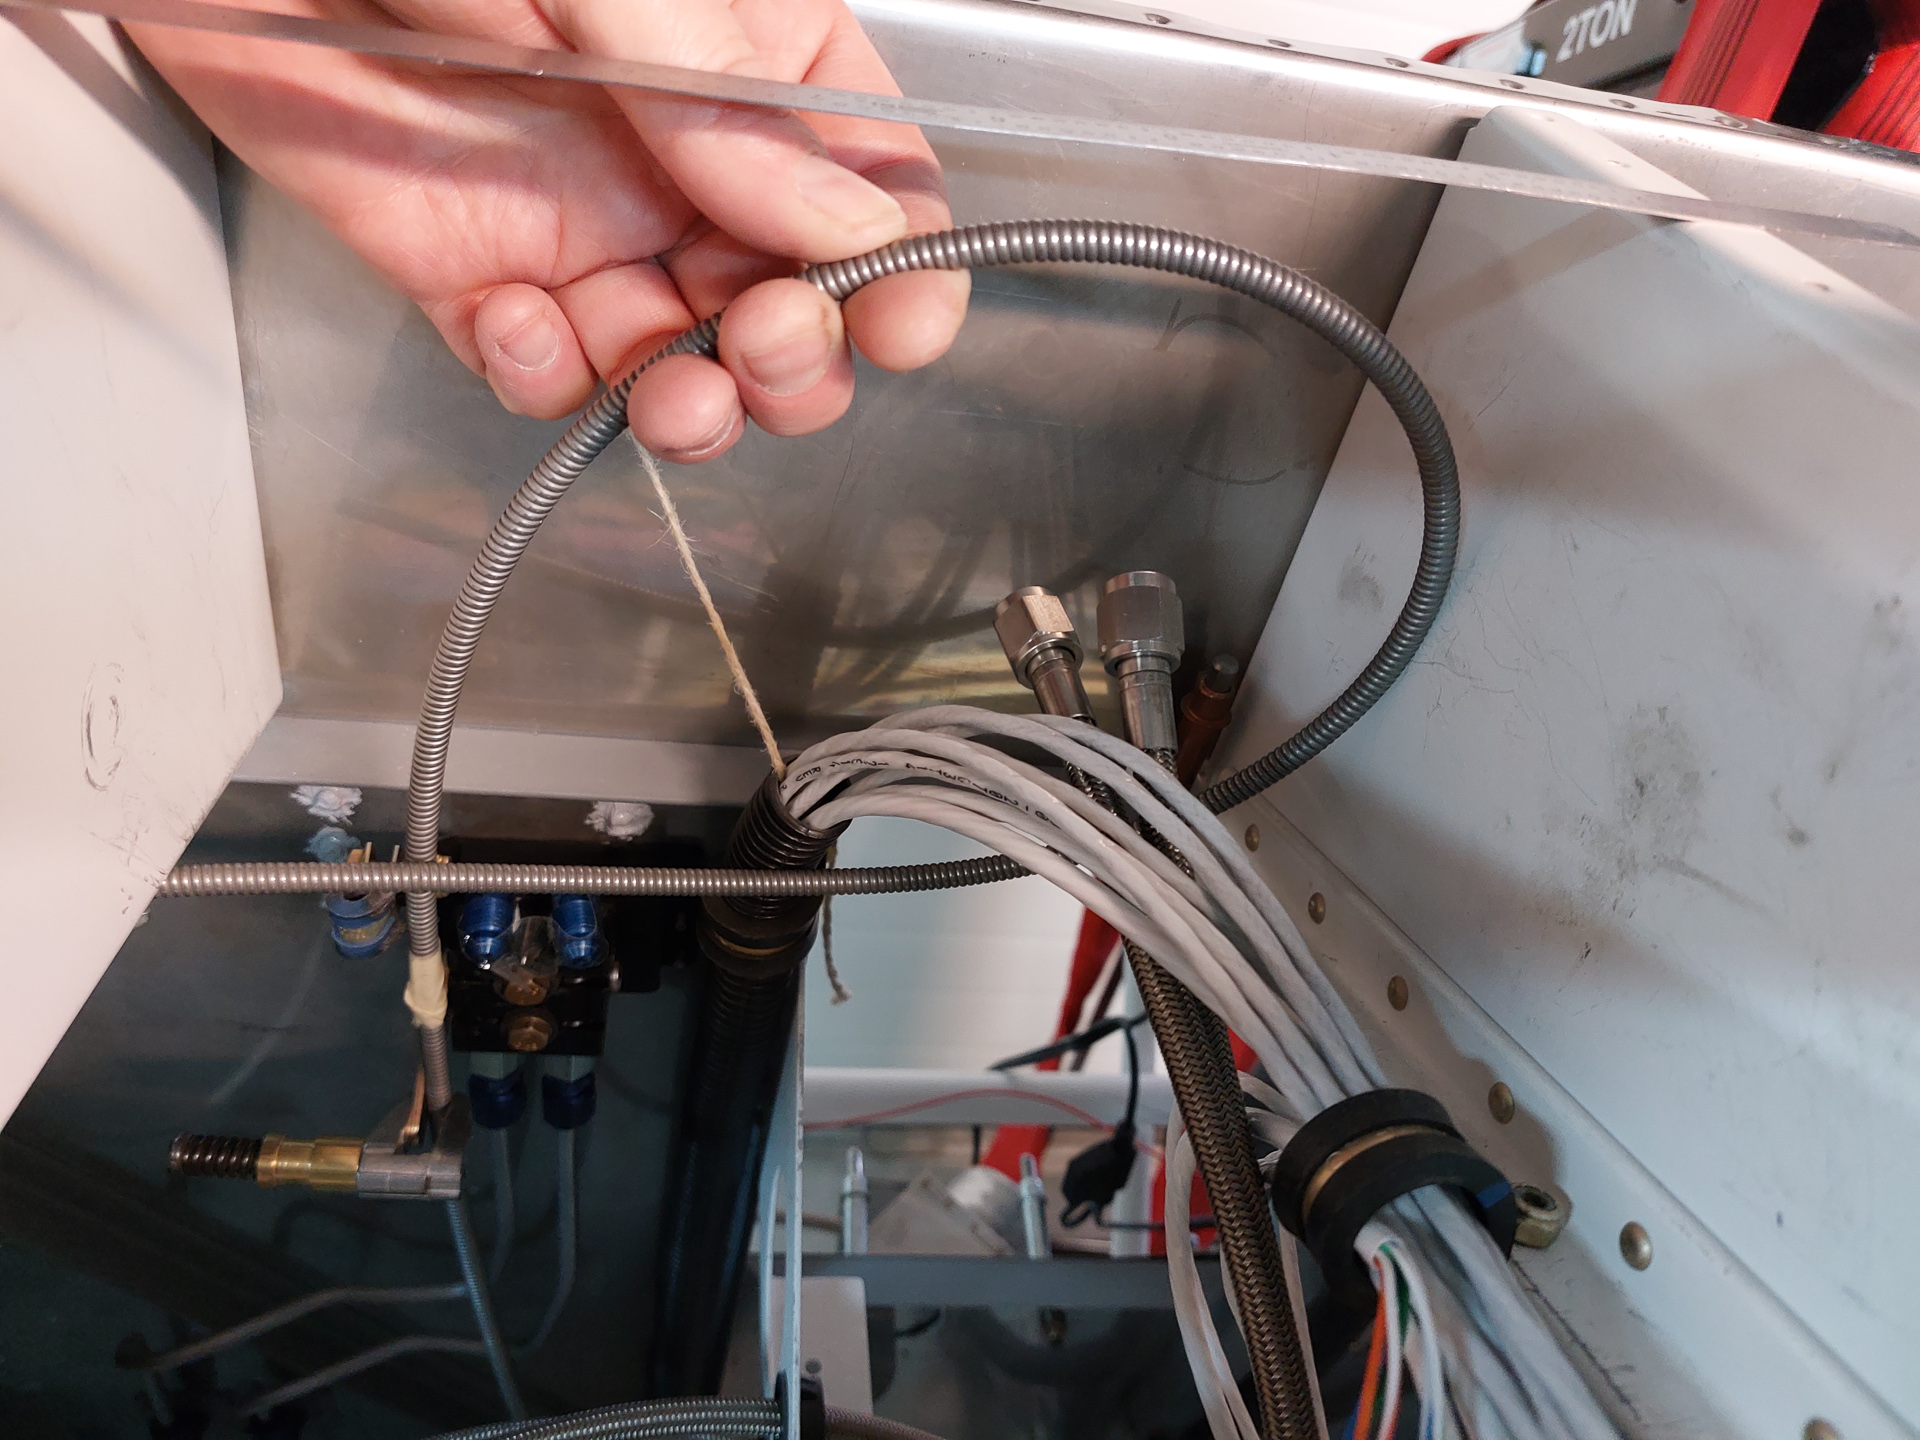
Close up image of the left side behind the sub panel.
Front image towards the firewall showing the bend.
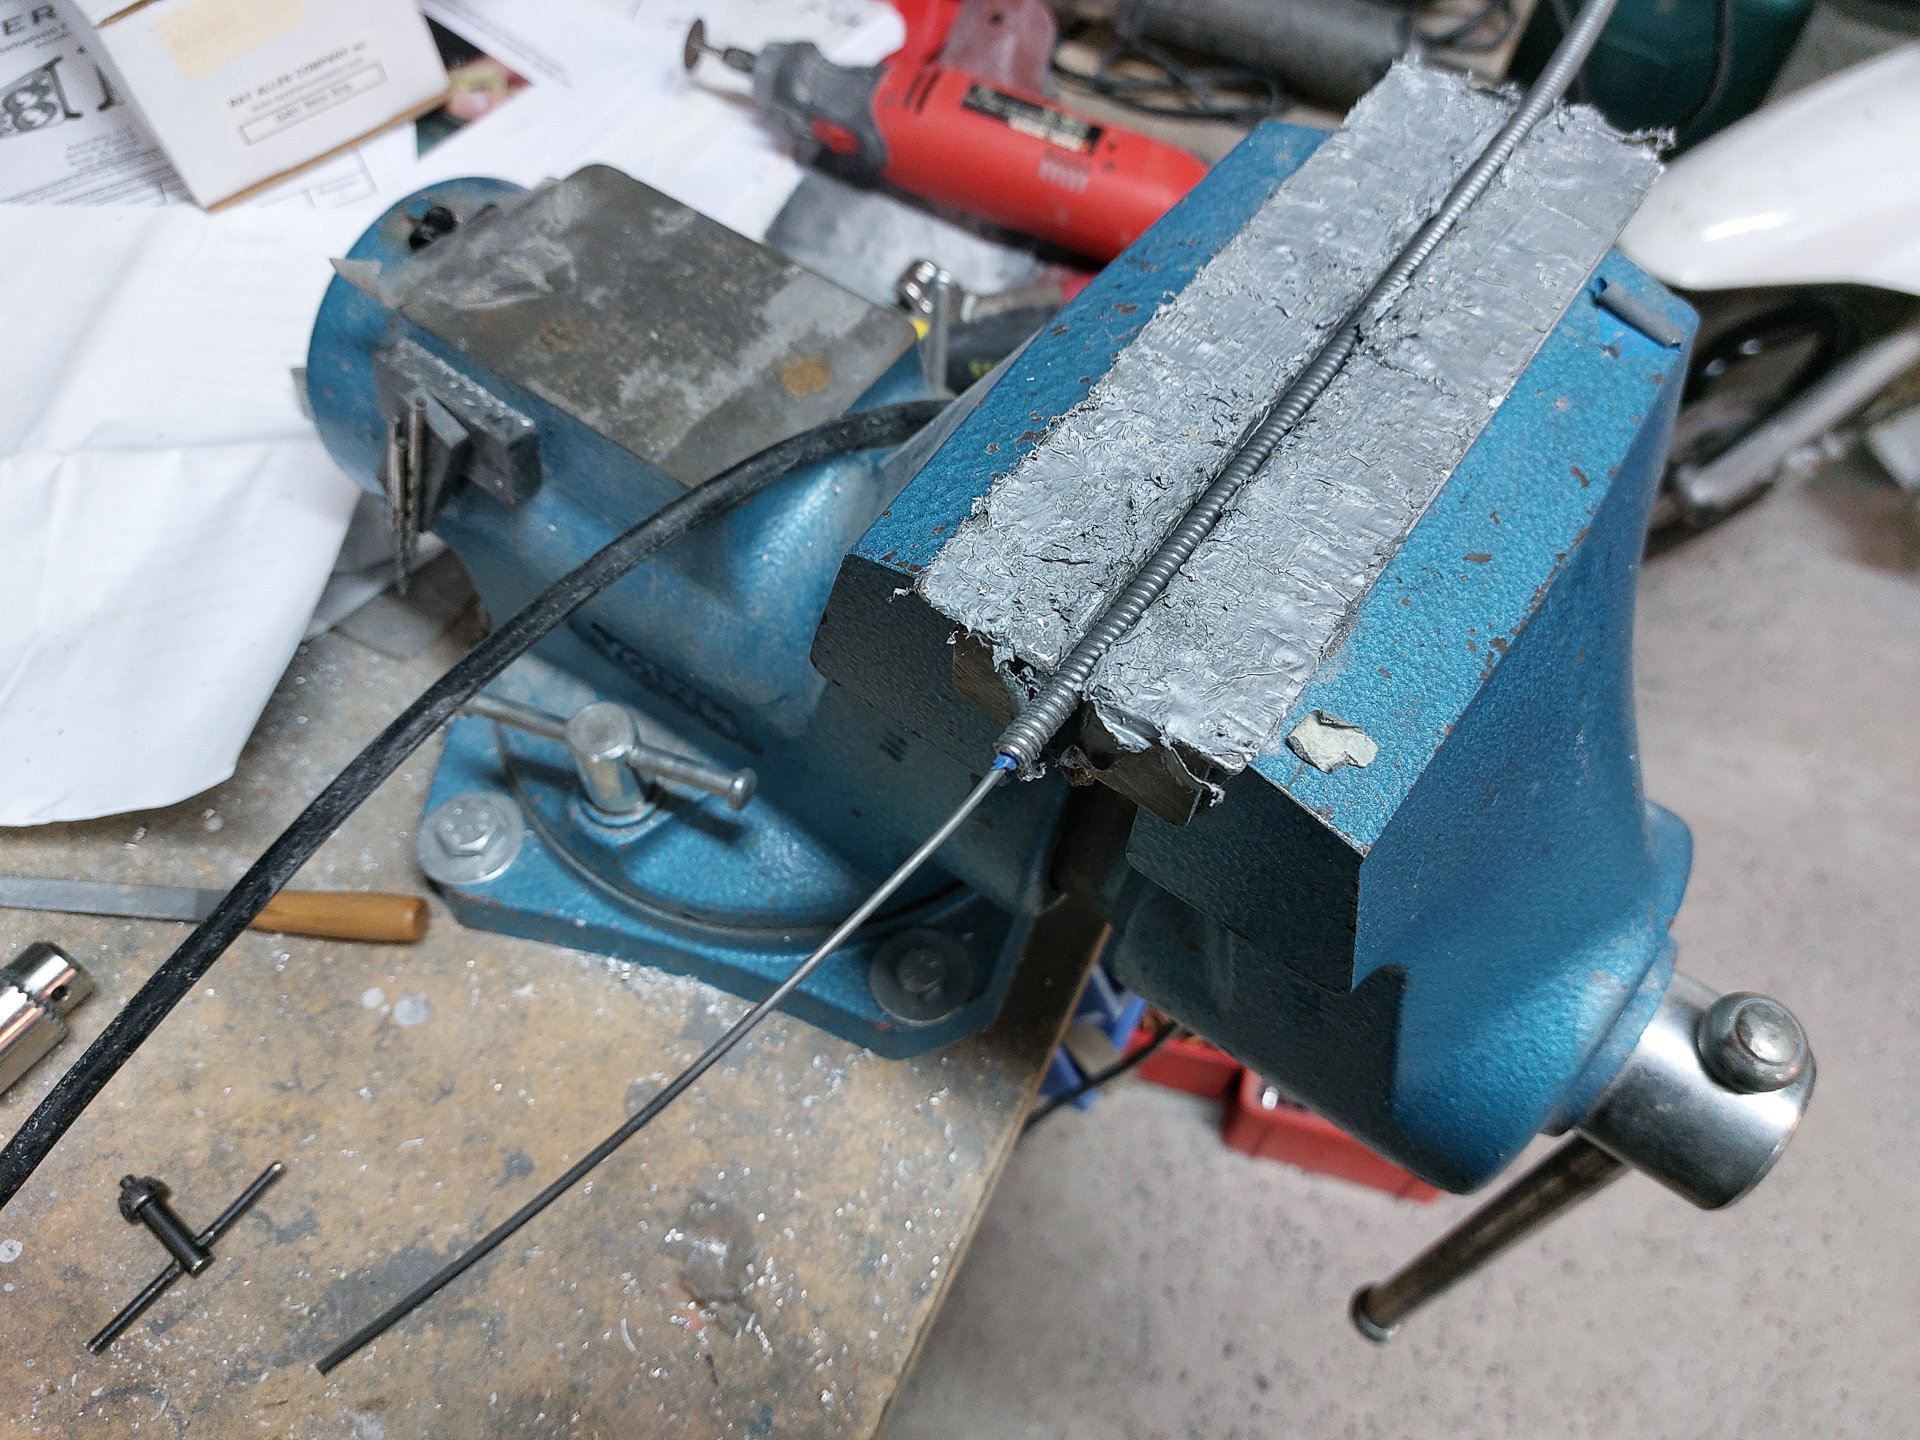
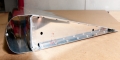
With the routing defined, I could mark and cut the cable. The control cable has a locking mechanism. You have to push the know in order to move it and when released it locks into place. If you have the same type of cable, be carefull not to pull the cable too far out of the housing. If you pull to far, the locking mechanism comes out and there is a very small ball in there which will fall out and is impossible to find on a workshop floor. (ask me how I know). Luckily there are 2 spare ones in the plastic bag and I had to use one of them as I lost the original.
The pushing cable will have to remain a lot longer than the outer cable housing.
That makes cutting the cable protection is a bit tricky. I used a dremel with a very small cutting disc to cut the outer housing. Don't cut to deep as you don't want to touch the inner pushing cable.
You can play safe and pull out the locking mechanism and pull out the cable from the front. That will allow you to cut straight through the housing without any danger of harming the inner cable. But it can also be done while the cable is still inside if you are extremely carefull.


