A family member who is a professional painter has painted my instrument panel in black.
At first glance, it was a bit too brilliant and glossy to my opinion but he assured me that after buffing it with 1000grit sponge, this brilliance will dissappear and the final matt transparent lack layer will make it matt.
Before doing the actual labeling with the system which is made by a company called "GhostWhite Toner".
I will elaborate further on this system when taking picture of the actual application process. Basically it's a decal solution where you print with a white laser printer toner on an ultra thin decal layer which releases with when soaked in water.
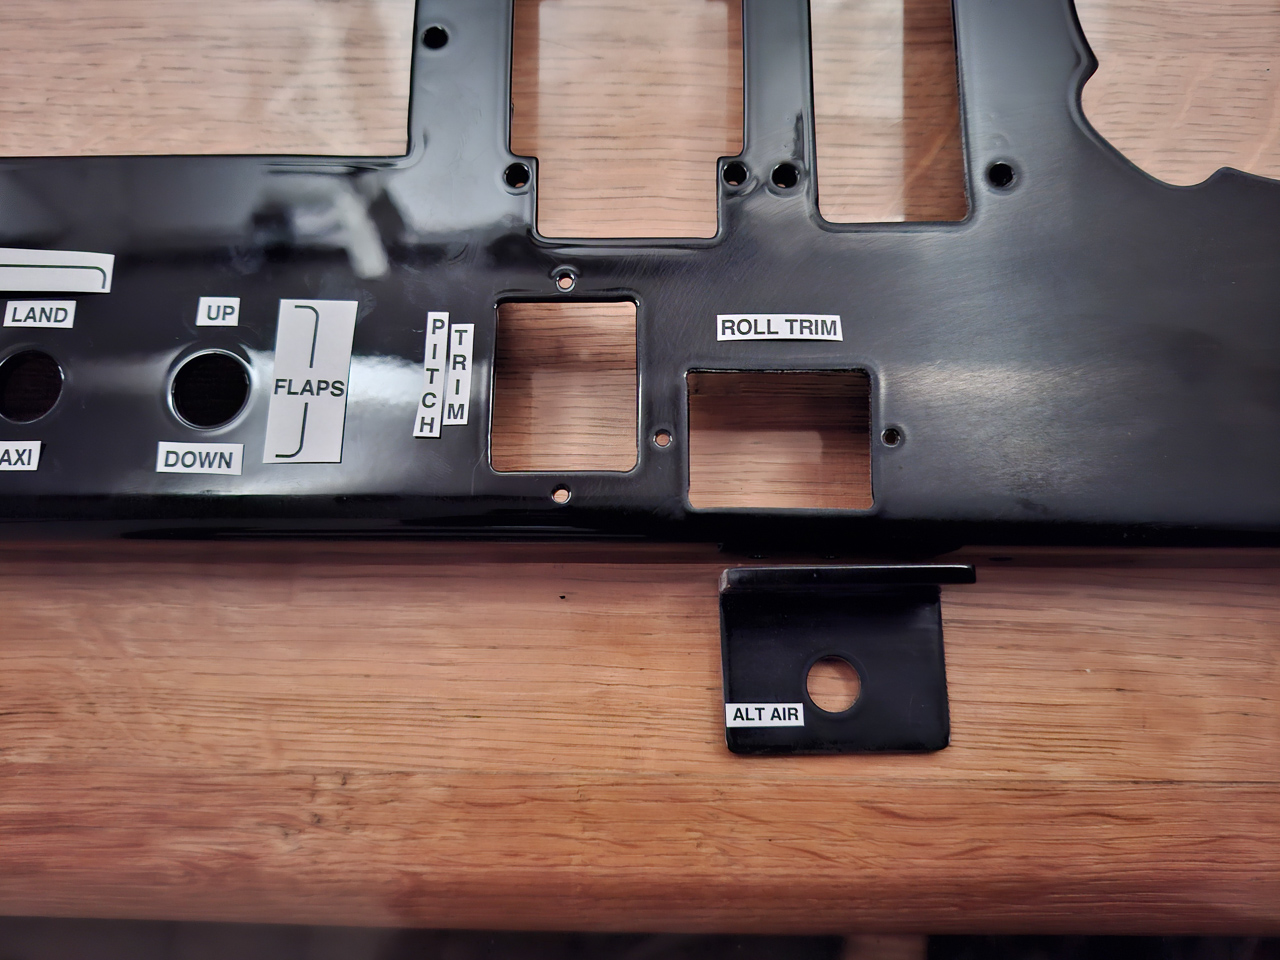
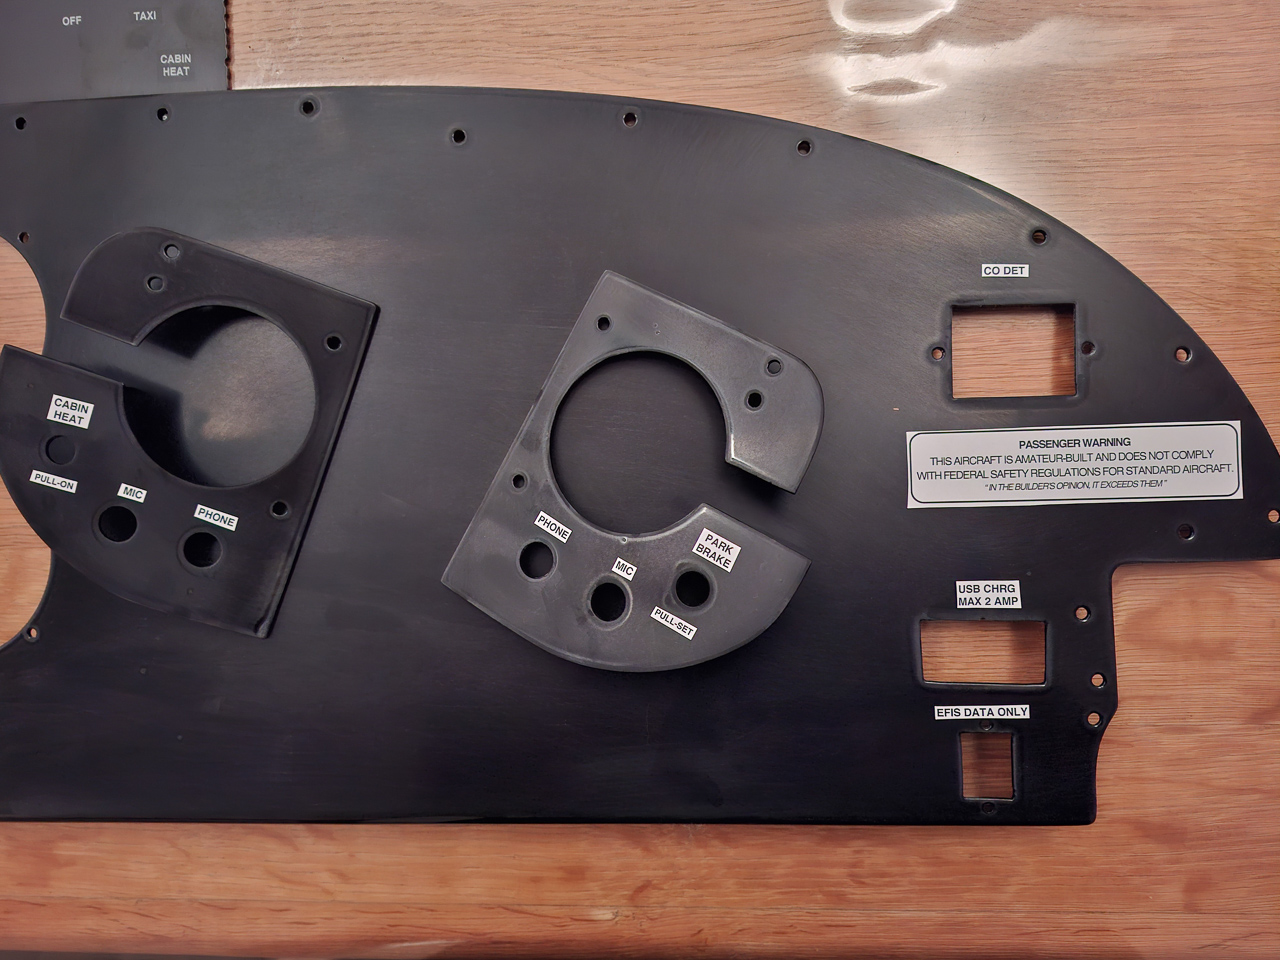
In order to test the label positioning, size and fonts I printed the labels on regular paper with black ink and cut out all of them before laying them on the actual location.
This is what it will look like.
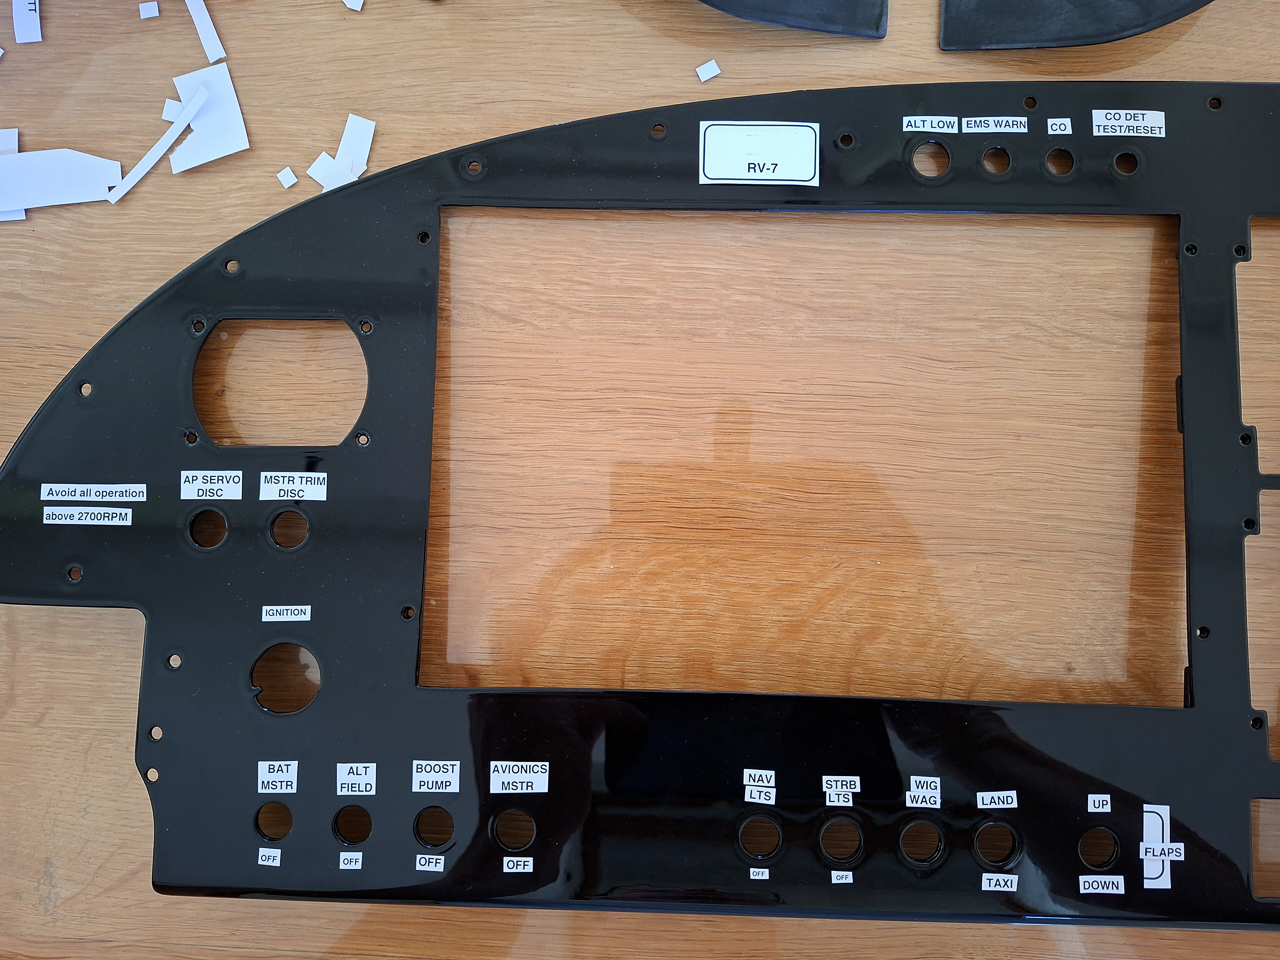
You can notice the brilliance on the image above.
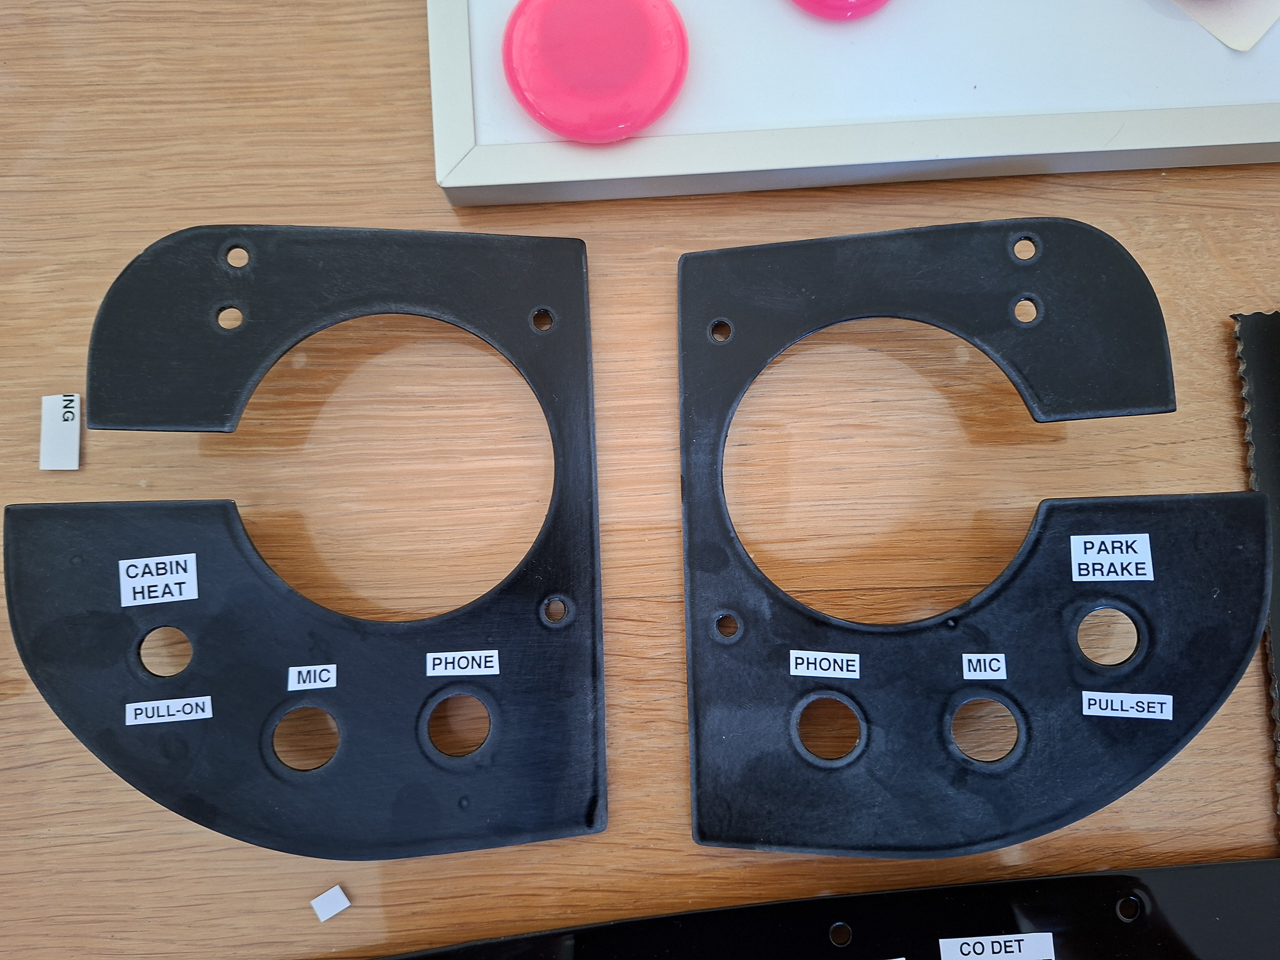
On the 2 side panels I already buffed the surface a bit and you can clearly see the glossyness fading away.
That's it for now. I'm quite satisfied with the result. Next step on this will be buffing the surface, degreasing it and applying the actual lettering.
If you look carefully on the picture below and the one below that, you will notic that my old test plate is visble in the image. (where it says "parking brake" top right). This gives you a good idea of how the final product will look like with the white lettering and a matt lack finish. The decal is hardly visible once the lack is applied. Not as perfect as printed directly on the panel but this will be more than good enough for me.
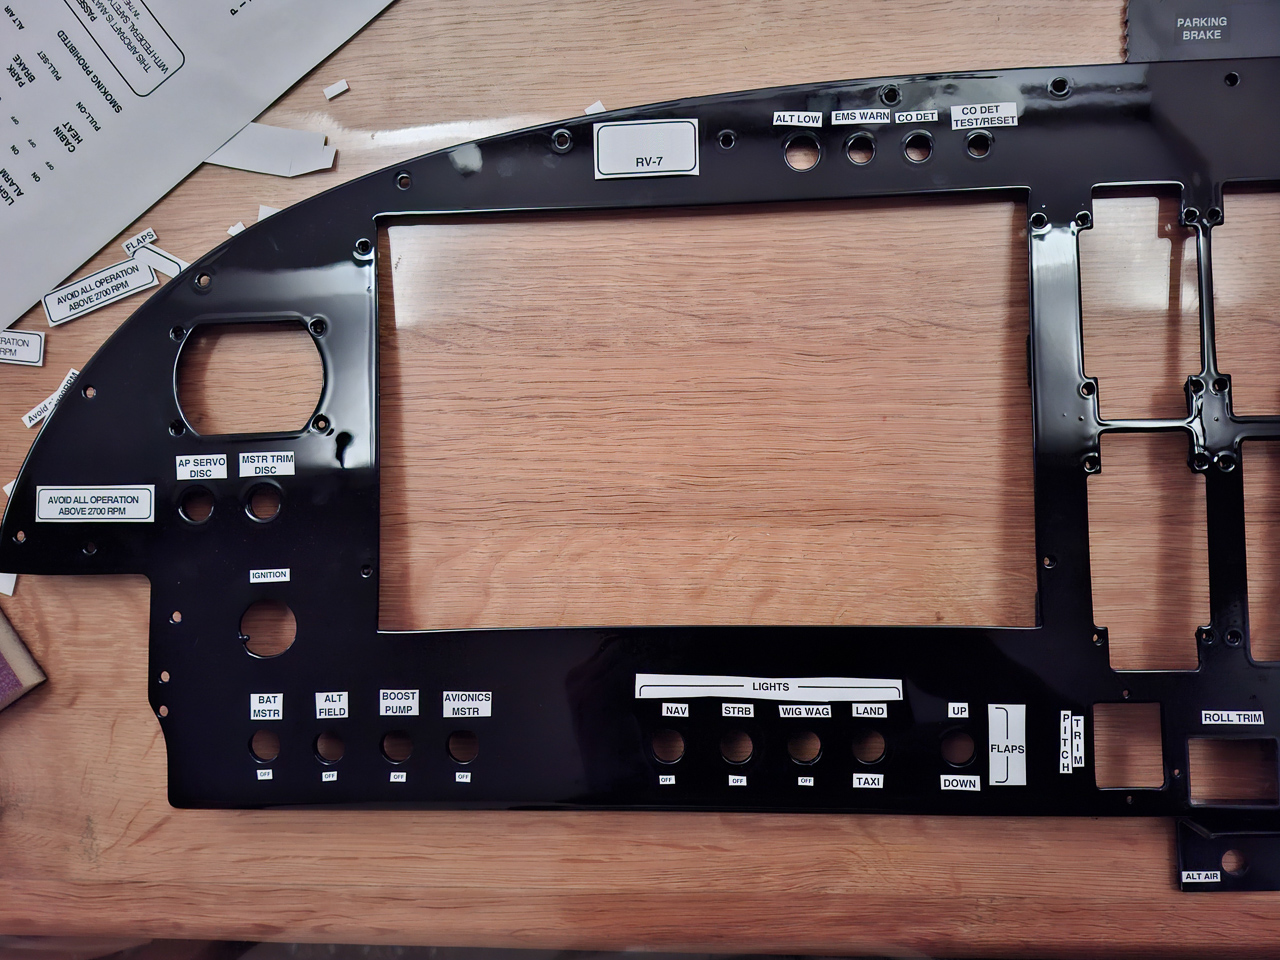
I made this funny passenger warning statement. Found it somewhere from another builder and liked the idea of stating that amateur build is actually better.
The arrow style around the flaps and lighting may be challenging as it's long pieces but I think it will work.
The alt air bracket also has a small label on it.