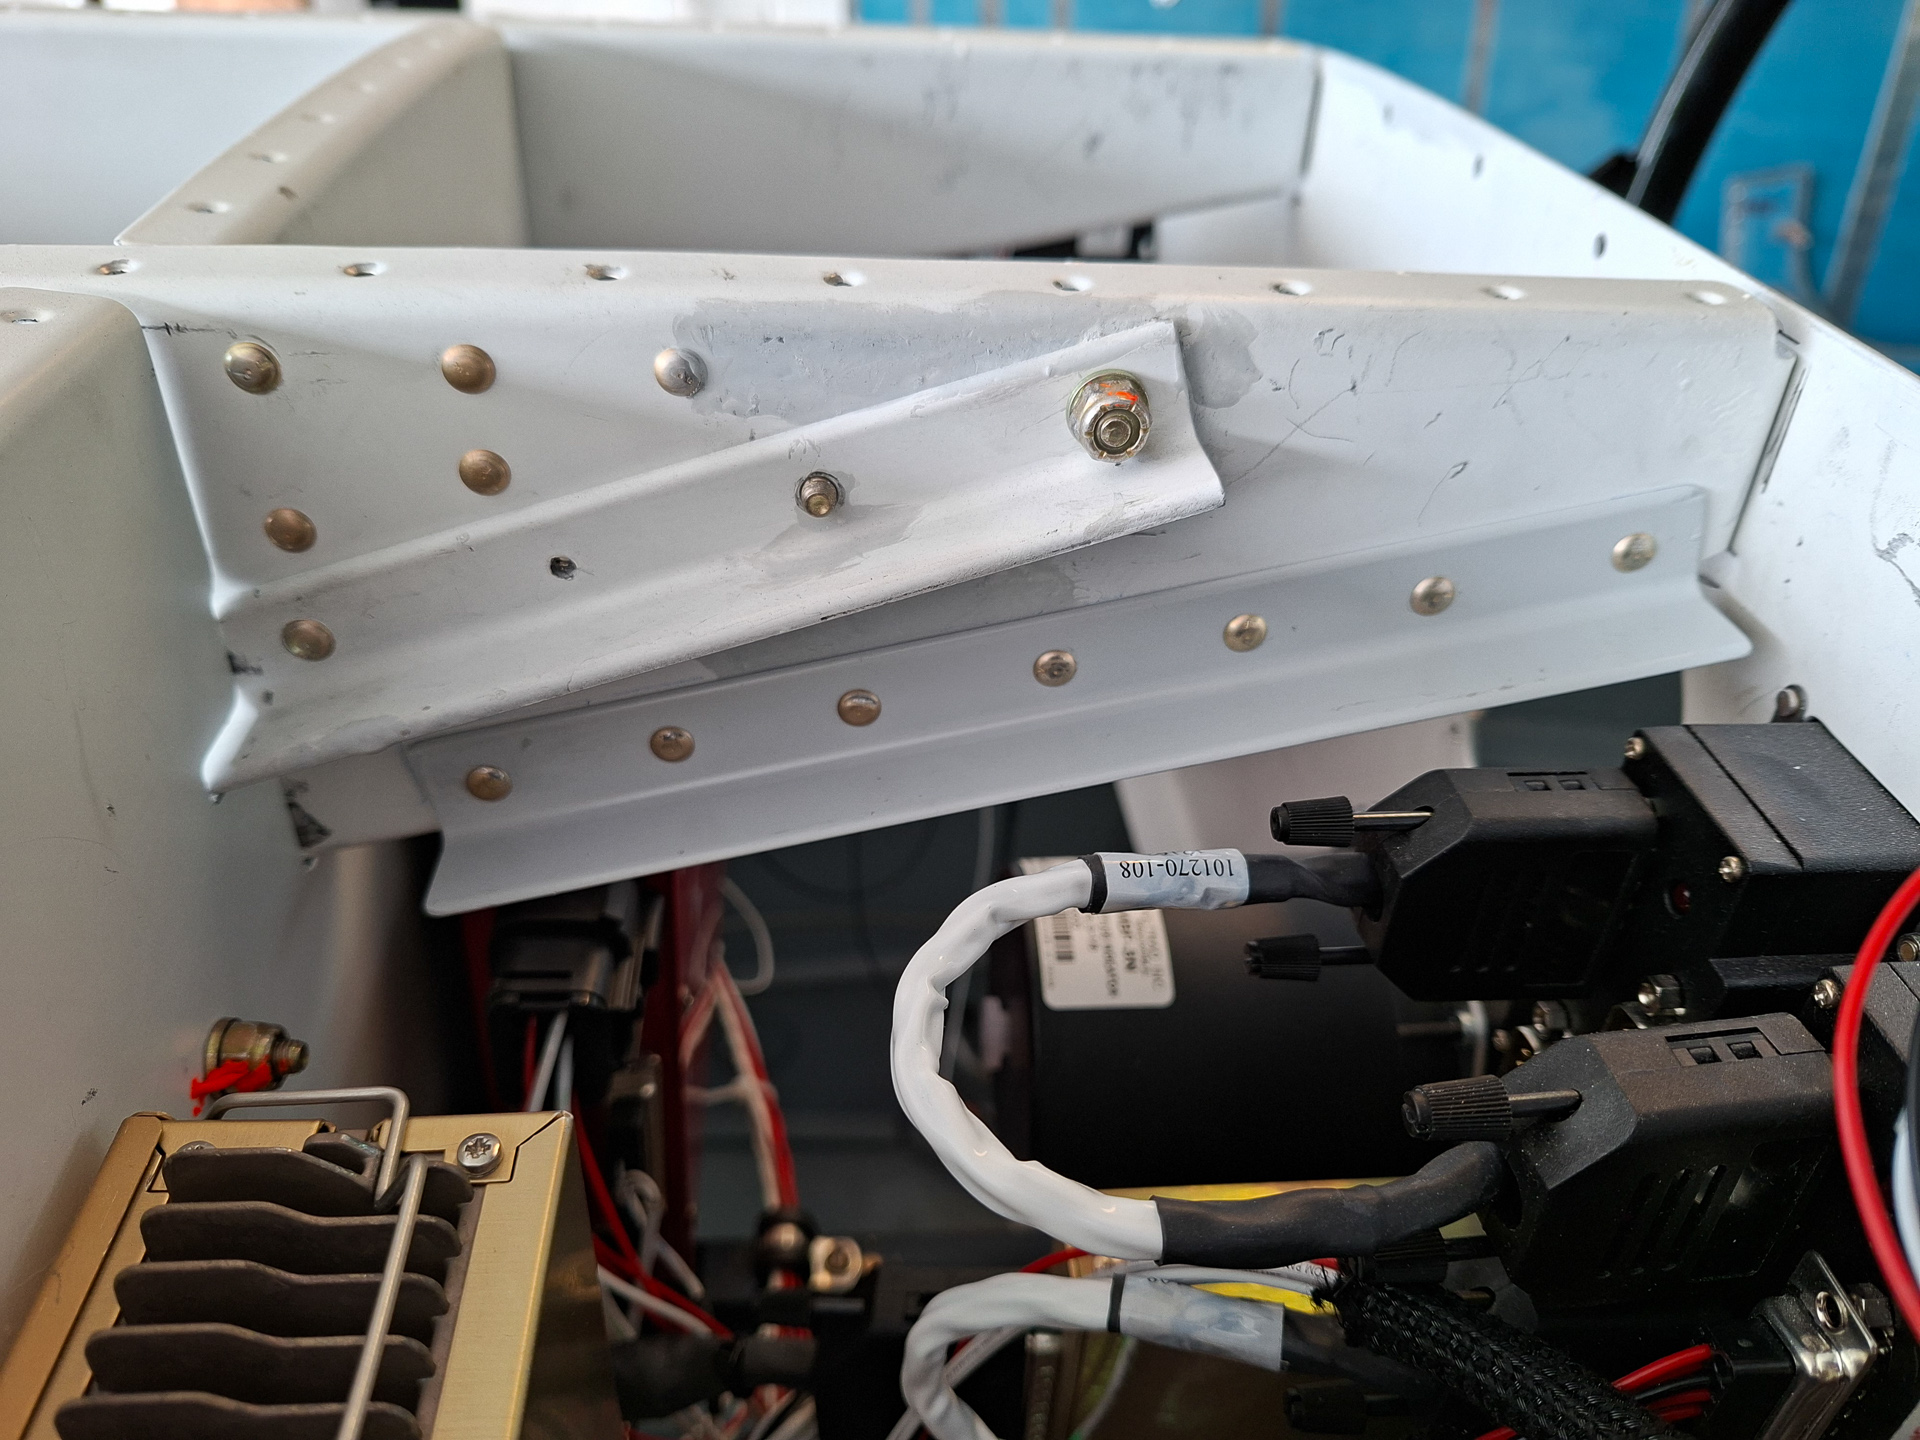
Made a modification on the center rib because the analog instruments were in the way of the original angle. Some time back I cut of part of the bottom flange and replaced it by a stiff angle on the opposite side. Now final rivetted it to the rib structure. (bottom angle in the image)

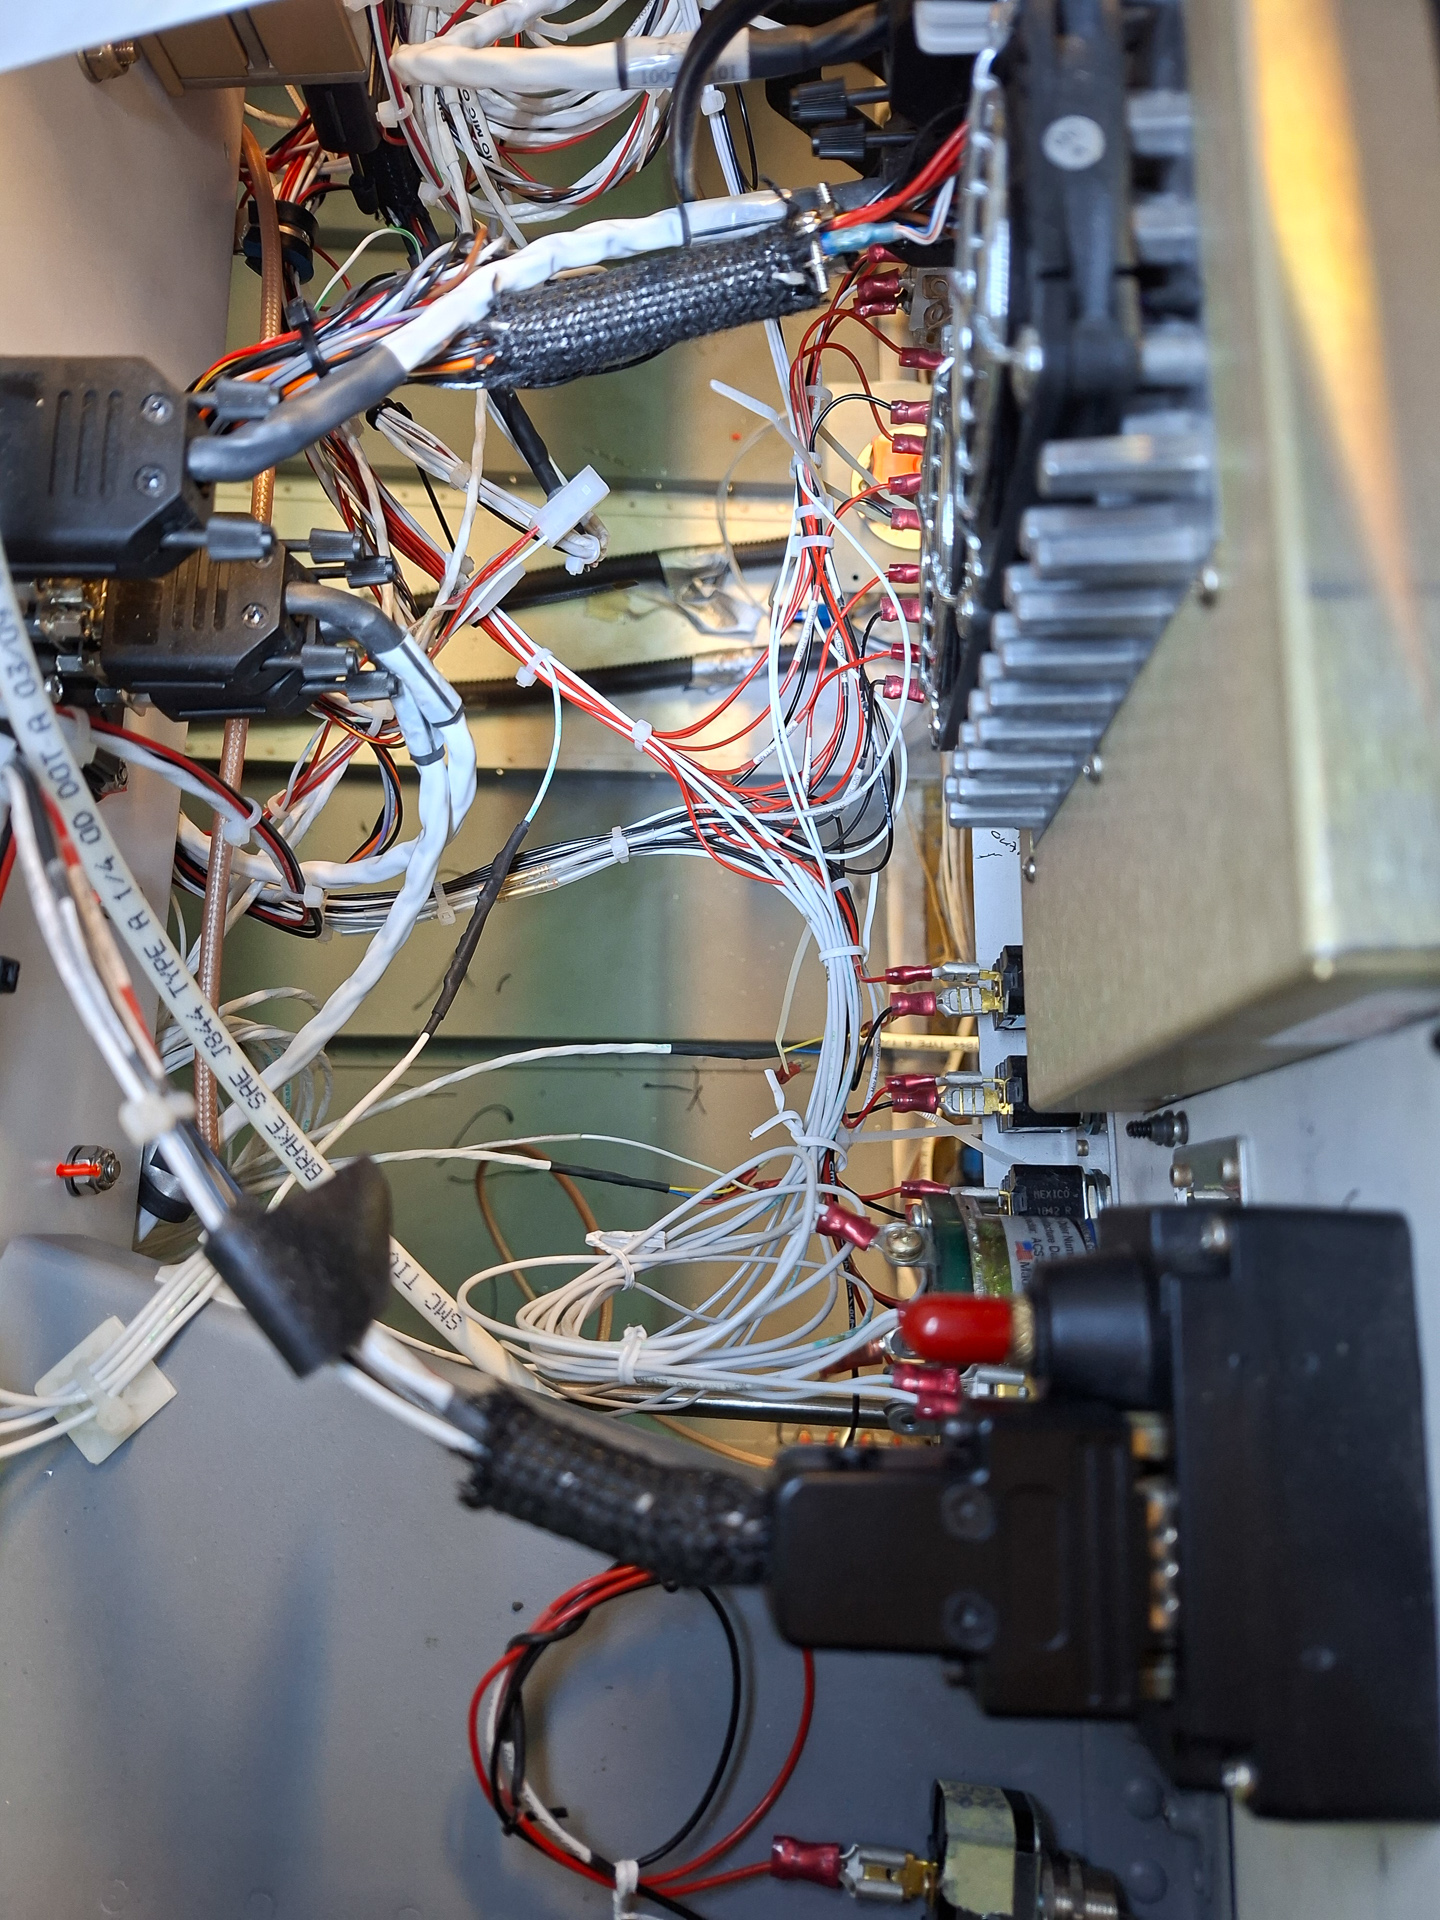
Some more reorganisation of wiring behind the panel on the passenger side.
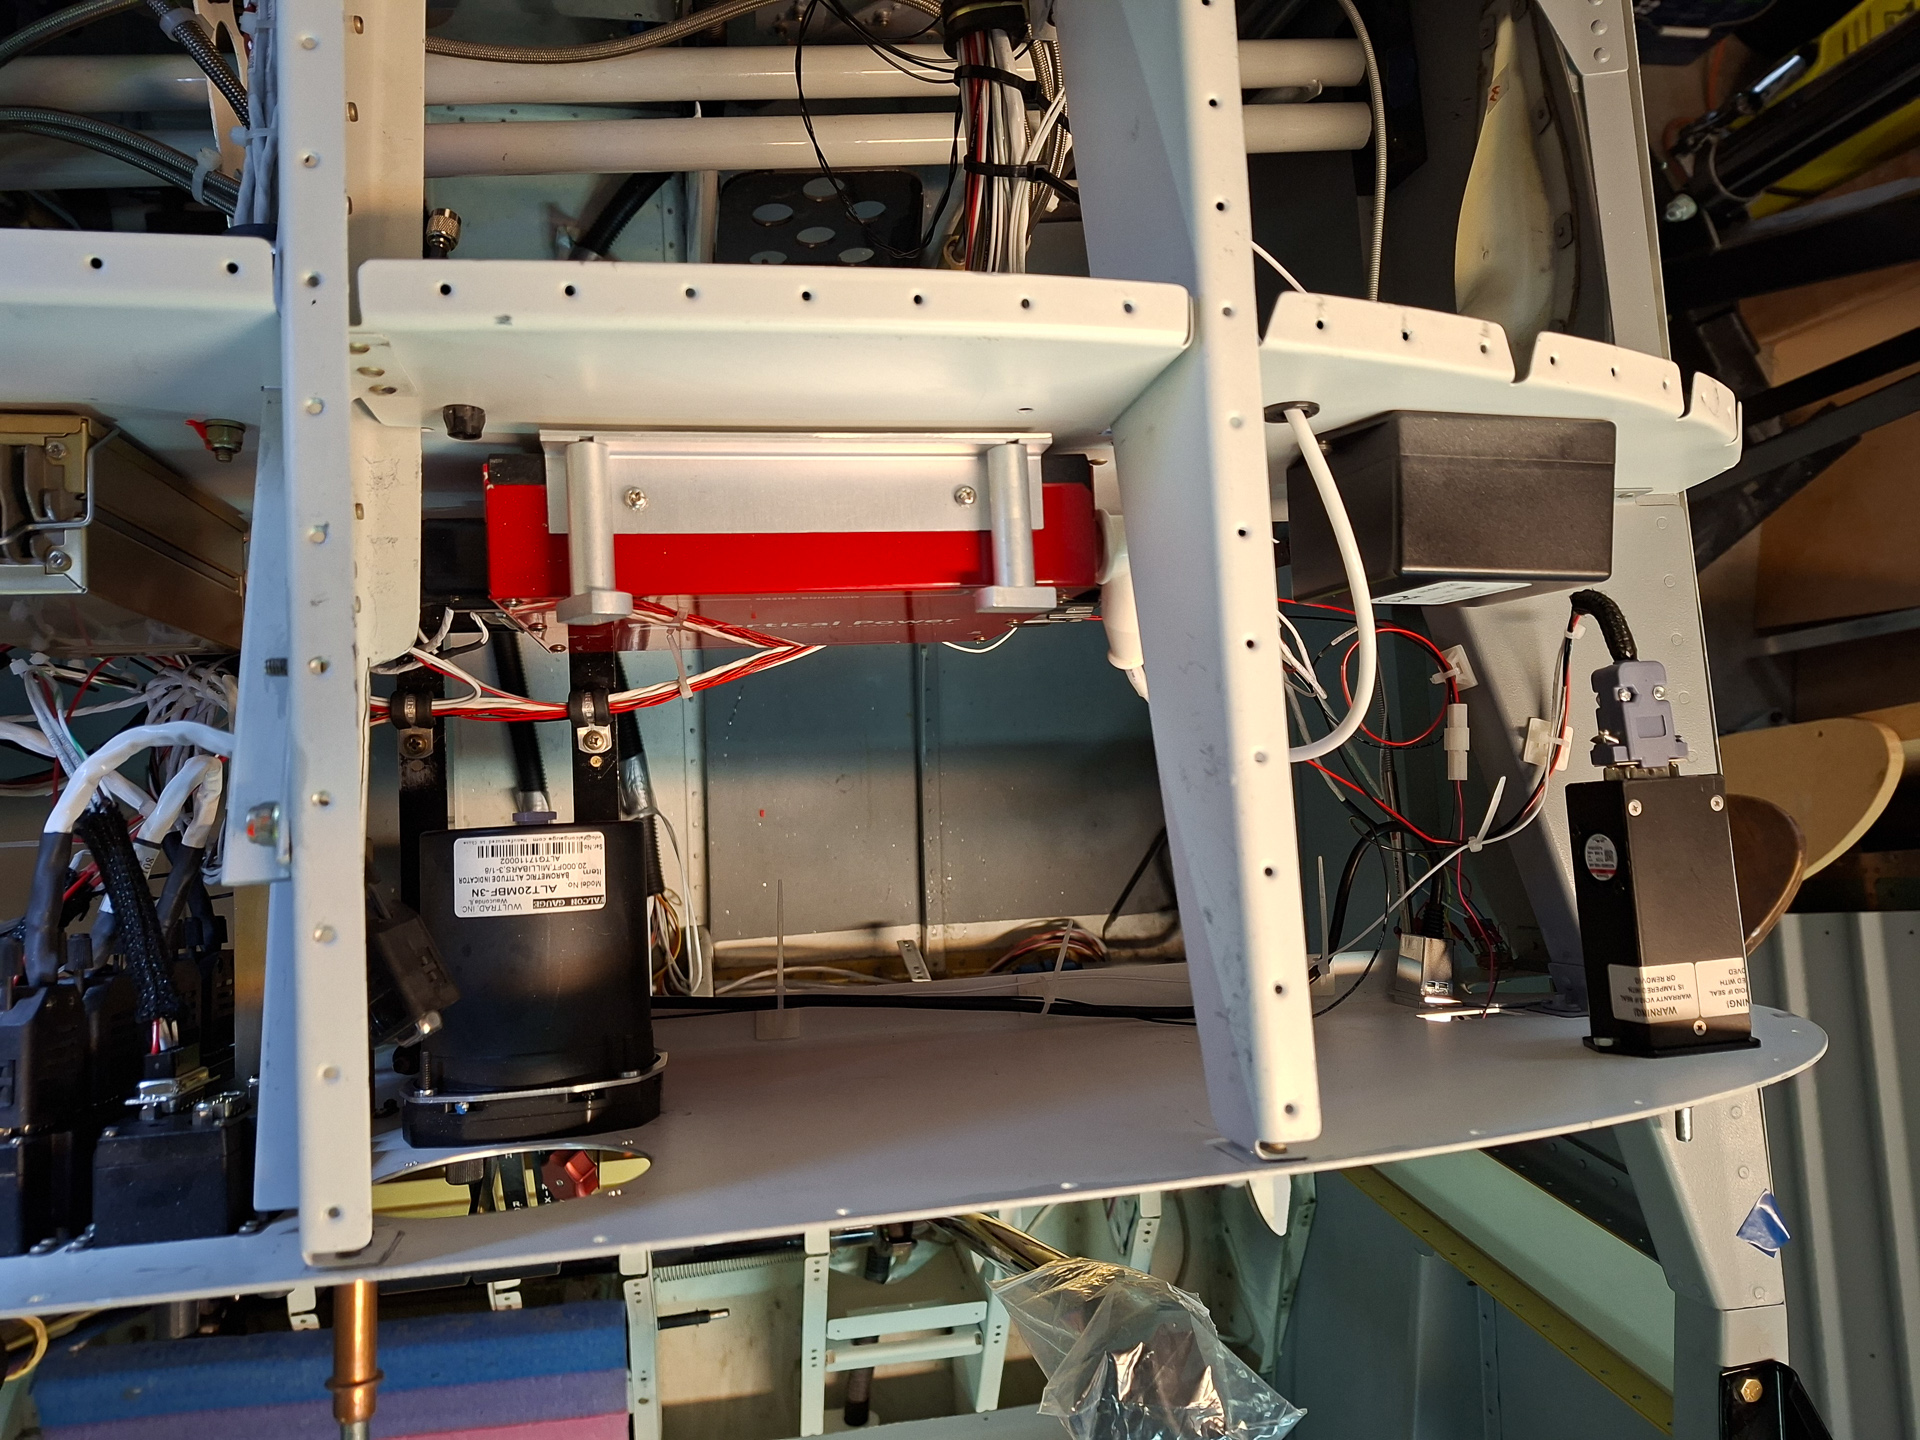
Top down view.

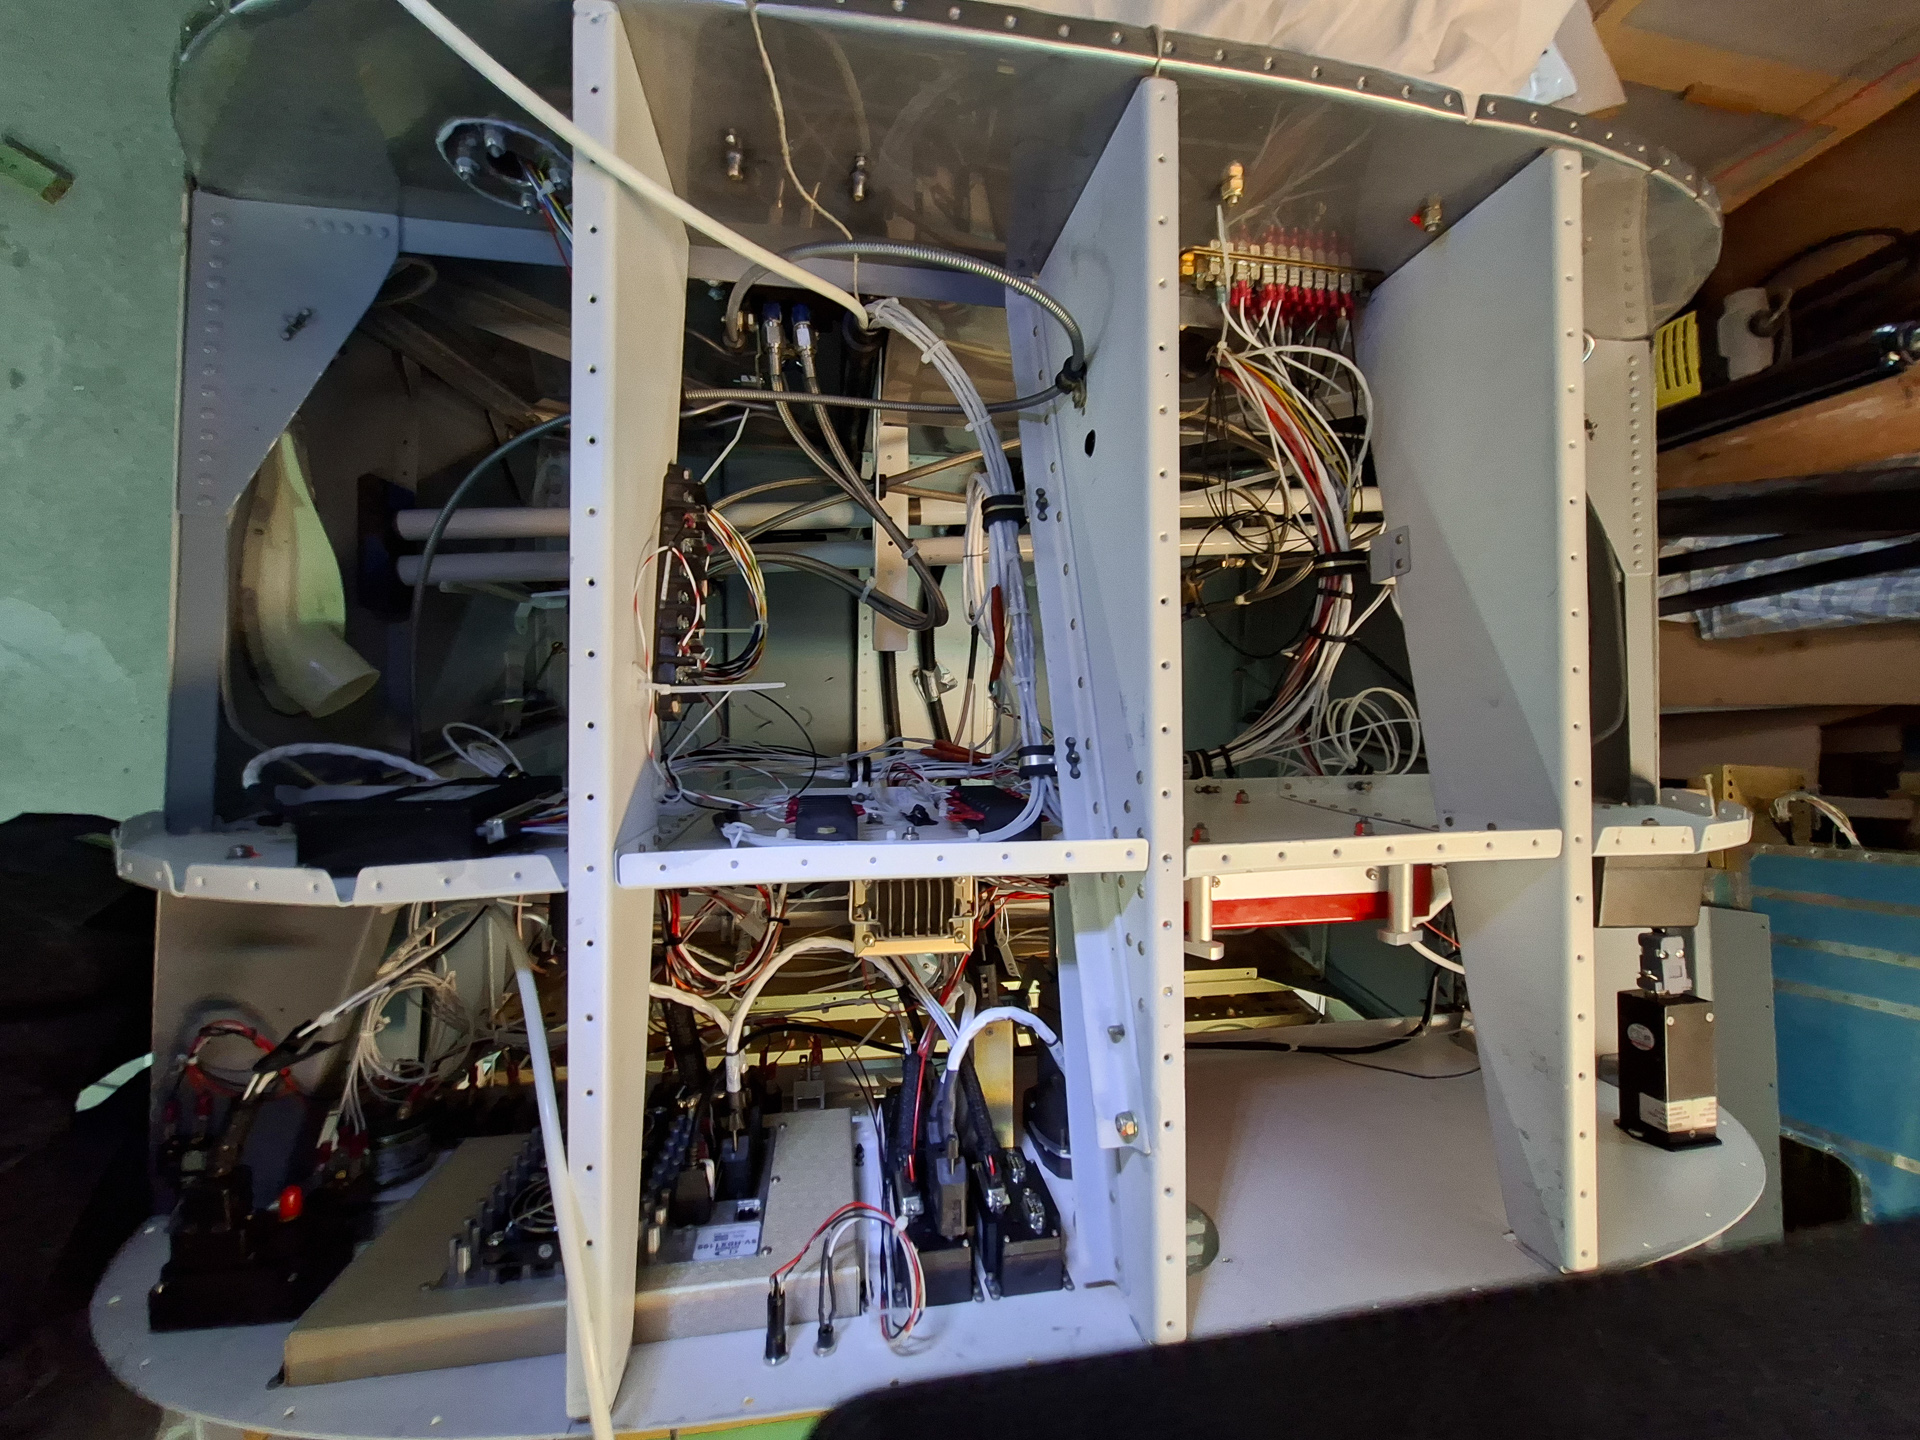
Also the first bays just behind the firewall start looking more clean and organized. Still adding clamps here and there.

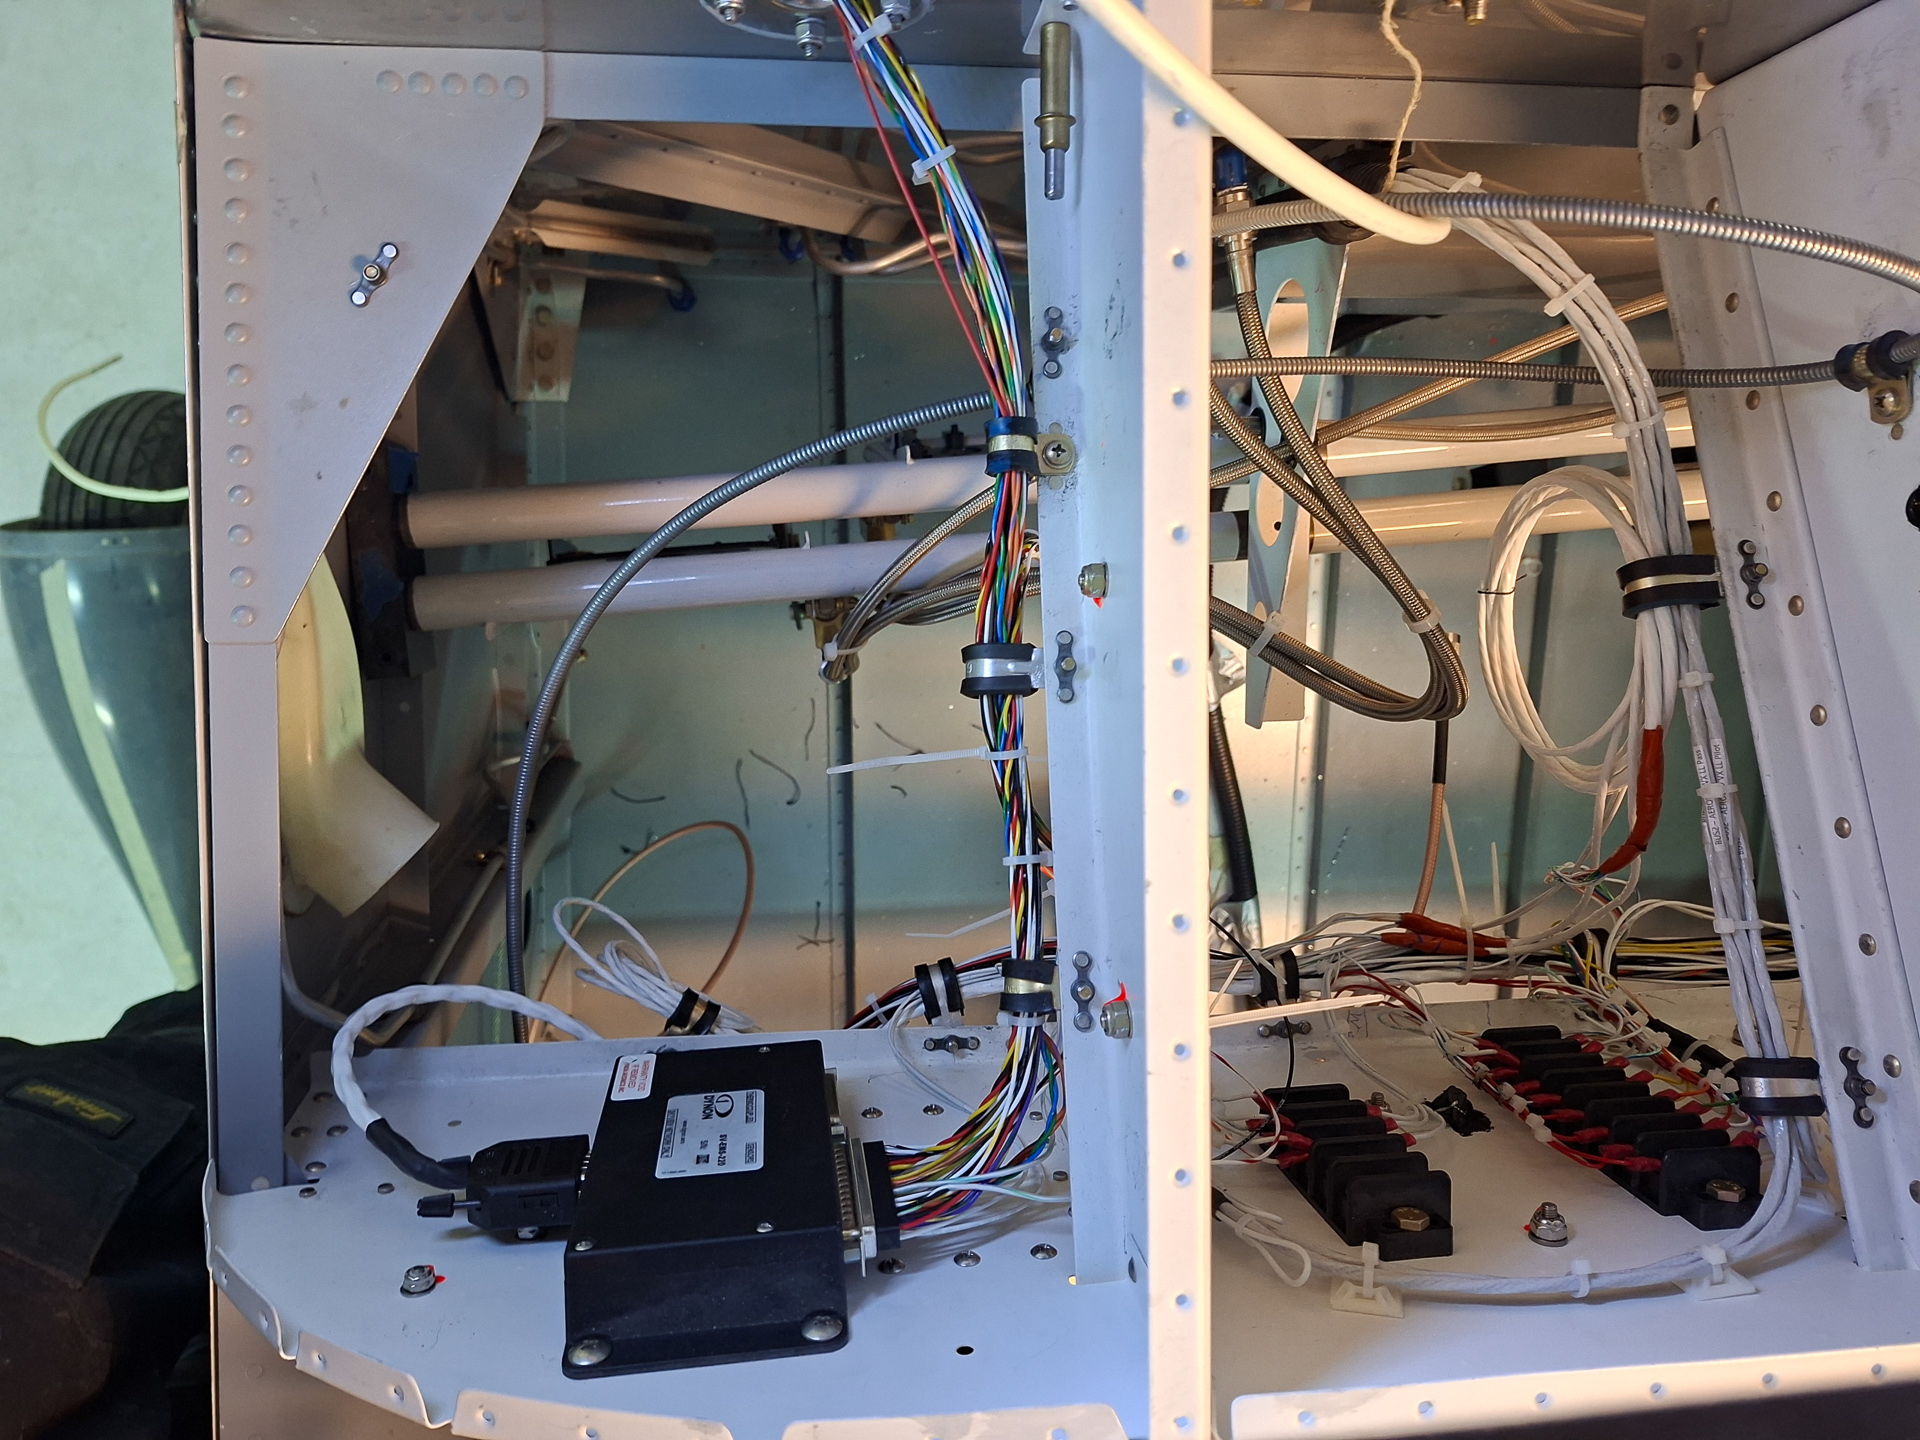
The area behind the switches and skyview.

And the area behind the skyview modules and analog instruments in the center of the panel. 

The main exercise here is to make sure the wires are organised in bundles and that they are not visible from within the seat. 

Legal Mumbo-Jumbo

It’s possible (not likely) that I’m not as smart as I think I am. (Occasionally, I have moments when I know this to be true. Fortunately, the feeling passes quickly.) Although I have tried to make this information as accurate as I can, it is not only possible, but also quite likely, that erroneous and misguided information lurks within these pages. I cannot and do not warrant these pages to be error free and correct. Furthermore, I accept no liability for the use of this (mis)information. And, as many would say, your mileage may vary. If, after reading this, you are intent on proceeding, please be aware that the contents of this site are protected by copyright (copyright © 2011 and 2012). Nonetheless, you may copy this material subject to these two conditions: (1) any information used is for non-commercial purposes, and (2) the source of the material is properly credited. Of course, you may link to any page herein. At some articles, snippets of the plans from Vans are visible. These are for educational and illustrations purposes only and should never be used as plans for part construction or assembly as plans may have changed since the picture was taken and more important they are protected by Copyright by the Vans Aircraft Mothership company.