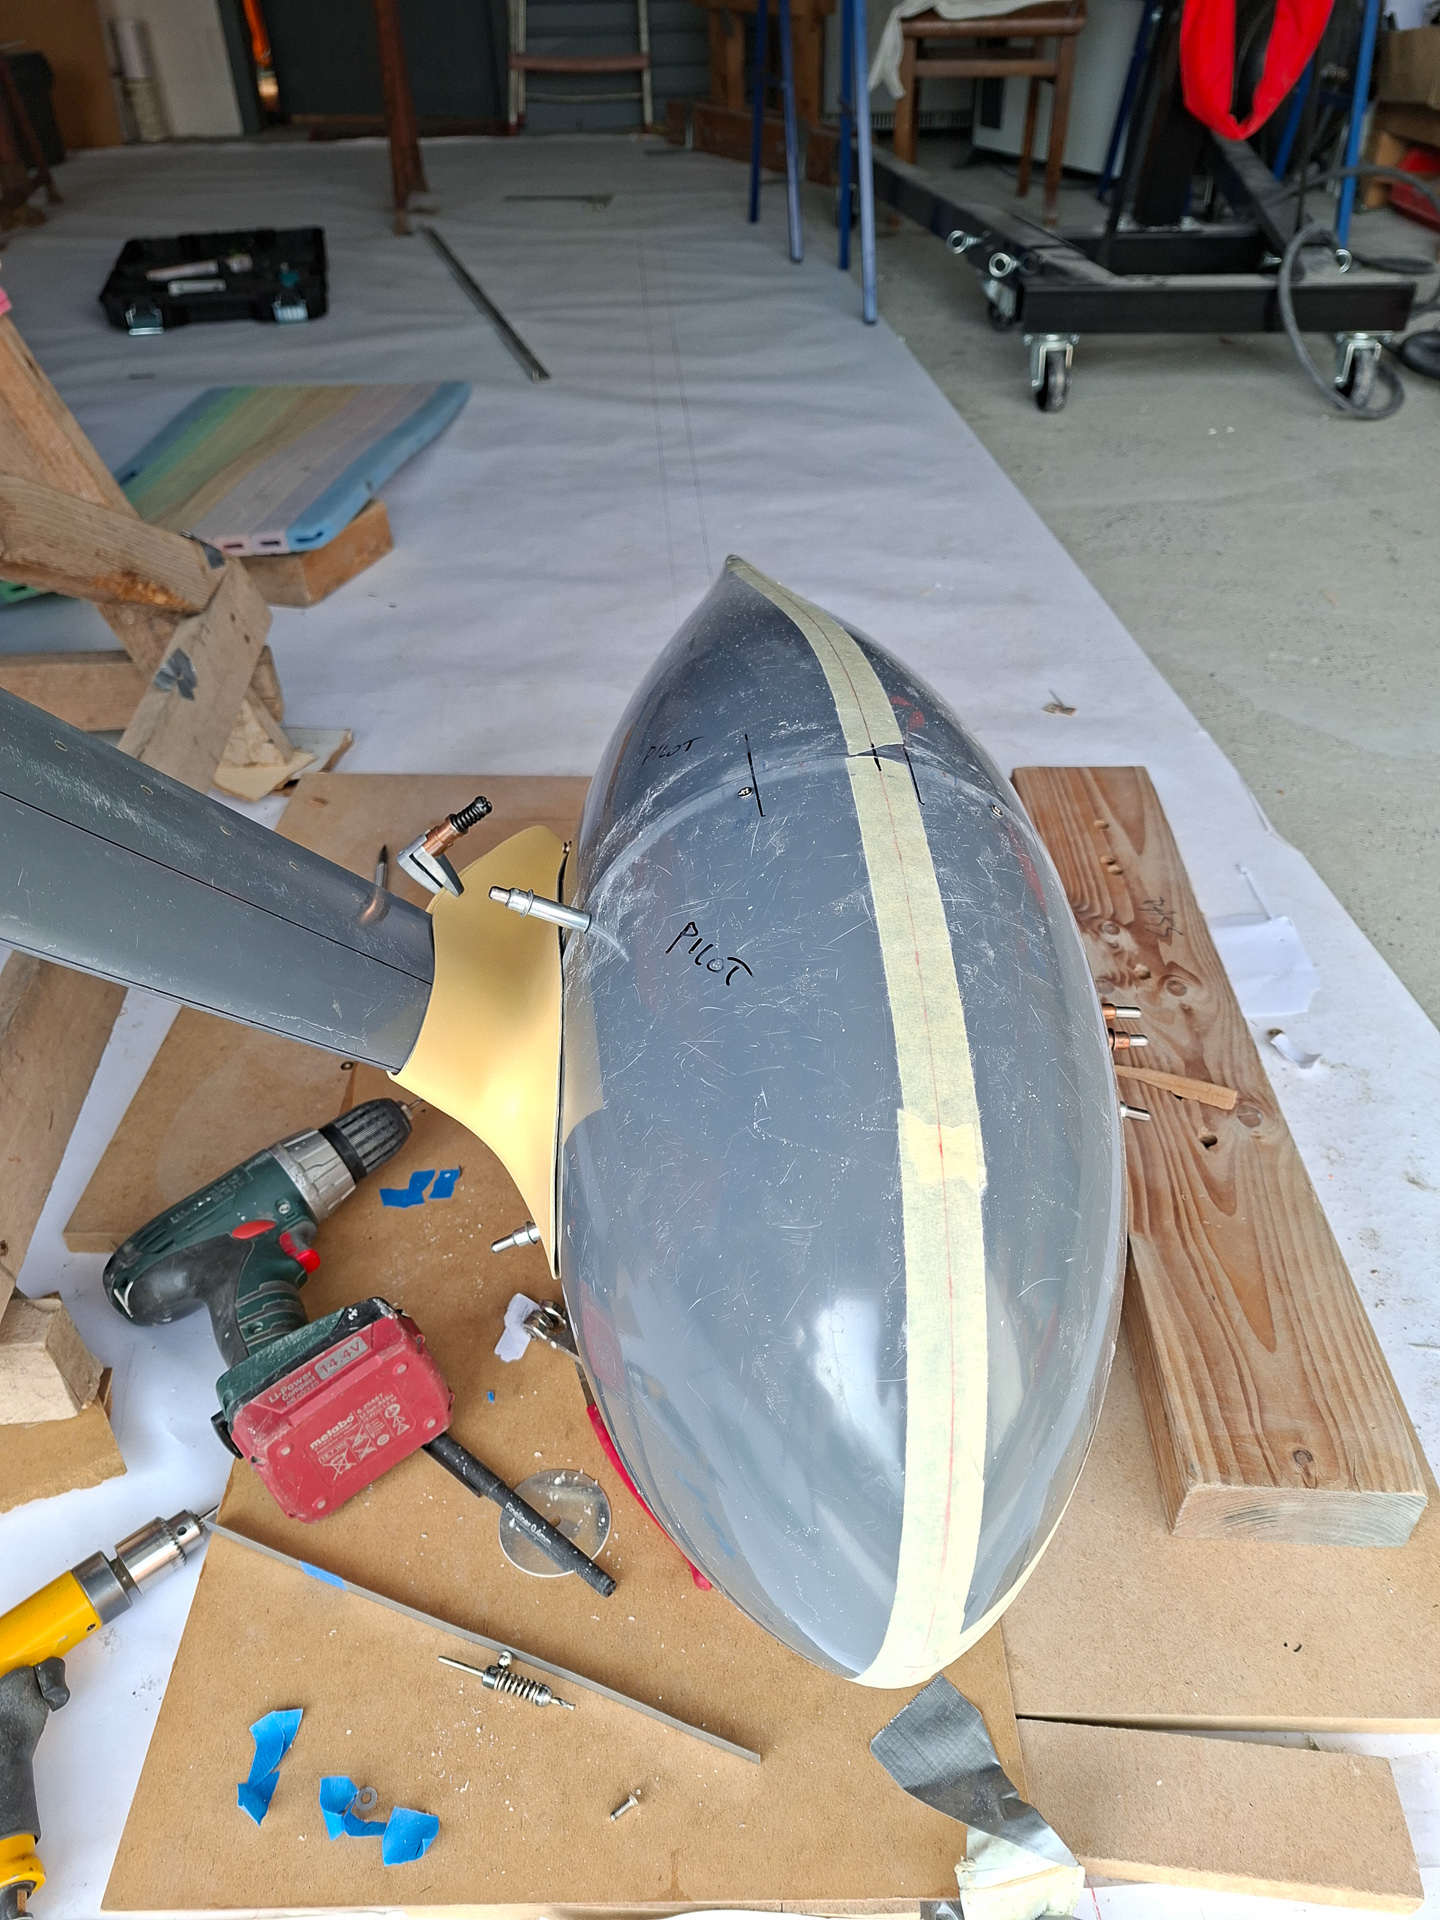
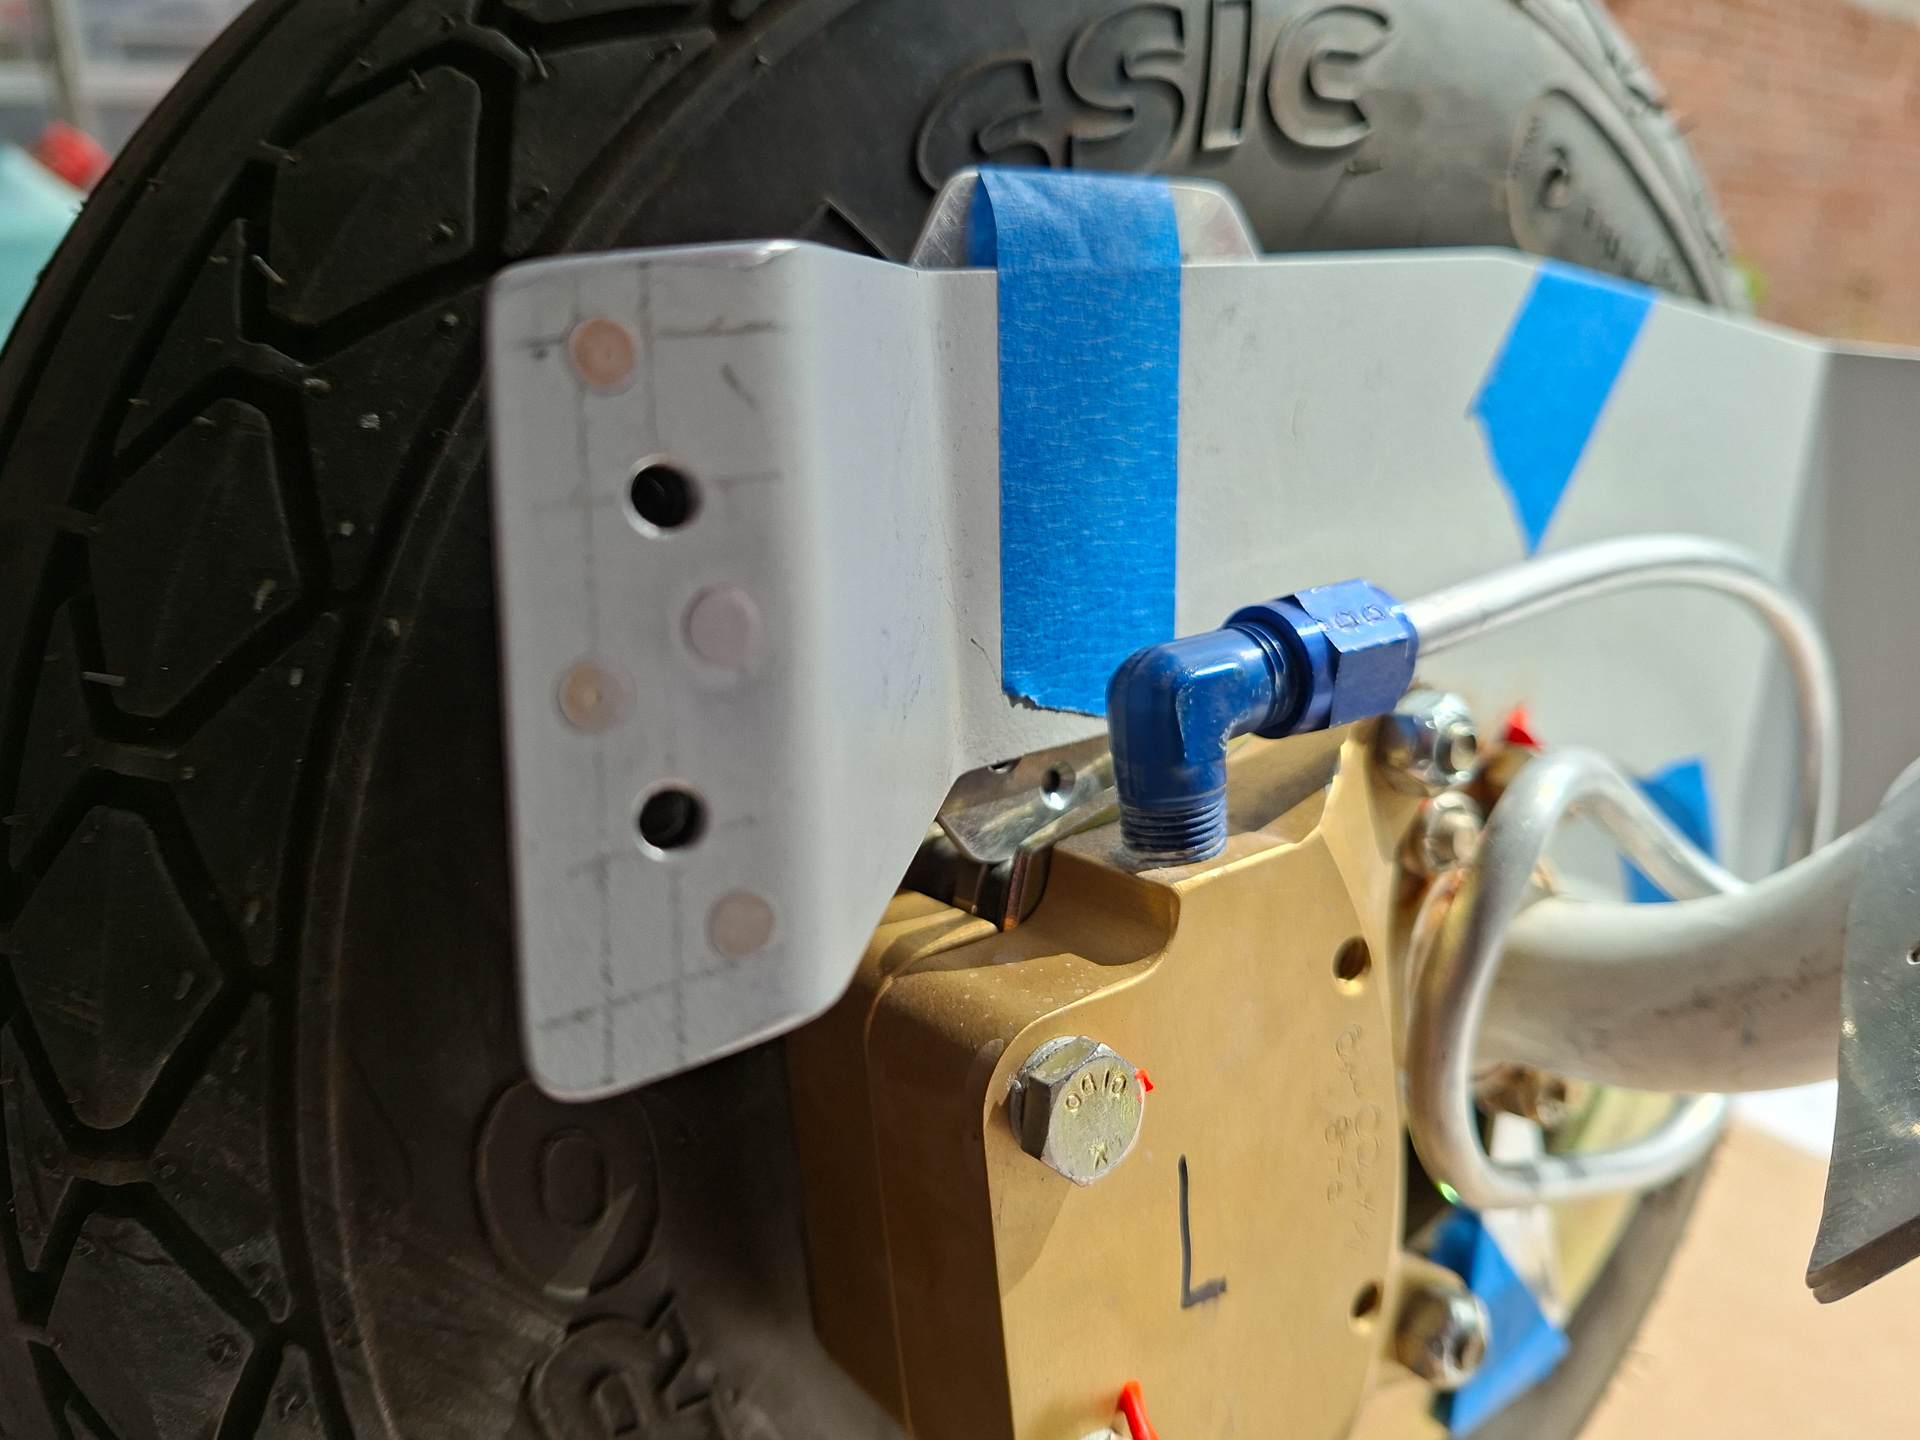
As per the plans, you need to place some shims between the brake disc and the inner wheel pant bracket. I used 0.064" aluminum scrap parts. This is in the middle of the prescribed 0.032 and 0.094 gap tolerance. taped them in between using blue painters tape. This prevents the bracket from moving inwards during drilling.
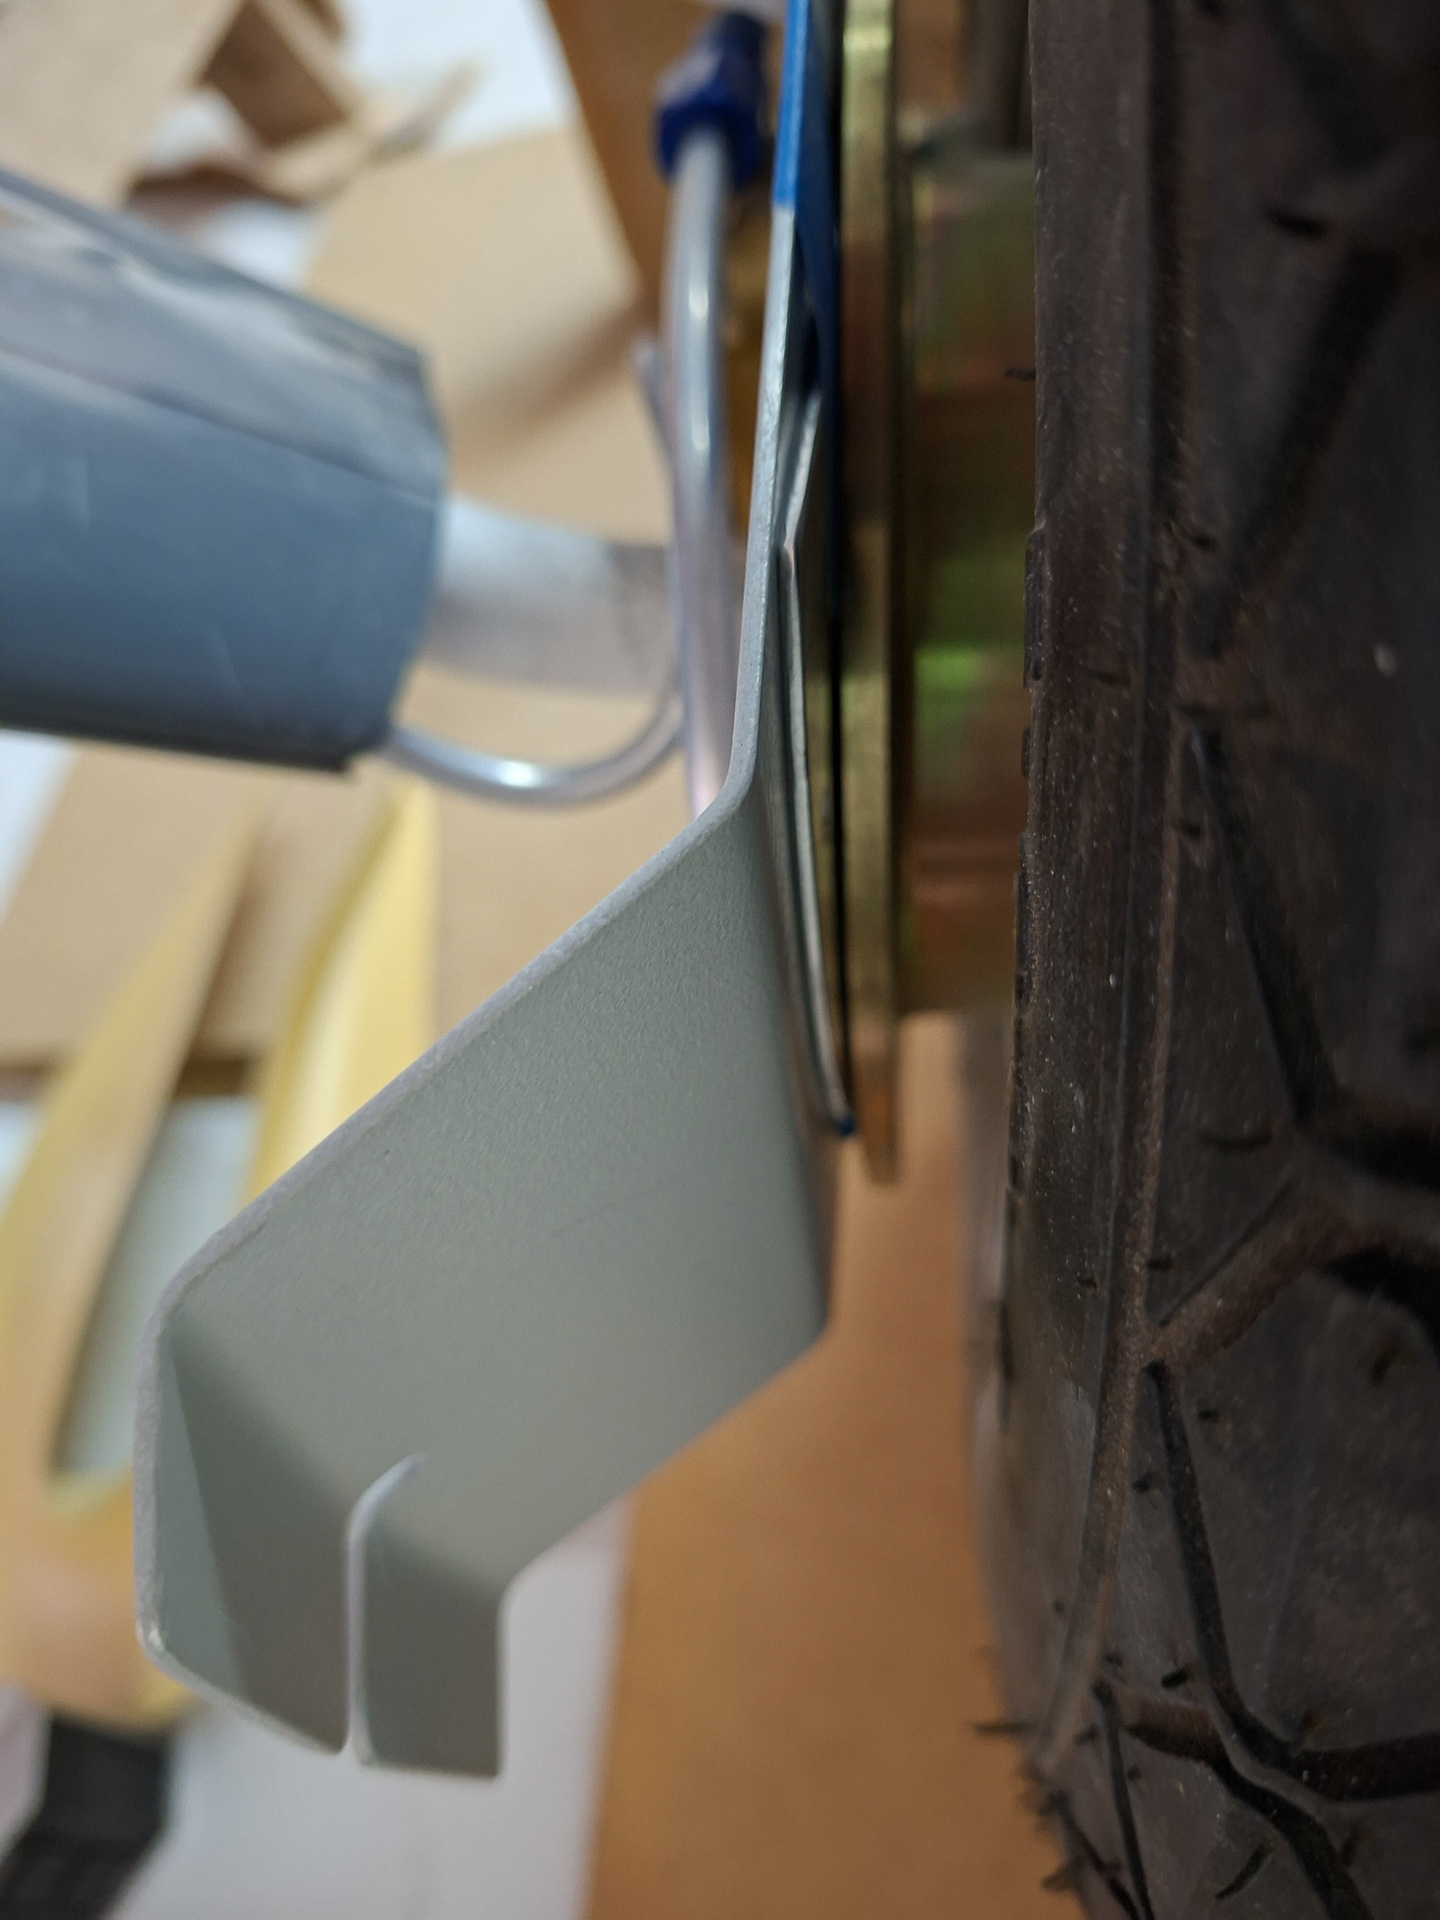
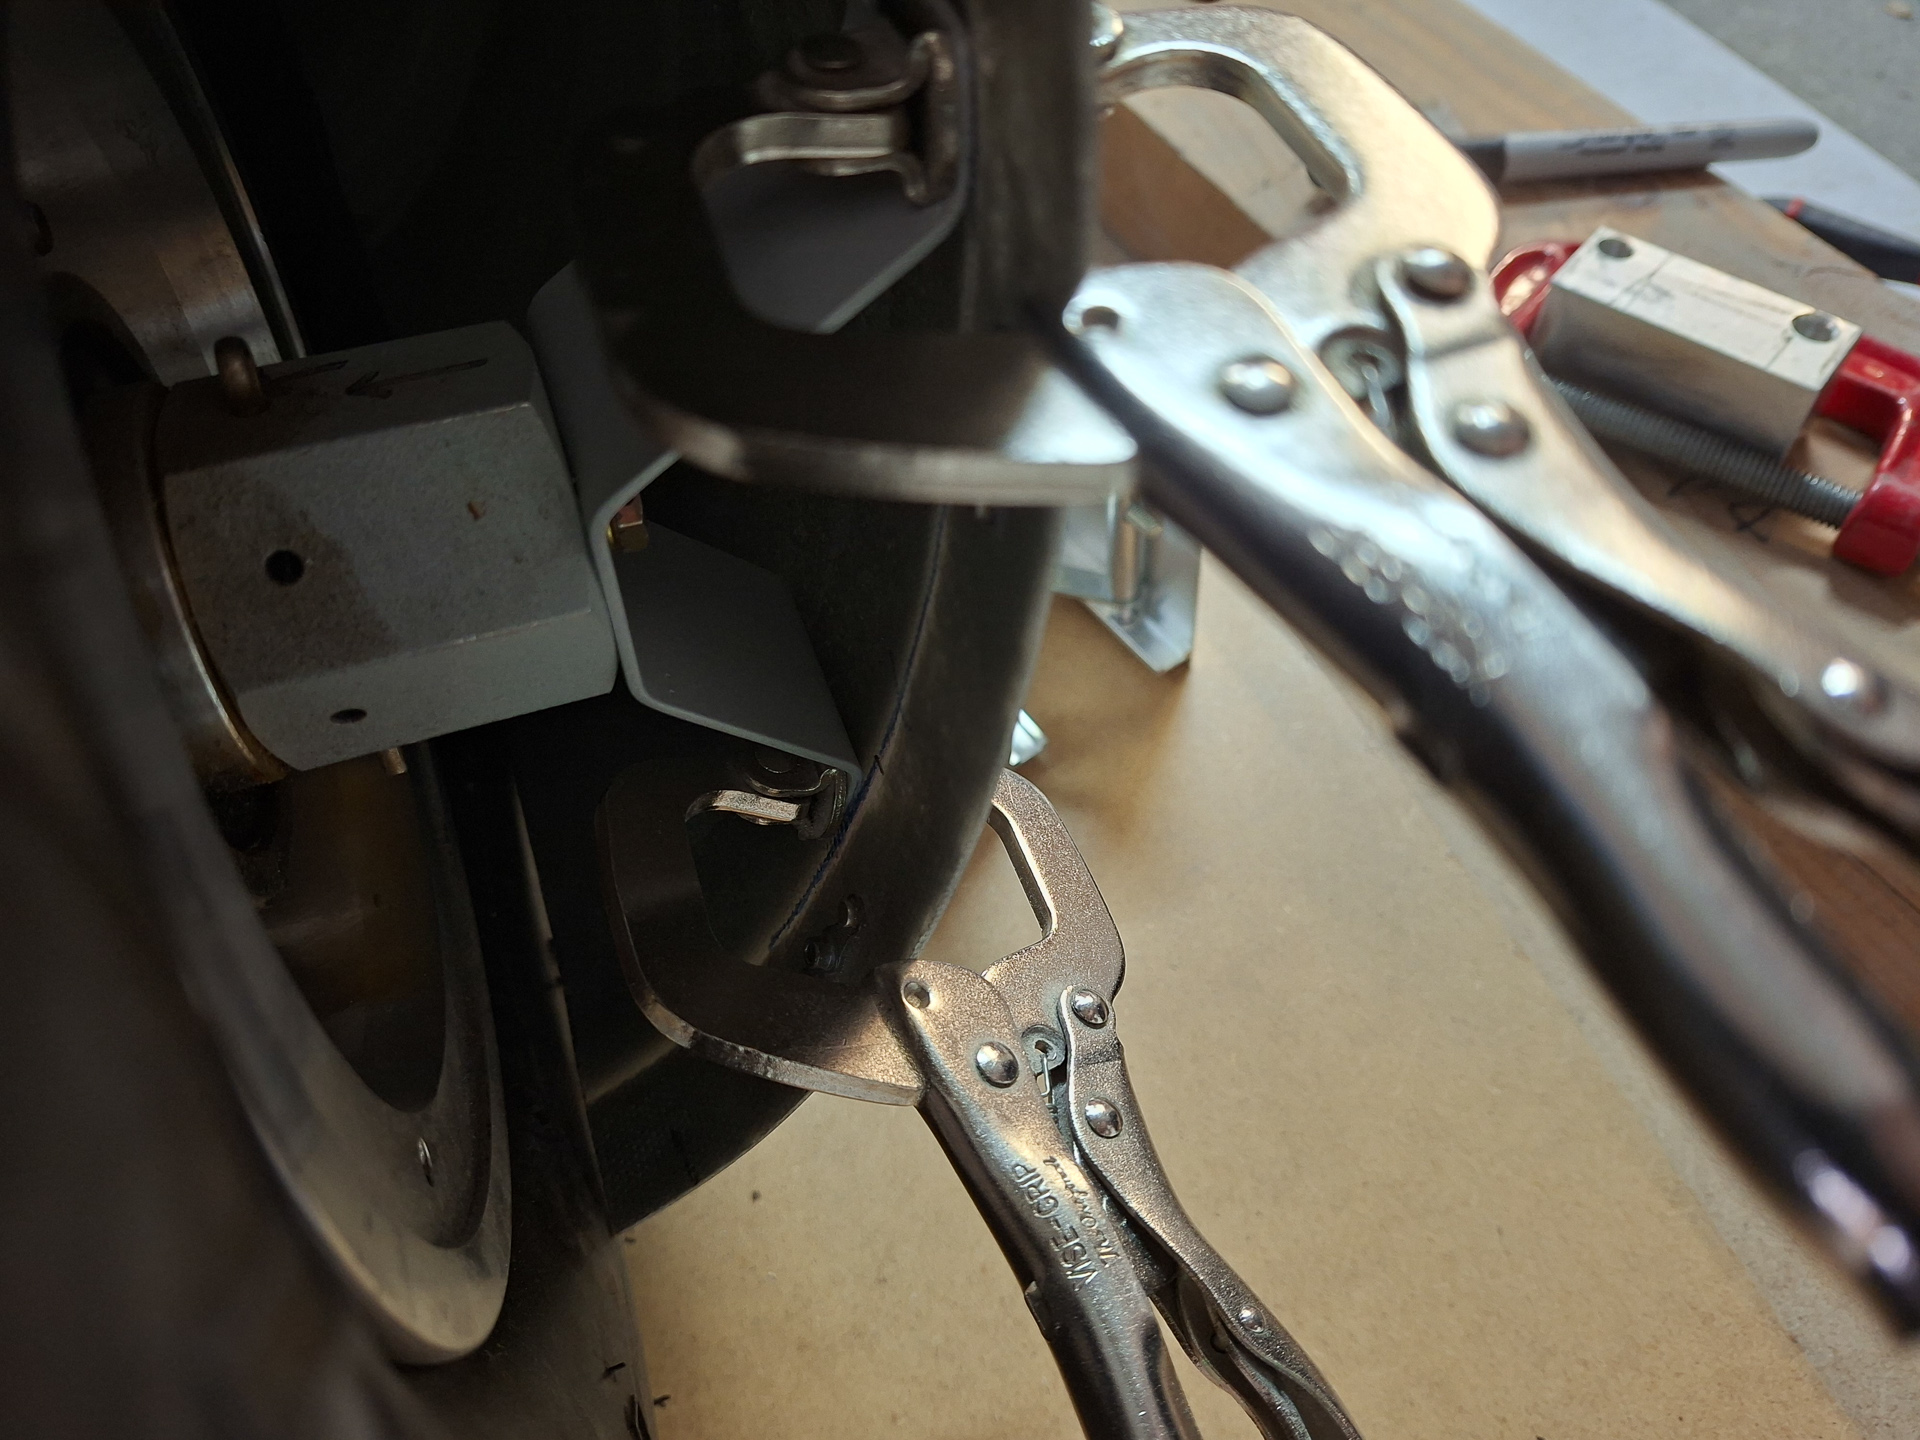
Measuring, lining up, clamping and reclamping.
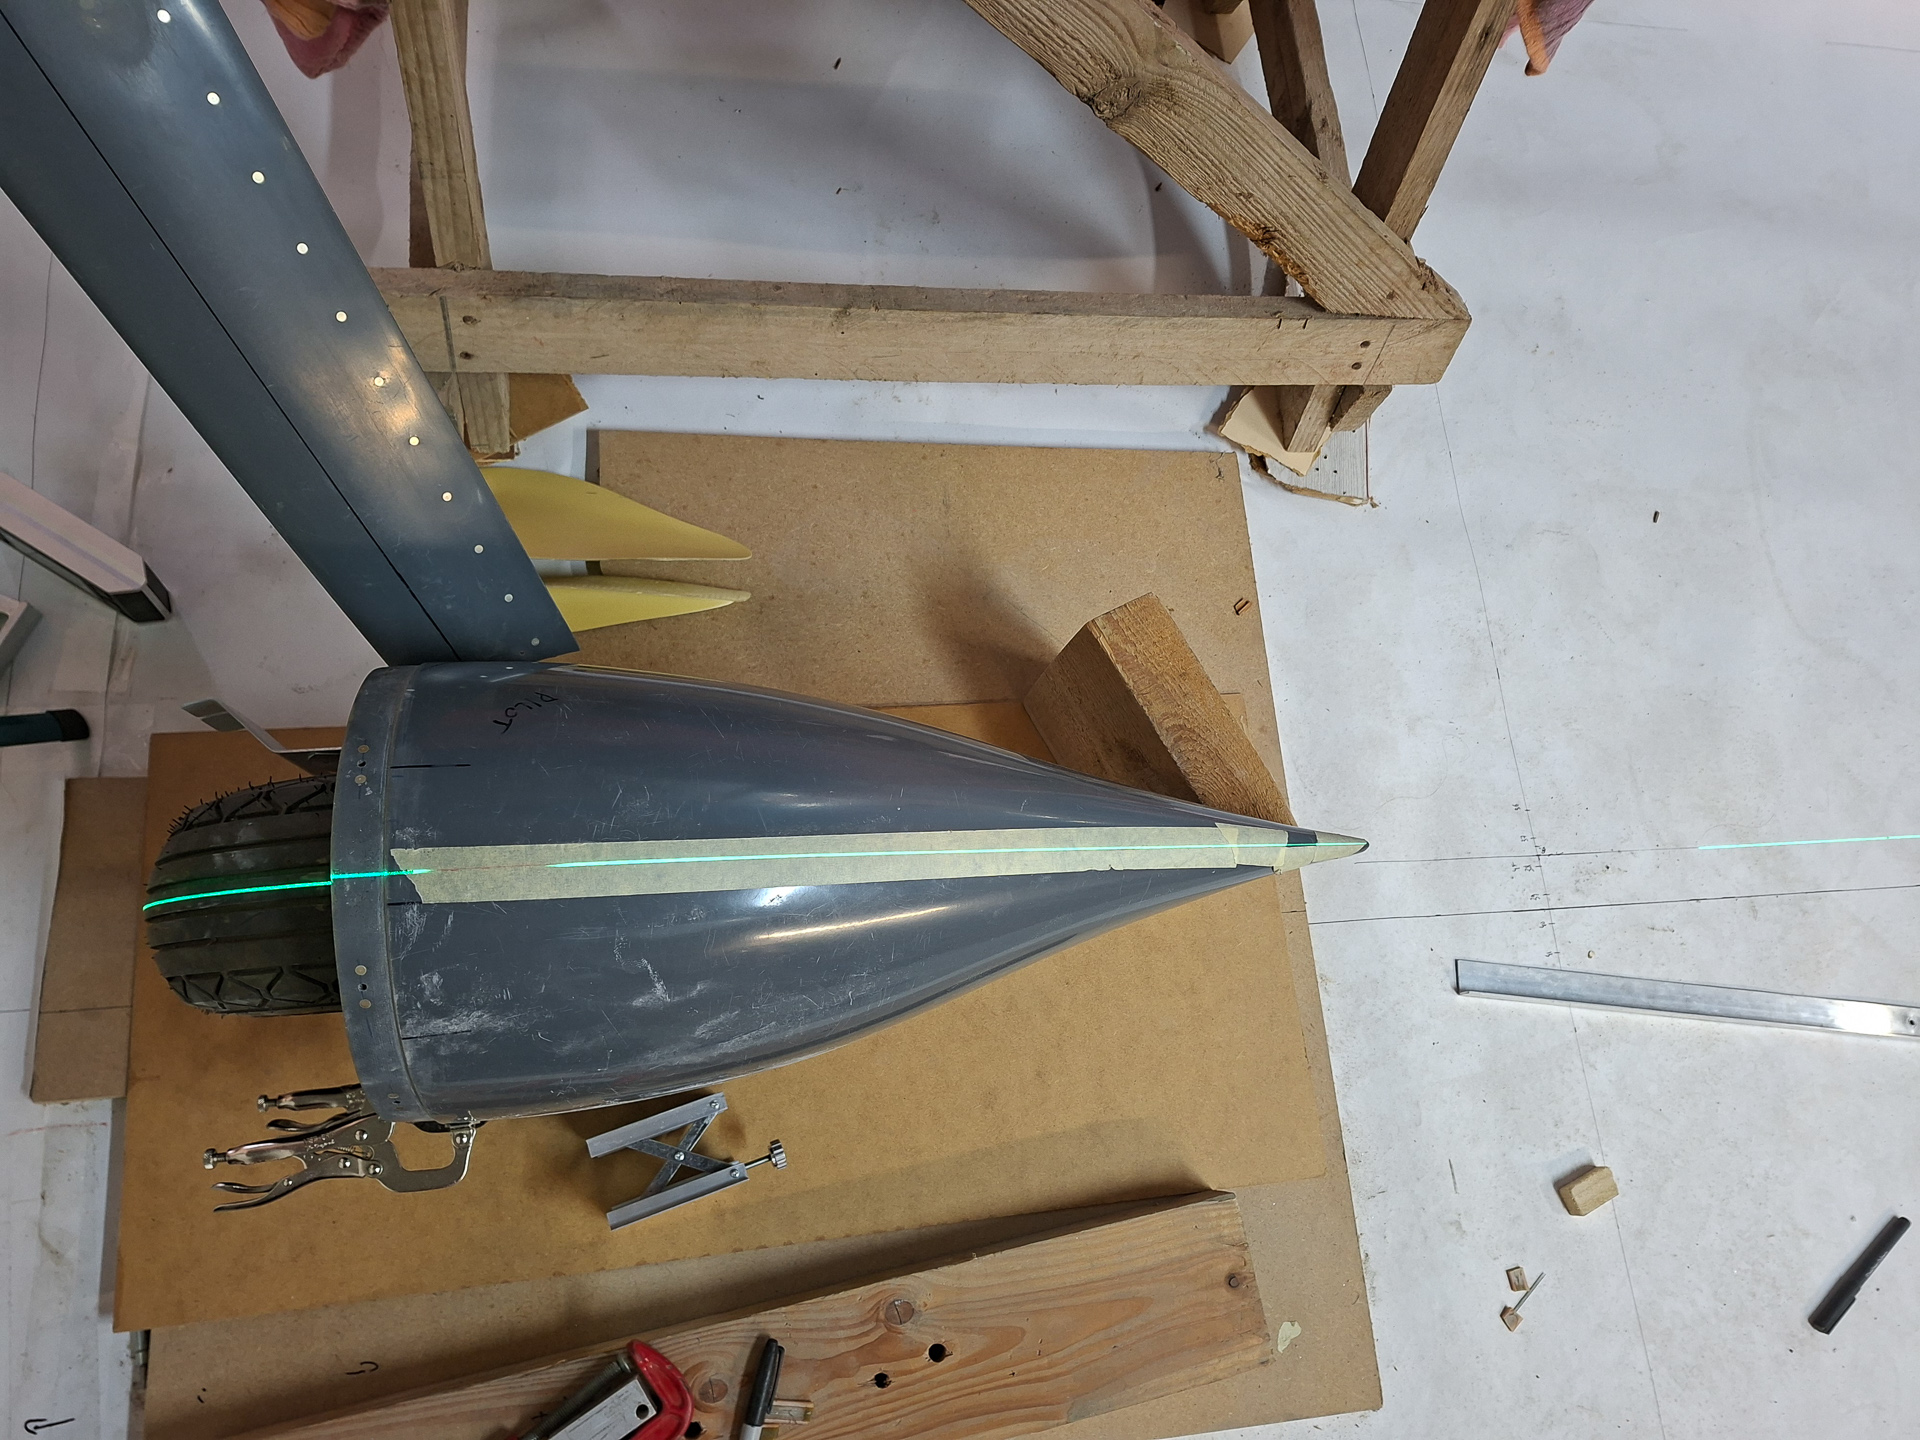
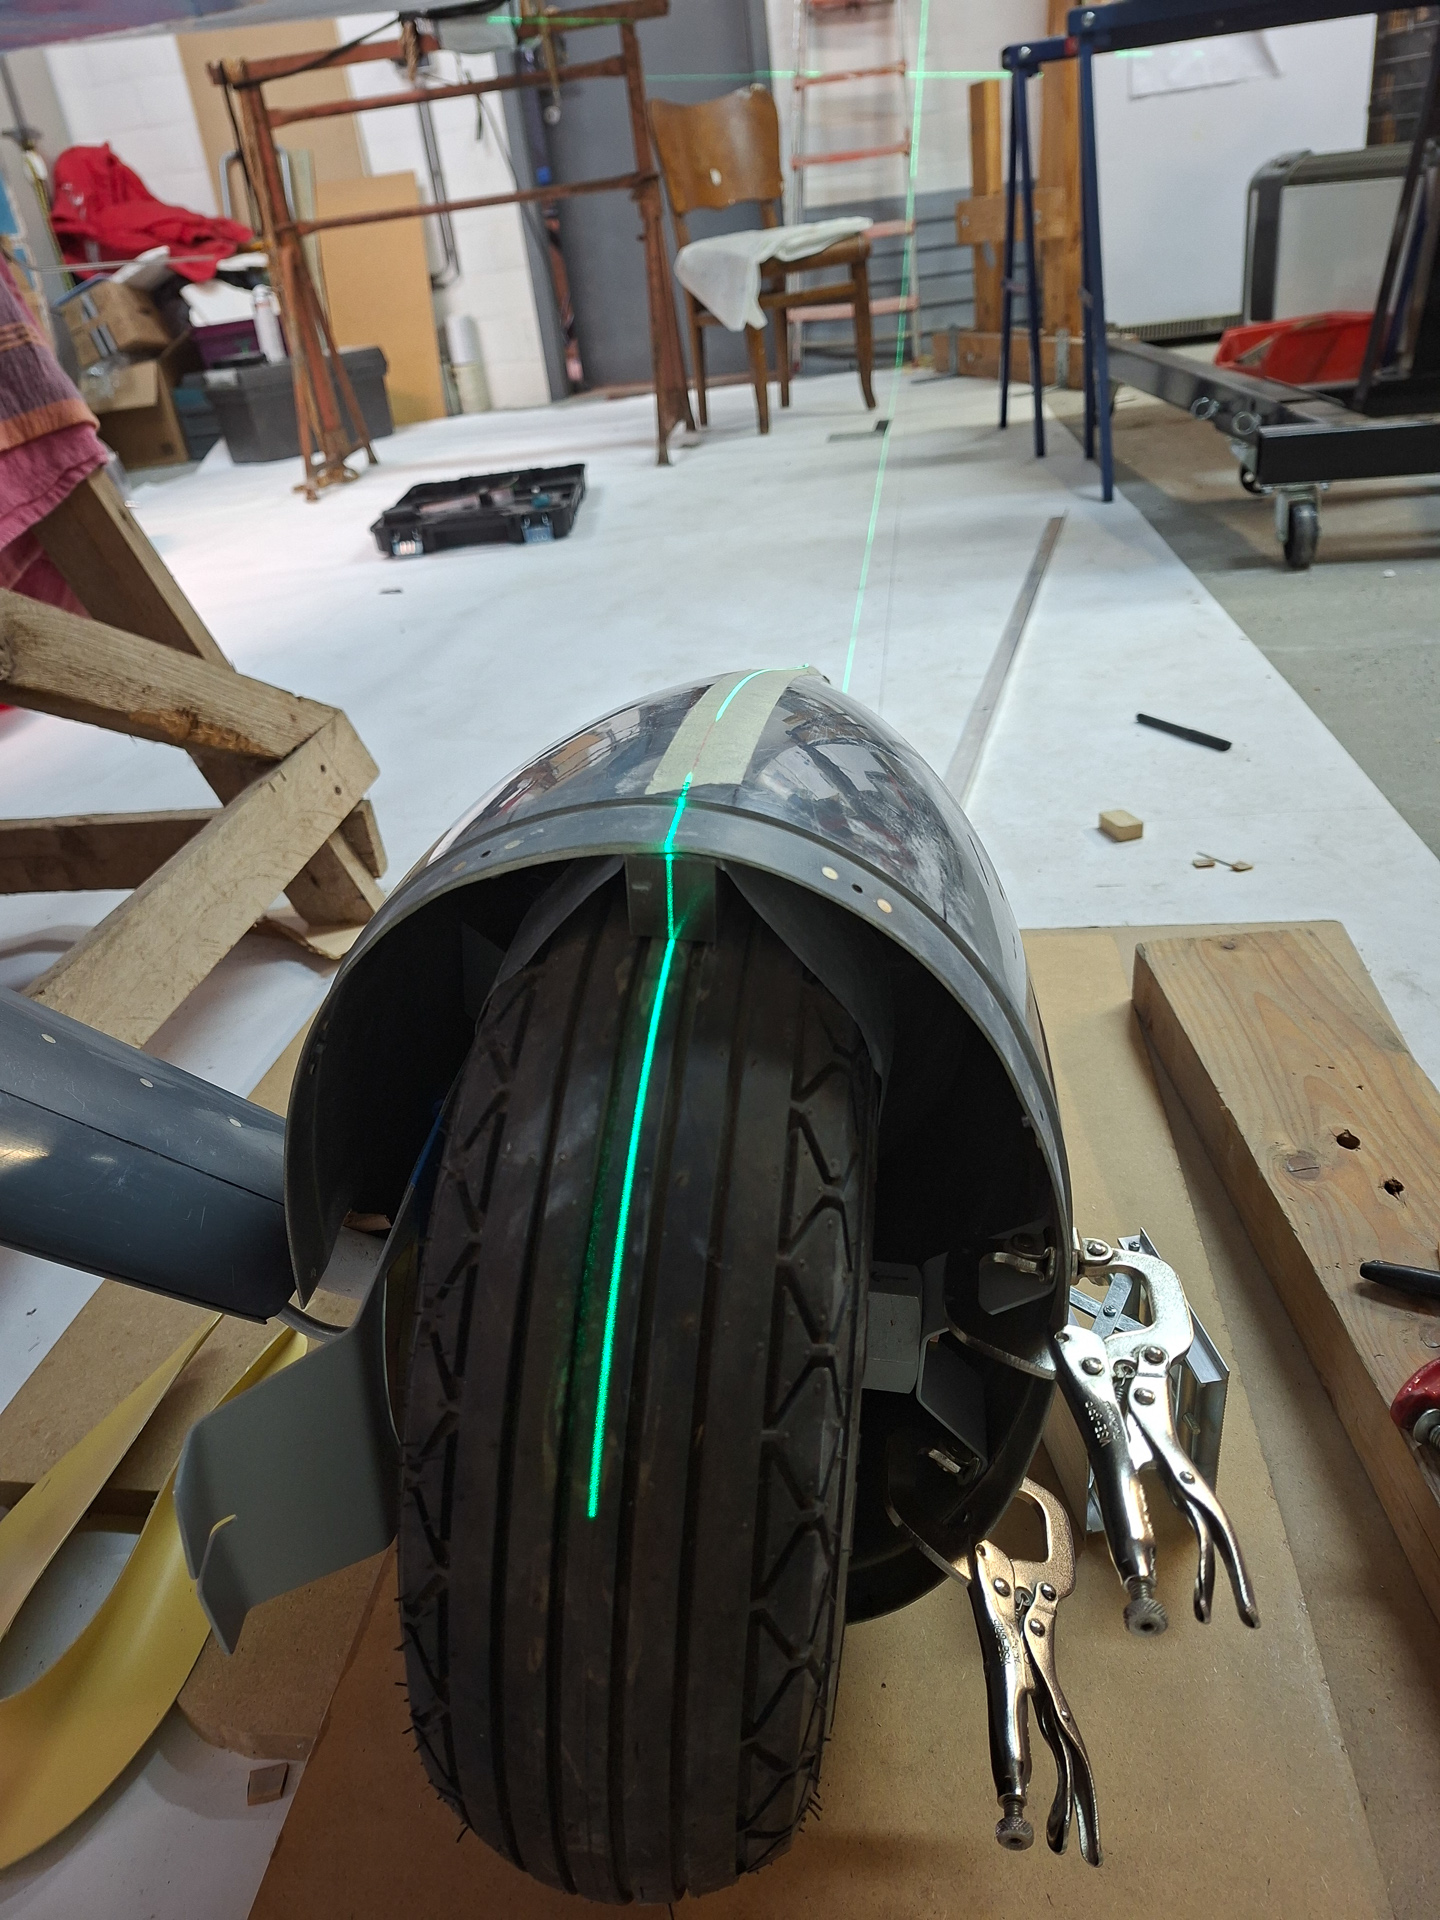
The offset line perfect again
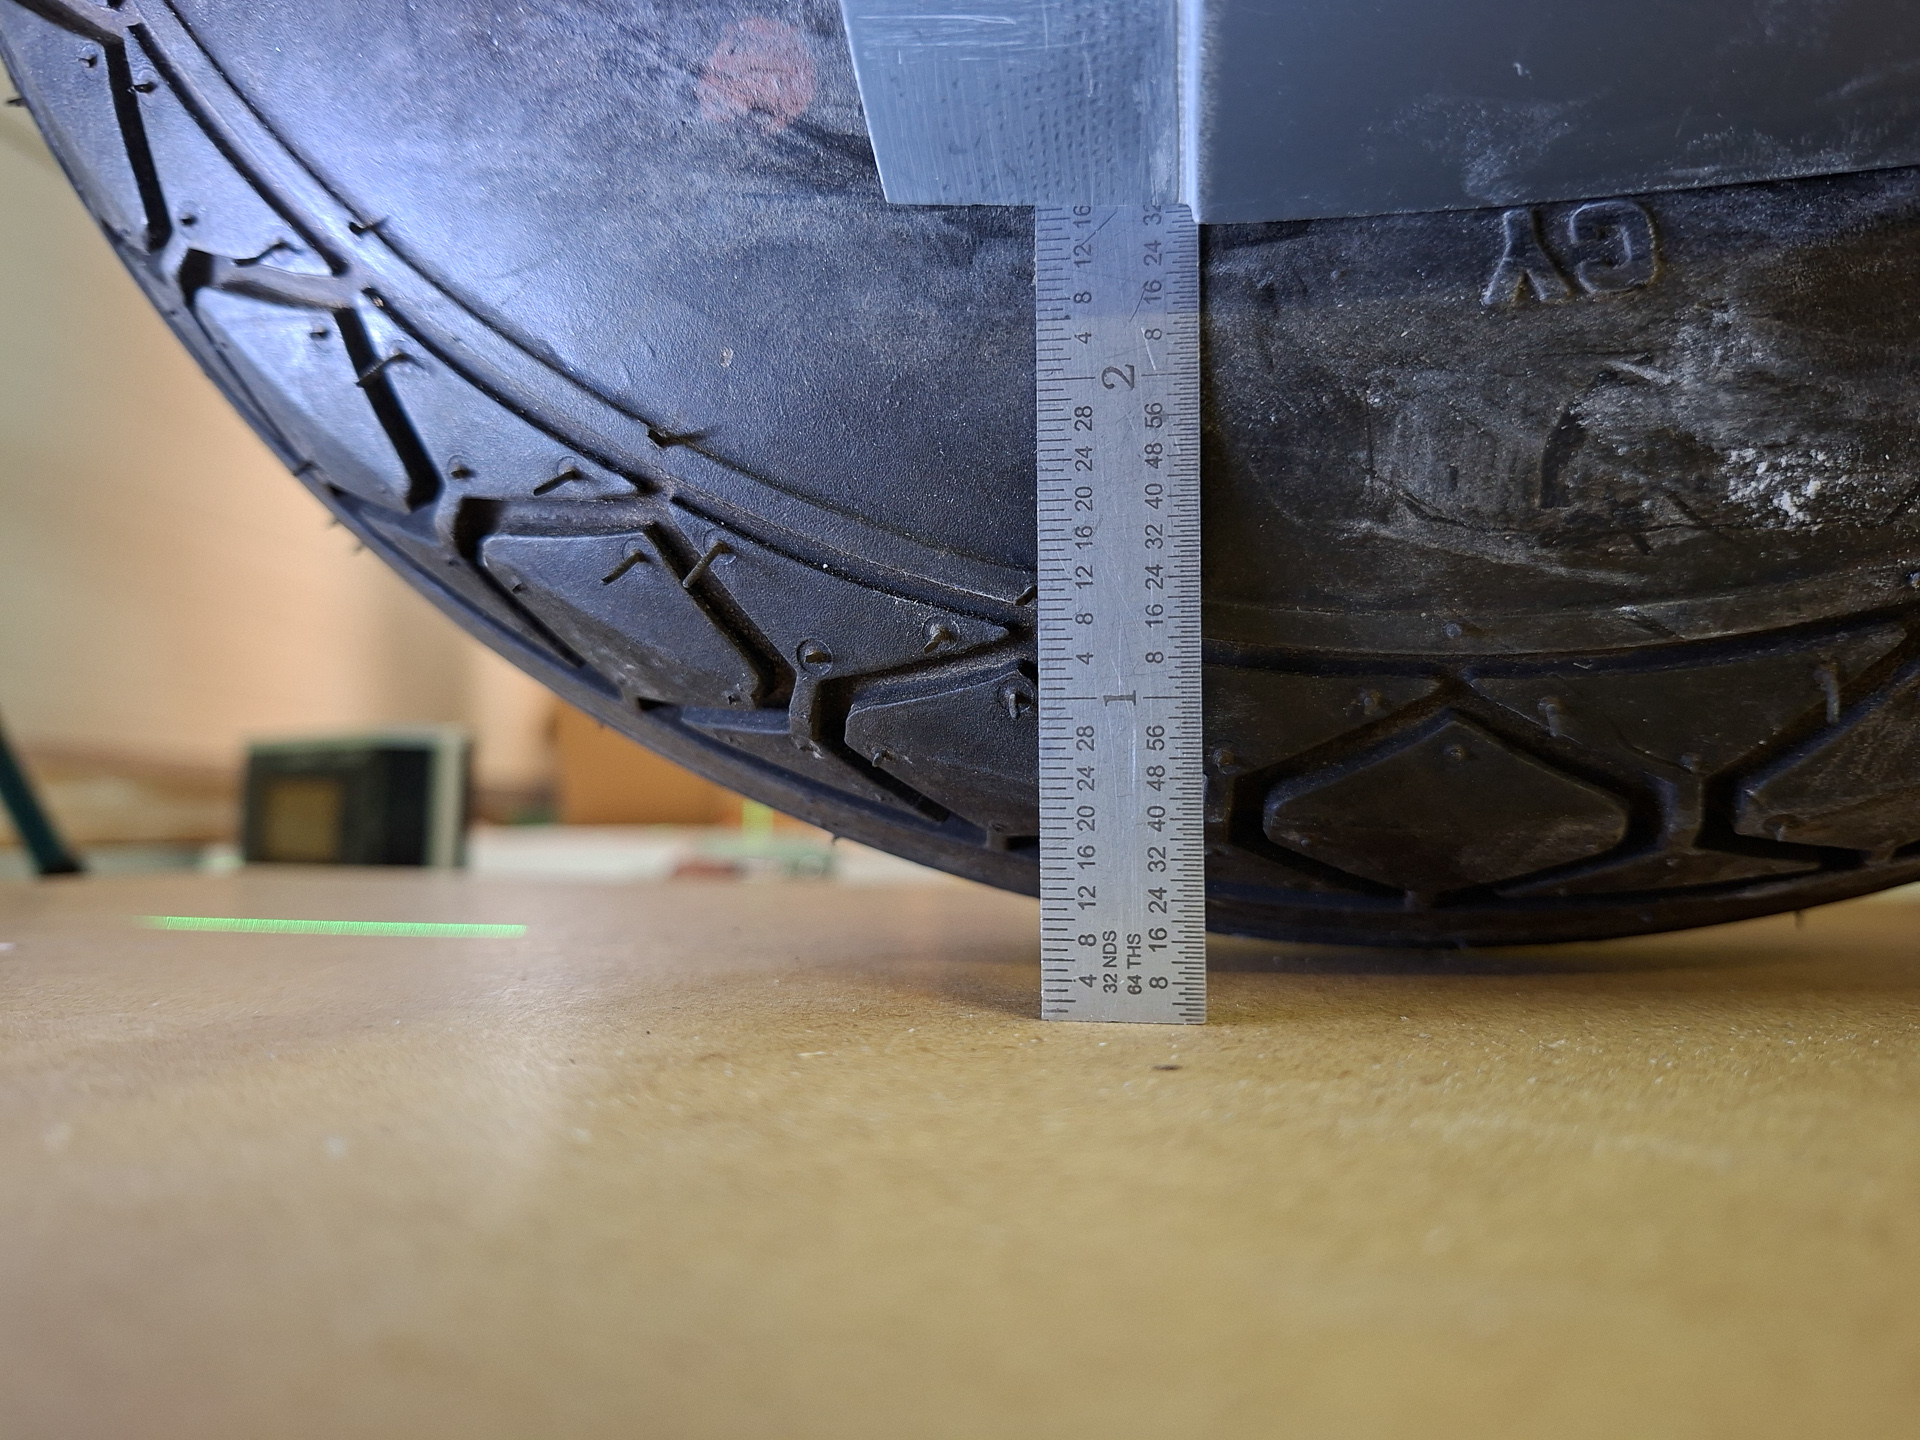
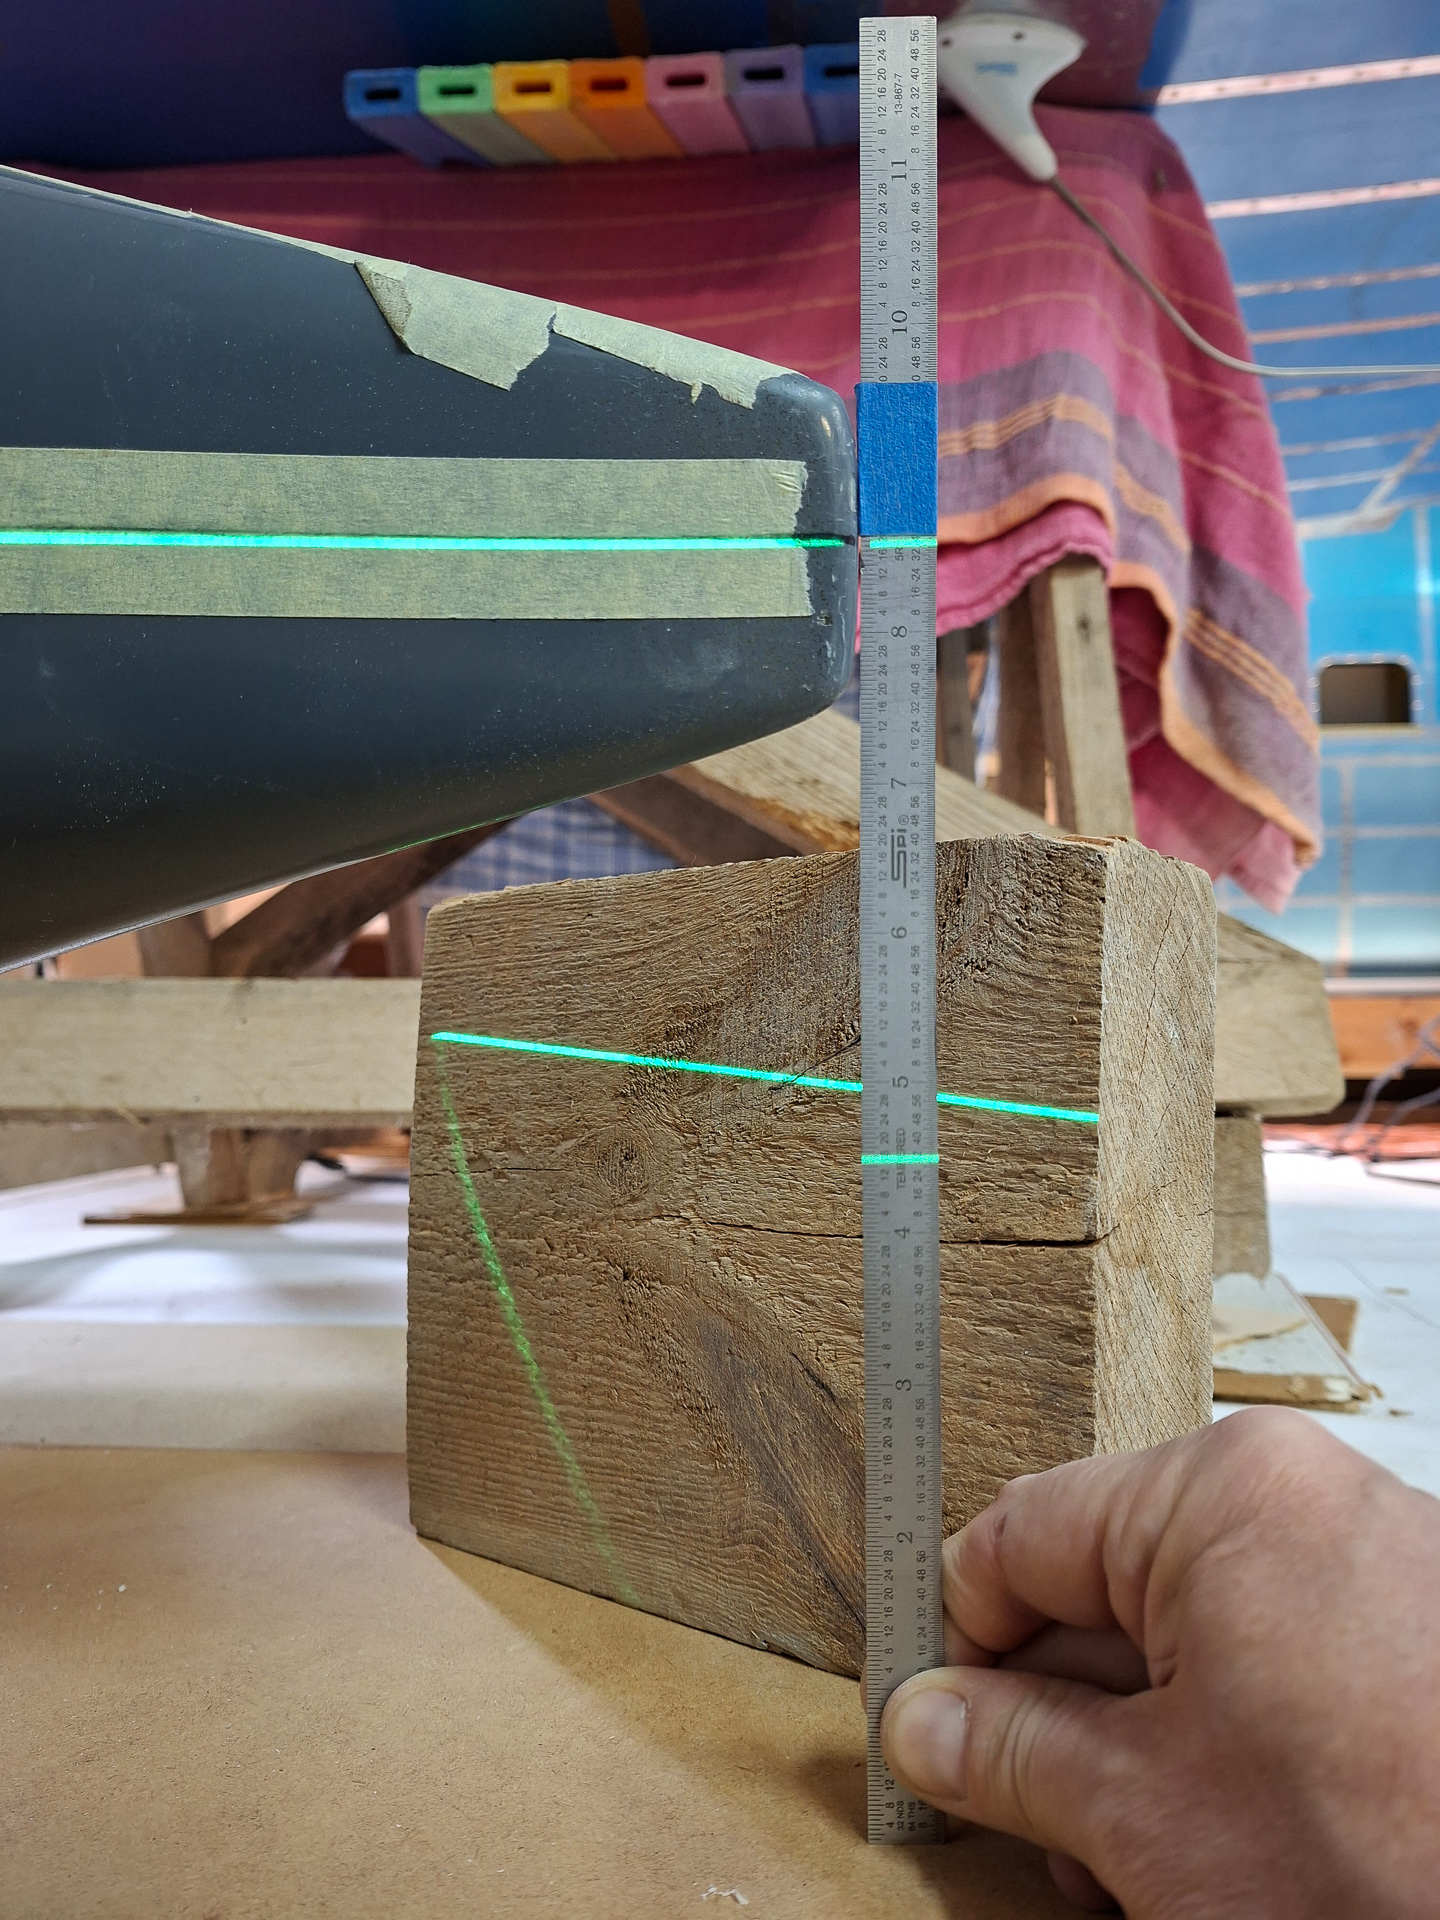
Measuring the height of the wheelpant from the ground. There isn't any clear measurement for these shown on the plans. When they will be cut back to final size, I think I will get around 2.5 inch from the ground.
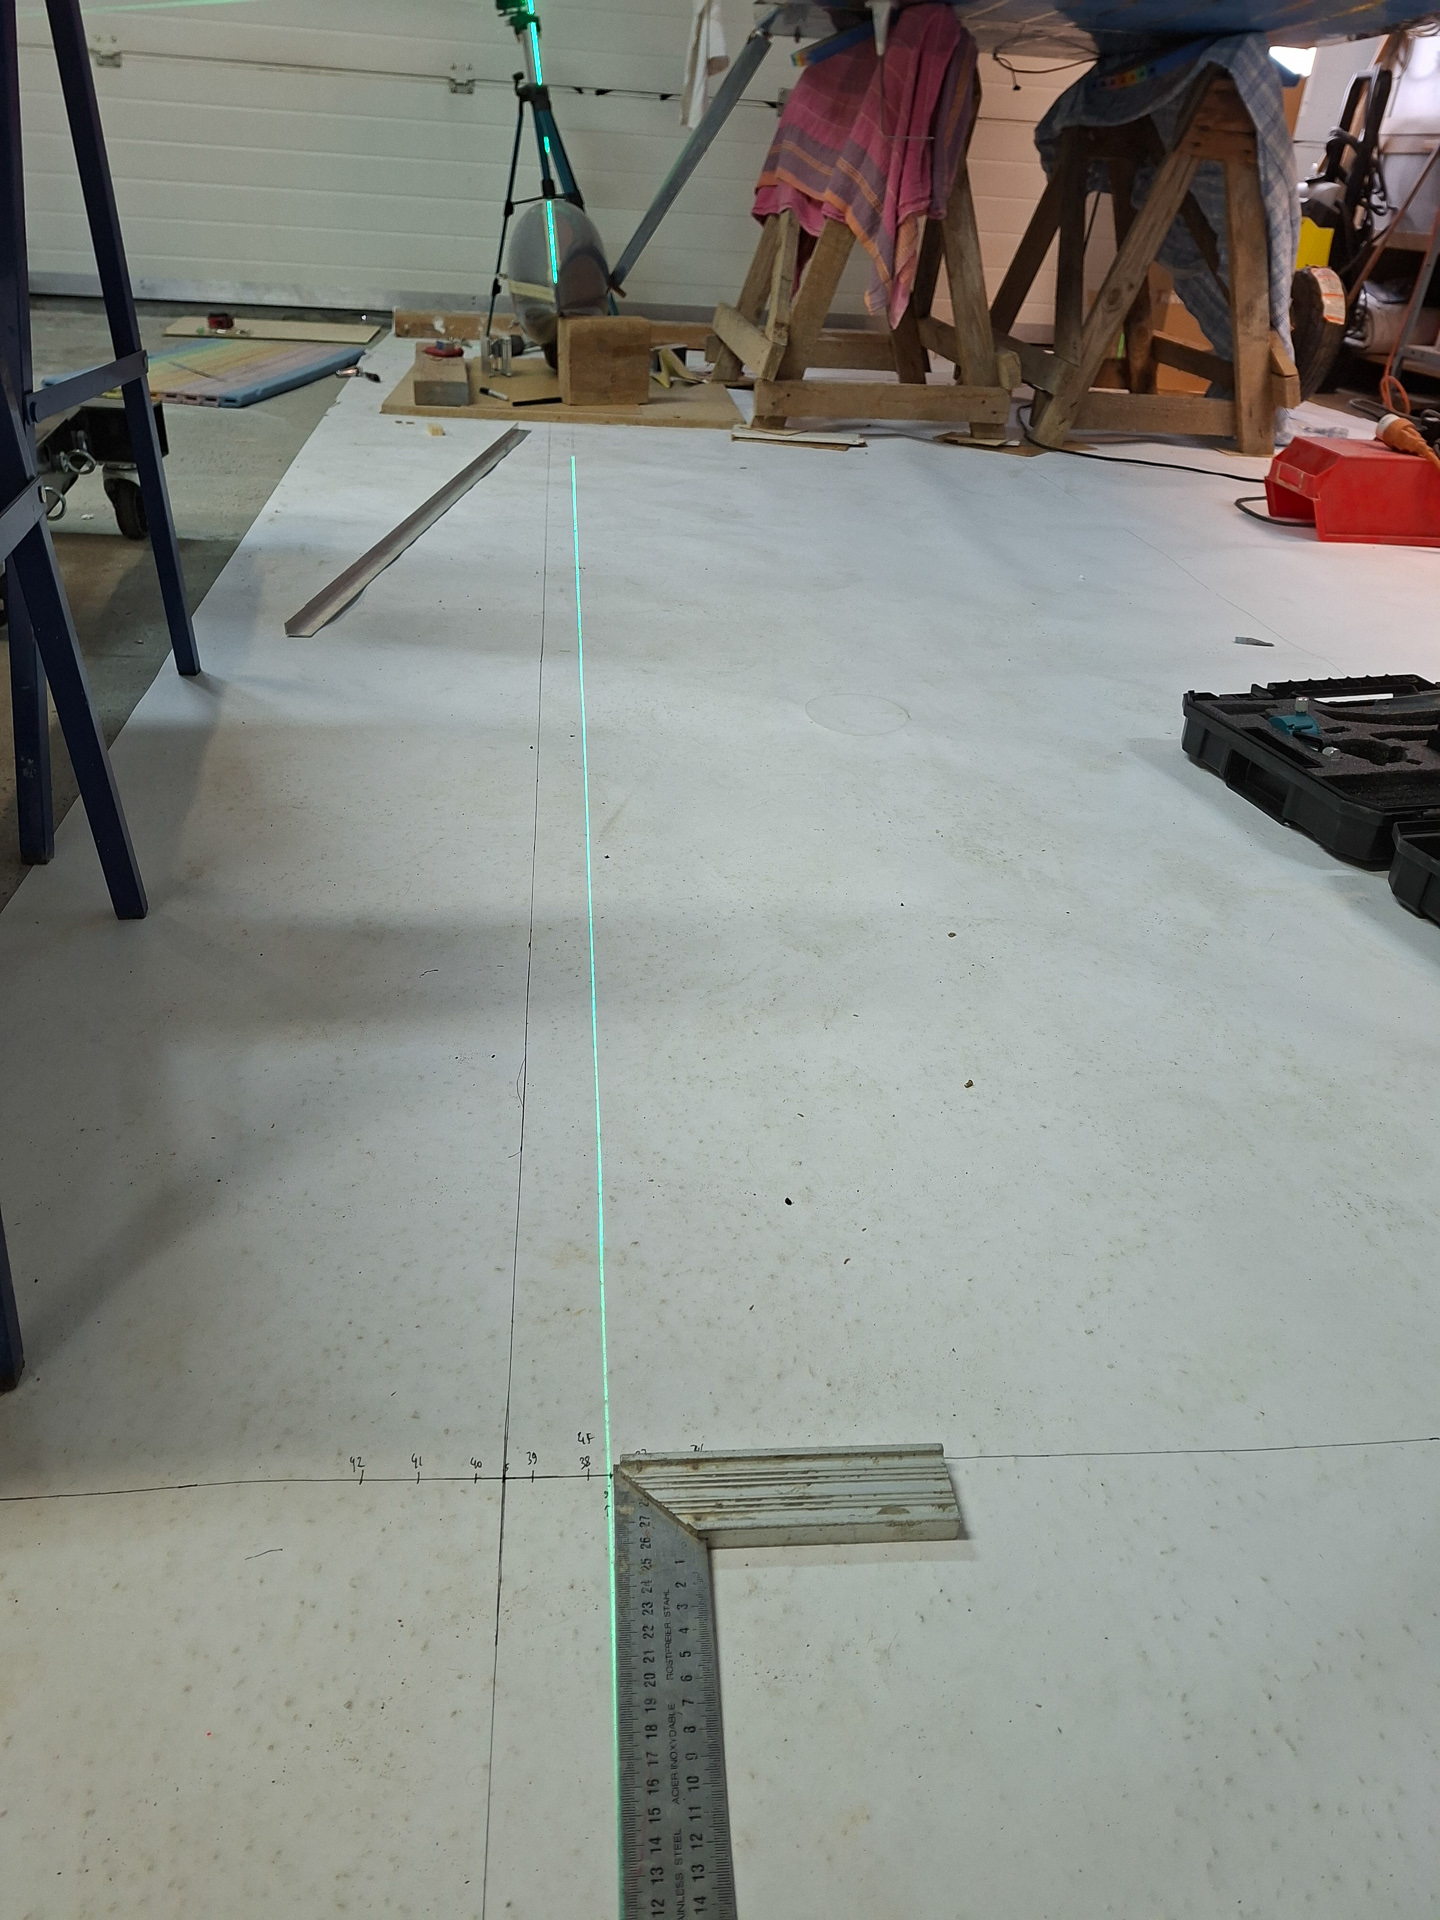
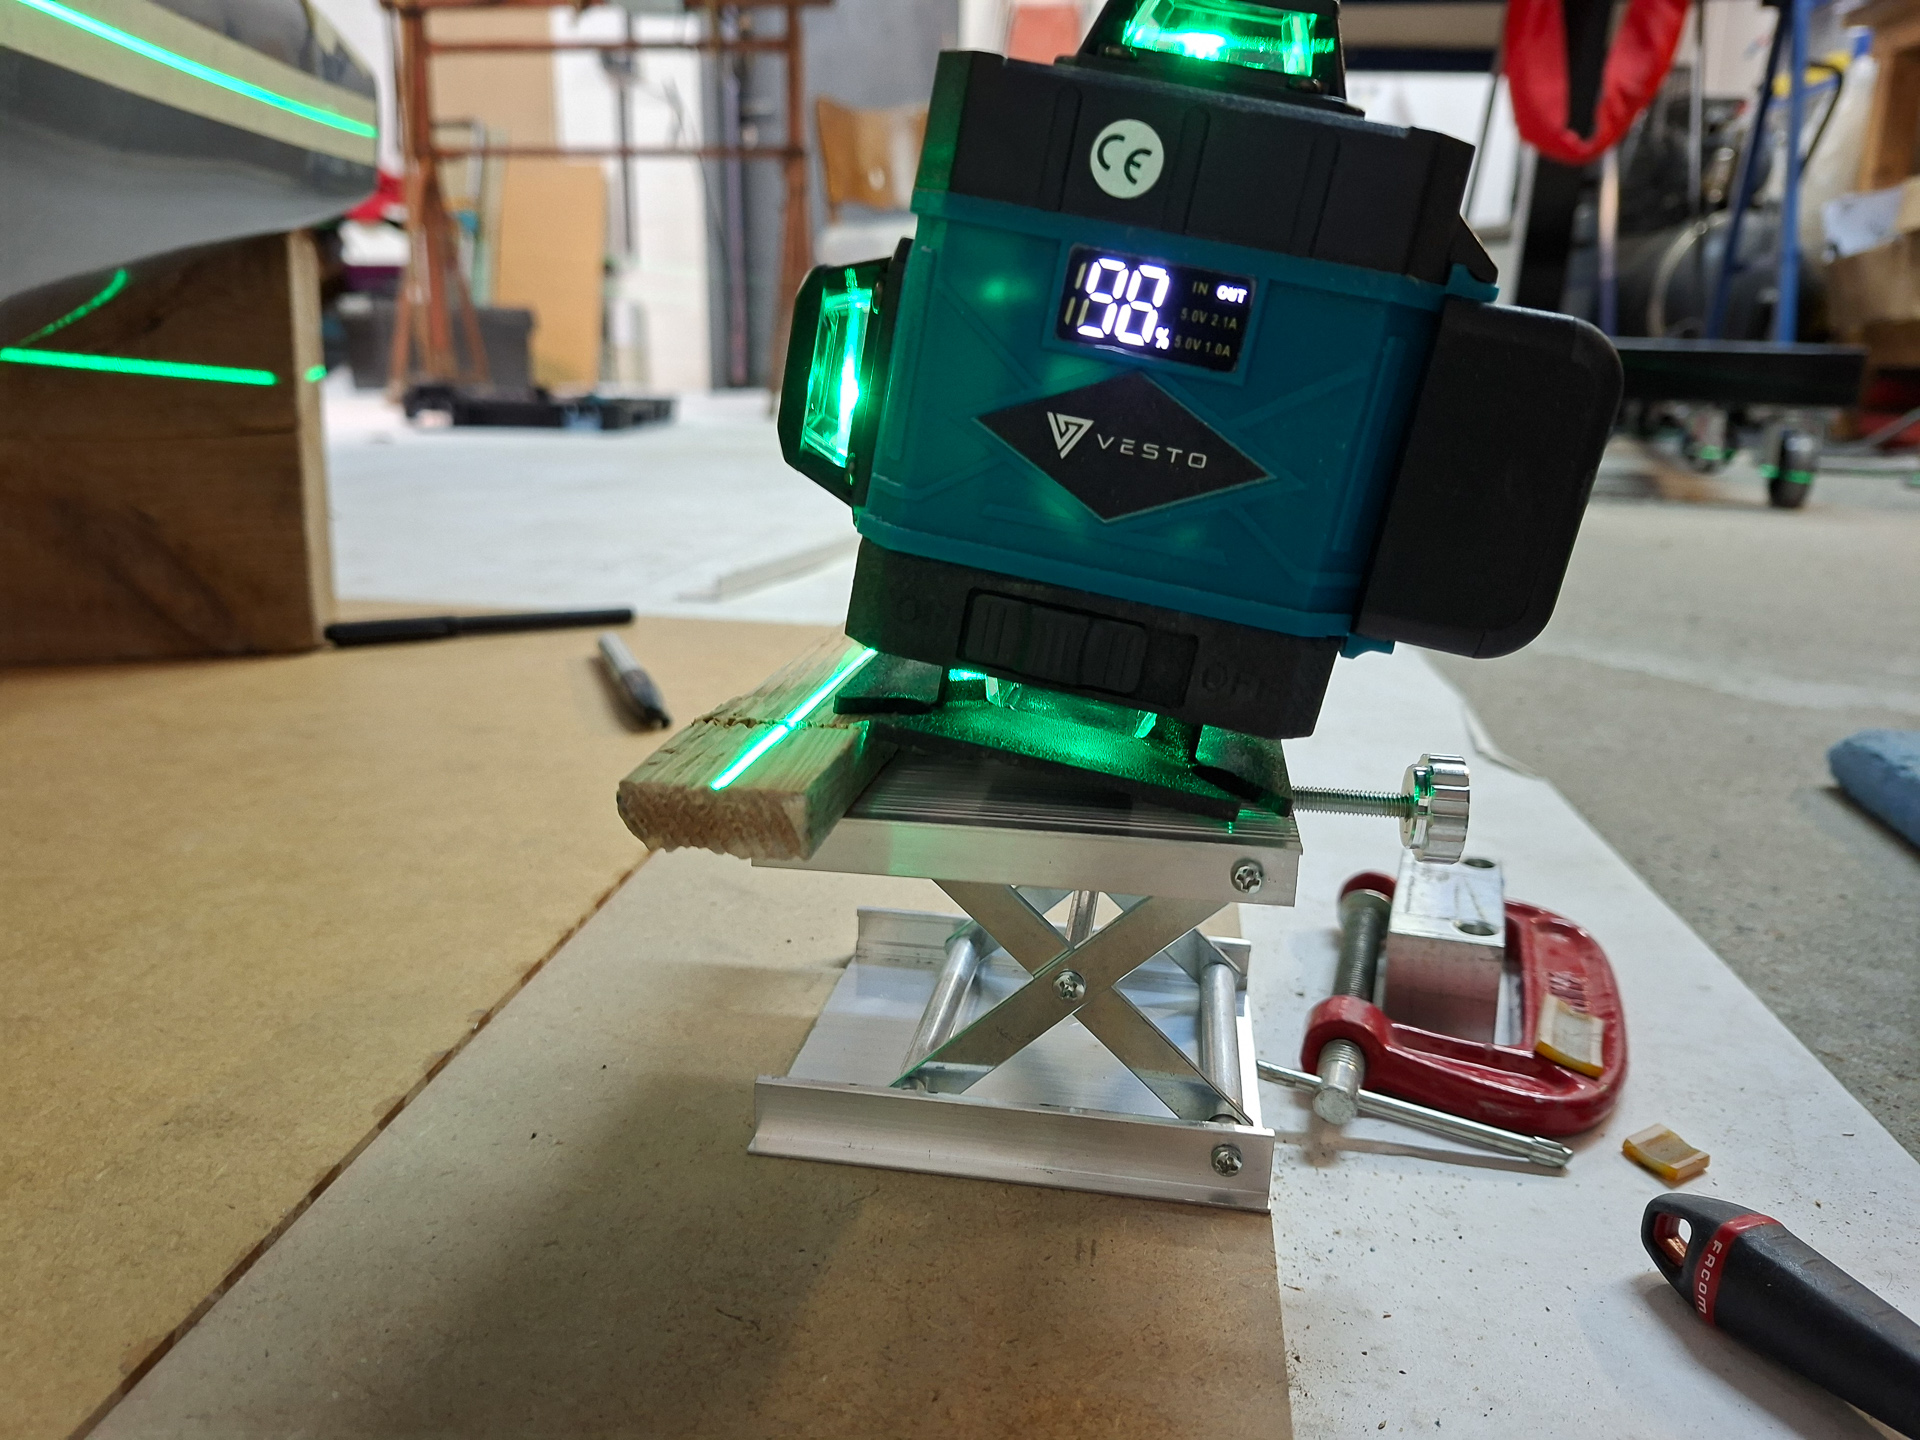
Tilted the laser as per the tyre tilt and got a perfect horizontal plane.
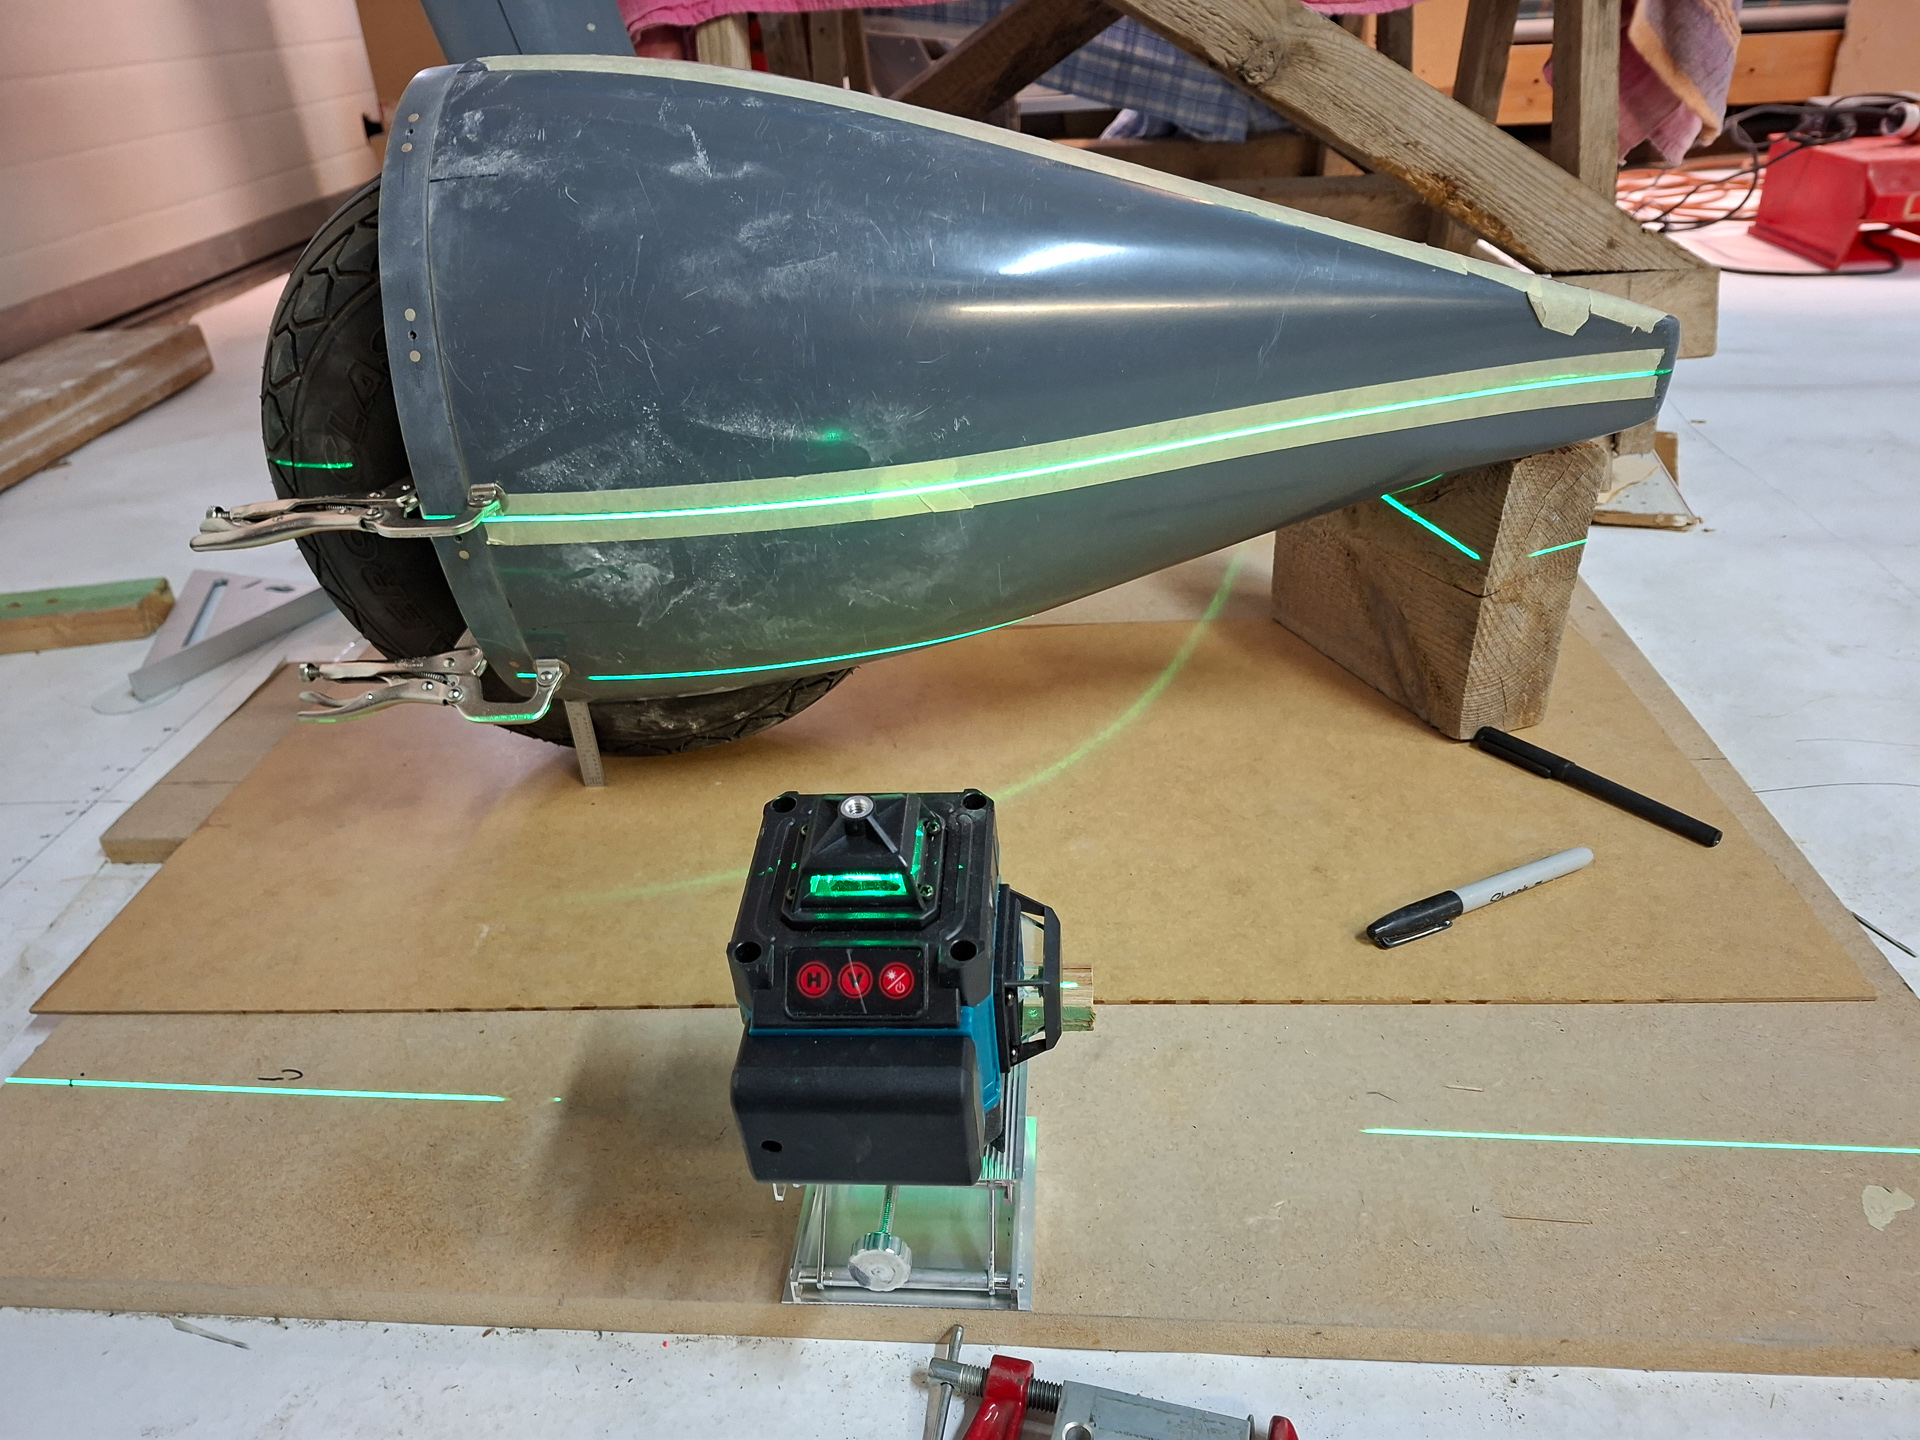
Here the very basic way I set it up. It's simple but it does the trick
And then finally, I drilled the first 4 holes from the inside out with an angle drill using the bracket holes as pilots
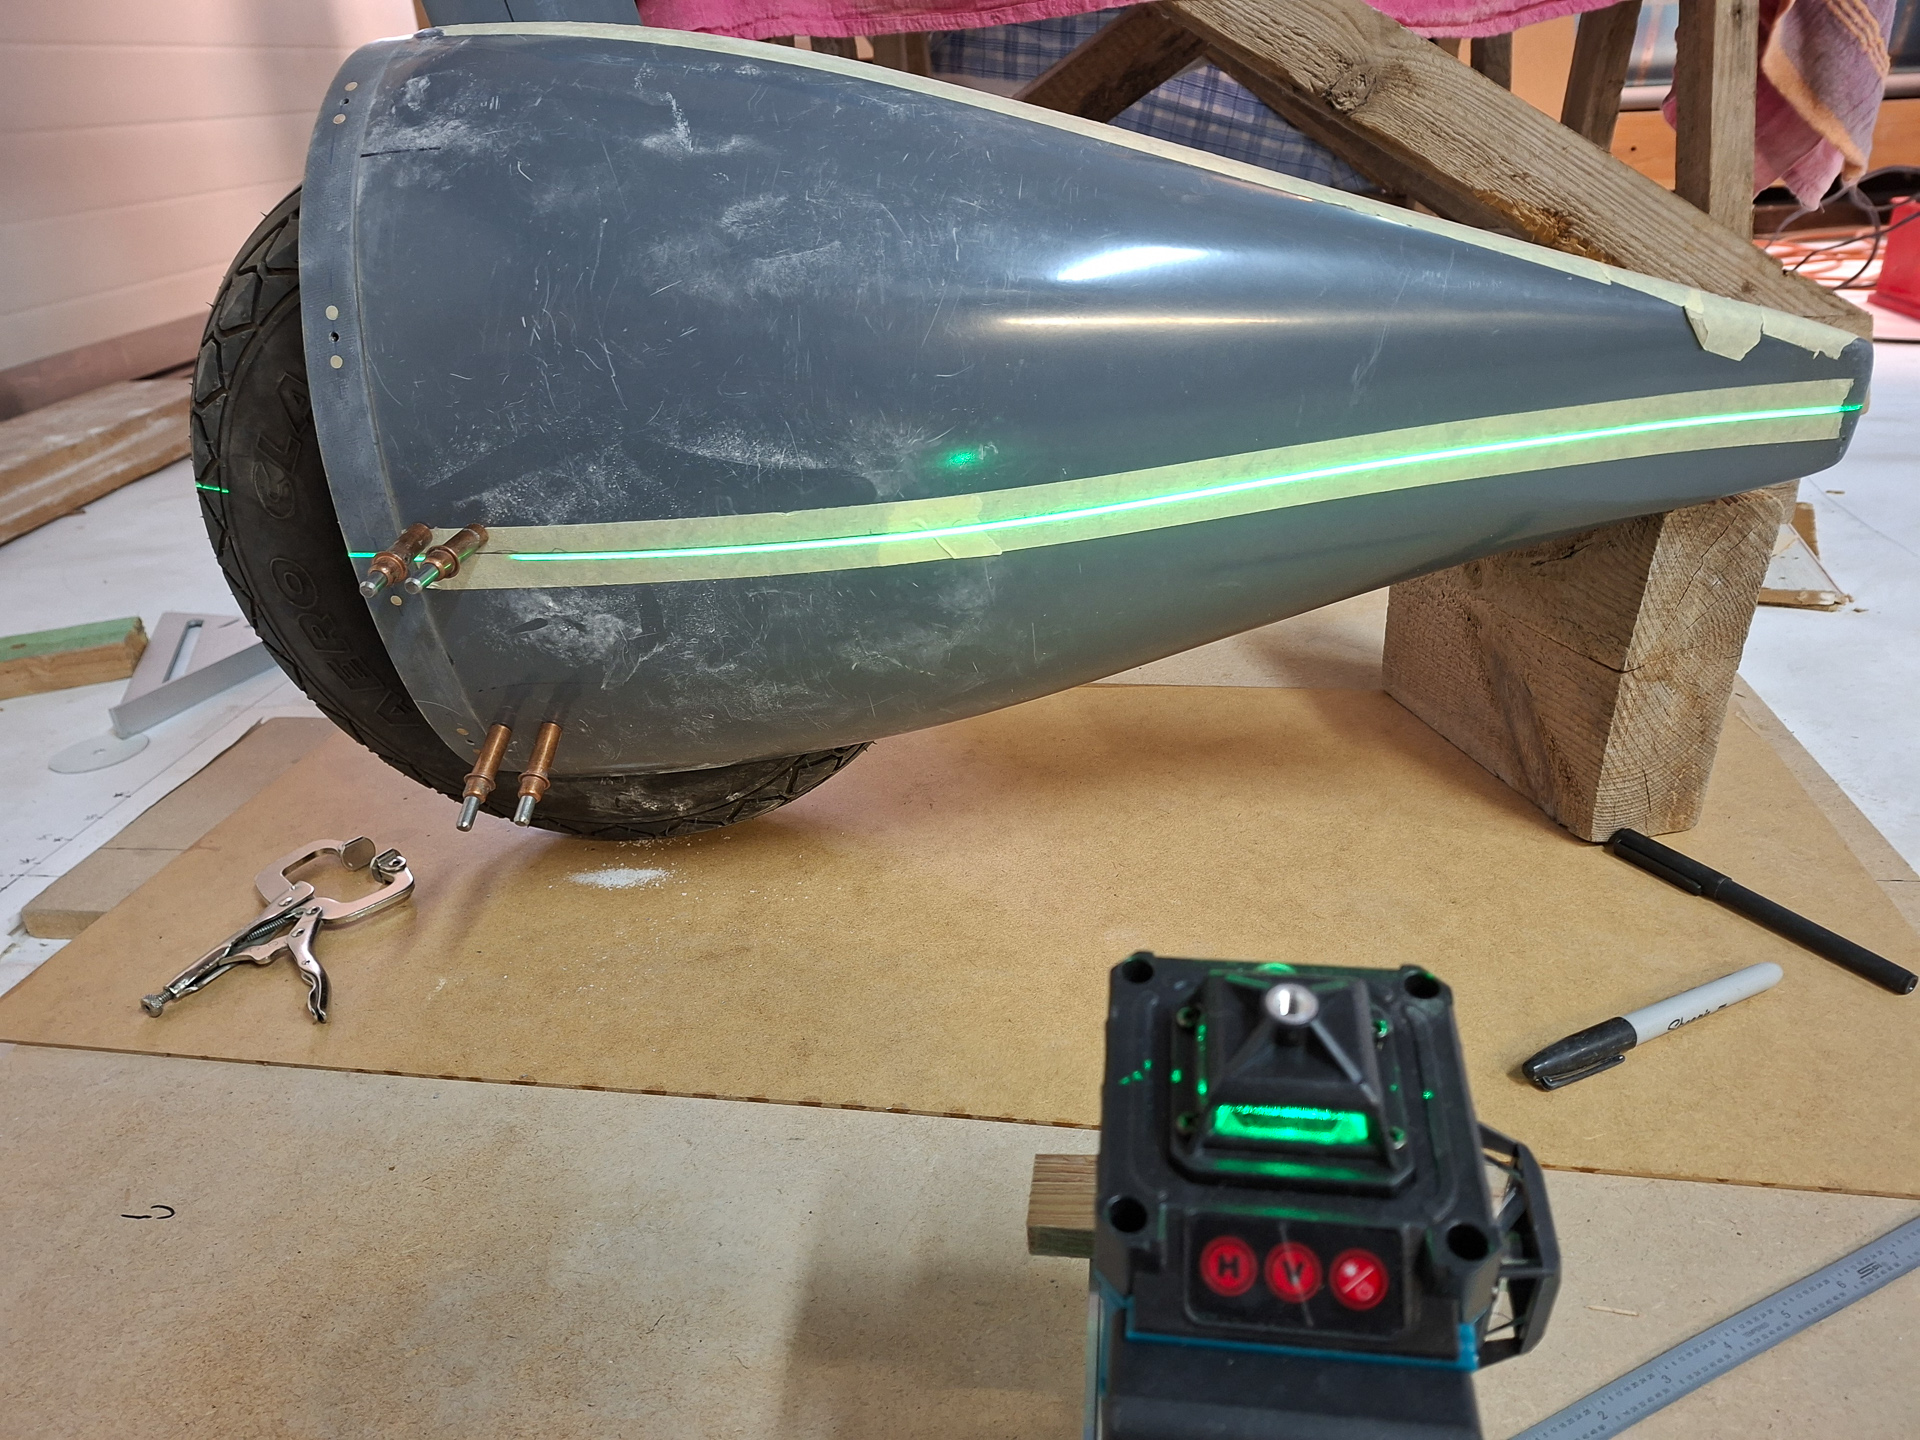
Removed the pants again and clecoed them together in order to start cutting back the clearance for the tyre.
You want to be able to run your index finger all around the tyre. I'm counting on going with 1/2" distance from the tyre to the wheel fairing all around.
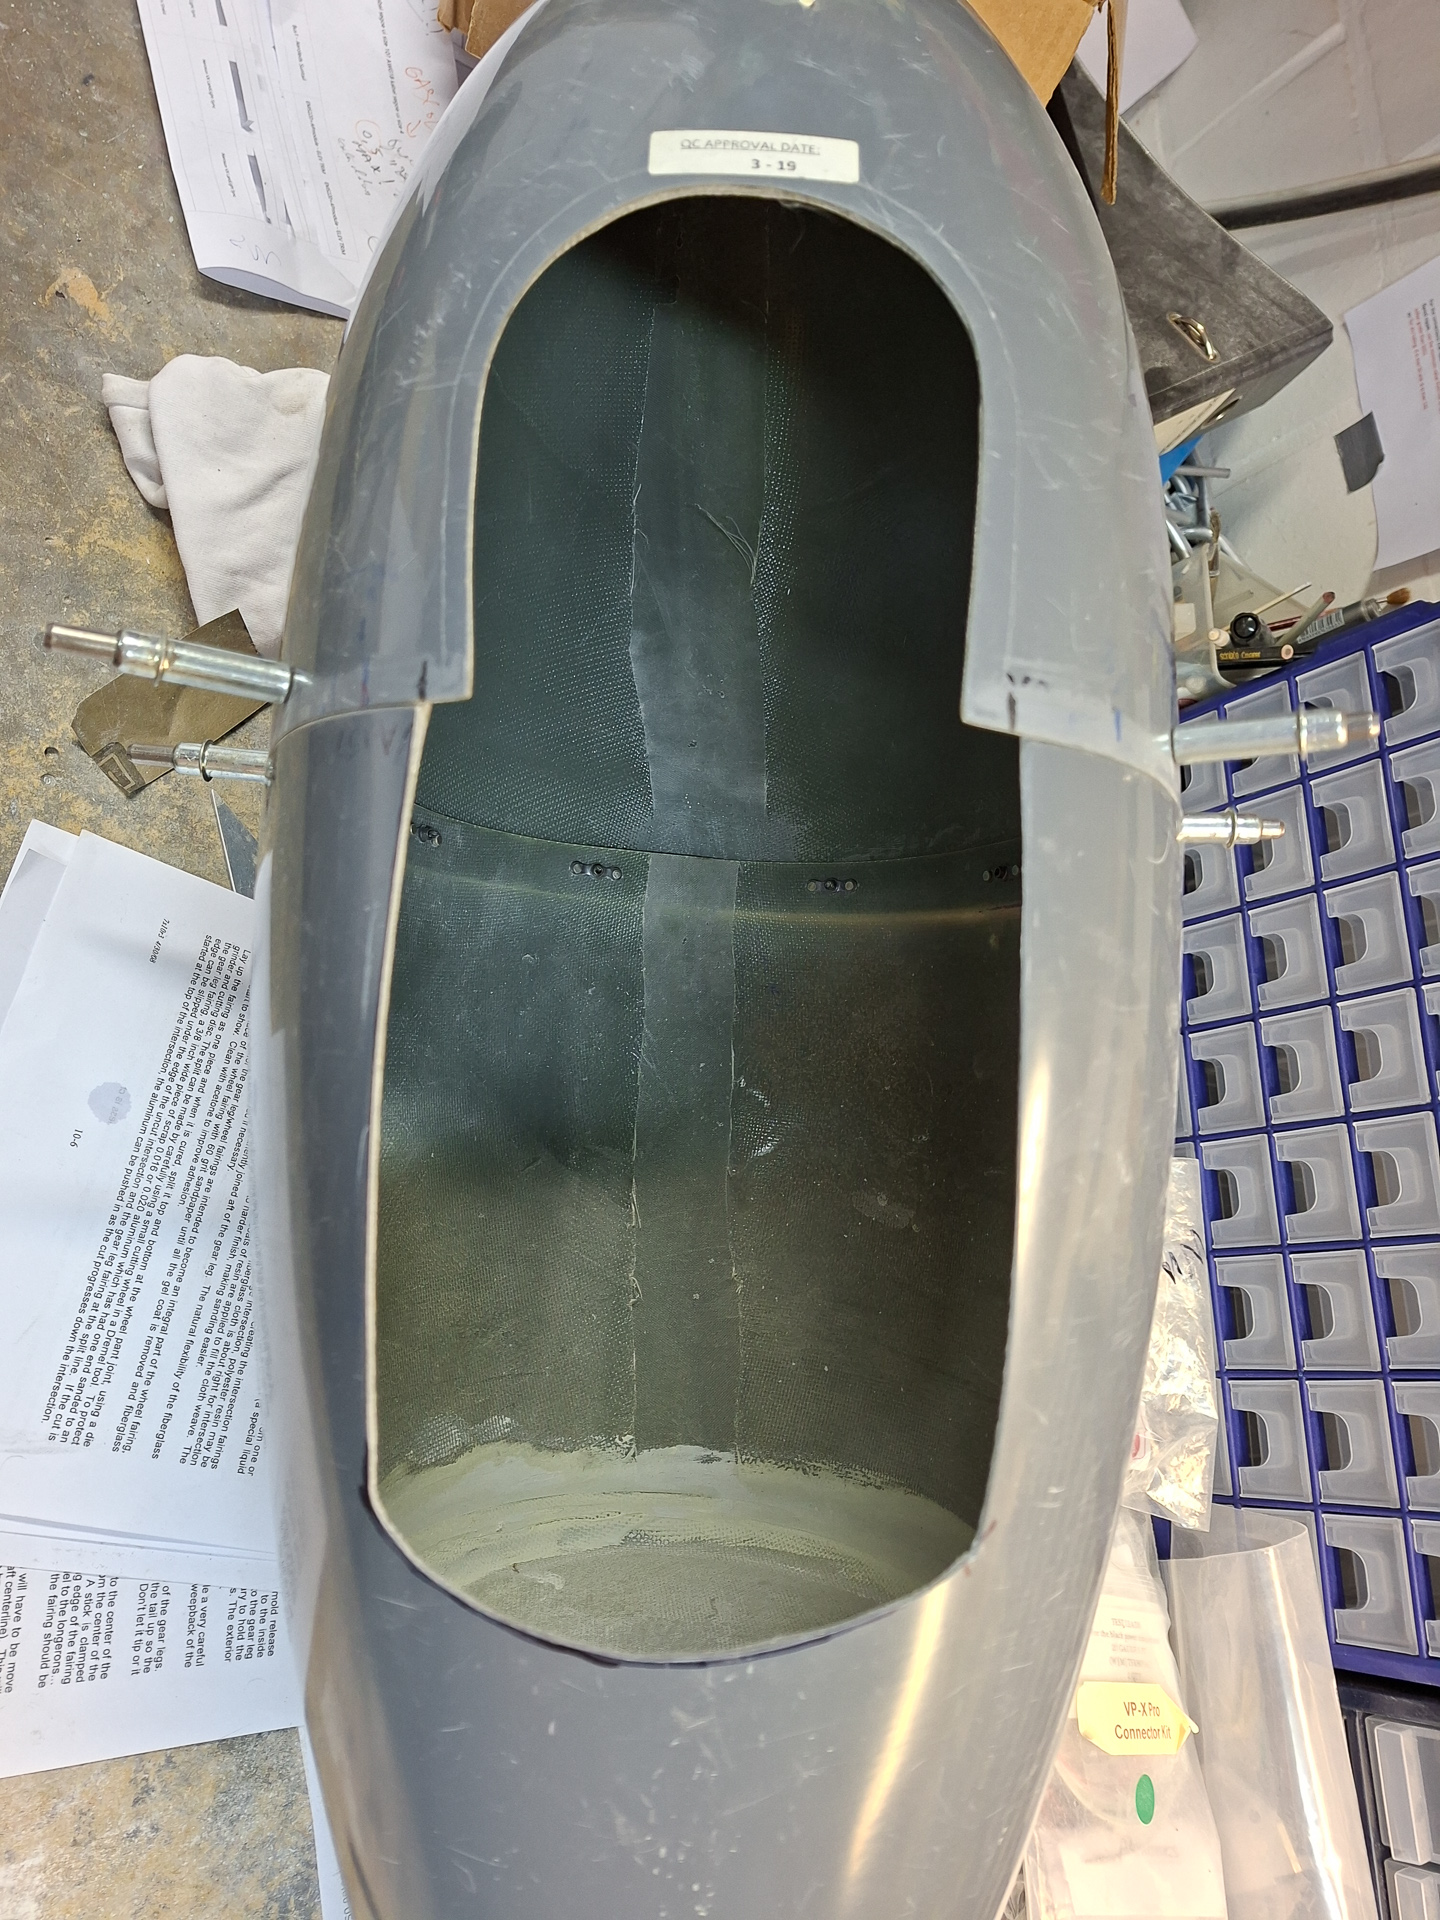
Trimming back, filing and sanding and making a very dusty mess. You also need to cut out a little nothch from the forward wheel pant to clear the break line.
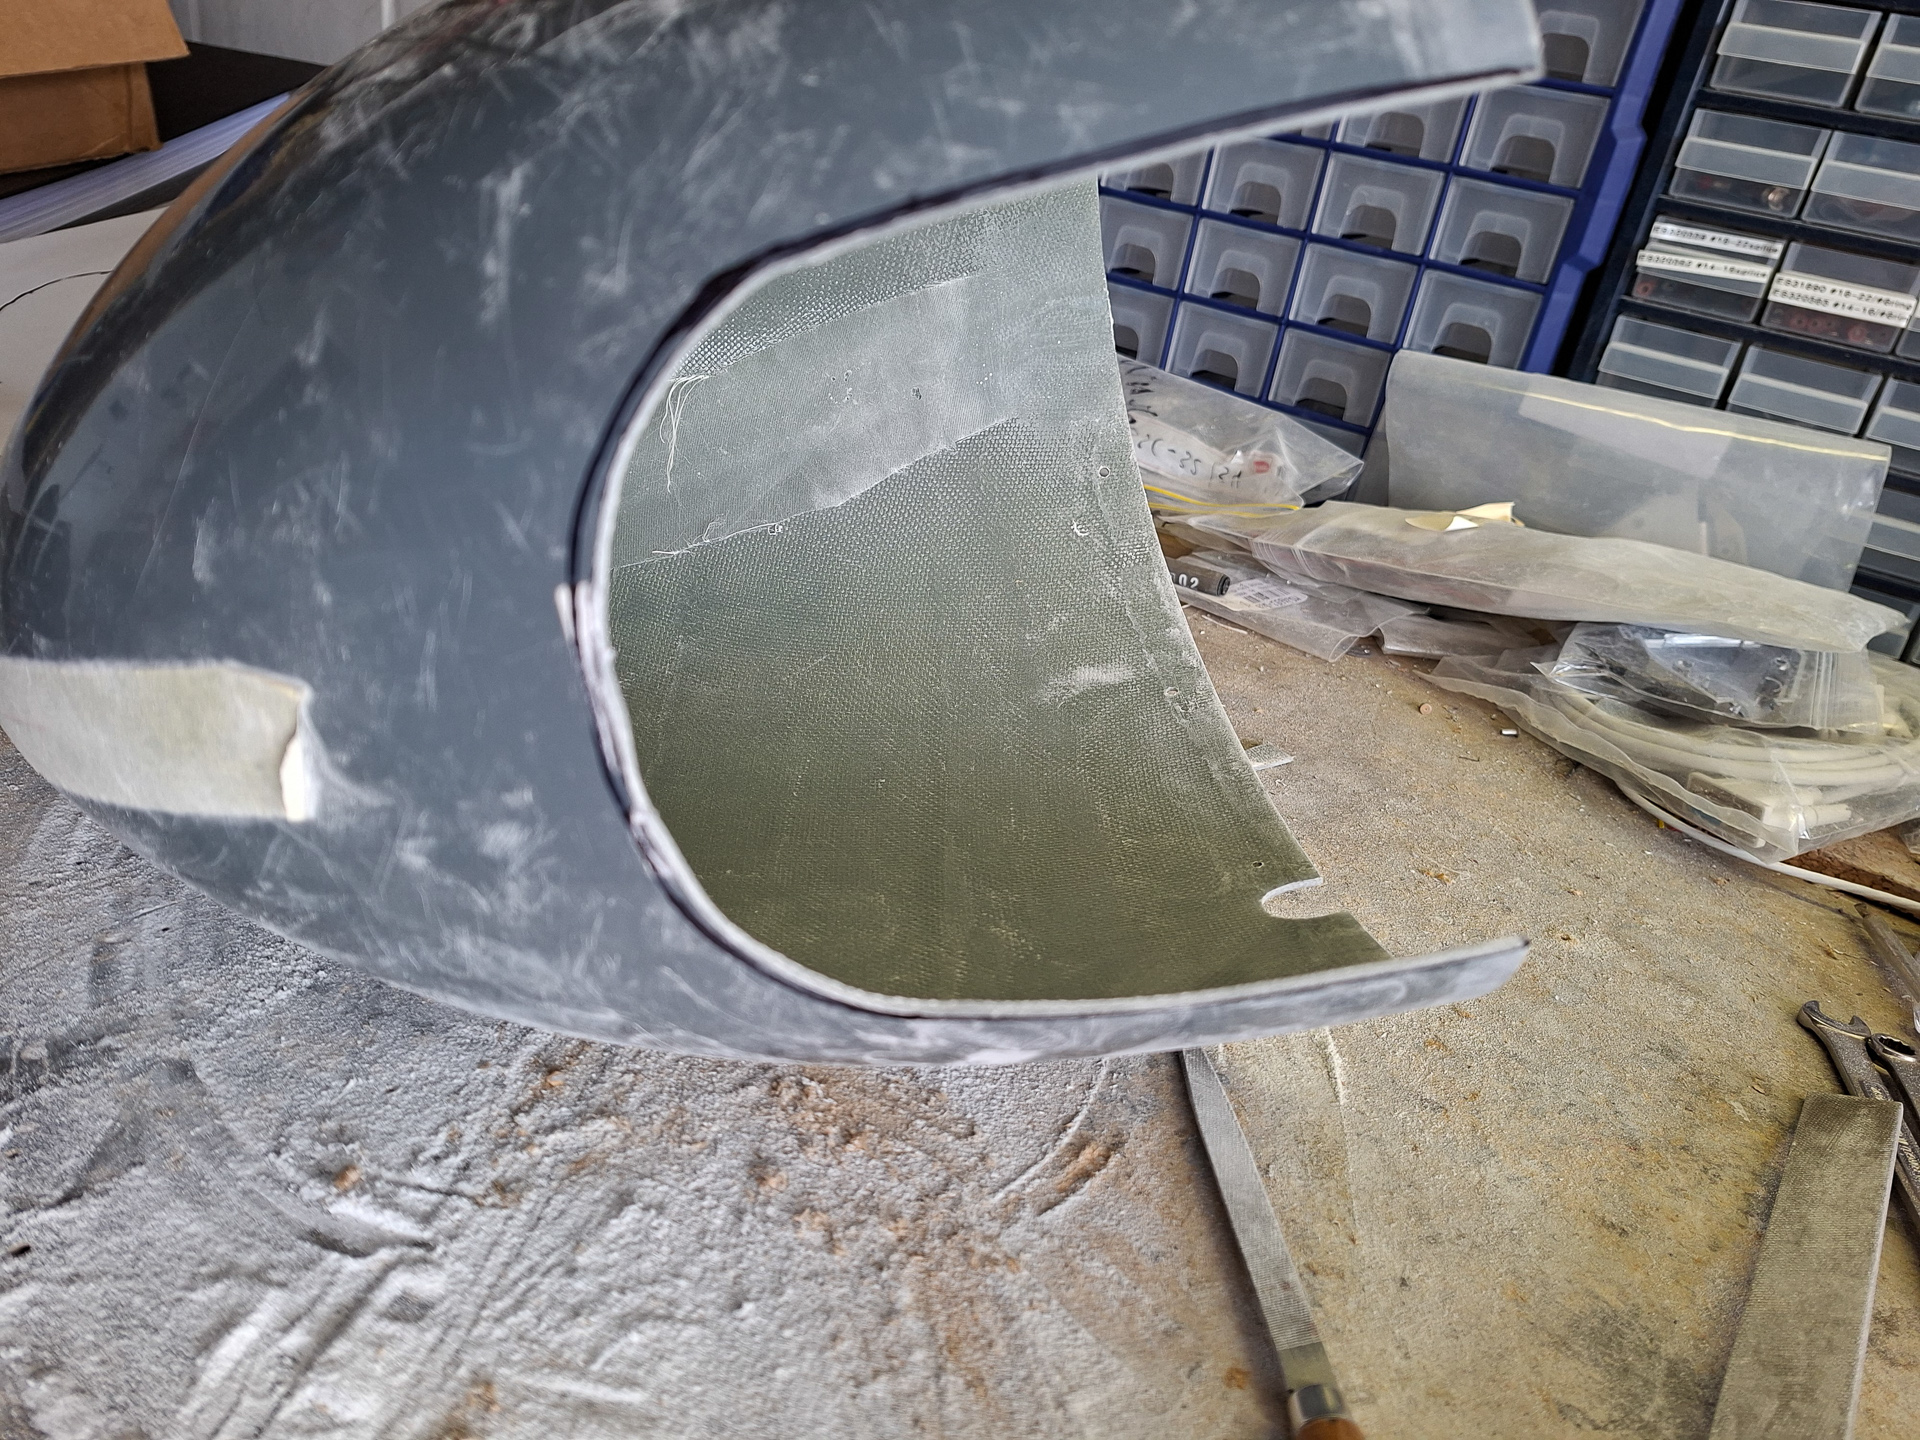
Reinstalled the wheel pant and added the front part of the fairing. All nice and level all the way to the front.
I'm very satisfied with this so far.
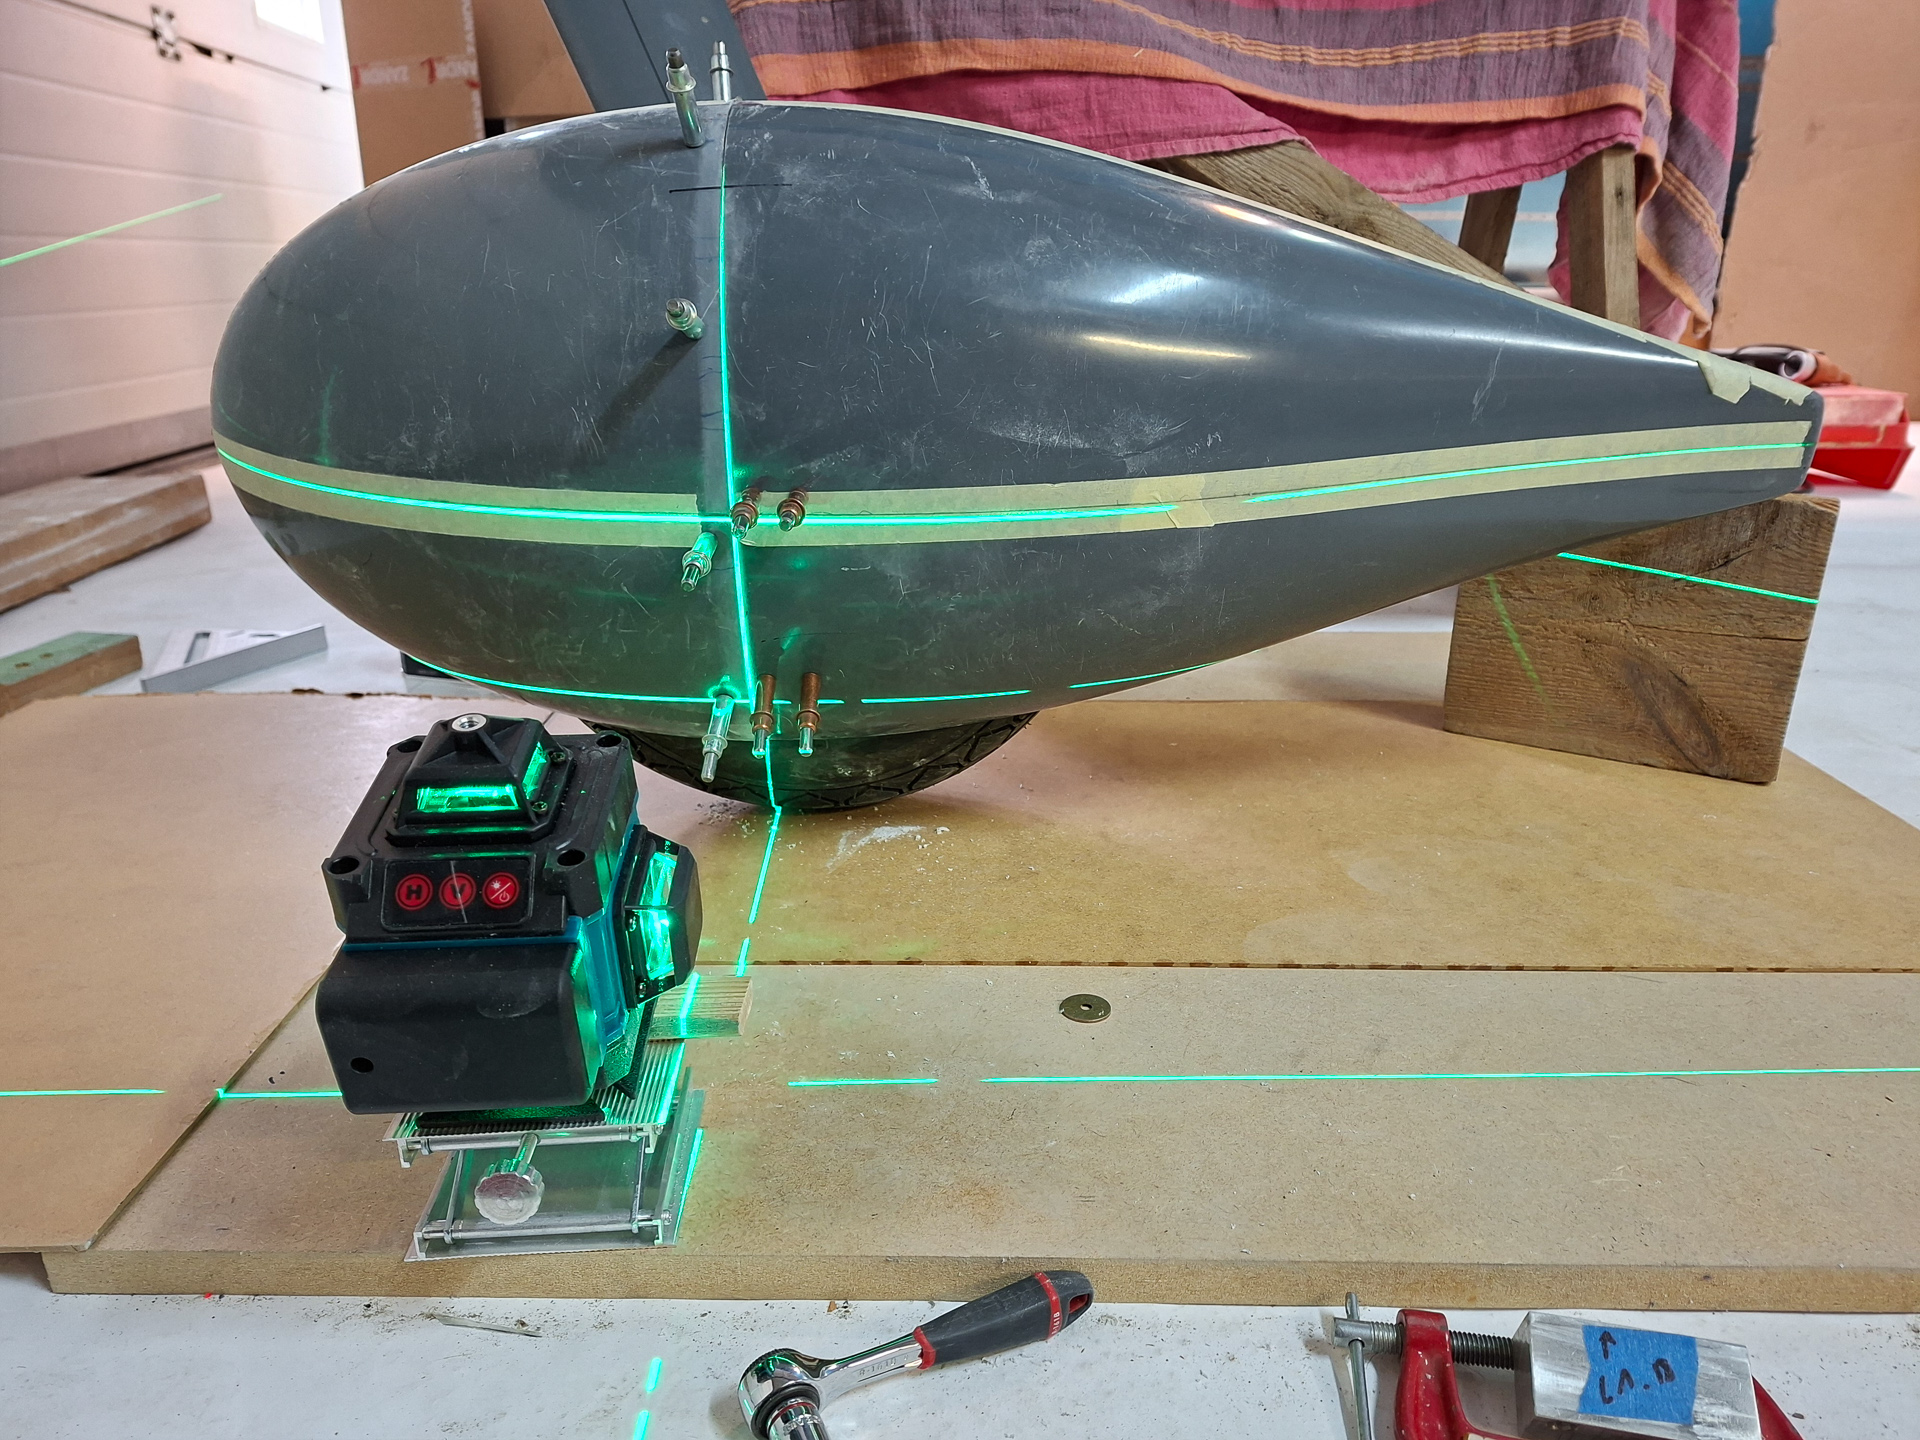
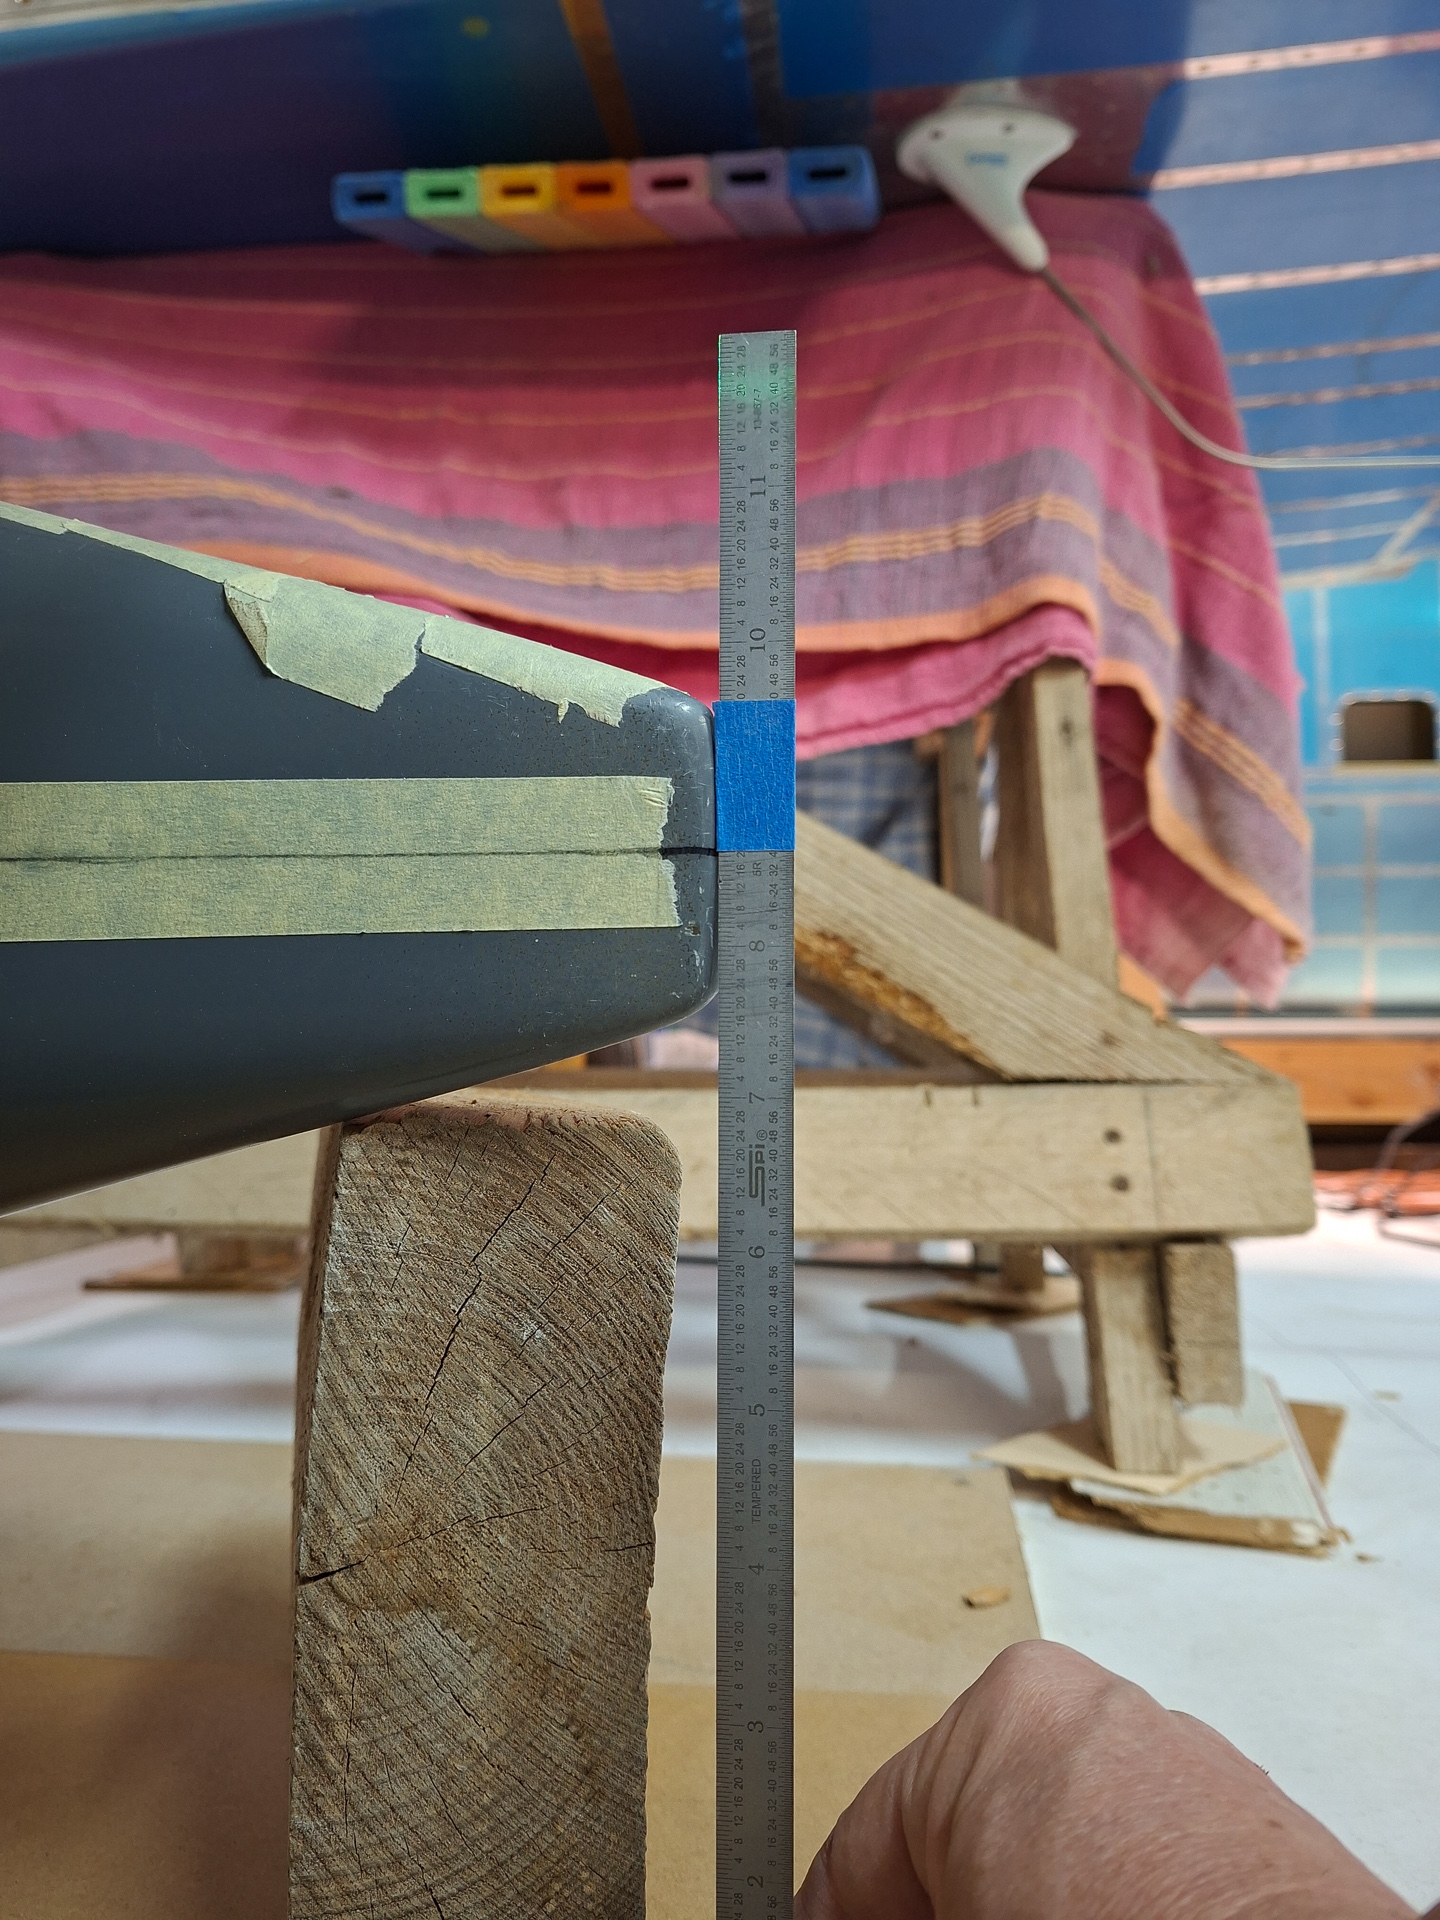
With my reference height blue taped
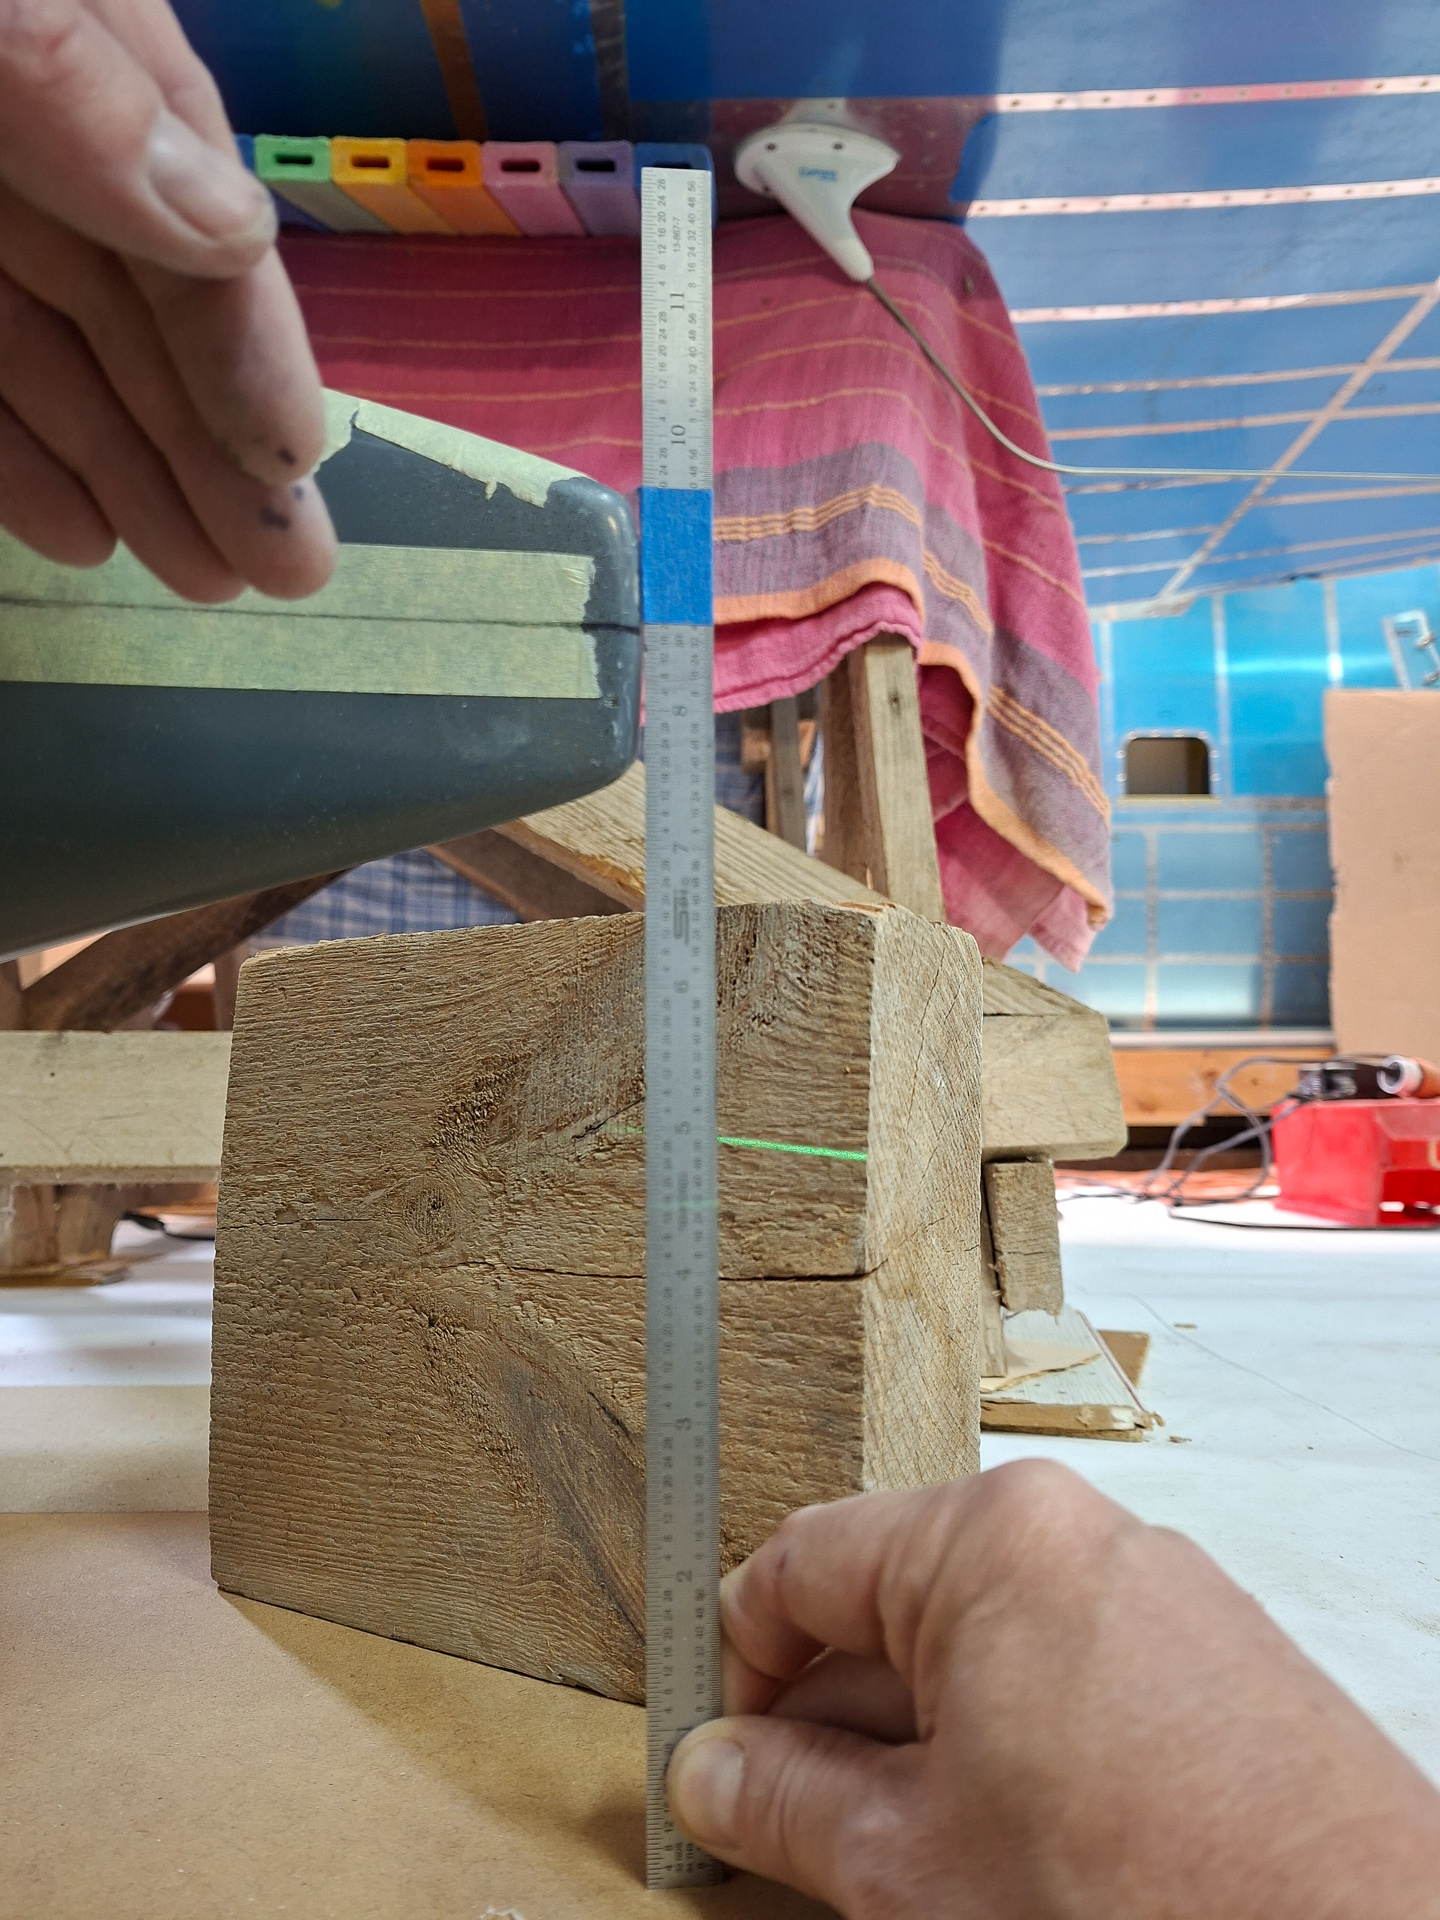
I get the same height on the rear and the front
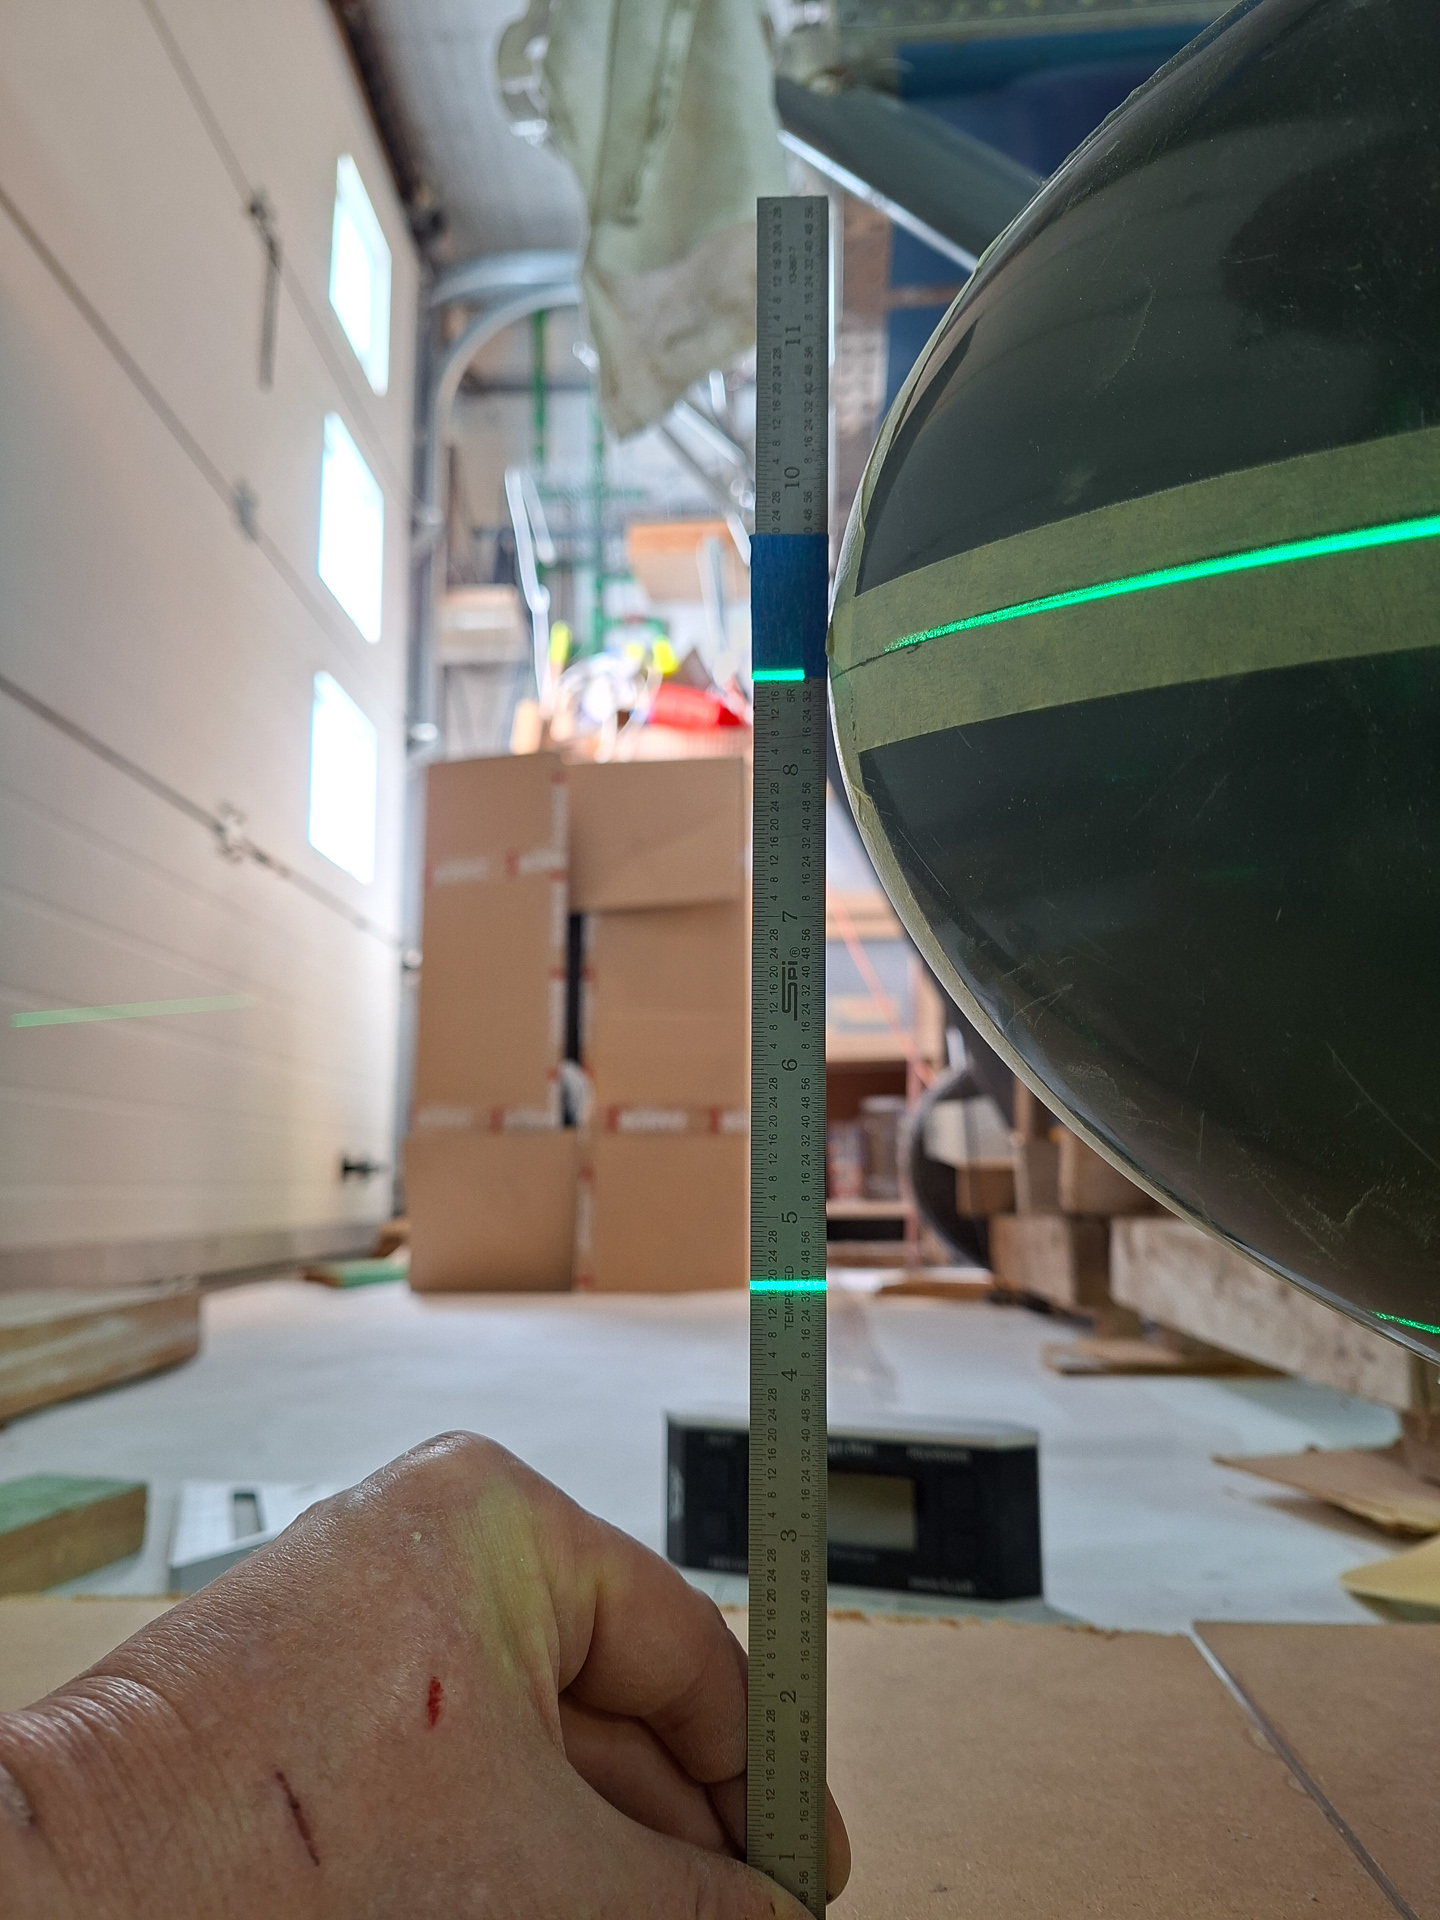
Next I had to start on the inside holes. These actually define the real tilt in or outwards along the length.
But first I had to install nutplates on the inner bracket.
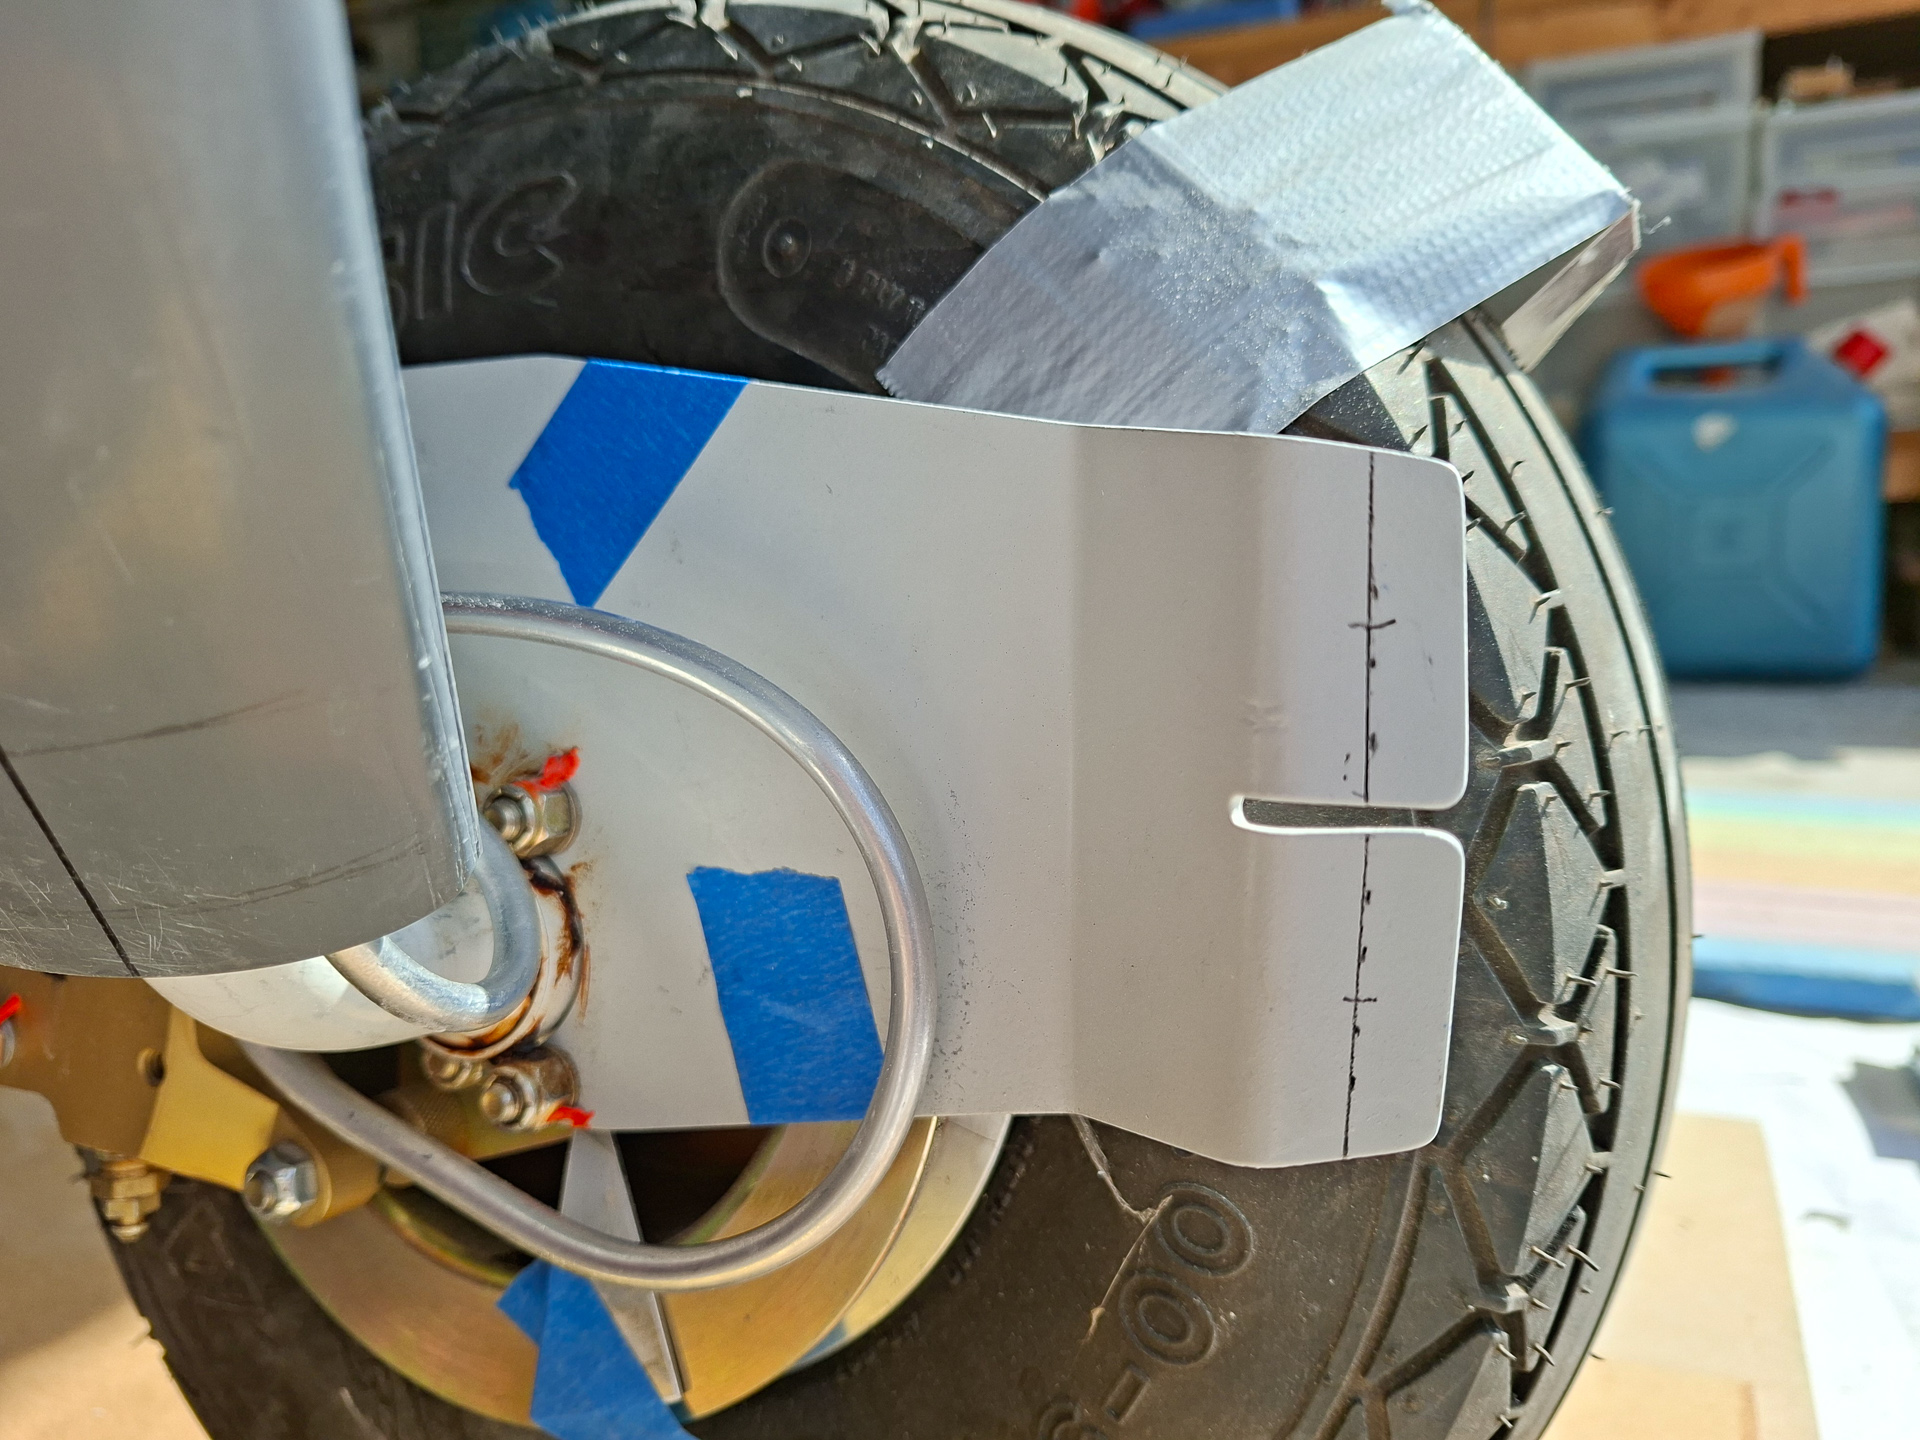
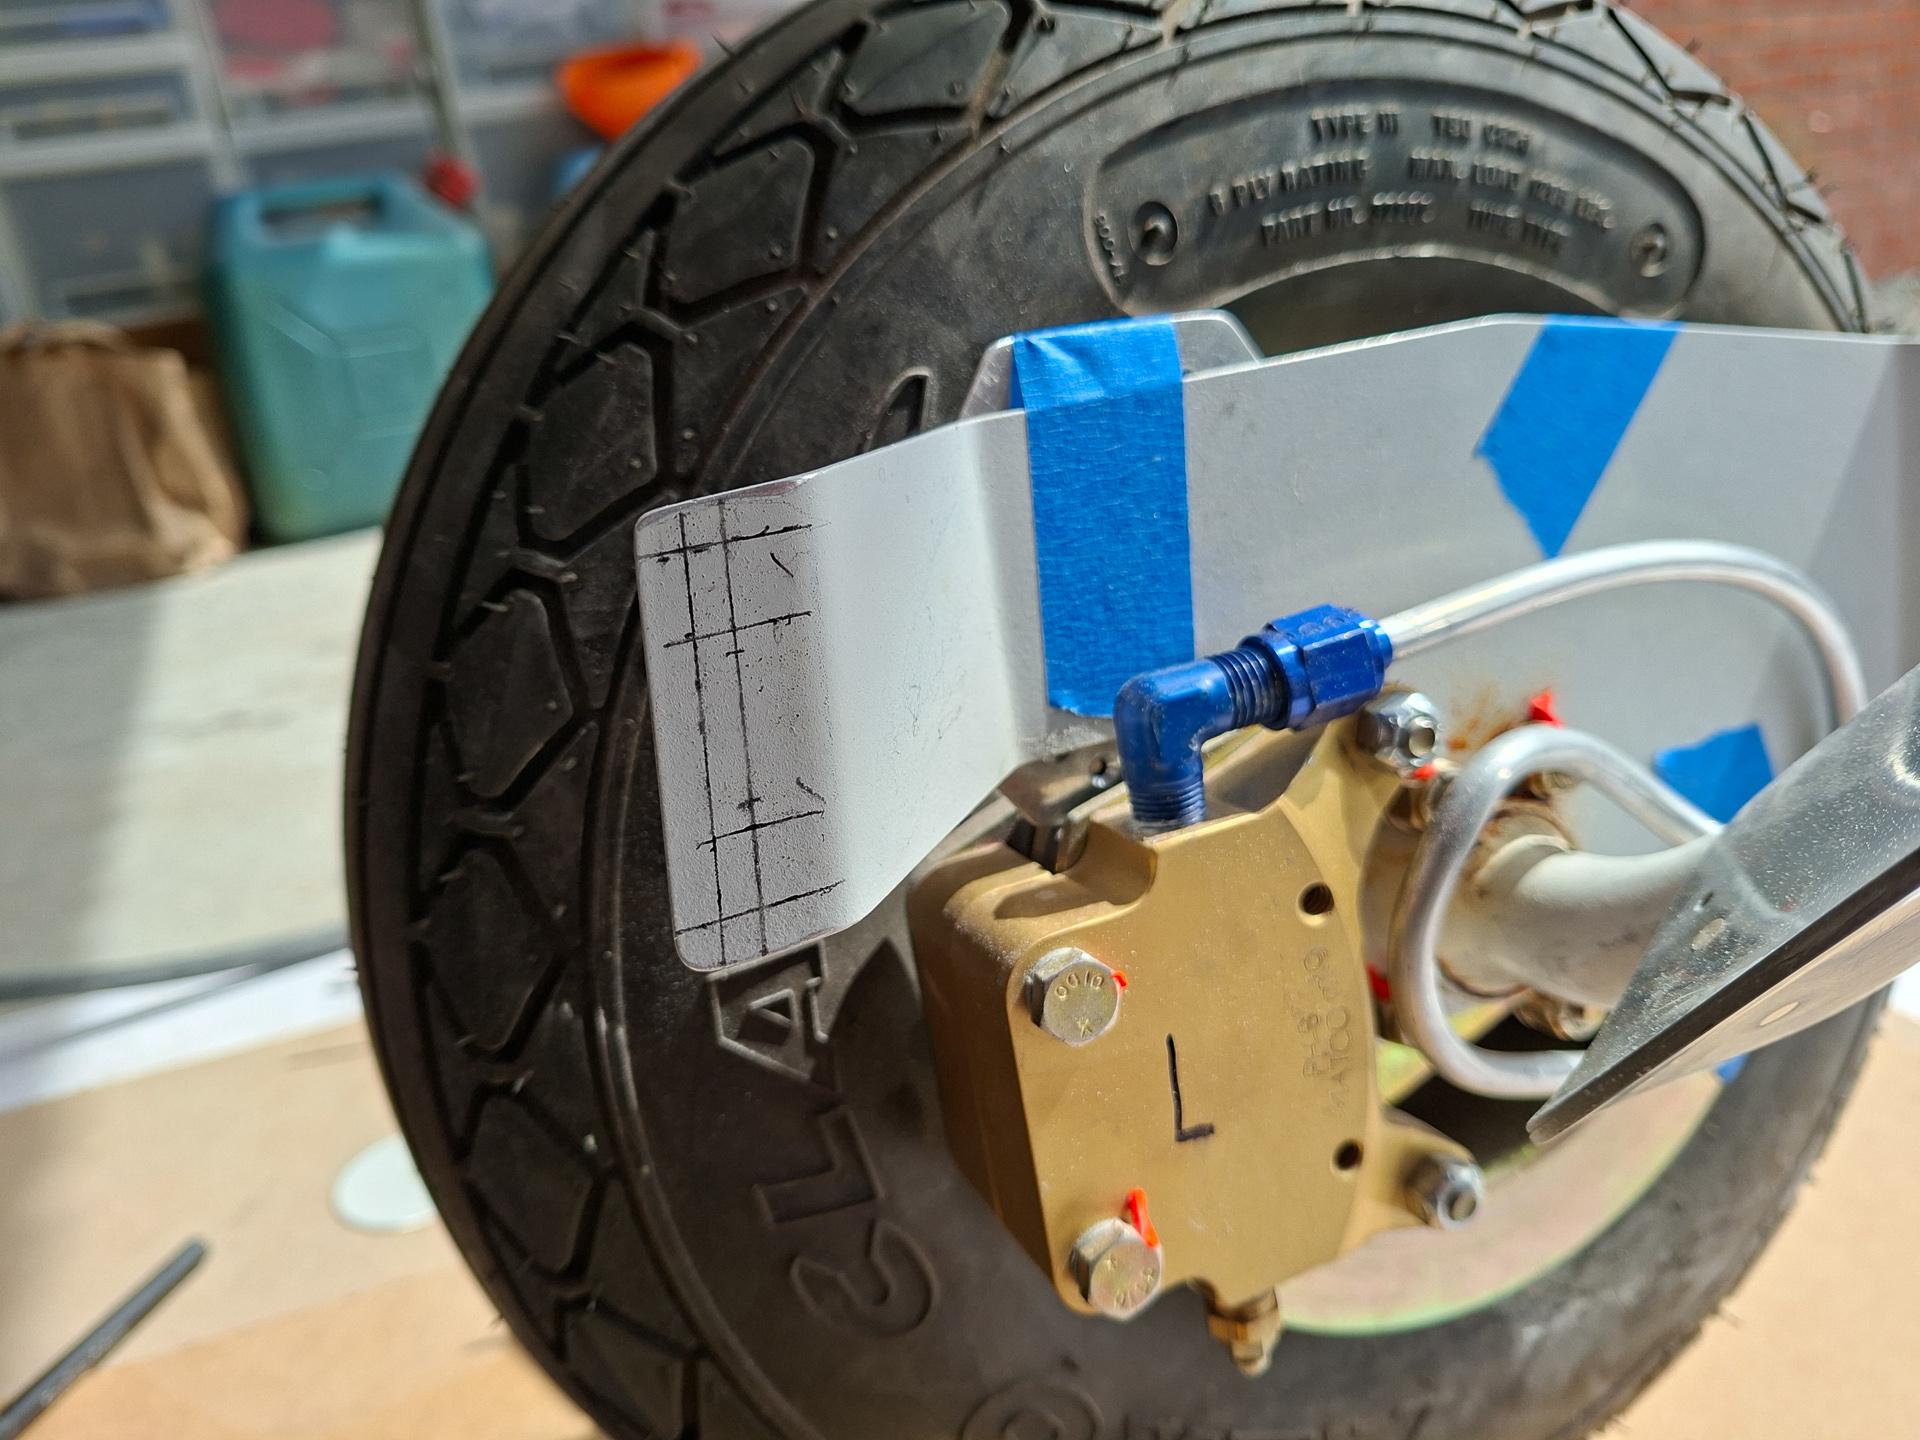
Drilled, countersunk and deburred and squeezed the nutplates on
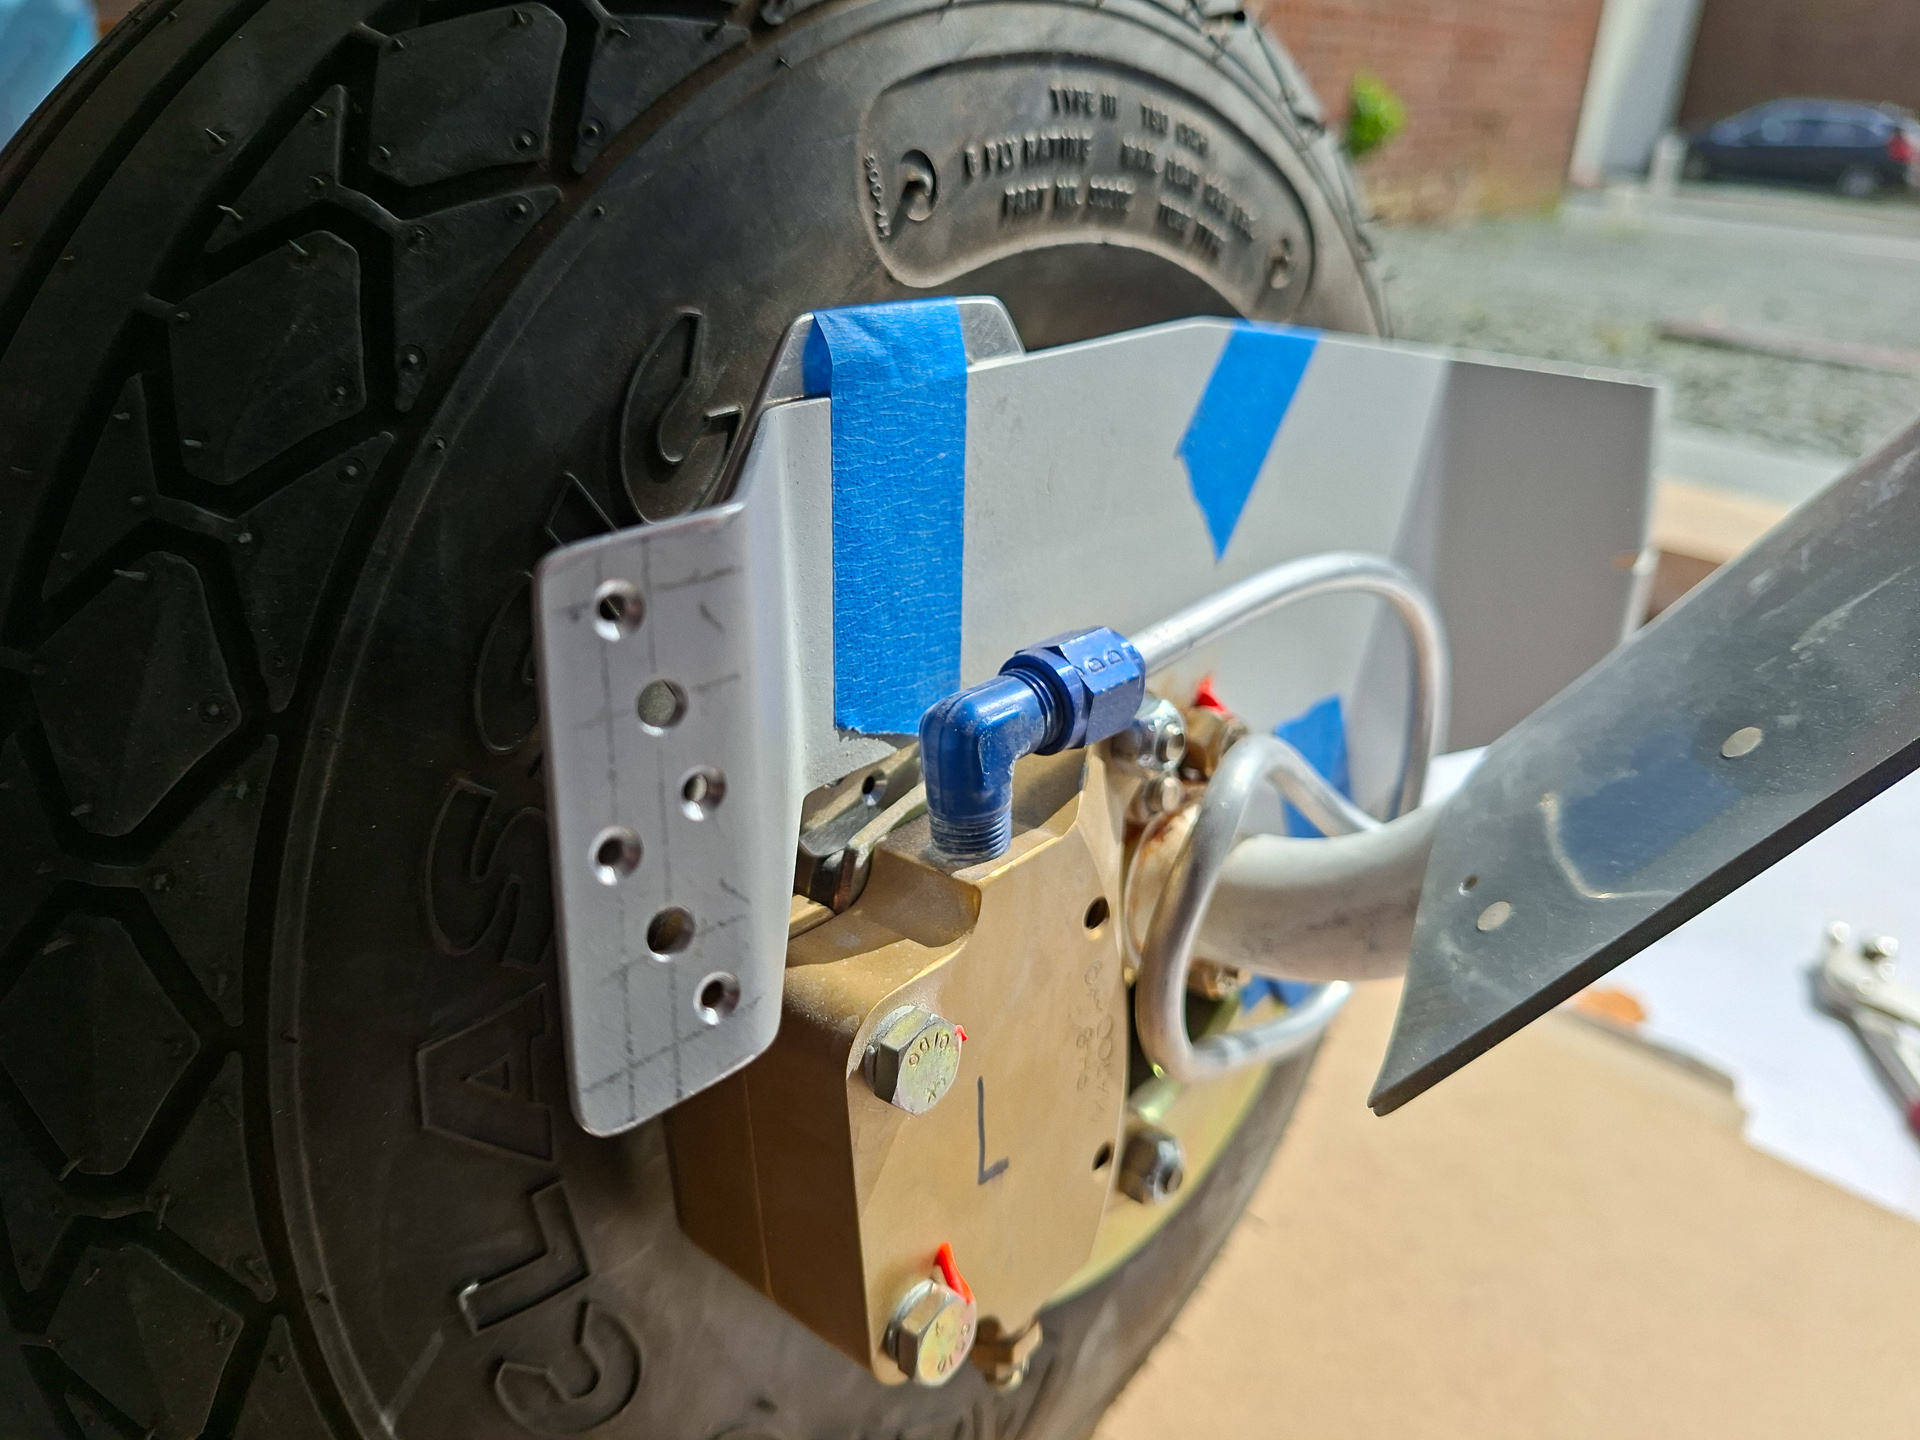
My ideal position, tilted and positioned center of the tyre is at 37.6 inch
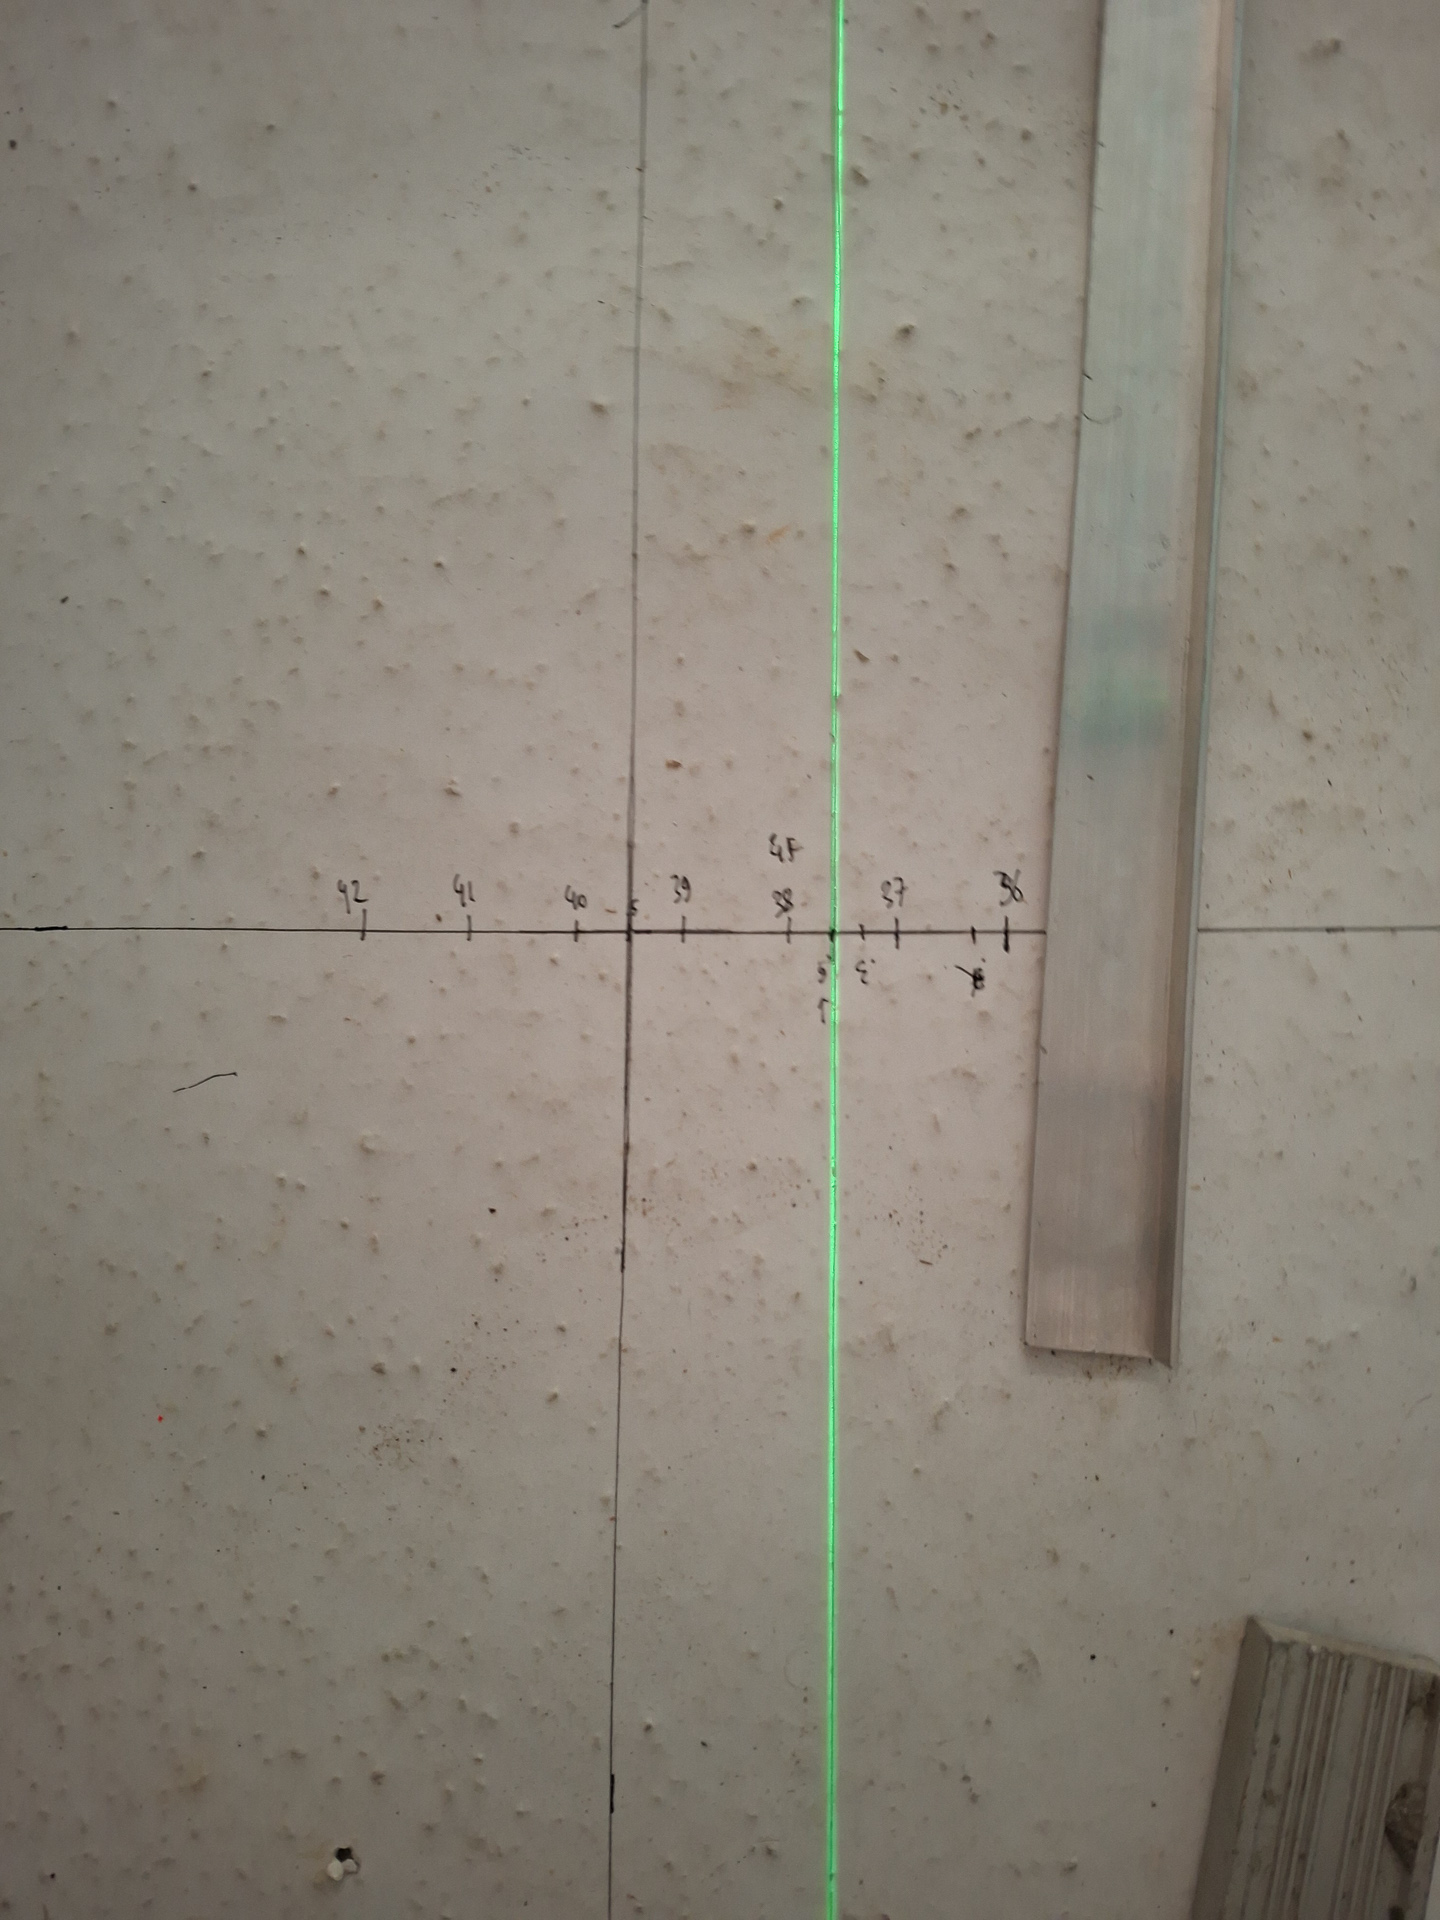
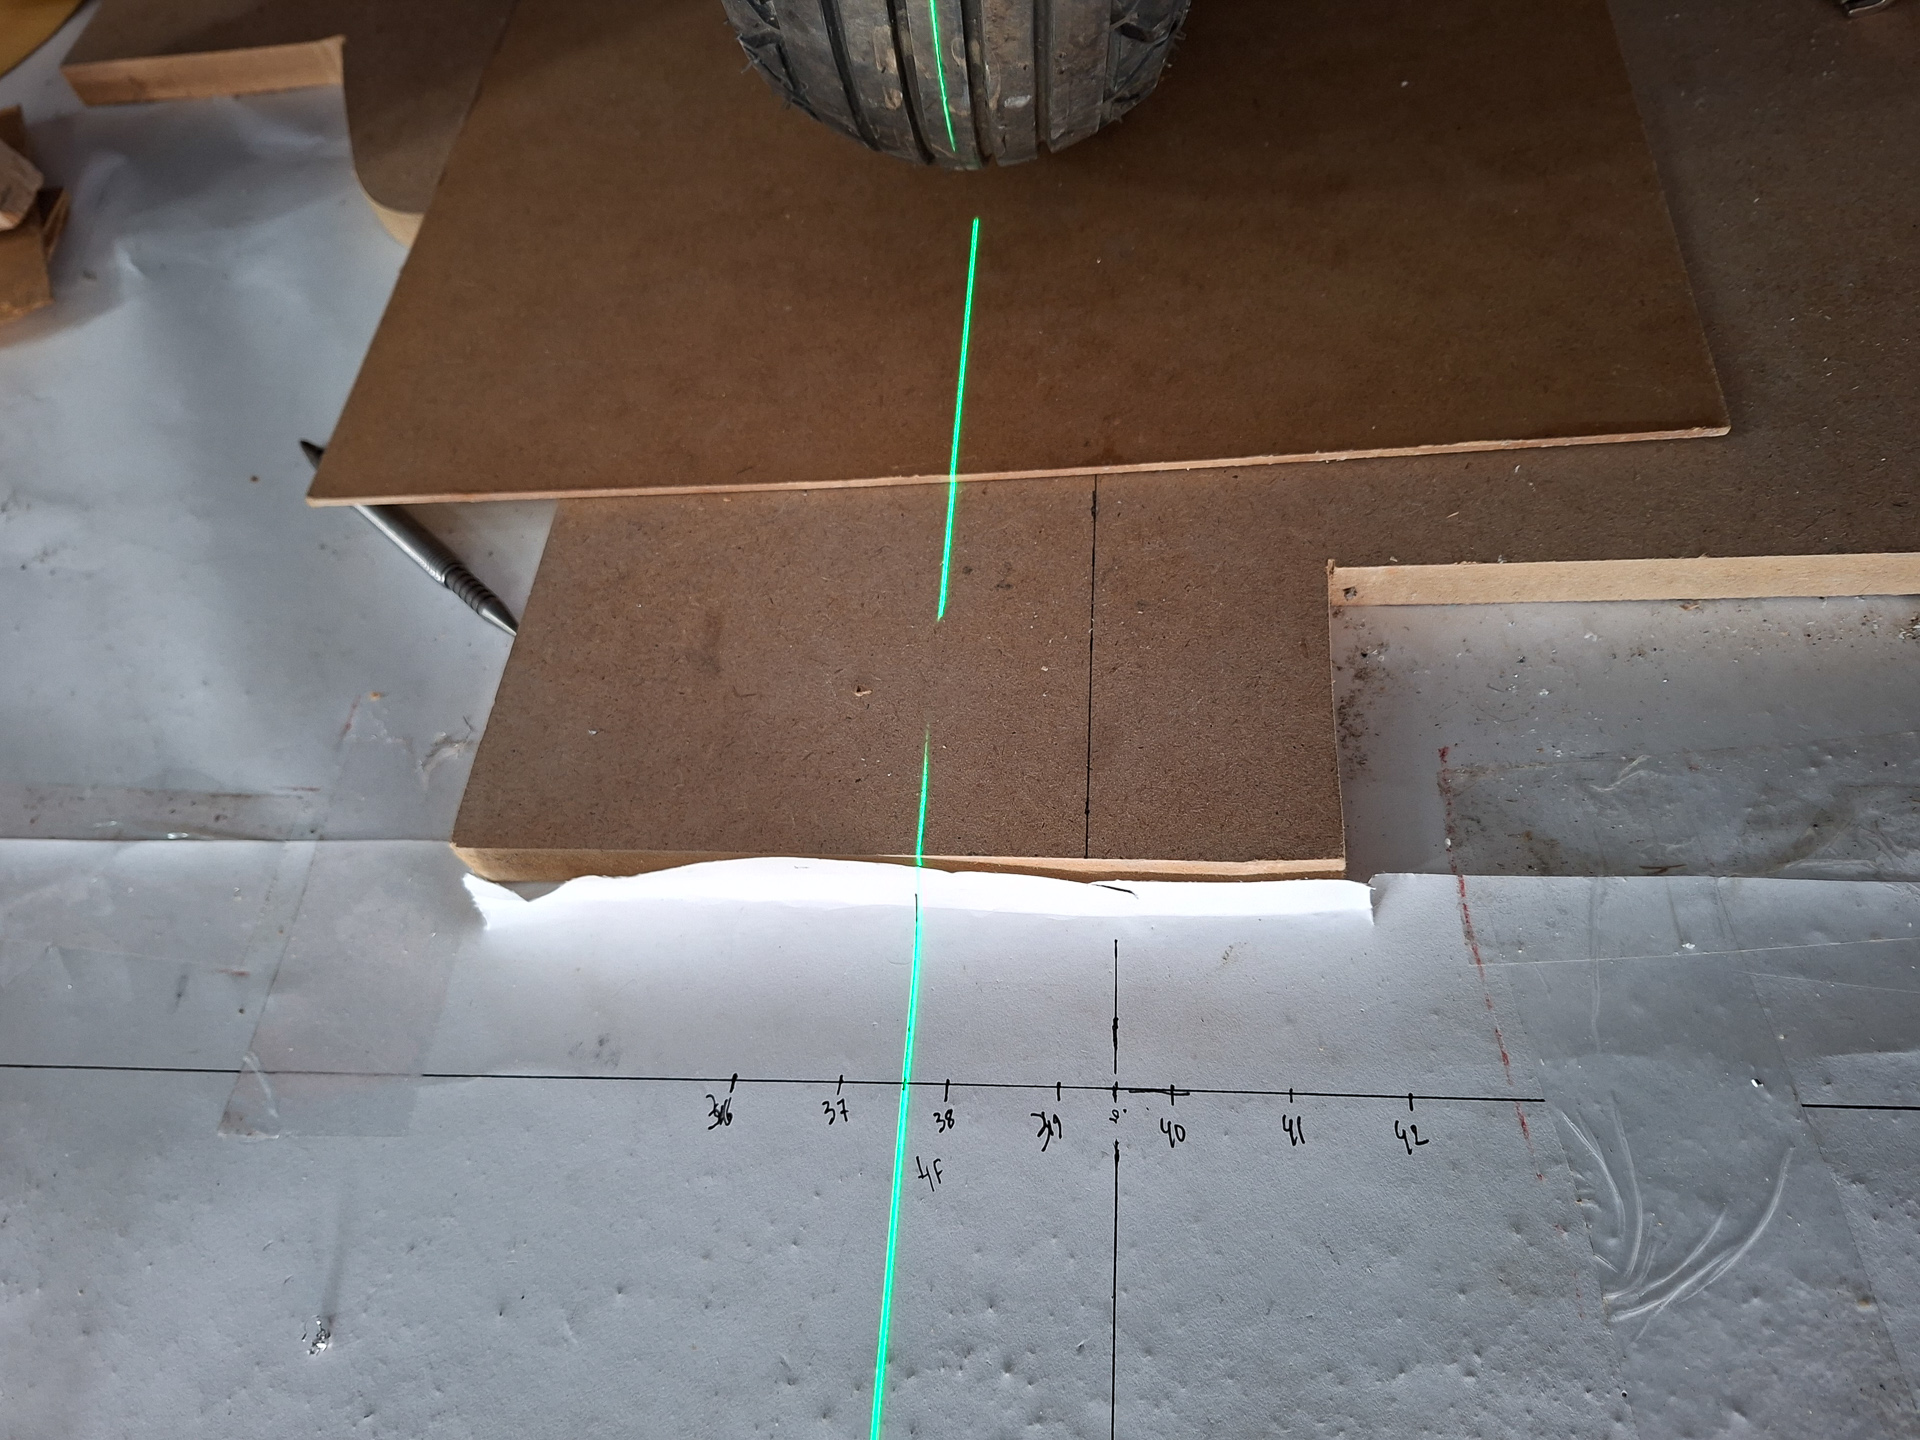
Shimmed the inside until the laser runs through the center at the tail and front of the wheel pant.
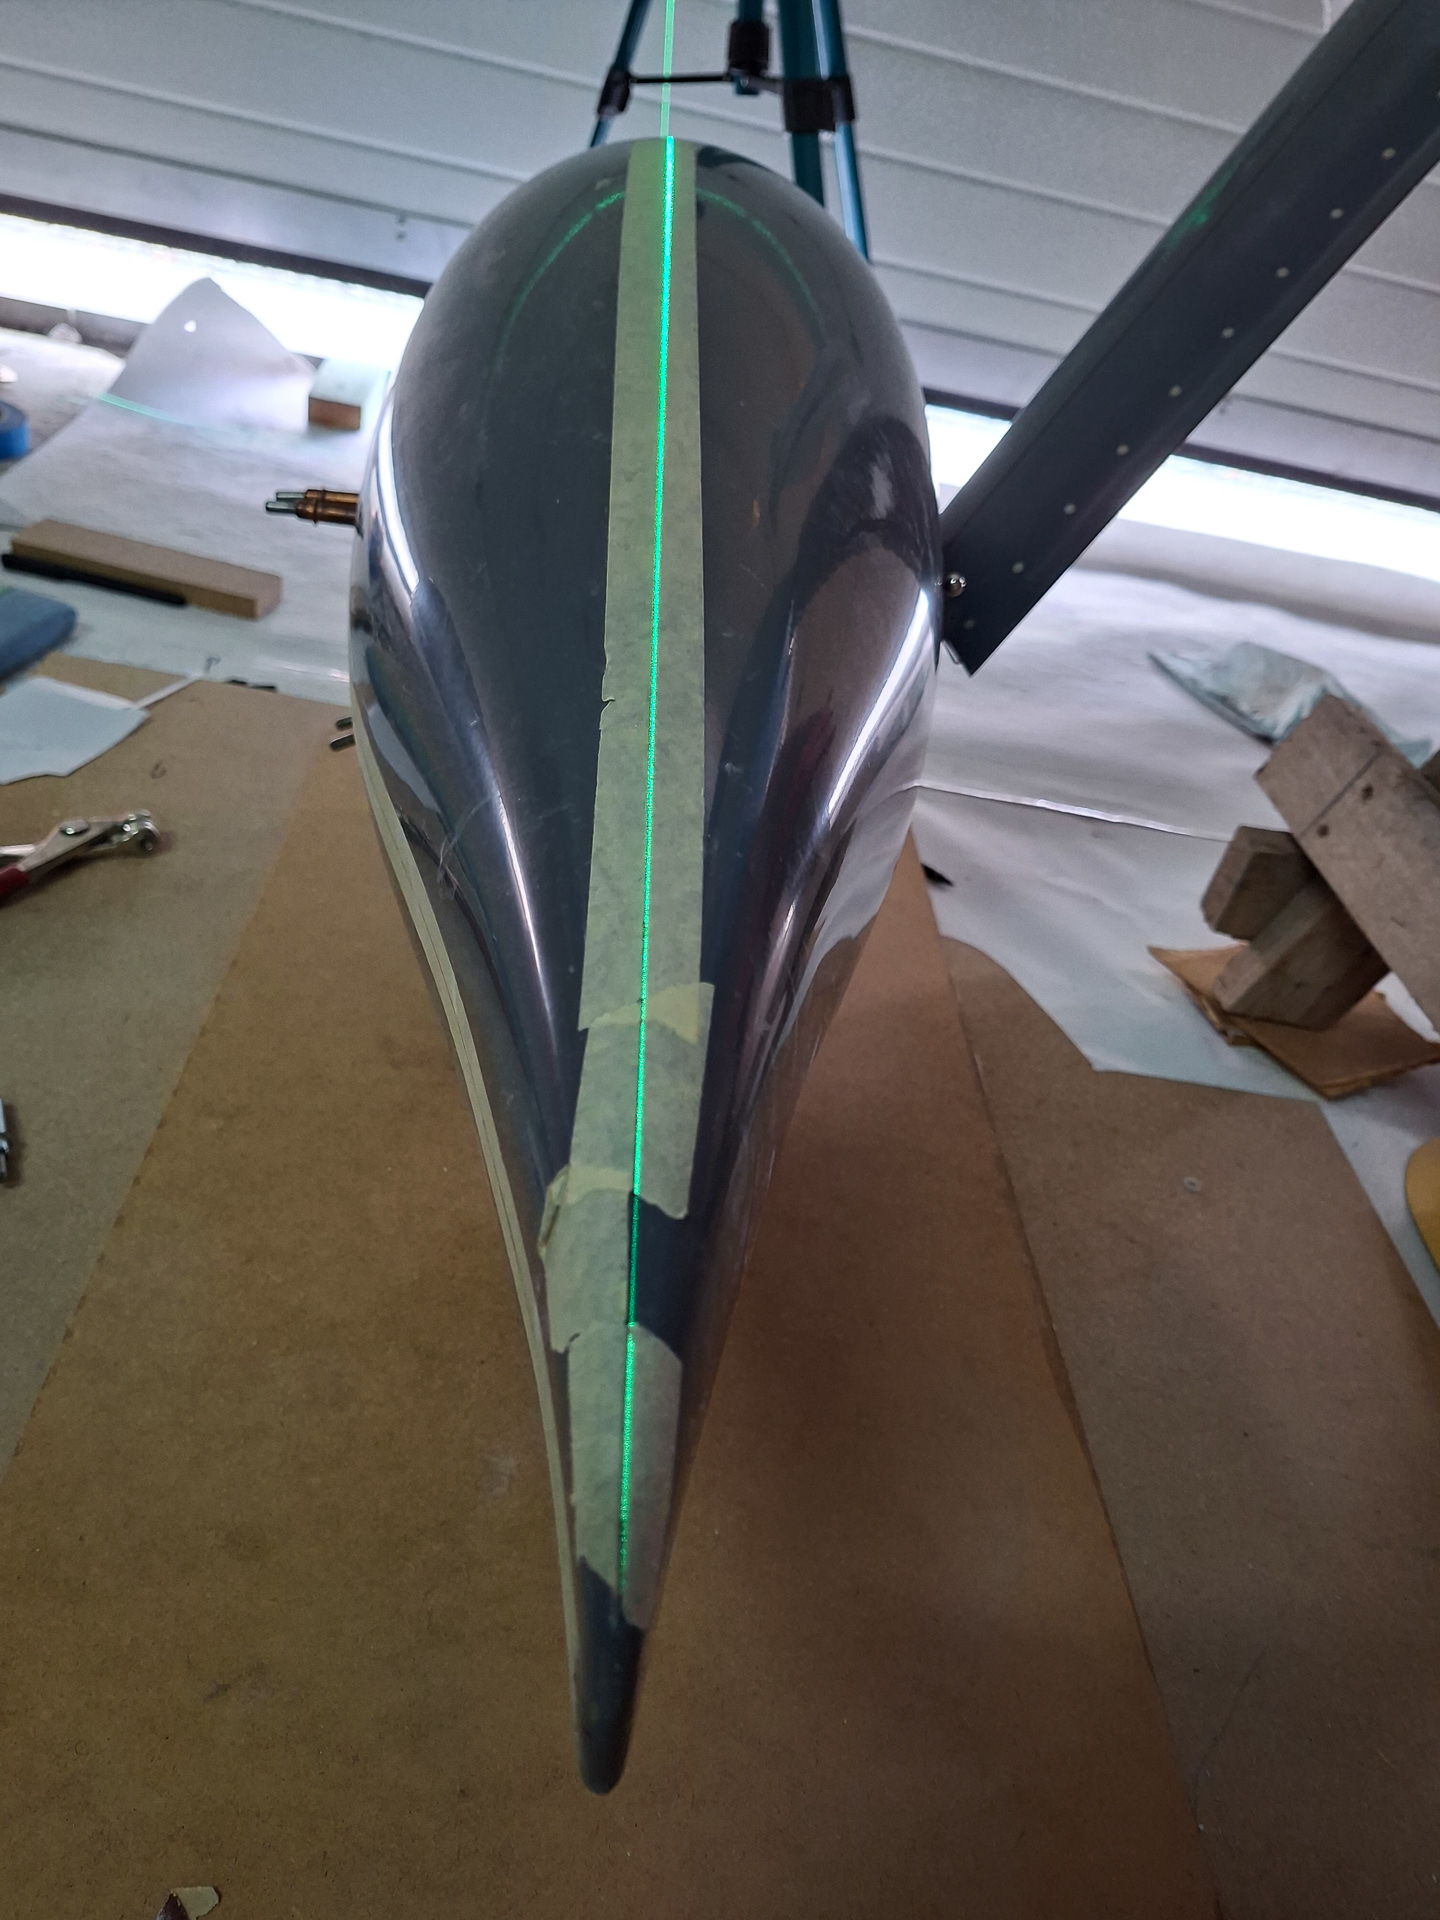
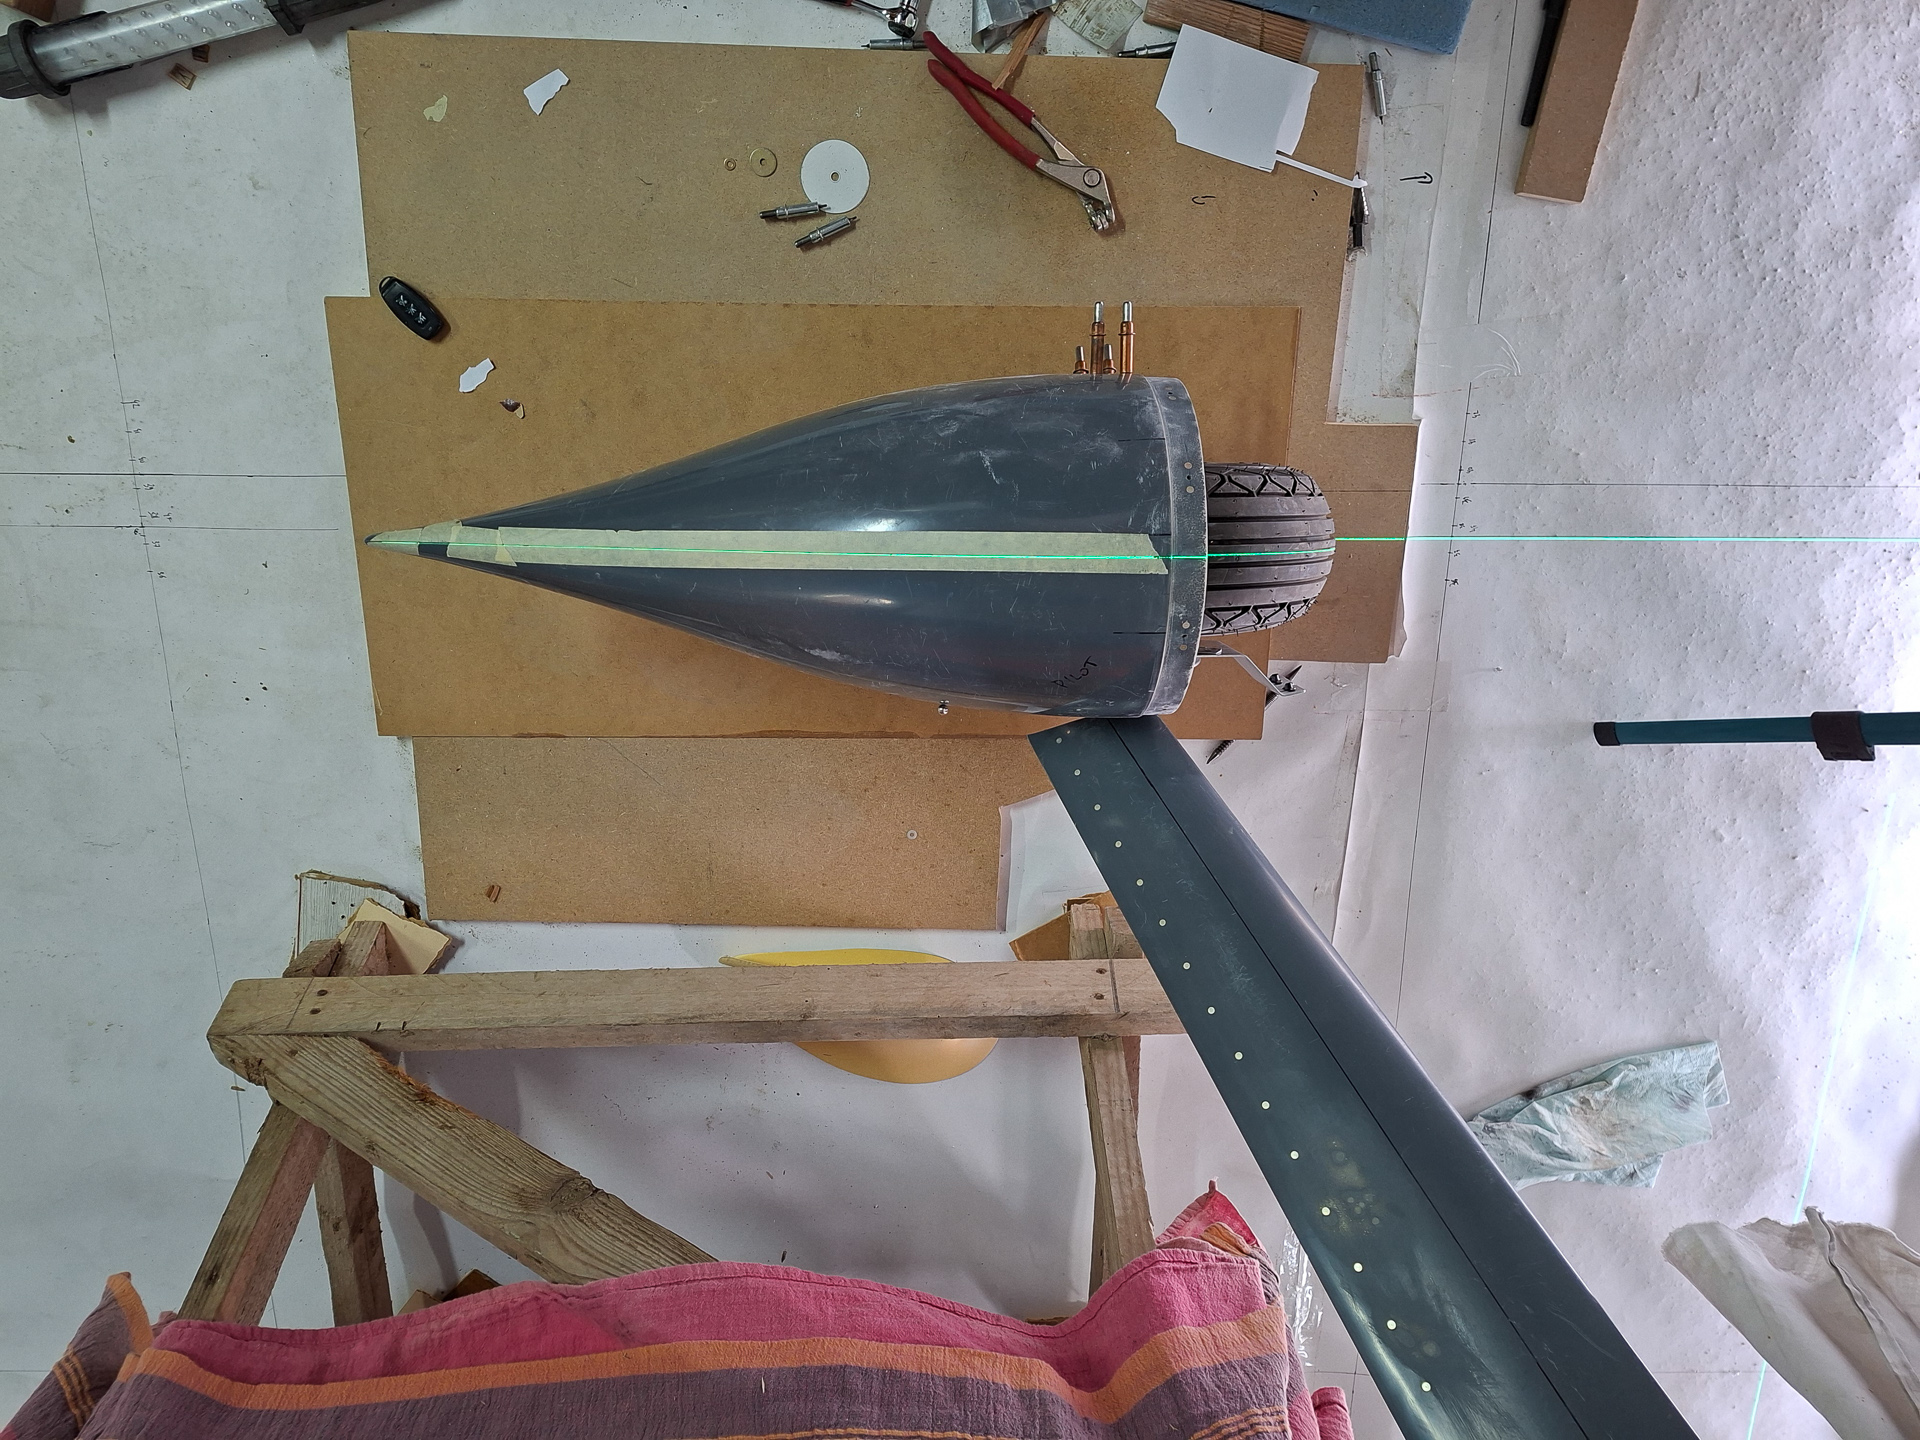
Then comes the shitty part. and boy is this inaccurate and painfull.
Vans tells you that you can see the position through the translucent fairing to give you an indication of your first pilot drilling with a small drill, working your way to the final #19 size.
Well, what they forgot is that these days, the wheel pants are gell coated and no longer transparent. No way to see through.
The only way I could figure out how to do this is by placing a magnet on the nutplate on the inside and then using another magnet on the outside and wiggling it around to try to define the actual position of the nutplate hole. Sounds reasonable... only that the nutplate is steel and also is magnetised by the magnet and the outside magnet never seems to want to sit at a fixed position. I first tried the method with a very thin plastic washer and a magnet but soon moved to only a magnet without washer. Even then it was unsure what the real center point would be.
To be perfectly honest. In the end I made a calculated guess and drilled a small hole working my way up with different sizes.
Another difficulty is that the bracket does not rest against the wheel pant inner skin. The bracket gets pulled towards it and you will still need to beef it up with some additional layers of epoxy. So yes, drilling these holes is a bit of a wild guess. Luckily, this is epoxy and you can close the holes again if needed.
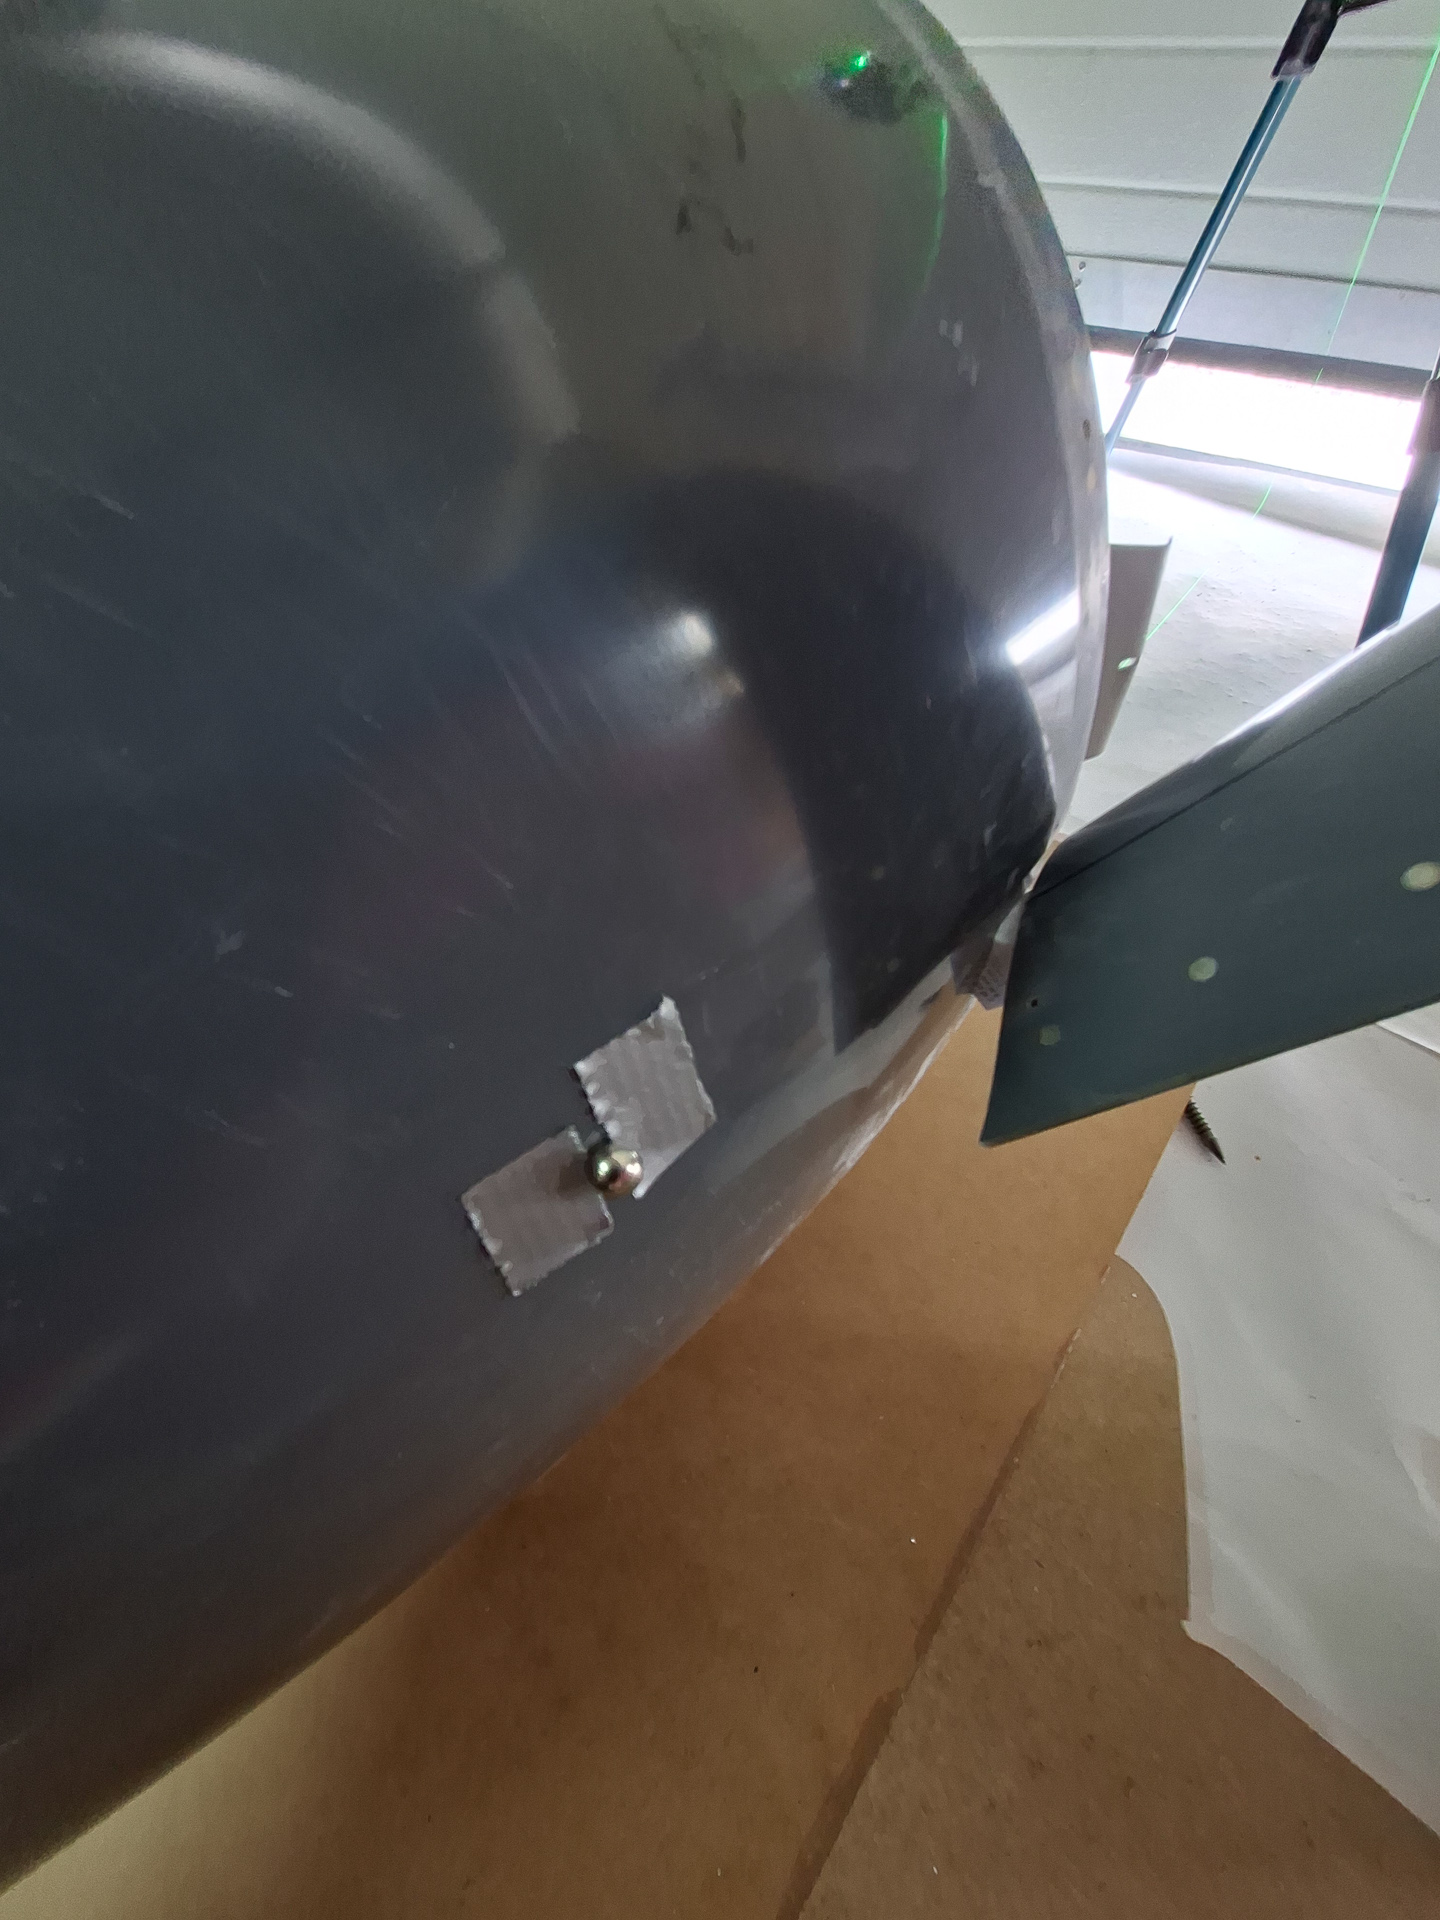
same on the front bracket. I started with one in the back and one in the front.
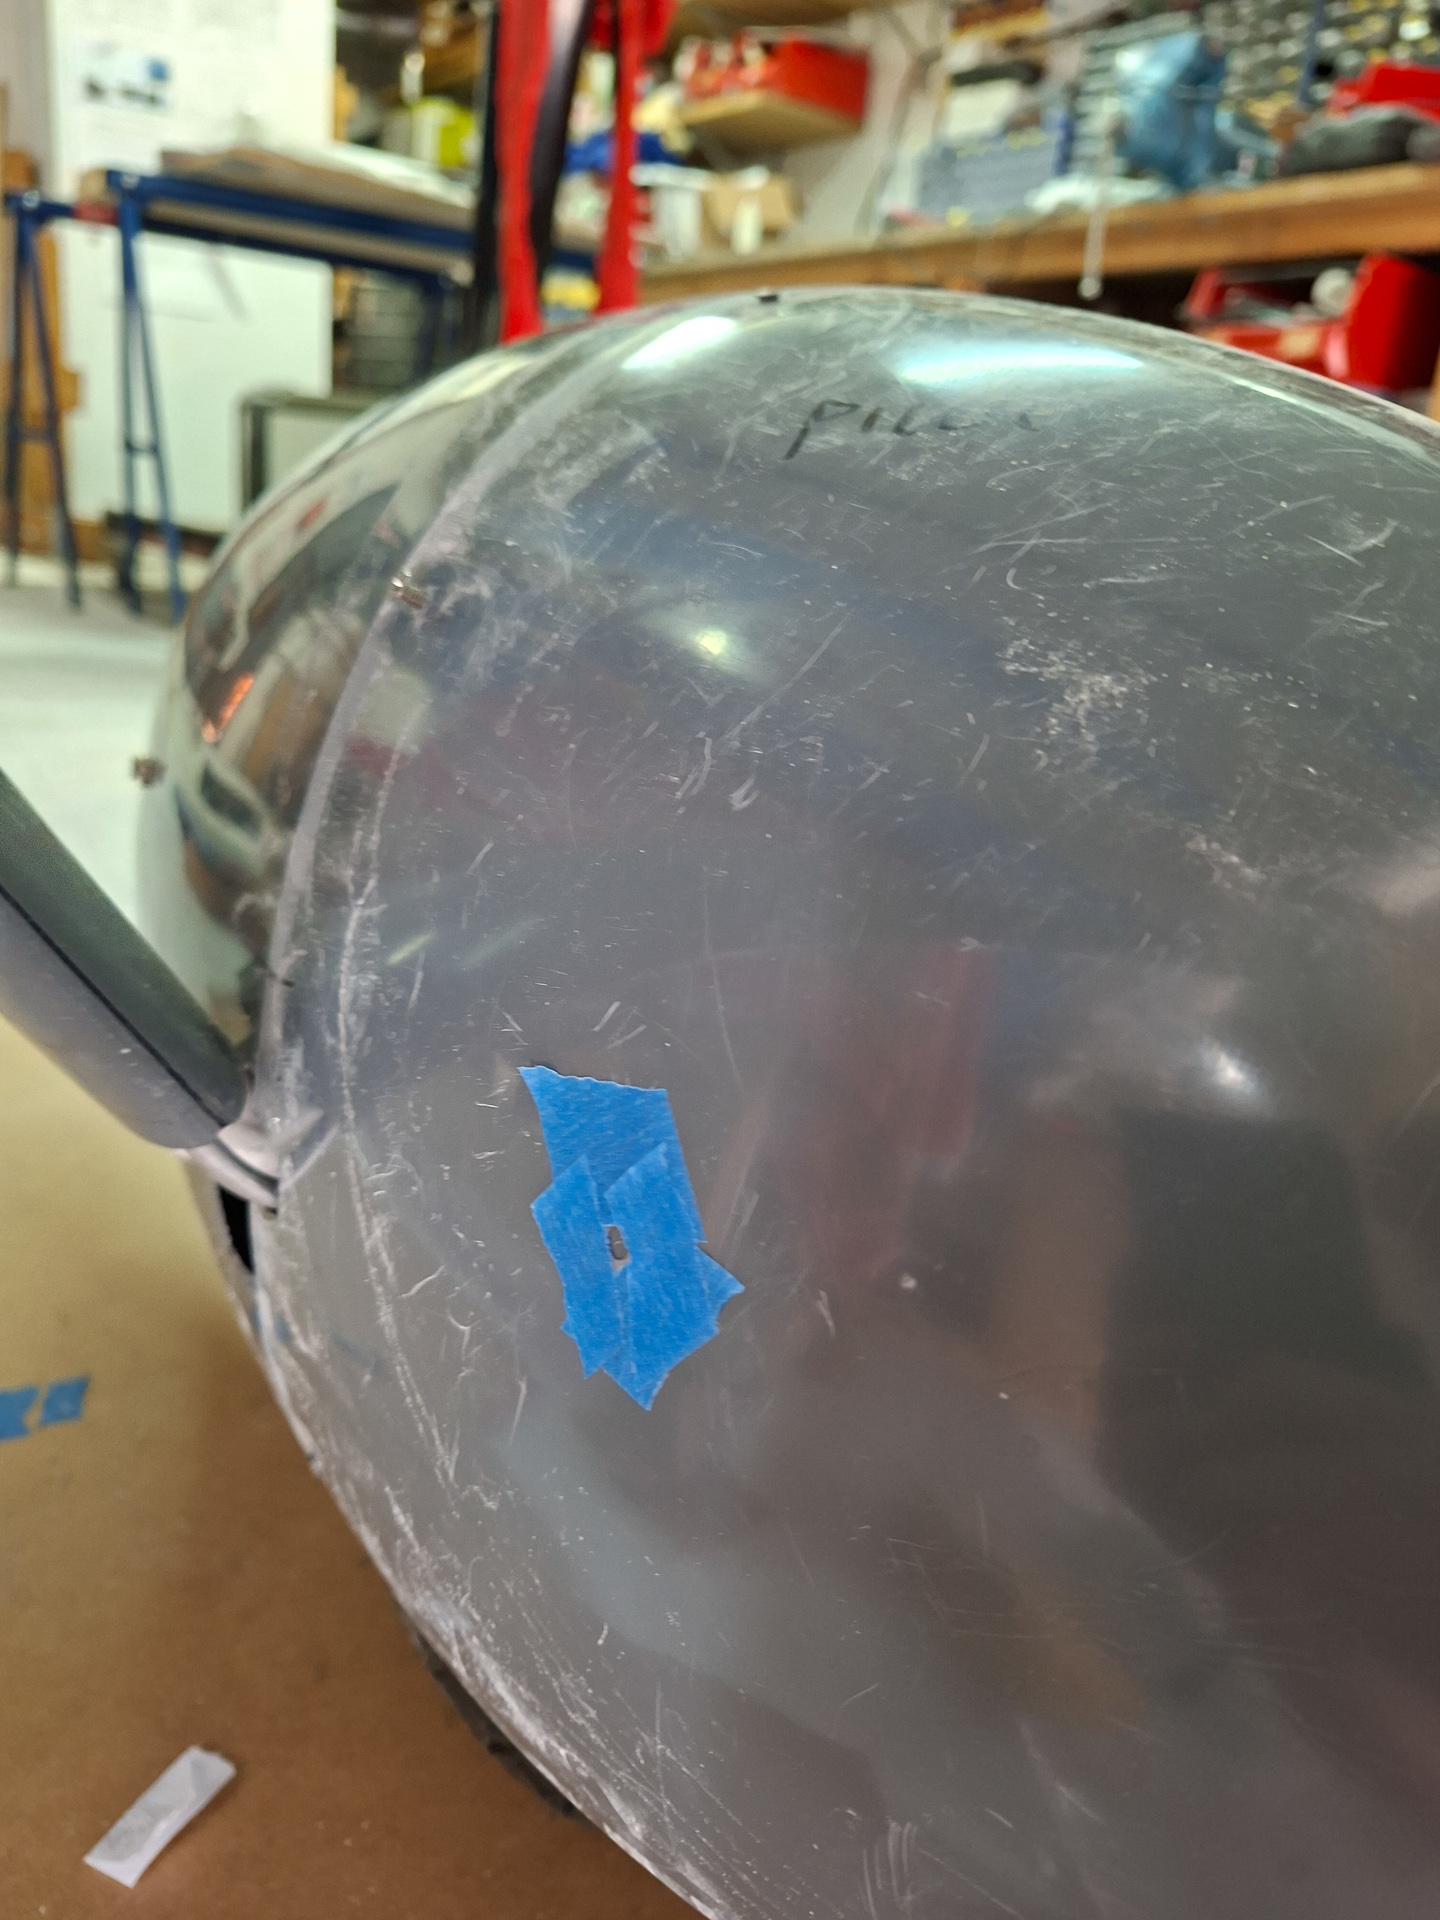
when that was drilled and installed, i measured the distance and angle on the bracket to the second nutplate and drilled the second pilot hole using the offset measurement and checking that with the magnets
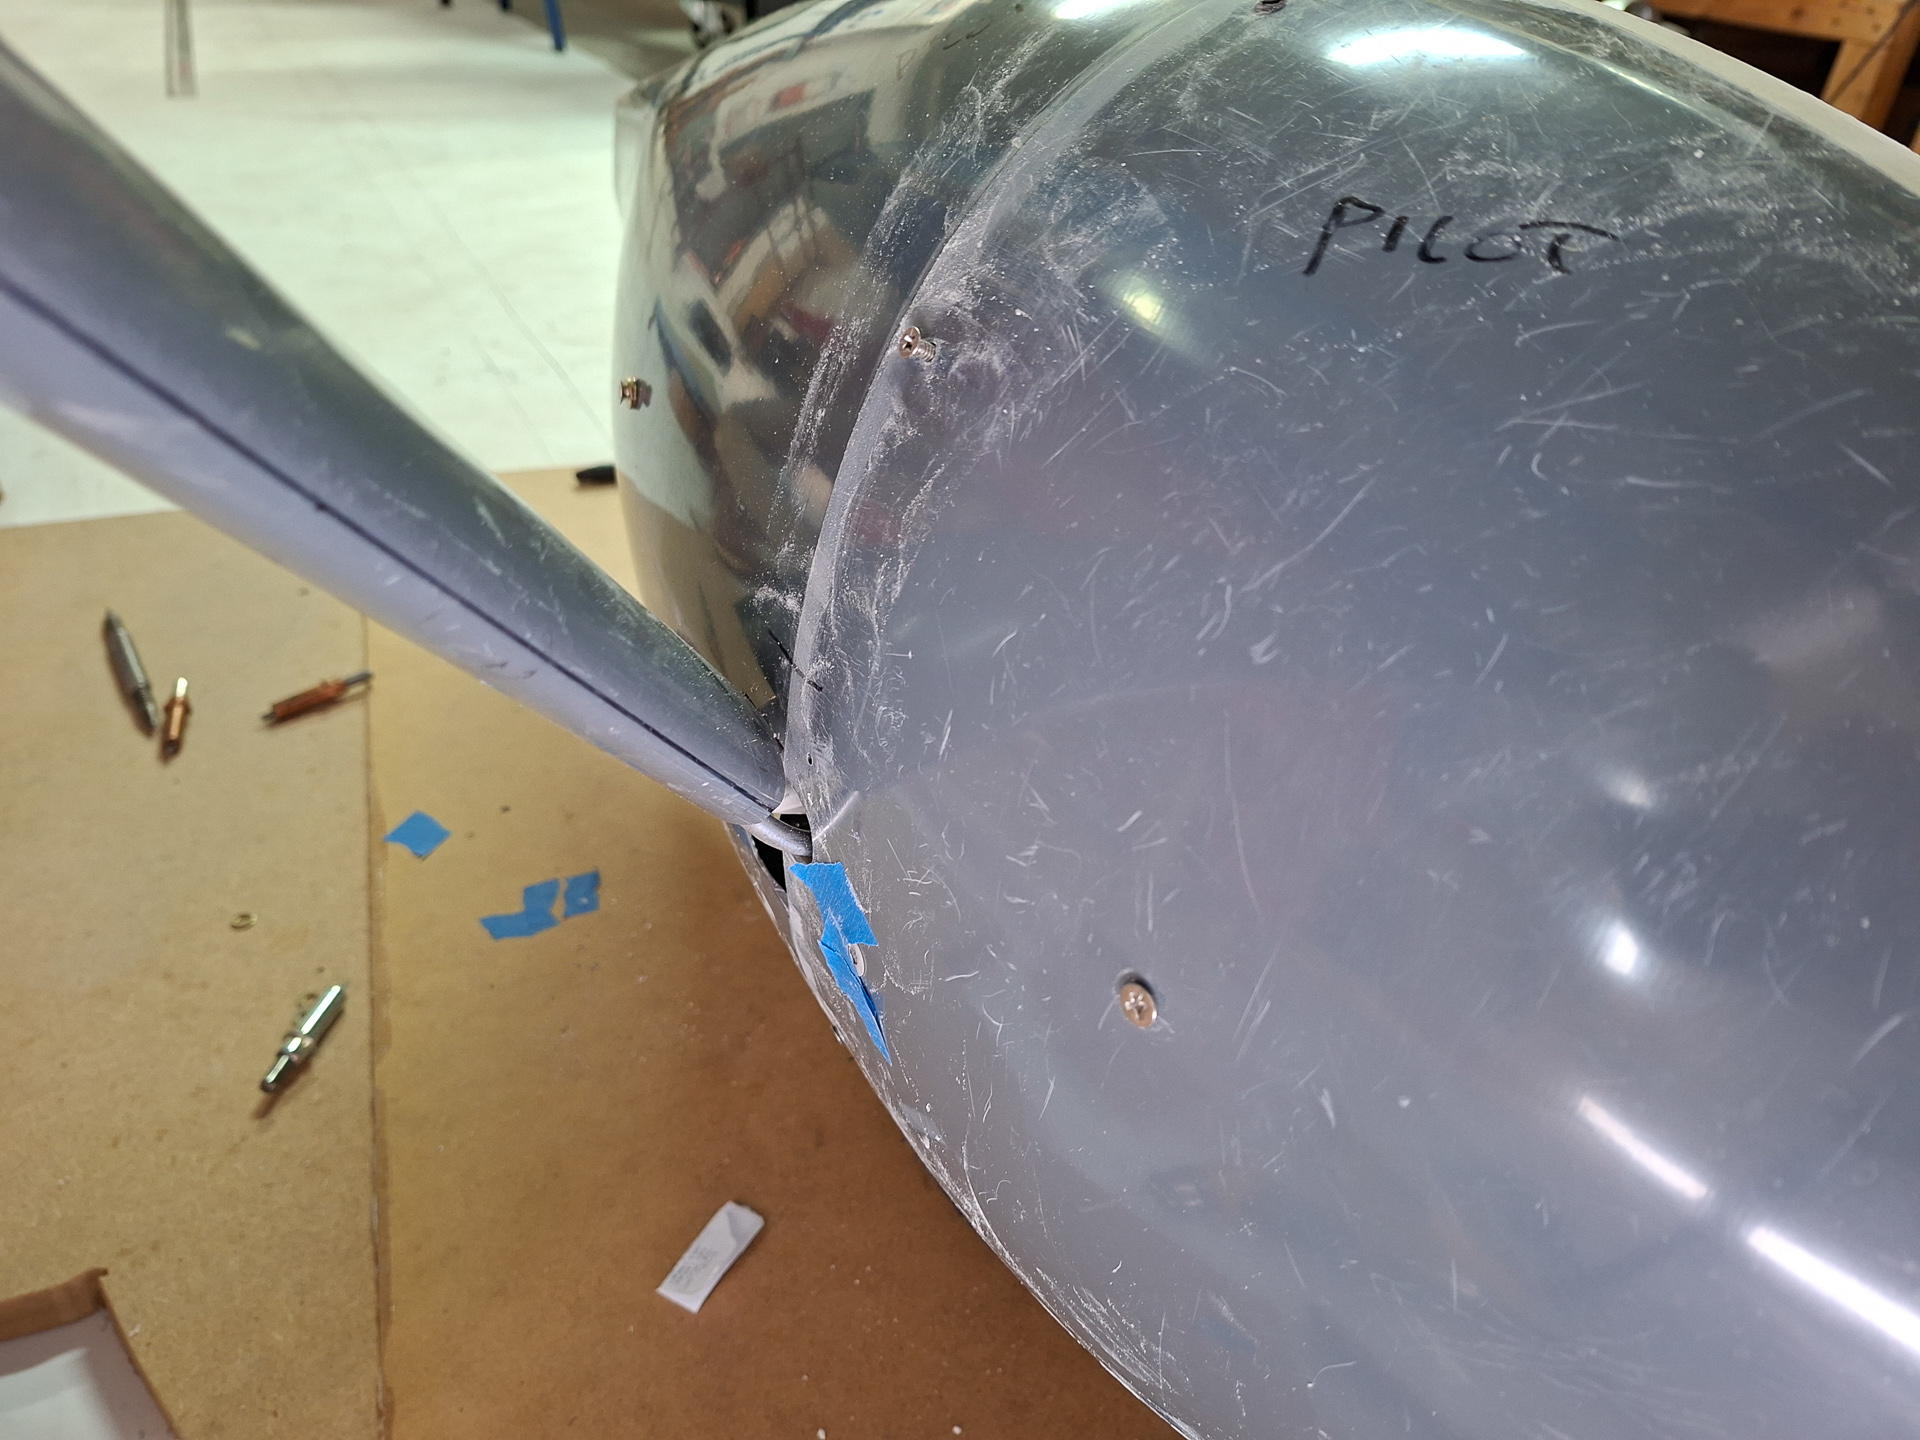
The second lower holes came out good but I will refill the upper ones as I had to adjust them
I couldn't resist sliding my new RVBits intersection fairings to get an idea how good these would fit.
I think these will work out very well.