

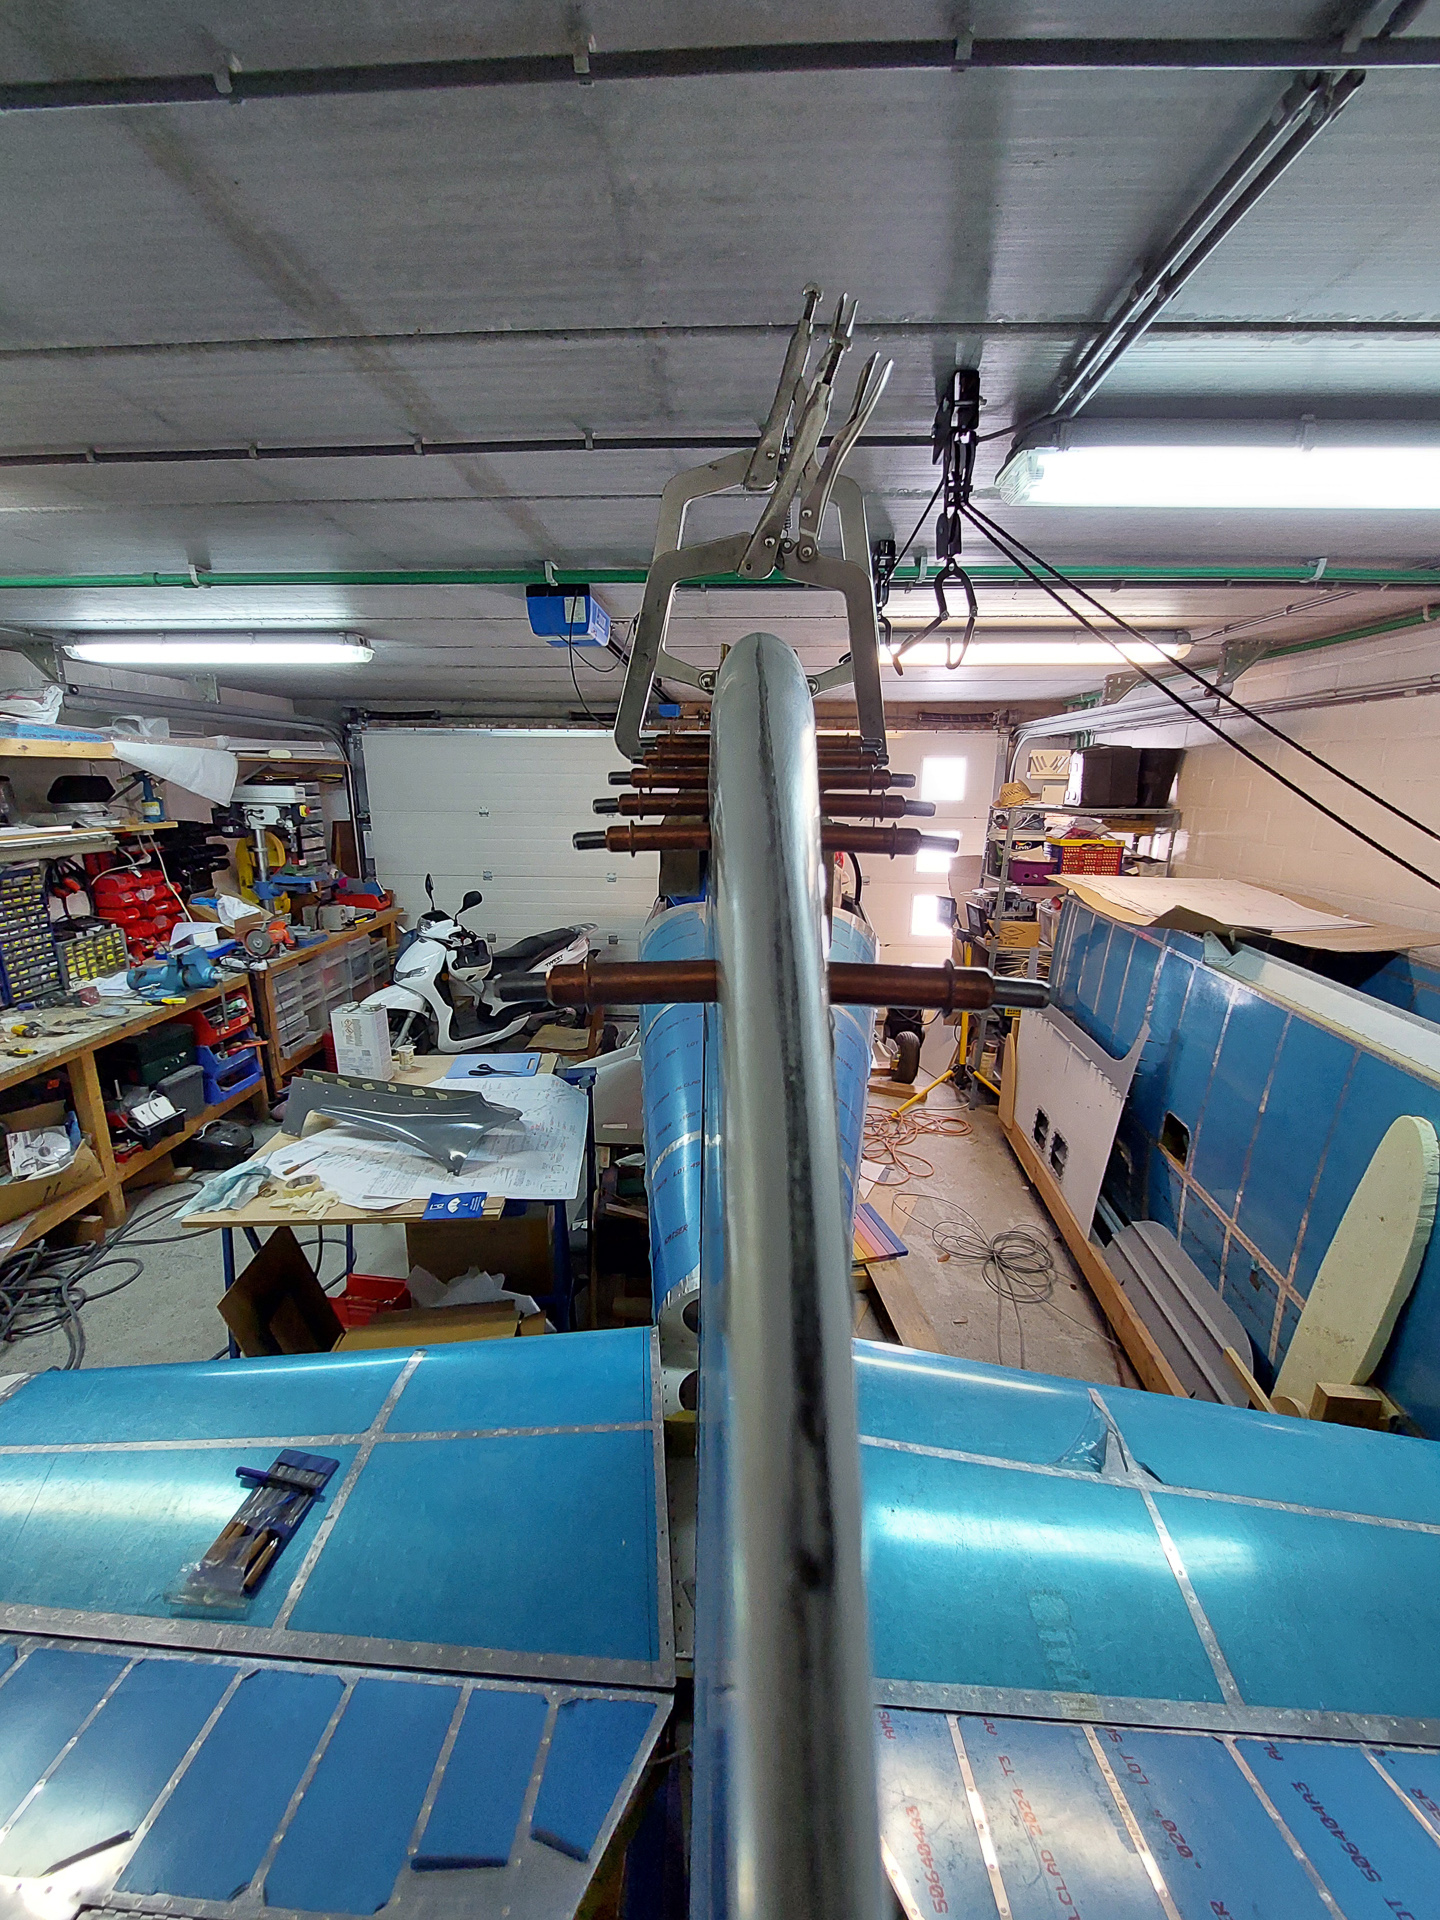
Continuing the work of installing the top fairings on elevator and rudder. As I drilled the bottom holes yesterday, it's time now to further fine tune the alignment of the VS elevator tip and the rudder. There is not much you can do on the rudder fairing but the VS tip is still kind of flexing right now.
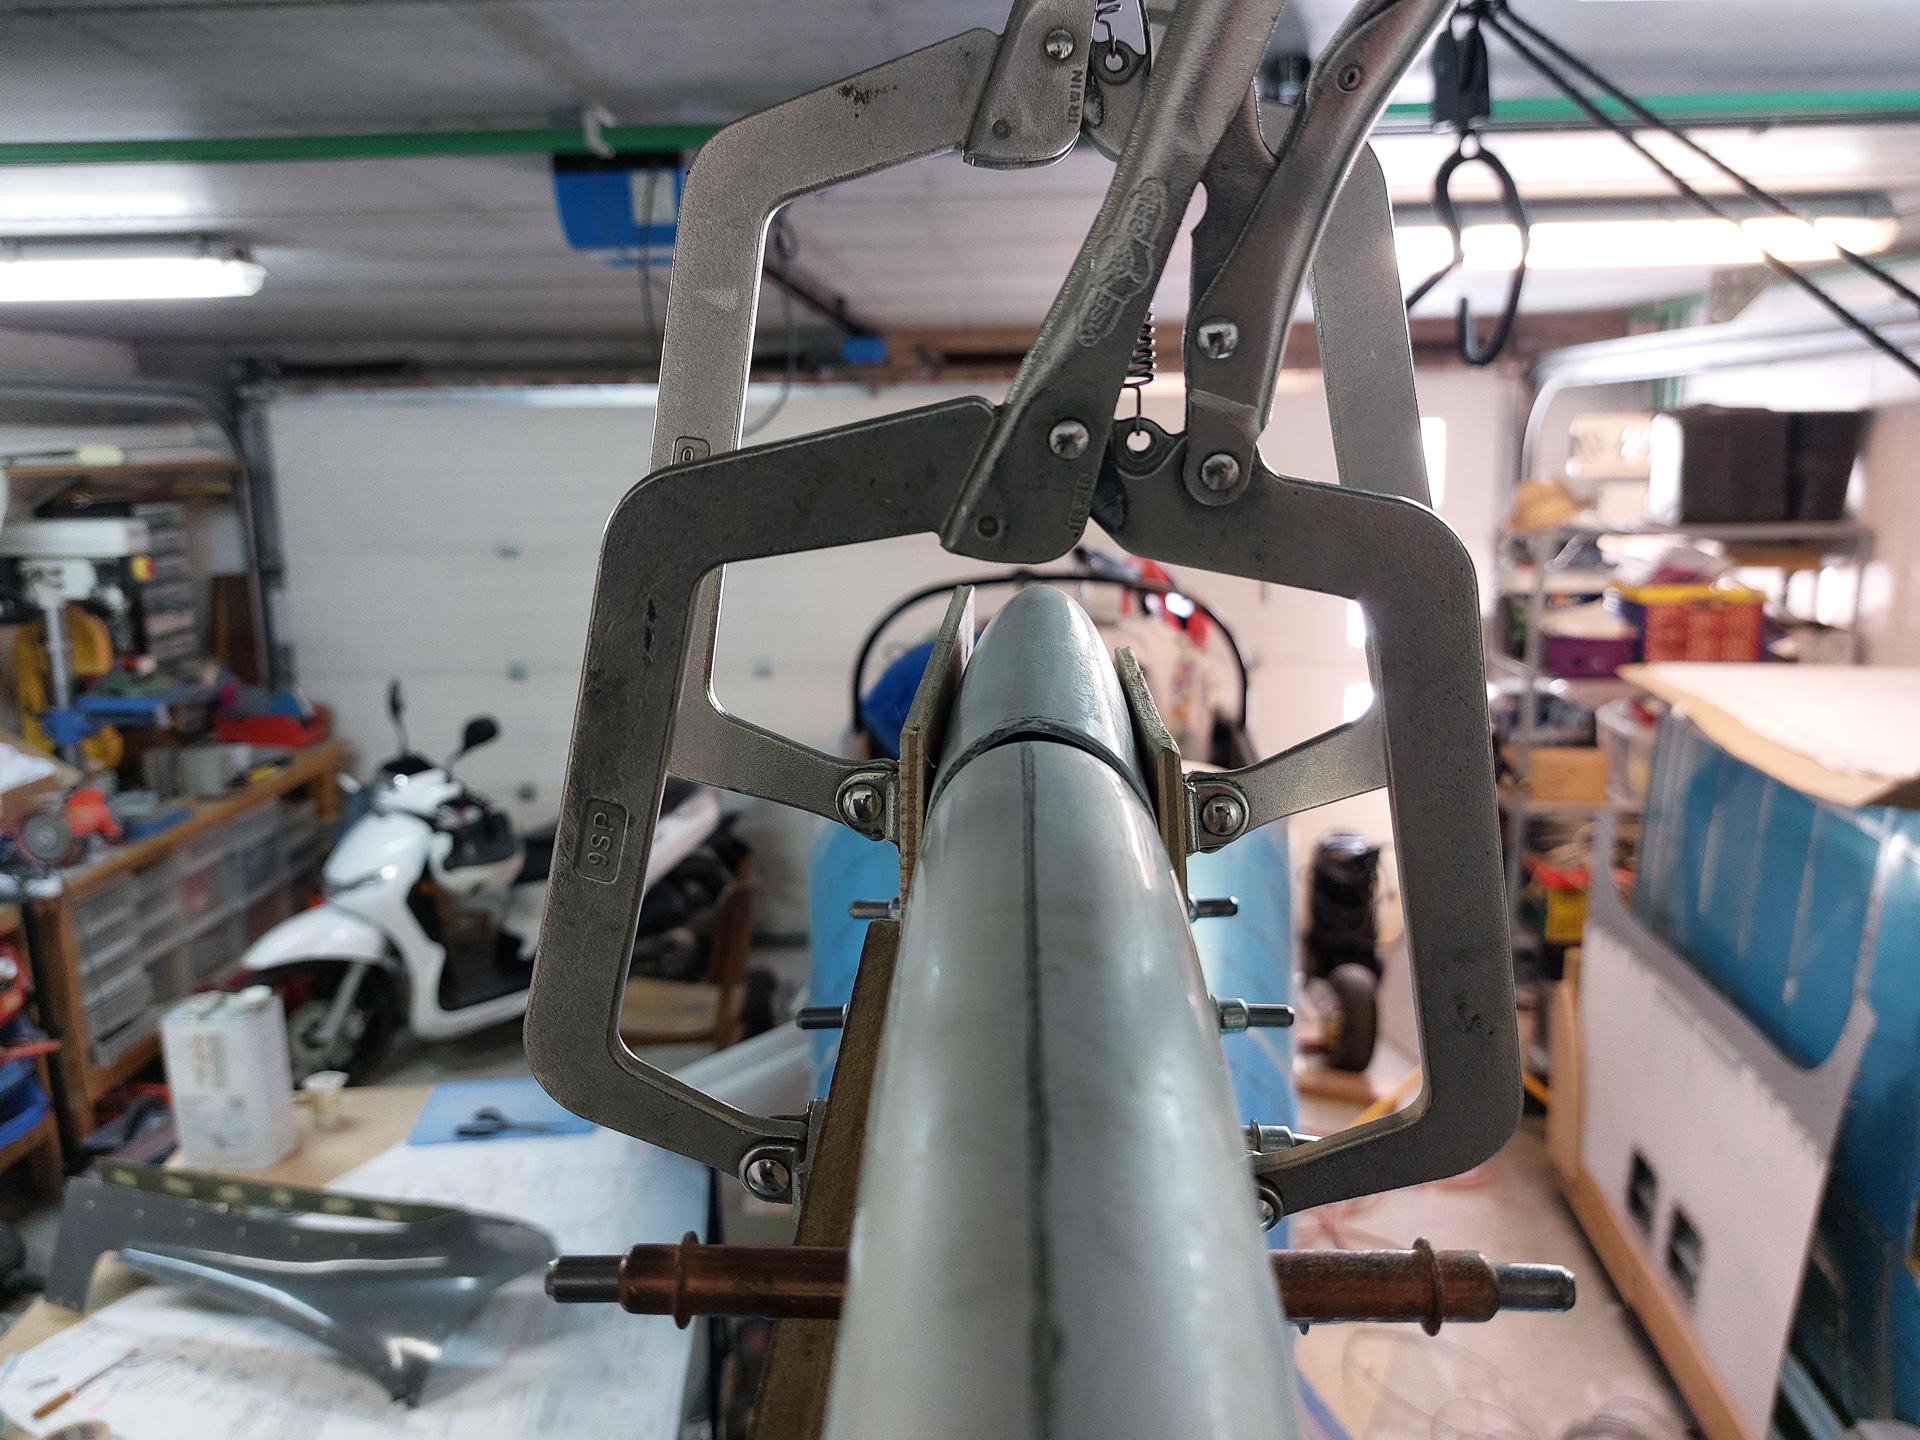
Think this looks pretty good.
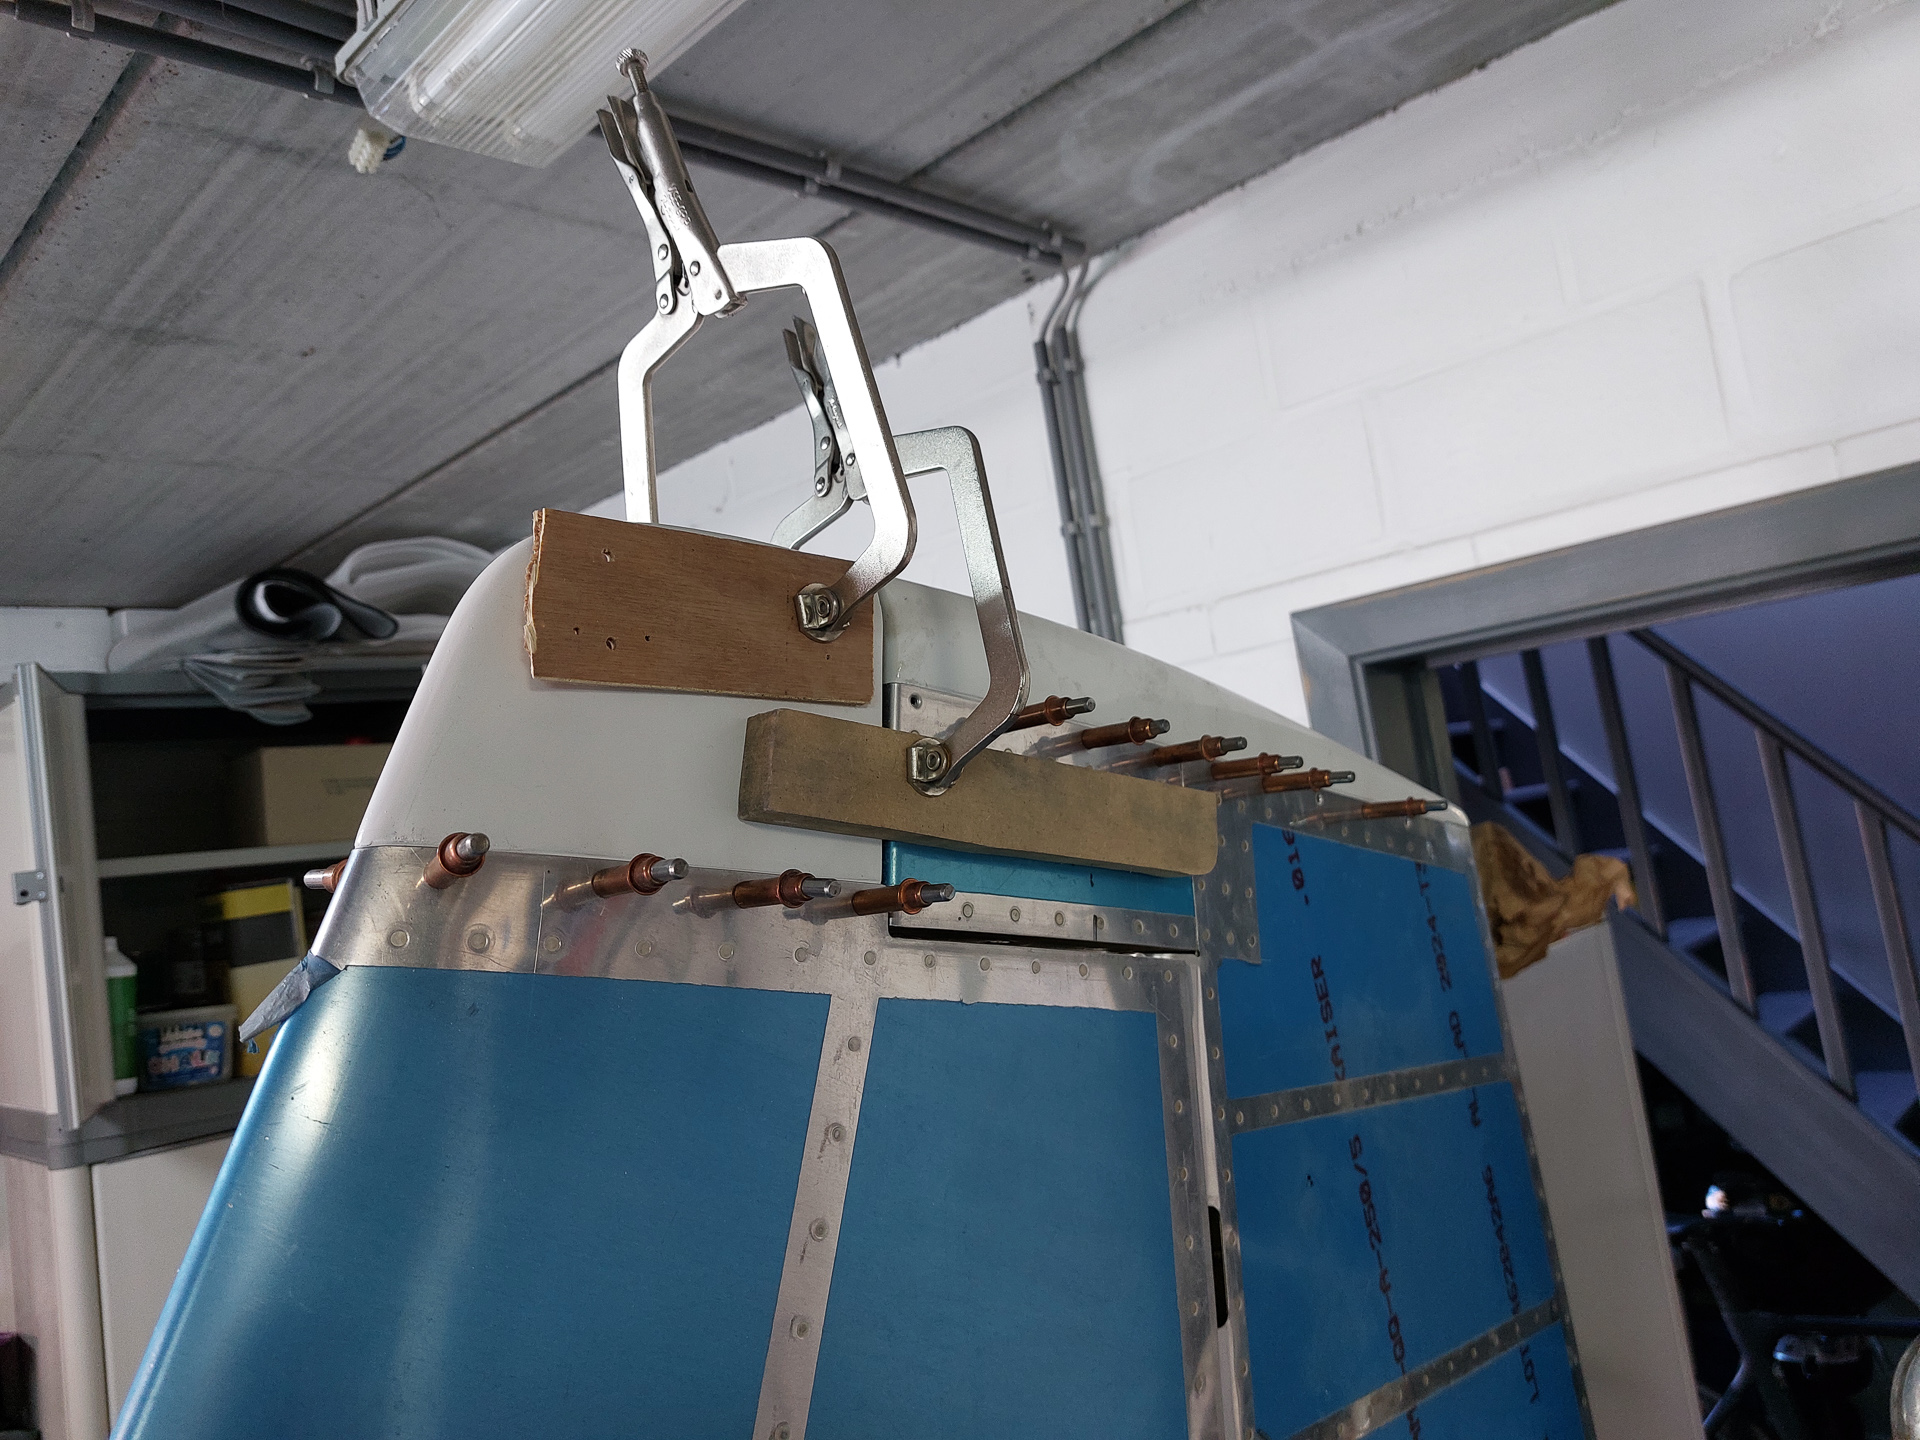
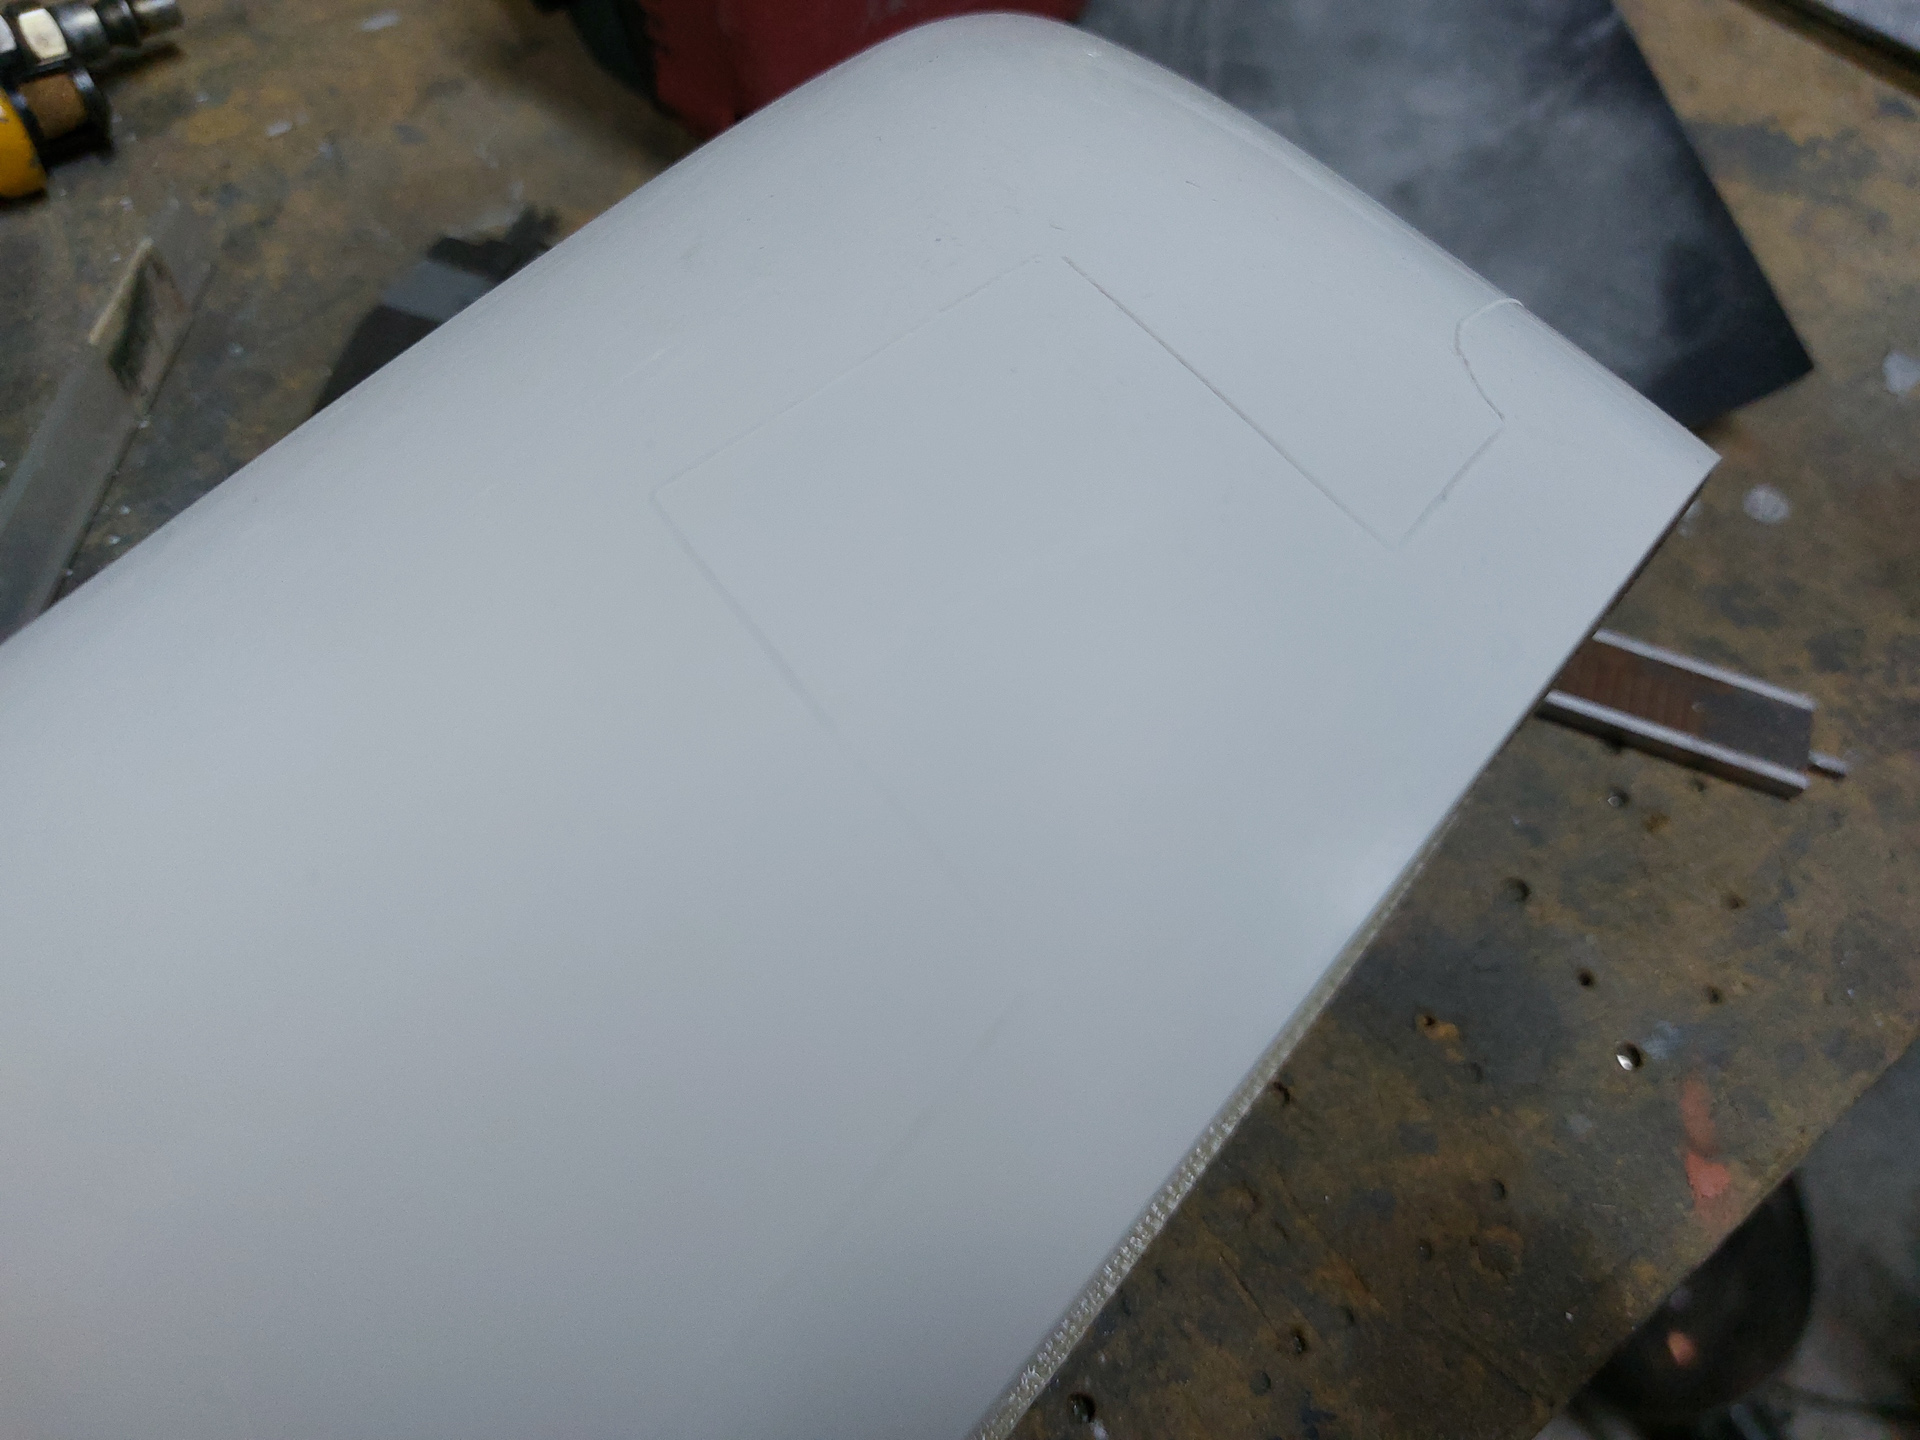
I'm happpy with this and will make the rear side epoxy part. This also needs some curve so I will re-use the bucket technique as I did on the HS tips. Once cured, it looked like this:

While the epoxy was curing, I started working on the bottom fairing of the rudder.
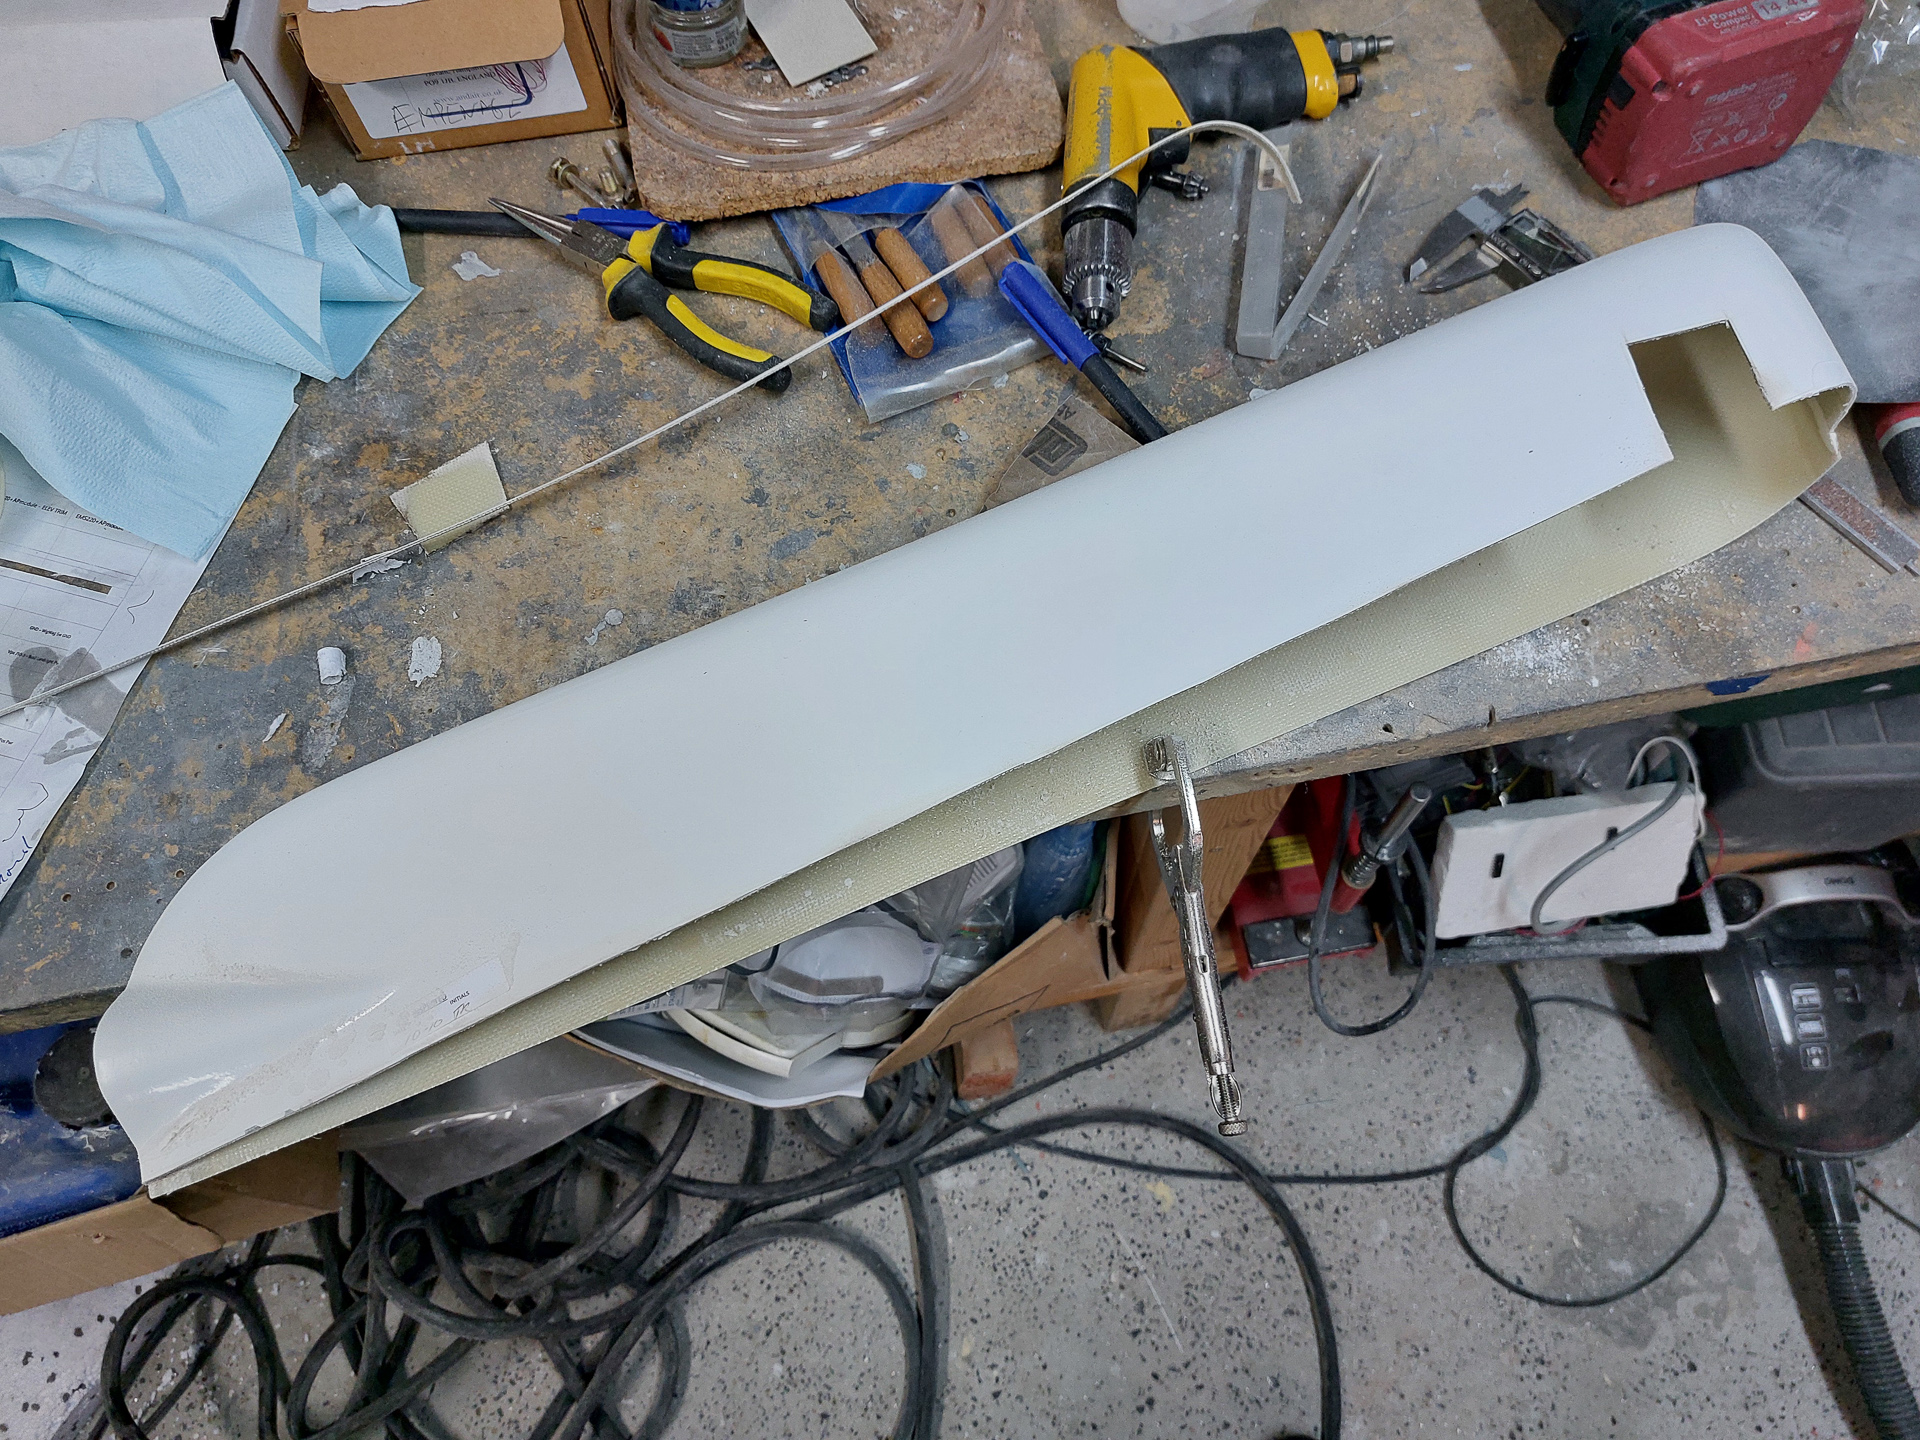
This is how you receive the fairing in the finishing kit. The front needs some cut-out to allow clearance for the rudder horn. The rear will also get some cutting in order to allow the suntail light to rest on the rear side of the fairing.
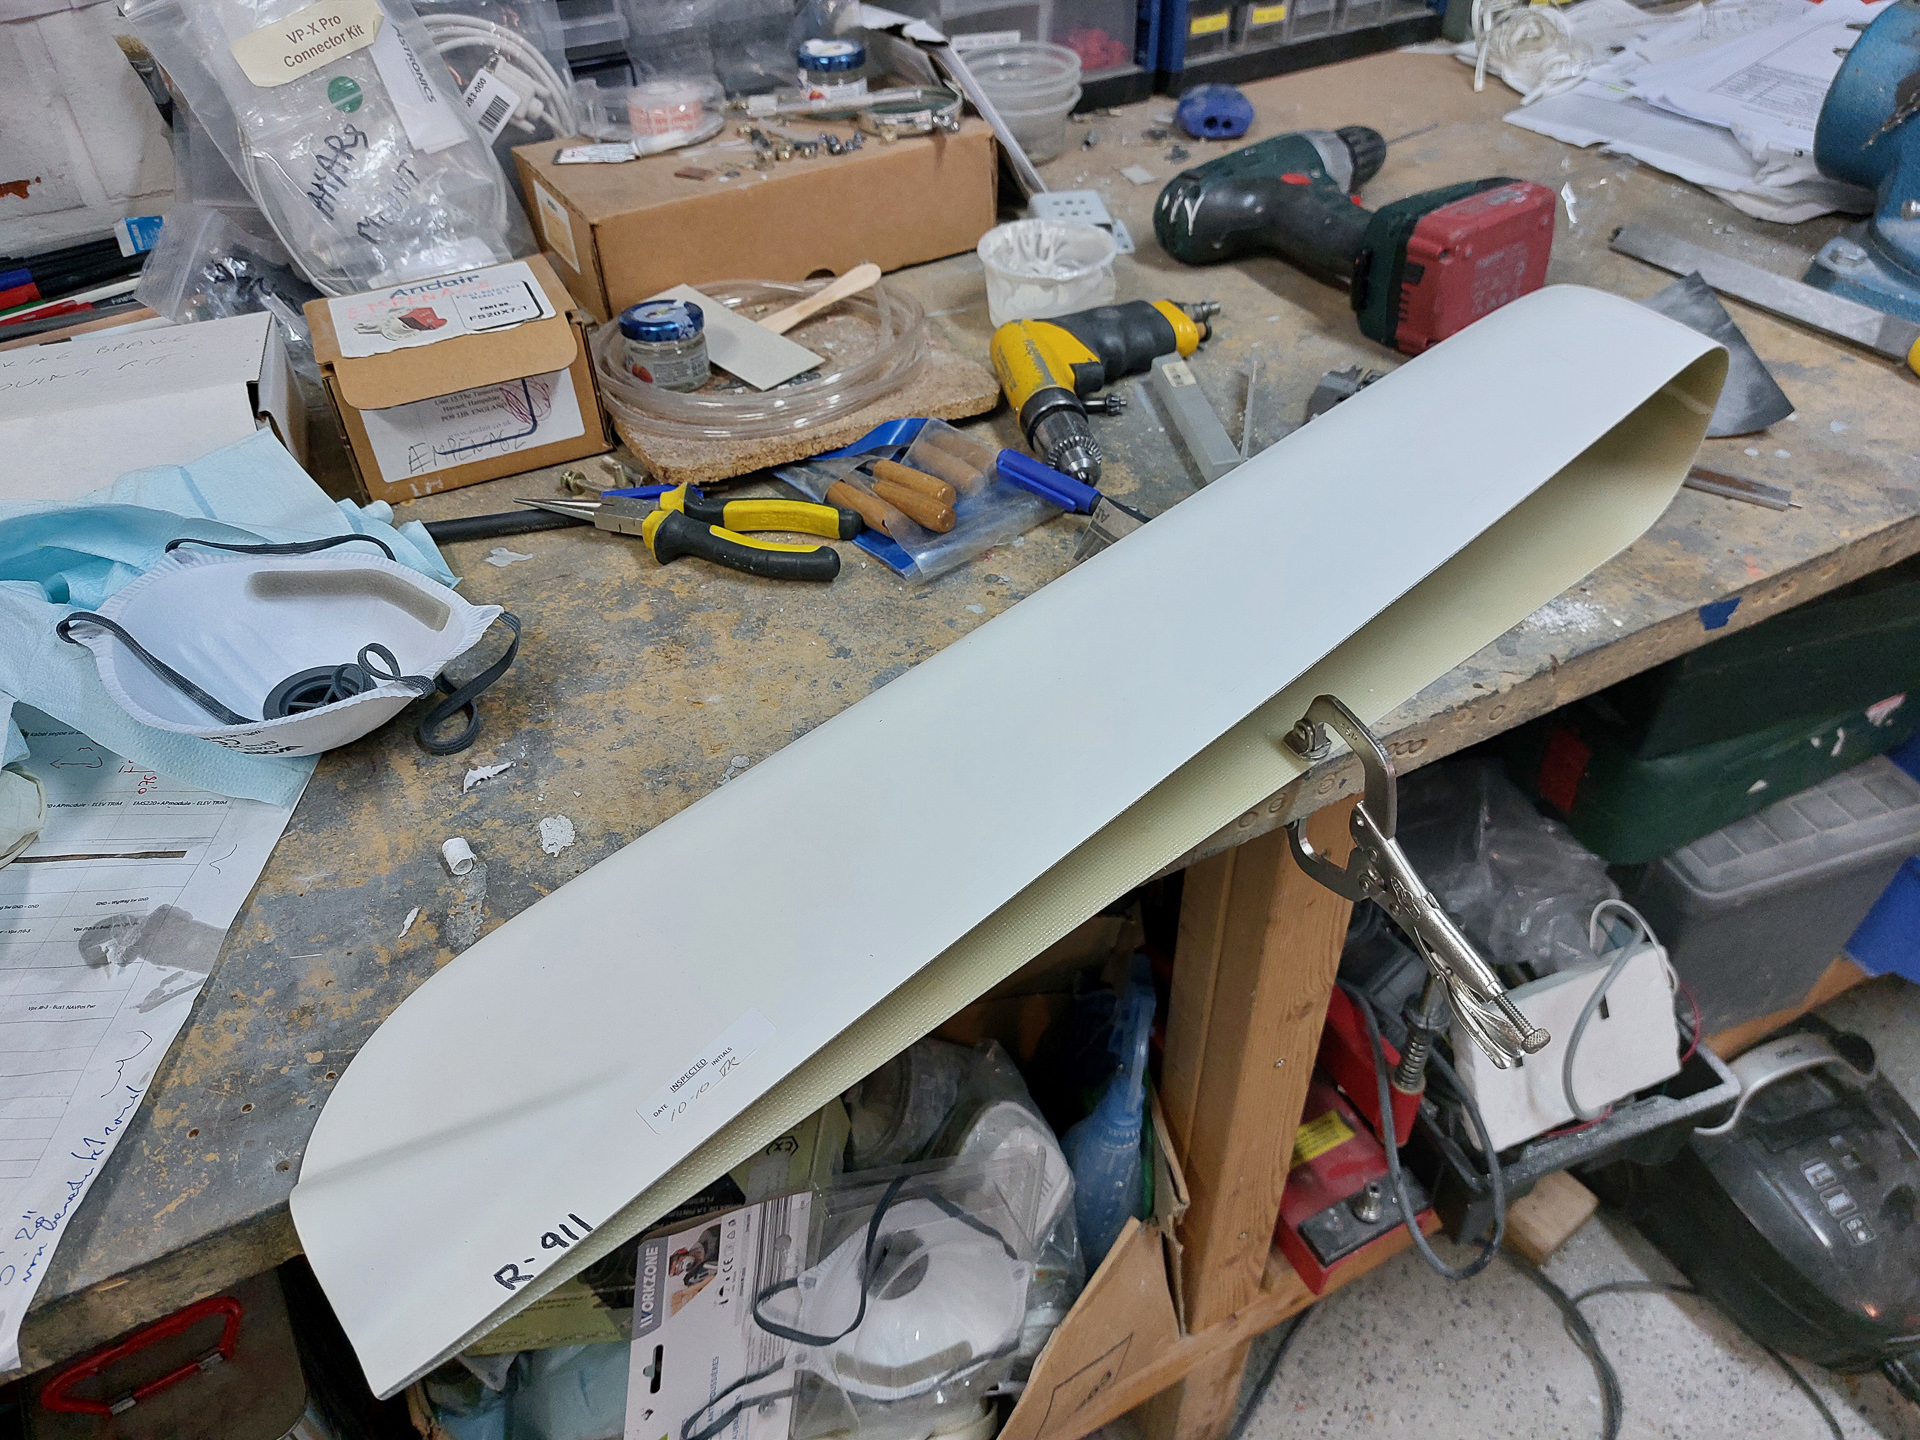
There are some markings from the mould on the epoxy and in my case, I could cut out the opening for the rudder horn on those markings. I was cutting conservative in the beginning but in the end can conclude that those markings are pretty spot on.
One side cut.
With the other side cut as well, I could slide it on the rudder to check the fit. I'm pretty happy with this, the gap between epoxy and rudder horn was minimal. Bit later I found out that I had to move the rudder a little bit forward so I had to cut out a little more from the rear of the rudder horn cut. This left a small gat on the front side which I will fill up with some epoxy lay-up later on.
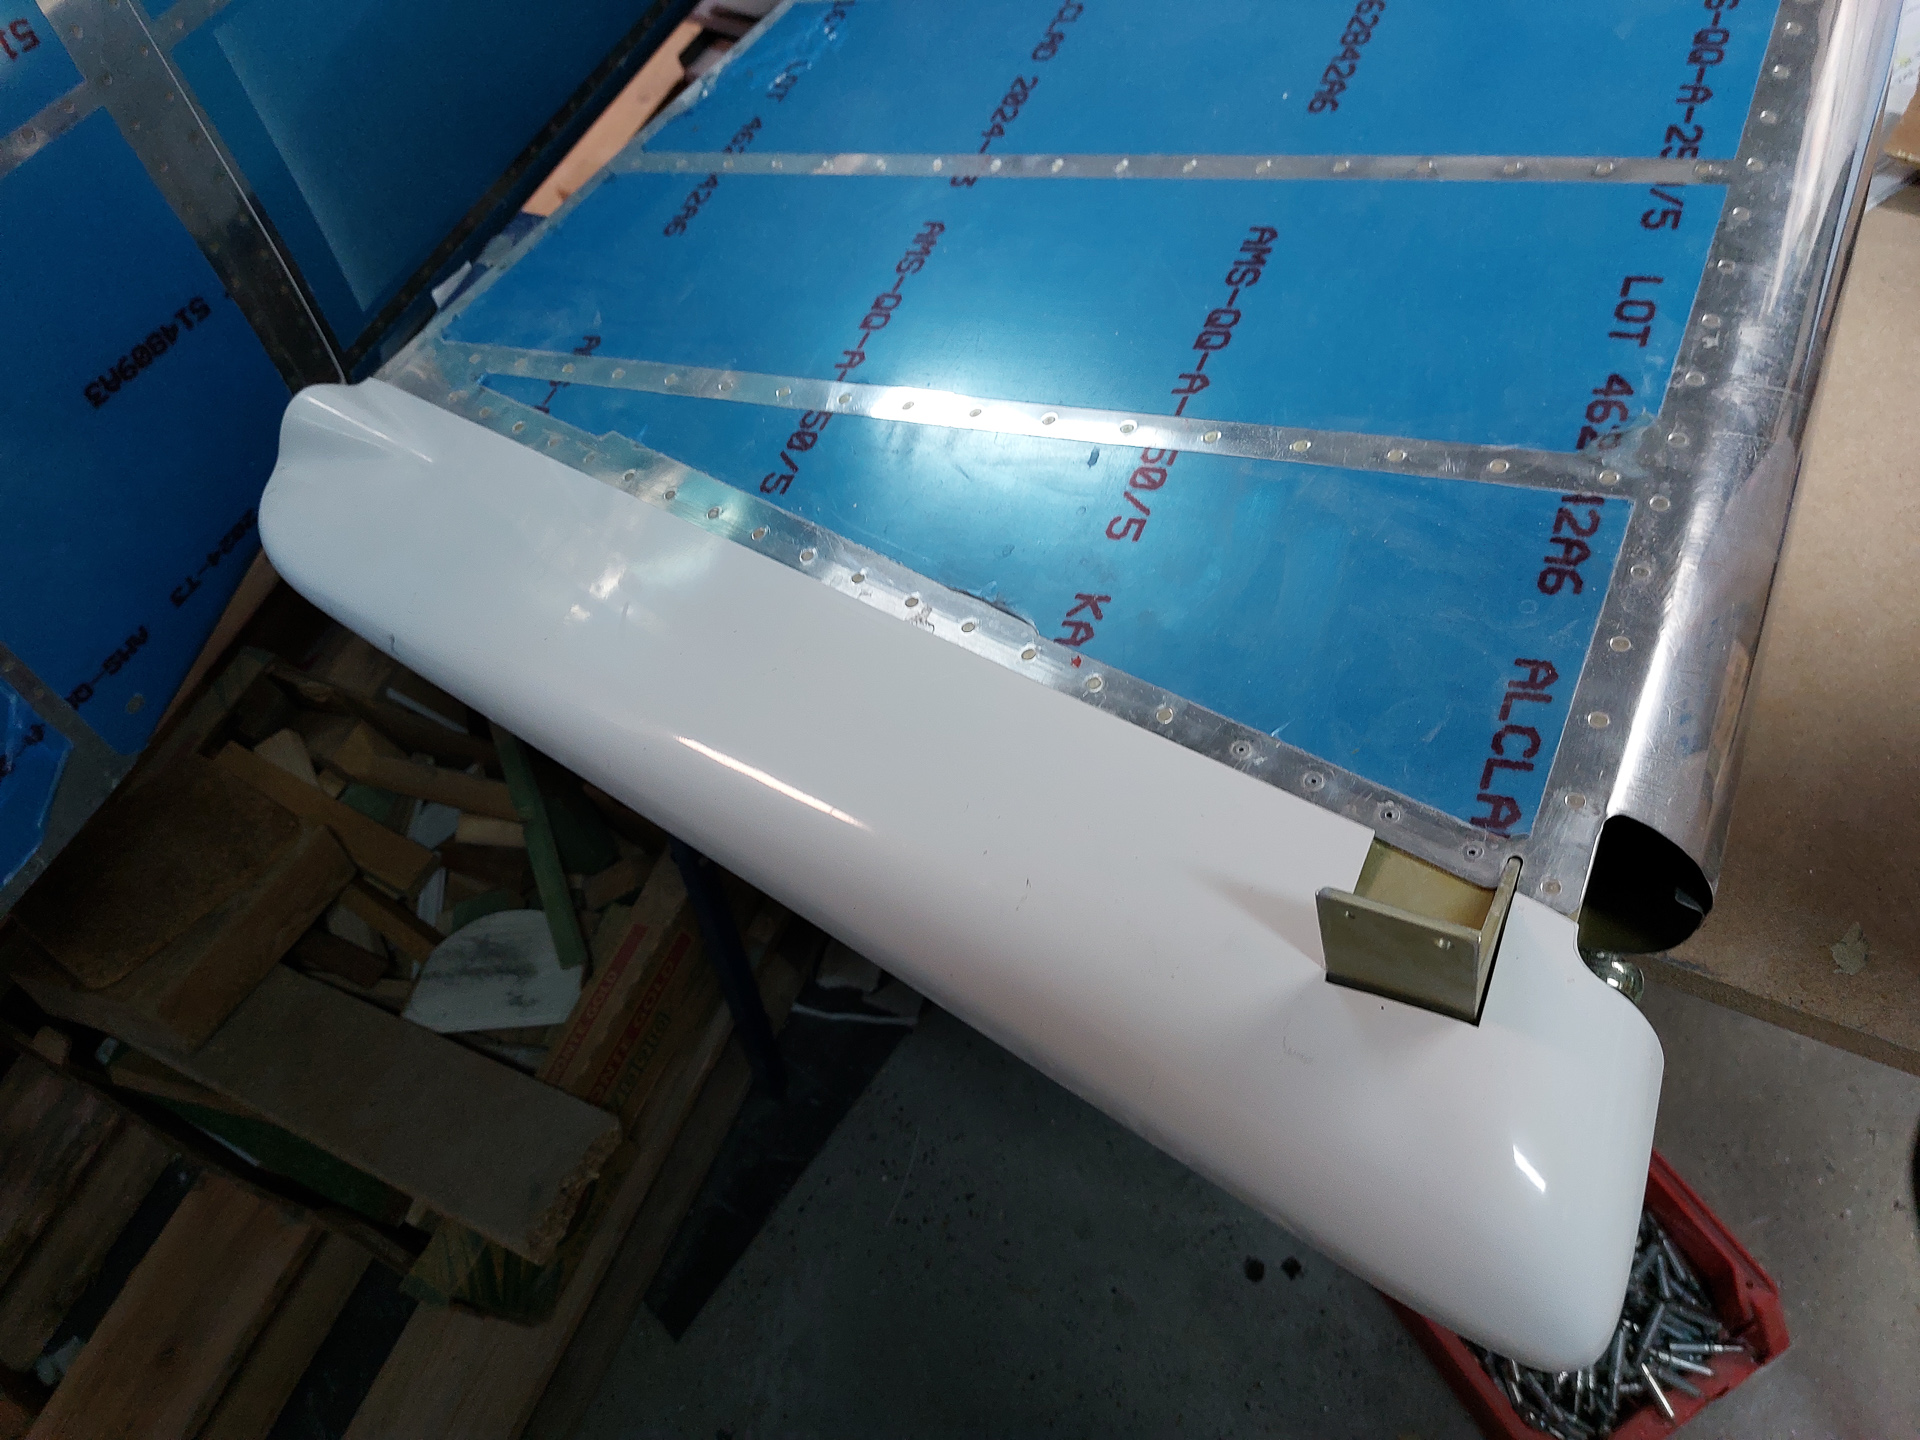
One other thing I noticed is that the front of the horn has the lip of the fairing sticking out a bit and pointing outwards. Reason for this is the edge of the aluminum underneath which prevents the epoxy from laying nicely against the bottom of the rudder.

Epoxy becomes more flexible when heated and hardens again after cooling.
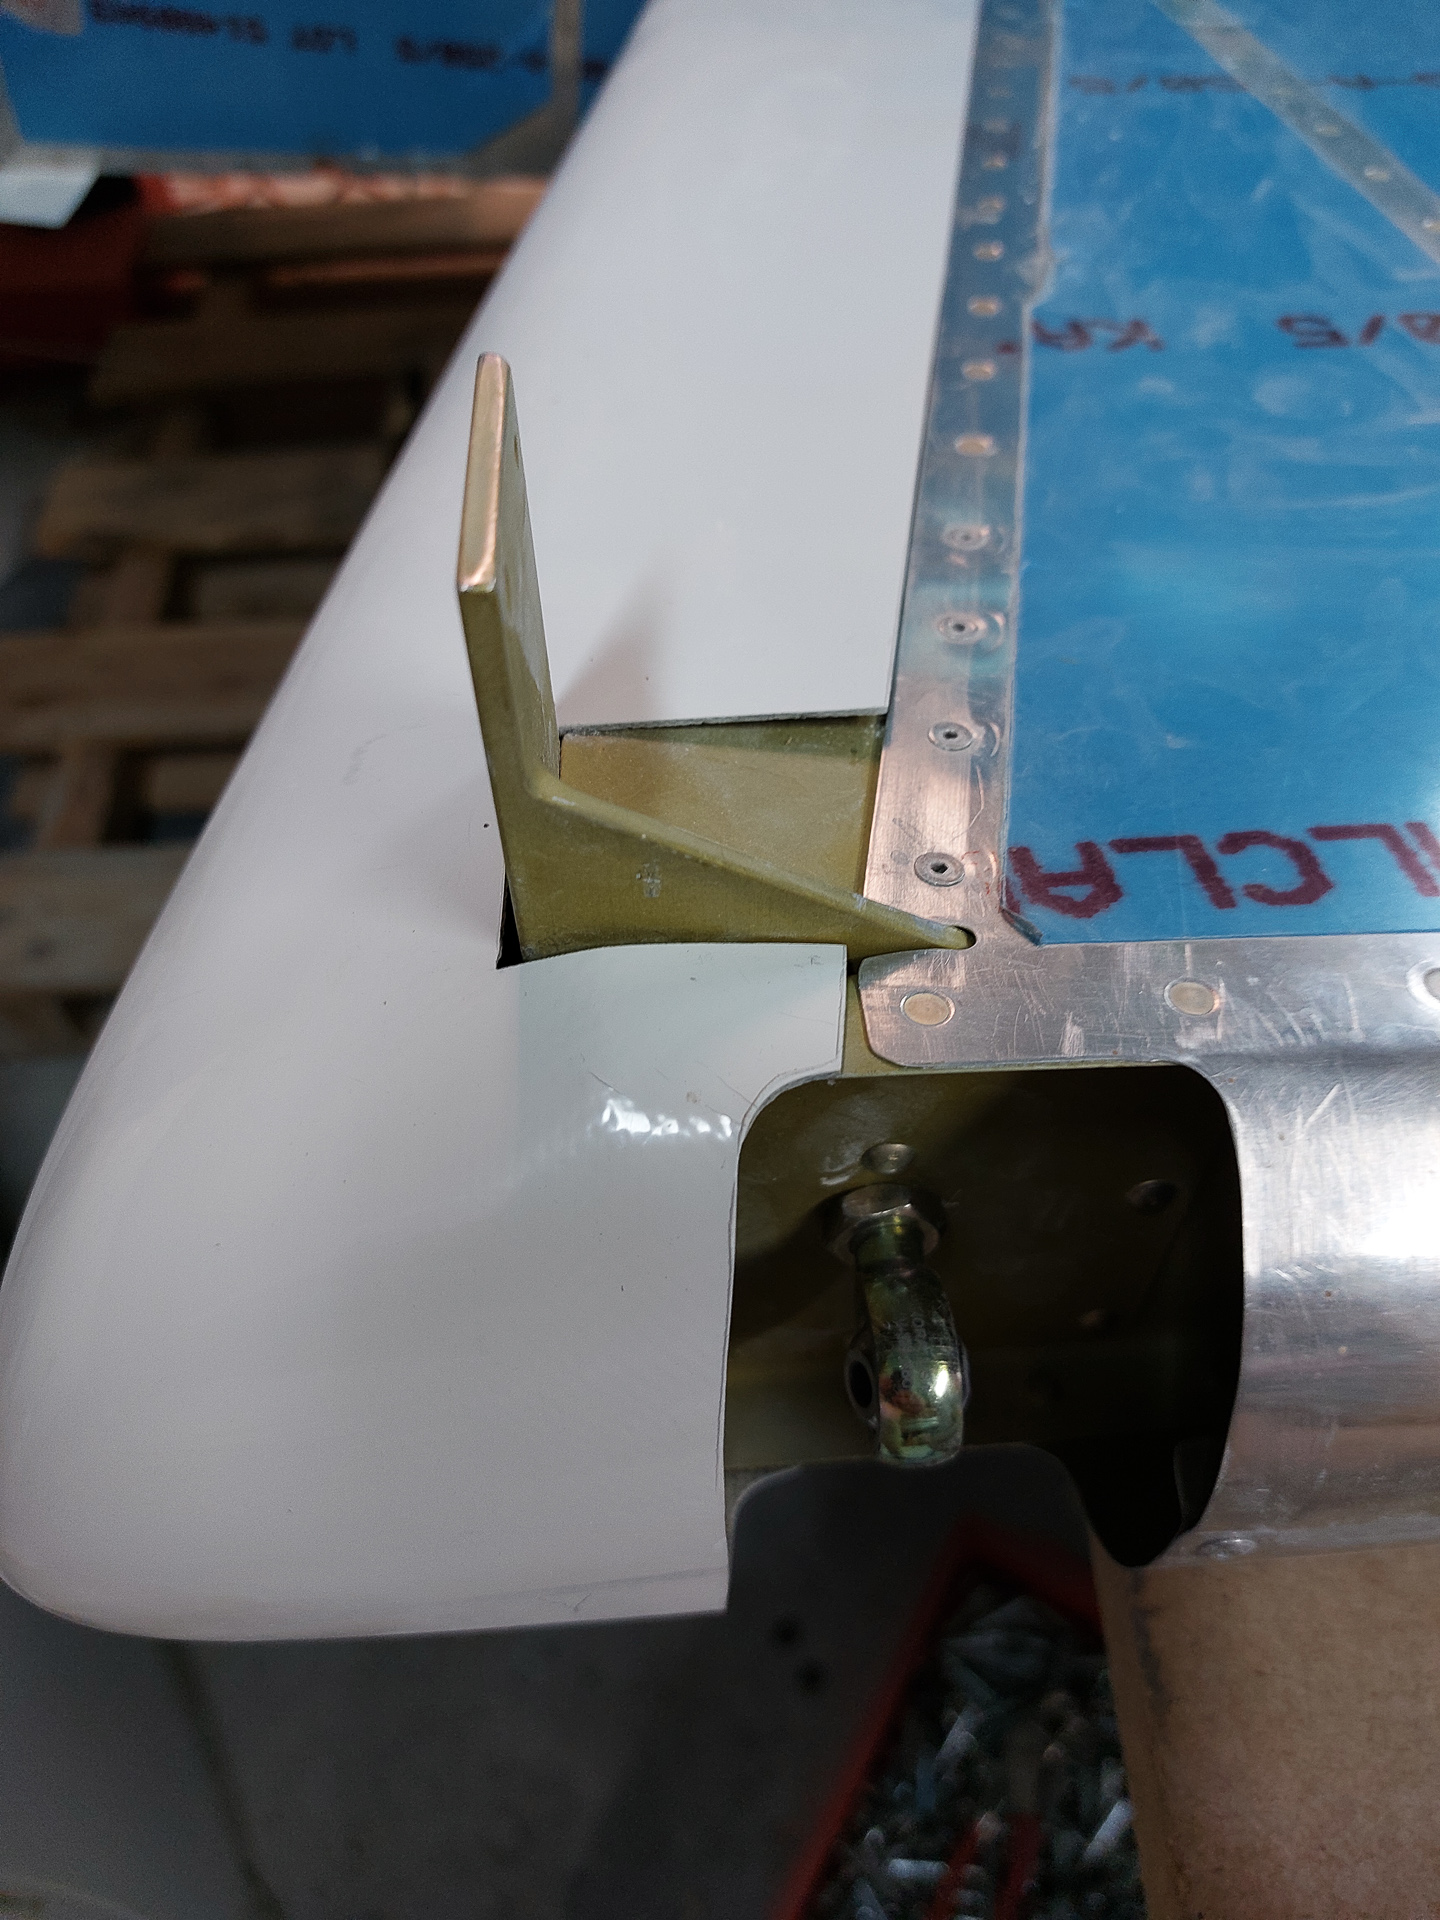
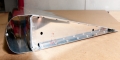
To fix this issue, I used the heat gun to heat up the epoxy and used my tungsten bucking bar to press the lip against the rudder bottom. The reason for using the bucking bar is quite obvious: the epoxy gets freaking hot and you won't be able to touch it with your fingers. The bucking bar gives a nice flag surface to press the epoxy against the rudder. Once cooled down it stayed in the right position and the fit looks much better now.
The image below is after cooling. As you can see the lip is now nicely against the aluminum edge below without any stress. This will making the installation of the #6 screw easy.


