

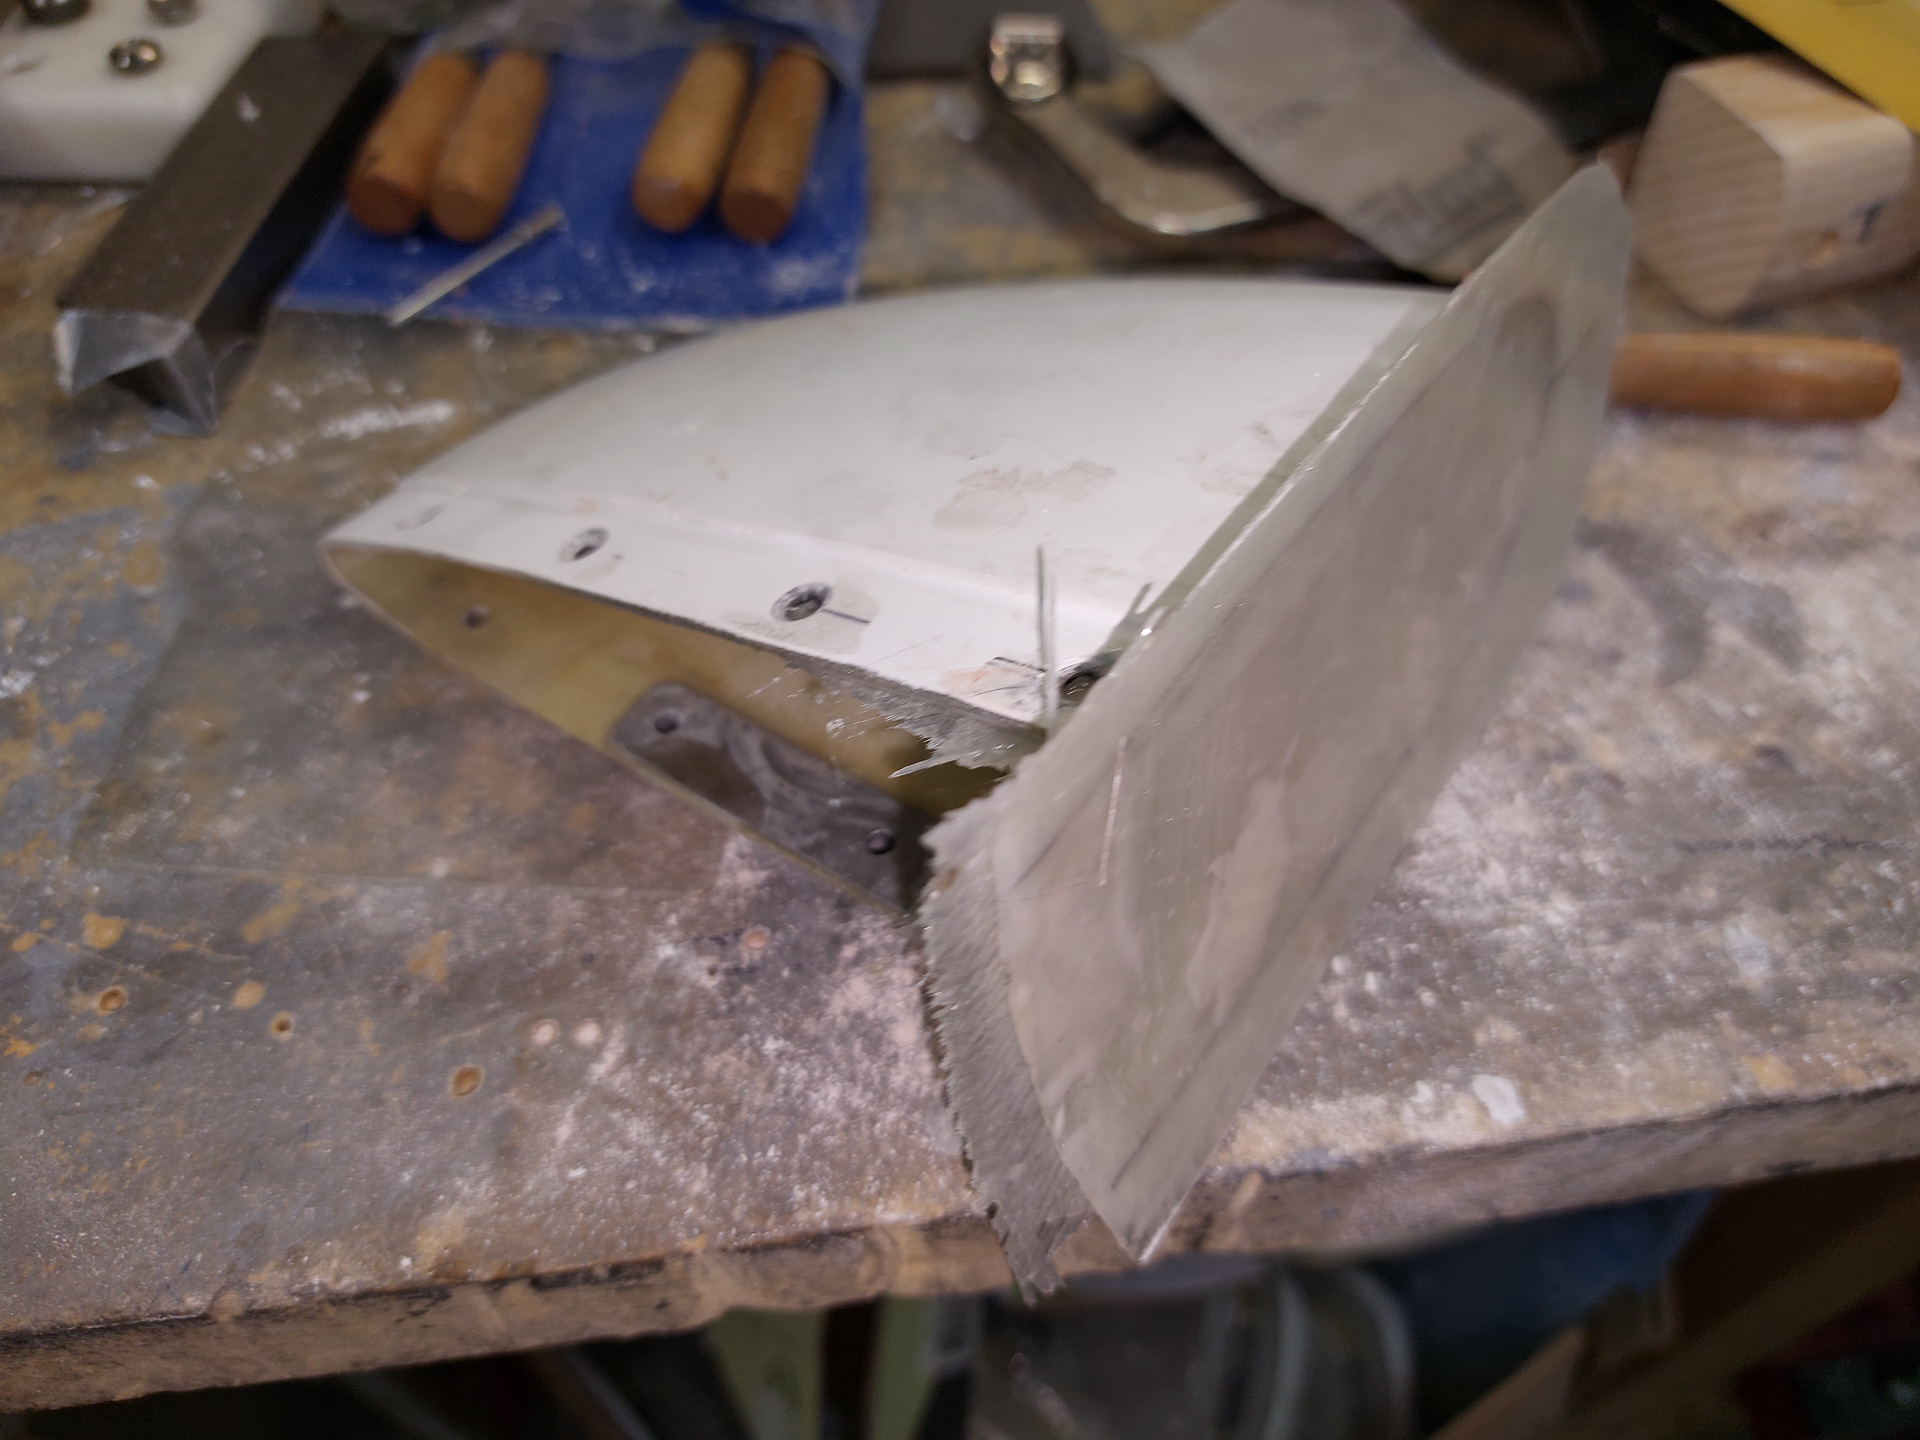
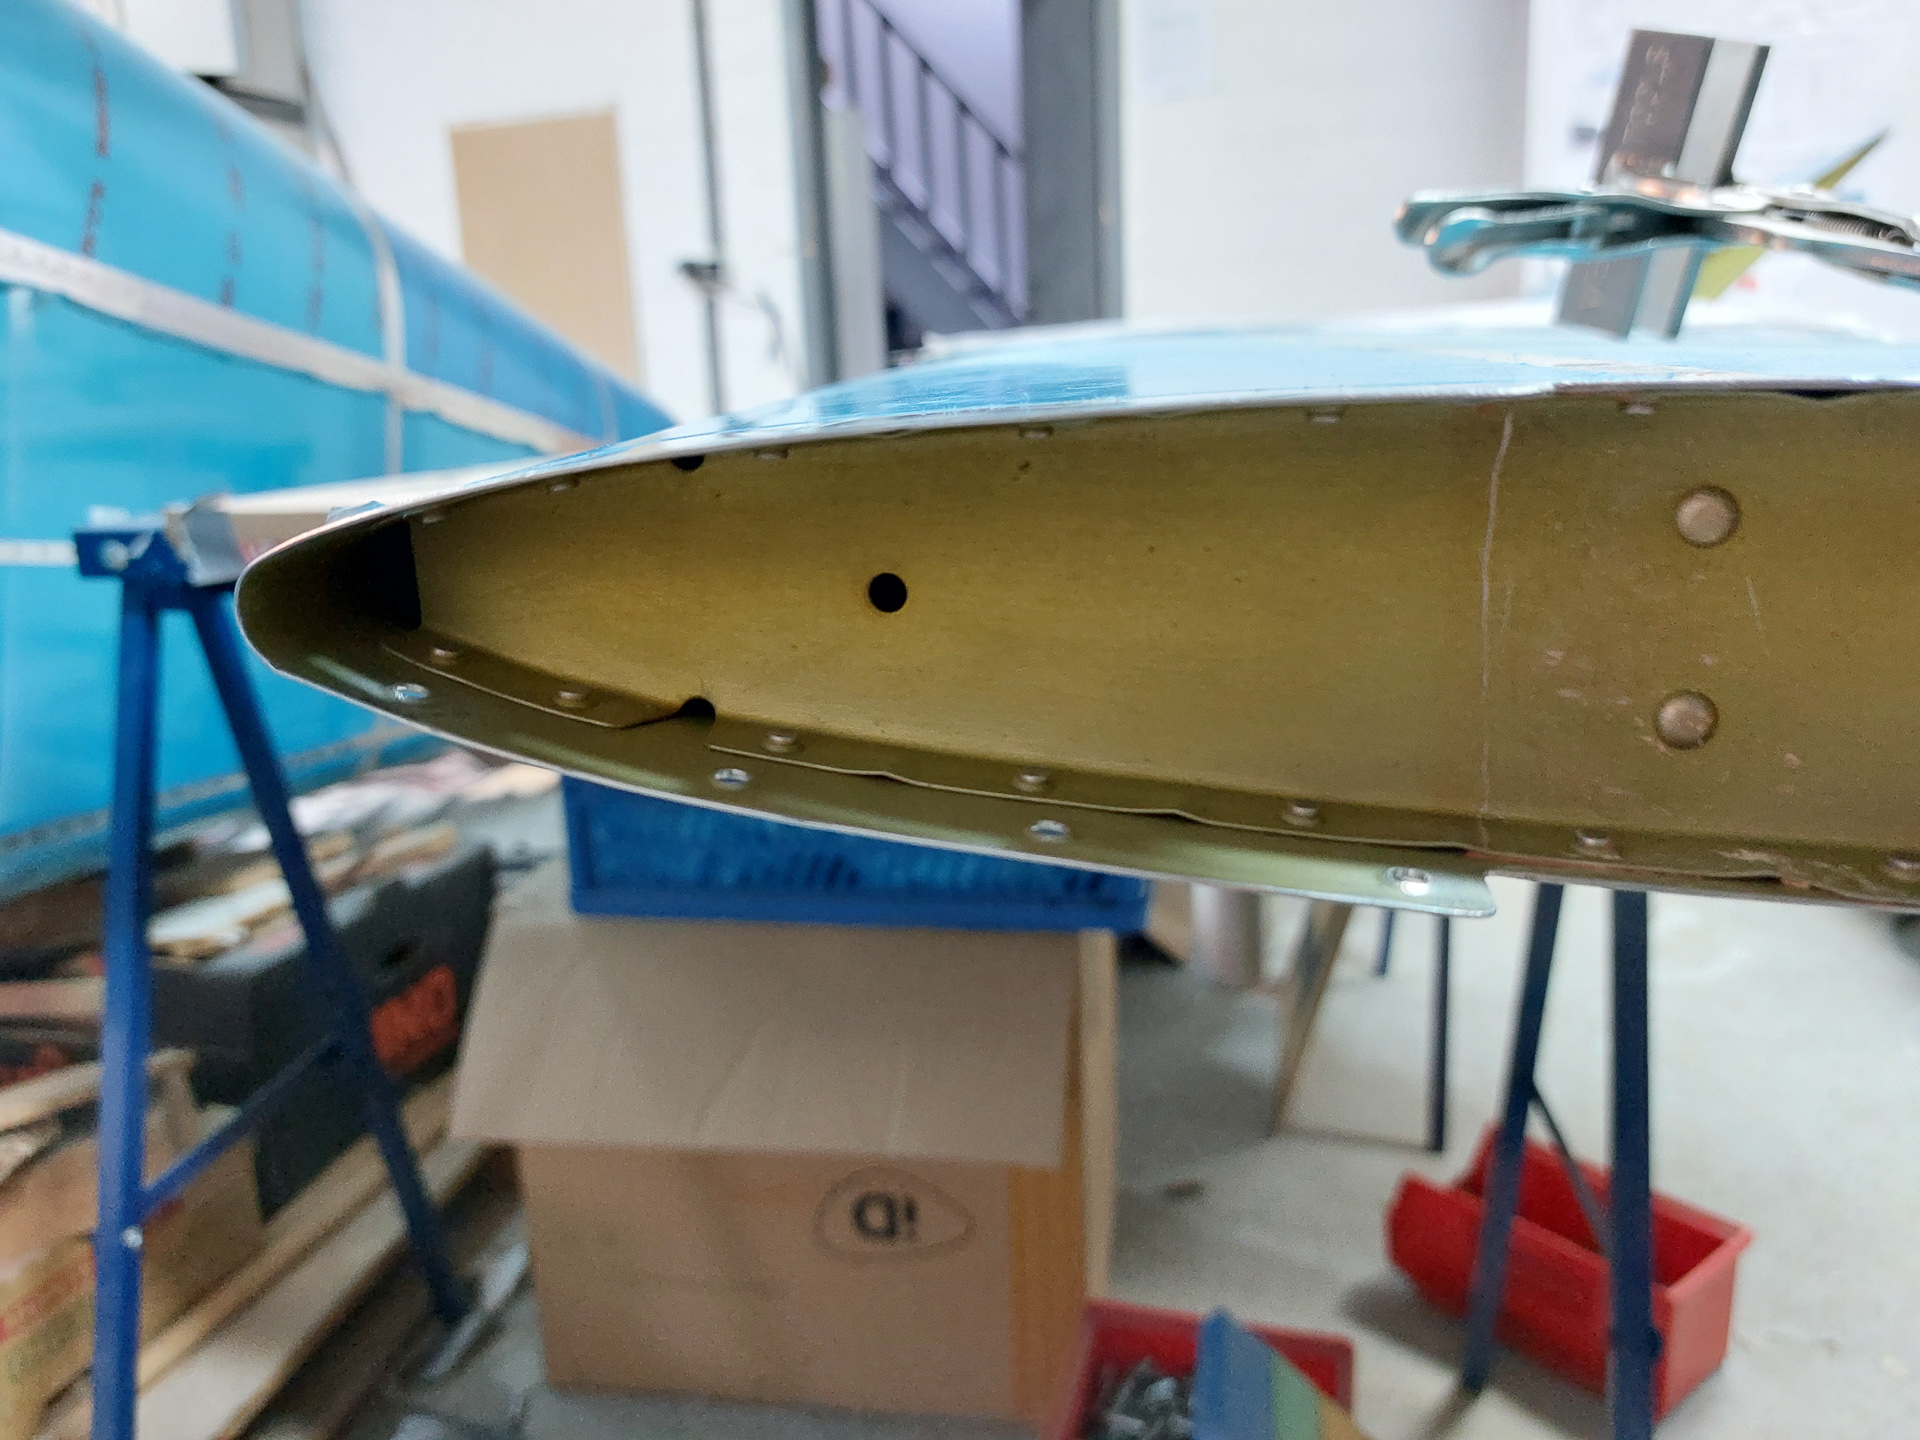
Work continues on the horizontal stabilisor epoxy tips. I trimmed back the excess epoxy from the rear "closing" cover at the back of the fairing. Cut it back roughly and then used a 3M wheel to smoothen it out. Wear breath protection as this stuff makes very light dust which is very harmfull. When the outer edges were done, I worked on trimming back the inner side that buts against the outer stabilo rib. I want this as close as possible so that I don't have to use too much additional epoxy slurry to seal it off.
I found a lot of valuable information on this page of John Pharrell : Johns RV7A
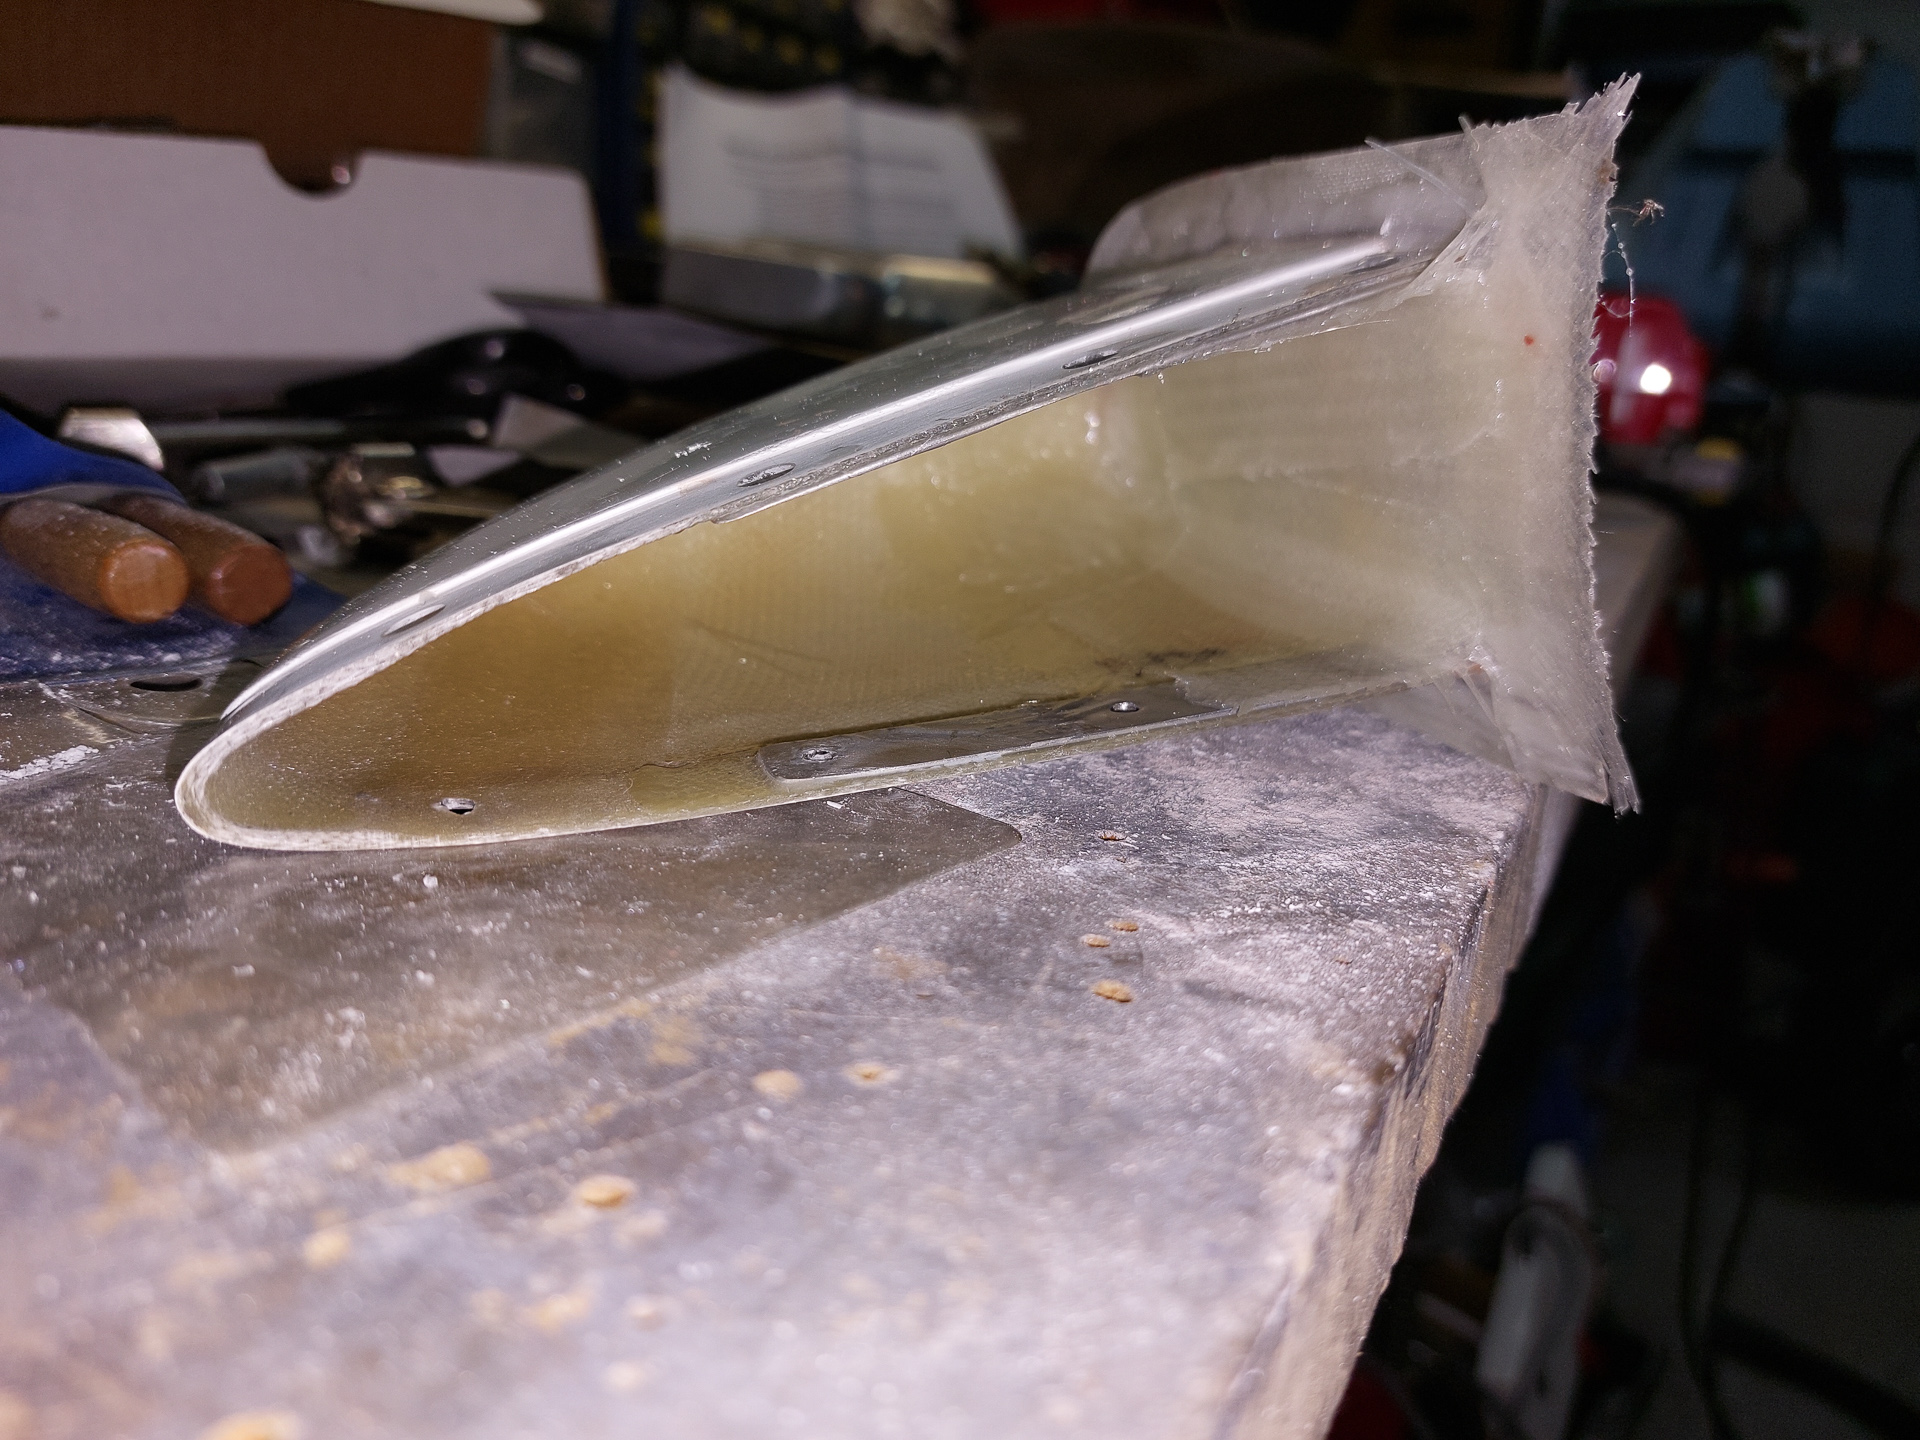
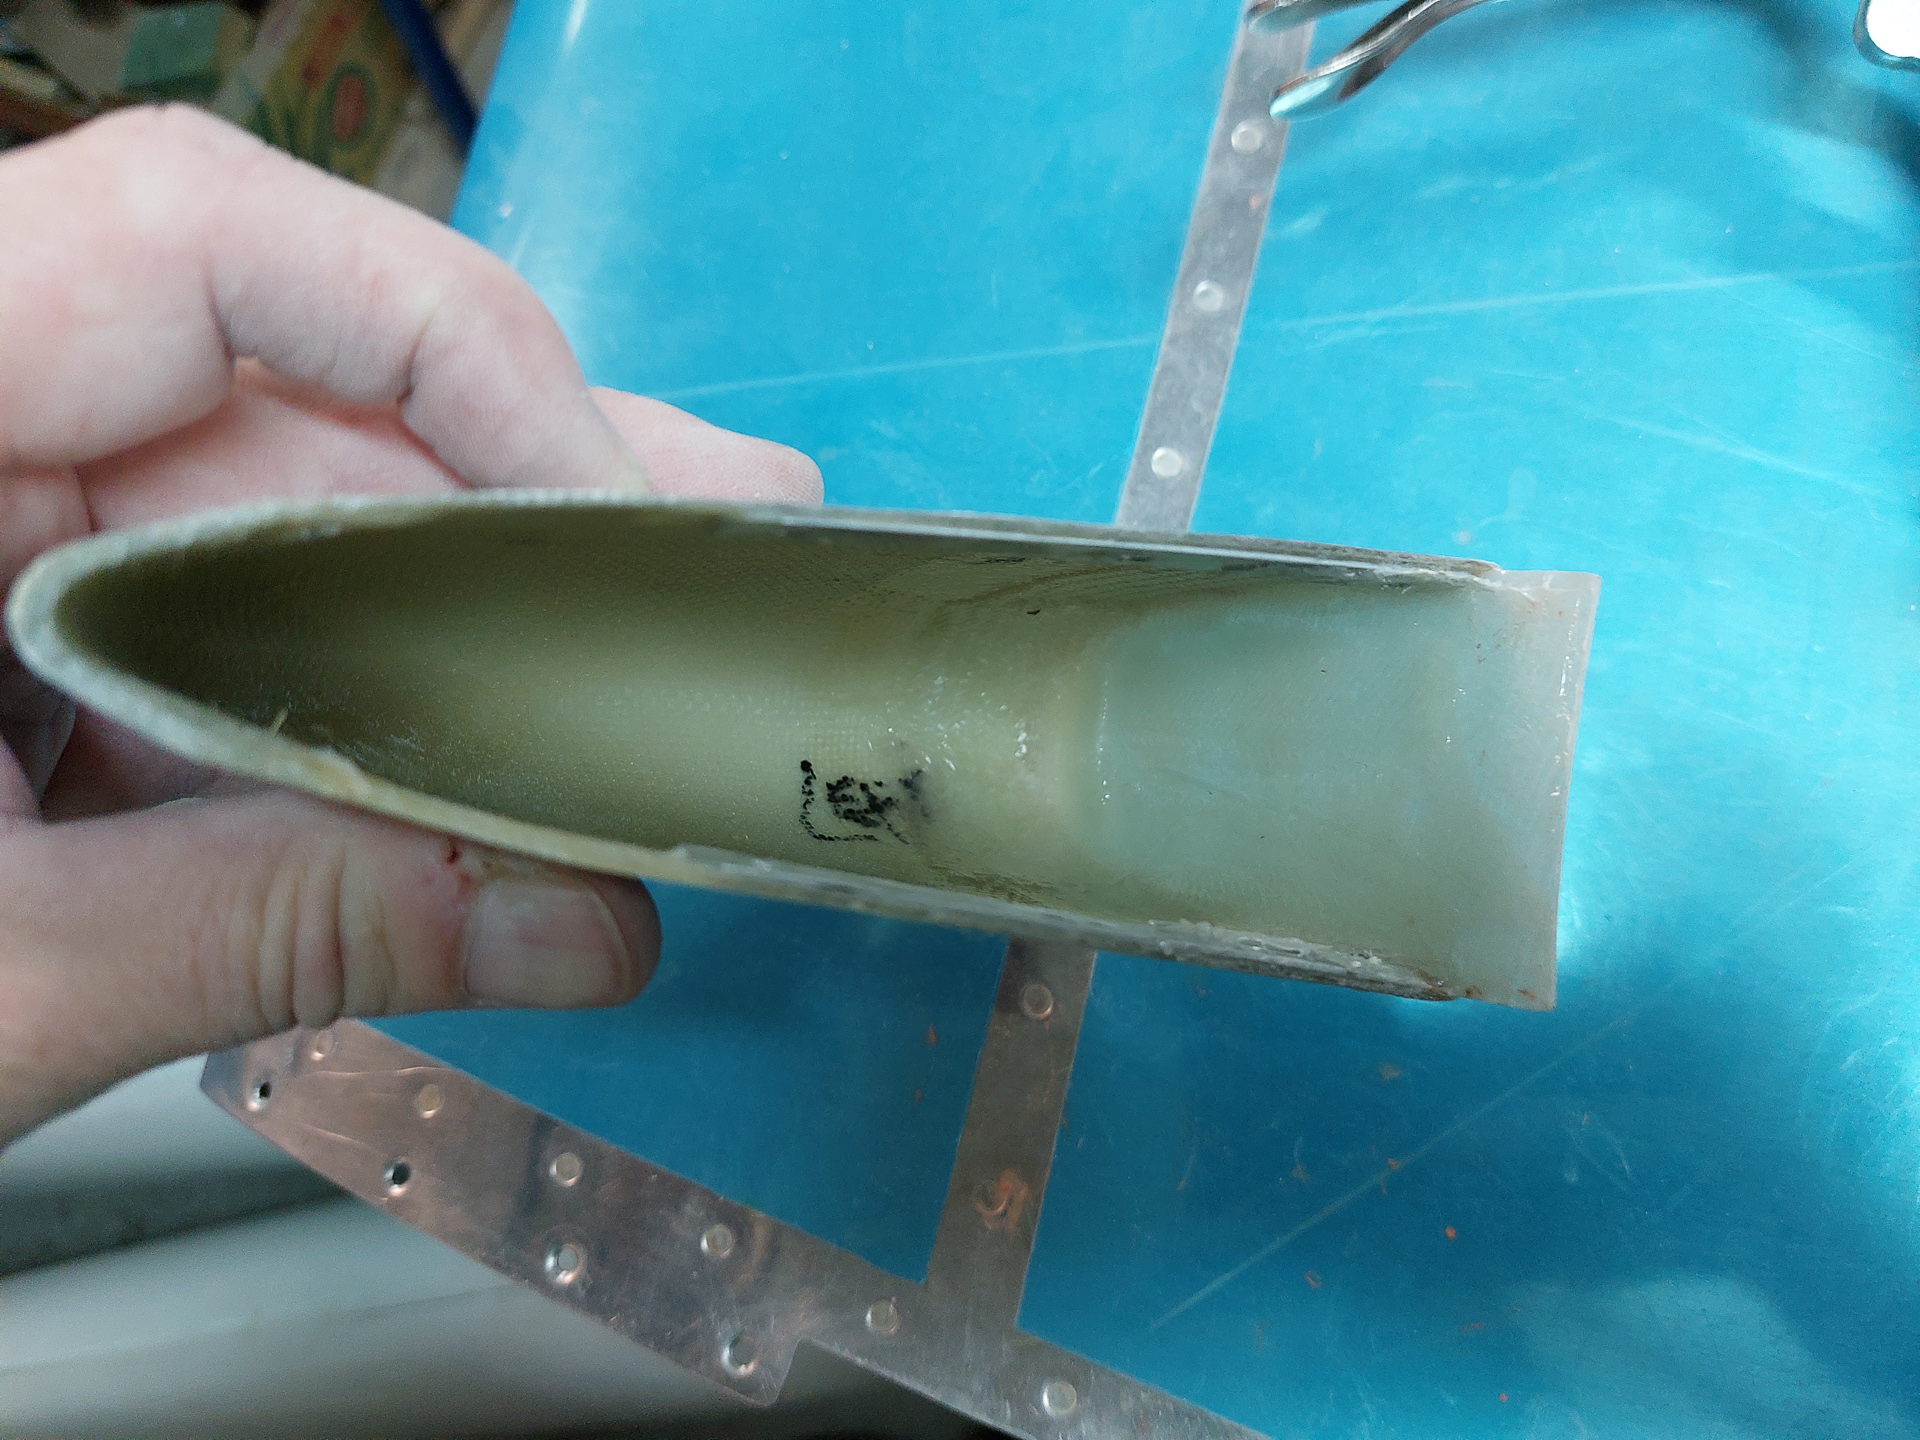
Same work on the other side, this is what it looks like at the start after glueing the epoxy piece to the stabilo fairing.
I then applied the some inner pieces of additional layer of epoxy enforcing the bond of the sides of the fairing to the rear part. I overlapped it about half inch. I had peel ply on the inside surface of this cover piece which forms the basis of a good bond.
Trimmed back that piece as well and with the rest of the epoxy filled up some holes and imperfections. Will have to be sanded once cured.
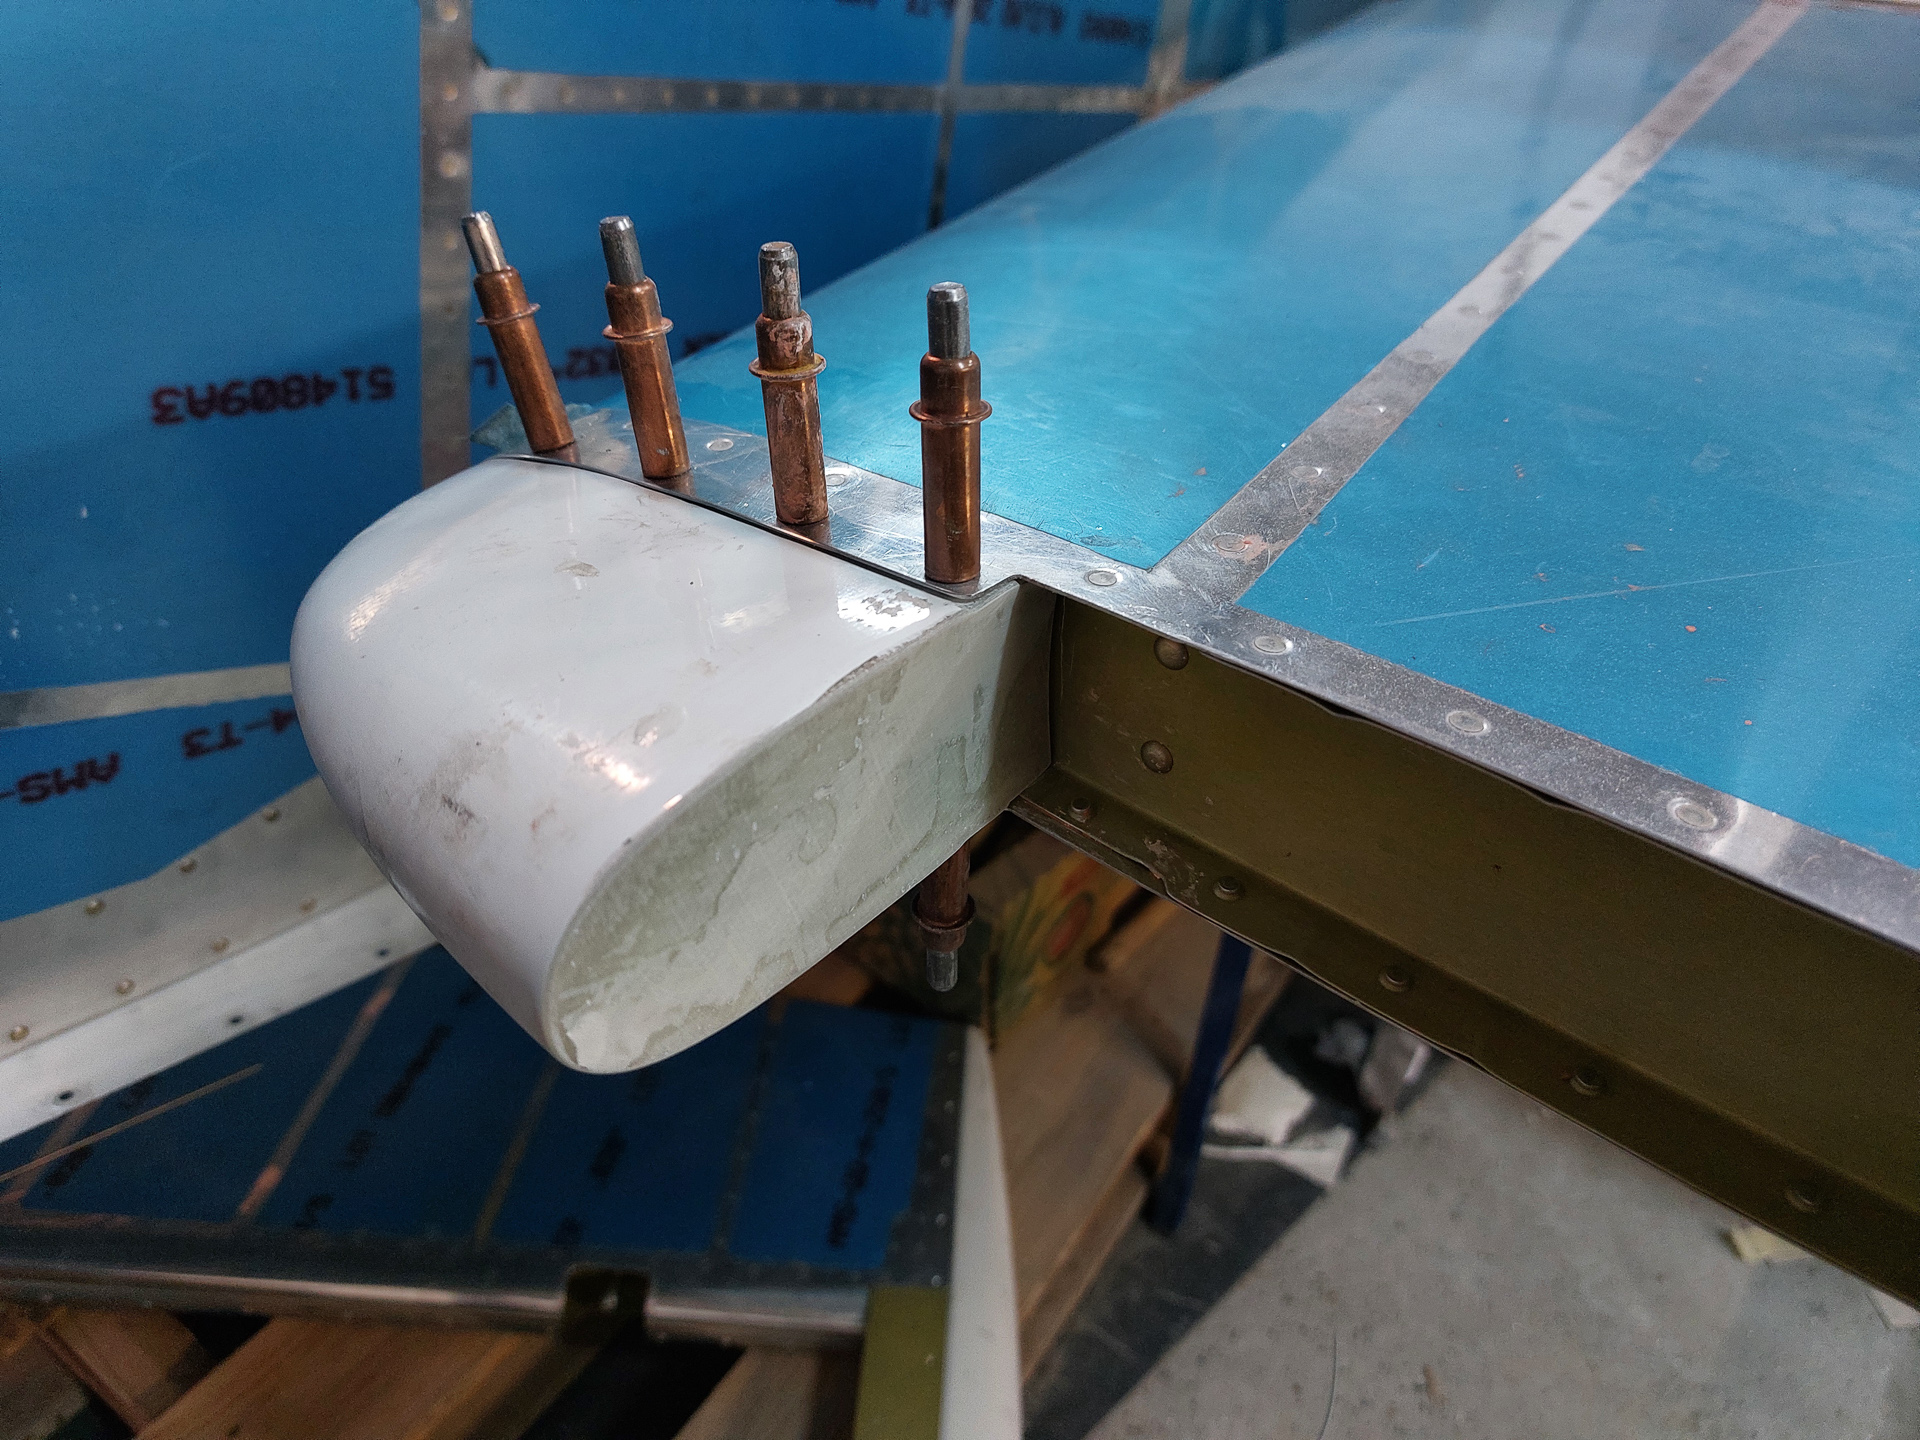
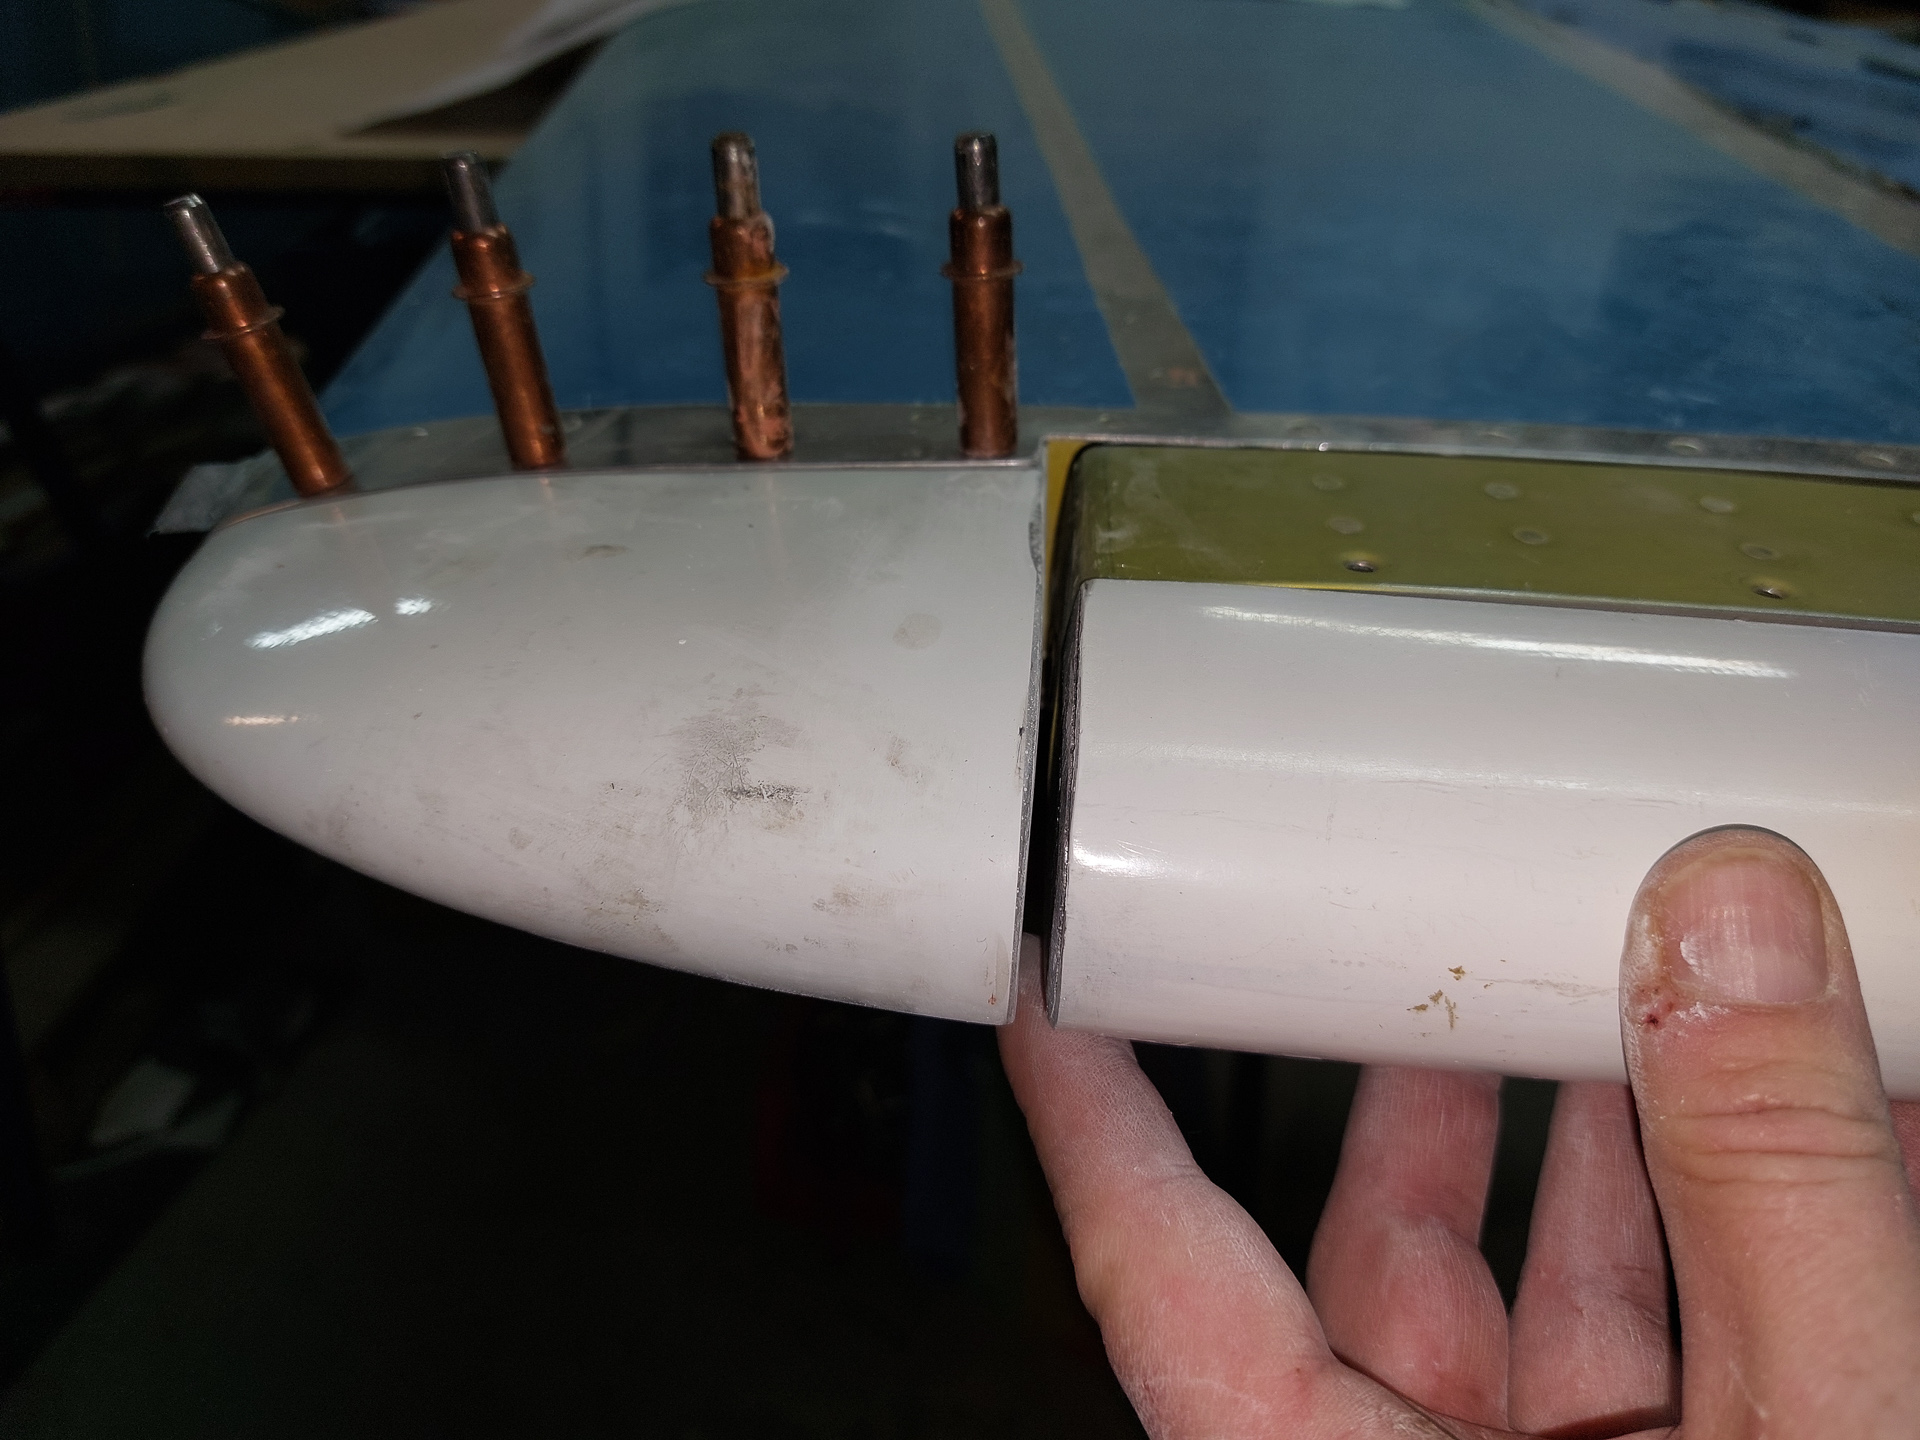
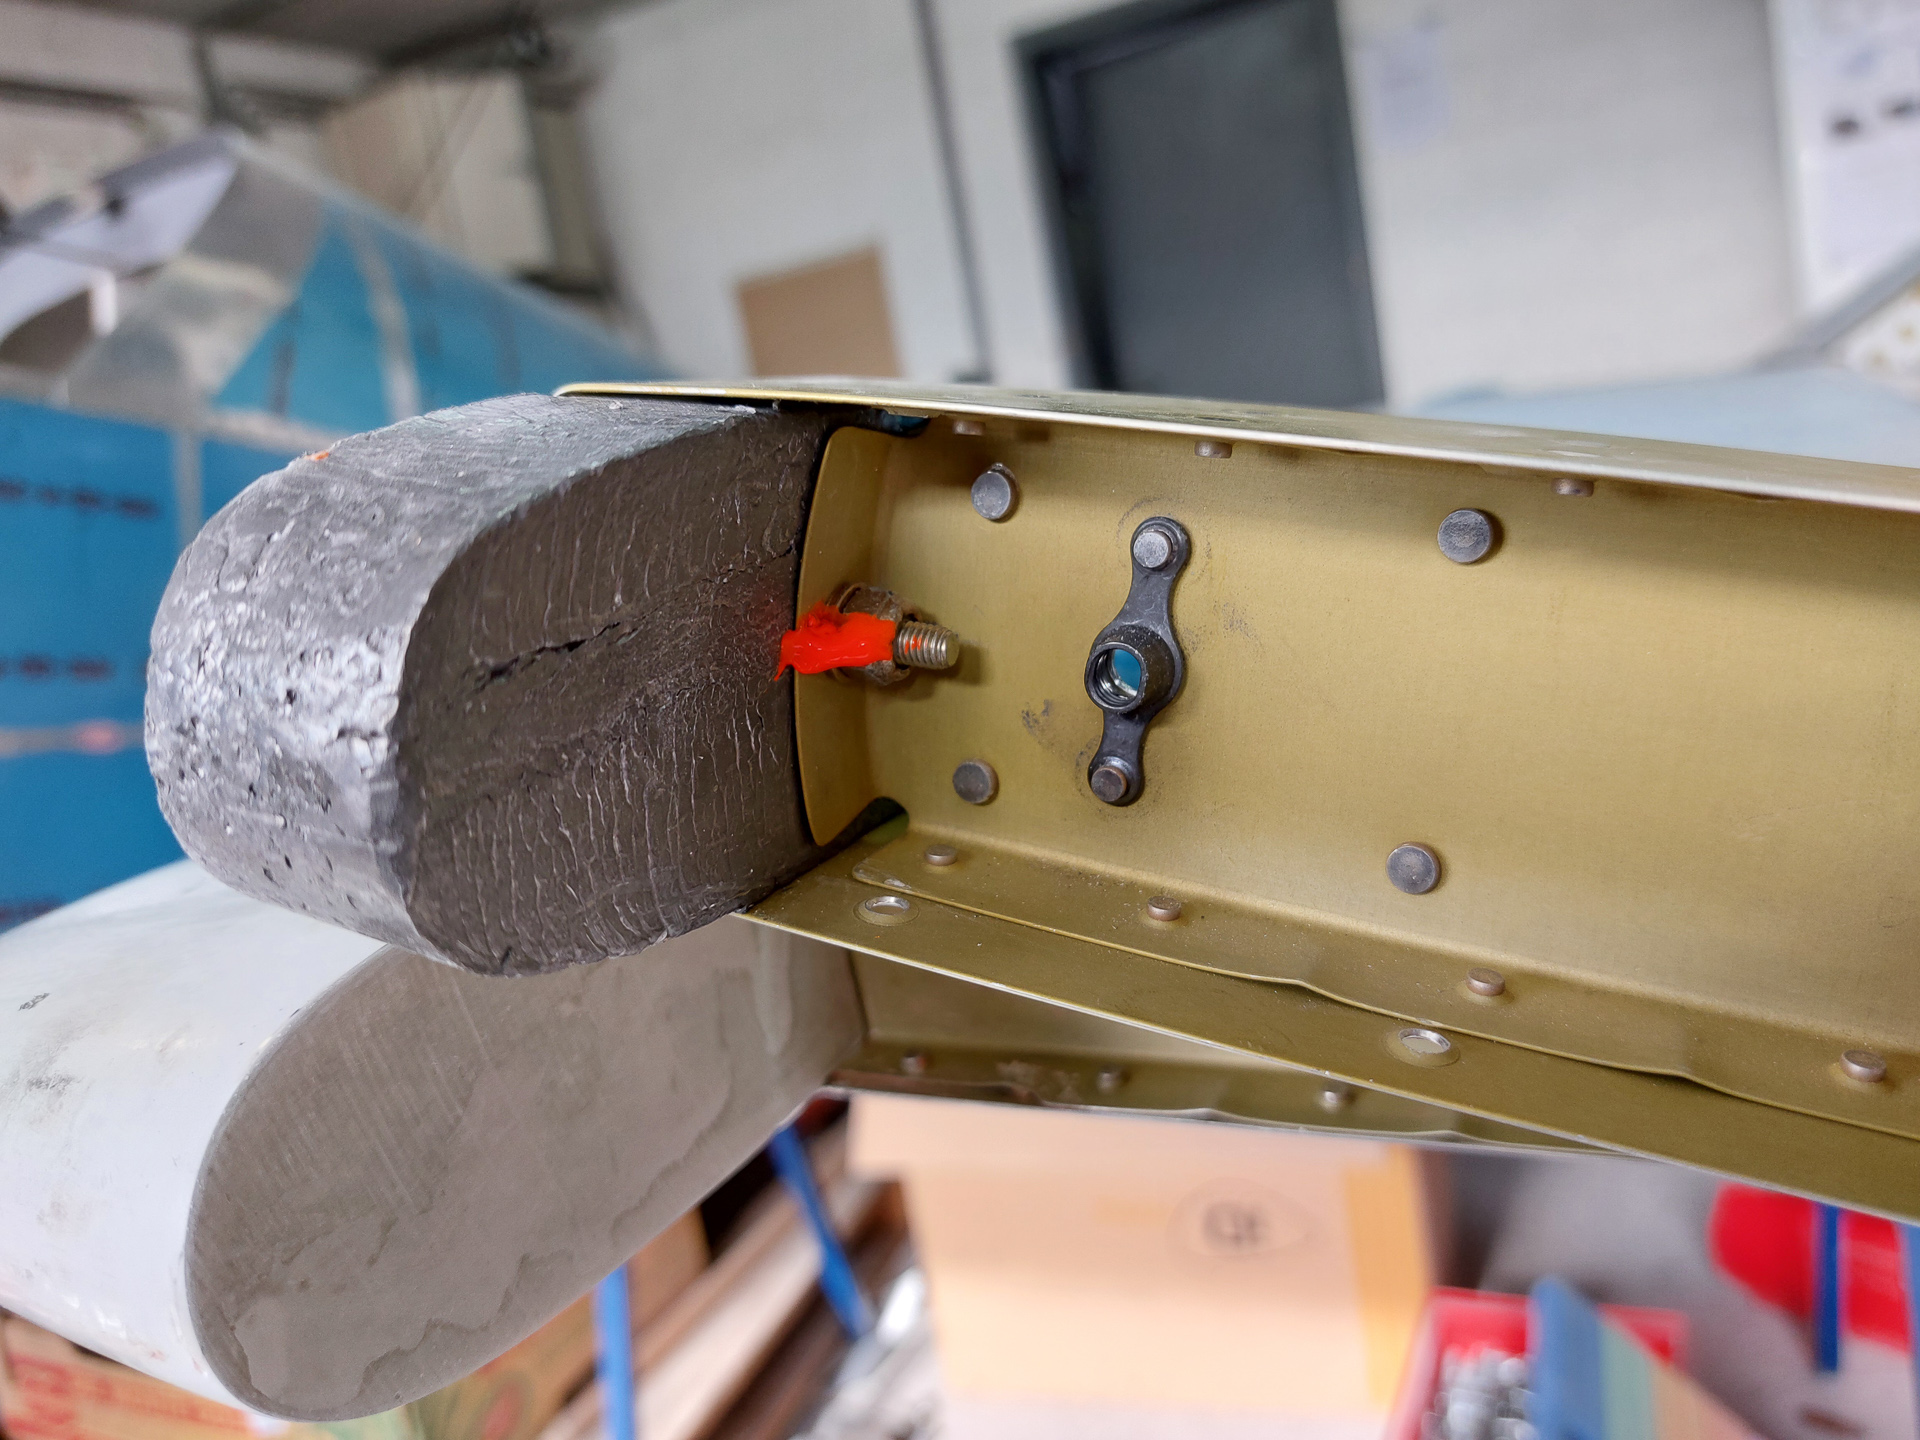
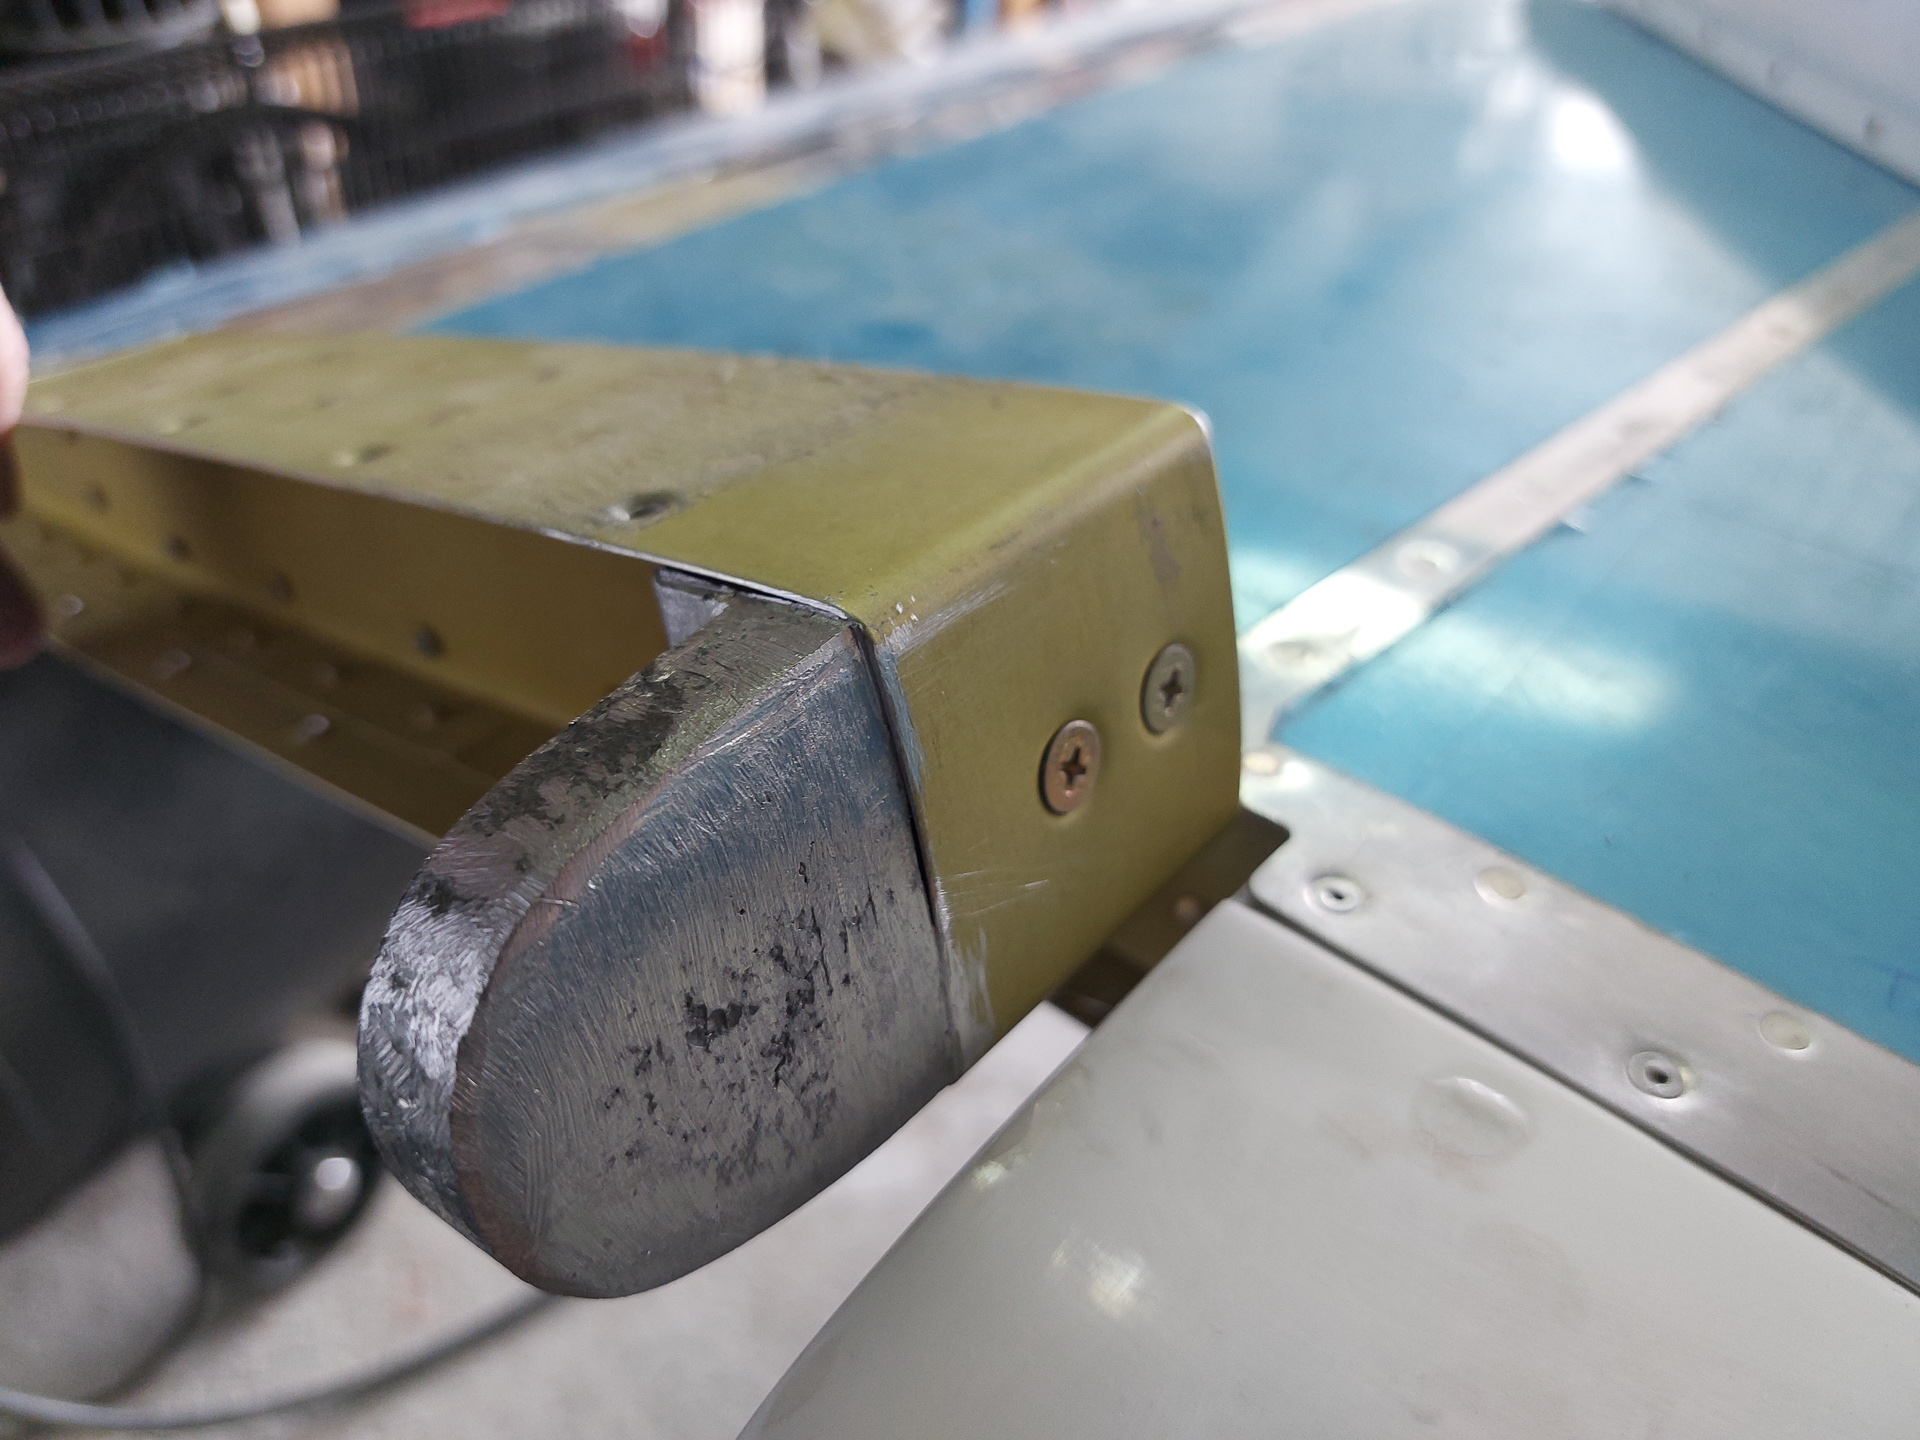
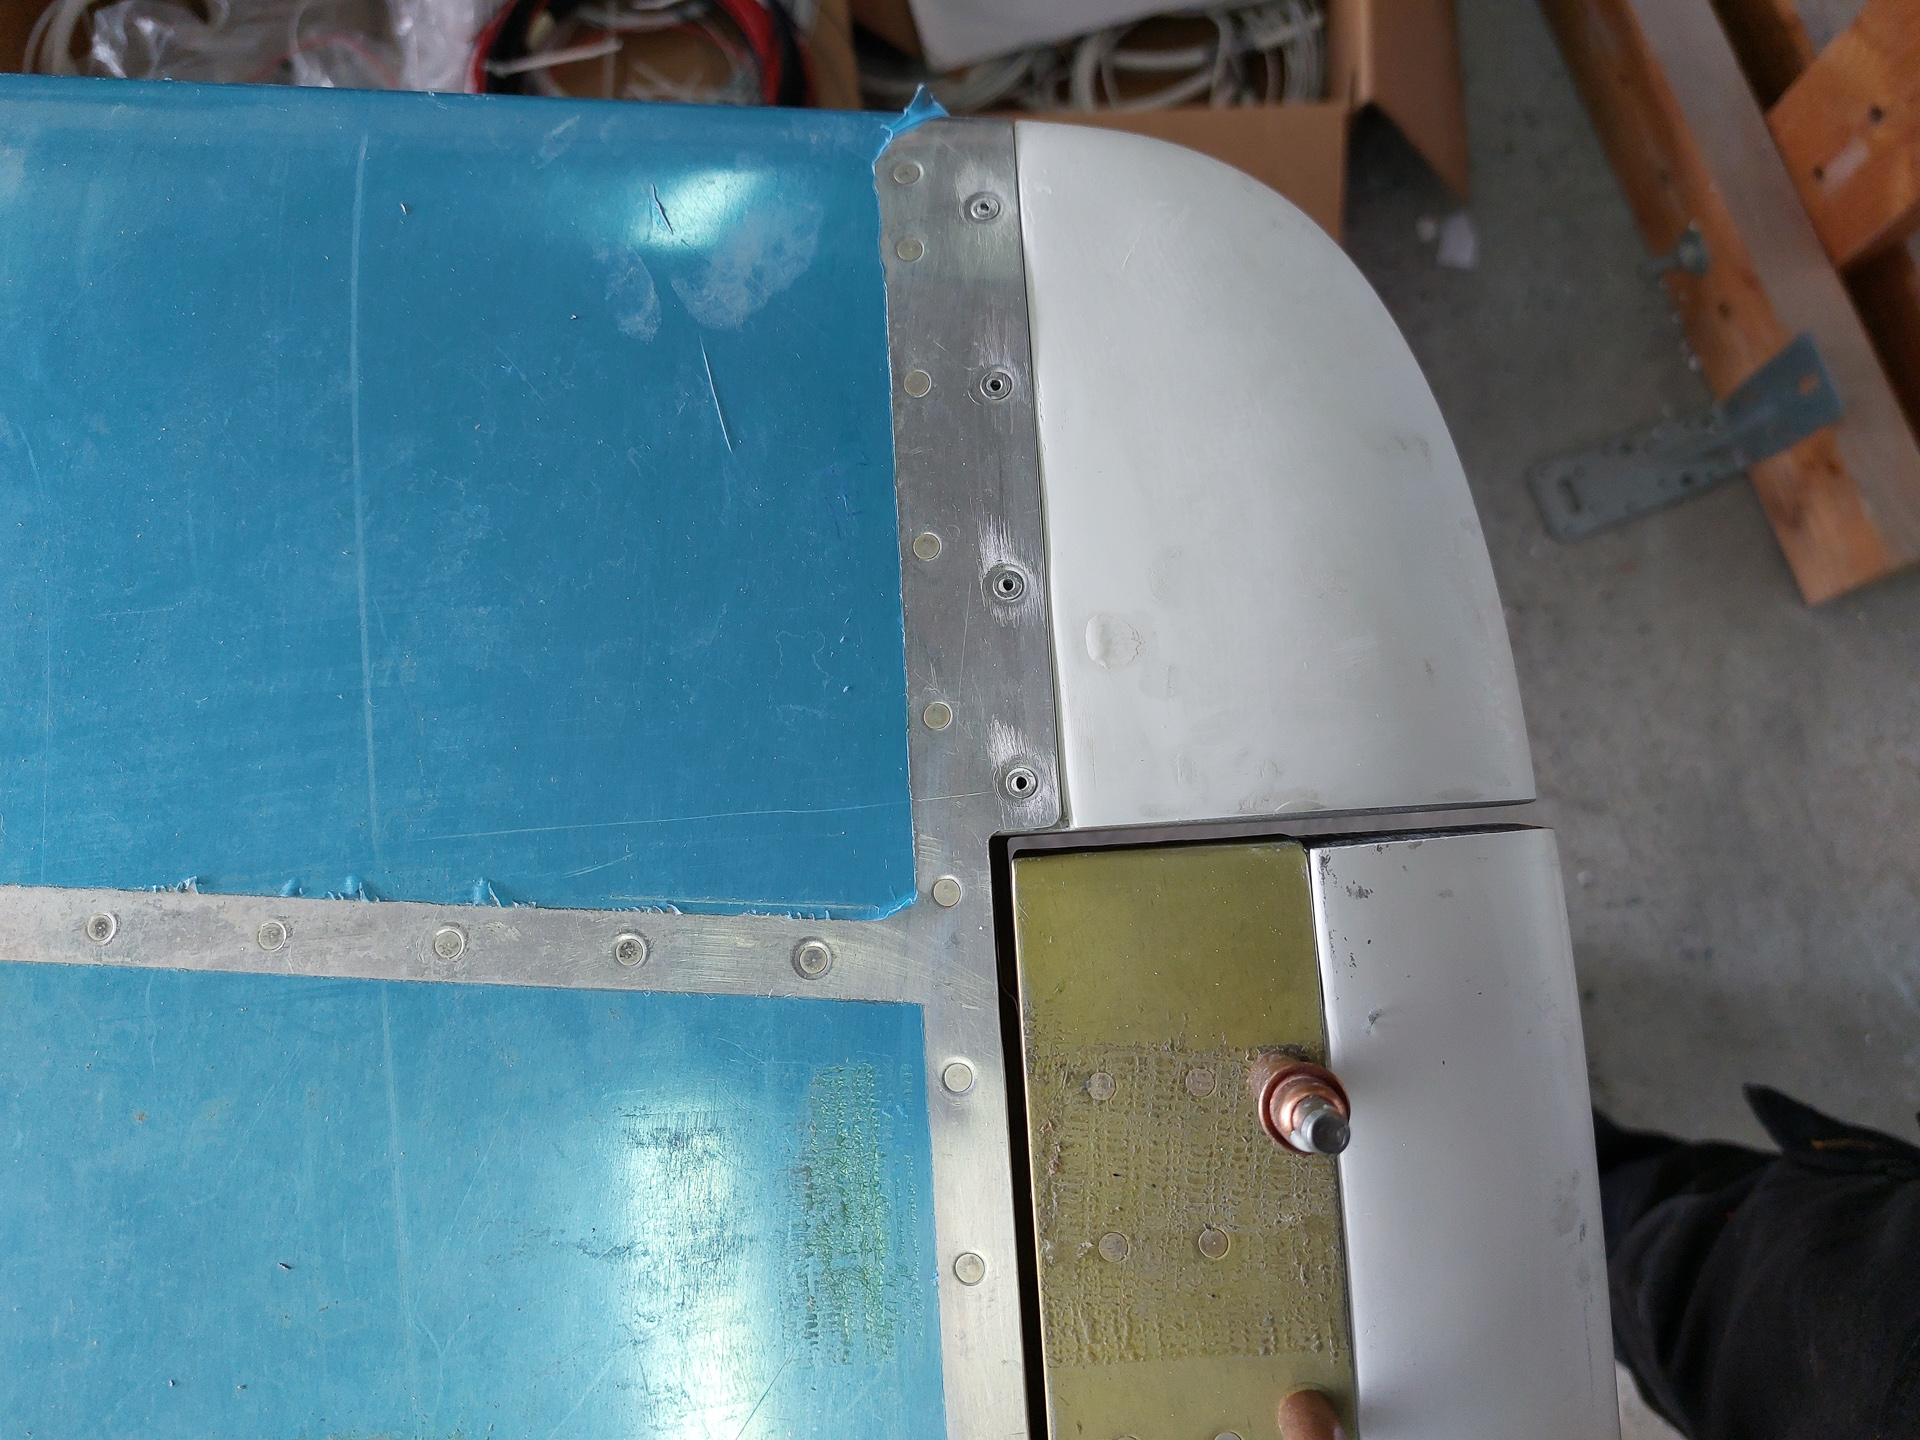
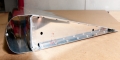
The gap between the elevator horn and the horizontal stab fairing still looks pretty good.
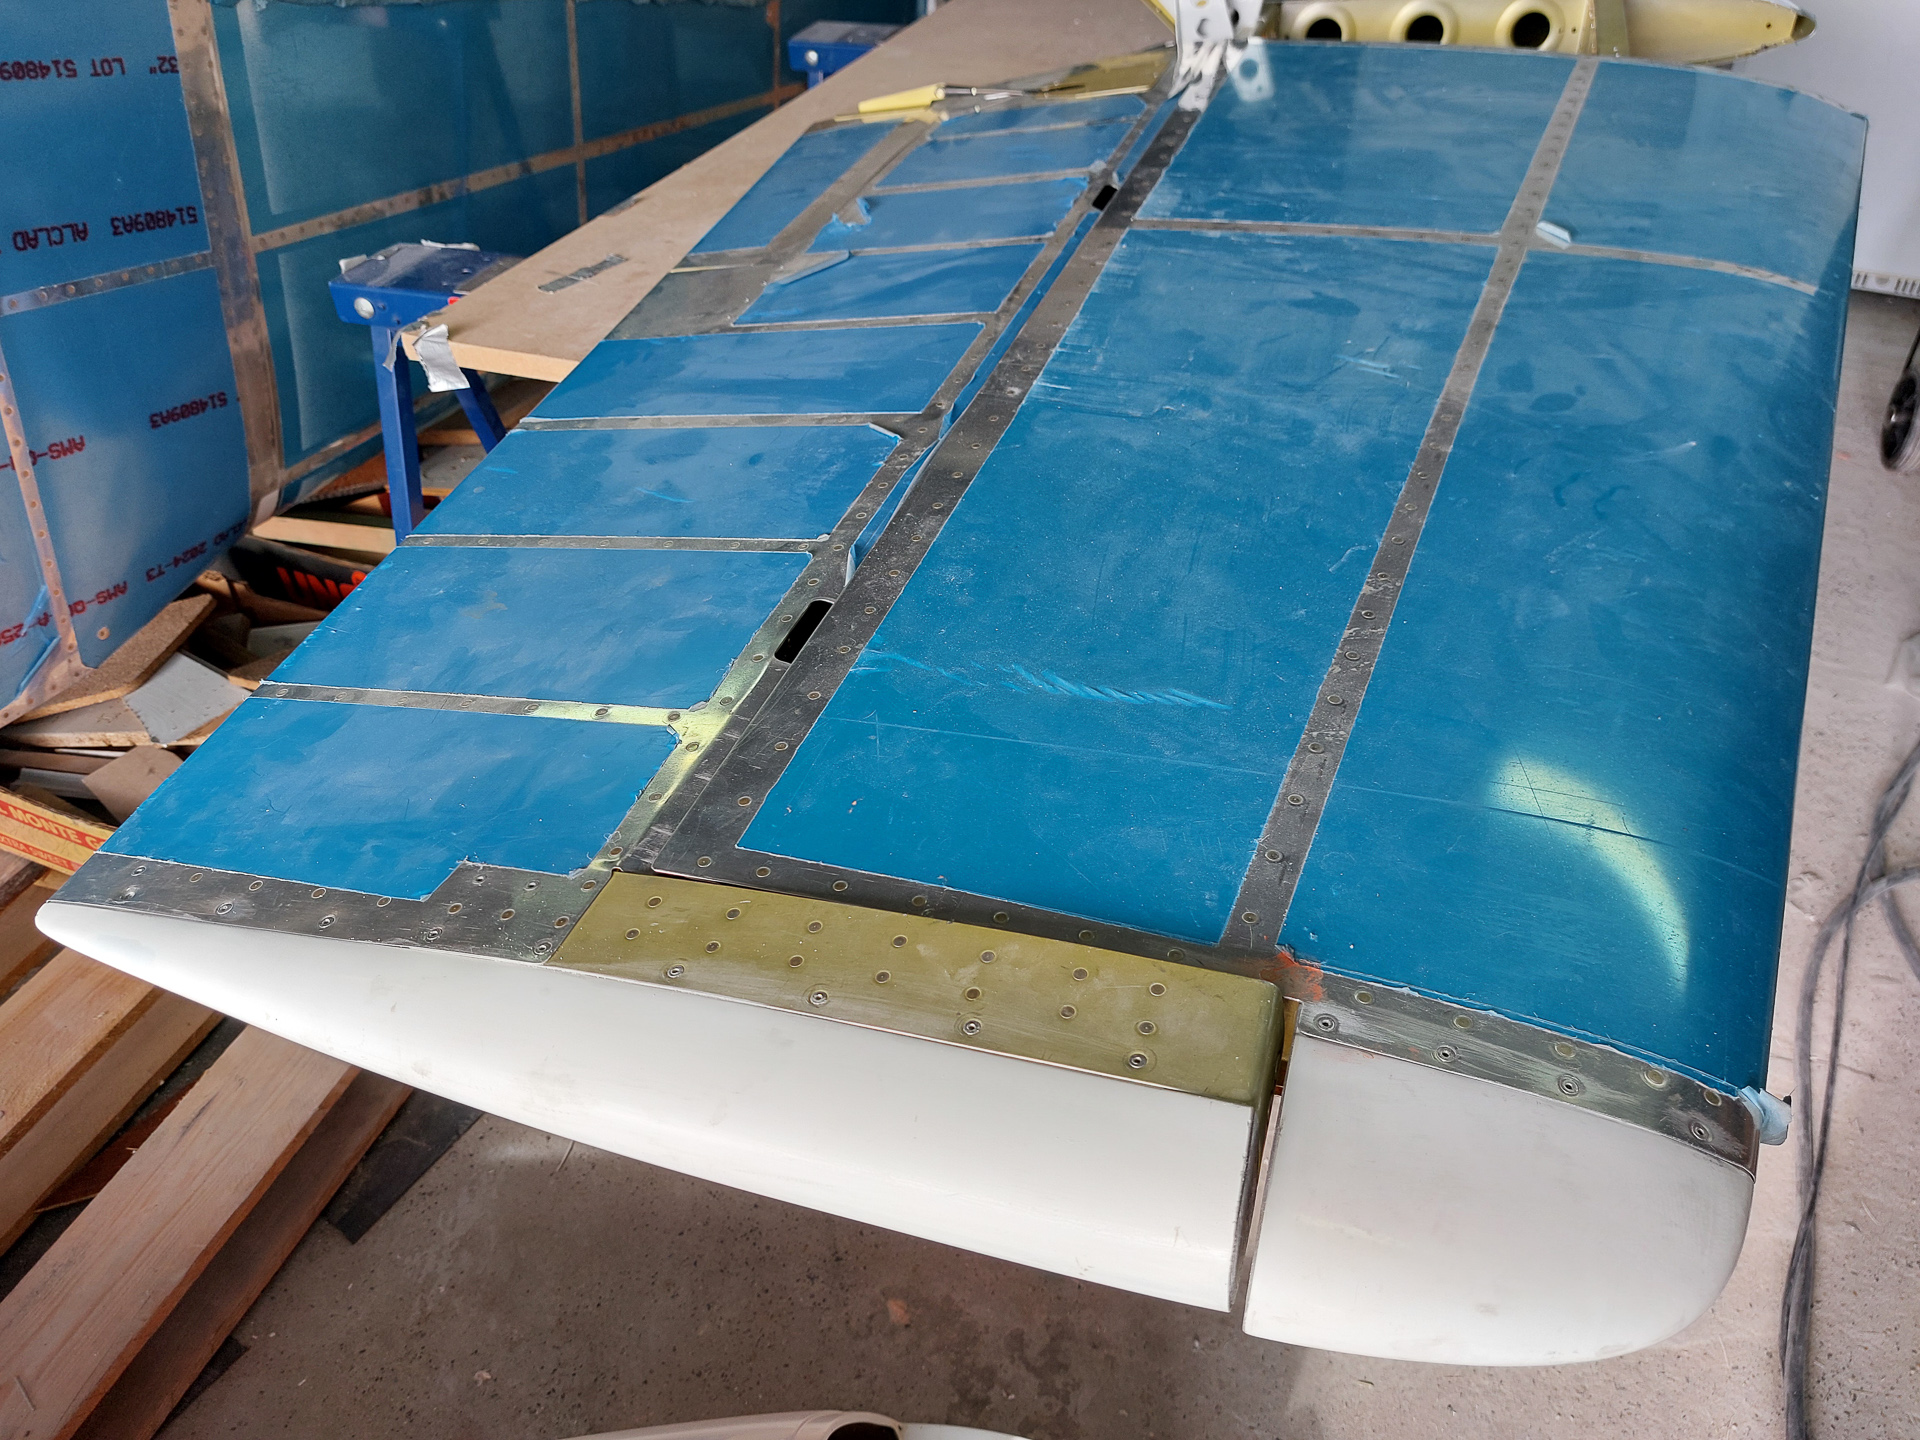
Next dimpled the HS skin to receive the CS4-4 pop rivets.
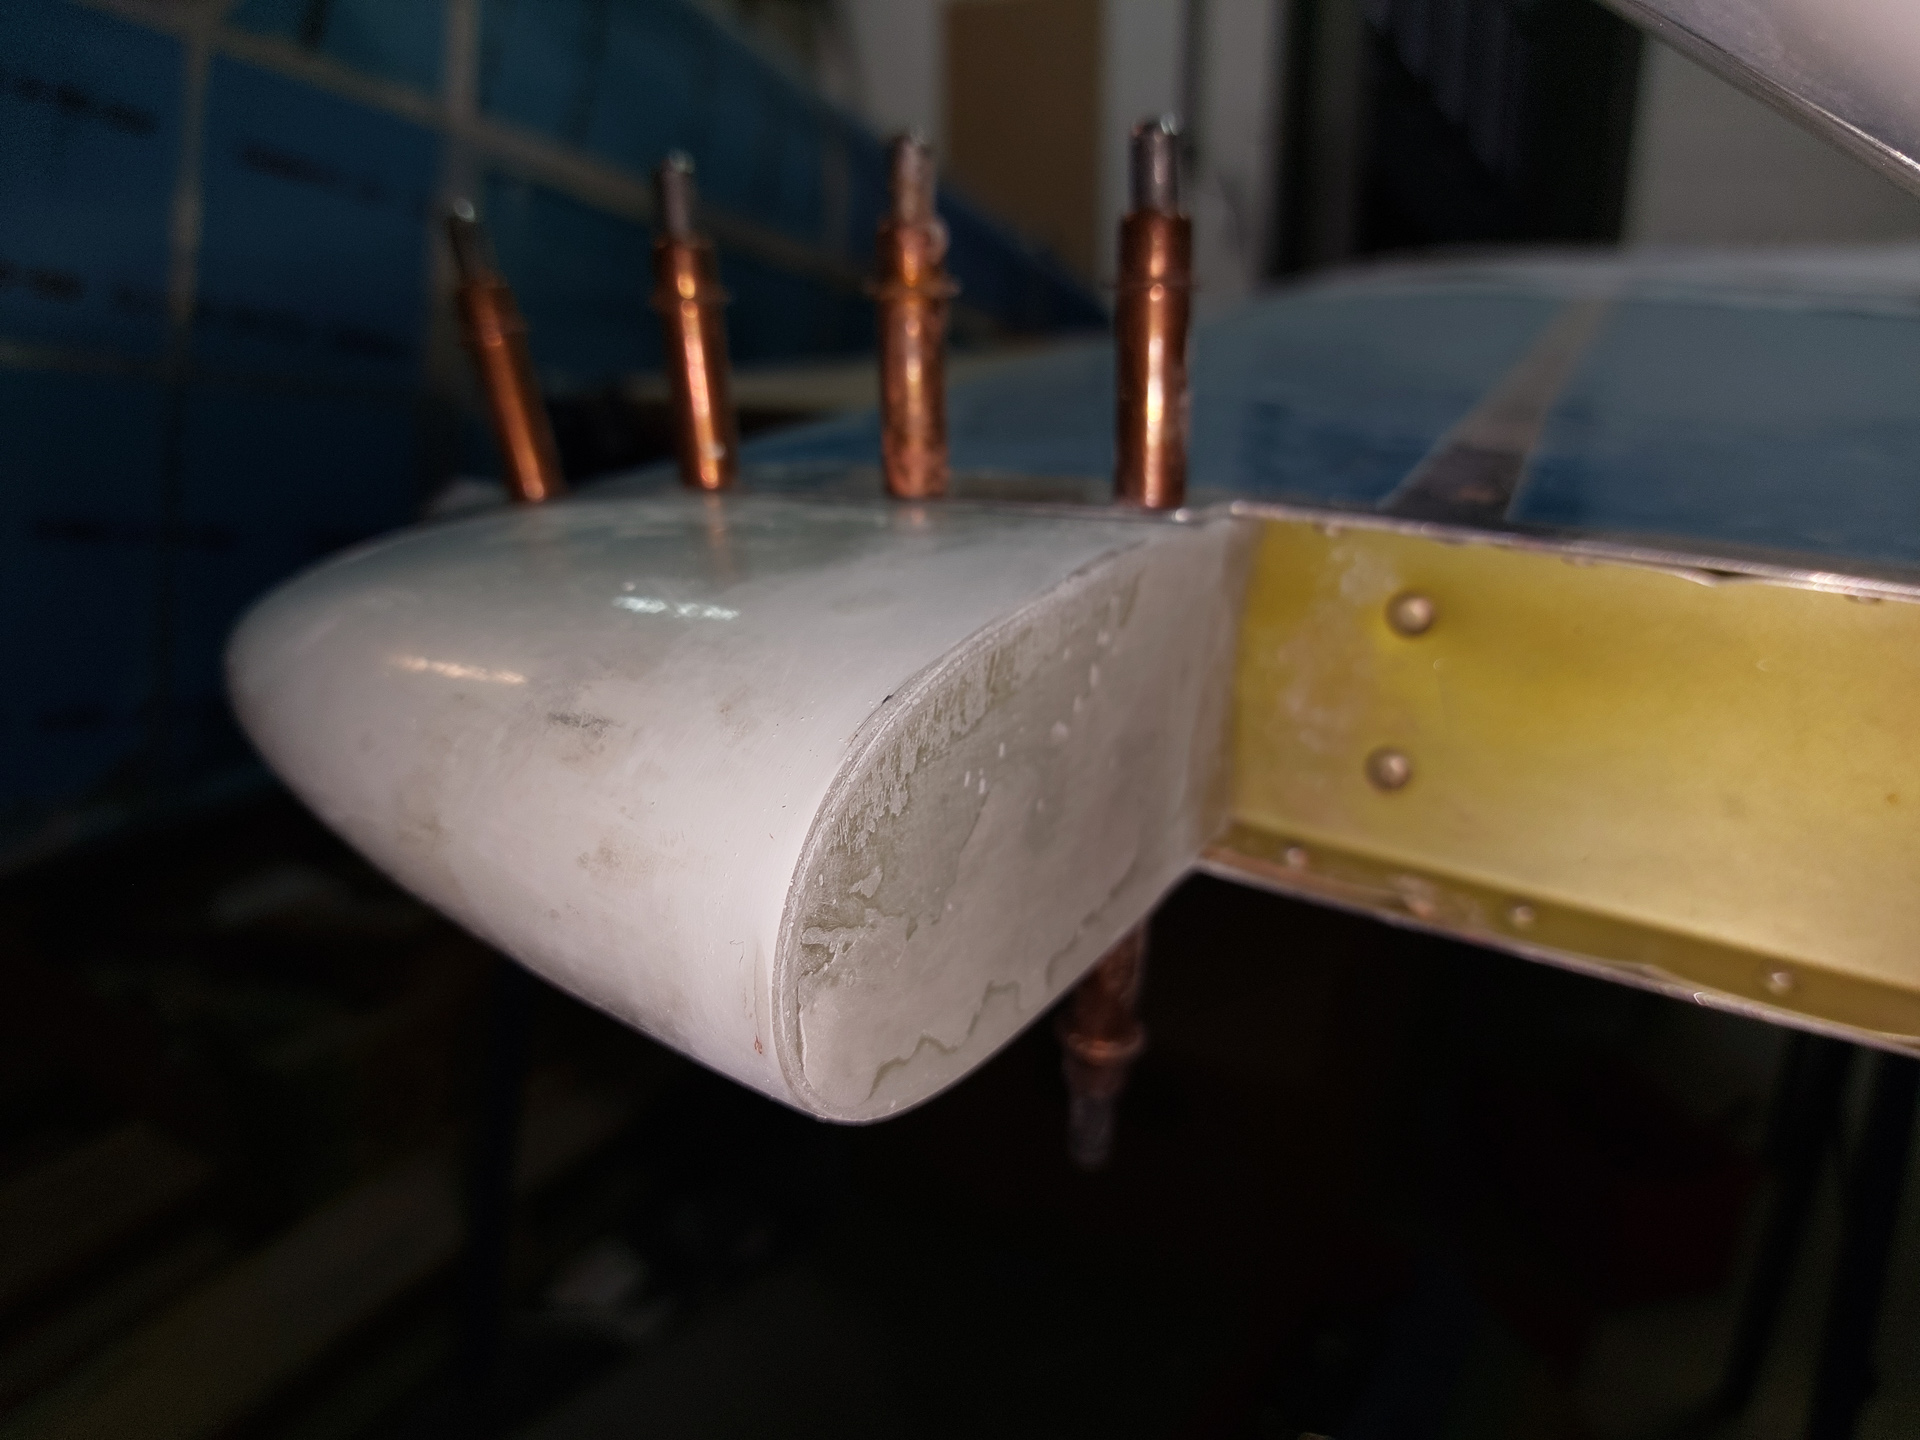
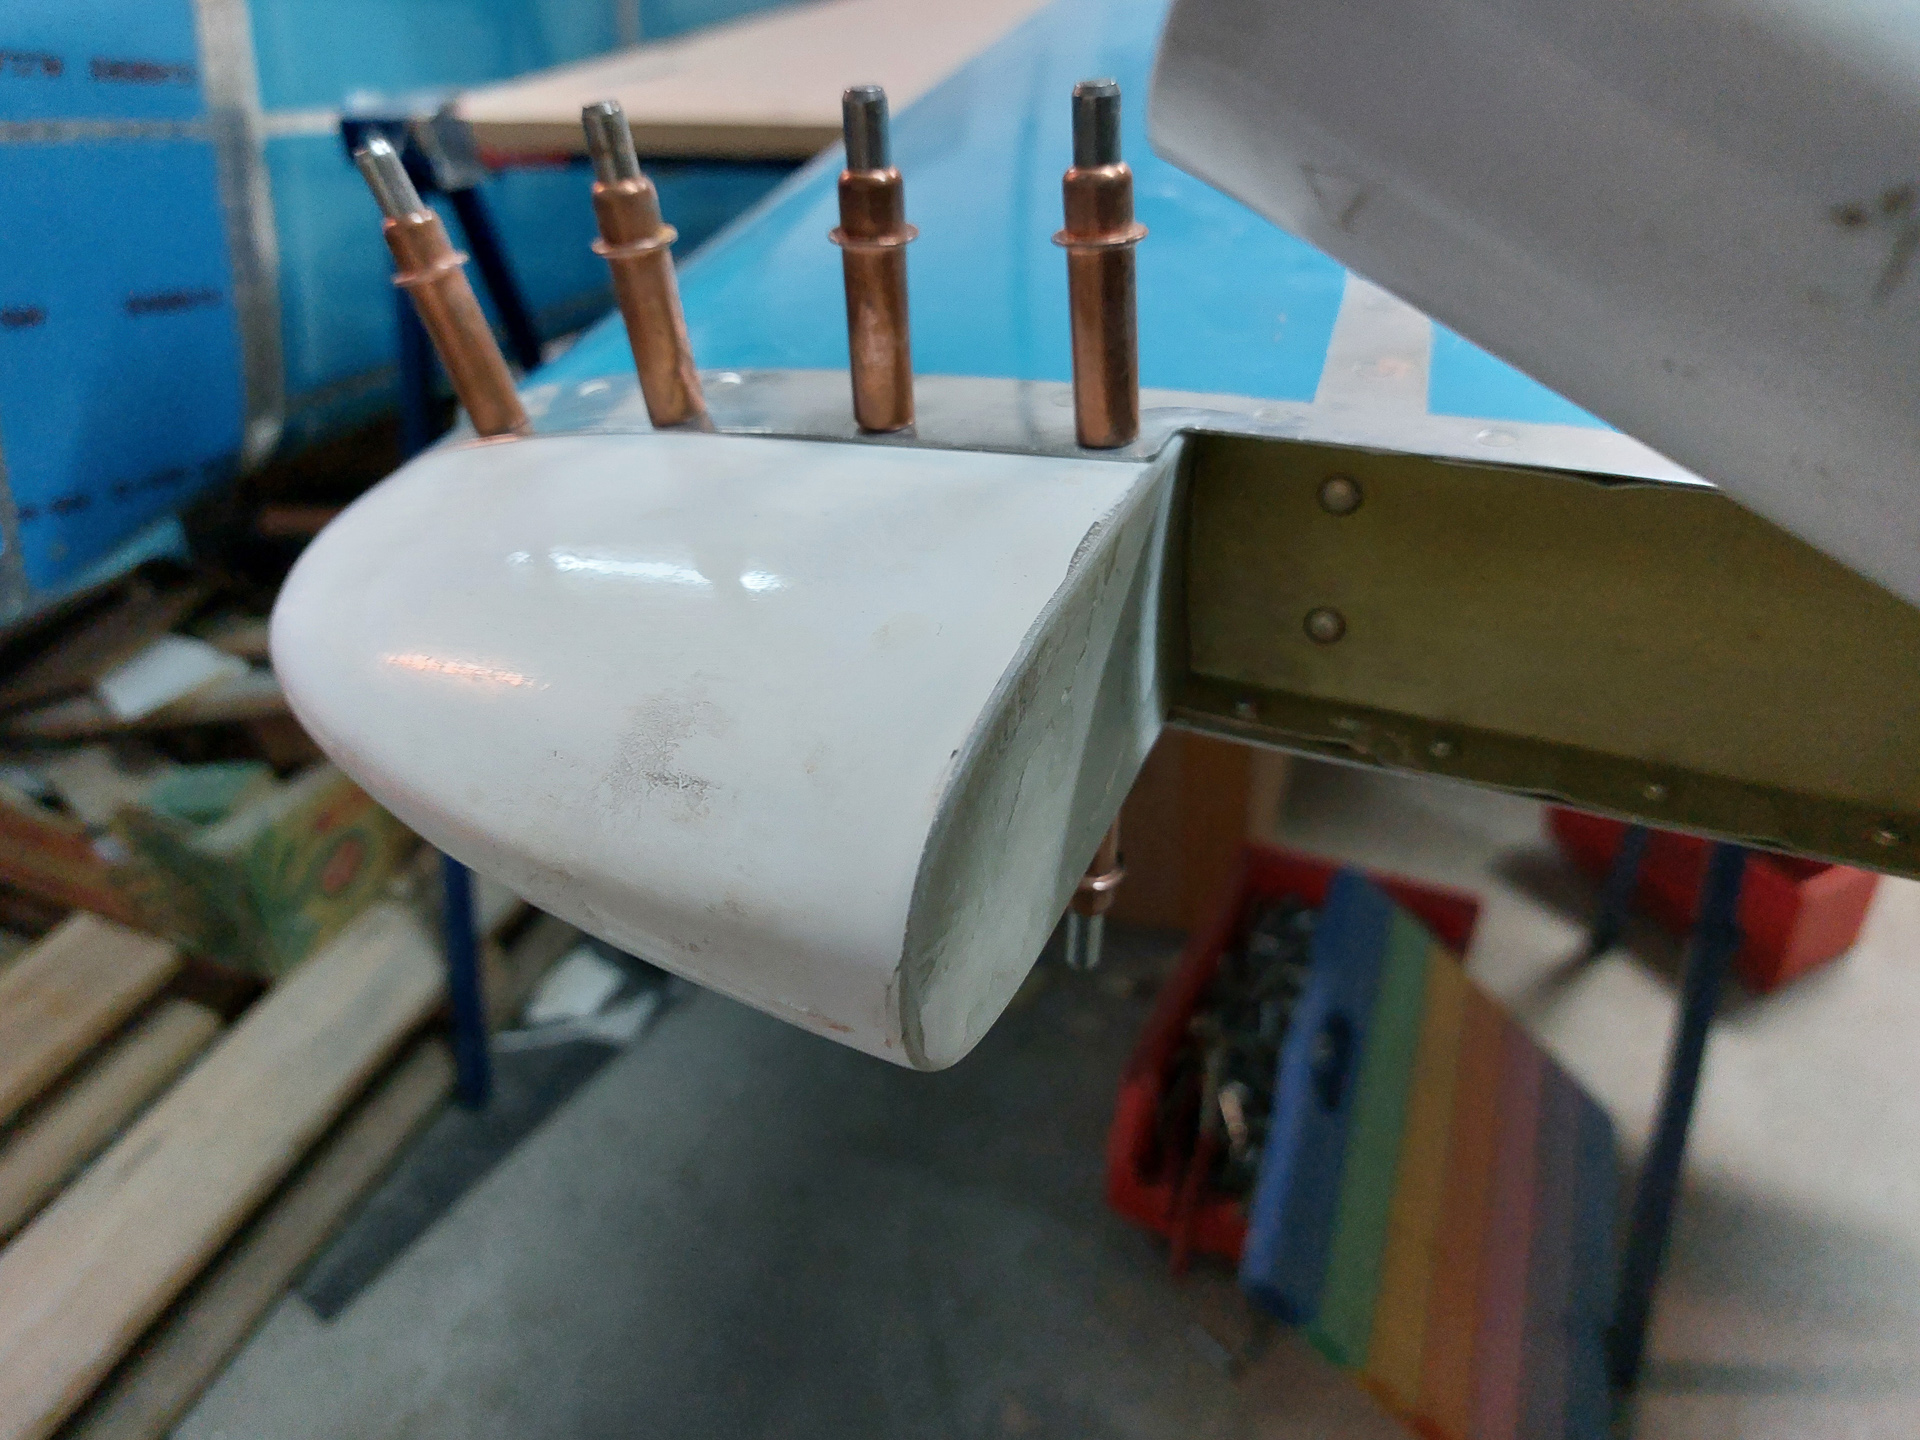
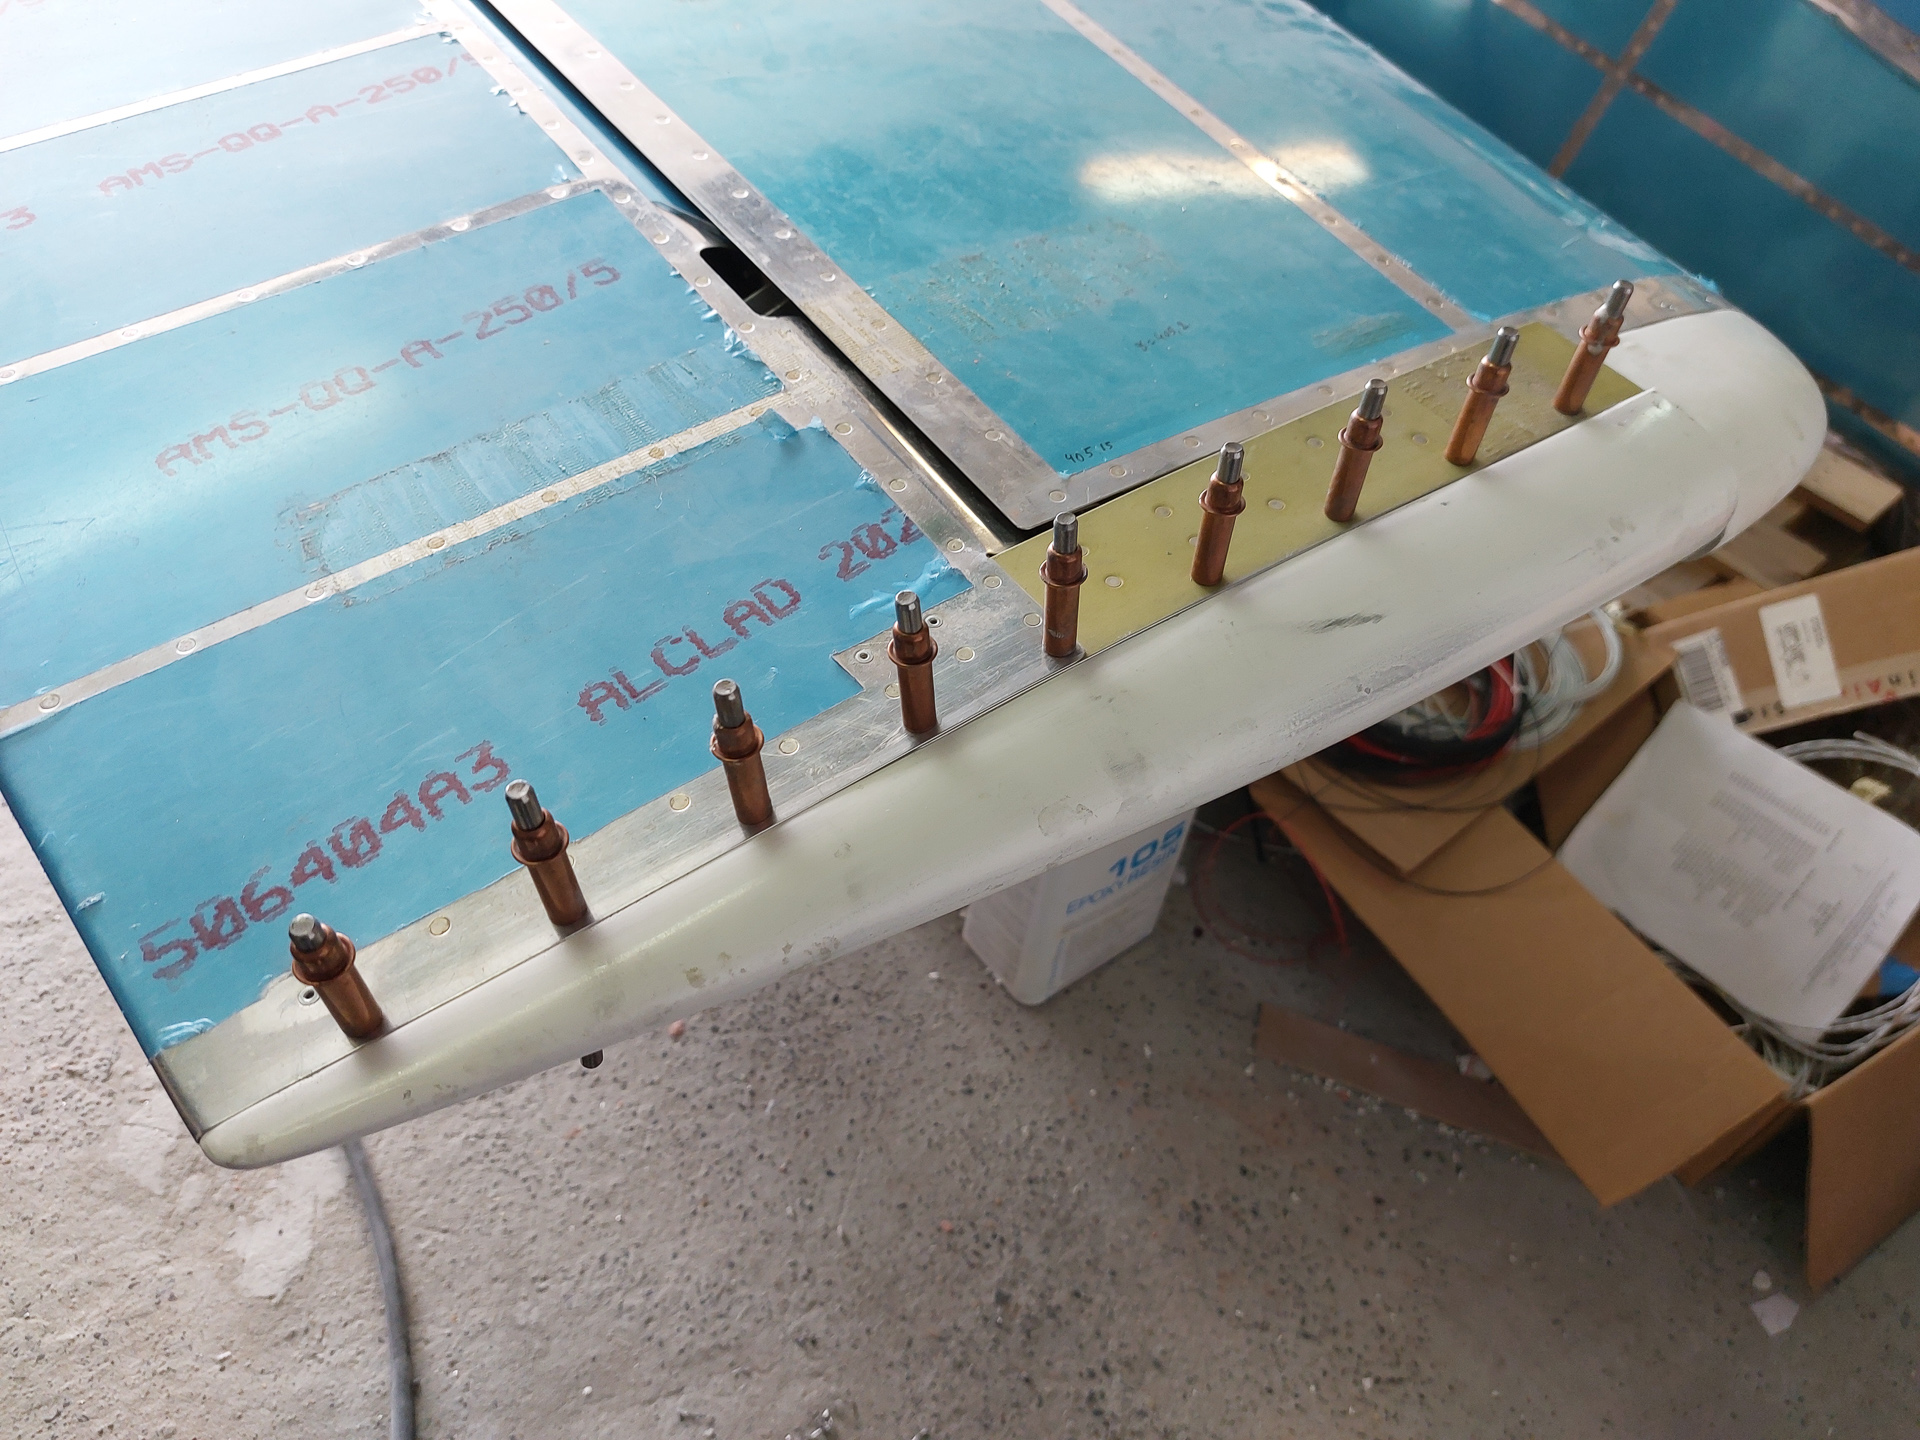
Everything nicely cured and dry, so ready for a final test fit.
Also dimpled the sides of the elevator outer edges.
Doing some more checking on balancing. At the pilot side elevator (left), the balance is pretty tricky. I took away quite some lead to get it more or less in in the right direction.
The trim motor brings much more weight on the elevator rear than the elevator on the passenger side has. I took out as much as I was comfortable with and left it at that.As said before, you can only acuratly do this when the paint is on and I have the nutplates in the front of the elevator horn that allow me to add some additional weight if needed with an AN4 bolt and some large size washers. The elevators have to be balanced individually so you can't rely on the weight difference on the other elevator to compensate for the overweight of the trim motor.
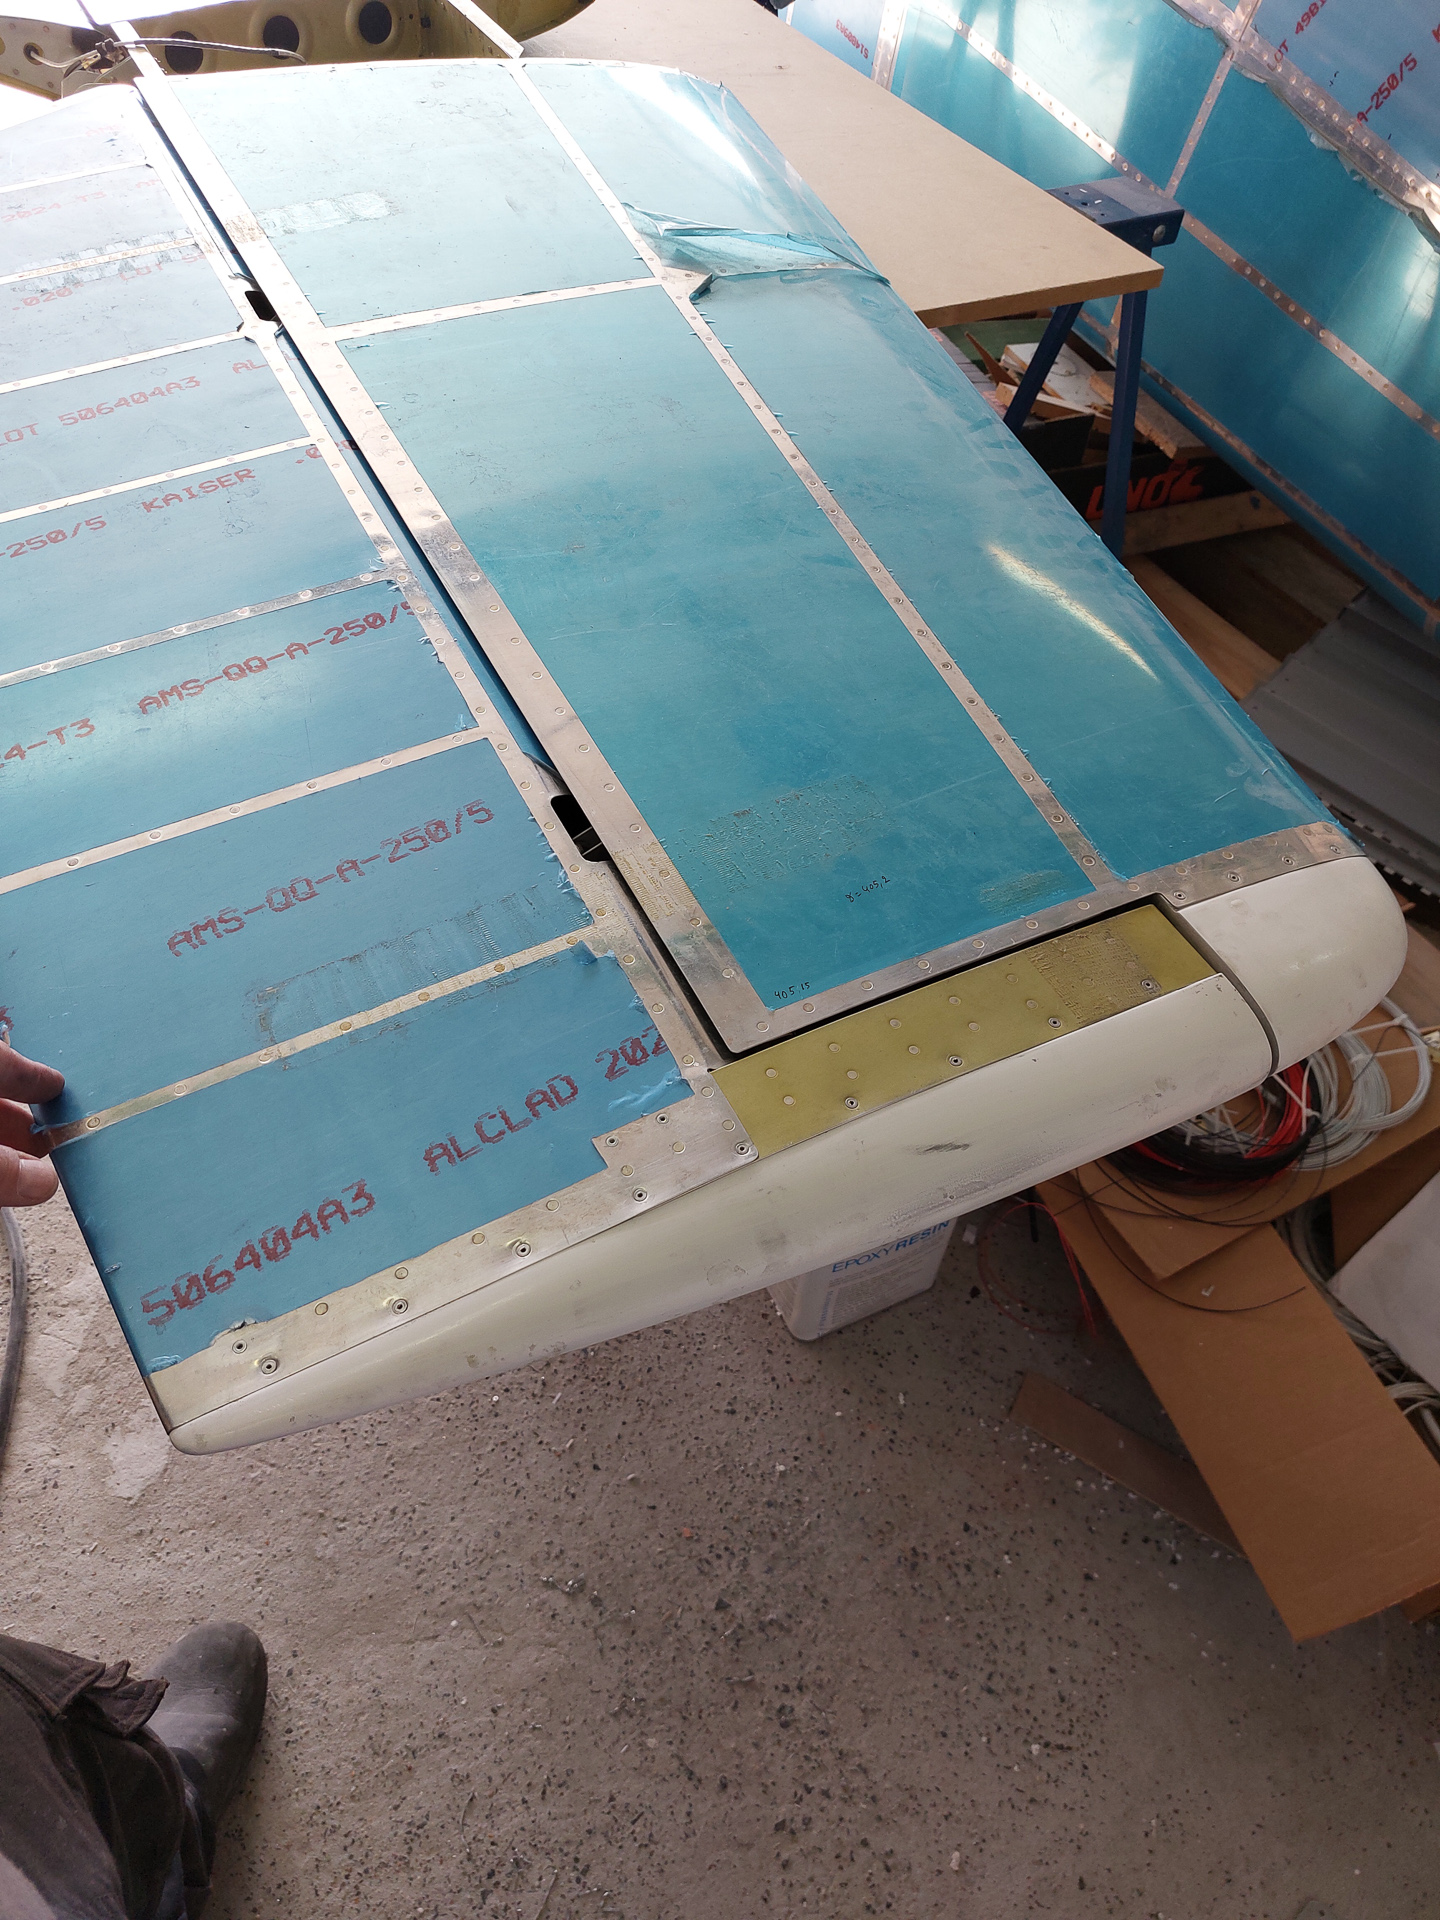
And then it's finally time to pull some rivets. The finished product looks very good.
Next started on the passenger side and tried to have that one balanced as close as I could get it without removing "play" margin for when the paint is on.
Drilled out some weight from the thick side of the block.
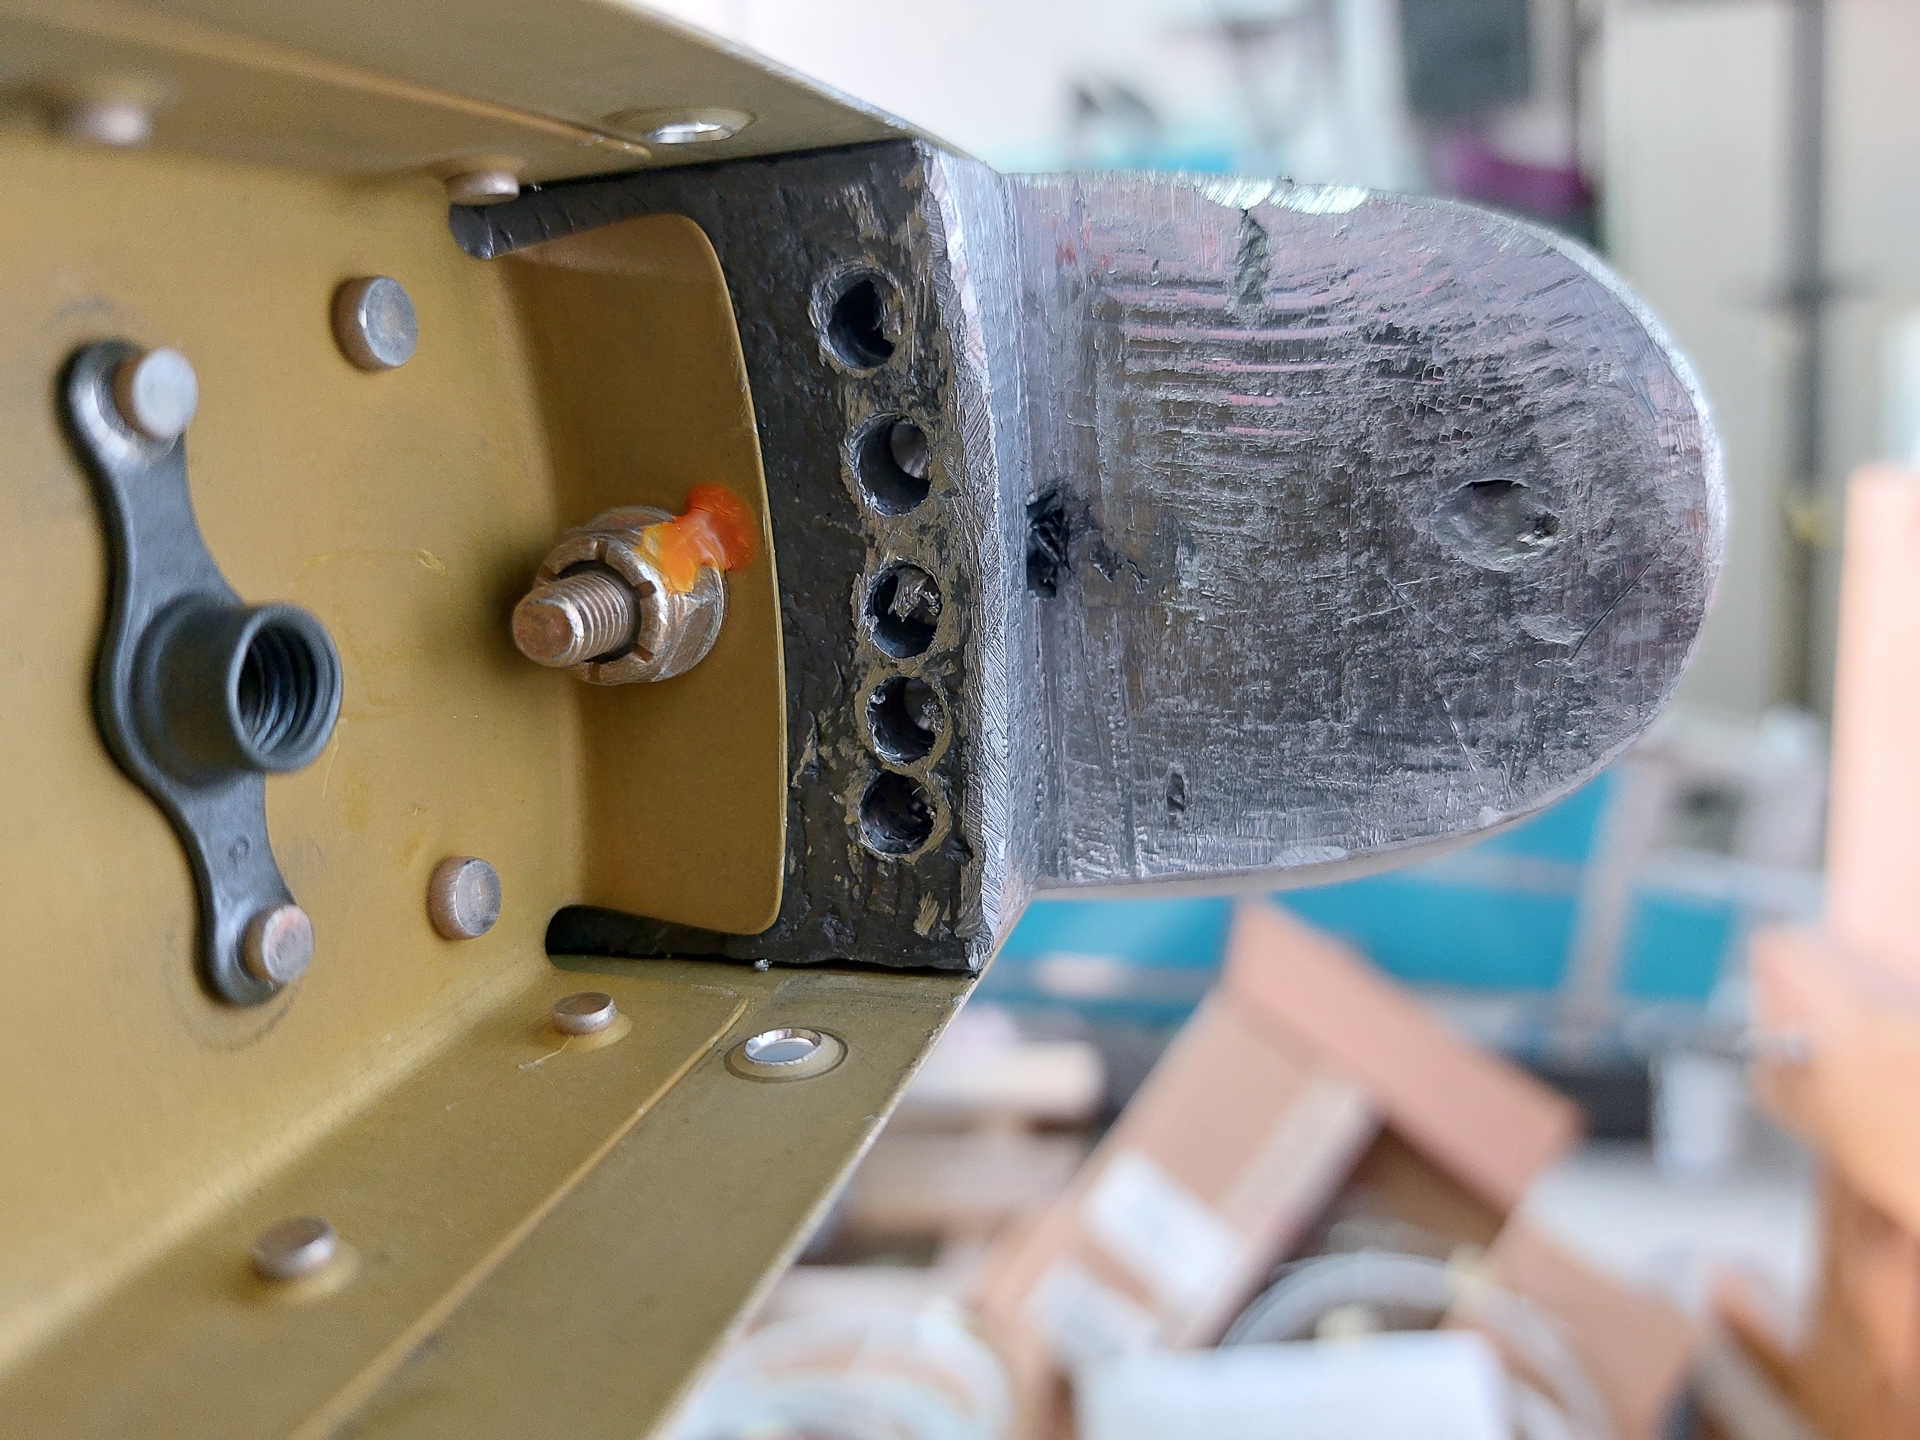
And also used a phile to take off makterial from the front.This can be filled up with epoxy later in order to make the front look nicer.
Clecoed in place and ready for rivets
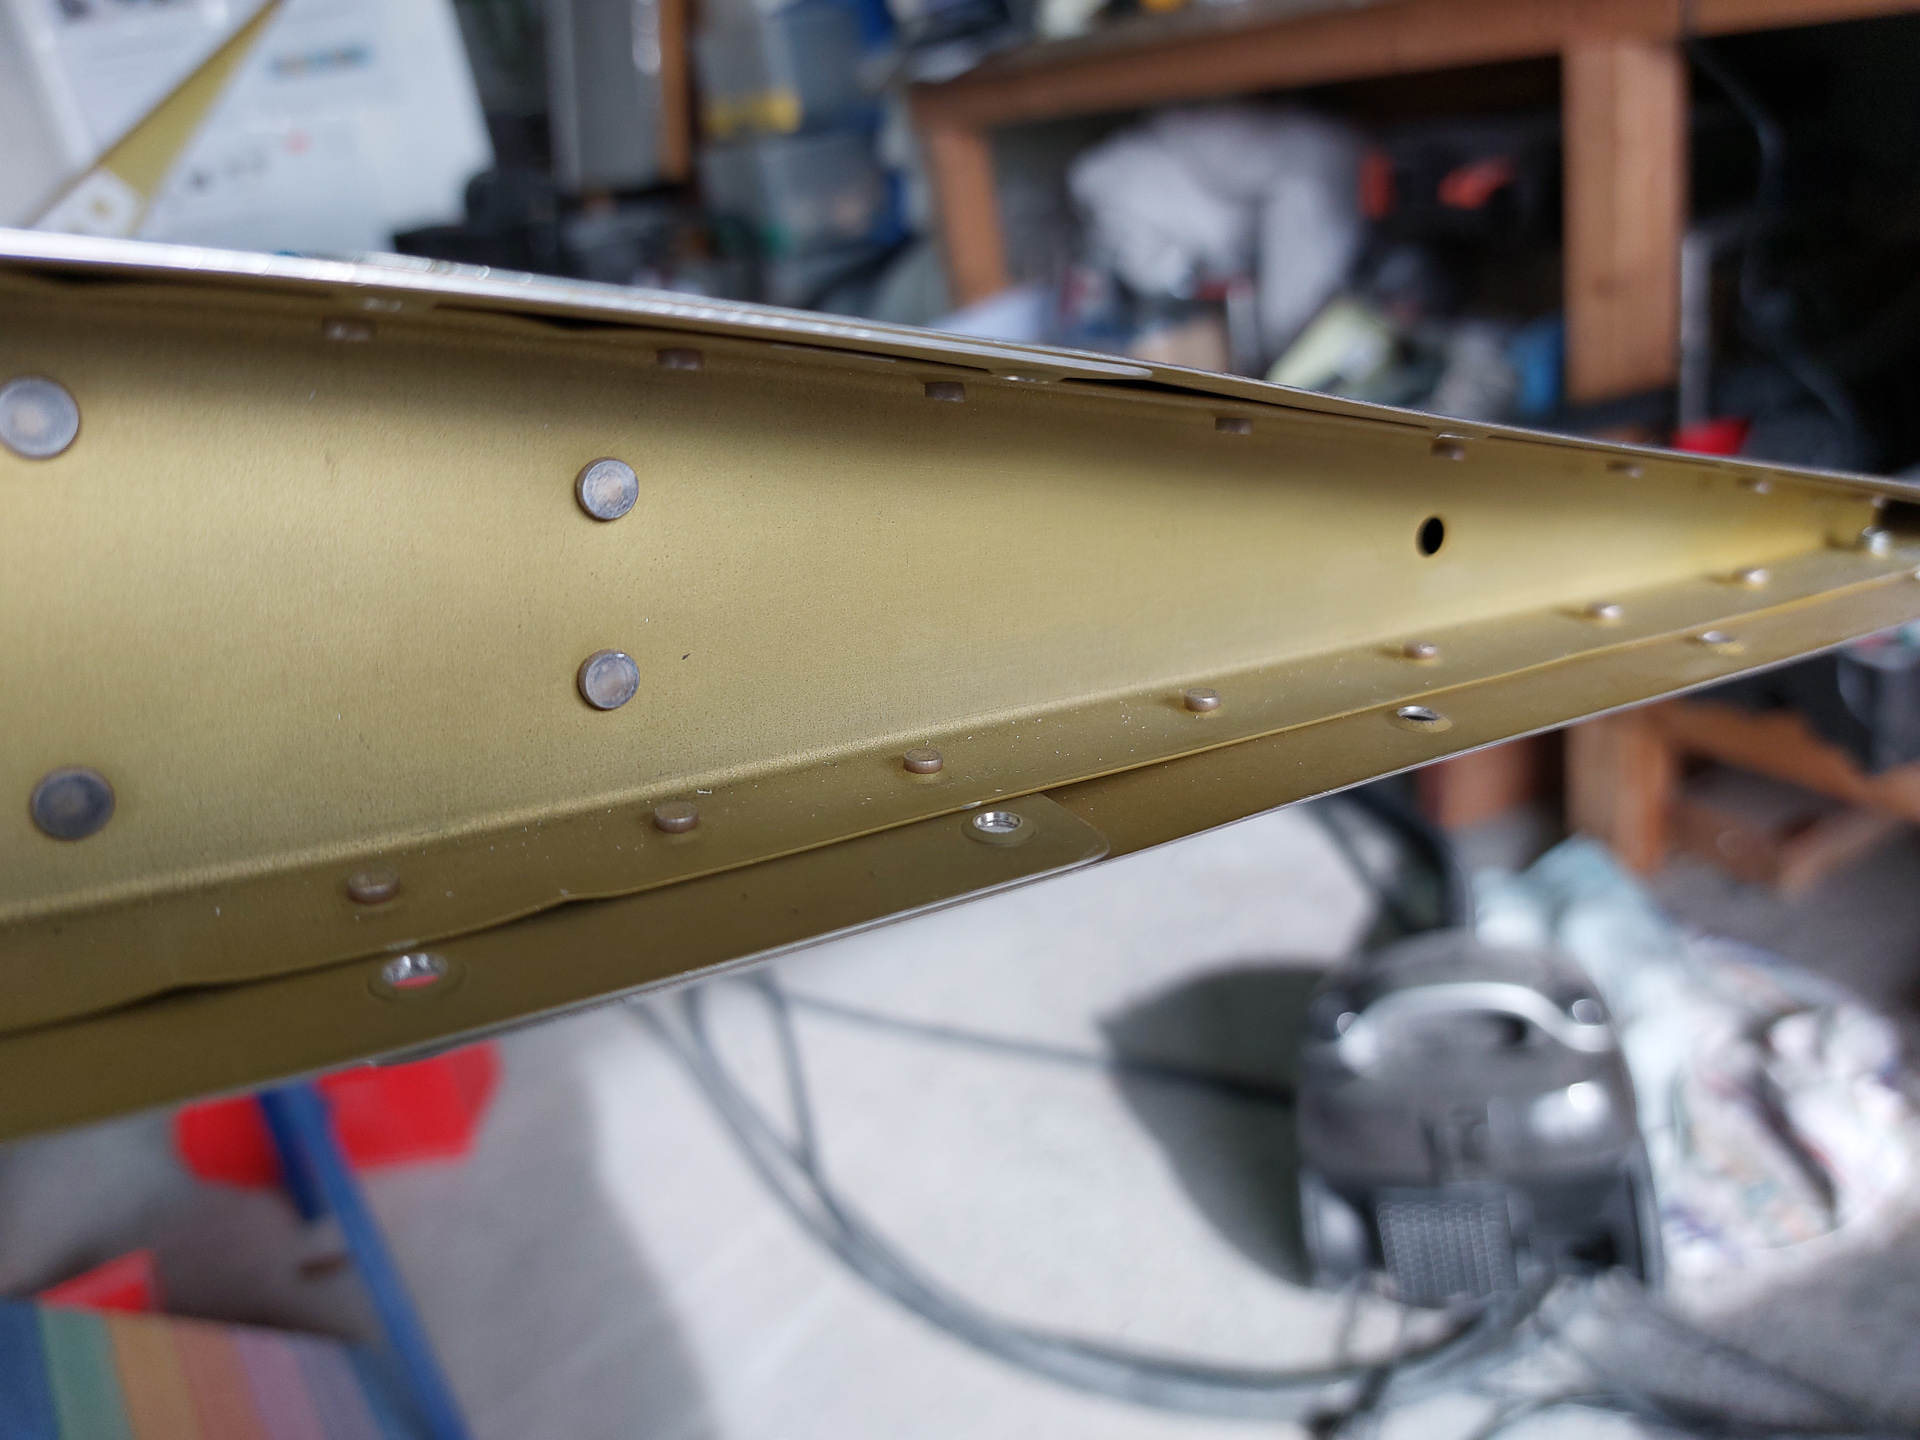
Front rivetted and re-checking the gap.
All rivets on. After a few weeks of work, the fairings of elevator and HS are finally done.


