

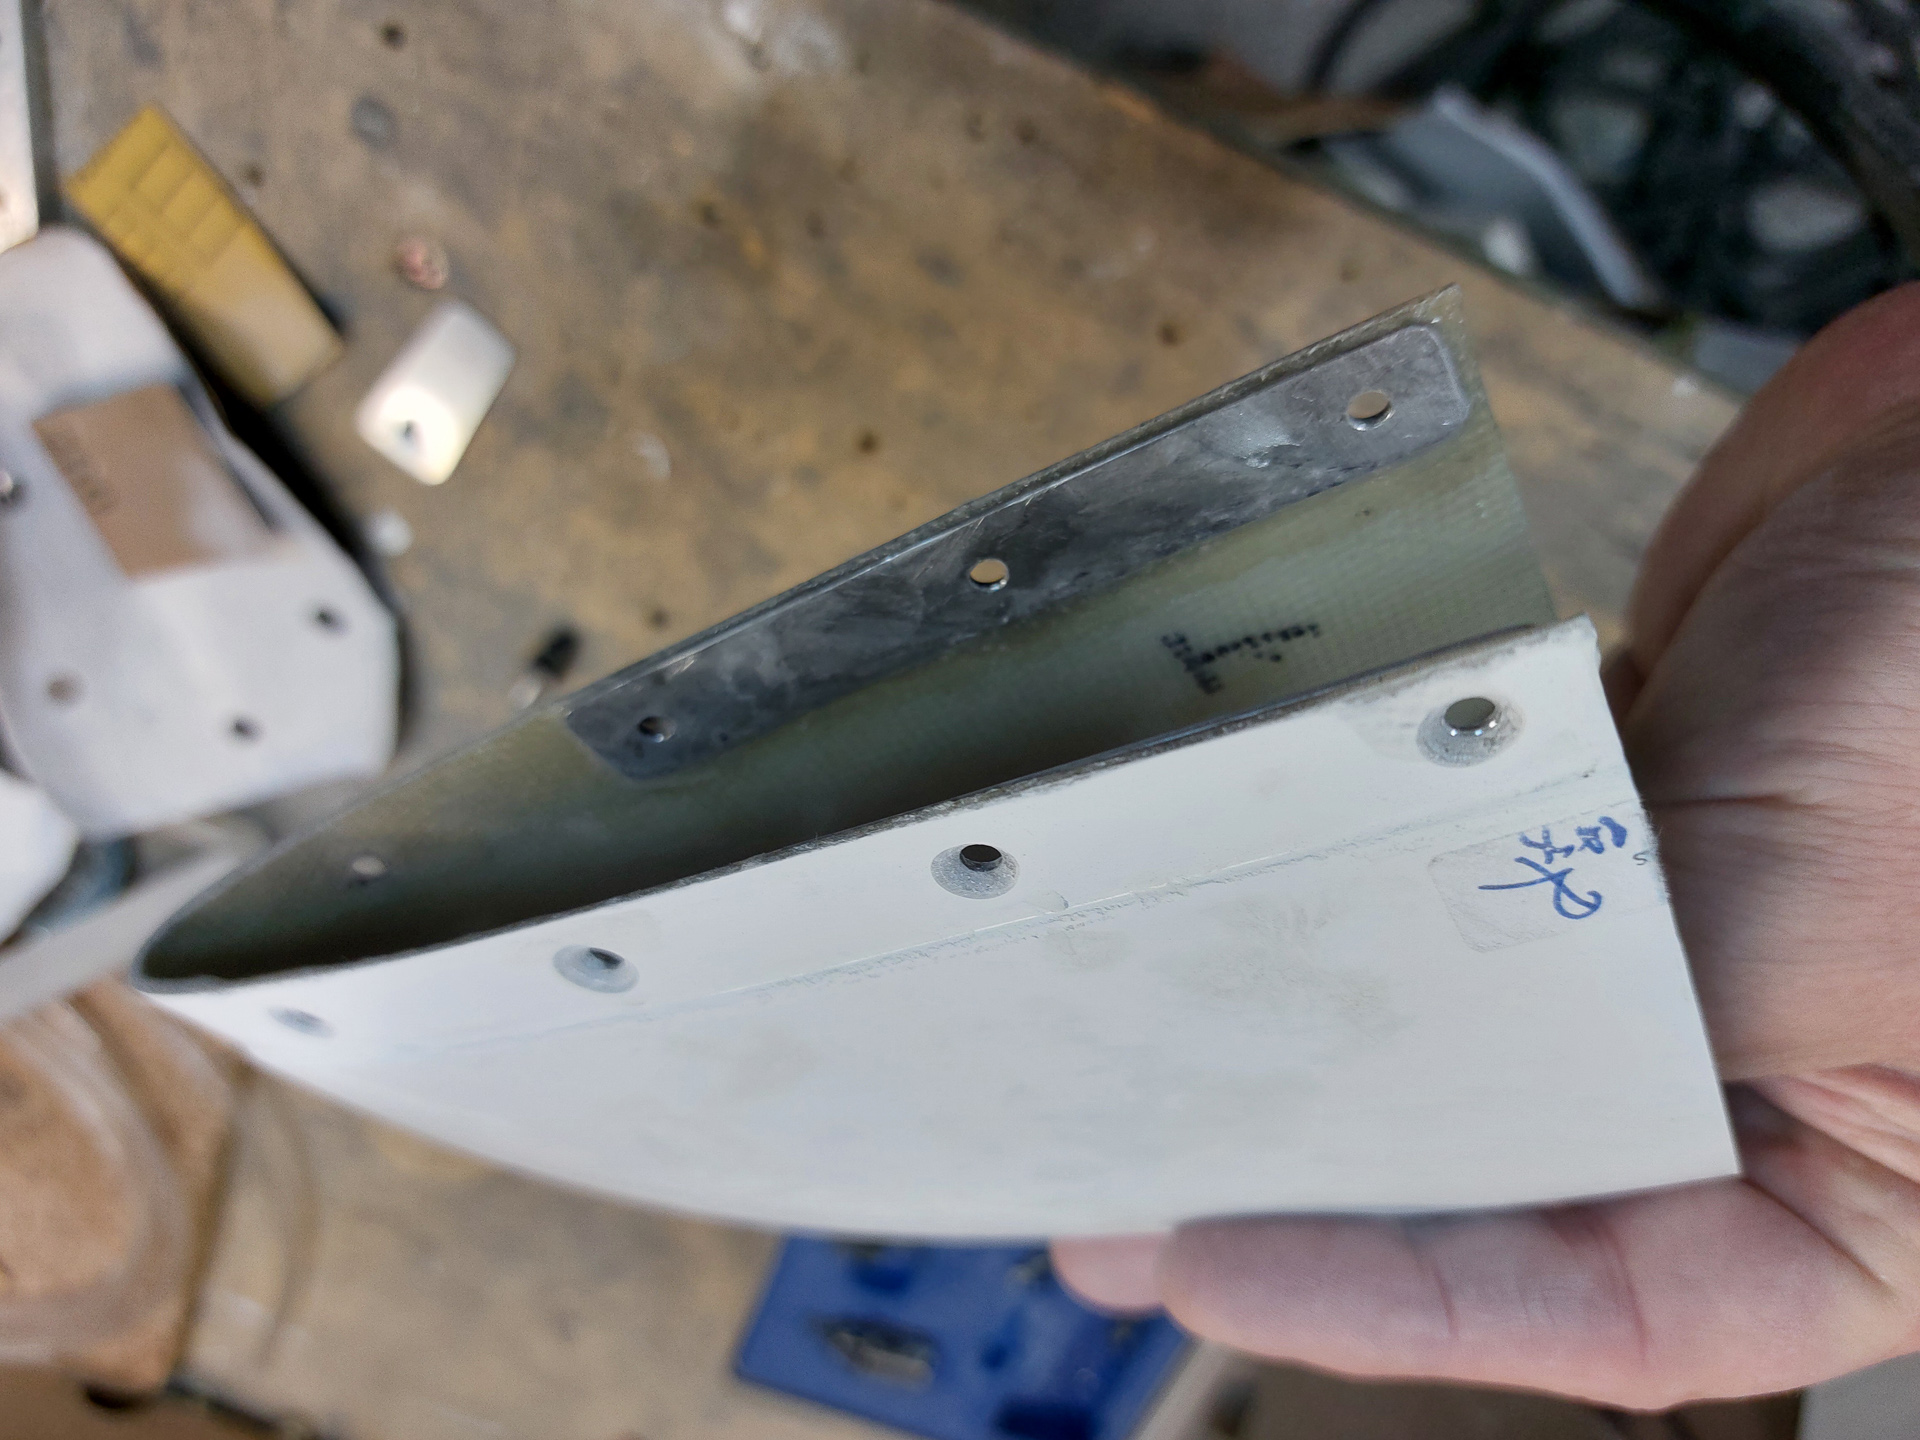
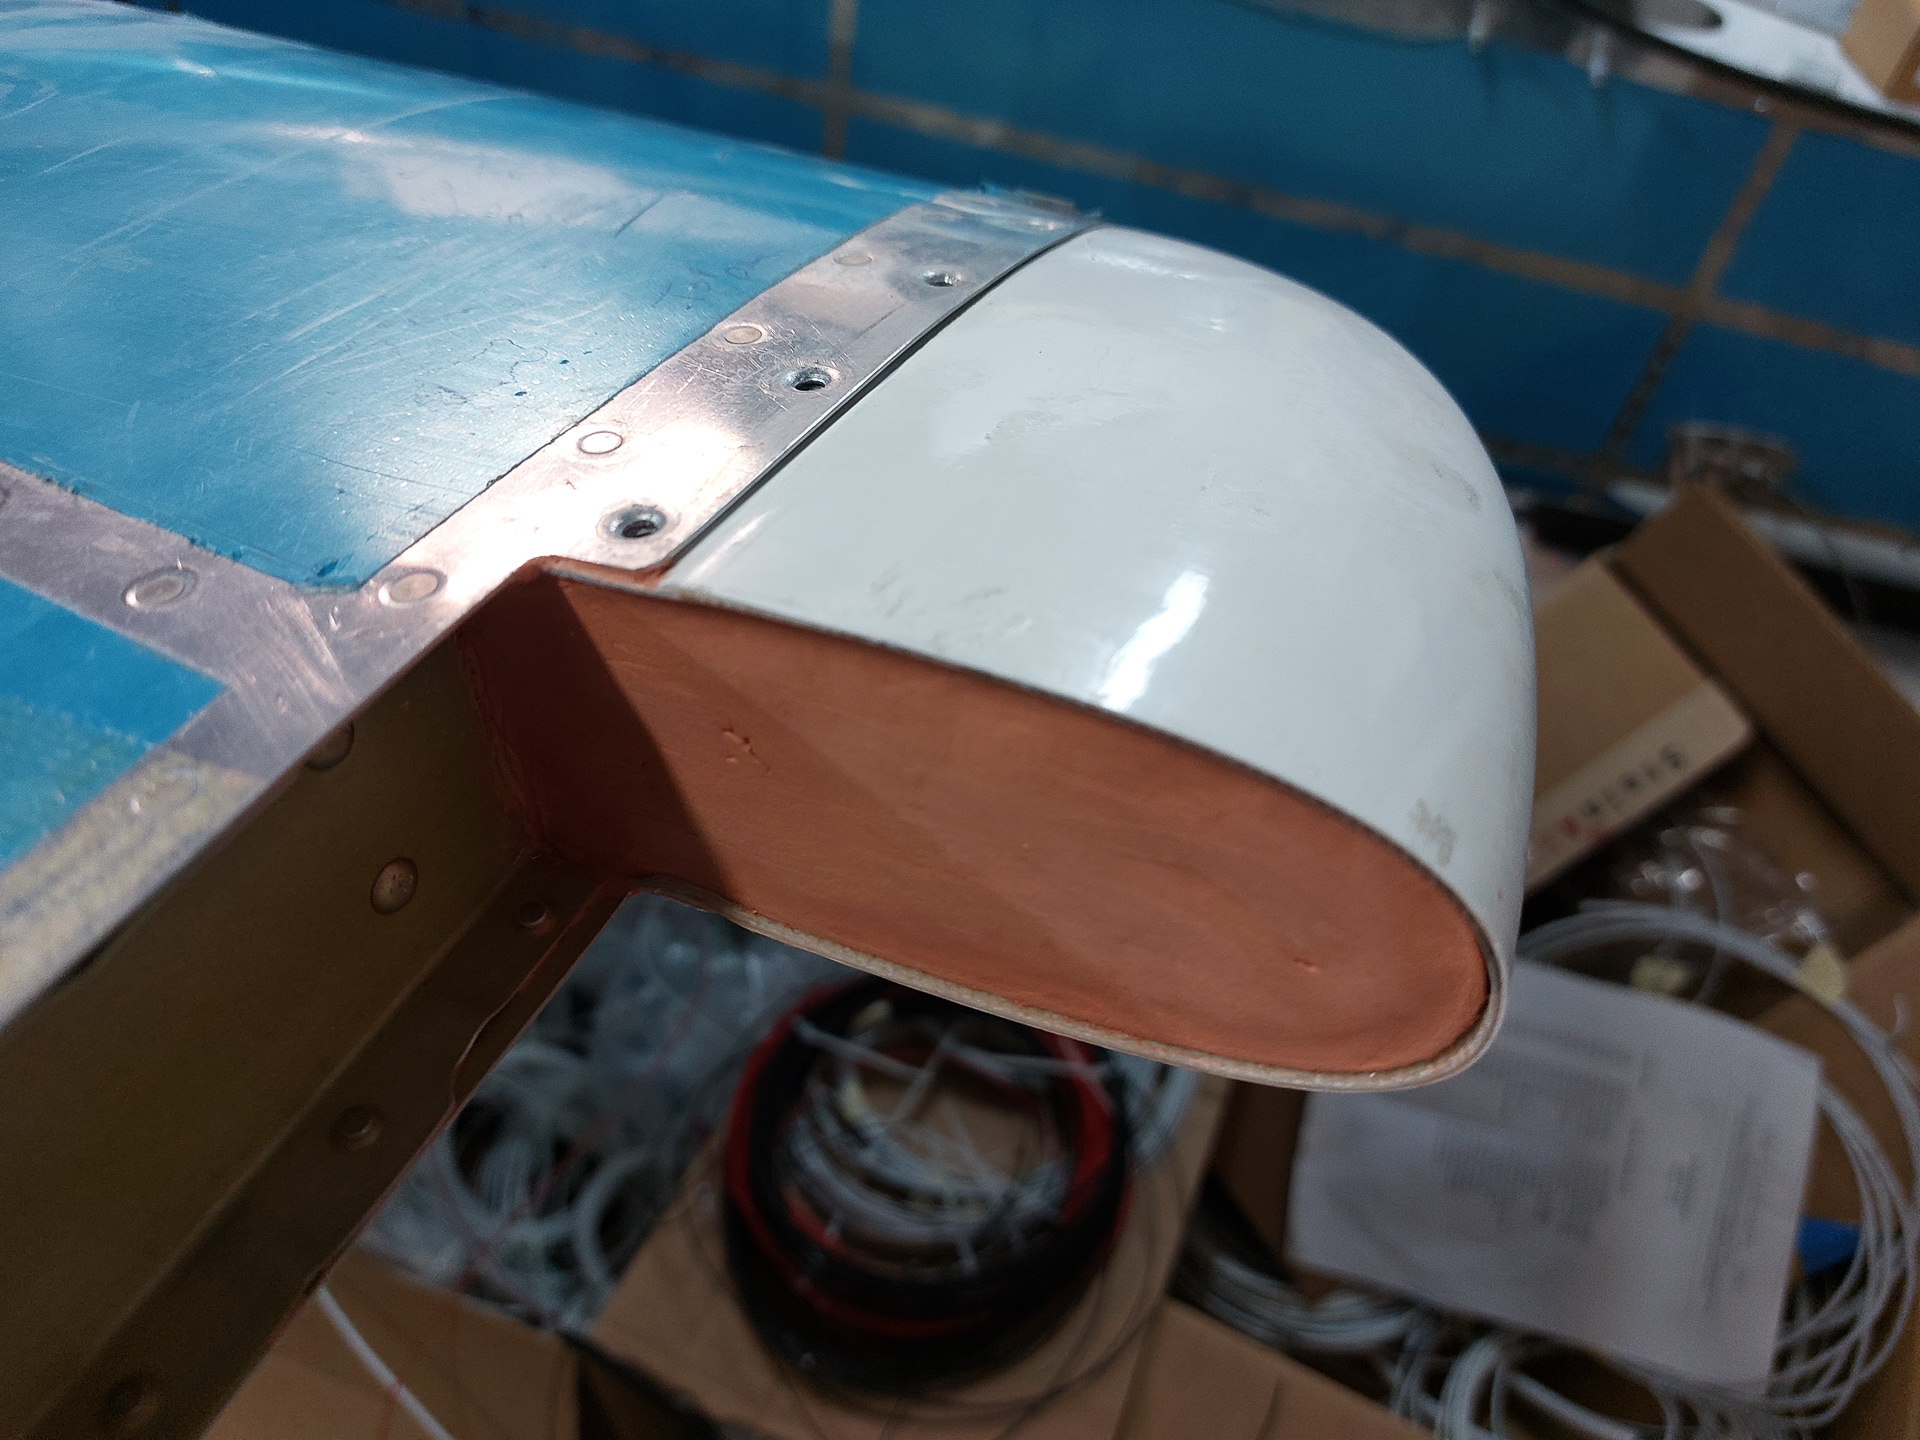
Some more fairing work. I drilled and installed the right side HS fairing as well.
Next up is closing the rear of the fairing. The manual is describing some ways to achieve this with balsa wood.
I initially was thinking about another way using foam inserts and clay to mould the shape. There needs to be a small inwards bend in the covering epoxy so that the arm swing has sufficient spacing between the HS fairing and the VS fairing.

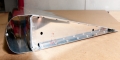
I also made some aluminum reinforcement strips on the inside. I don't like the idea of pop rivet tail forming on epoxy. Especially because you can't verify what happened on the inside while pulling the rivet as this will be permanently closed and not visible.
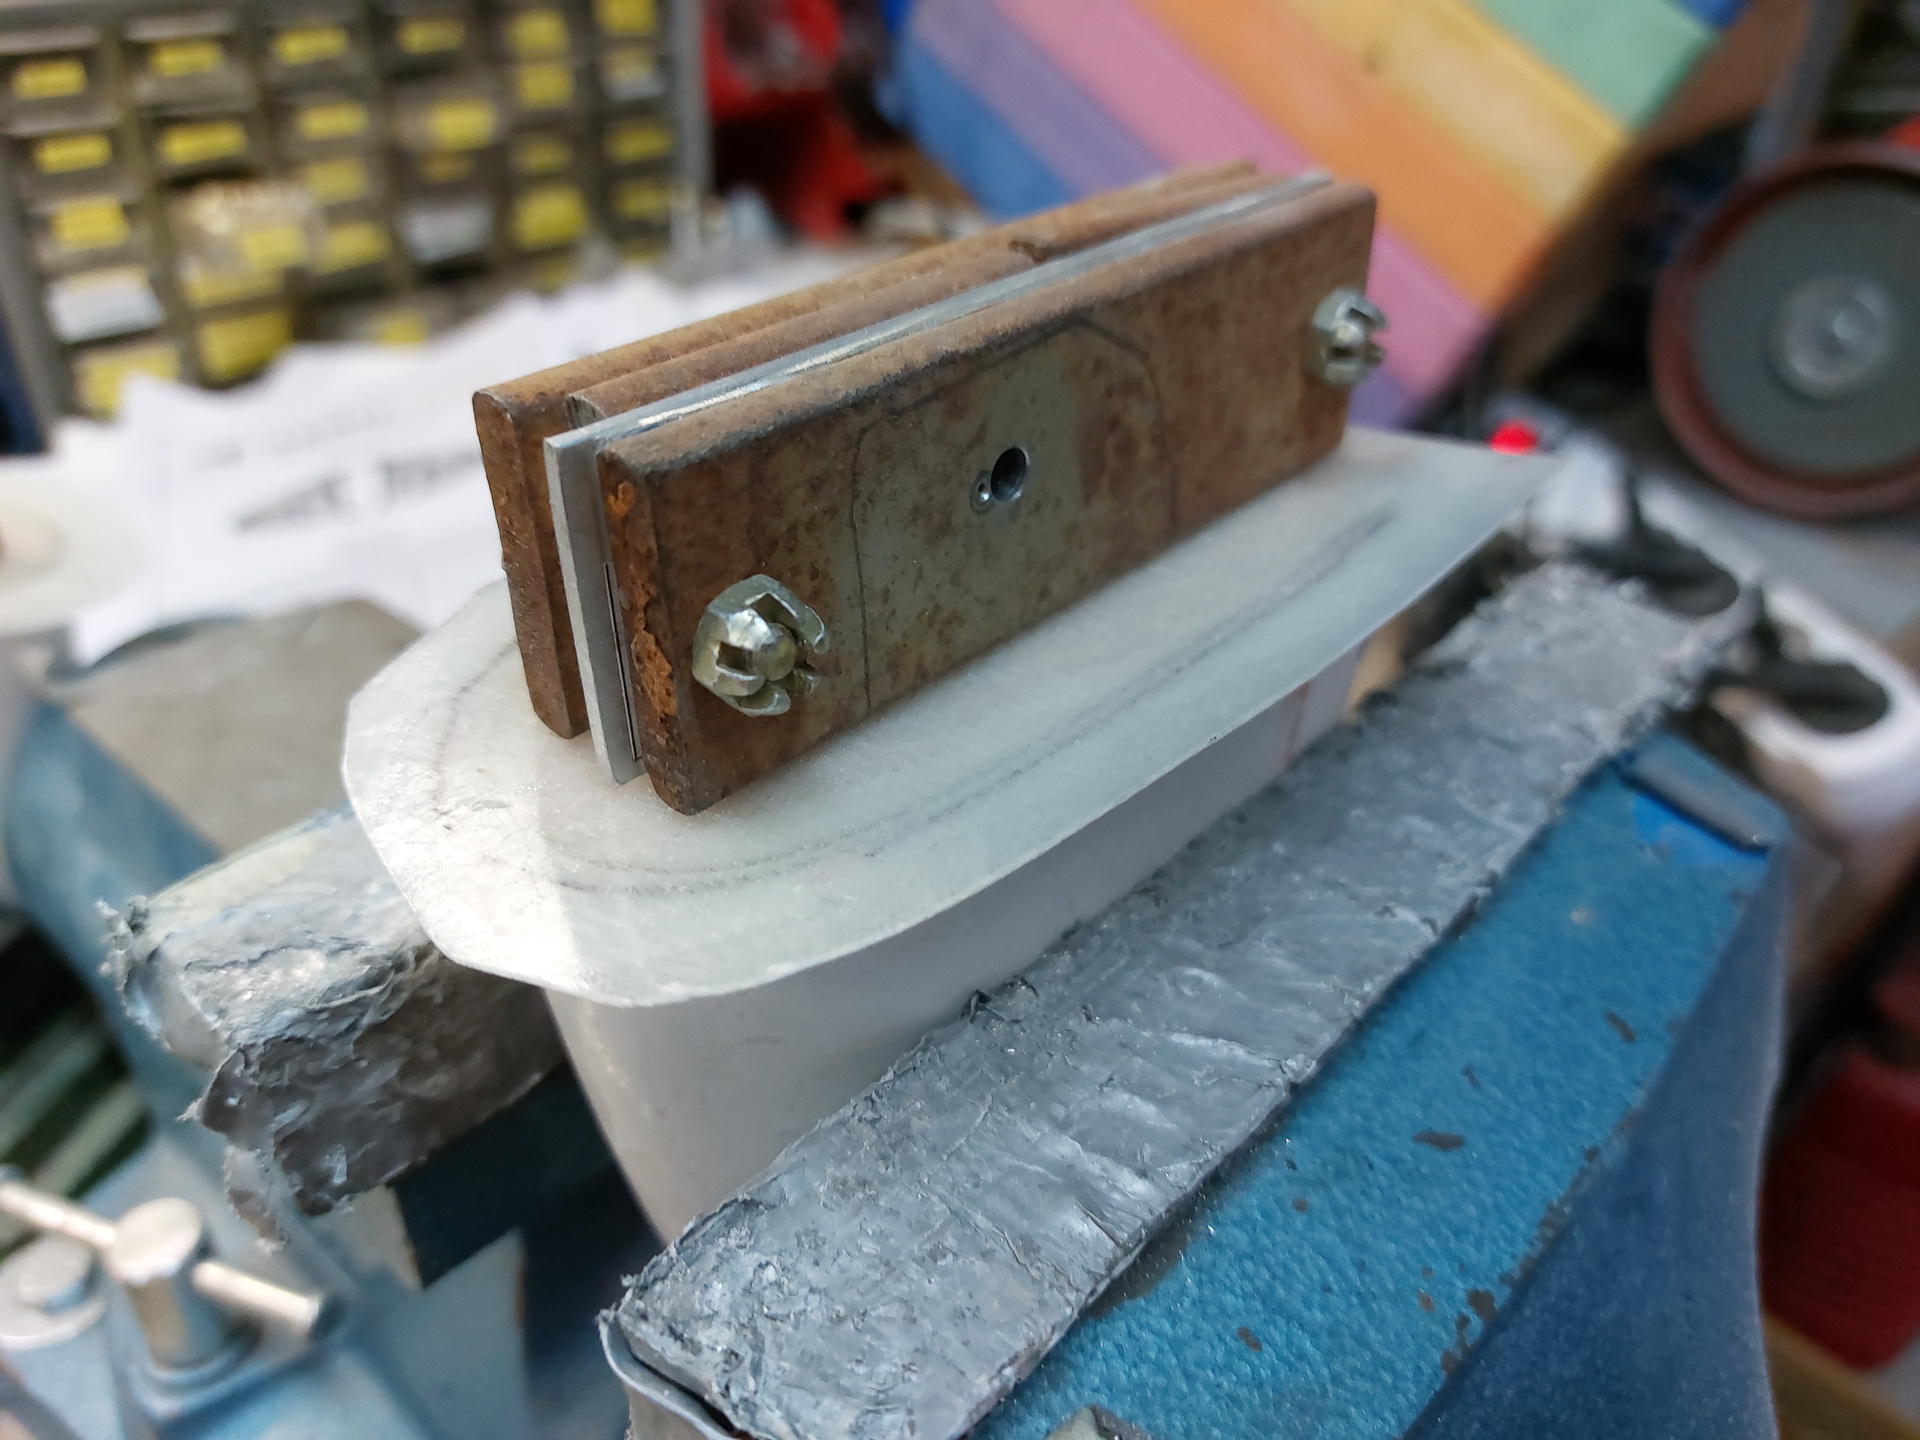
in the image below I used the modelling clay to make the insert. It would have worked... but found it very hard to make a consistent nice bend by hand.
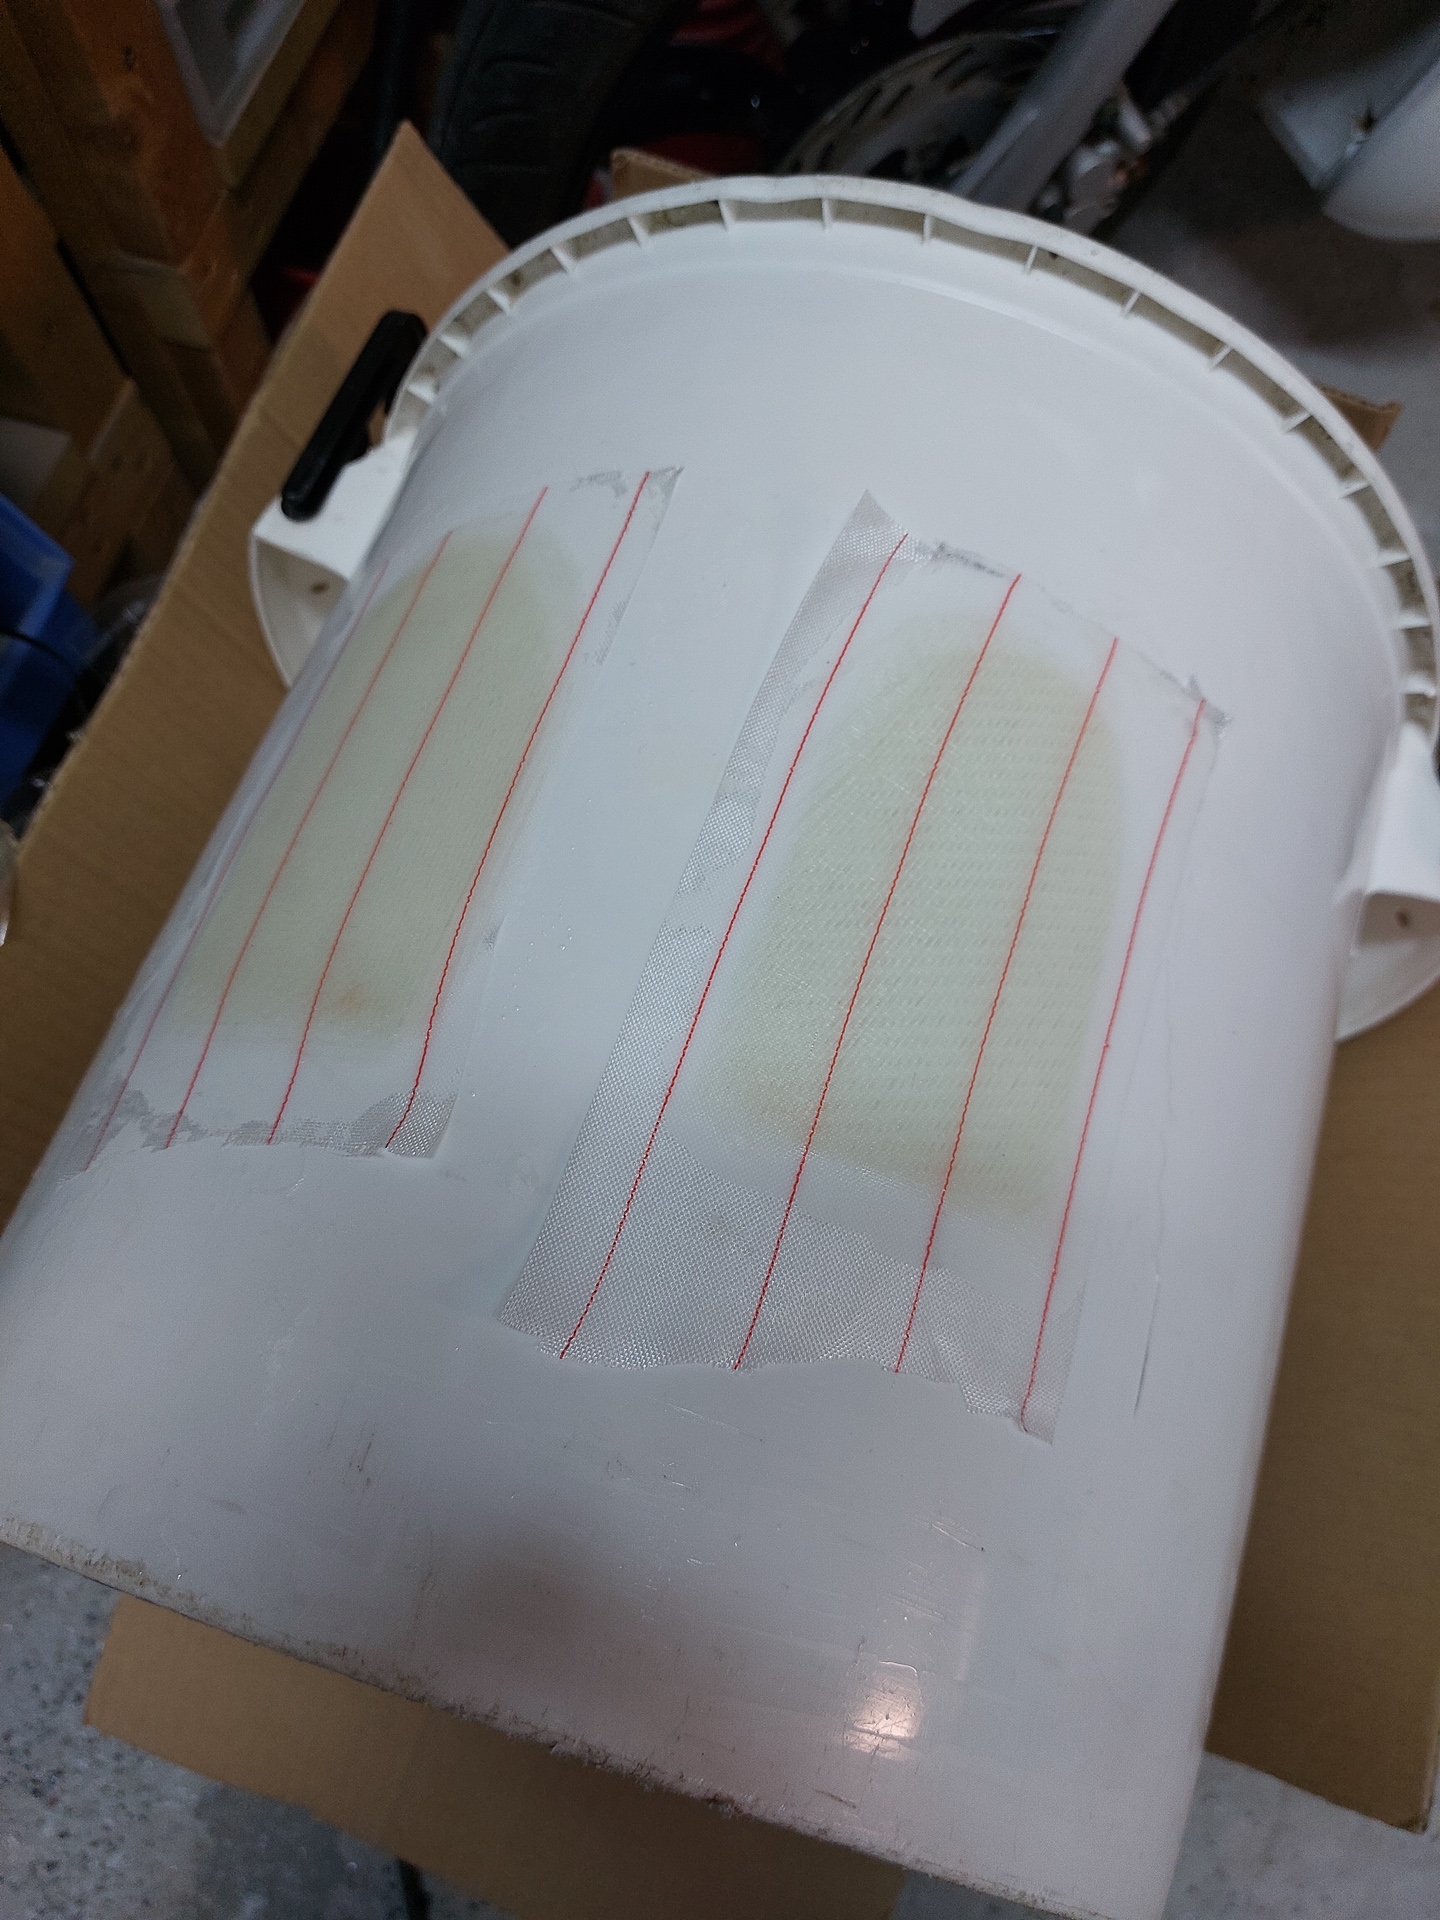
So I came up with another very simple idea. I took a large plastic bucket, sprayed some release agent on it and laid up the fibreglass strips on the curved surface of the bucket. This will make a perfect shaped inward bend. Put some peel ply over so that I can glue it in place and later on an additional epoxy layer on the inside as per the manual.
When all was cured, I glued the epoxy covers on the front of the HS fairing and placed some weight on it to keep it firmly in place.
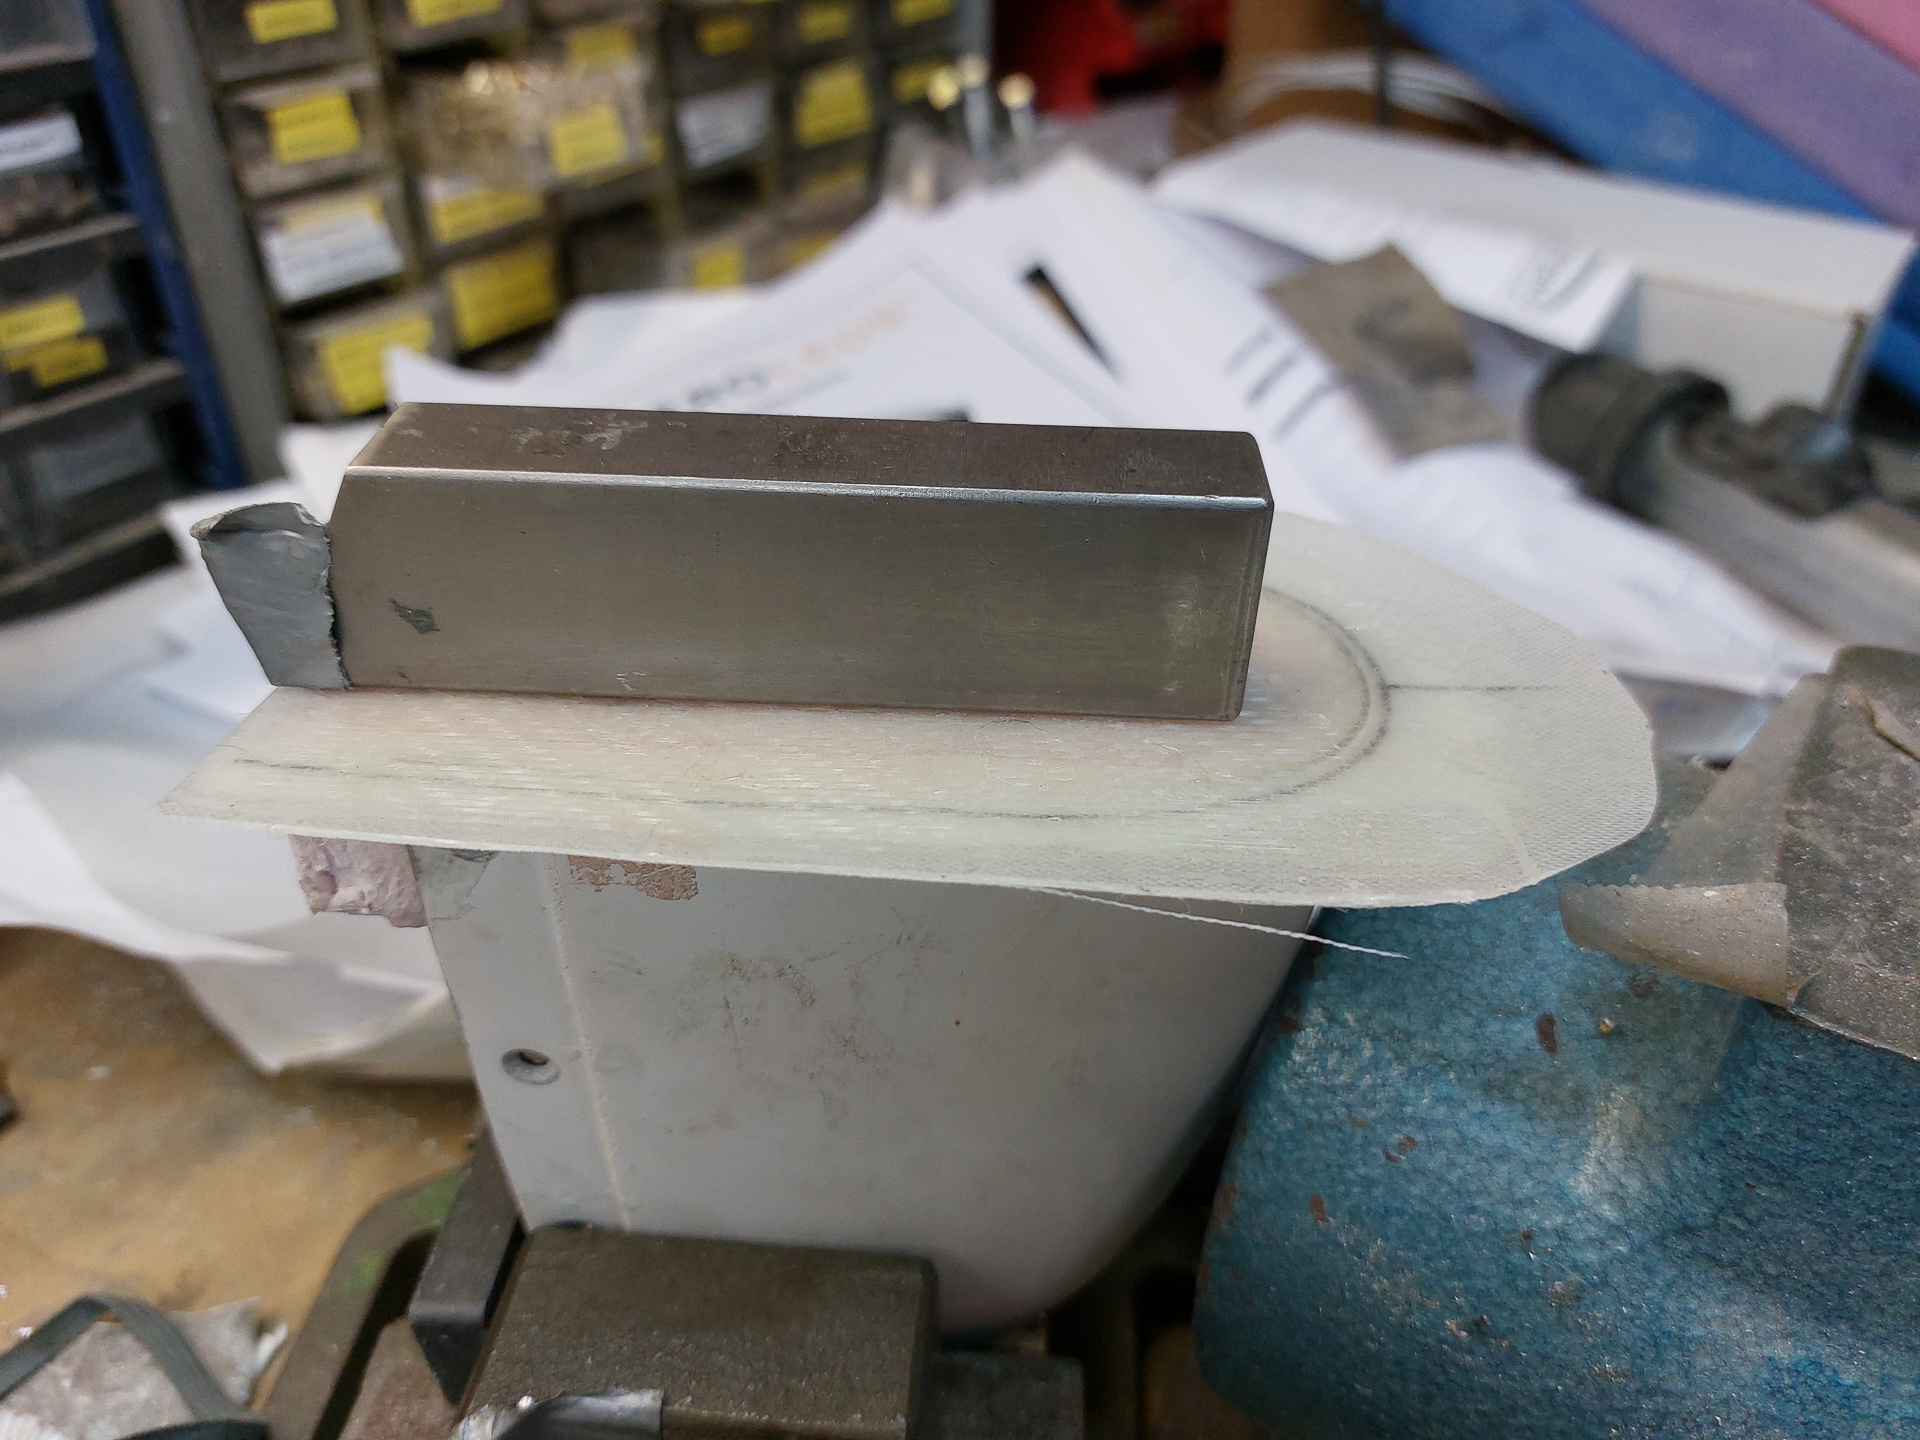
My tungsten bucking bar did the trick on the other one. Once this is cured, I will cut off the excess epoxy and add the inside layer along the sides to reinforce the bond. The anti release agent creates a kind of plastic film which can be washed off and melts in water. It was very easy to get the covers of the bucket and now that the inside is washed clean, it left a very smooth surface. I could have used an even smaller bucket for an even bigger curve but this will do for now.


