My starter motor is a B&C specialty products BCS206 experimental starter. The full name plate is shown below.

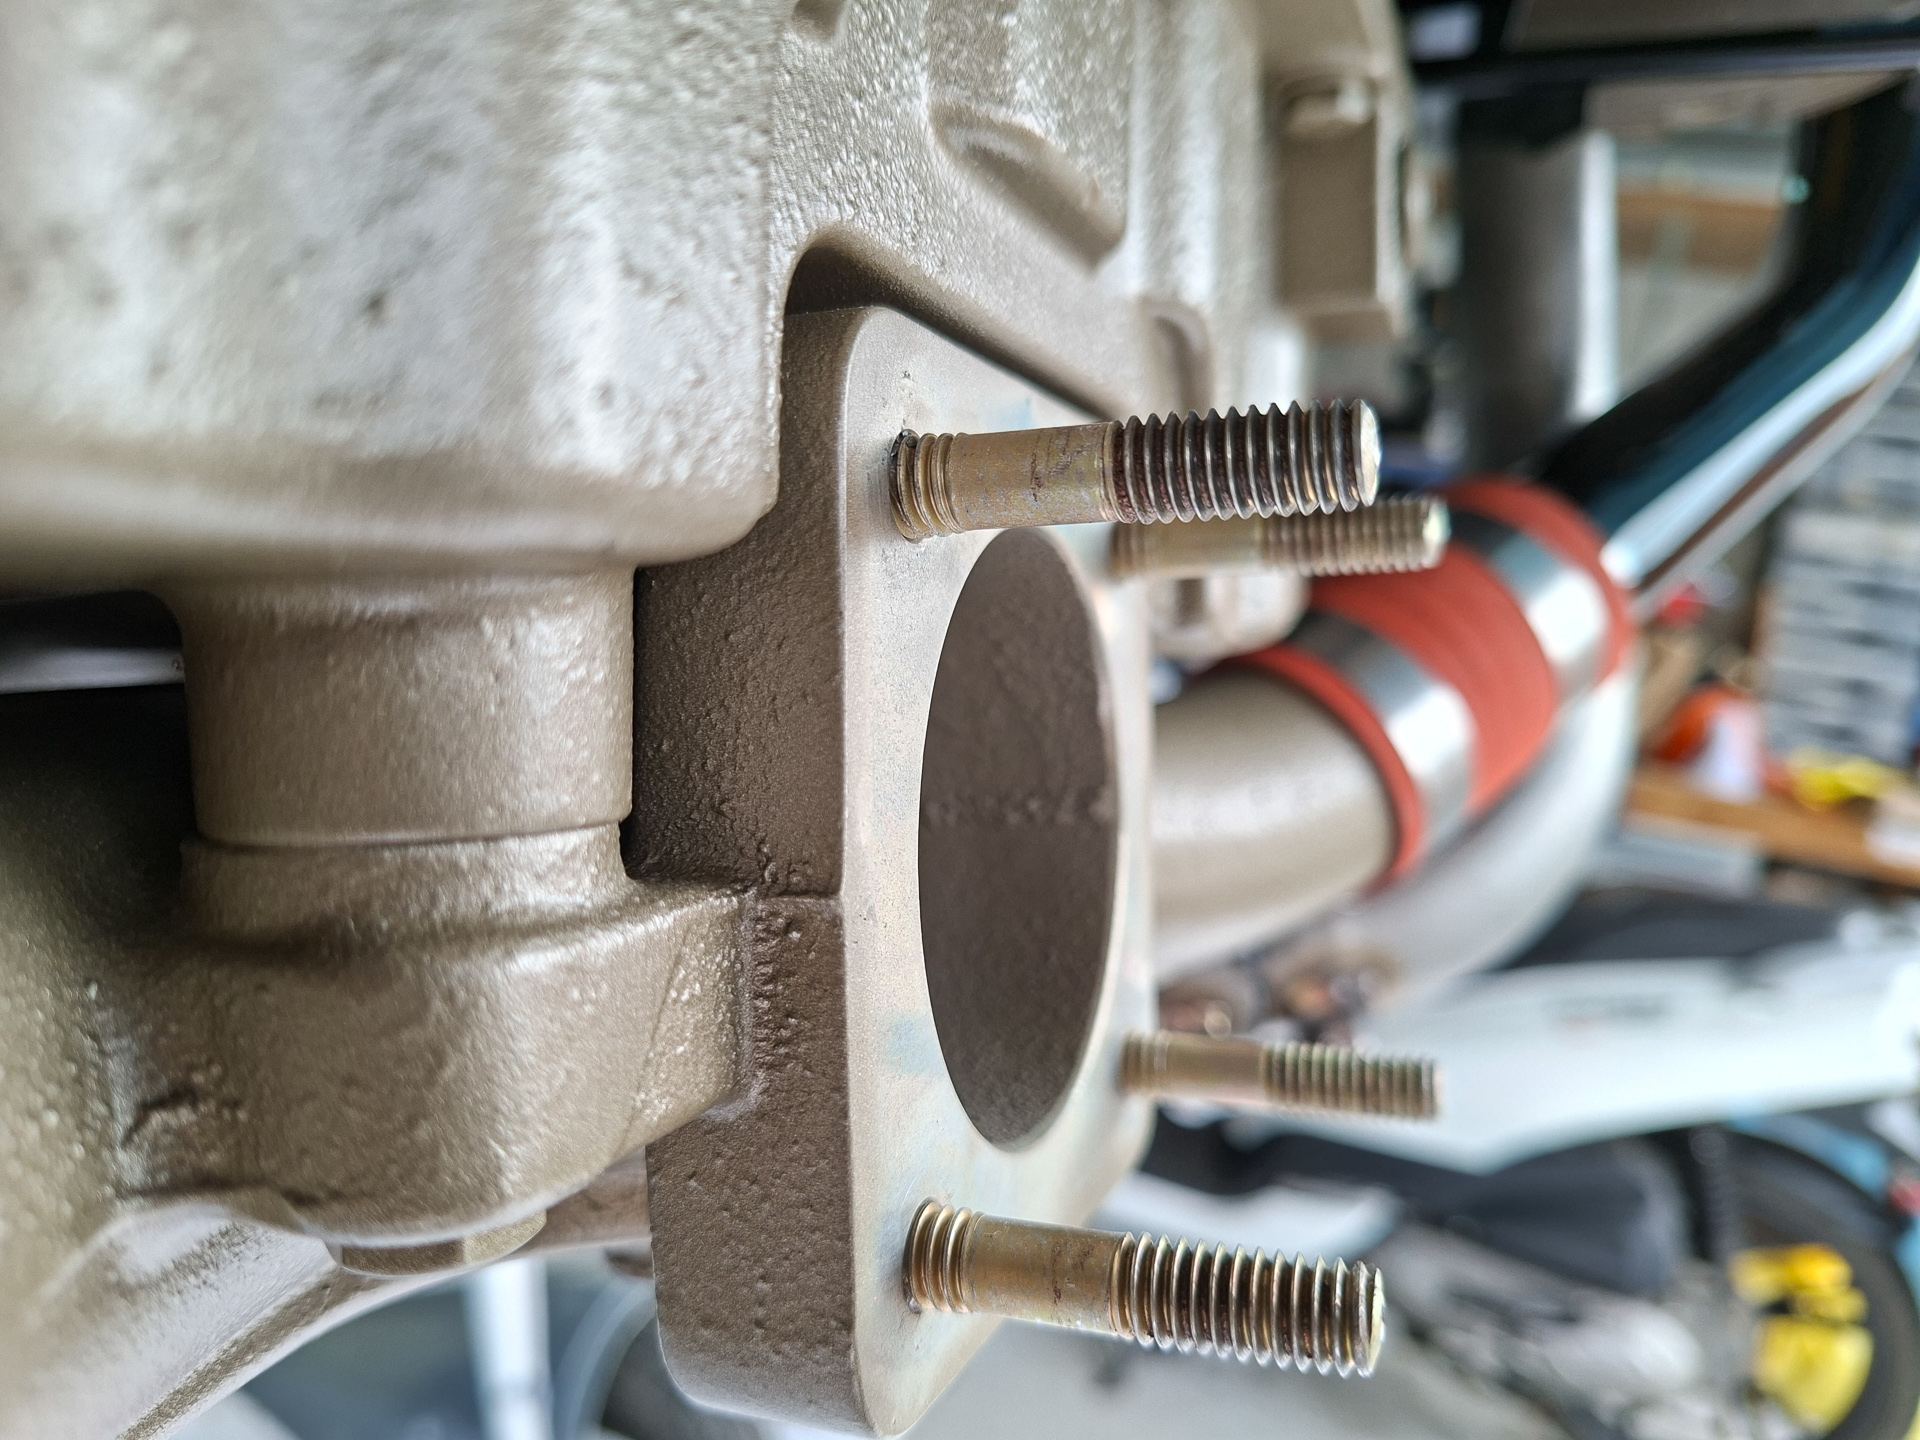
It mounts at the front right side. There are 3 studs in the engine case, the 4th one is a bolt. I put some anti seize on the studs and test fitted the starter on the studs.
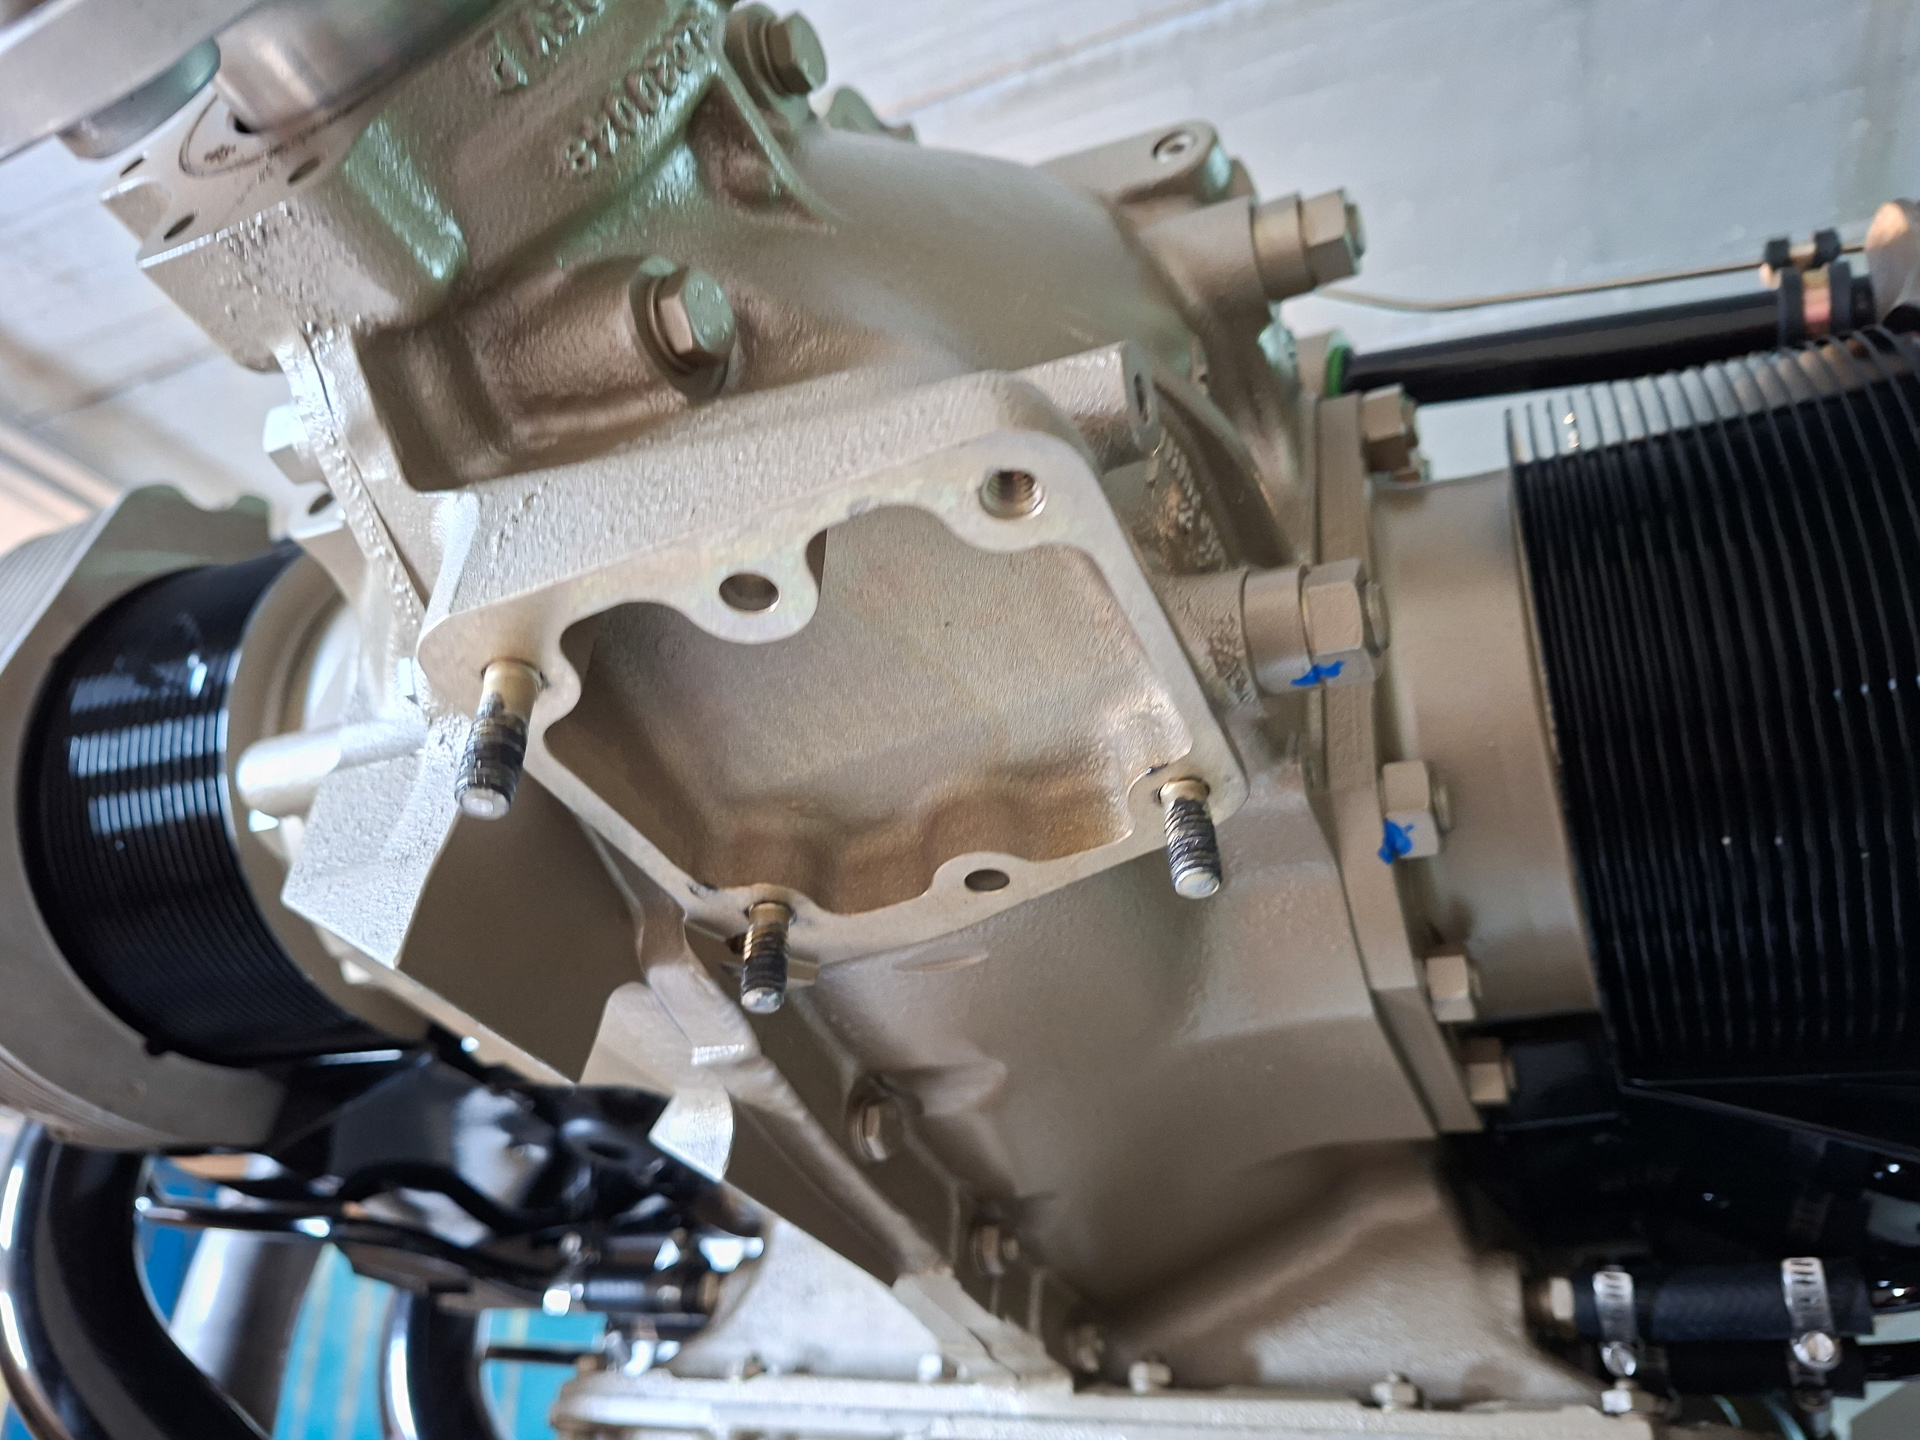
This sounded easier than it would be in reality... The starter is too long and interferes with the fuel throttle body.
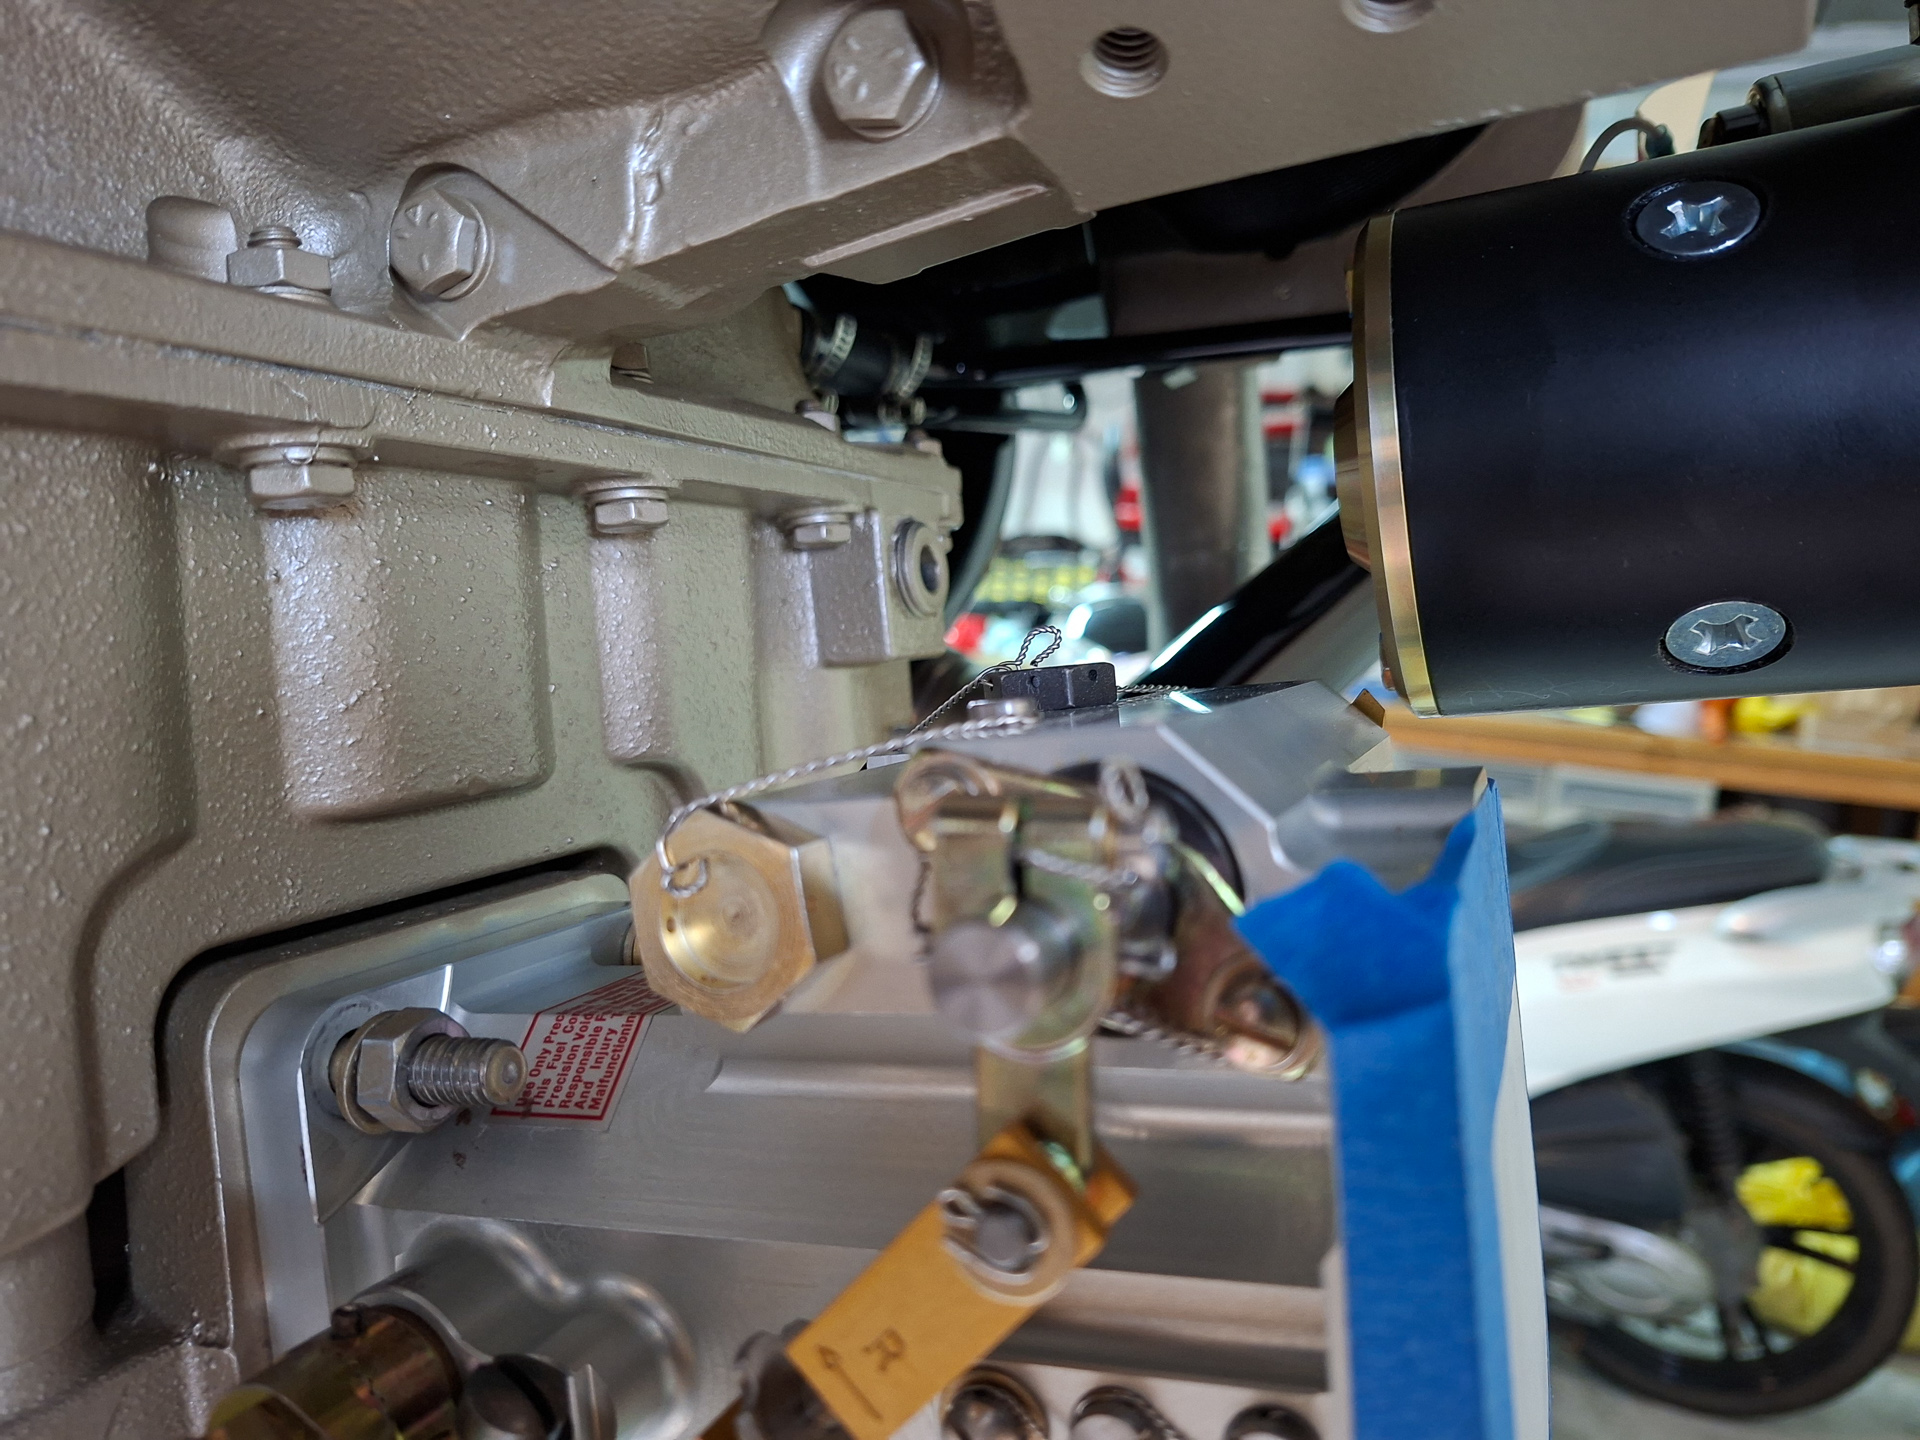
With the spacer in place on the fuel throttle body, the starter can't go on. So first I had to remove the fuel throttle body and take out the spacer so the throttle body would move backwards. With that done, the starter could be put on the studs.
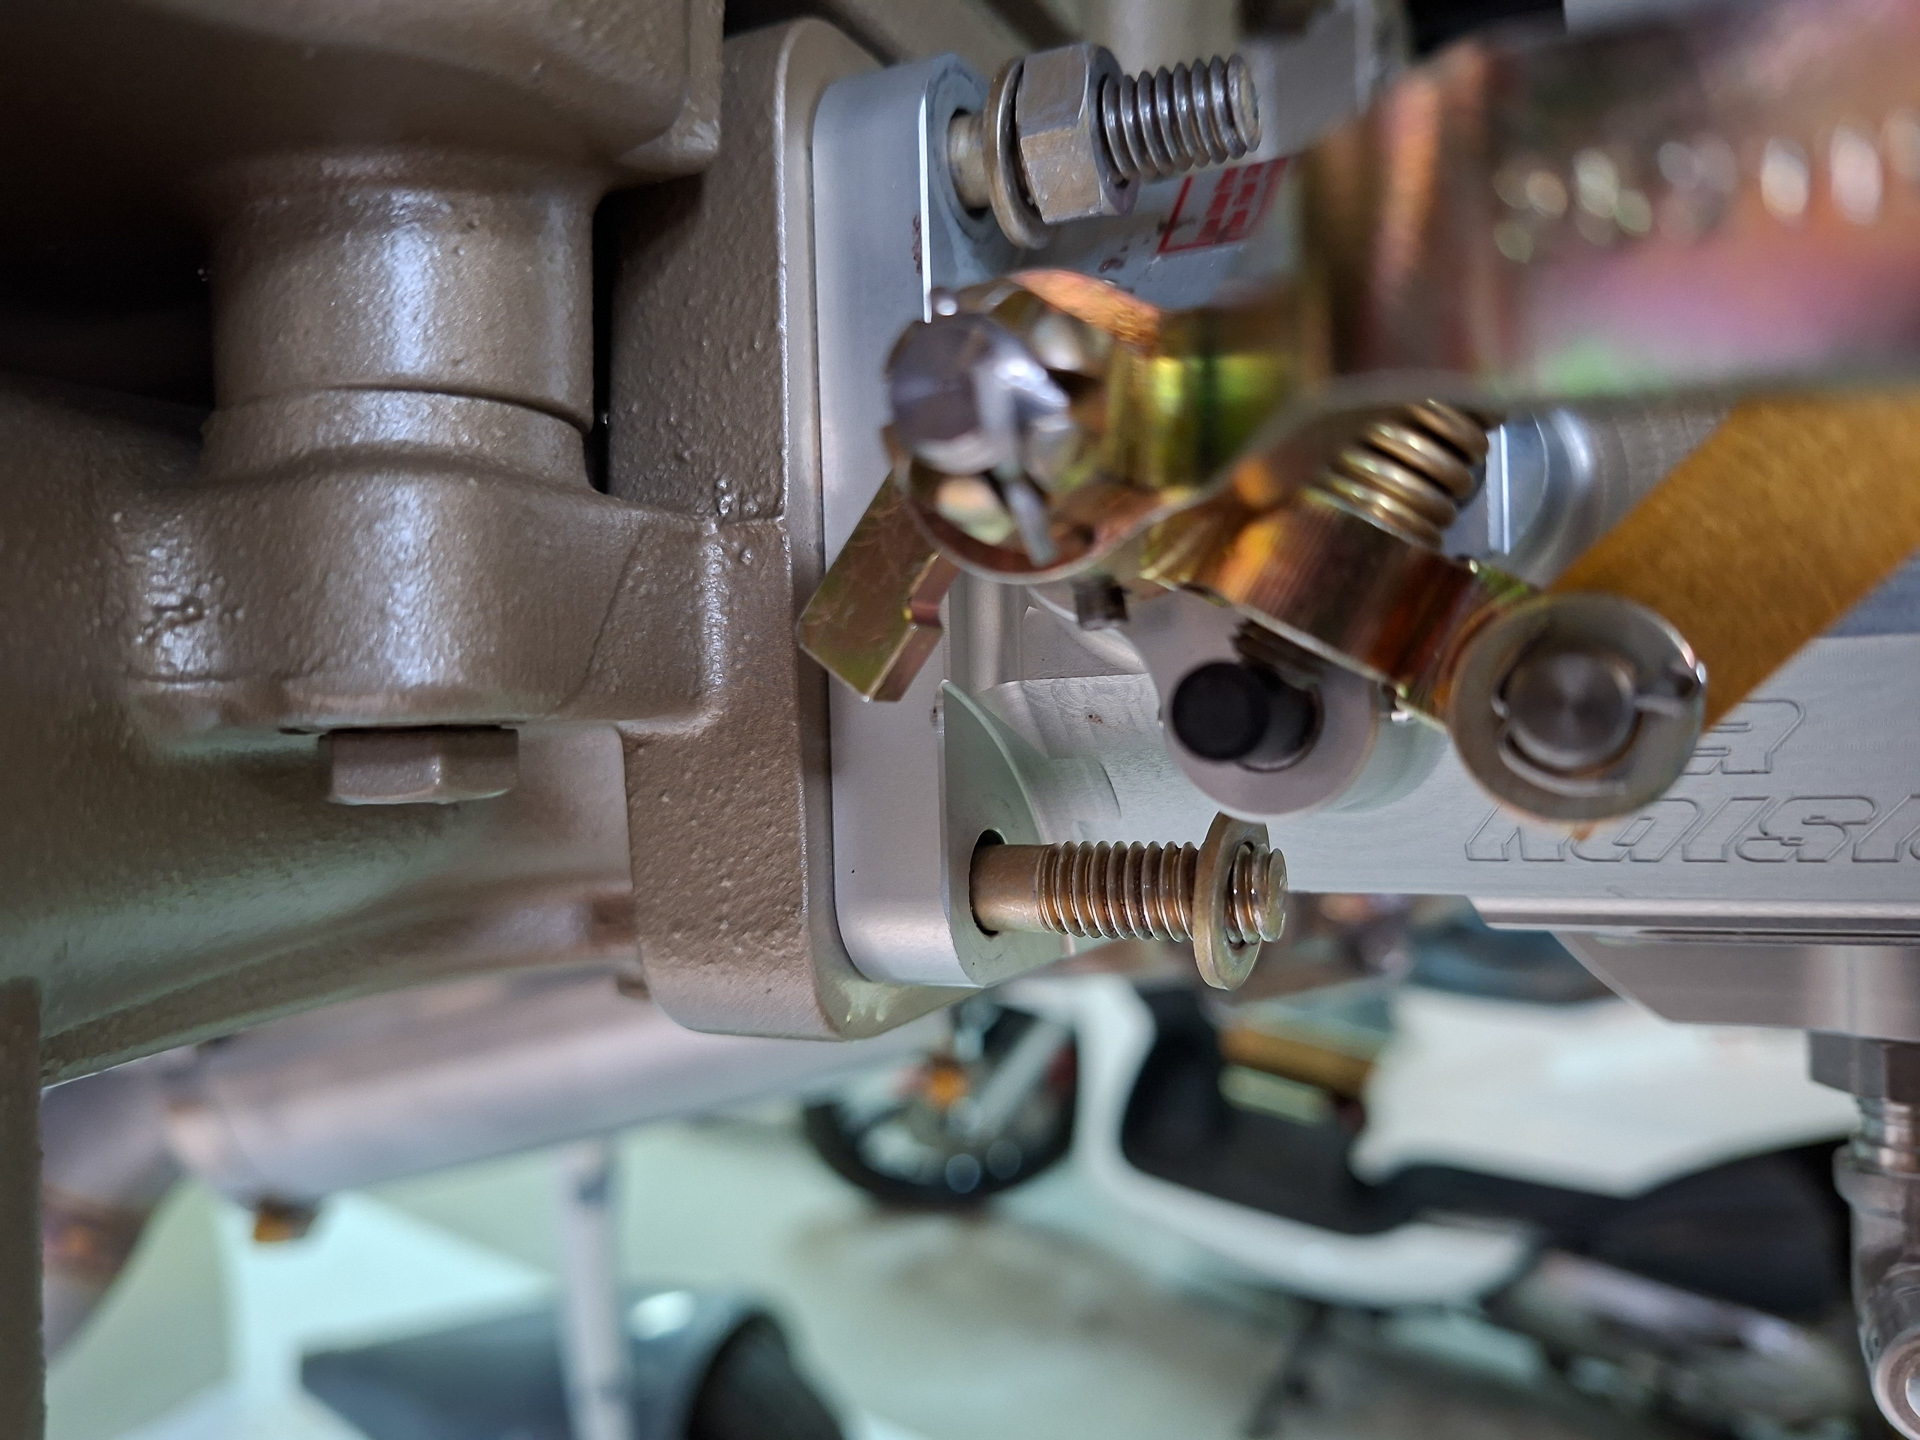
This gives me the next problem. The studs on the throttle body are placed in to count for the spacer. As you see image below, there is no thread on the stud if the body moves closer to the engine case. I either have to use a lot of washers here (4) or try to screw the studs more into the case.
Werner who build an RV8 and had the same engine told me he was able to invert the studs in the case and that this solved the problem for him. I tried locking the stud with 2 nuts and tried to get them loose but no way they were moving. I'm afraid of breaking them and having an even bigger problem so I'll consult with PMM (my engine supplier) to see what I can do here as I don't like the 4 washer idea either.
As you can see, the spacing is really really tight here. The lever in the picture is the mixture control. You can adjust the orientation of this lever so this will normally not be an issue.
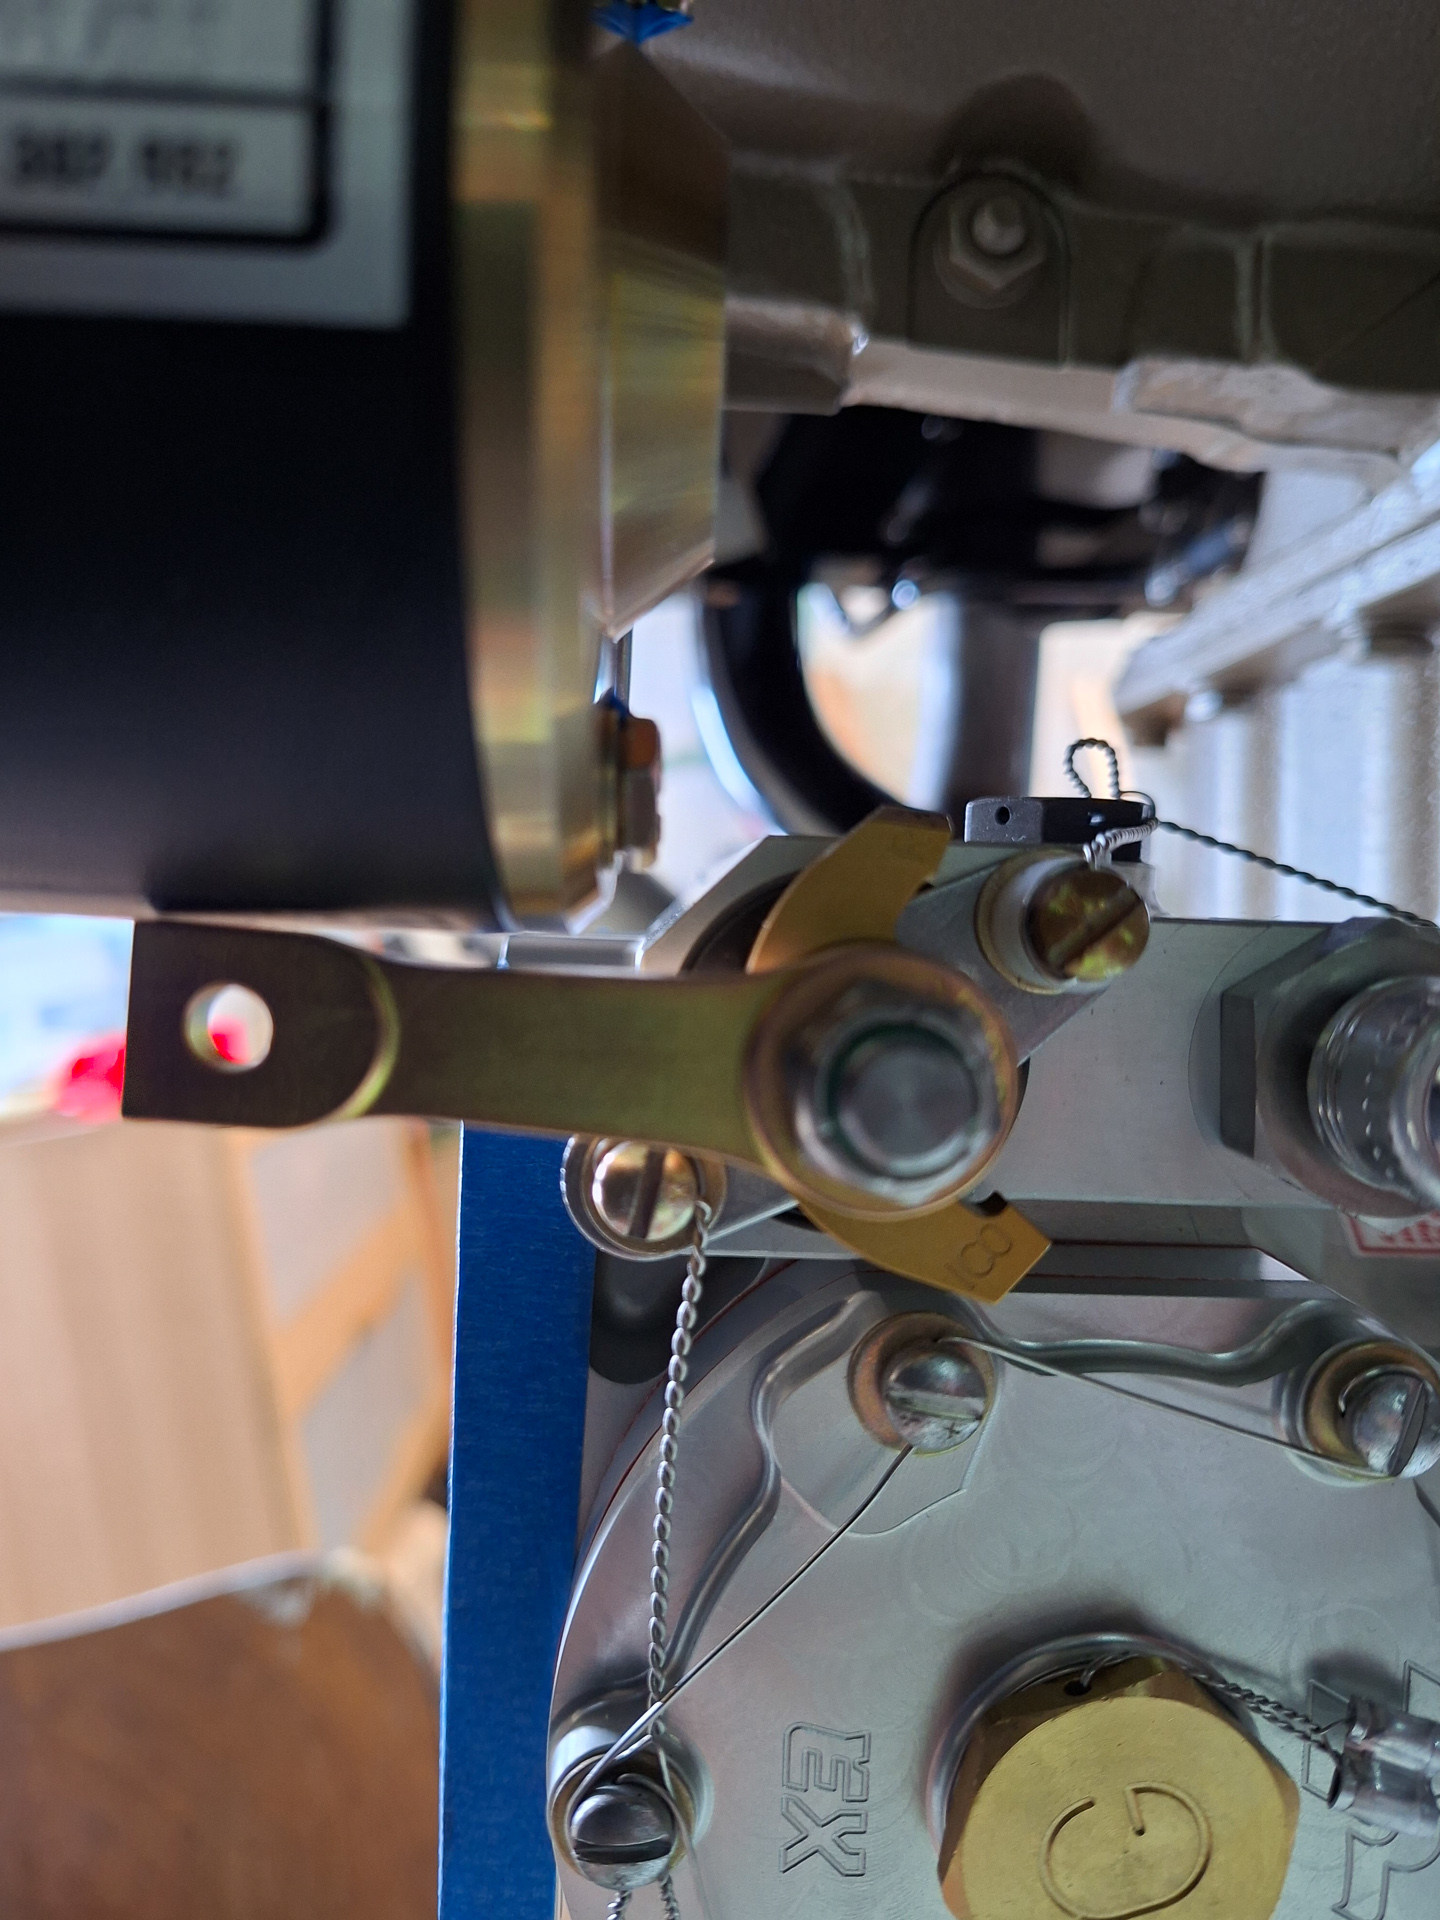
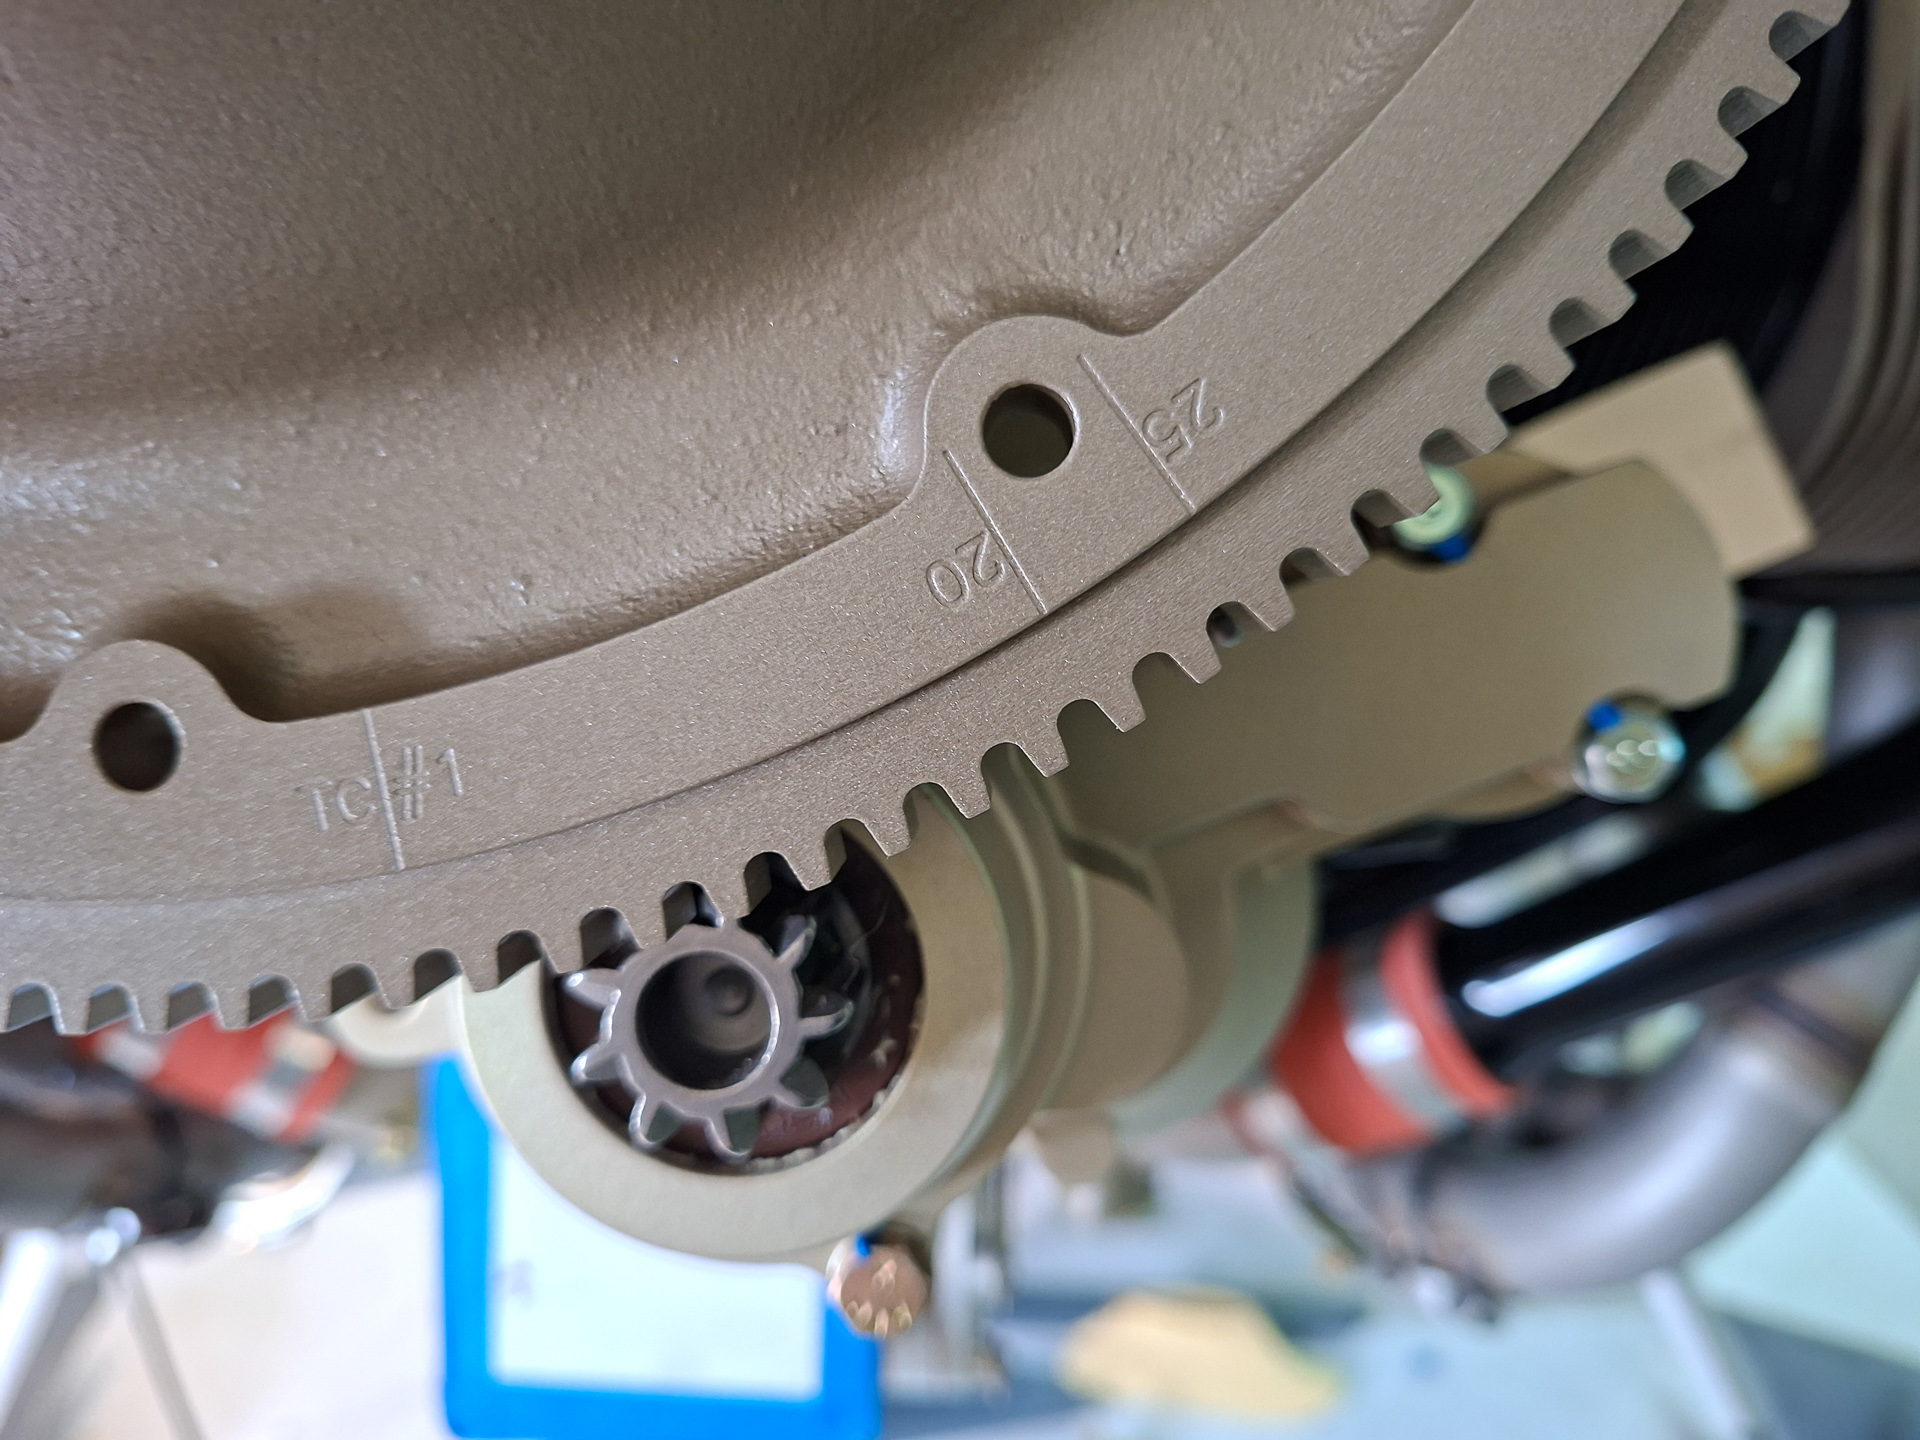
The starter motor is delivered with a pin. This pin is installed in this picture in a dedicated hole. The pin is used to align the cylinder position on the starter ring.
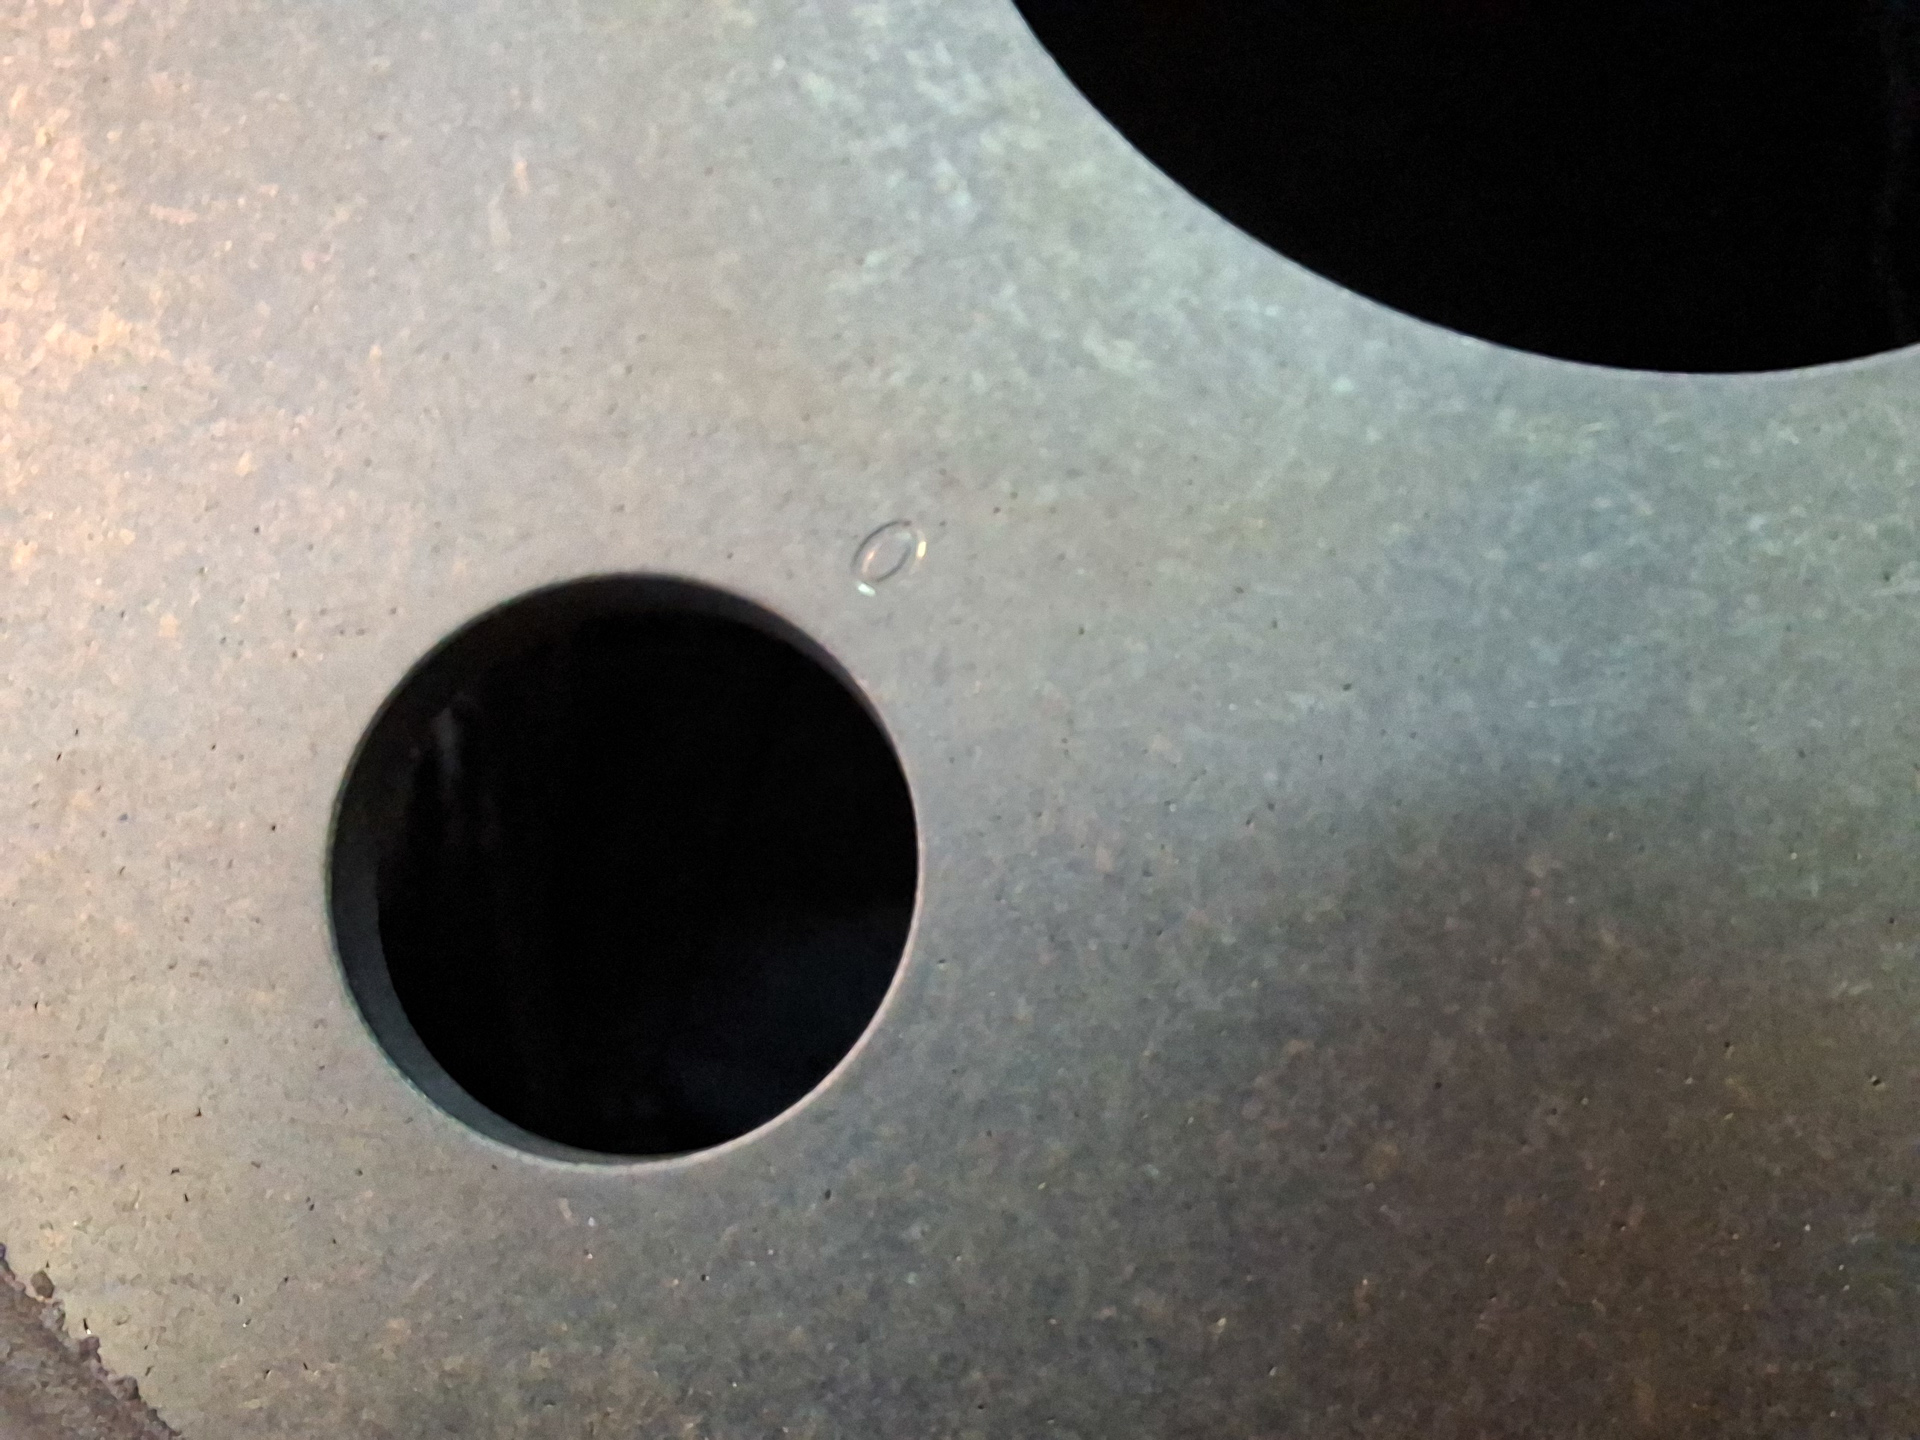
My prop hub has a marking "O" on one of the studs, made by PMM.
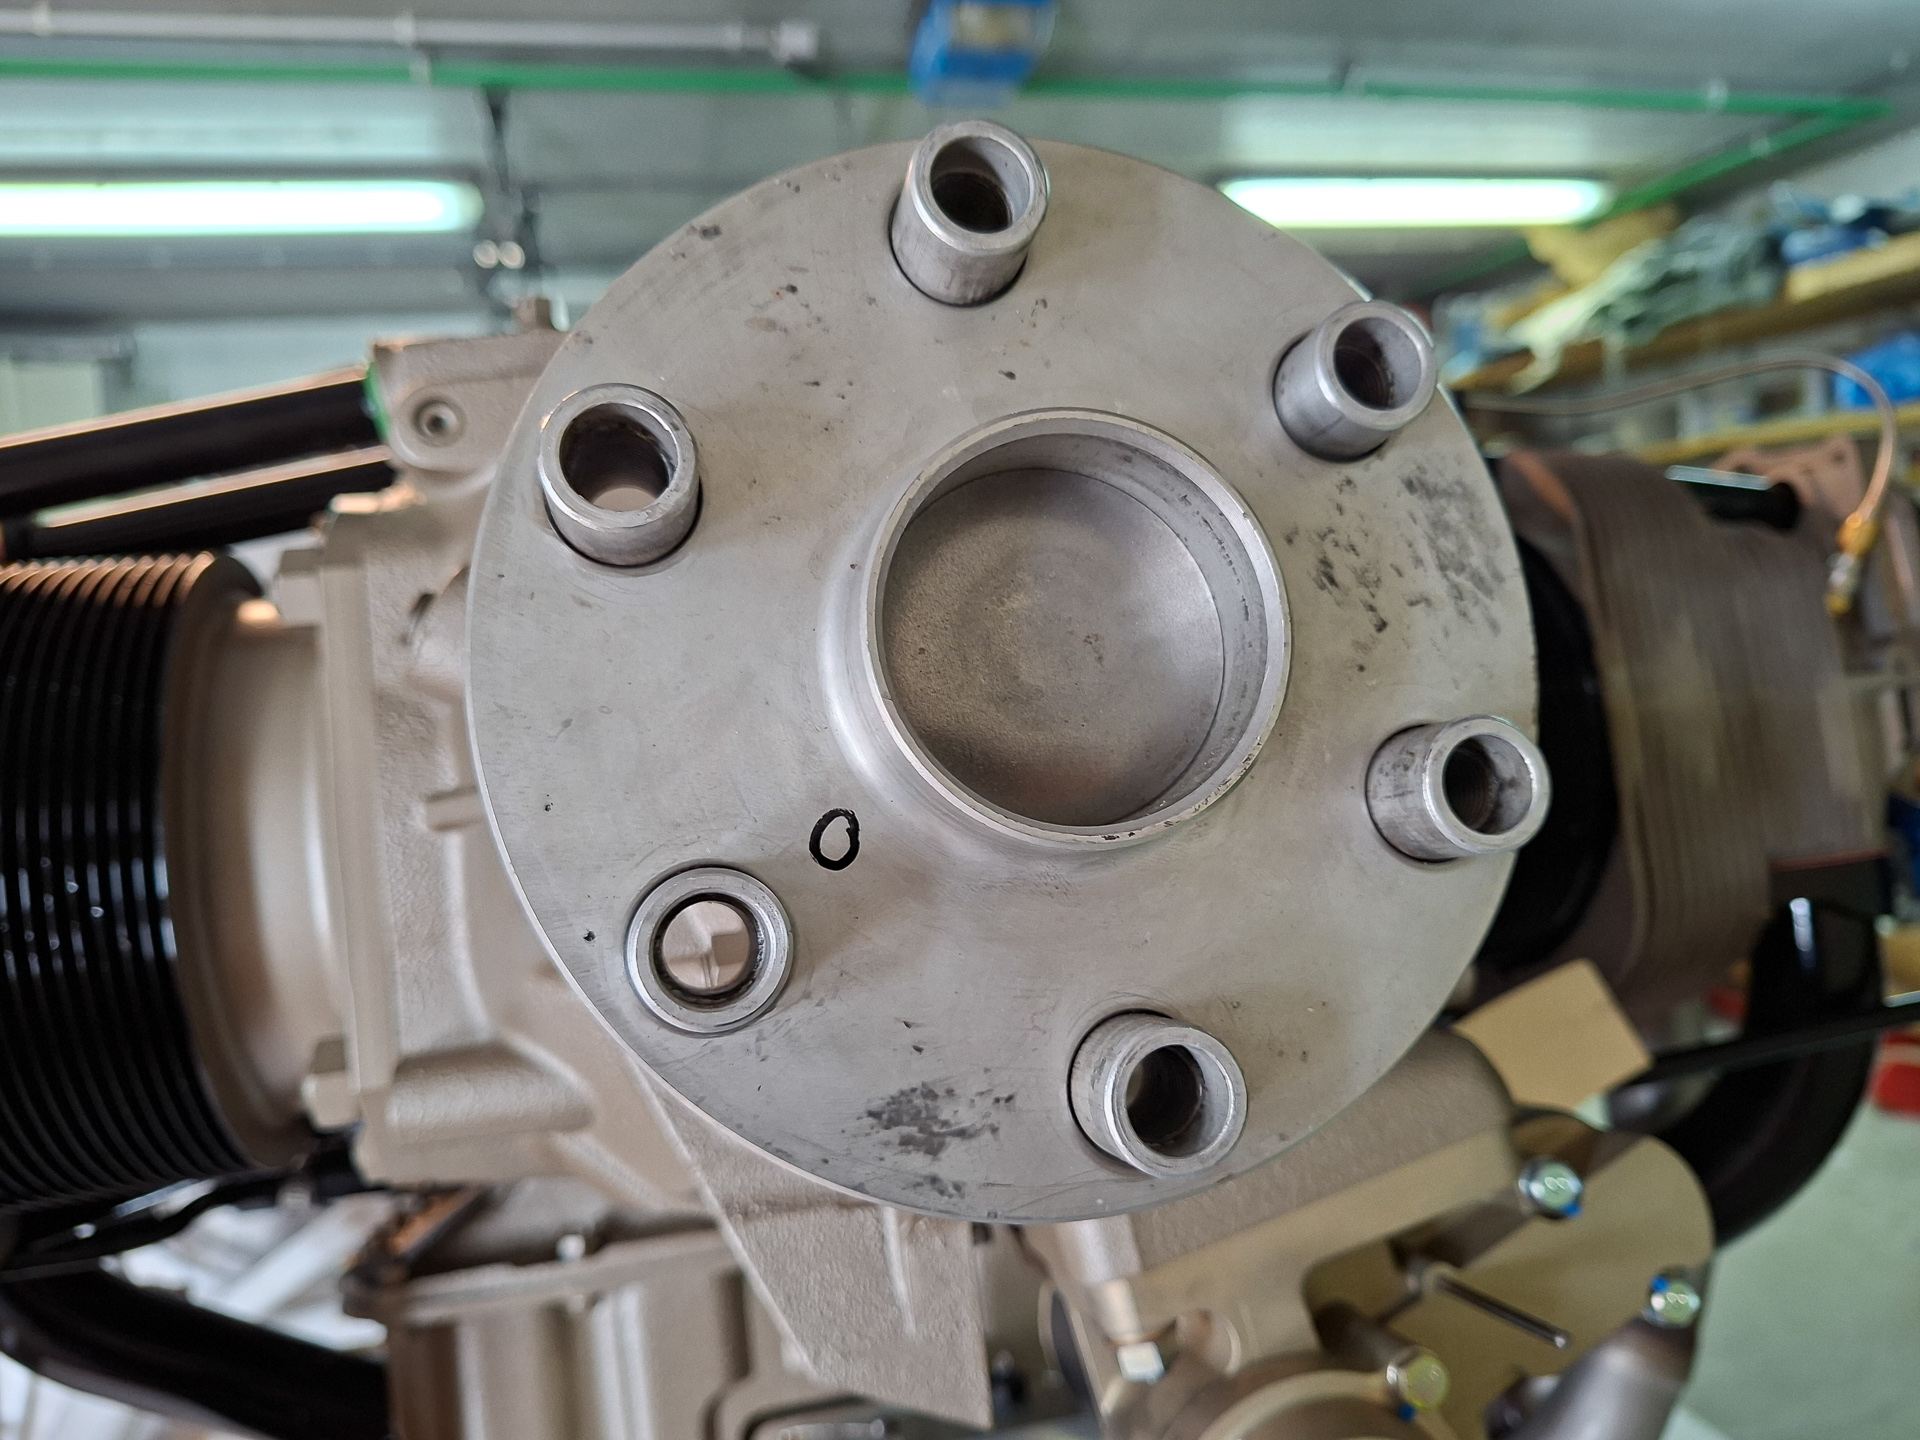
The starter flywheel ring itself also has a marking in it showing a "O"
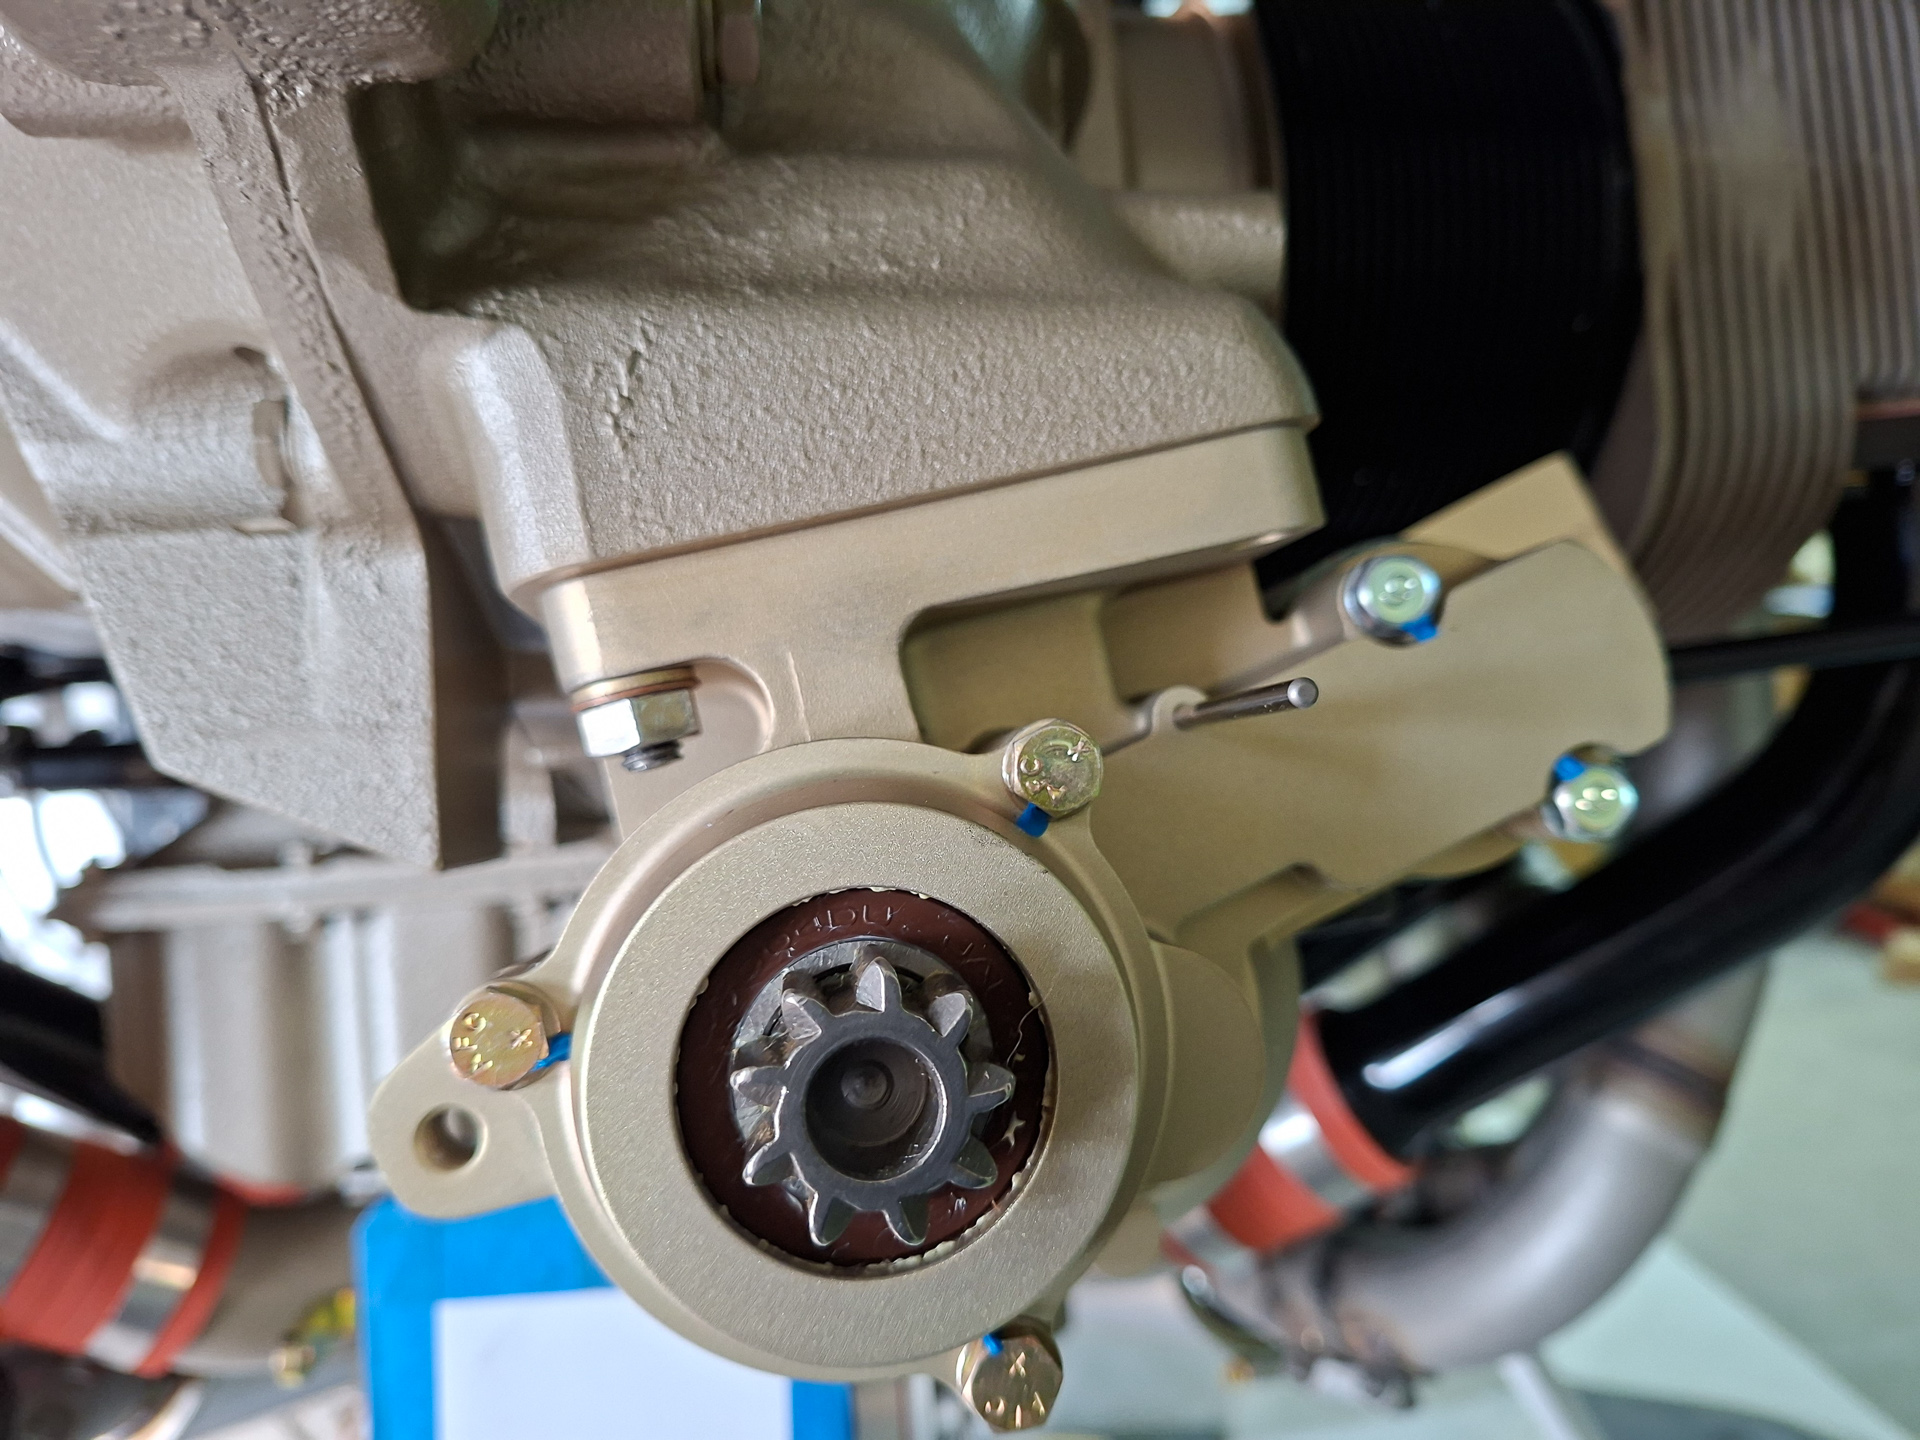
These marks the right position of my flywheel on the prop hub. When installed, you can see that the pin points to a position on the ring.
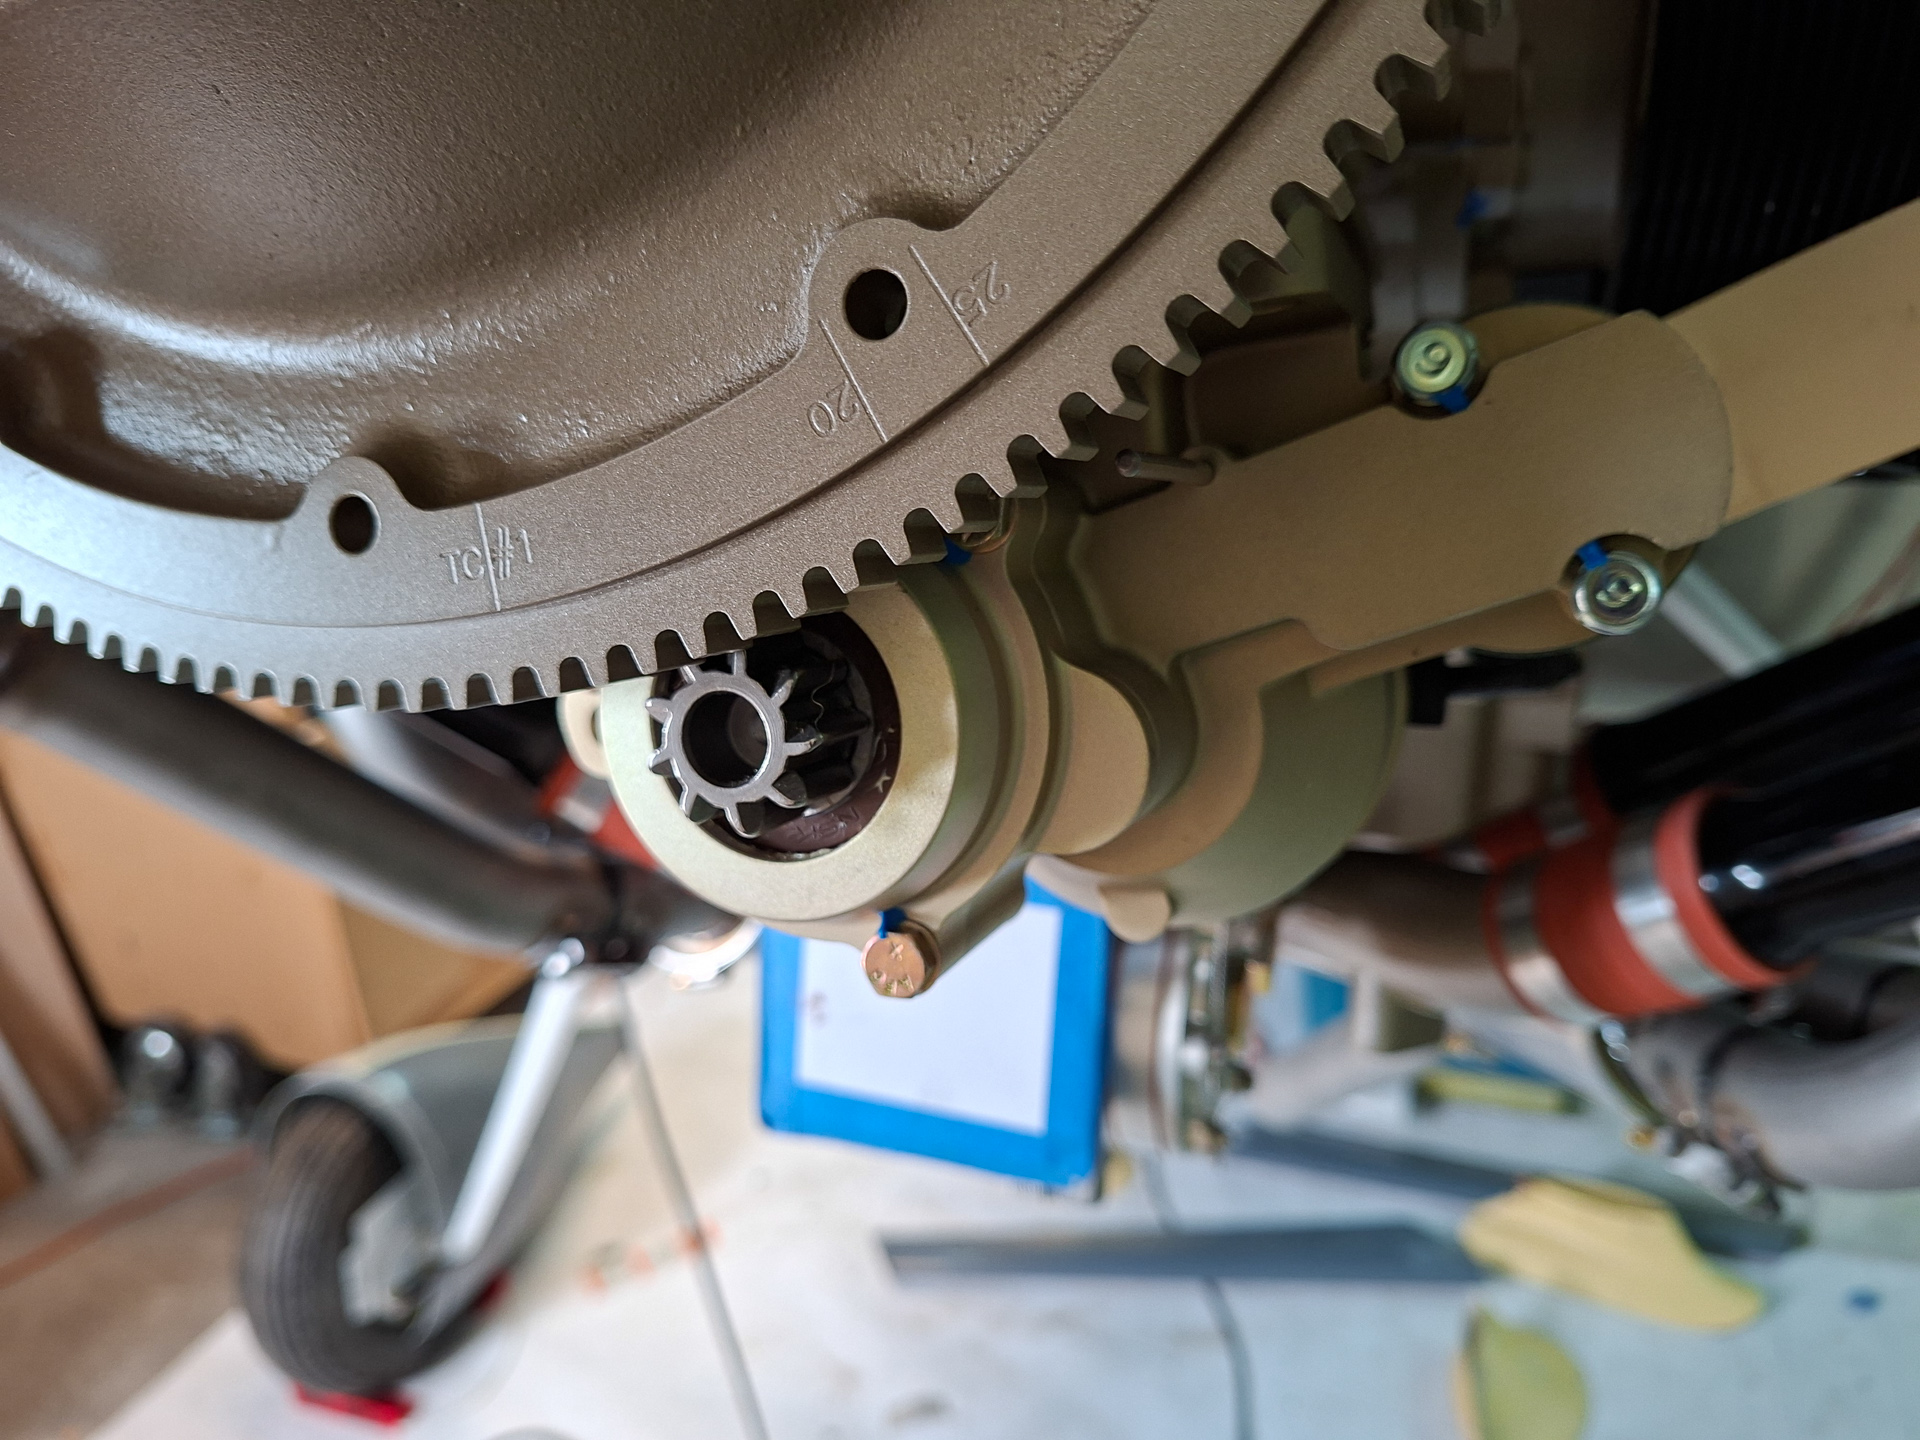
Difficult to see in this picture but the pin points to the 25 degrees spot on the flywheel.