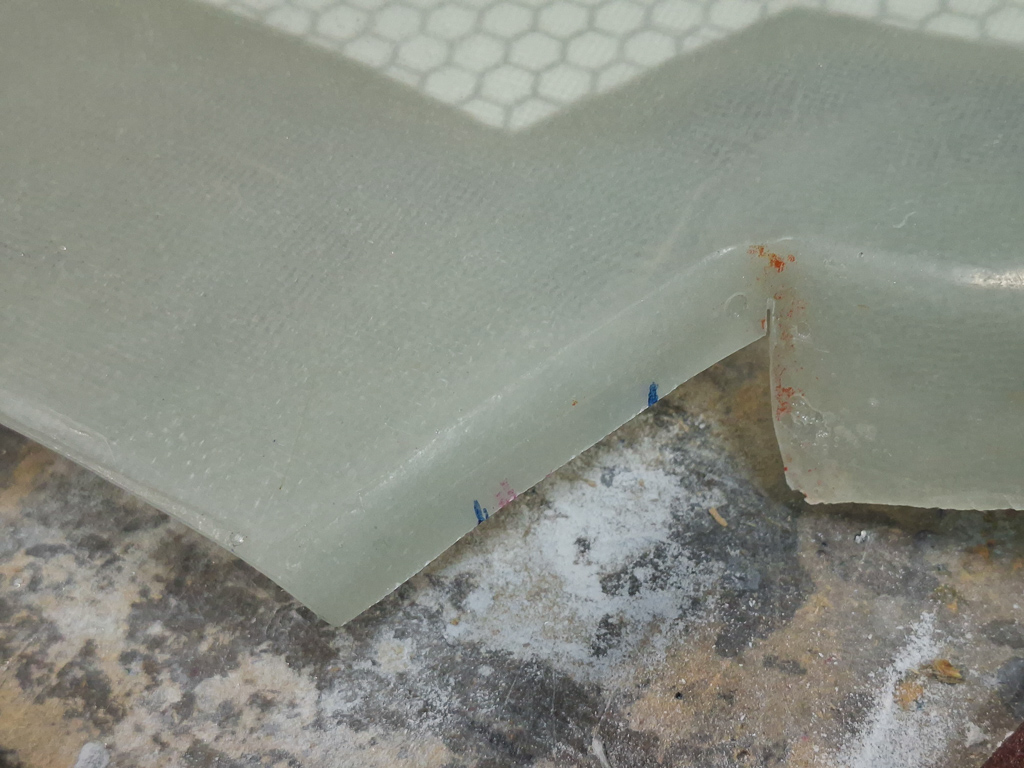
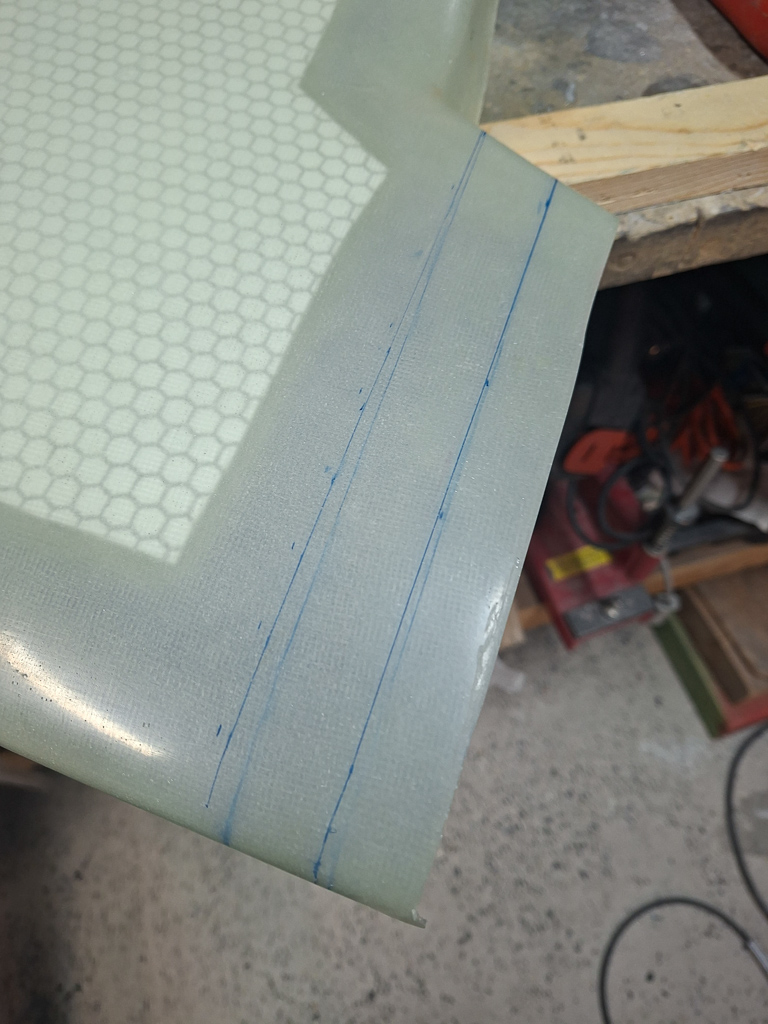
I made some markings on the passenger side of the top plenum to indicate where the cut off would probably be based on the position of the front diffuser. The overlap between diffuser and plenum roof has to be 1 inch.
The front and back marking on the side indicate this position. In the image on the right, I have drawn the rough line across the top.
Next I wanted to start more accurate measuring on the spacing between the top cowling and the plenum top.
An easy way to do this is by using play doh plasticine (modelling clay).
The general idea here is to make small pyramids of the plasticine in various locations on the plenum, install the cowling top on the airplane. This will push the clay down. It you carefully remove the cowl afterwards, you end up with thick pancakes which will reveal the actual height that was left between the plenum and the cowling.
We are looking for a distance which is at least 3/8" up to 1/2" inch preferably to accomodate for engine shake within the cowling. Especially during startup there may be quite a bit of movement.
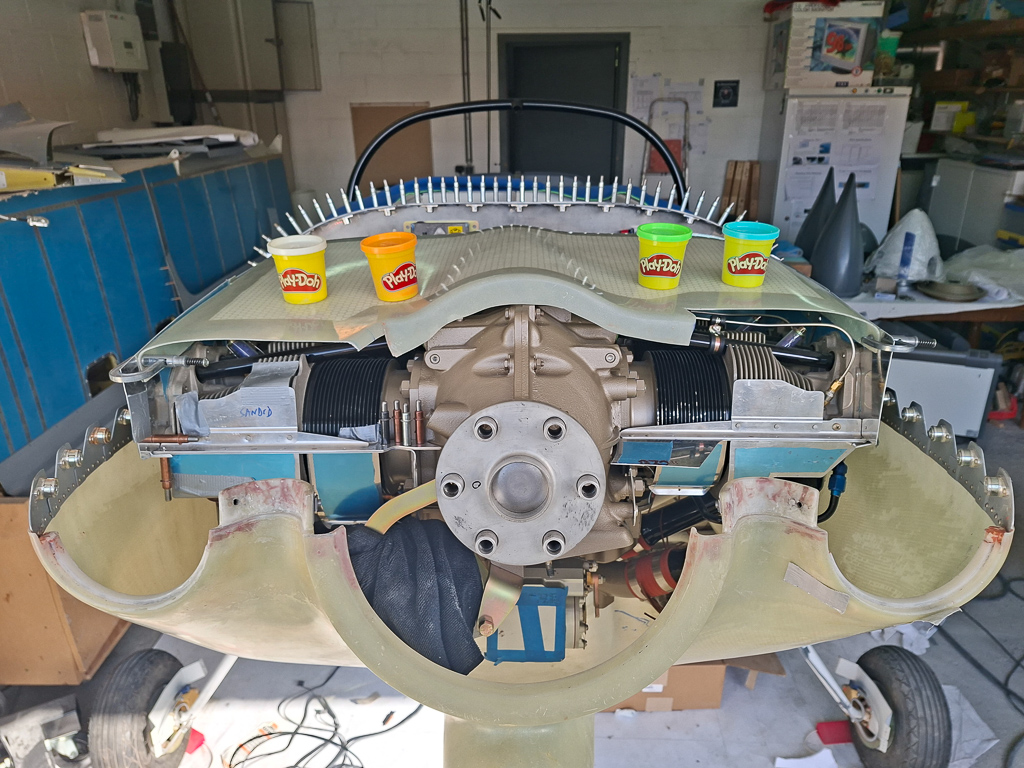
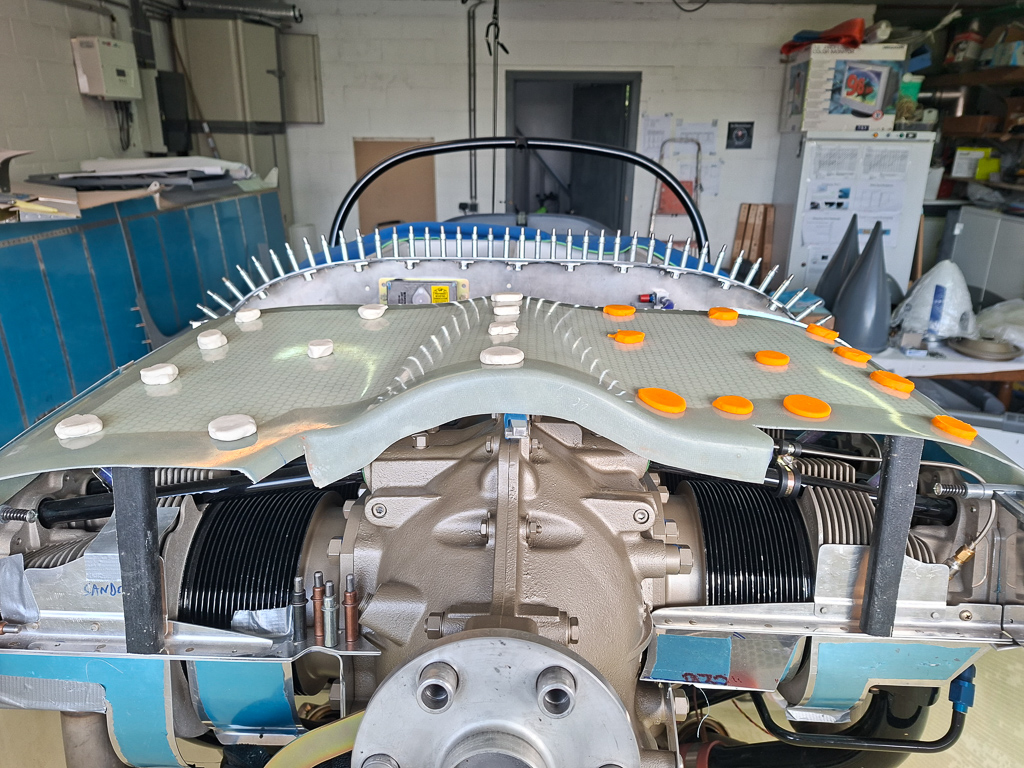
I put the cones on and wanted to give it an initial fit.
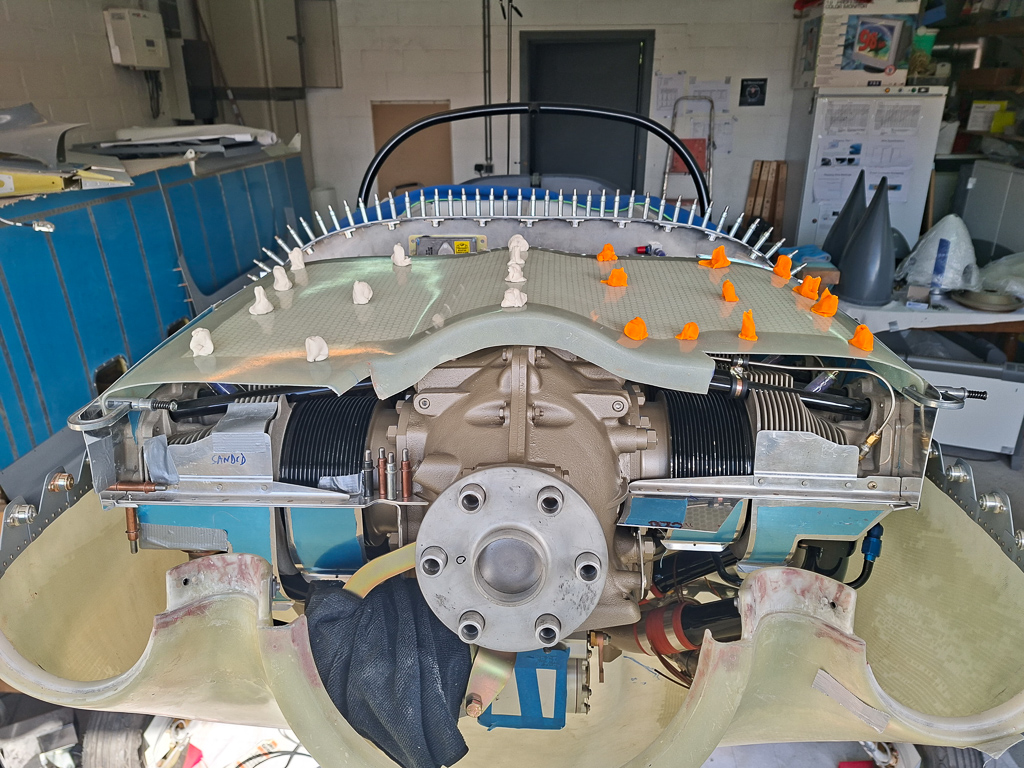
After installing the top cowl, this is what it looked like inside.
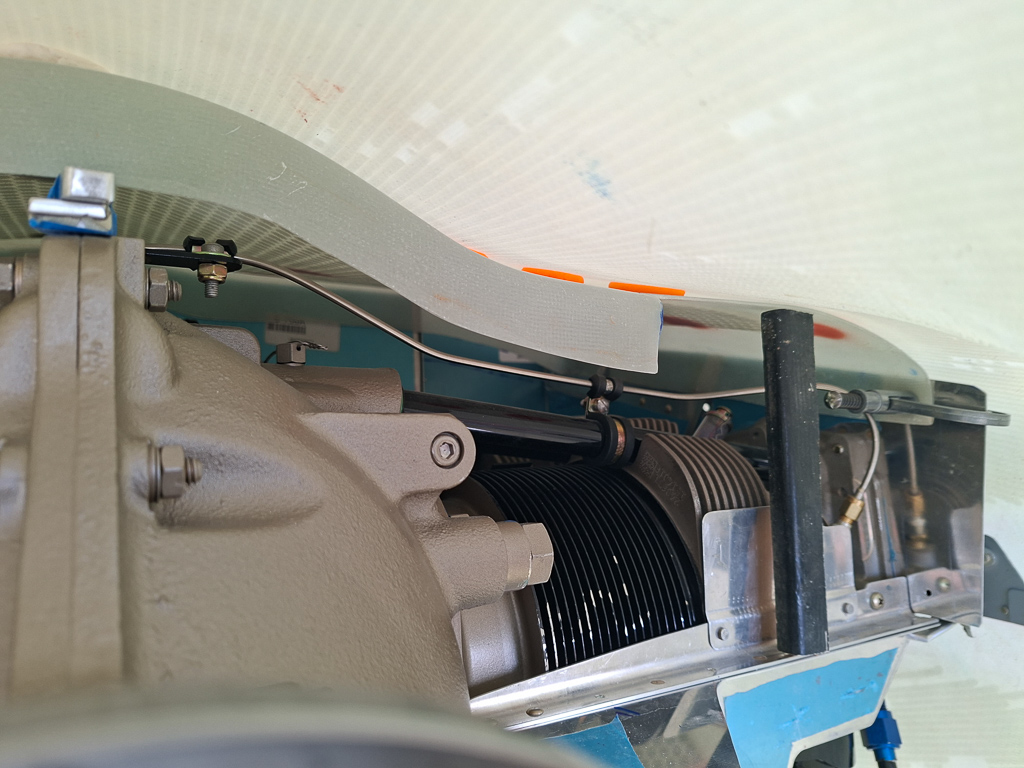
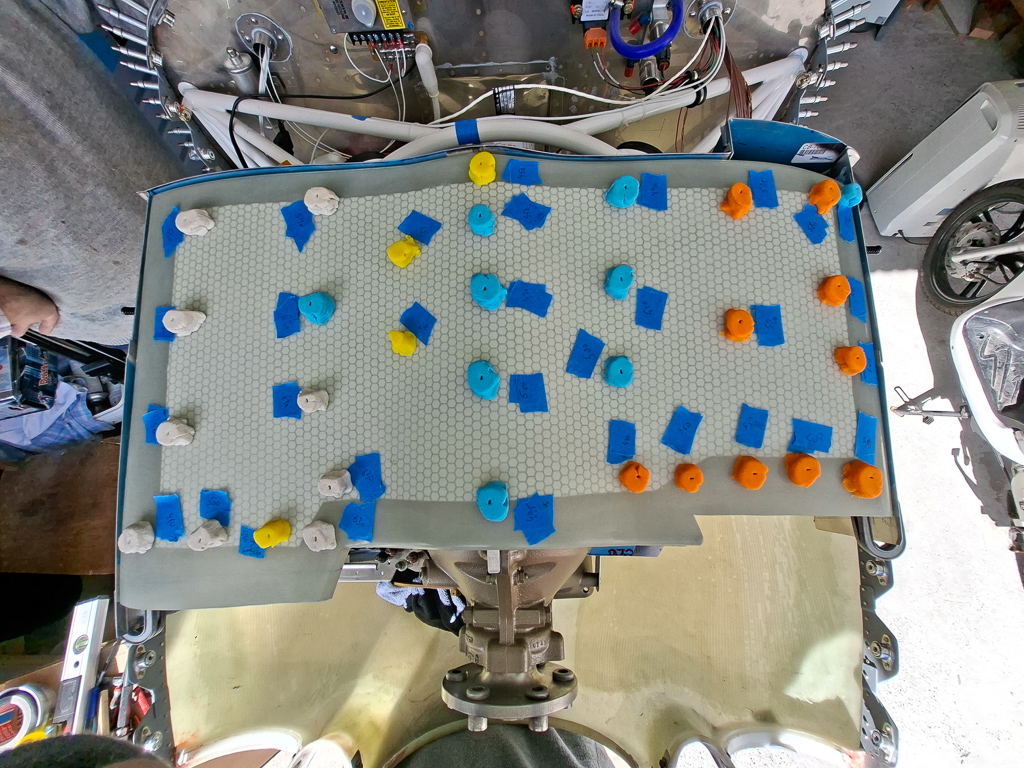
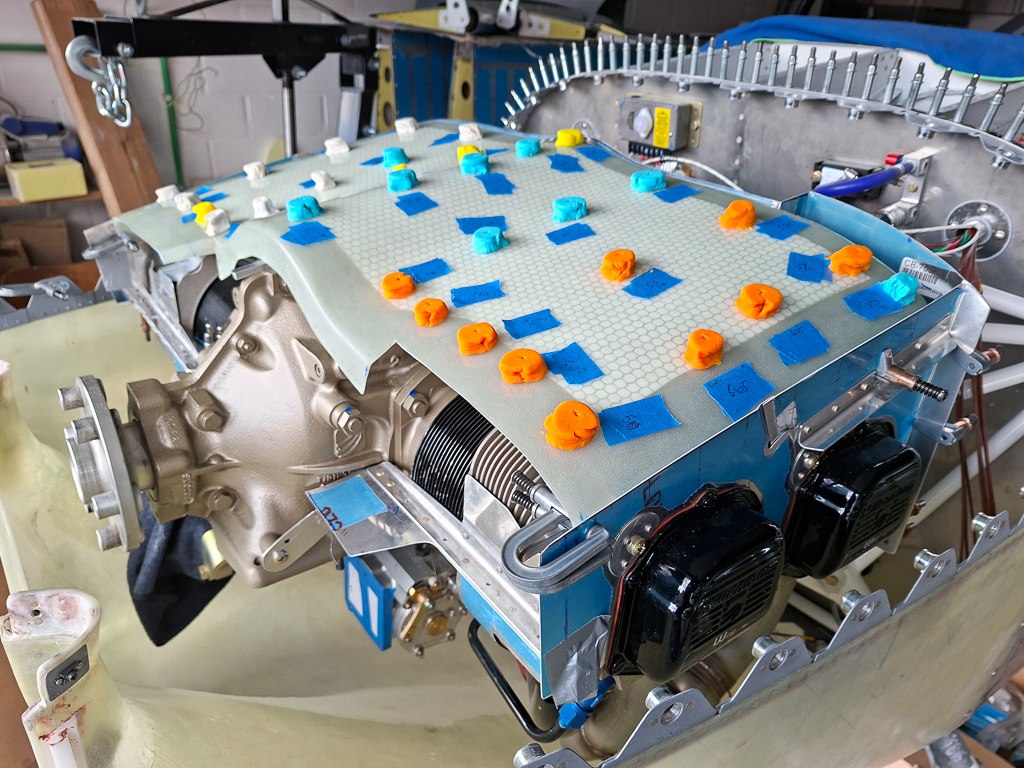
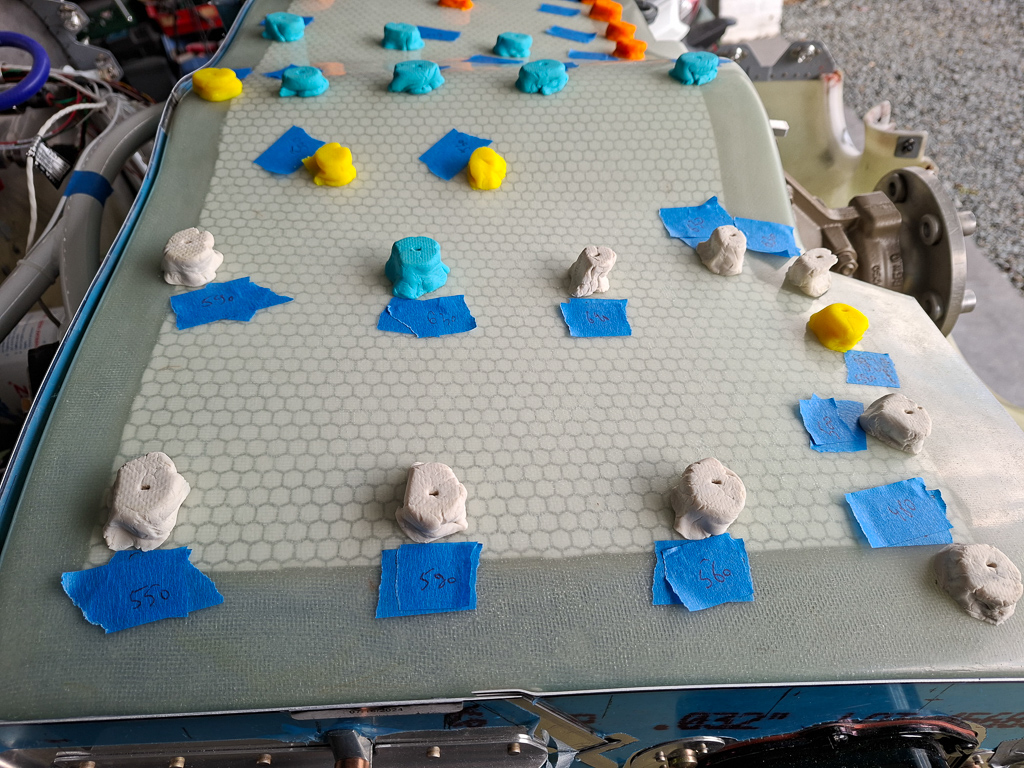
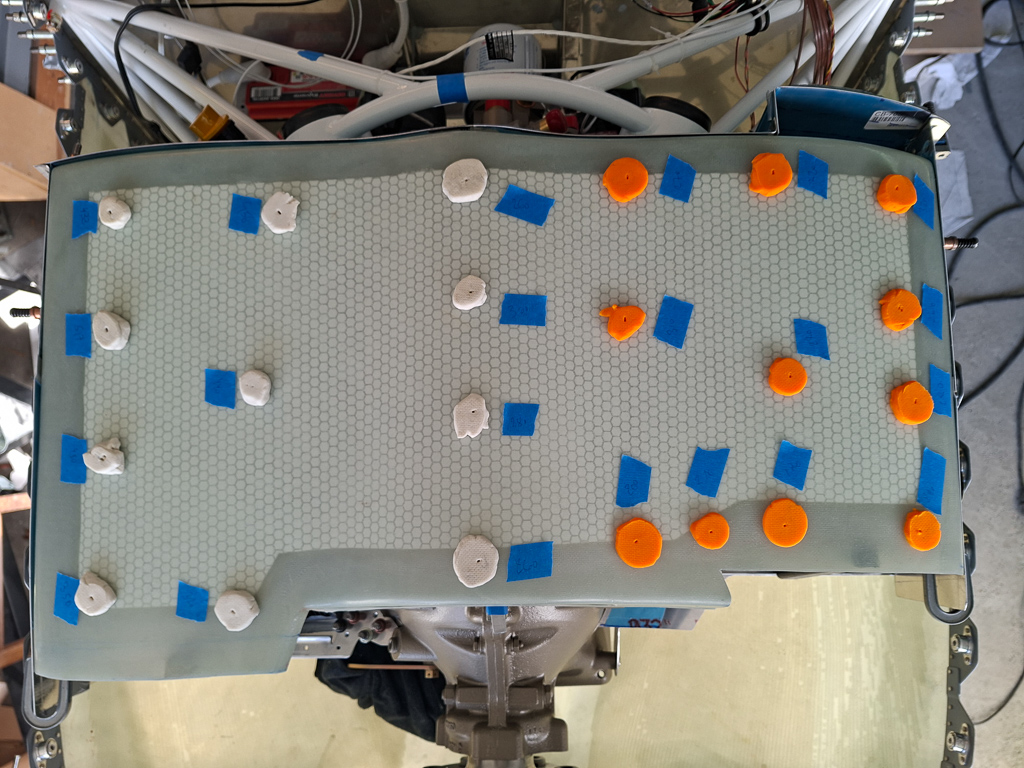
and after removing them, I was left with this scene. Enlarging, the image below, you can already clearly see that the spacing on the left side (white) if higher than the spacing on the right side (orange).
The plenum is attached with cleco clamps so I'll have to lower both sides with the the right side needing most decrease in height
I am using a small aluminum block as a spacer between the front of the engine and the plenum. The sides are not trimmed yet at this point.
I'm using some blue tape to indicated the height of the pancakes after measuring them with a caliper.
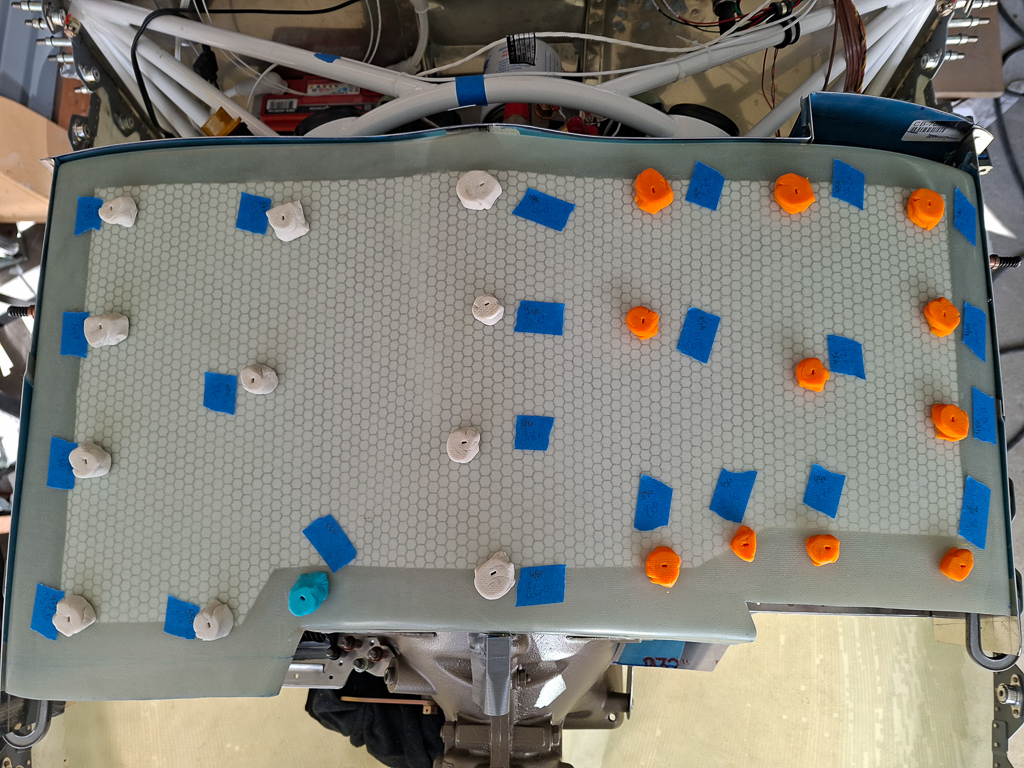
Next iteration was already a bit better but not satisfactionary. What I want to indicate by this is that this is a repeating process and you'll take of the plenum and cowling multiple time before you get close to the final positioning.
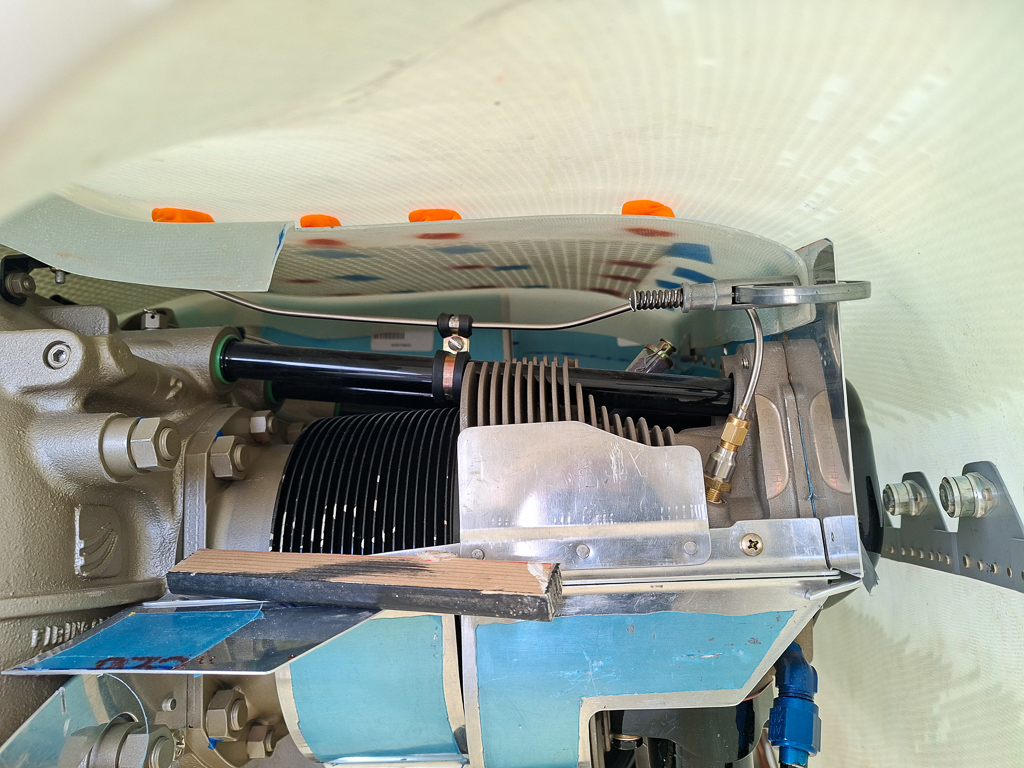
While doing this I also had an eye out for the opening in the back for the oil cooler. I want to keep it as high as possible
The hole in the rear side baffle is a good place to use cleco clamps to hold the plenum in place.
The height of the rivet row of the reinforcement angle on the side may give you an initial indication of how low the plenum comes with a Sam James top cowl.
The positive news is: my injector lines and sparkplug with ignition wire will be well within the height limit inside the plenum. This was a big issue with my other SJ plenum.
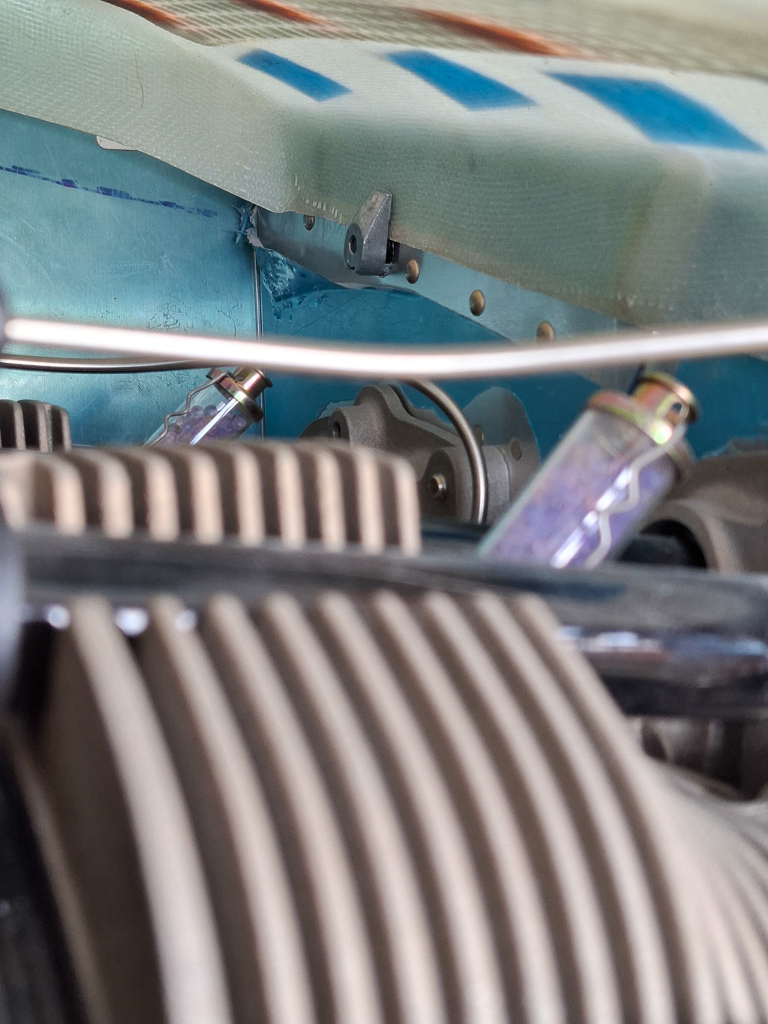
In the front, I was drawing small sharpie marks as I repositioned to keep track of the modifications.
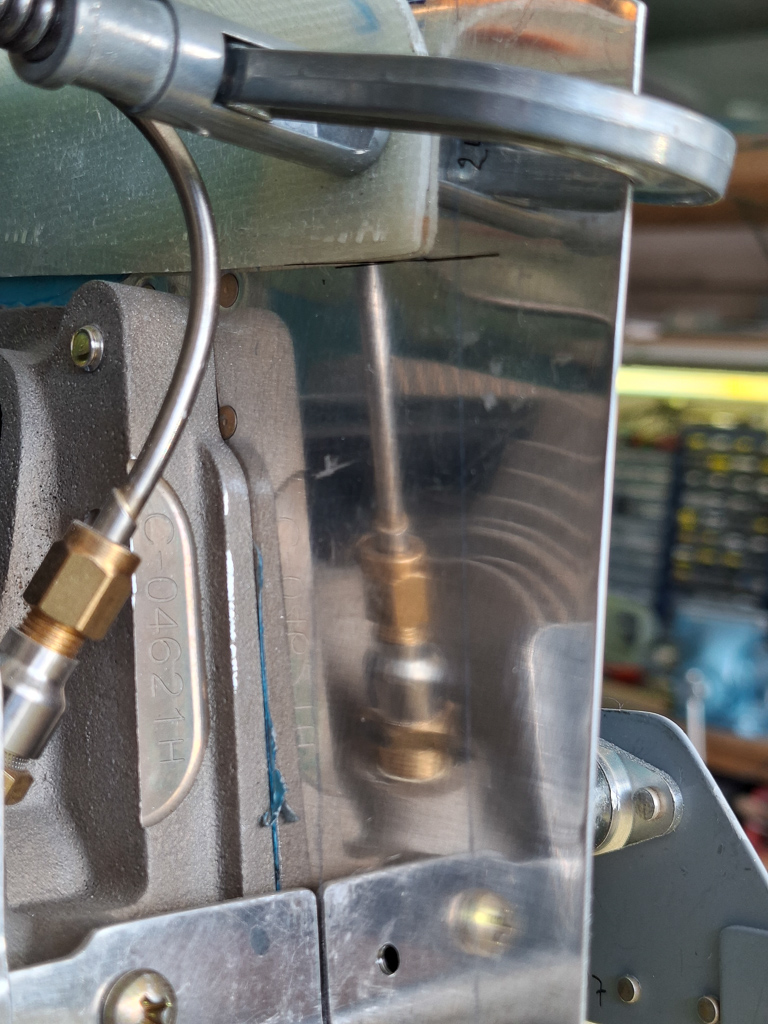
Additional attempts with more cones.
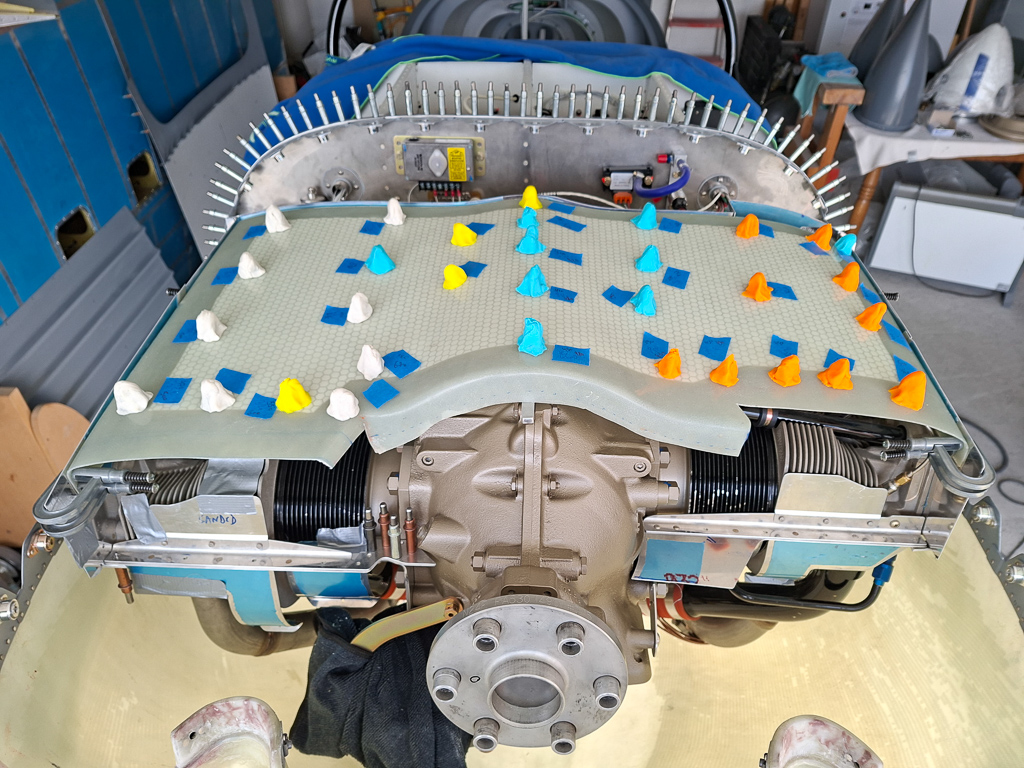
The spacing start looking more decent. The dashed line on the front is the trim line to keep 0.75" lip from the plenum top.
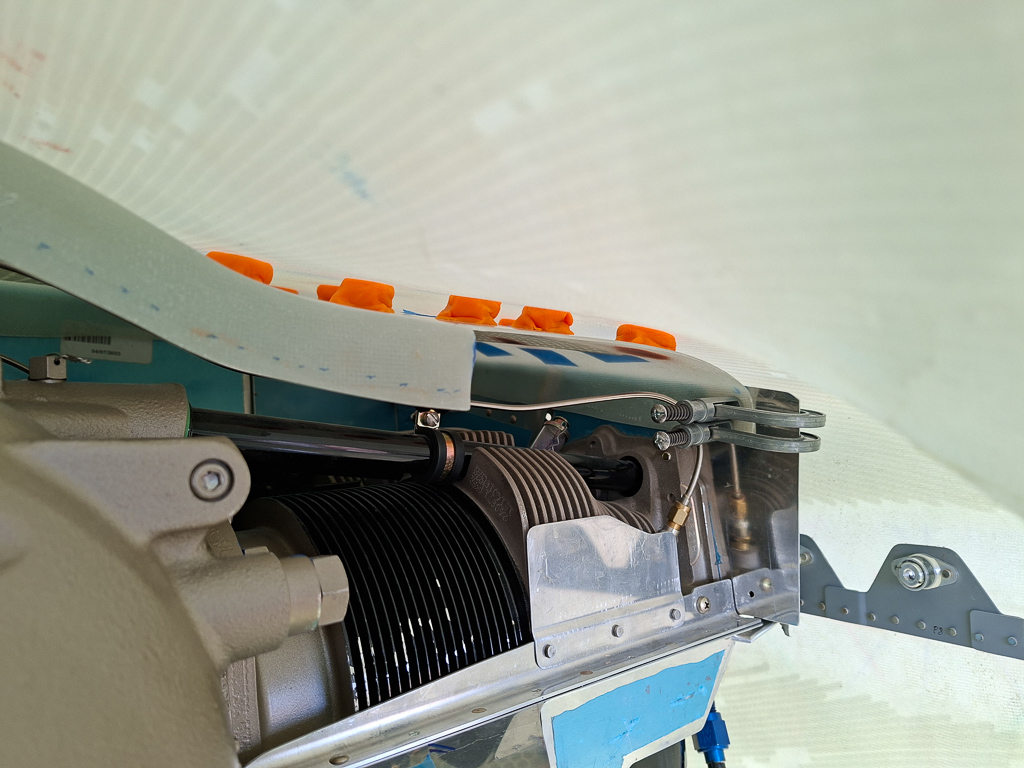
The numbers are getting way closer to where they should be. Pilot side a little over 0.500". I will continue this next session until it's perfect.