A new episode is starting. As the cowling is fully fitted and the Van’s baffles installed, I decided to take on the installation of the plenum.
This plenum stuff has been a long and expensive crusade.
I had first bought the Sam James plenum when I bought my SJ cowling. In my naive thinking, I thought the Sam James plenum would be the perfect combination with my Sam James Long Cowl.
The first moment it arrived, I already had doubts about the shape and size of that plenum. It looked like the diffusers were very close to the plenum top and that space above the cylinders could be an issue.
As I started fitting it, I soon found out that it would indeed be way too low over my cylinders. I had already read about builders having to use shorter spark plugs, but what really did it for me was the fact that the plenum would even hit my injector lines on top of the engine.
There is no way to move the plenum upwards, as the diffusers are molded onto the plenum. It caused me many restless nights until a fellow builder from the Netherlands told me he had recently purchased another plenum for his RV-7 because he had been experiencing cooling problems with his RV and the SJ plenum.
The plenum he referred to is called the "Bill Lane Plenum", named after William Lane, who invented and built the first version of this plenum.
The big advantages of this plenum are that:
- It is made to be used in combination with the standard Van’s baffle kit.
- The diffusers are separated from the plenum roof, which gives you some flexibility during installation.
The diffusers also have a higher up-ramp, which positions the plenum roof higher above the engine, providing much more space over the injector lines and the ignition wires on the spark plugs.
After some research and, to my great surprise, I found out that Bill had sold his moulds to James Aircraft. You can find the link to it here.
I contacted James Aircraft, and they were kind enough to offer me a replacement if I would send back the SJ plenum and pay for the shipping costs of the new one. Getting a box that size back to the USA was rather expensive but in the end it was less expensive than buying the new one. When my replacement plenum arrived, I was very anxious to continue with this part of the build.
Now that I knew what the plenum would look like, I could continue working on the baffles.
The documentation on this plenum is freely availble on the James Aircraft website at https://www.jamesaircraft.com/general-5
The name of the plenum there is "Plenum v2.1". James Aircraft has purchased the mould of this plenum from William Lane after he build it for himself and made some of them for other builders.
The documentation for it is quite good with lots of pictures and Bill is very helpfull still giving support and hints as you install it. Very gratefull for that as I got stuck at some points.
You can also find Bill Lane (William) as username "BillL" on vansairforce.net.
First, I made the aluminum spacer, which is a reinforcement piece for the pilot-side rear baffle that holds the oil cooler. Many flying RVs have developed cracks in that corner and have an additional aluminum angle nested in the intersection. I also plan to do that.
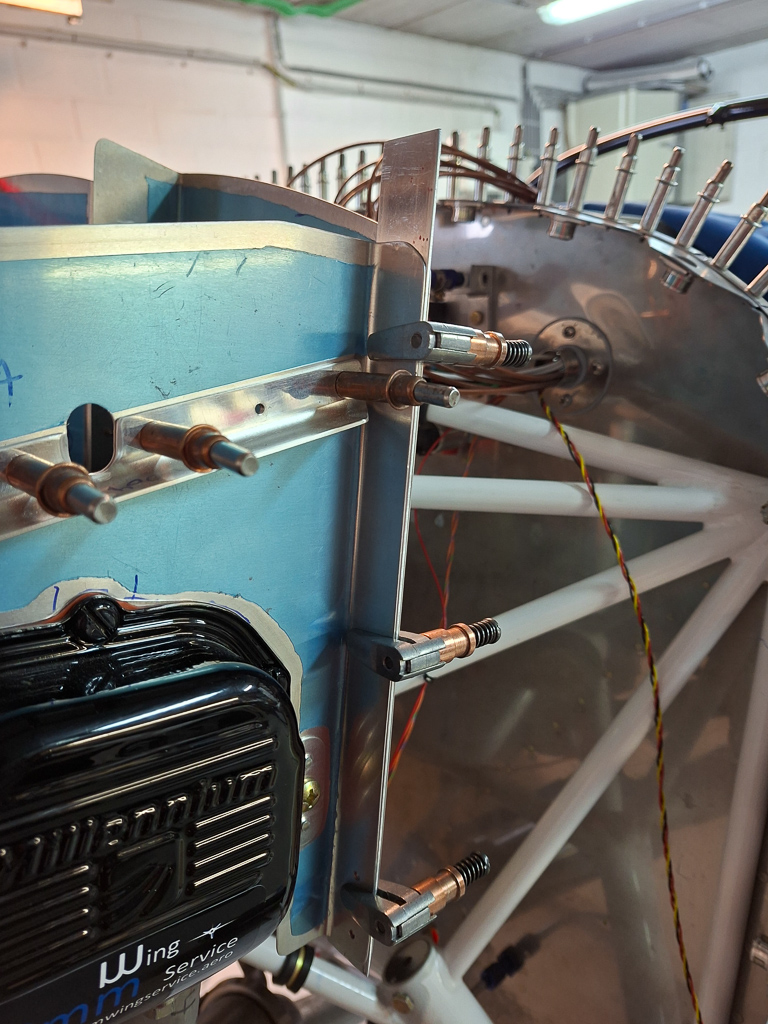
Rounded the angle. All this is off course very theoretical as the real height will be determined by the distance from the top cowling which I will measure when I get to install the roof of the plenum.
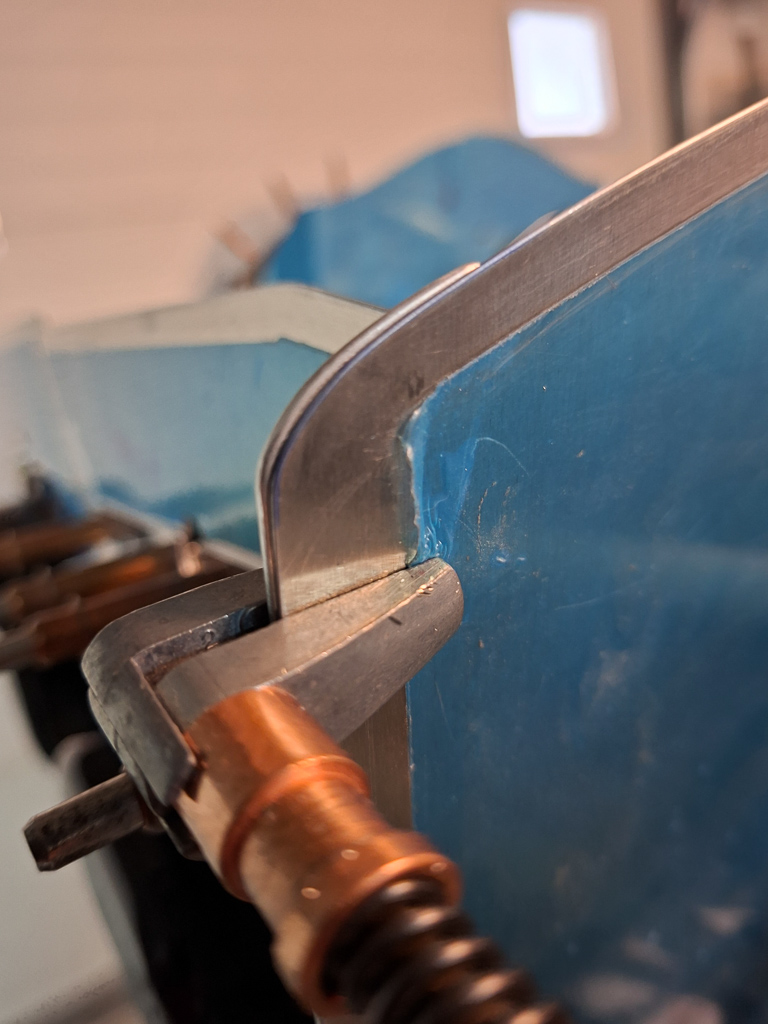
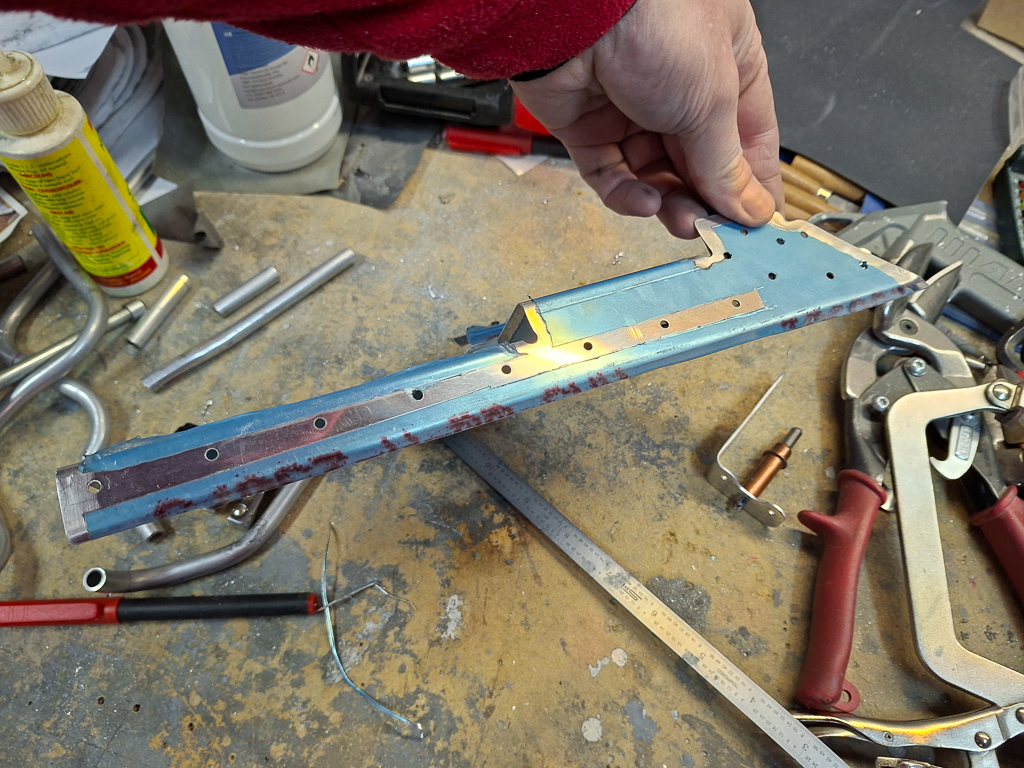
Next I started modifying the front baffle on the pilot side. The Bill Lane plenum uses epoxy diffusers which ride on the horizontal line of the front baffle. So you can cut off the ramps from the Vans Baffles.
Only on the pilot side, you need to keep a small section on the inside. This will be the floor for the pilot side front baffle. I cut it conservatively for now, it will be trimmed down further as I get to fit the front baffle.
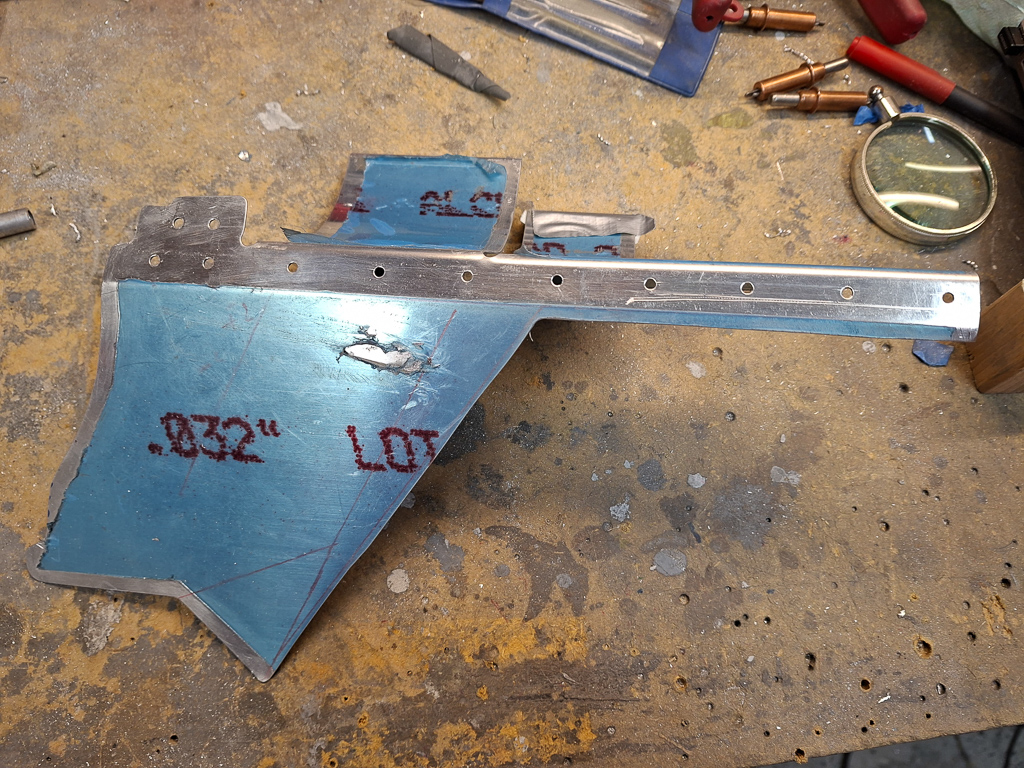
On the passenger side front baffle, you can cut off the entire ramp. It's not needed. I did keep a couple of mm's which I will final trim once the diffuser is drilled on.
The ramps interfere with the diffuser. You will not be able to position the diffuser with the ramp still in place.
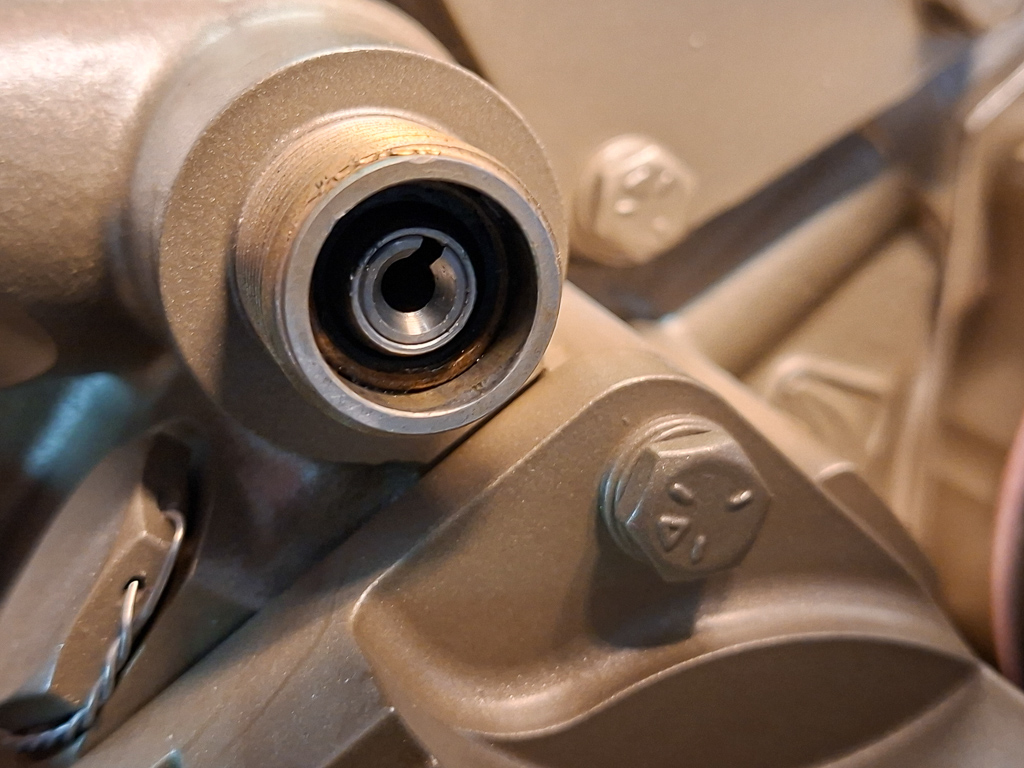
Finally this picture. Learned something new today about my engine. In the center of the rear case sits this port. It is the Tach port or a connection point for a tach meter drive. I had already purchased the UMA tach sensor that mounts on the magneto so I will need to order a cap to cover this port. Andair sells these caps as TC875, "Tachometer cap". Spruce sells it as pn 10-06754. I got mine from PMM wingservice in Belgium.