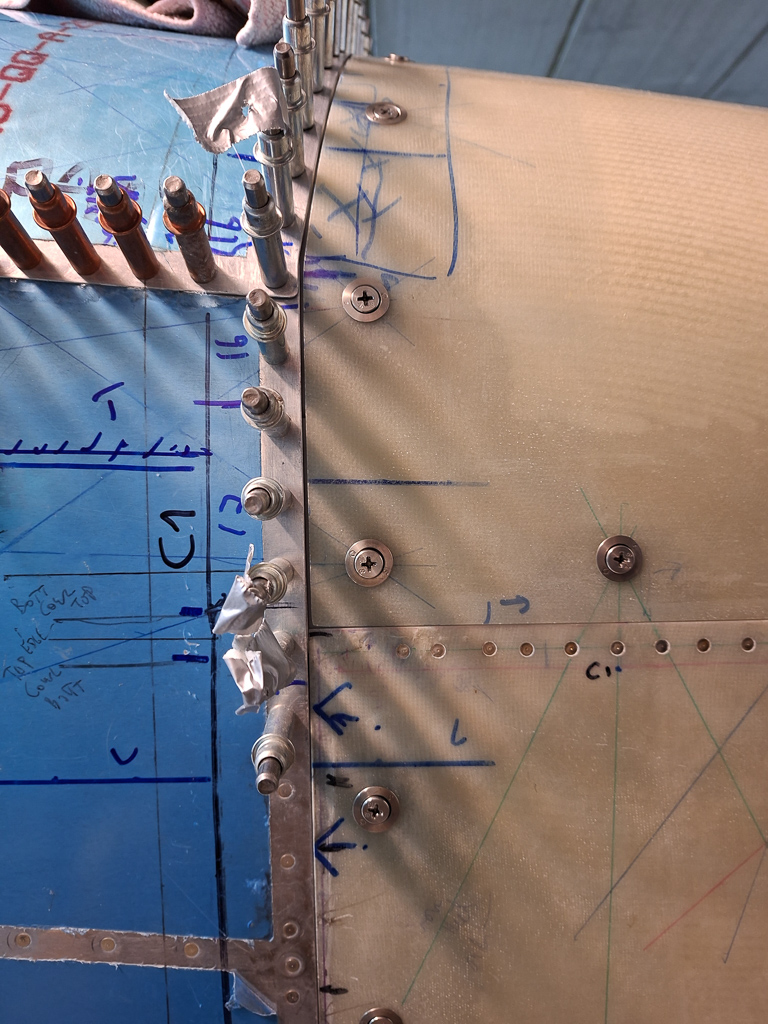
Not a long session but enough to drill the front holes in the top cowl to 15/32" and fit the cowling using all the side line SkyBolts.
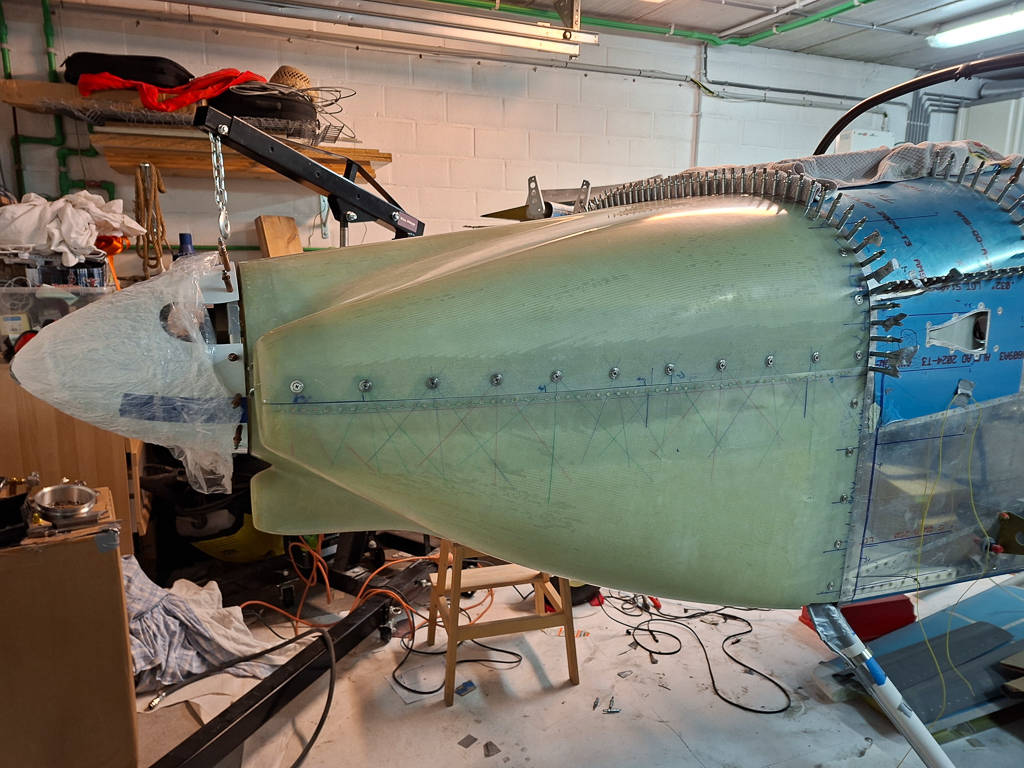
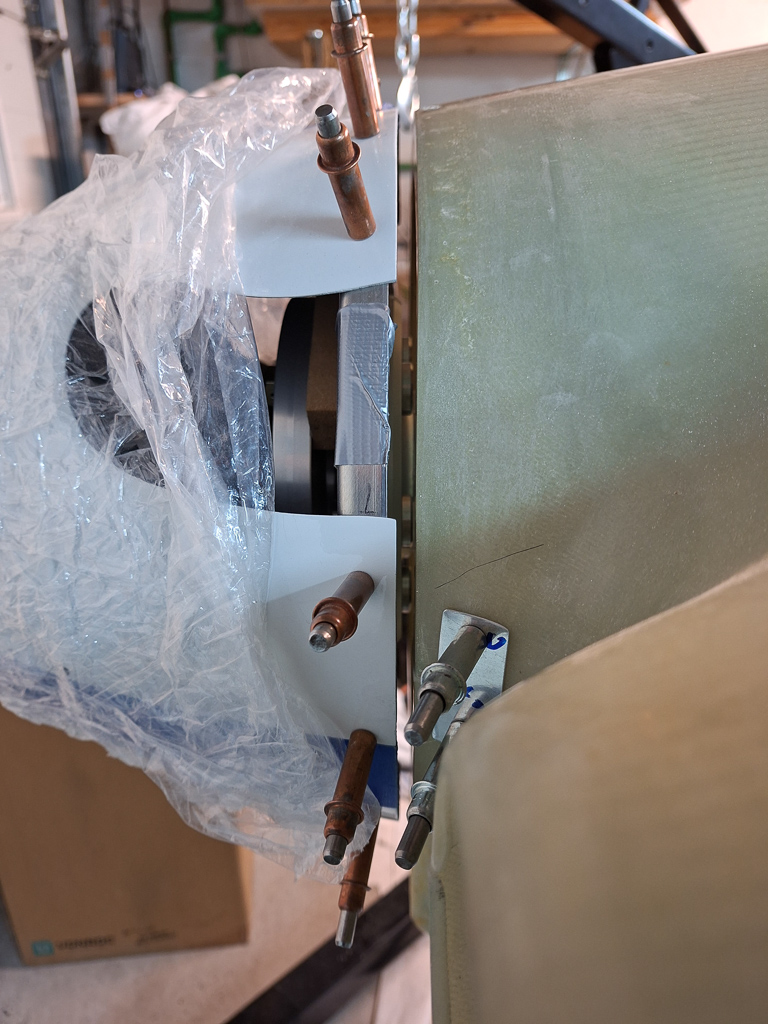
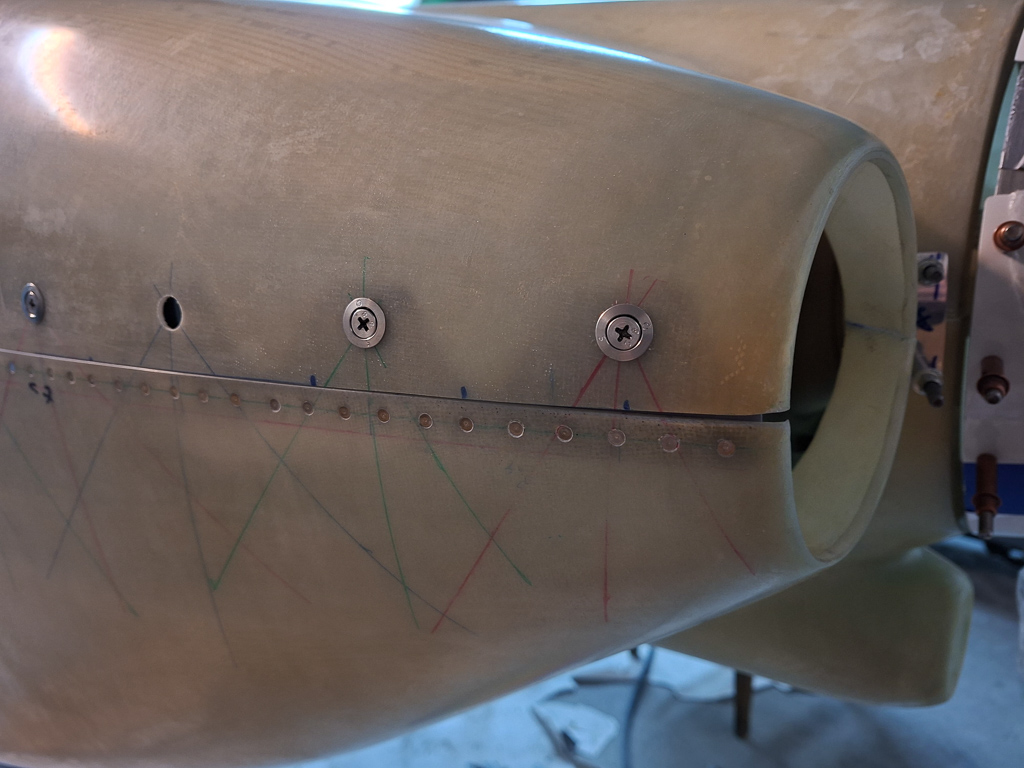
I was a little disappointed after all those measurements and moving forward with drilling in steps that I saw there is a minor gap between top and bottom cowl in the front.
I had expected this to be very close to mating.
It's not a big deal, it's epoxy so it can be easily filled and there needs to be a 0.05" gap for painting in the end. But it's never nice to see it didn't end up the way you accurately worked towards it.
I searched quite a bit of time to know how big the paint gap needs to be but I found it in the new RV14 manual on page 45-25 in the intial note of that plan (45-14.pdf):
"In the following steps, the COWL-00001 Top Cowl and COWL-00002 Bottom Cowl will be trimmed to create a uniform gap that will allow for the accumulation of primer/paint. A uniform (equal) gap between components is more aesthetically pleasing than a wavy or angled gap."
it's further specified in step 1 and 2 that follow:
"Step 1: With both cowl halves installed on the fuselage, mark a line on each side of the top cowl .050 [1.3 mm] above the upper edge of the bottom cowl with a fine point permanent marker. " "Step 2: Mark a line on the bottom cowl .050 [1.3 mm] forward from the edges of the F-01470-L & -R Fuselage Side Skins and F-01483-L & -R Forward Bottom Skins. See Figure 1"
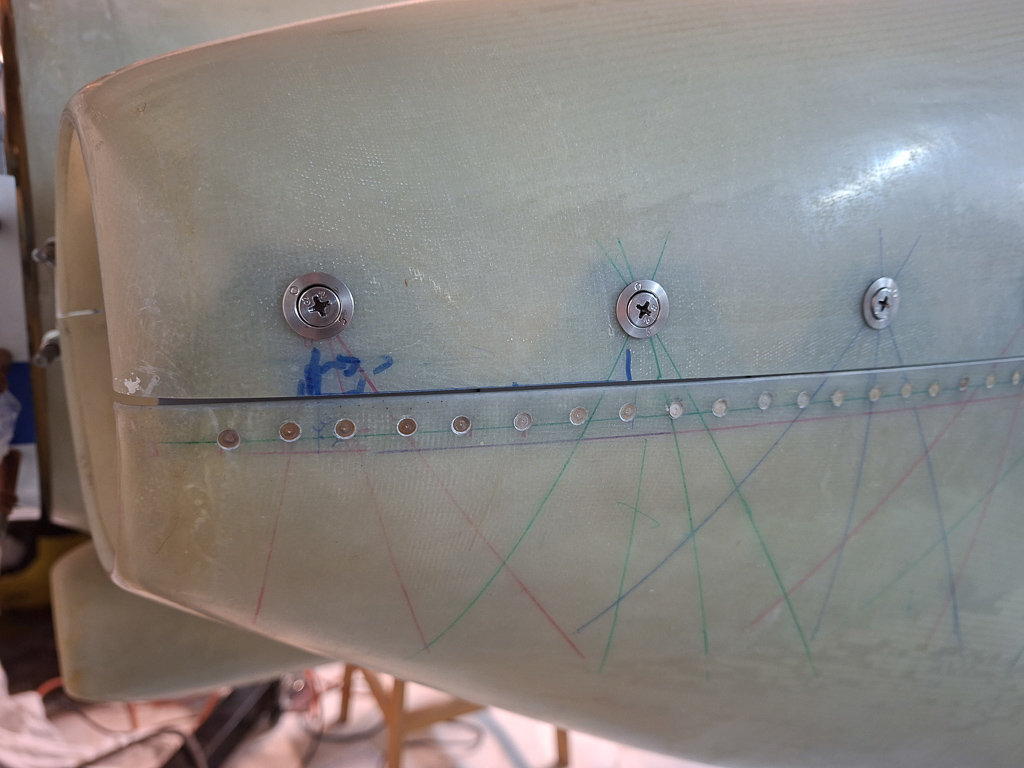
The same effect on the passenger side.
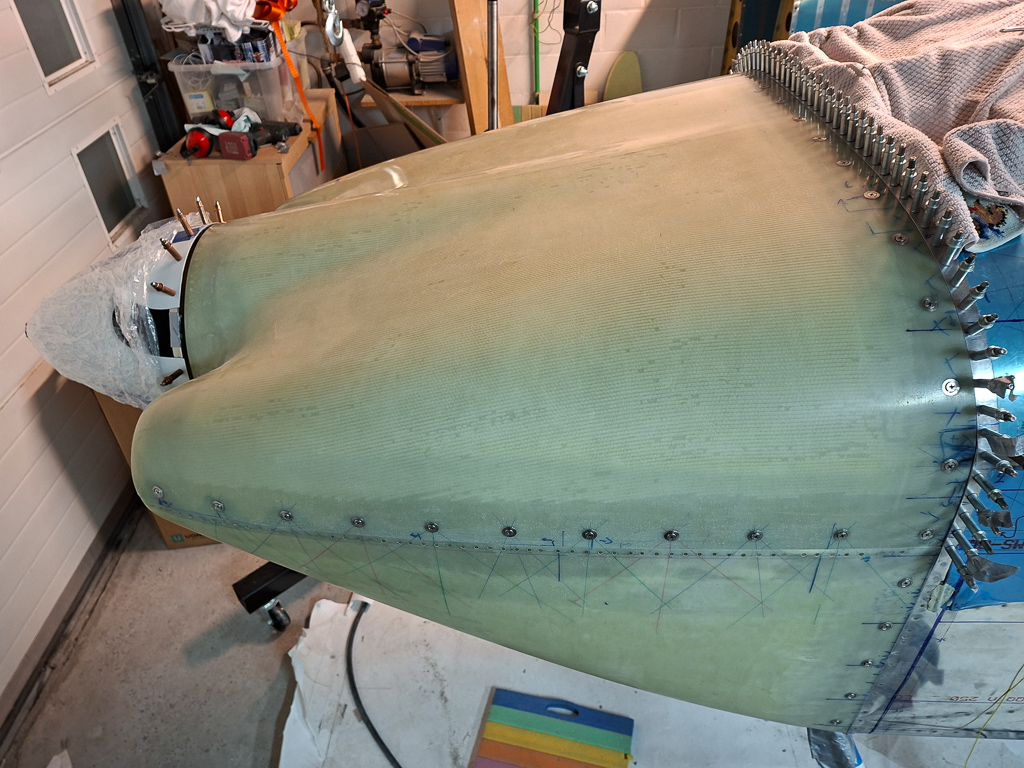
The intersection at the firewall side, small gap but within painting gap tolerances as well. No need for filling.