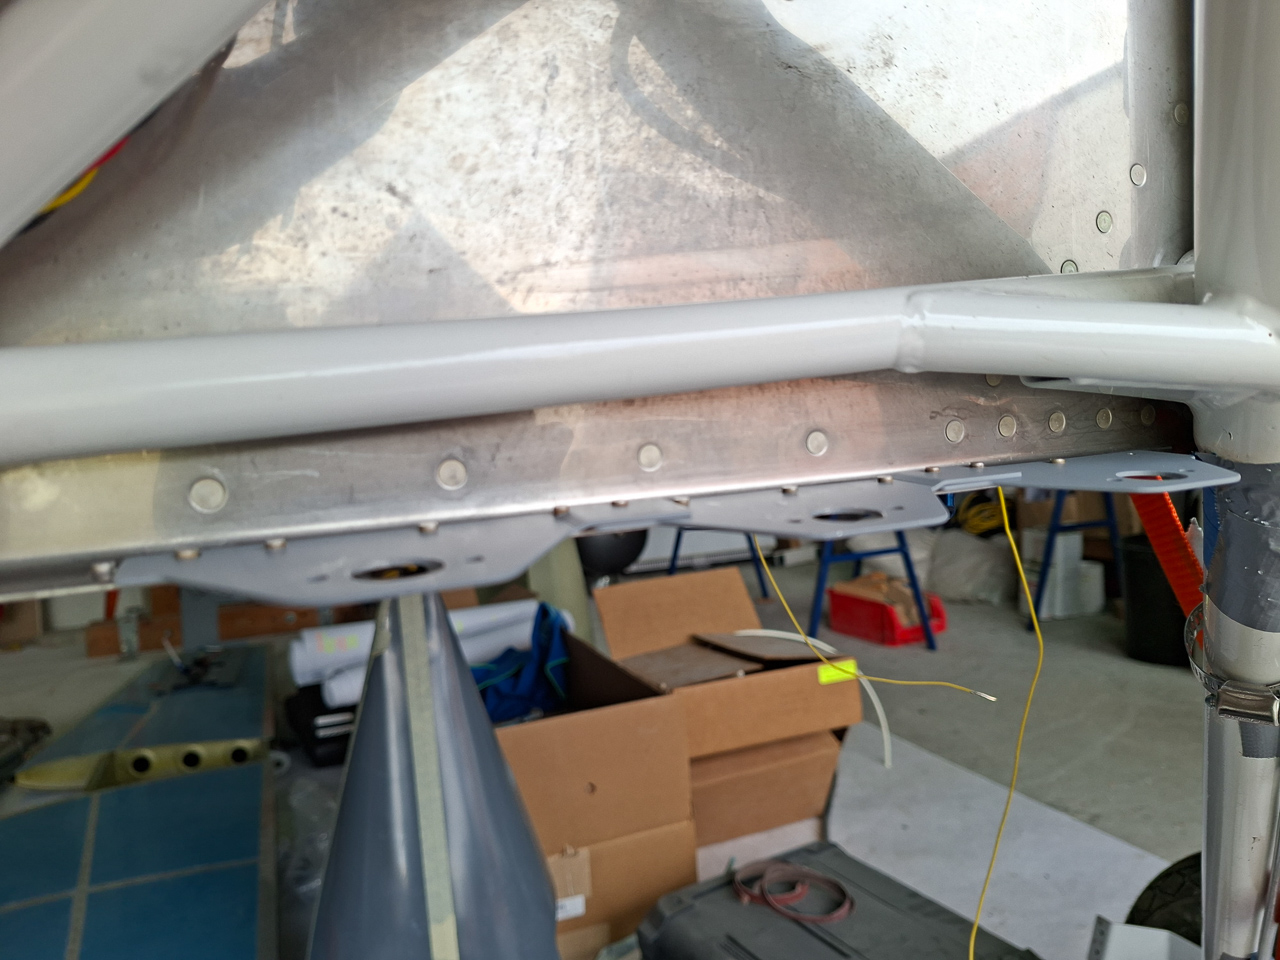
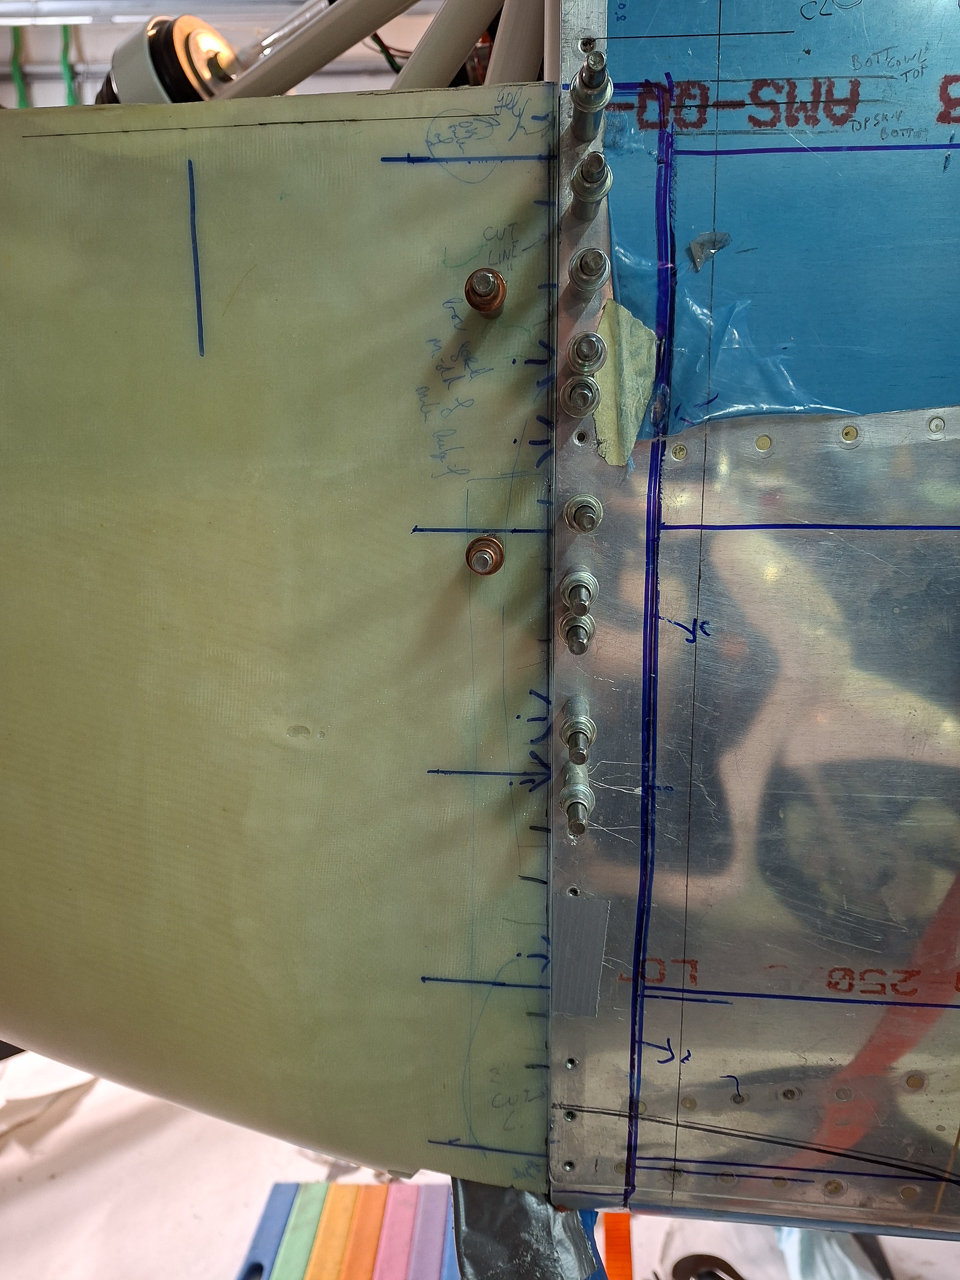
I had rivetted the bottom attach plates on but came to realize that the edge transition from cowling to fuselage was not smooth enough. A shim would be needed to make the step from the bracket to the fuselage skin larger.
Unfortunatly this also meant drilling out all the rivets I had previously set.
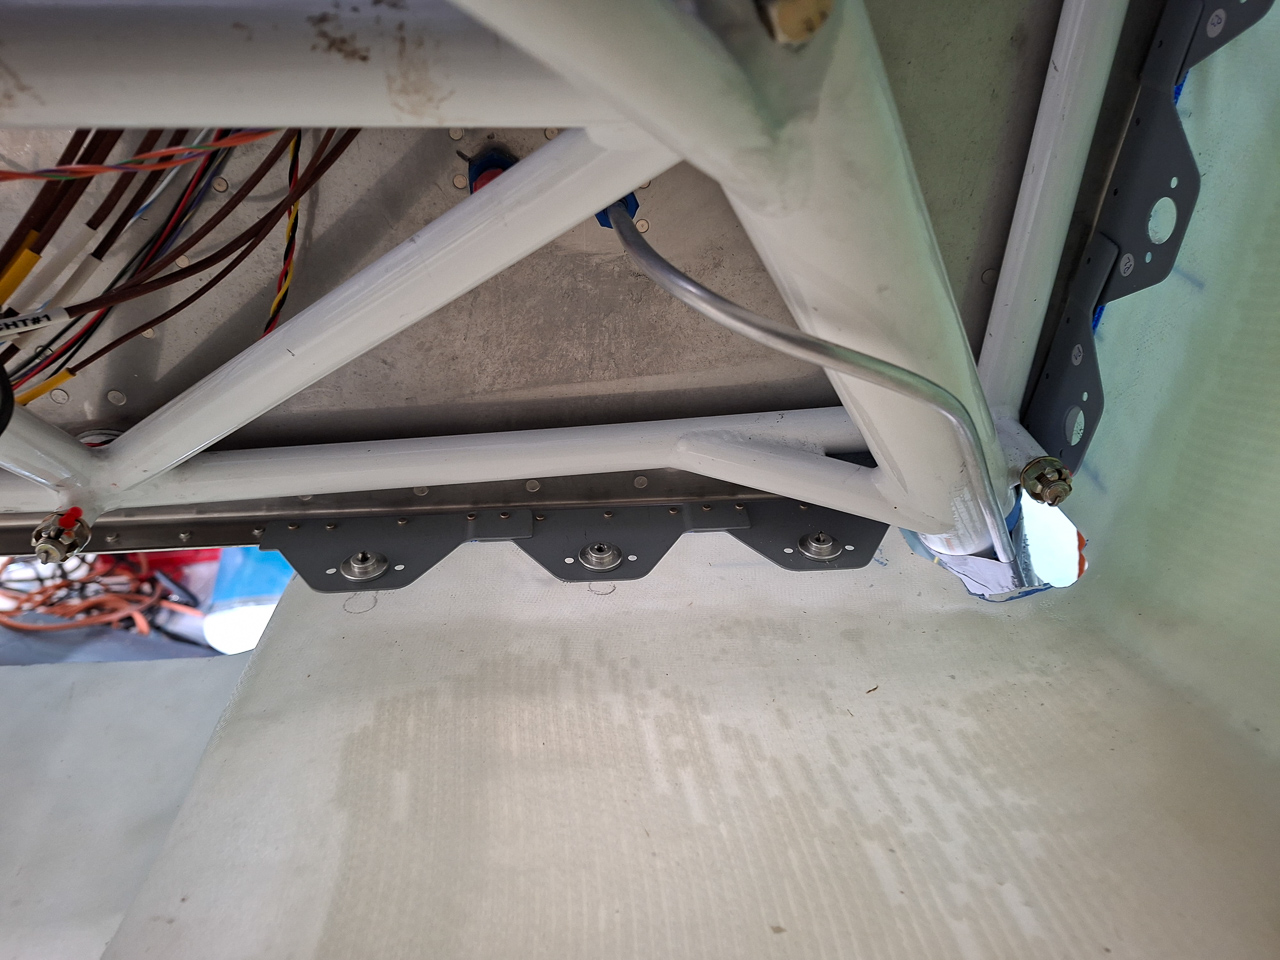
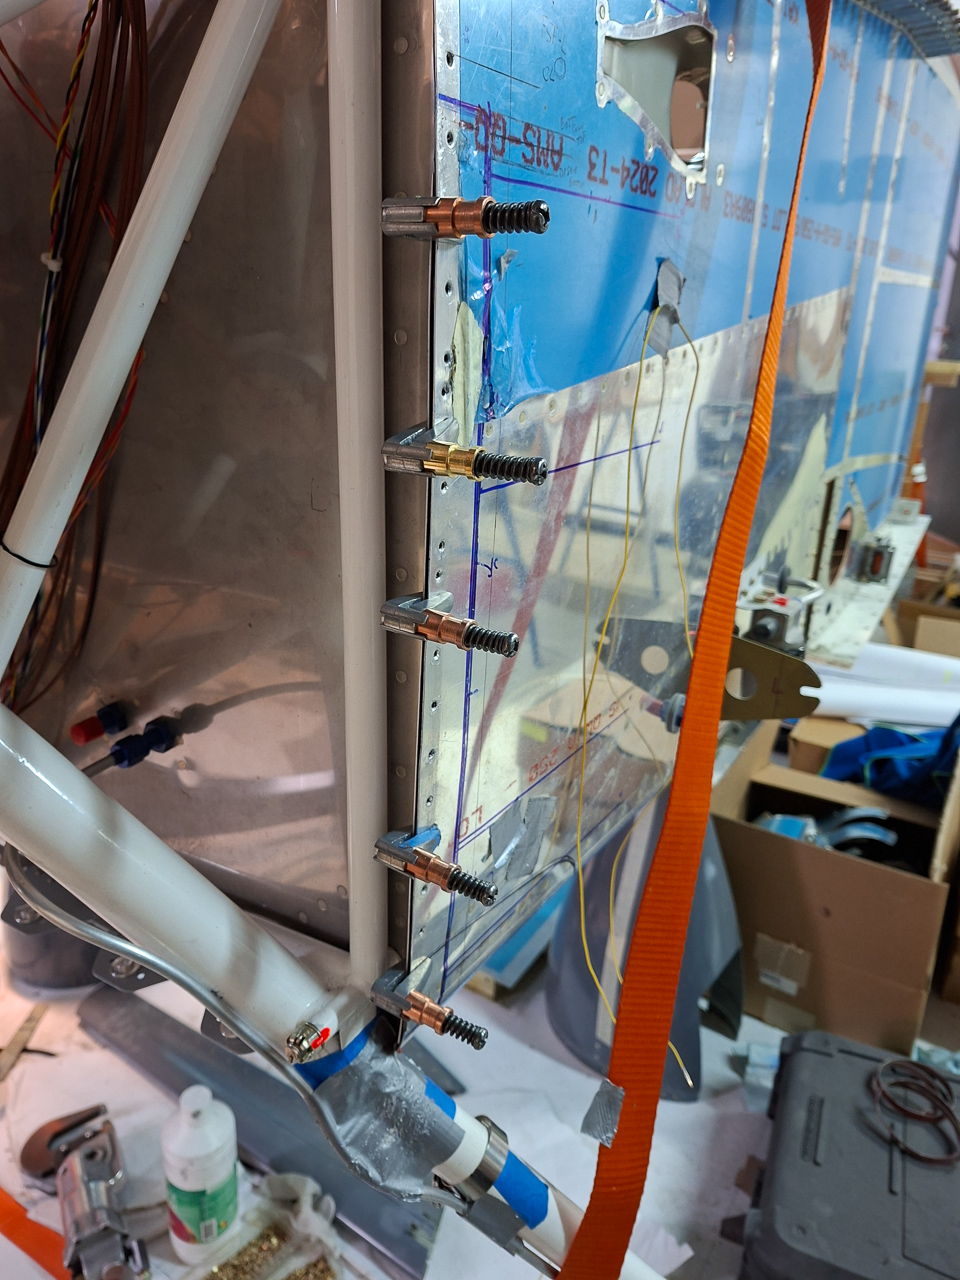
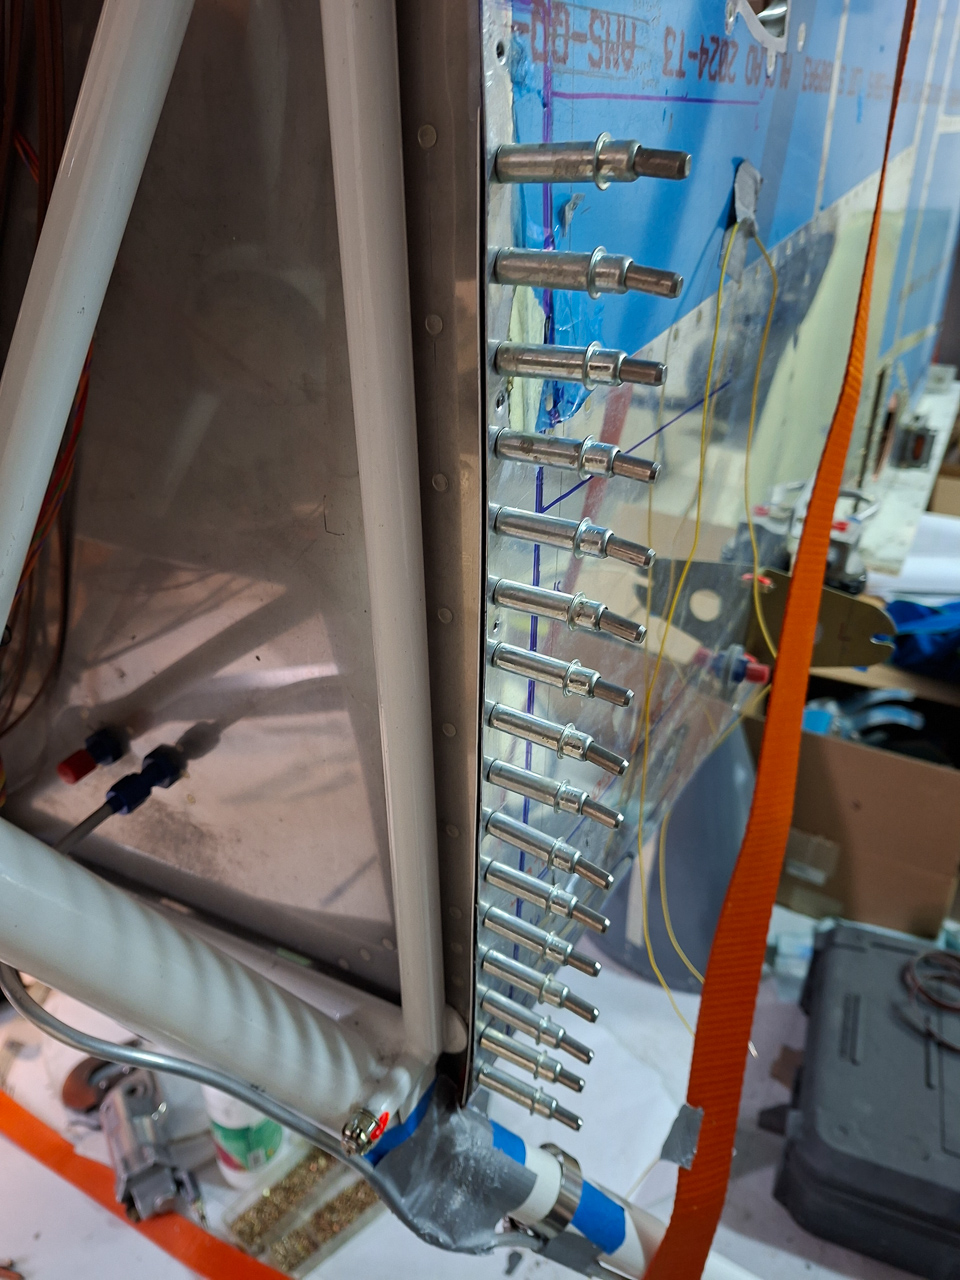
Before drilling out the rivets, I decided to drill the remaining holes in the bottom cowling using the cleco adapters as a drill guide. You can see the cleco adapters with cleco's installed in the picture below.
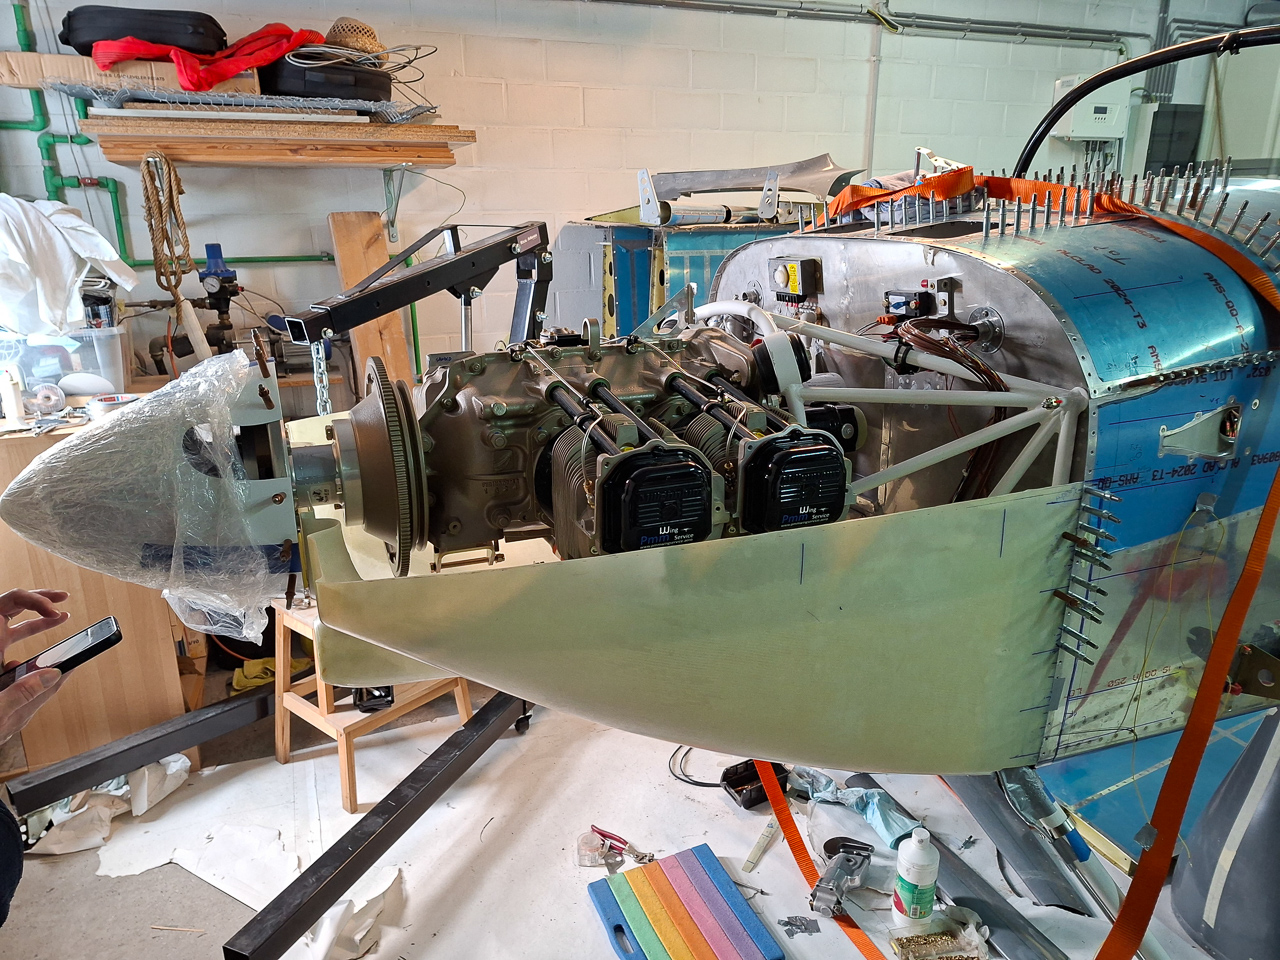
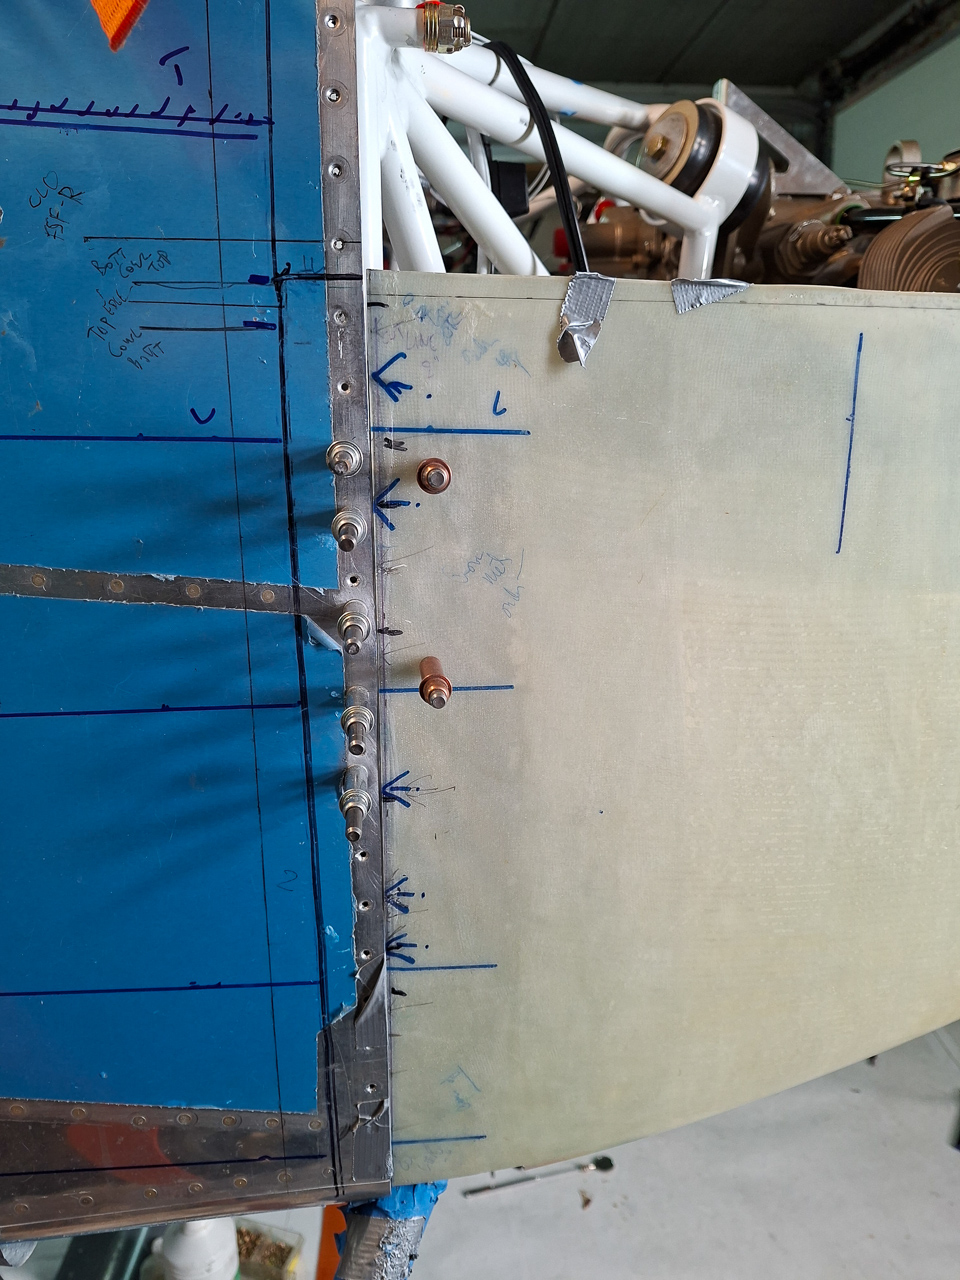
I also started trimming the cowling at the lower fuselage sides. It takes a lot of iterations having the cowl on and off before you get this perfect.
In the image below, the edges were trimmed and I installed 2 #30 cleco"s in the cleco adapters.
It looks quite cool to have the lower cowl finally on in it's final position.
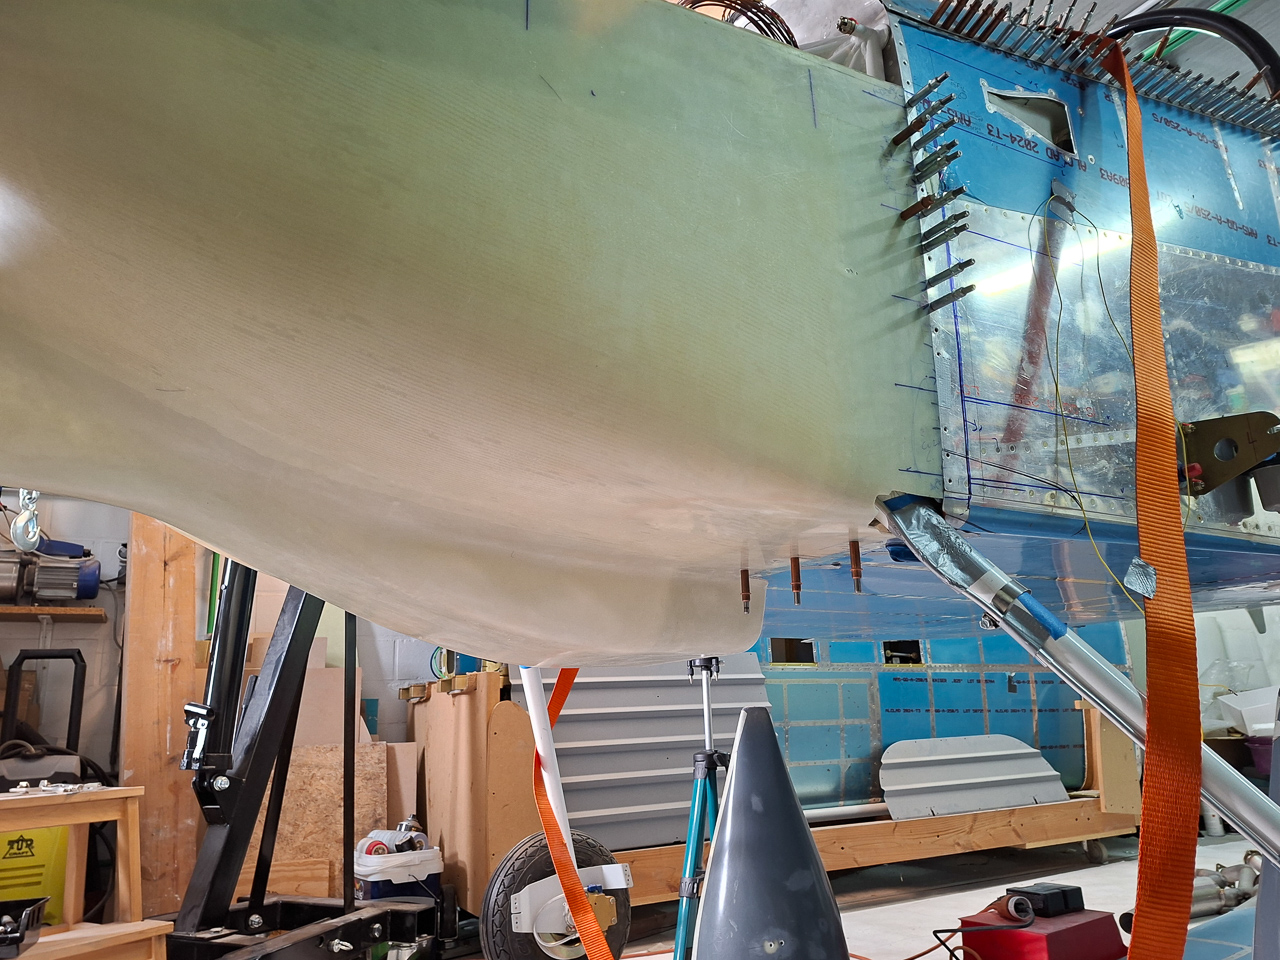
The gap in the front looks very good and is approximalty 0.25". Right were I wanted it to be.
Another picture.
You can still fine tune the edge a bit using a long sanding block. Don't try to sand locally by hand, it will ruin your straight line.
I had to trim an additional bit towards the top of the lower cowl. This moved the whole cowl slightly. You don't have to take away much material to get a significant result in the front. If the gap is too large, you can always fill it up later but be precise. Mine butts against the fuselage and will need to be sanded down a bit more to allow for the 0.02" paint gap. The more precise now, the more playroom there will be to sand the final gap. I'm pretty happy with what I have now.
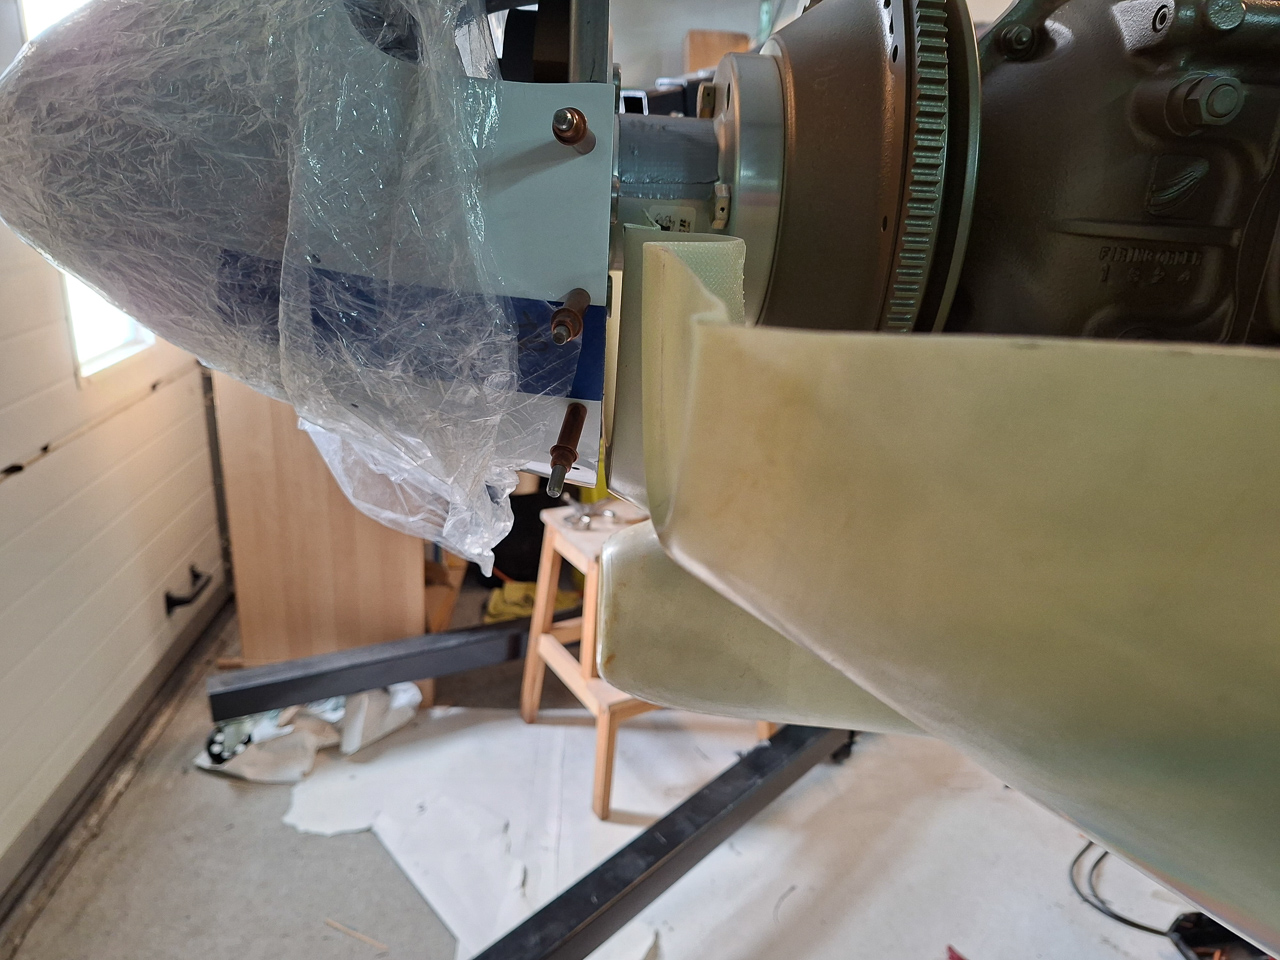
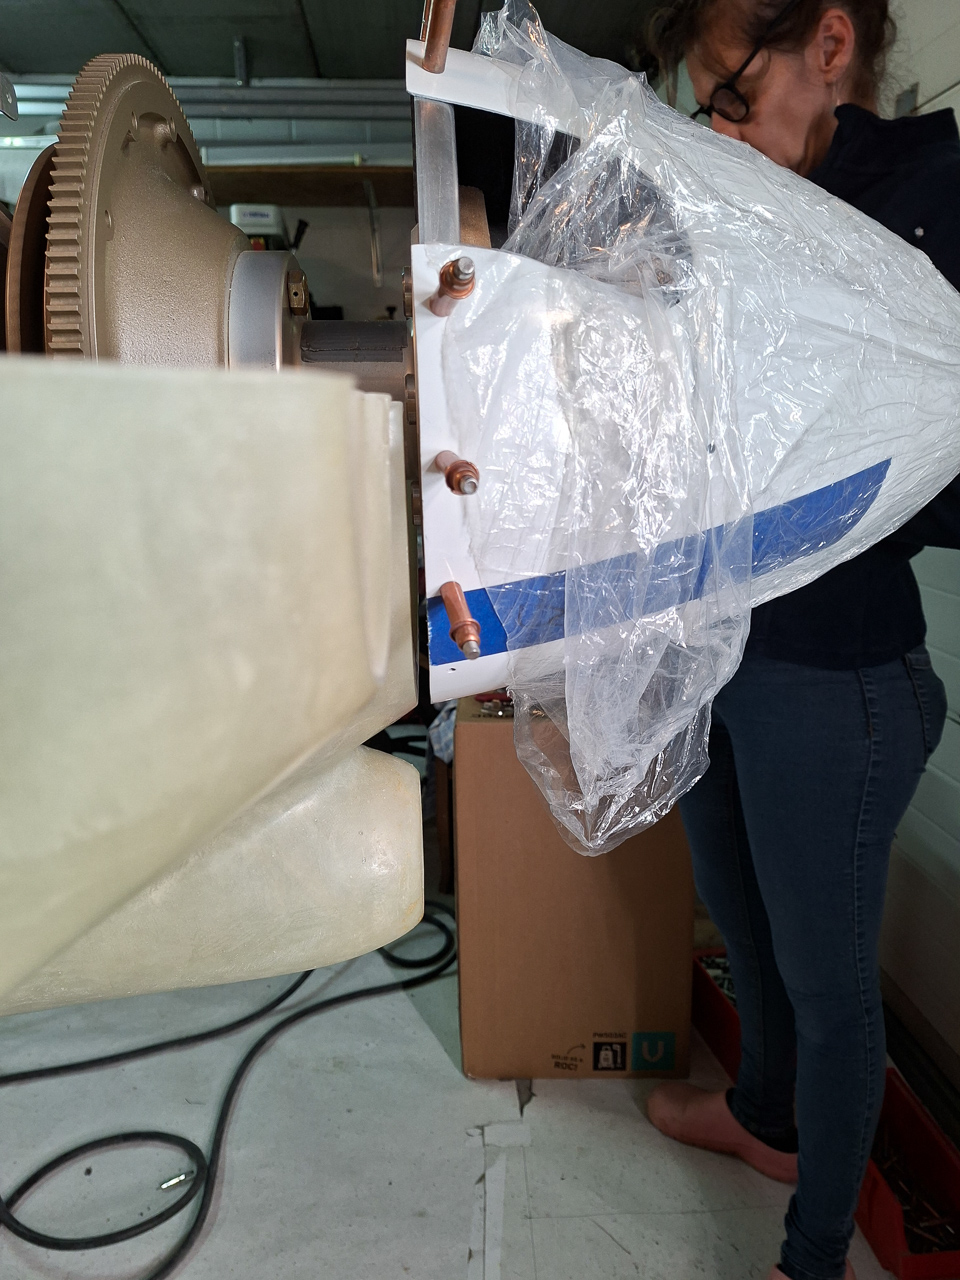
Spacing spinner cowl from passenger side.
Then I trimmed the other side of the fuselage and used the same procedure.
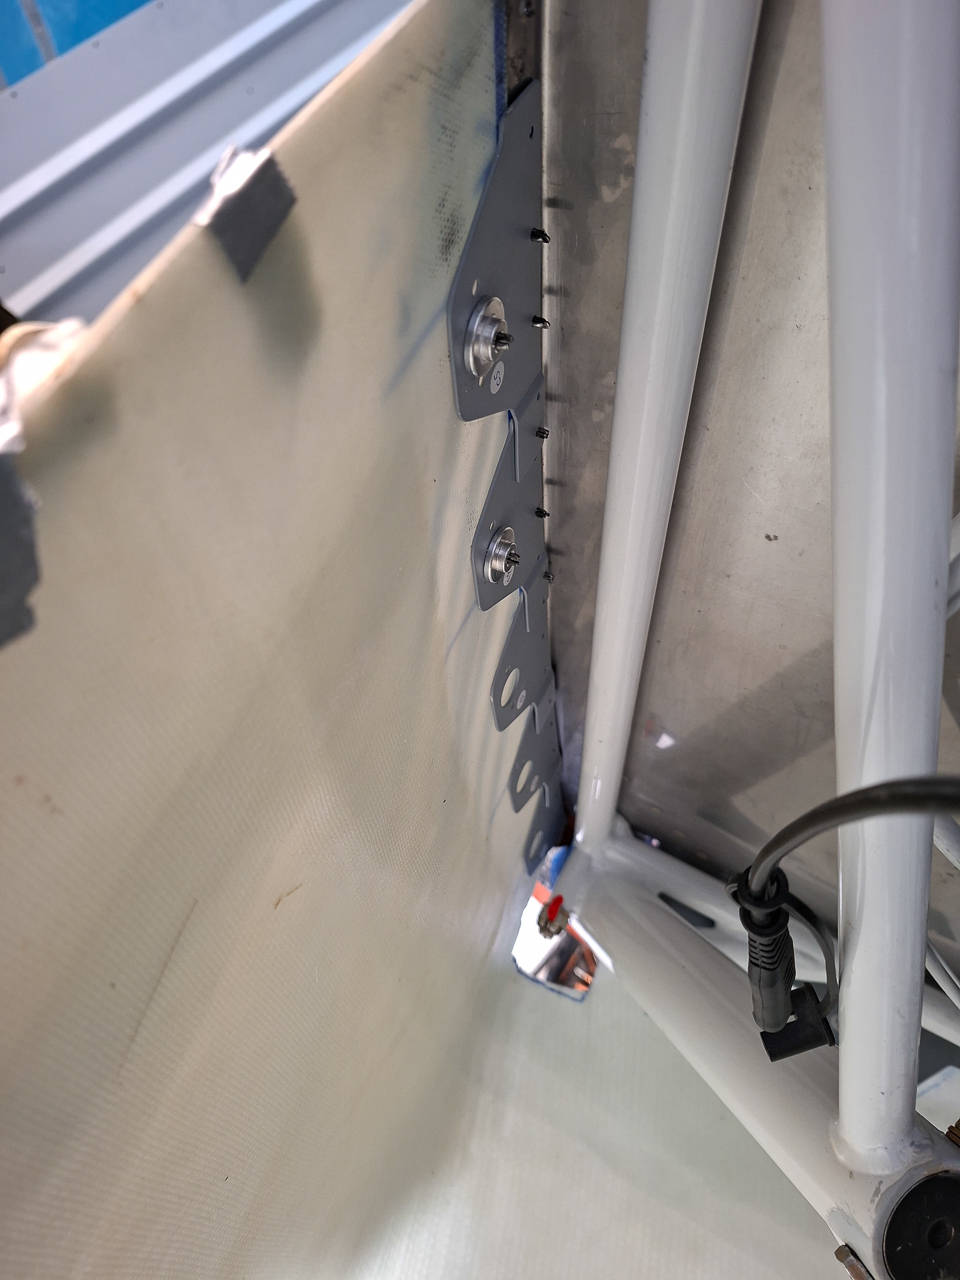
On the inside you can see the cowling hanging from the 2 top cleco adapters. Have someone supporting the bottom as you drill these 2 holes to ensure the cowl fits snug against the brackets.
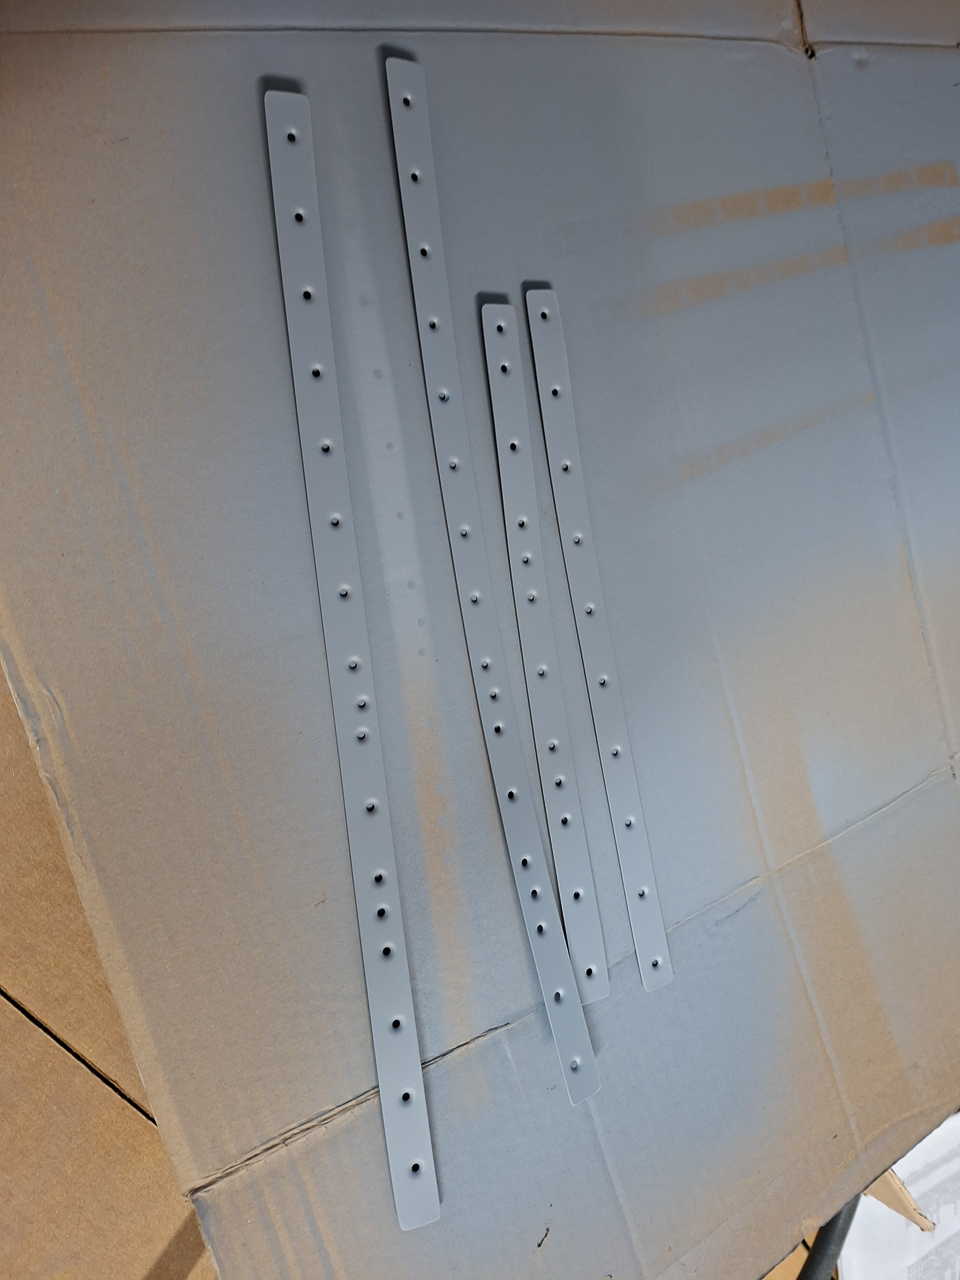
The I worked on making shims of 0.032" aluminum. I realised now why these long strips in the finishing kit were supplied but unfortunatly I used them already on the elevator and rudder fairings. Damn... cutting long straight lines ain't easy. I then installed the shim behind the fuselage edge, held them in place with cleco clamps and drill all holes.
All holes drilled #40, the shim is now ready for deburring and dimpling.
When all 4 were ready, I used the spray can to put primer on them.