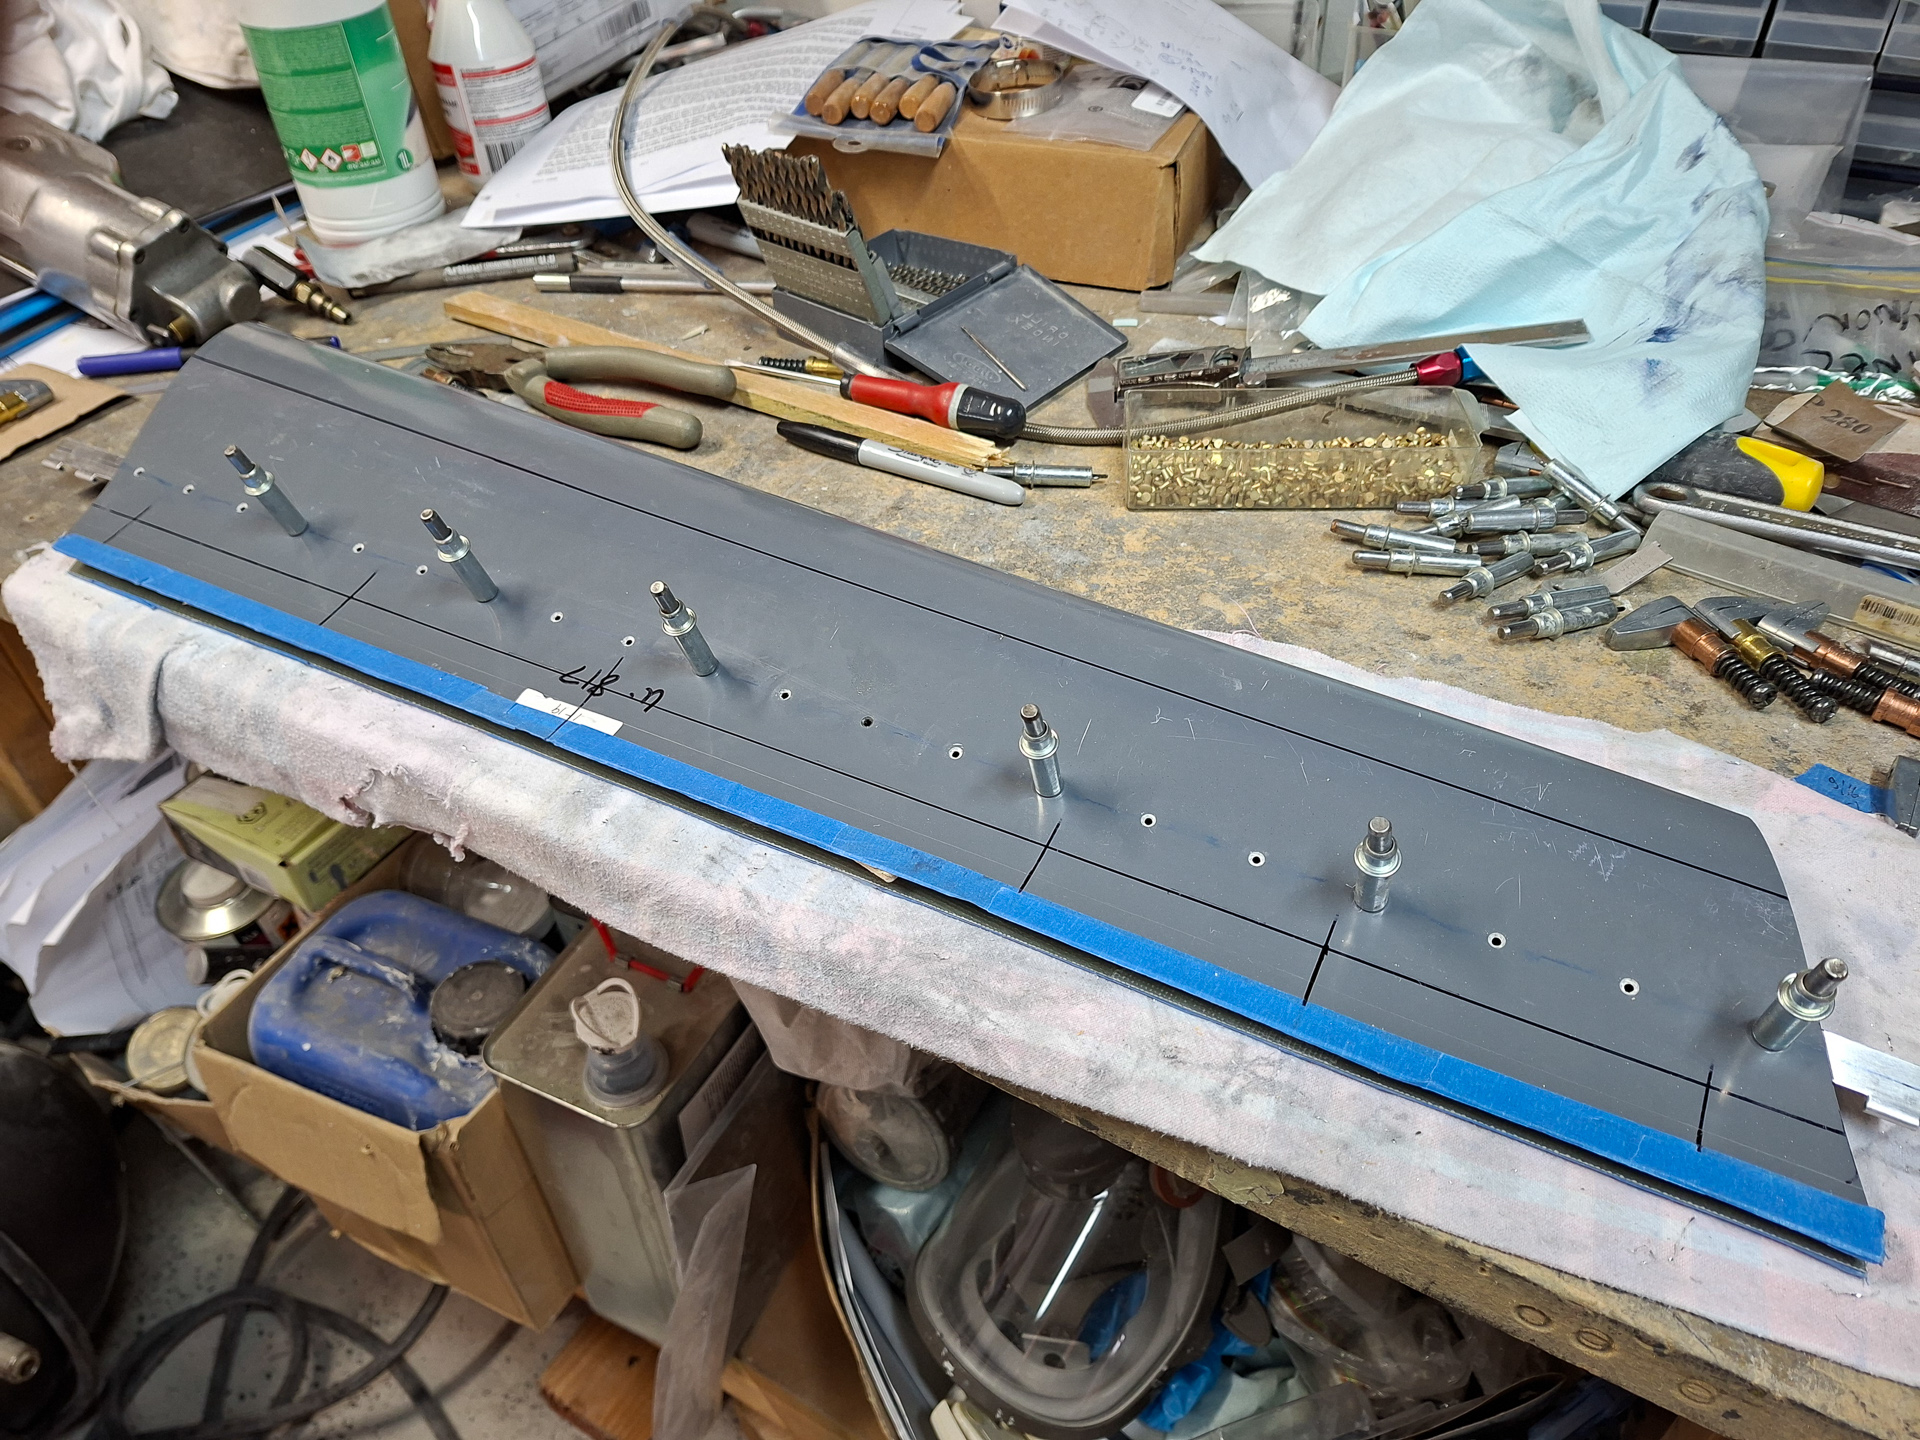
Work continues on the passenger side leg fairing.
Drilled the holes but during the first couple of holes found out that it was a bad idea to keep the back end taped together as the drill bit could damage the other side of the epoxy fairing as it comes through the aluminum of the hinge. So I cut the blue tape and opened the fairing a bit to protect the other side by sliding a small wooden block in between. The black lines were drawn upfront so that I could realign the rear later on.
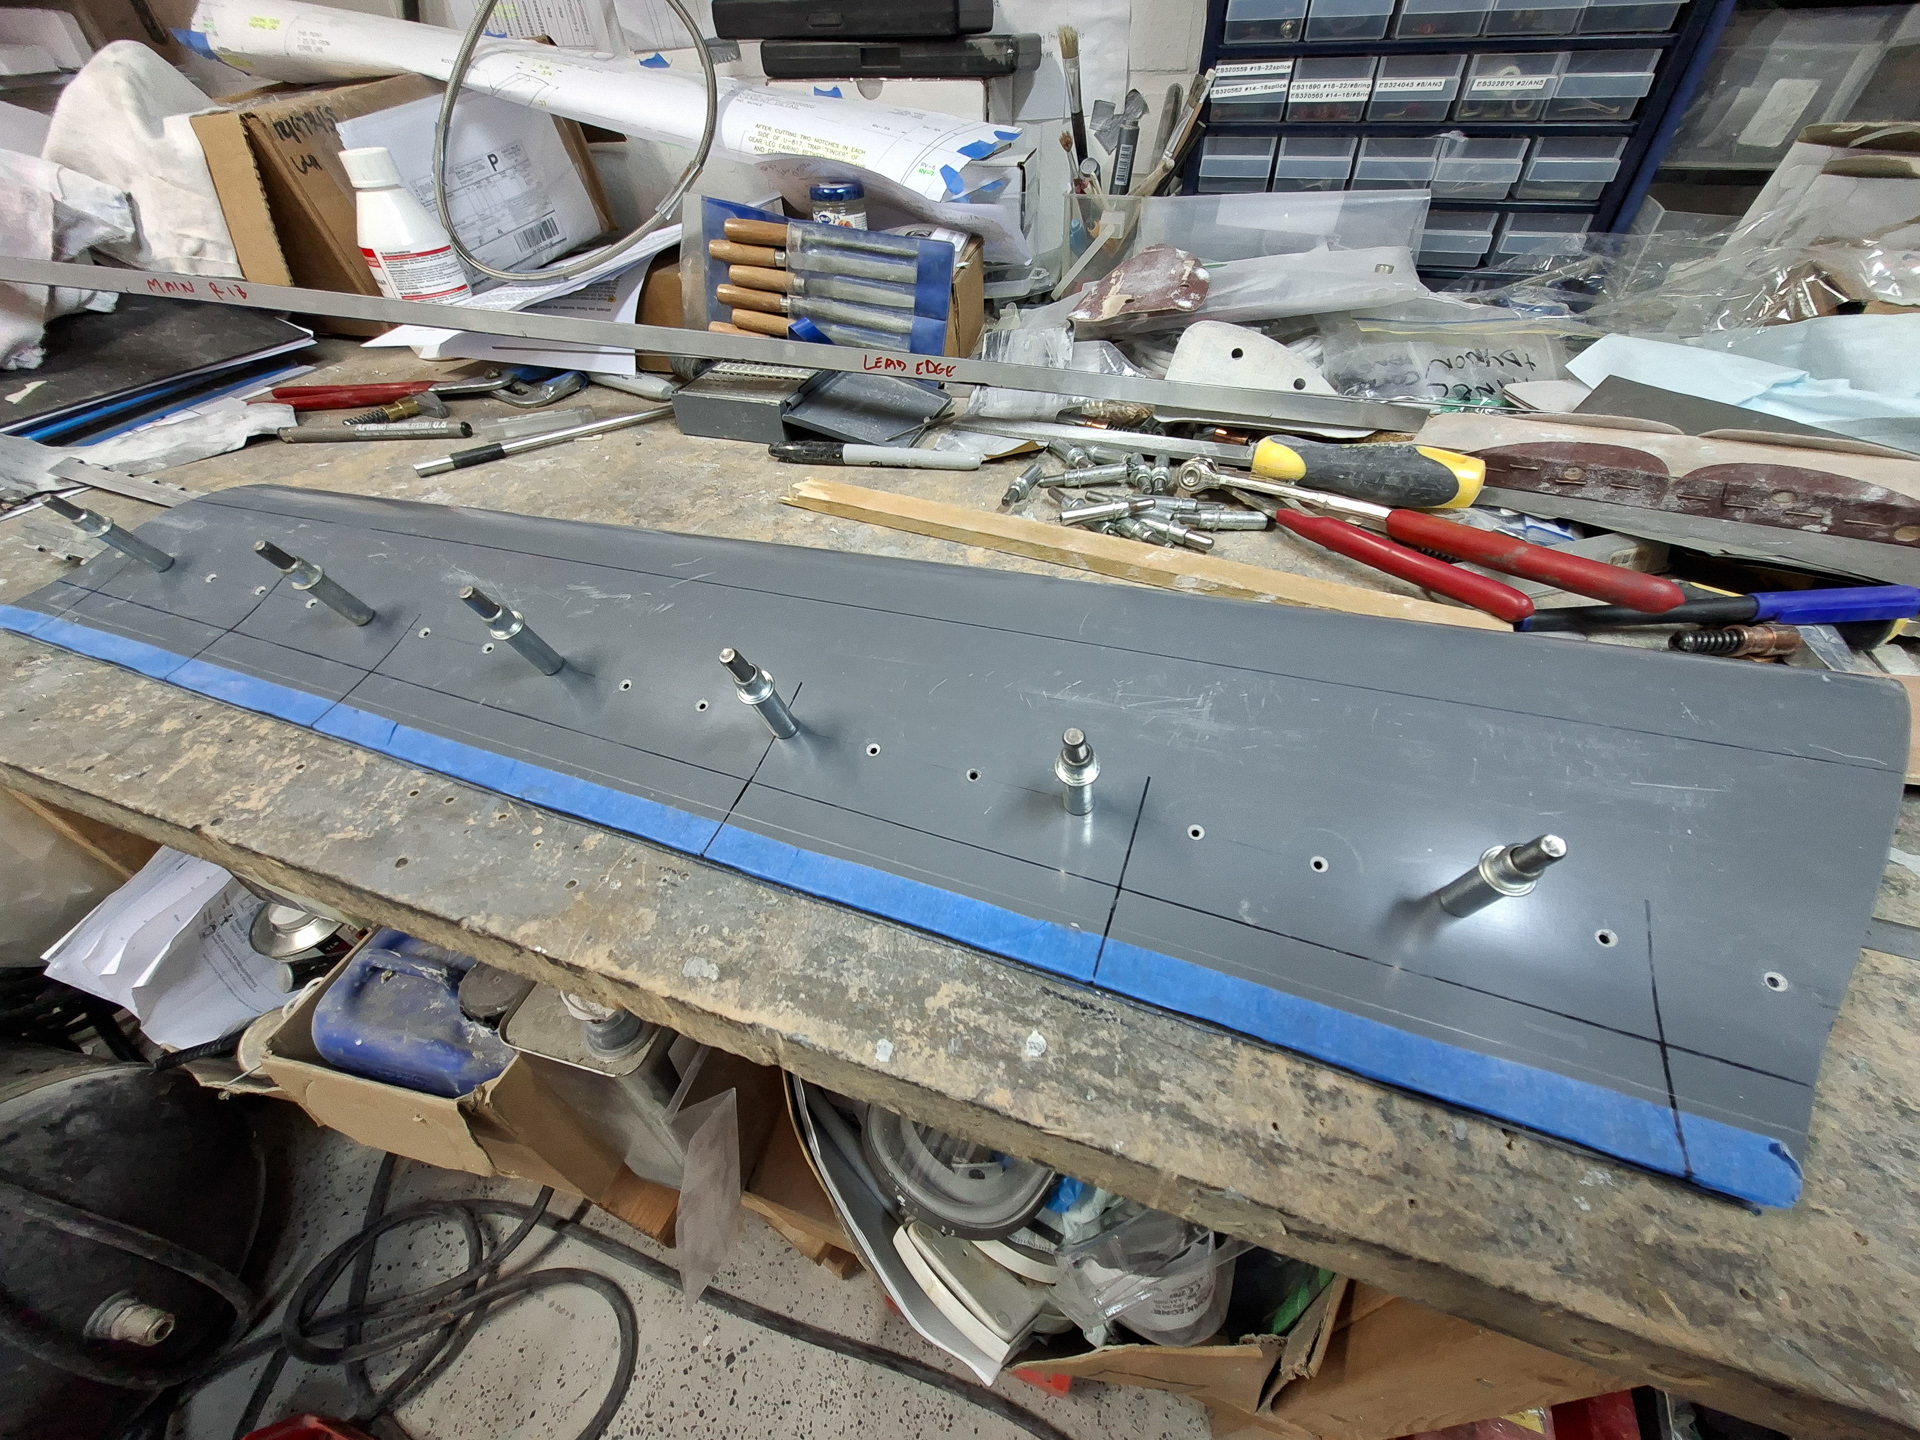
Countersunk the holes
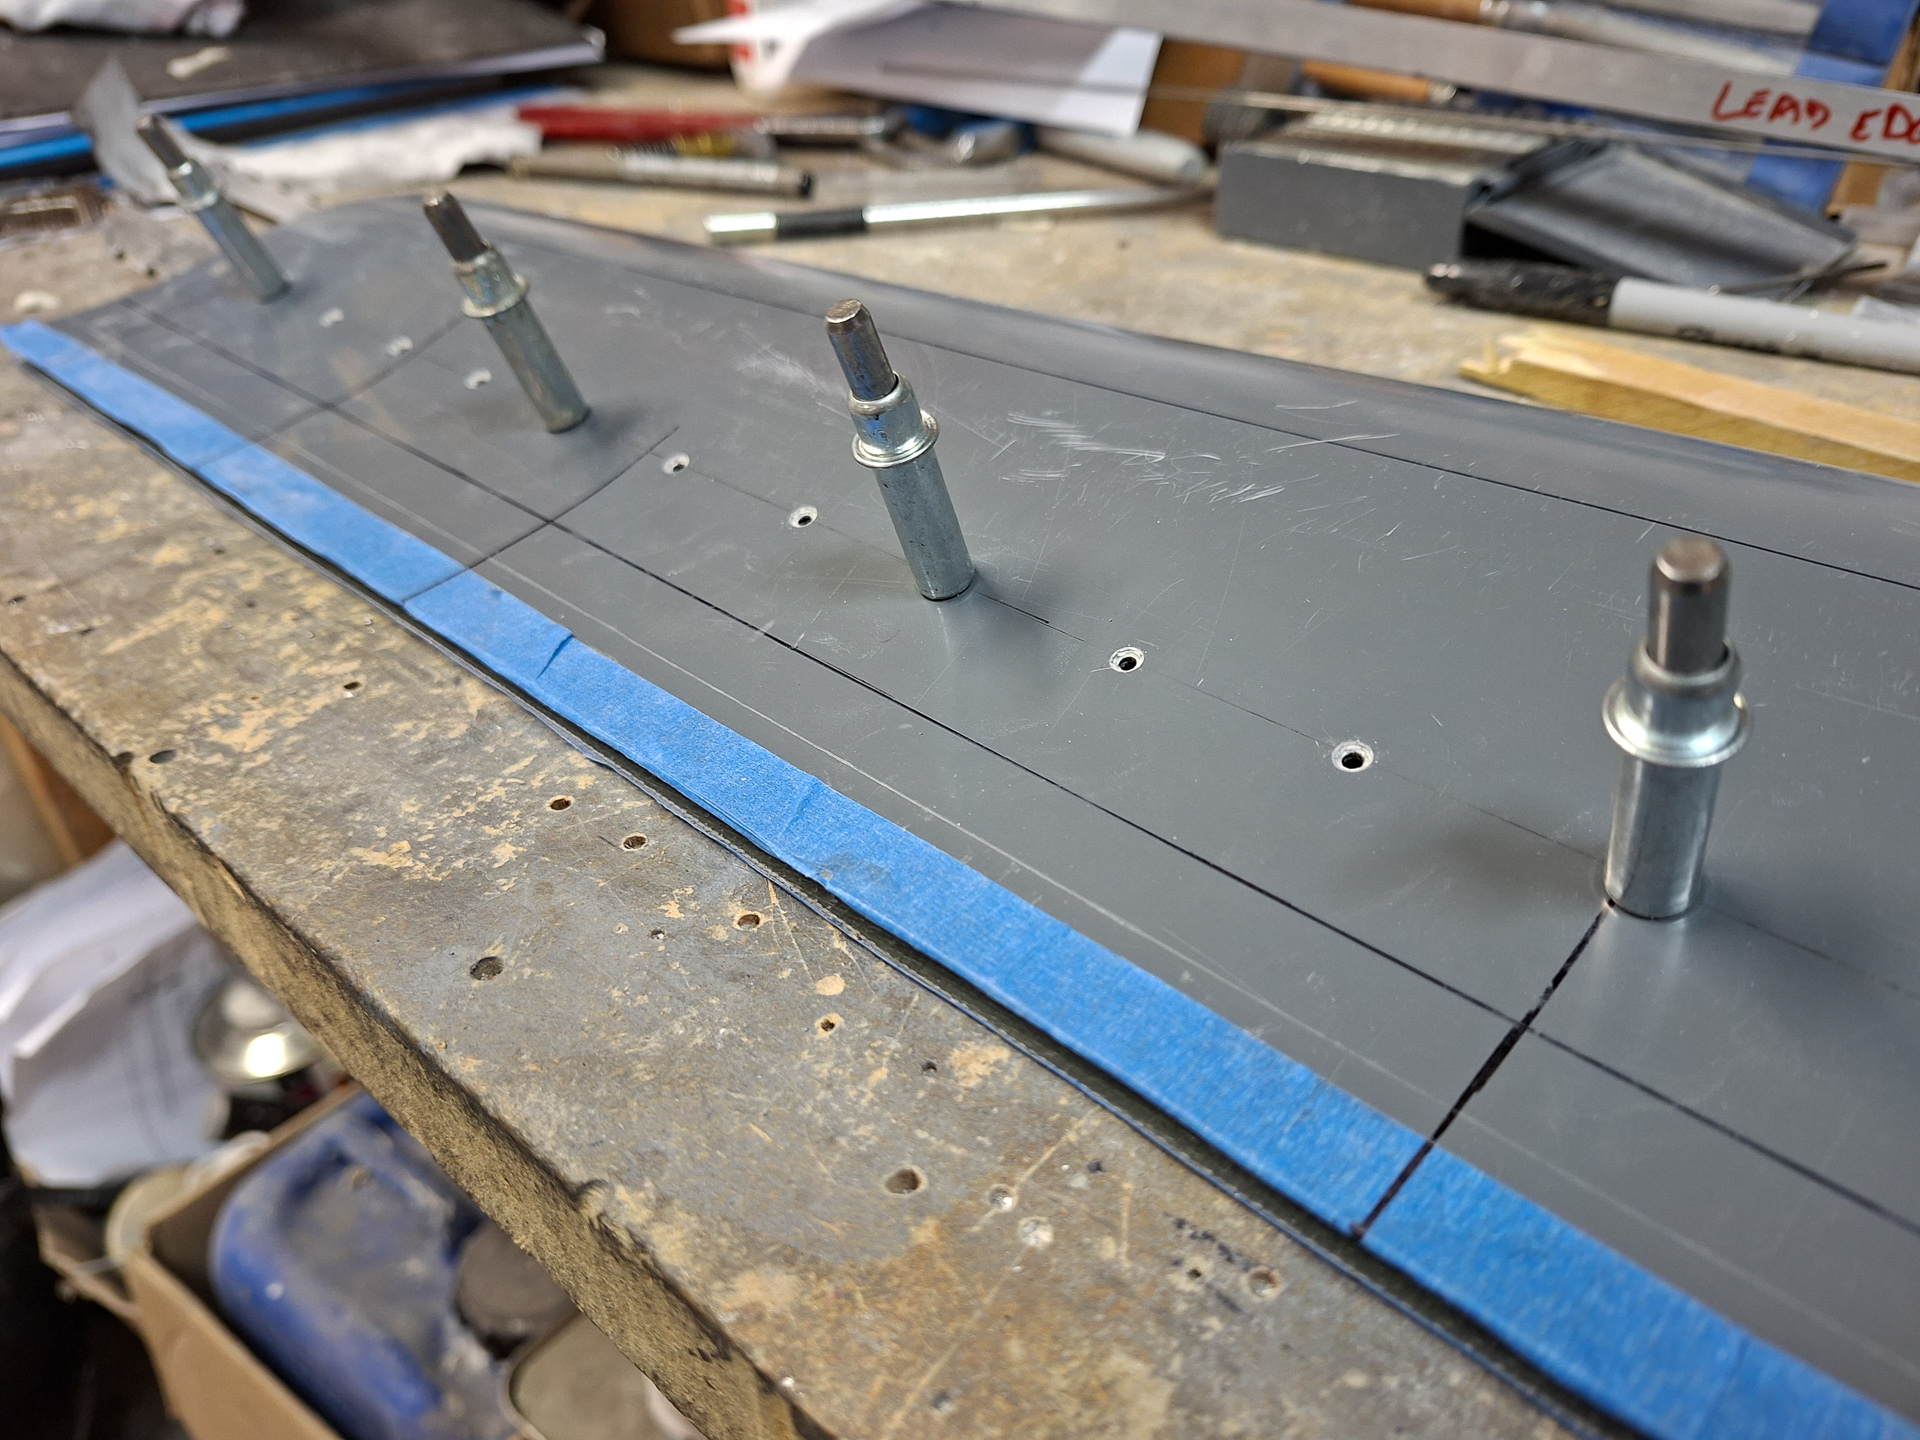
And rivetted the first side hinge in place.
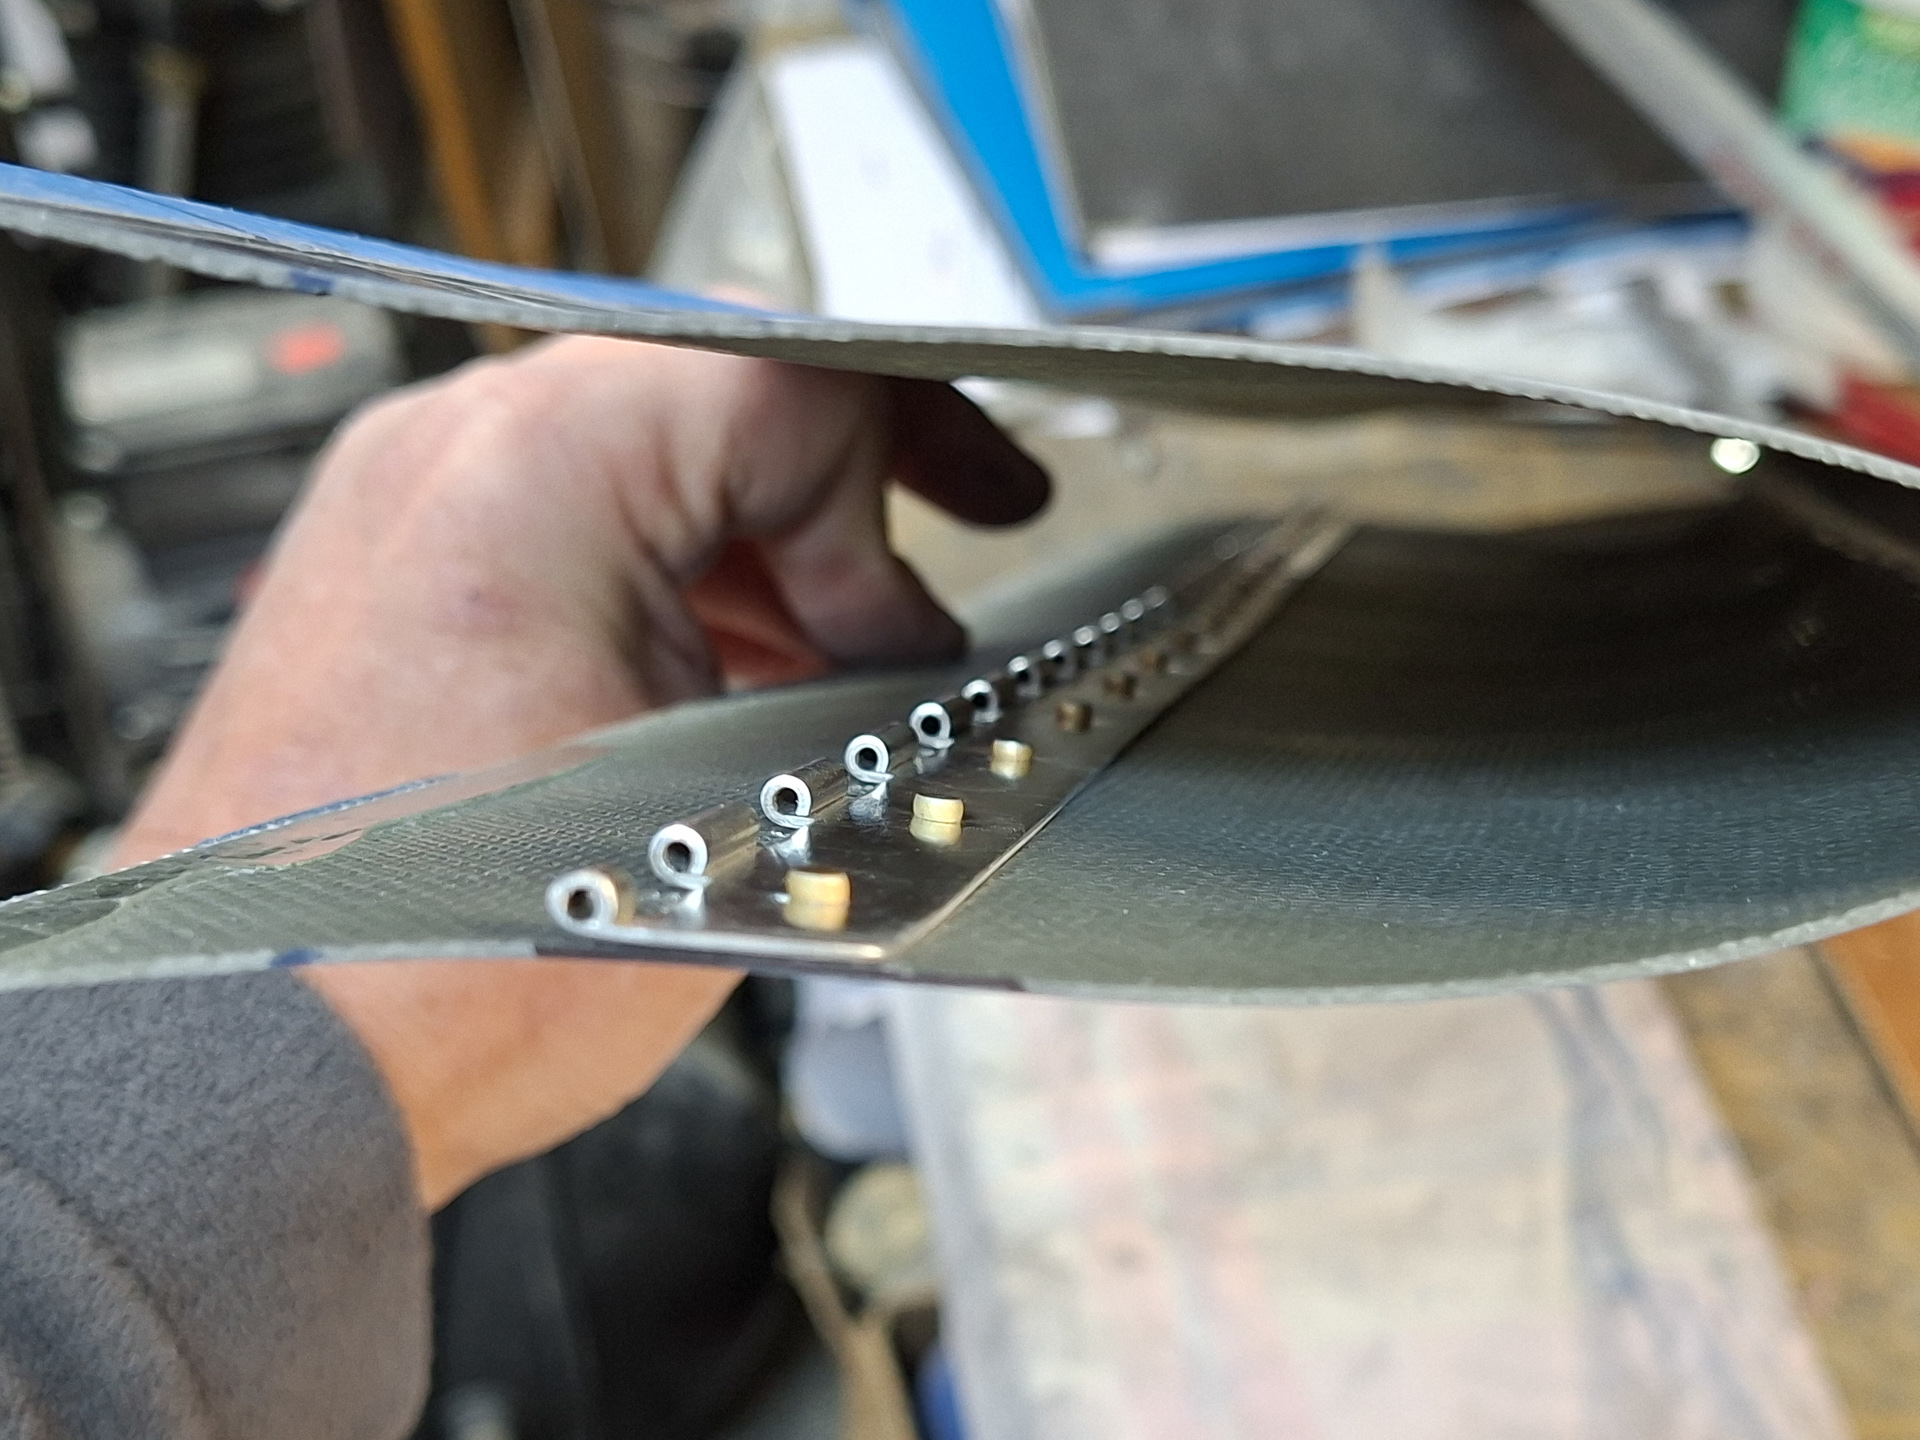
When rejoining the back I started to question whether there was really no twist introduced. As this is critical, I decided to get some help and redo the alignment fitting.
As the fairing is allready cut, it's much more difficult to make sure there is a good alignment. Fortunatly, I recently bought a laser level as I want to use this for final alignment on the gear legs.
I asked my girlfriend to help hold the fairing while I checked the other side. In the picture below, you see the laser level on a tripod.
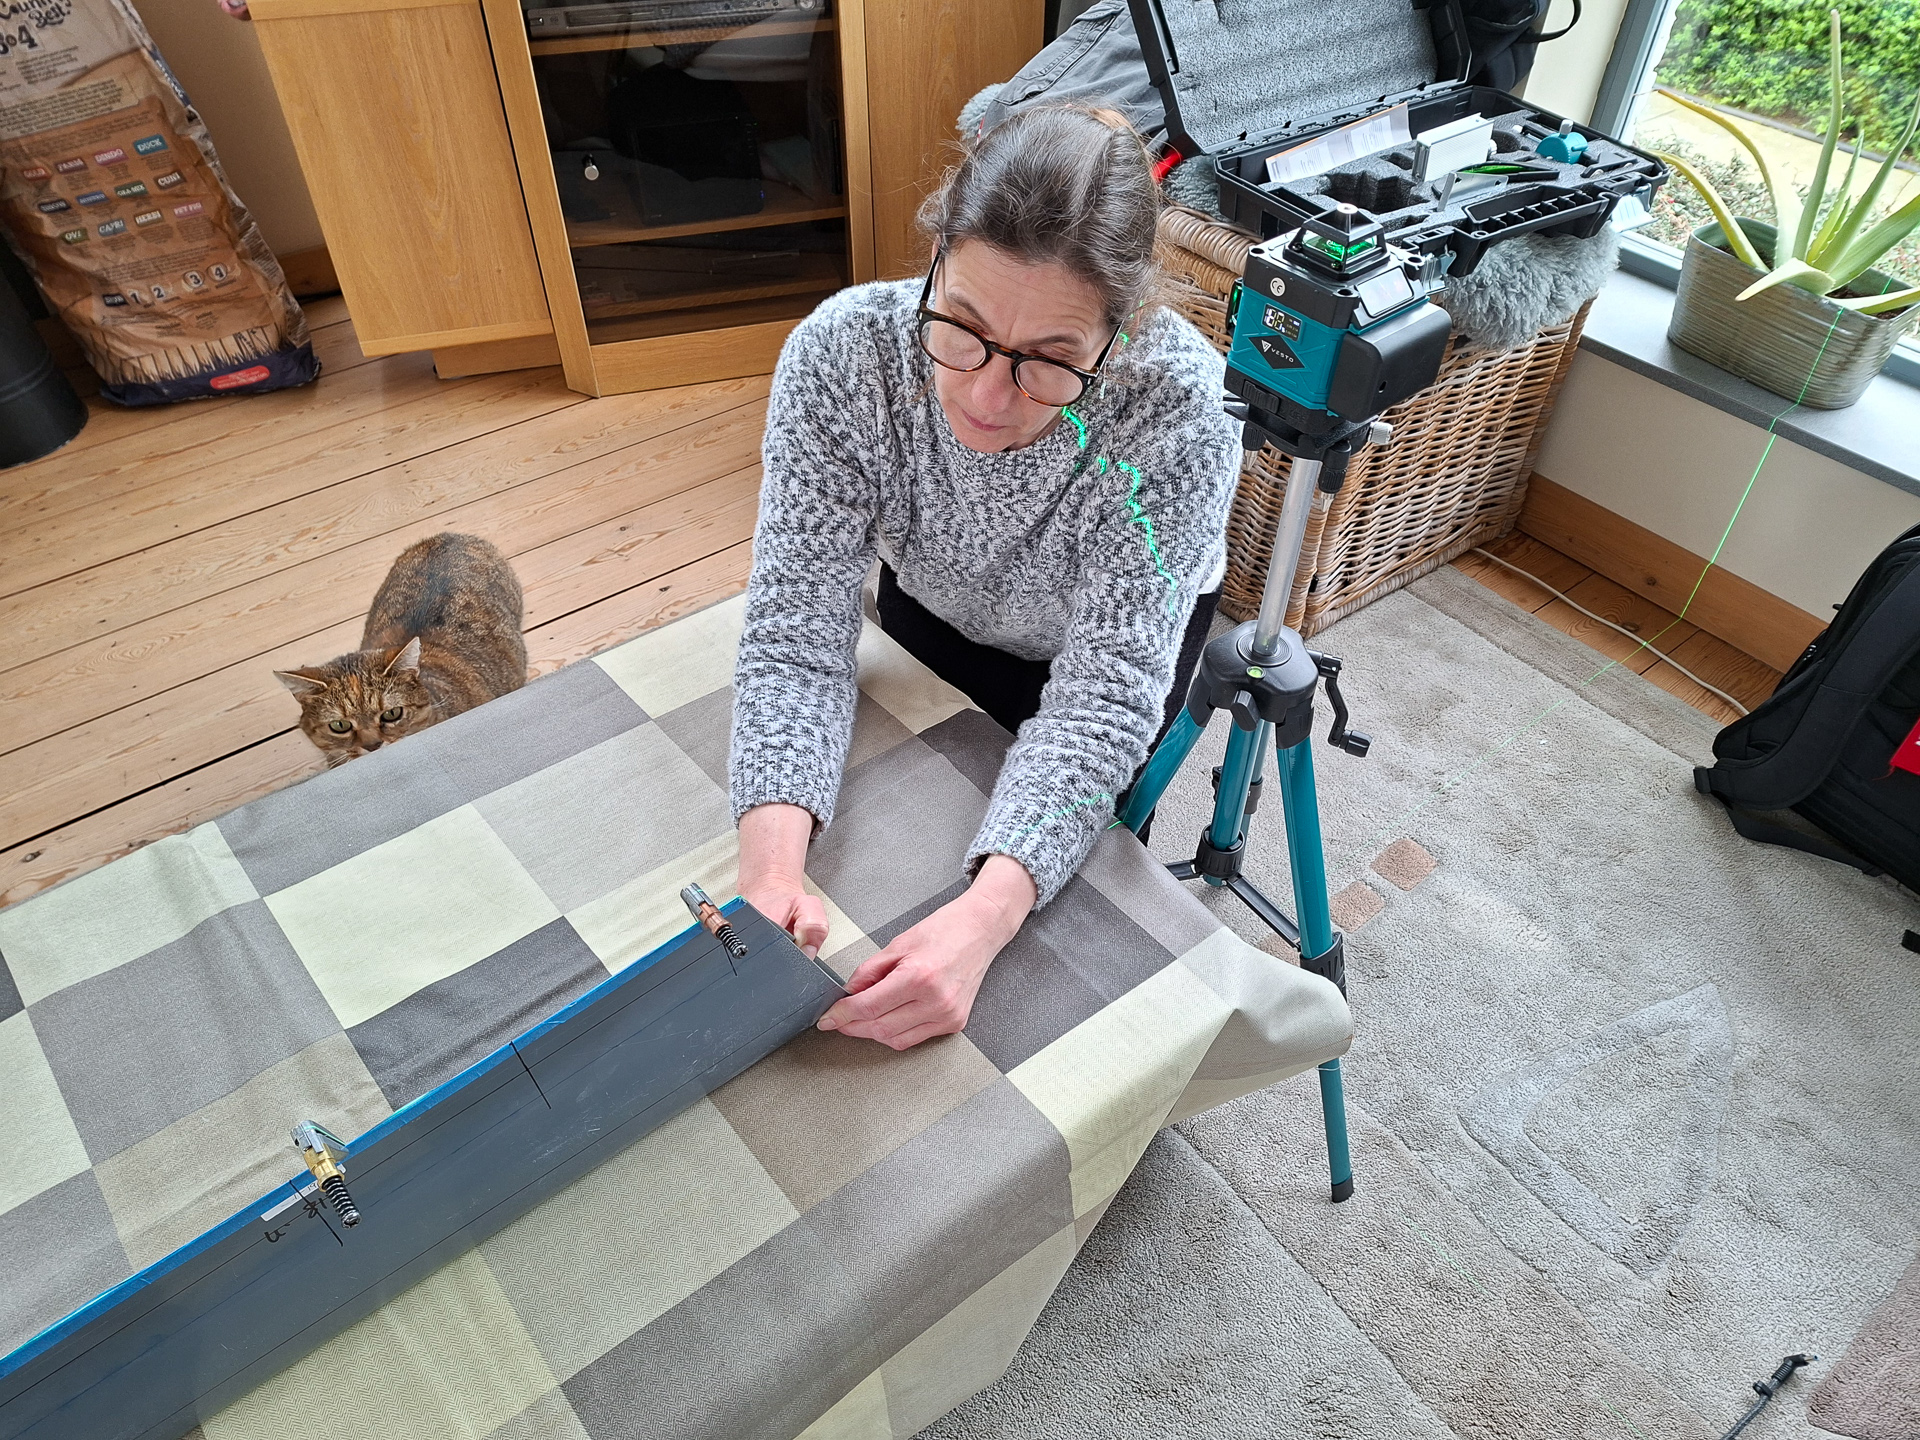
The laser draws a straight line and she holds the fairing so that the line on the table is centered on the middle of the front of the fairing (bottom in the image) and the line runs over the rear of the fairing line (top).
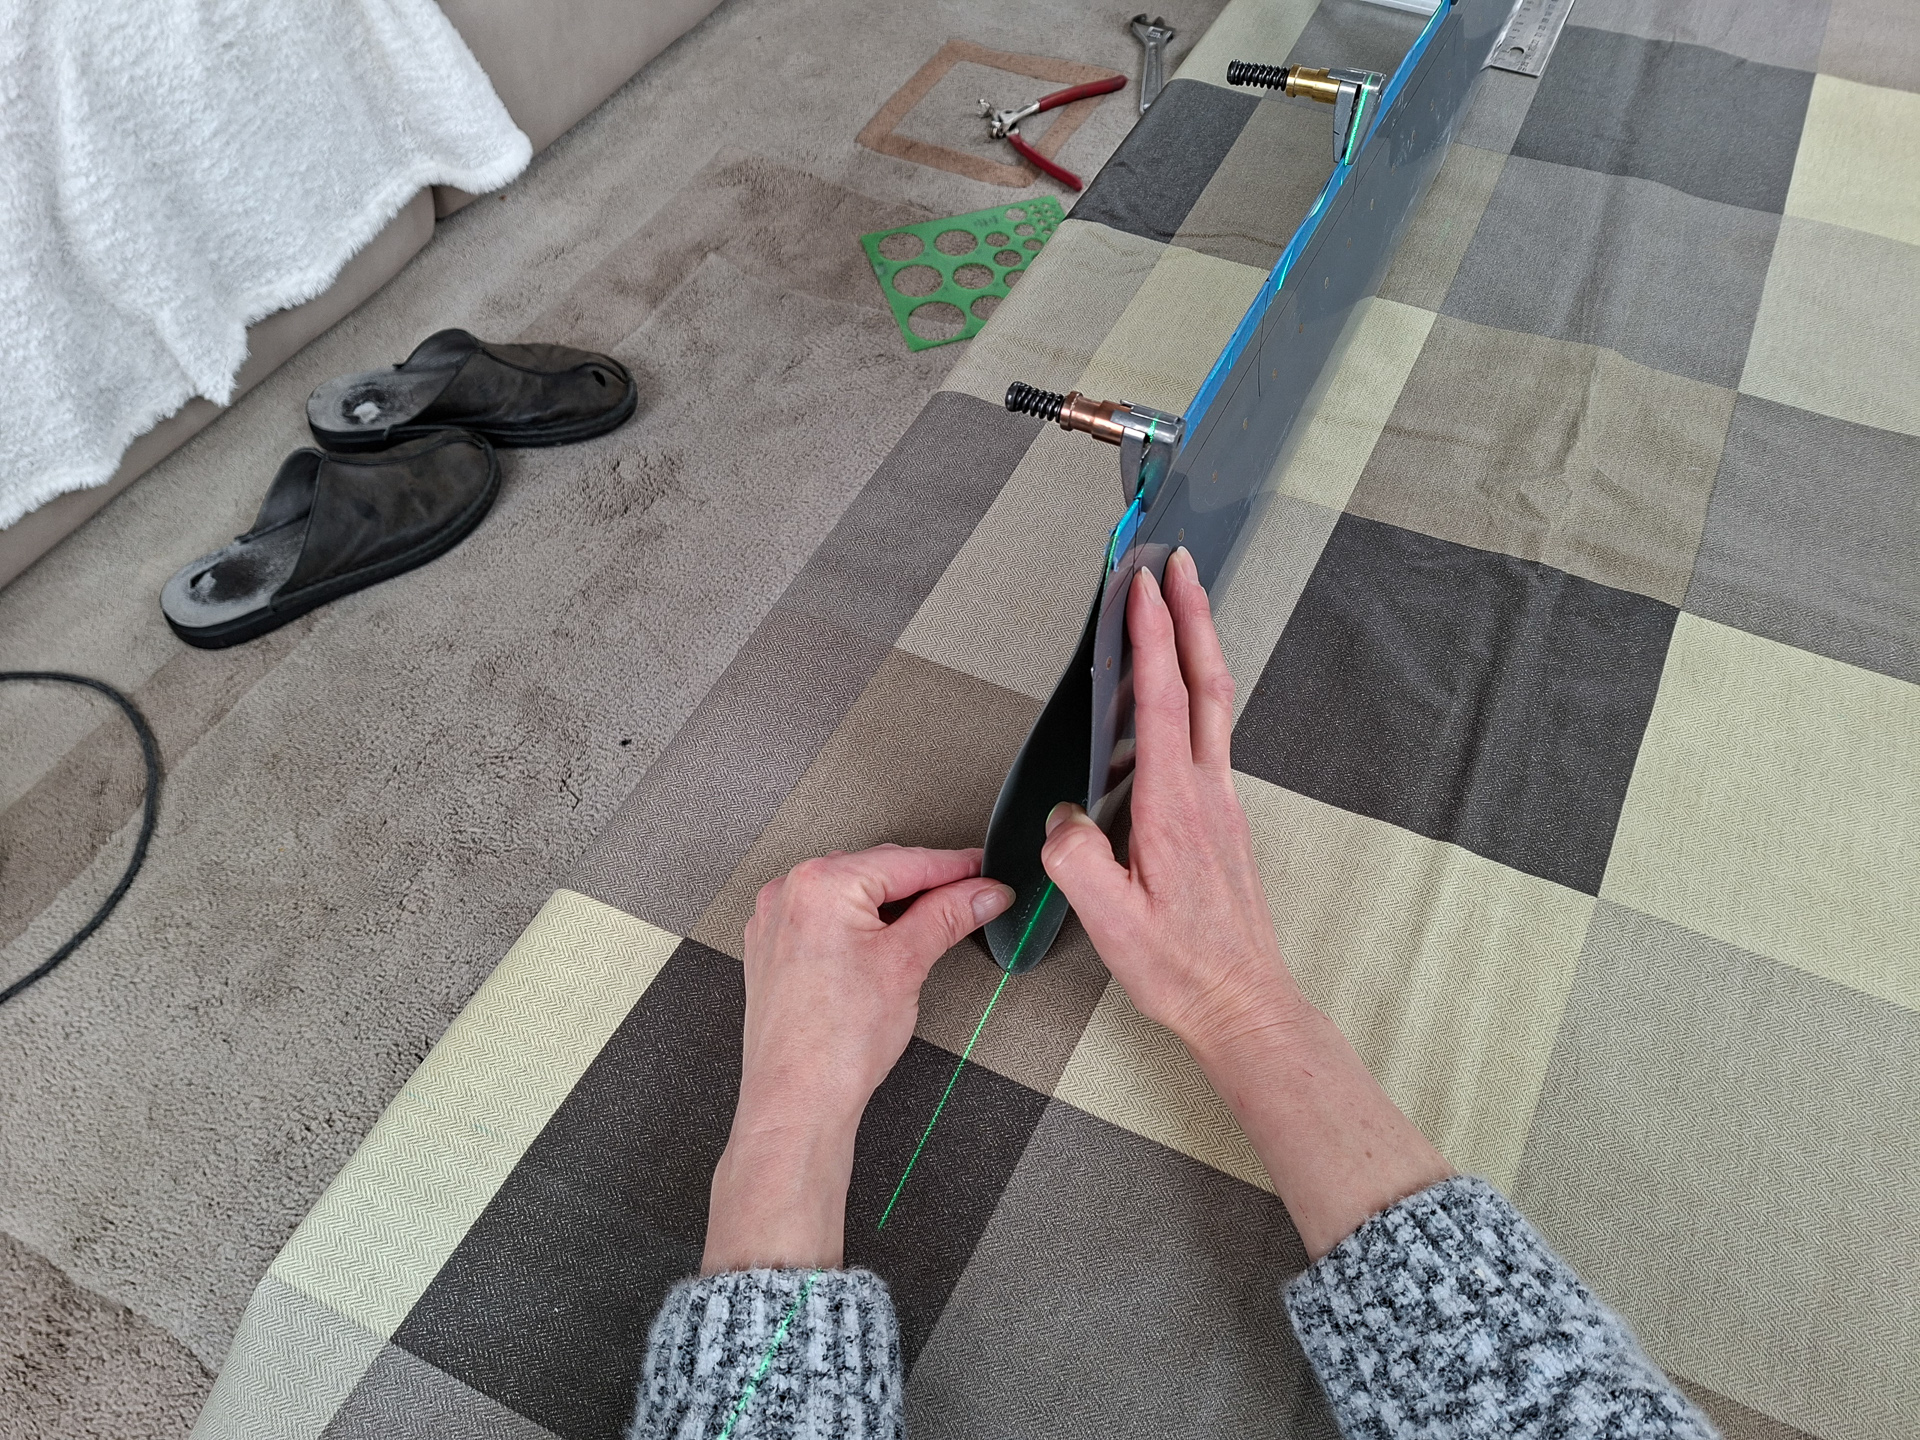
Meanwhile, I check the other side putting a straight edge along the laser line and checking with a square how it aligns in the top. The laser line follows the top line and the square is just a double check. to verify the bottom is also in the middle.
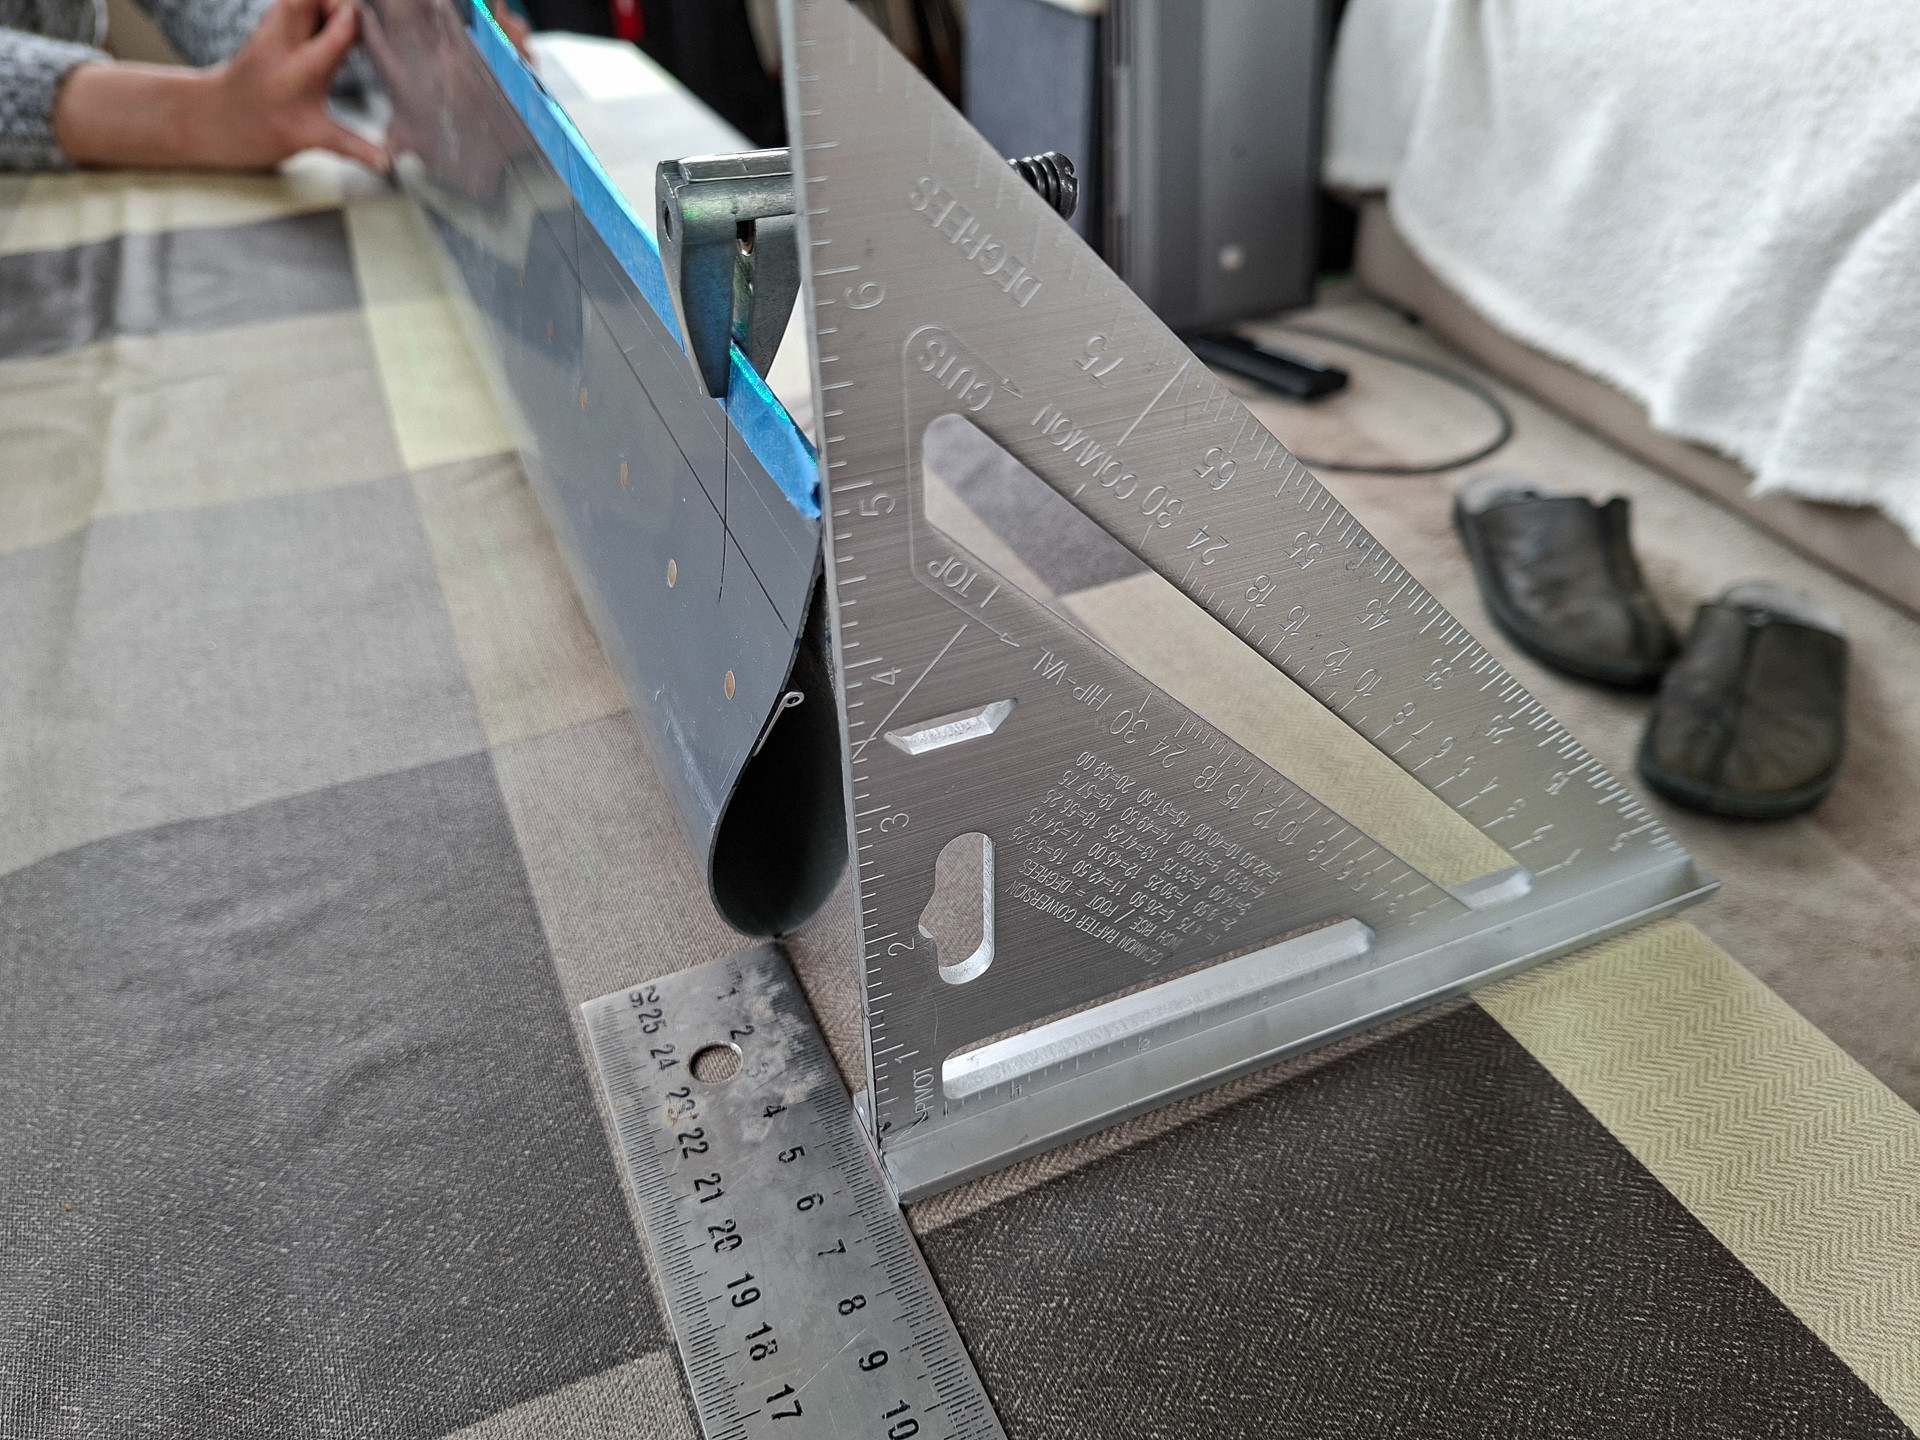
I taped the back again, and drilled the other side of the fairing with the hinge in place. With the other side of the hinge already rivetted on you have to be carefull again not to hit it when going through the hinge with the drill bit. After some initial holes I did cut the rear again as I found it difficult to keep the hinge in line (line on the center of the hinge and visible through the holes). Without the possibility to hole the hinge in the center, it tends to drift if you can't hold it in place.