

The the gear leg fairings completed, the next step is to prepare and install the wheel pants. They come as a front and a rear part which slide together at the wheel axel.
The shape and outer surface is already very good as they come from the factory, but the fit at the join is awfull and needs to be mated to fit as good as possible.
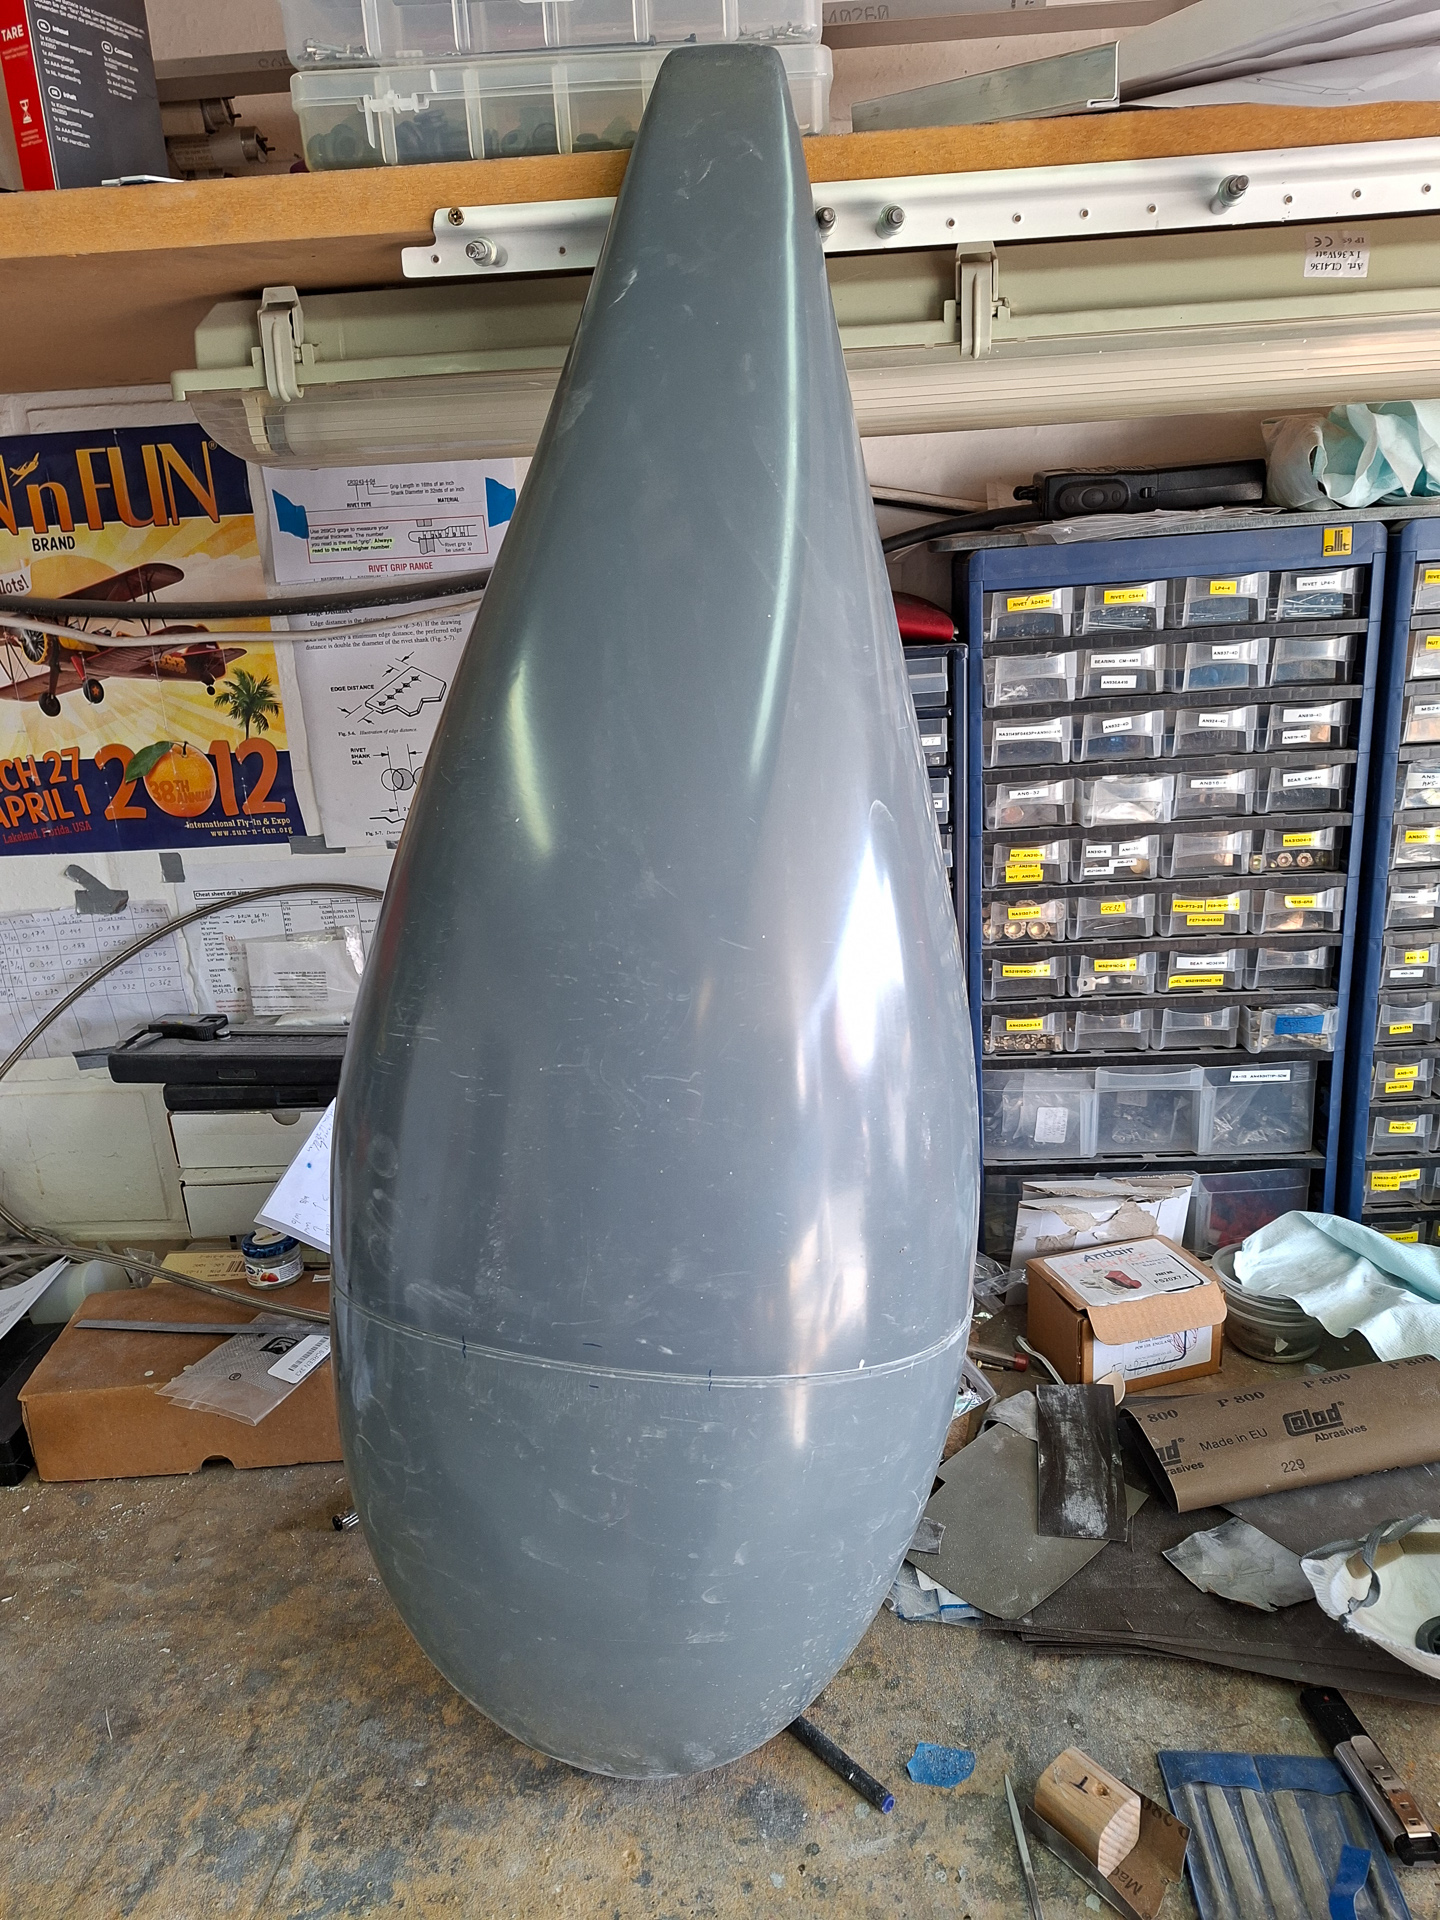
The best way to evaluate the gap is to slide the parts together, hold the tail up on a workbench and rotate the wheel pant around. As you can see in the image below, the gap is uneven and bumpy and requires a lot of your love to get it fitting well.
The bad part of the story is that this means sanding epoxy again and that's a non-fun and hazardous dusty job. So make sure you don't forget your face mask for respiratory protection.
The plans indicate where you'll probably will find problem area's. Most of it is located due to the join of epoxy layers on the tail cone forward top side. I had to sand away quite a bit of material in order to get an even and smooth transition.
One of the difficulties is that the two parts don't have a locked in good mating position. The bottom cut outs are irregular and different on both parts so you can't use that to find the best fit. So it becomes a "feel the sweet spot". Once the inner lip is sanded smooth, the 2 parts slide a bit easier and you can kind of feel where the best position is. However unfortunatly it's not science and more like an artist thing to get the sweet spot.

I lightly sanded the inside lip and gently knocked of the corners. Then used a small square key file to make a sharp edge bend on the inside corner of the front part.
Once the "height" sanding is done and no more high points are found, you can then work on the edge of the rear pant. I did all the mating and sanding on the front edge of the rear pant using a long sanding block with 100 grit sandpaper. I takes a lot of trial and error and it's hard to judge between what's good enough and what's perfect.
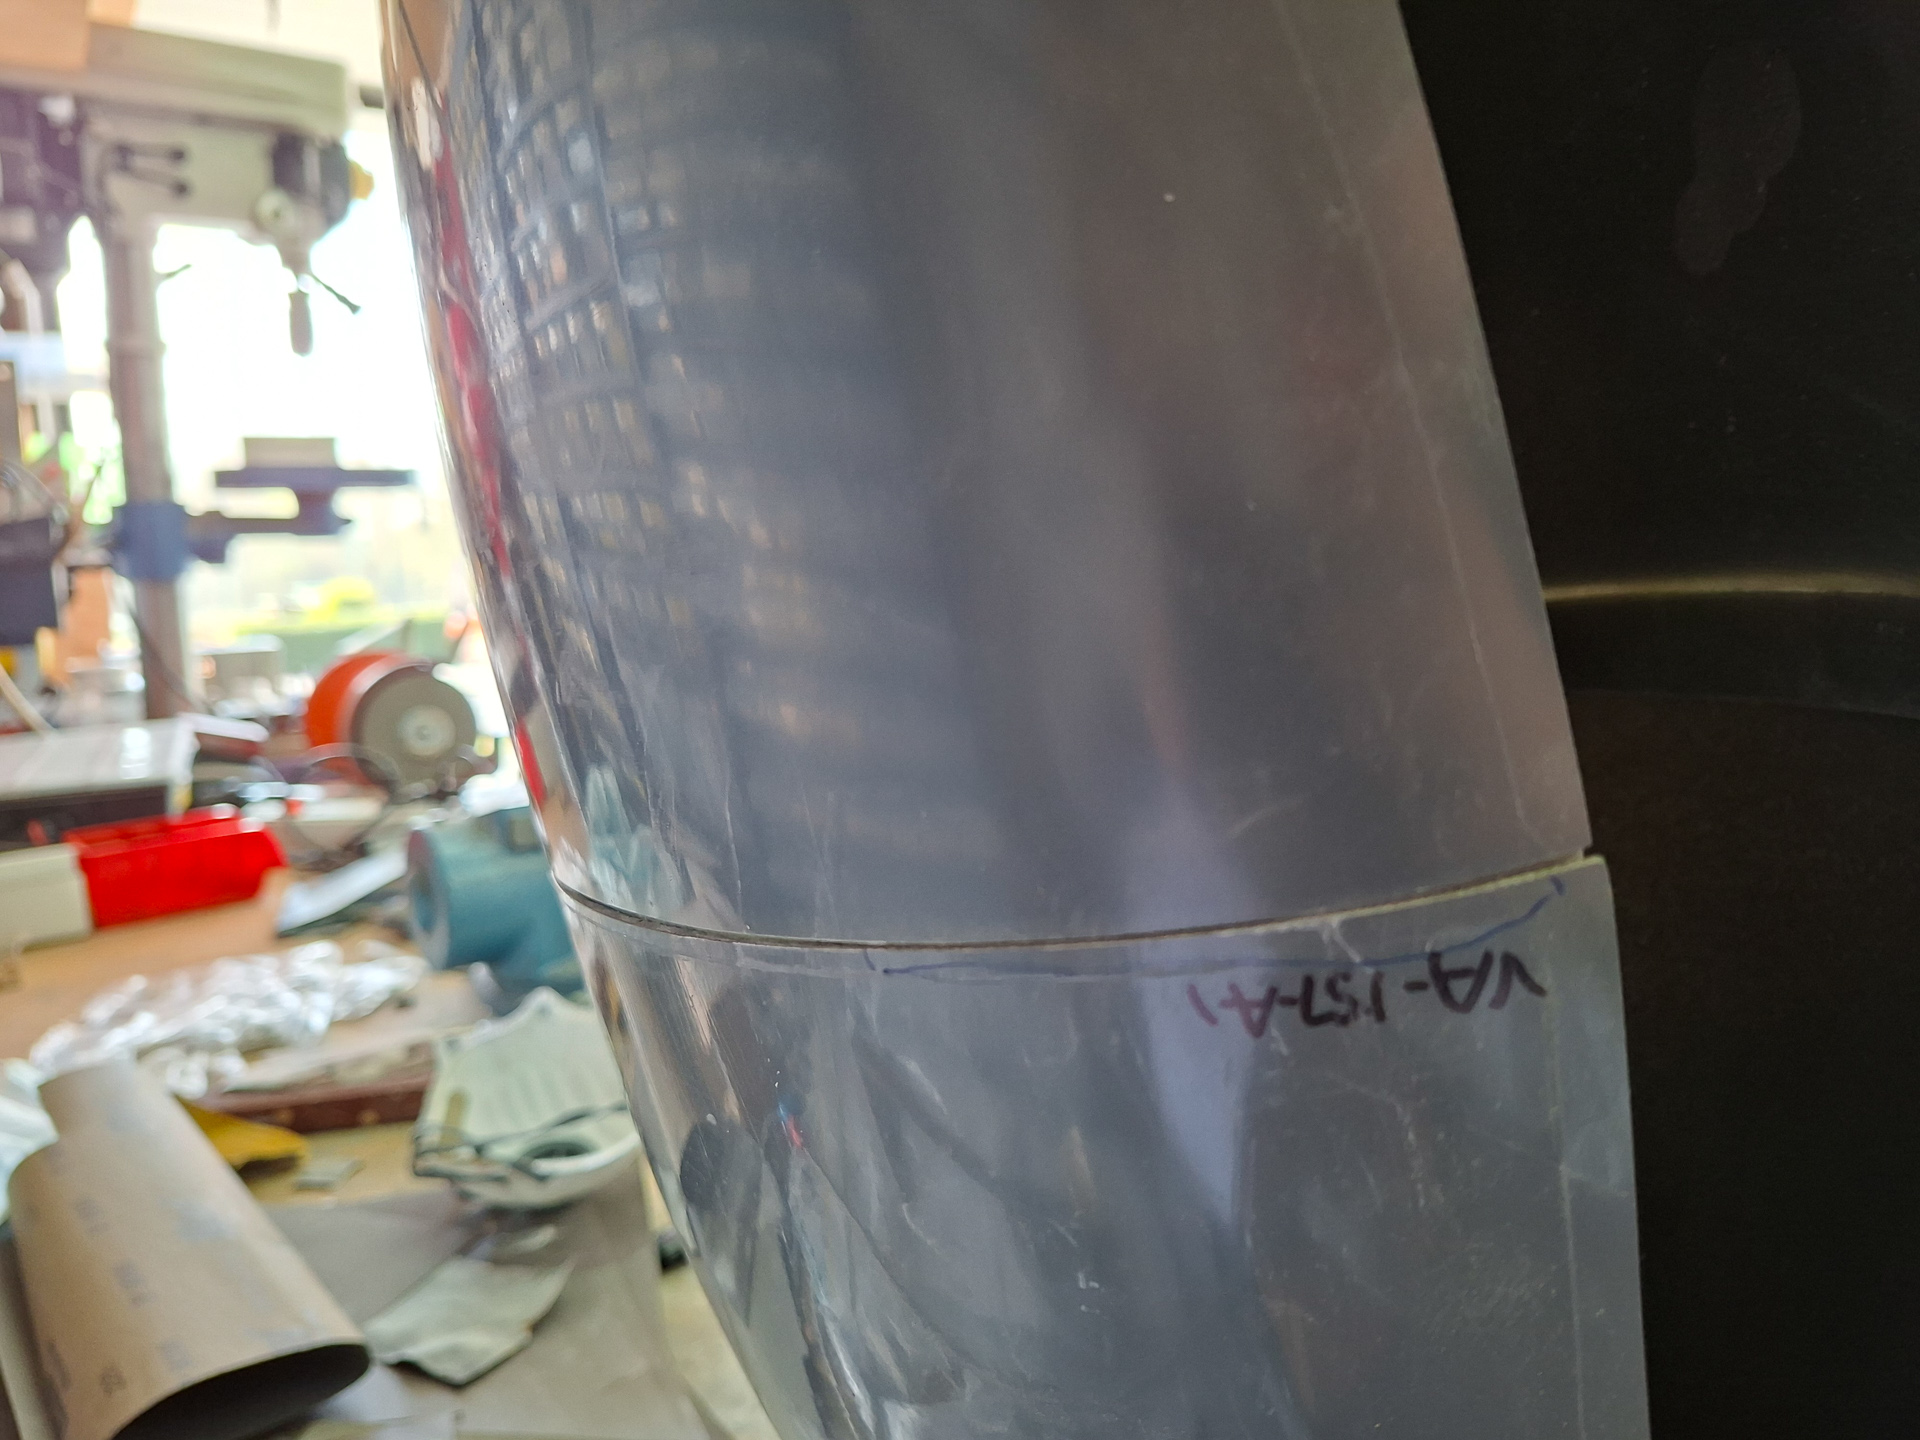
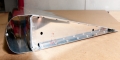
The image below shows the best I could get it. The gap between the parts is very minimal and acceptable for me. Have a closer look at the image below at the join line.
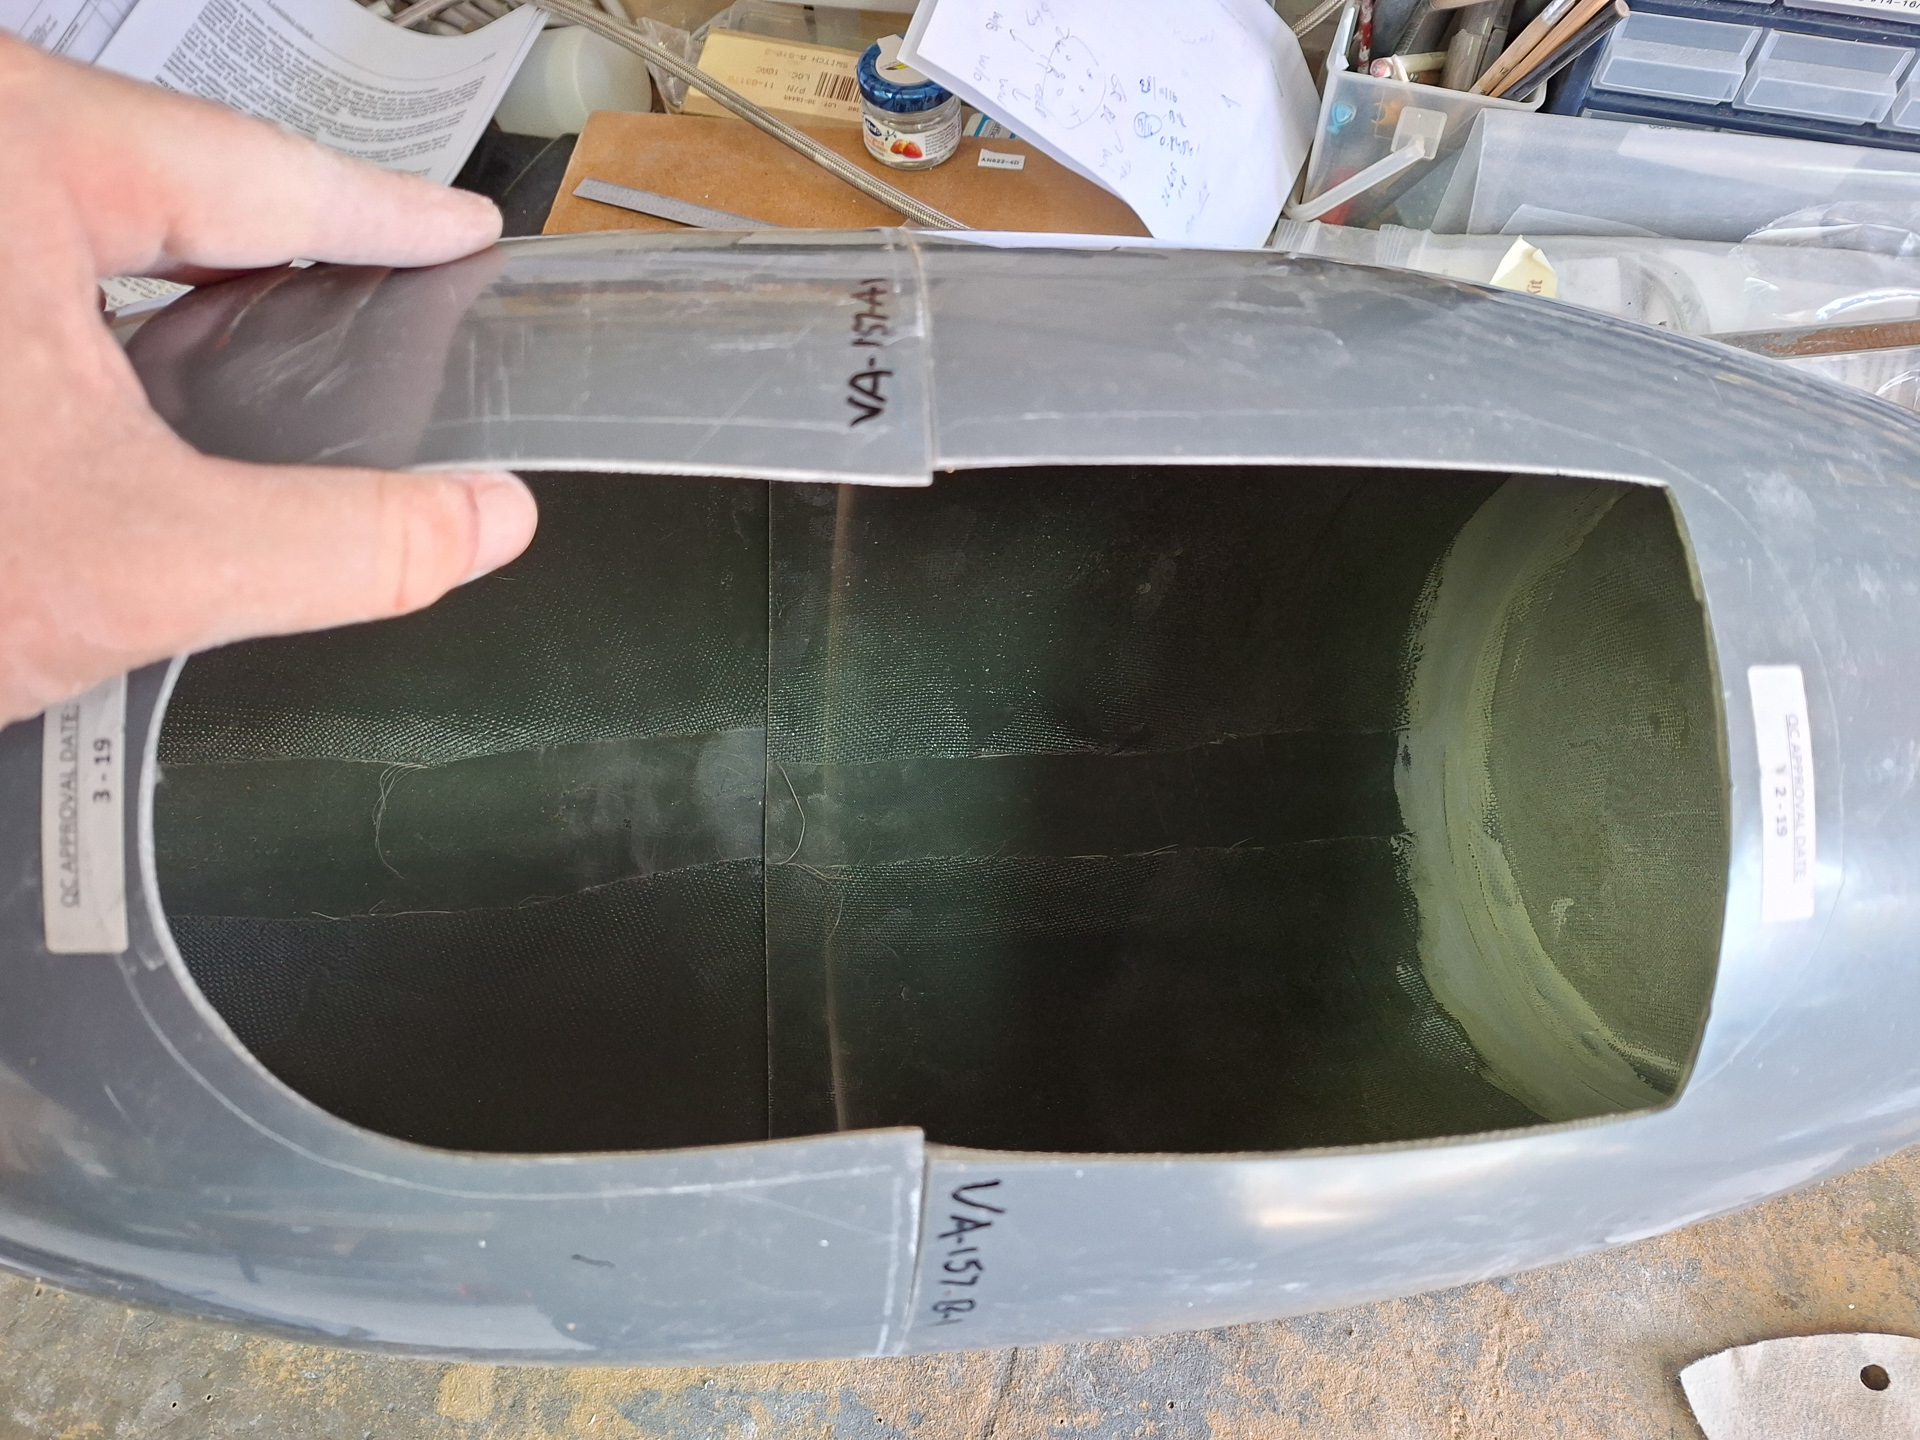
Another shot from the bottom up. The fit here is good enough but not perfect. If after cutting the final bottom slot there is still some height difference between the two parts, I'll probably use the heat gun to massage the high point down a bit.
This is how the sweet spot for mating worked for me. You can't let the precut holes guide you as they have no reference to each other.
As my sanding was complete and the courage to start the same on the second was down, I decided to do a small remaining task on the gear fairings.
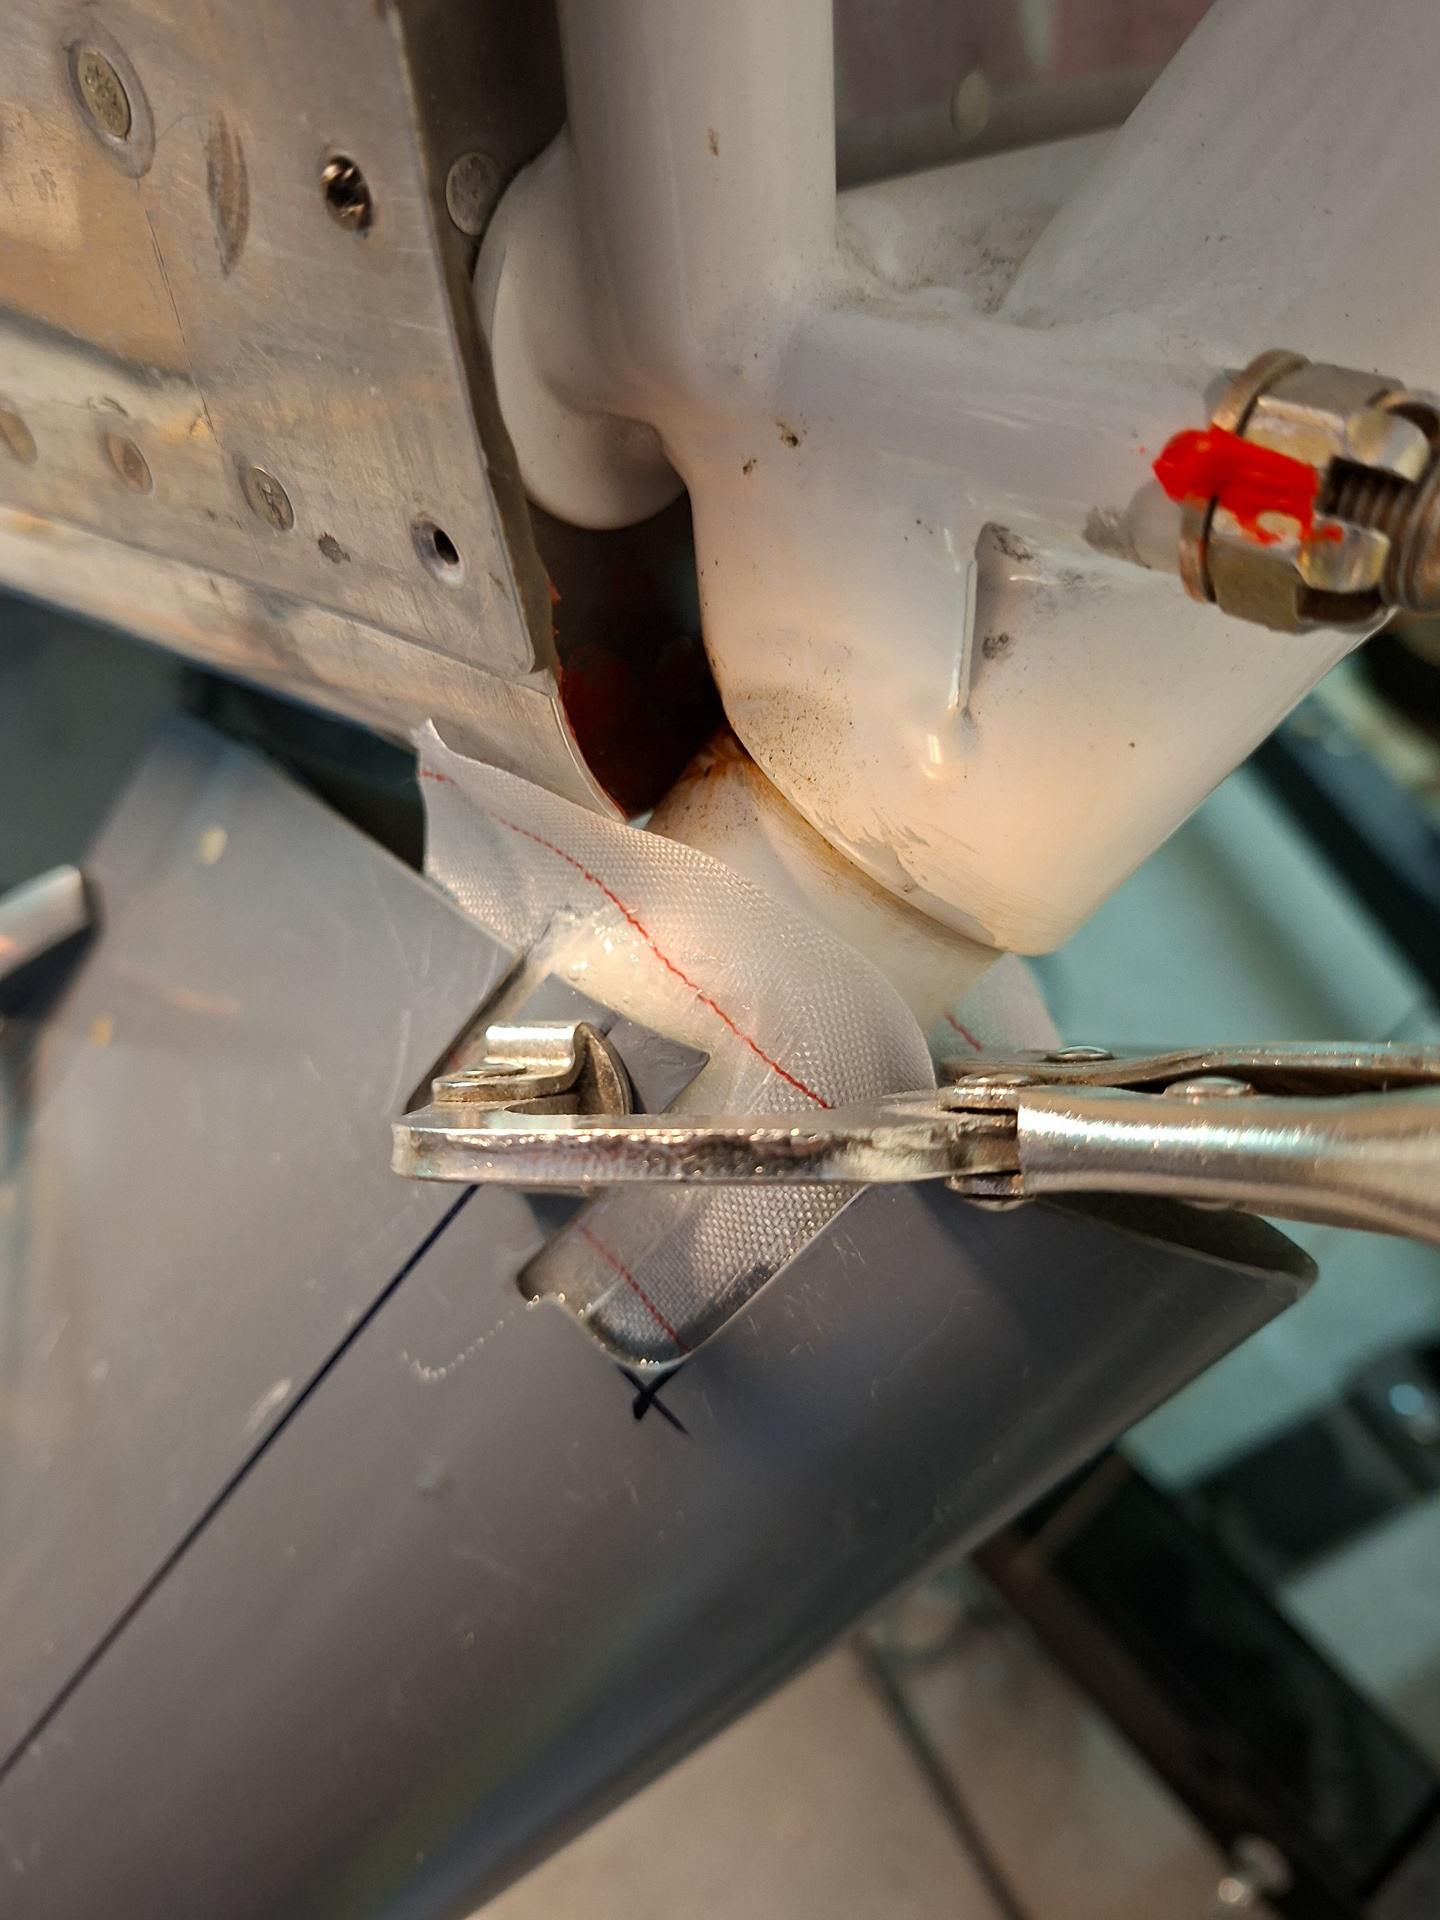
The fingers on the gear fairings have to be reinforced with 2 extra layers of epoxy cloth.
I applied the layers to both legs, let it cure a bit and then clamped to still soft epoxy to the gear leg.
I had prepared the gear leg with some liquid that forms a layer of thin plastic that releases easily. This way, the epoxy can't stick to the gear leg and will simply pop off when cured.
Applied also some peelply over the top layer and lightly clamped the leg on.


