

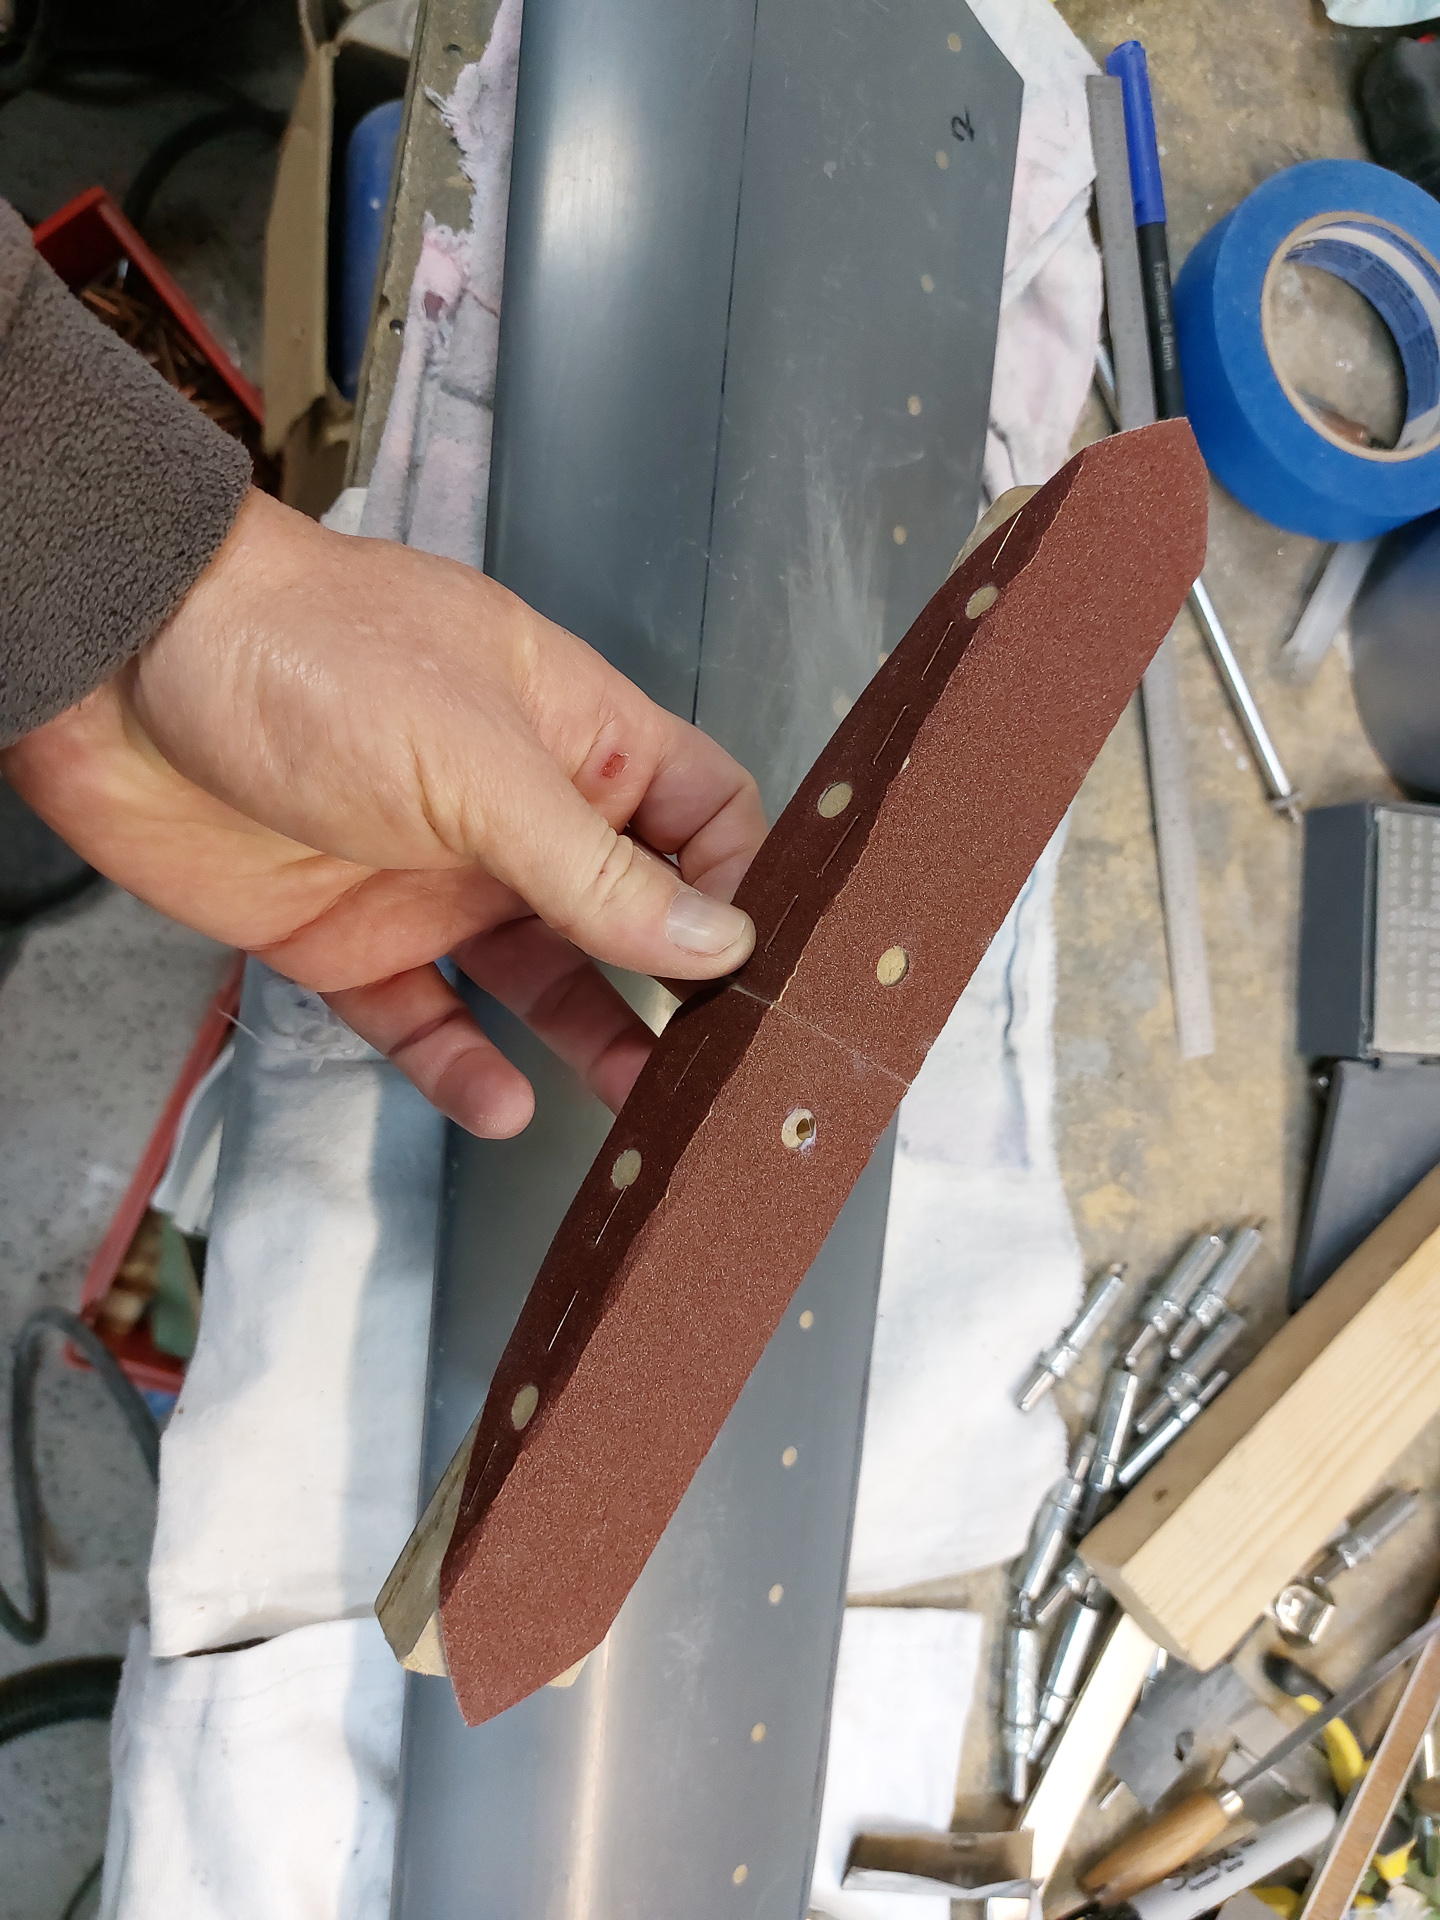
Made a long sanding block 100 grit. This will help sanding down the trailing edge of the gearleg fairing up to the earlier drawn line (according to the template).
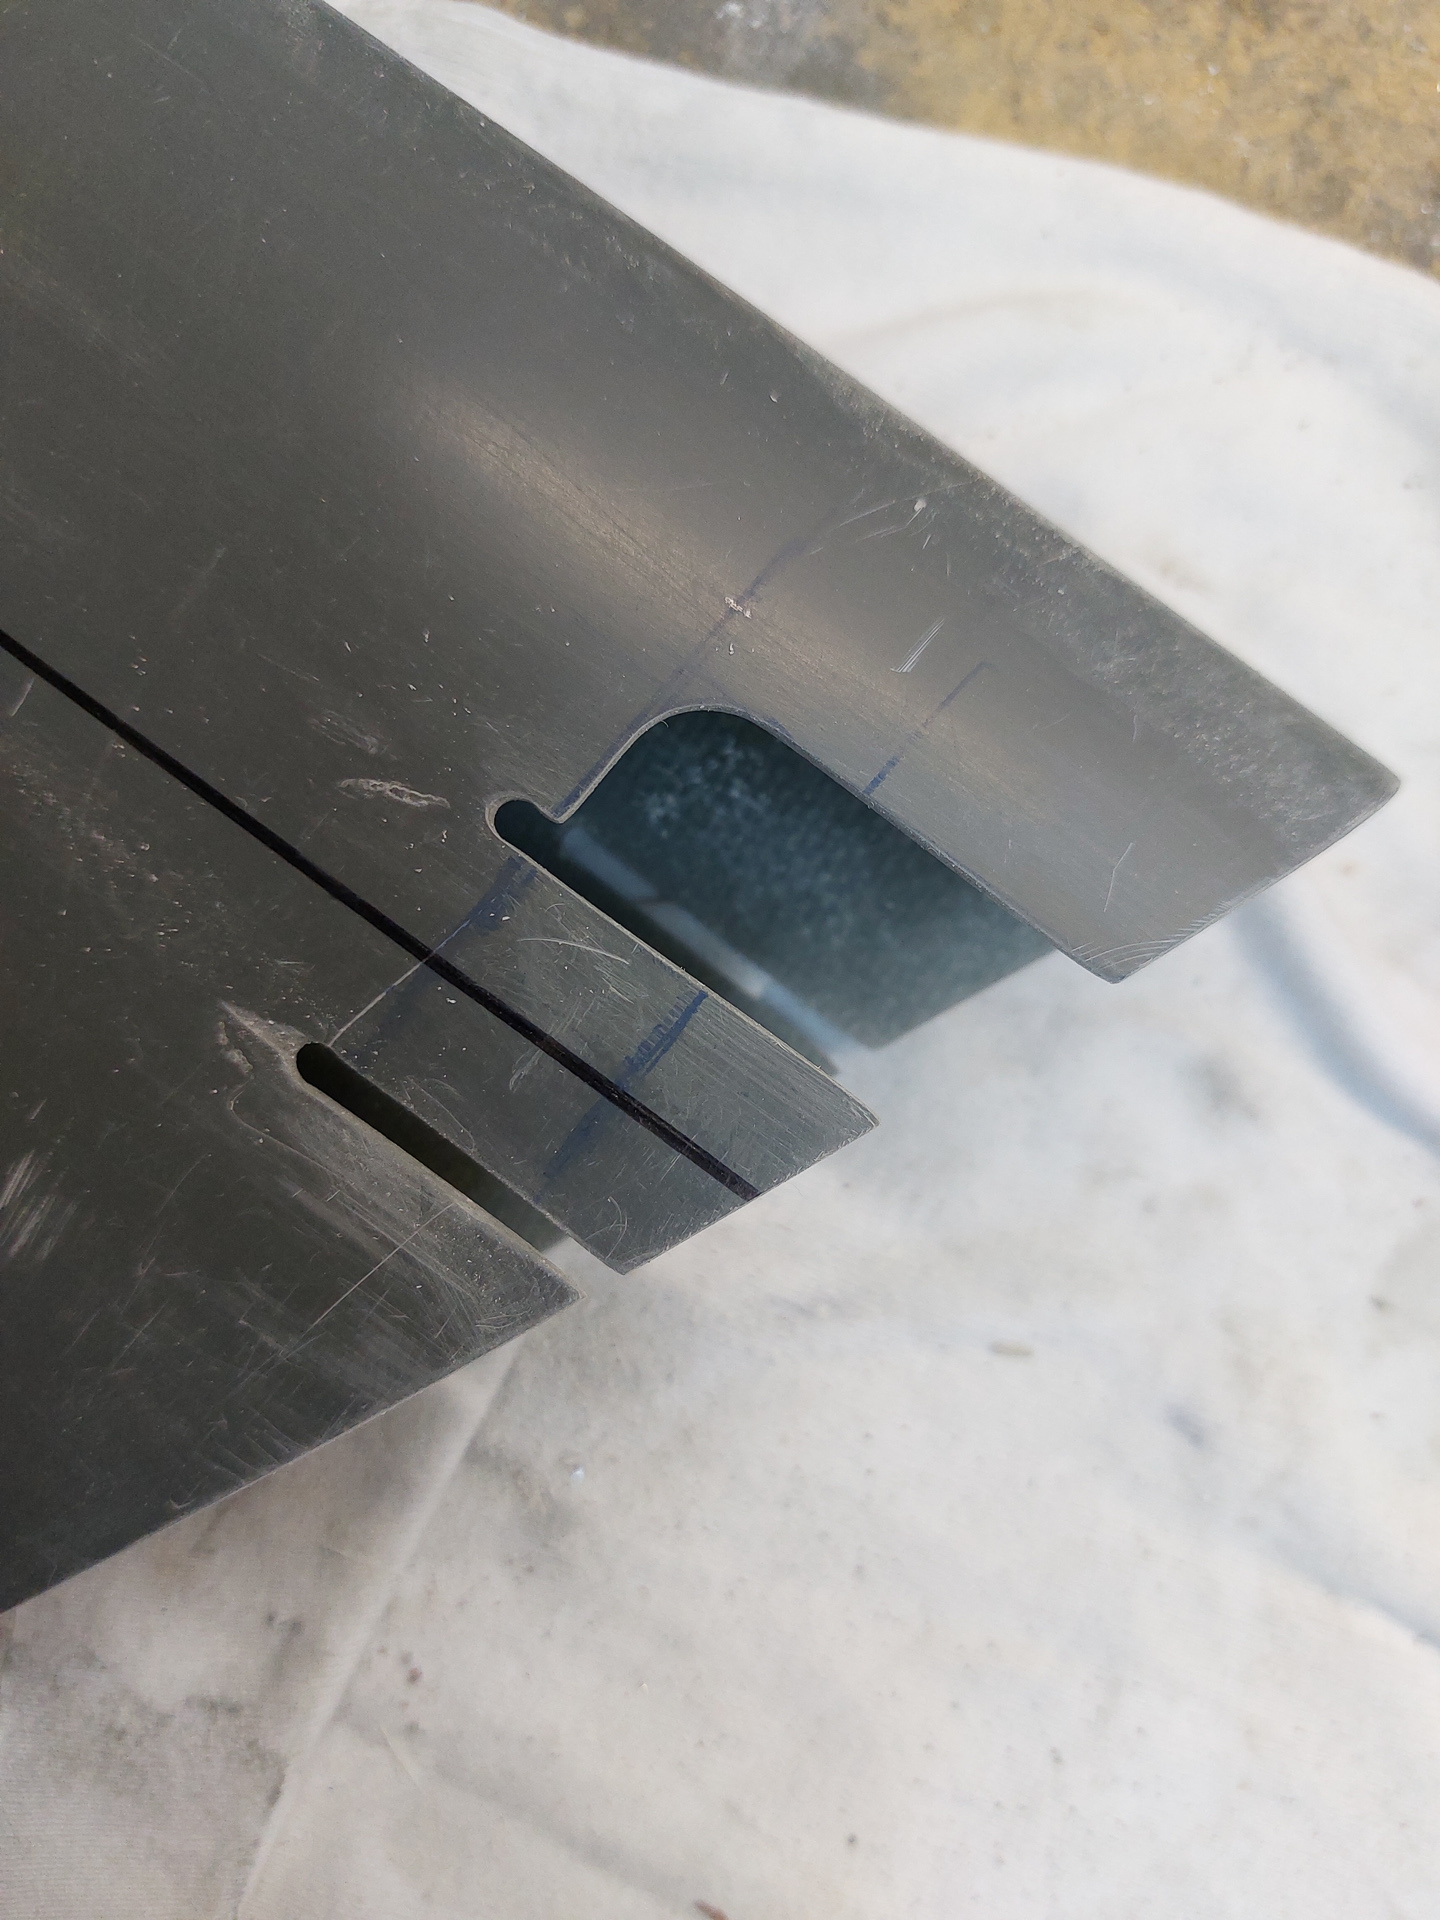
Also continued working on the cutout fingers on the top of the gearleg fairing. A larger cutout is made in the front to allow access to the steel clamp that prevents the fairing from sliding down.
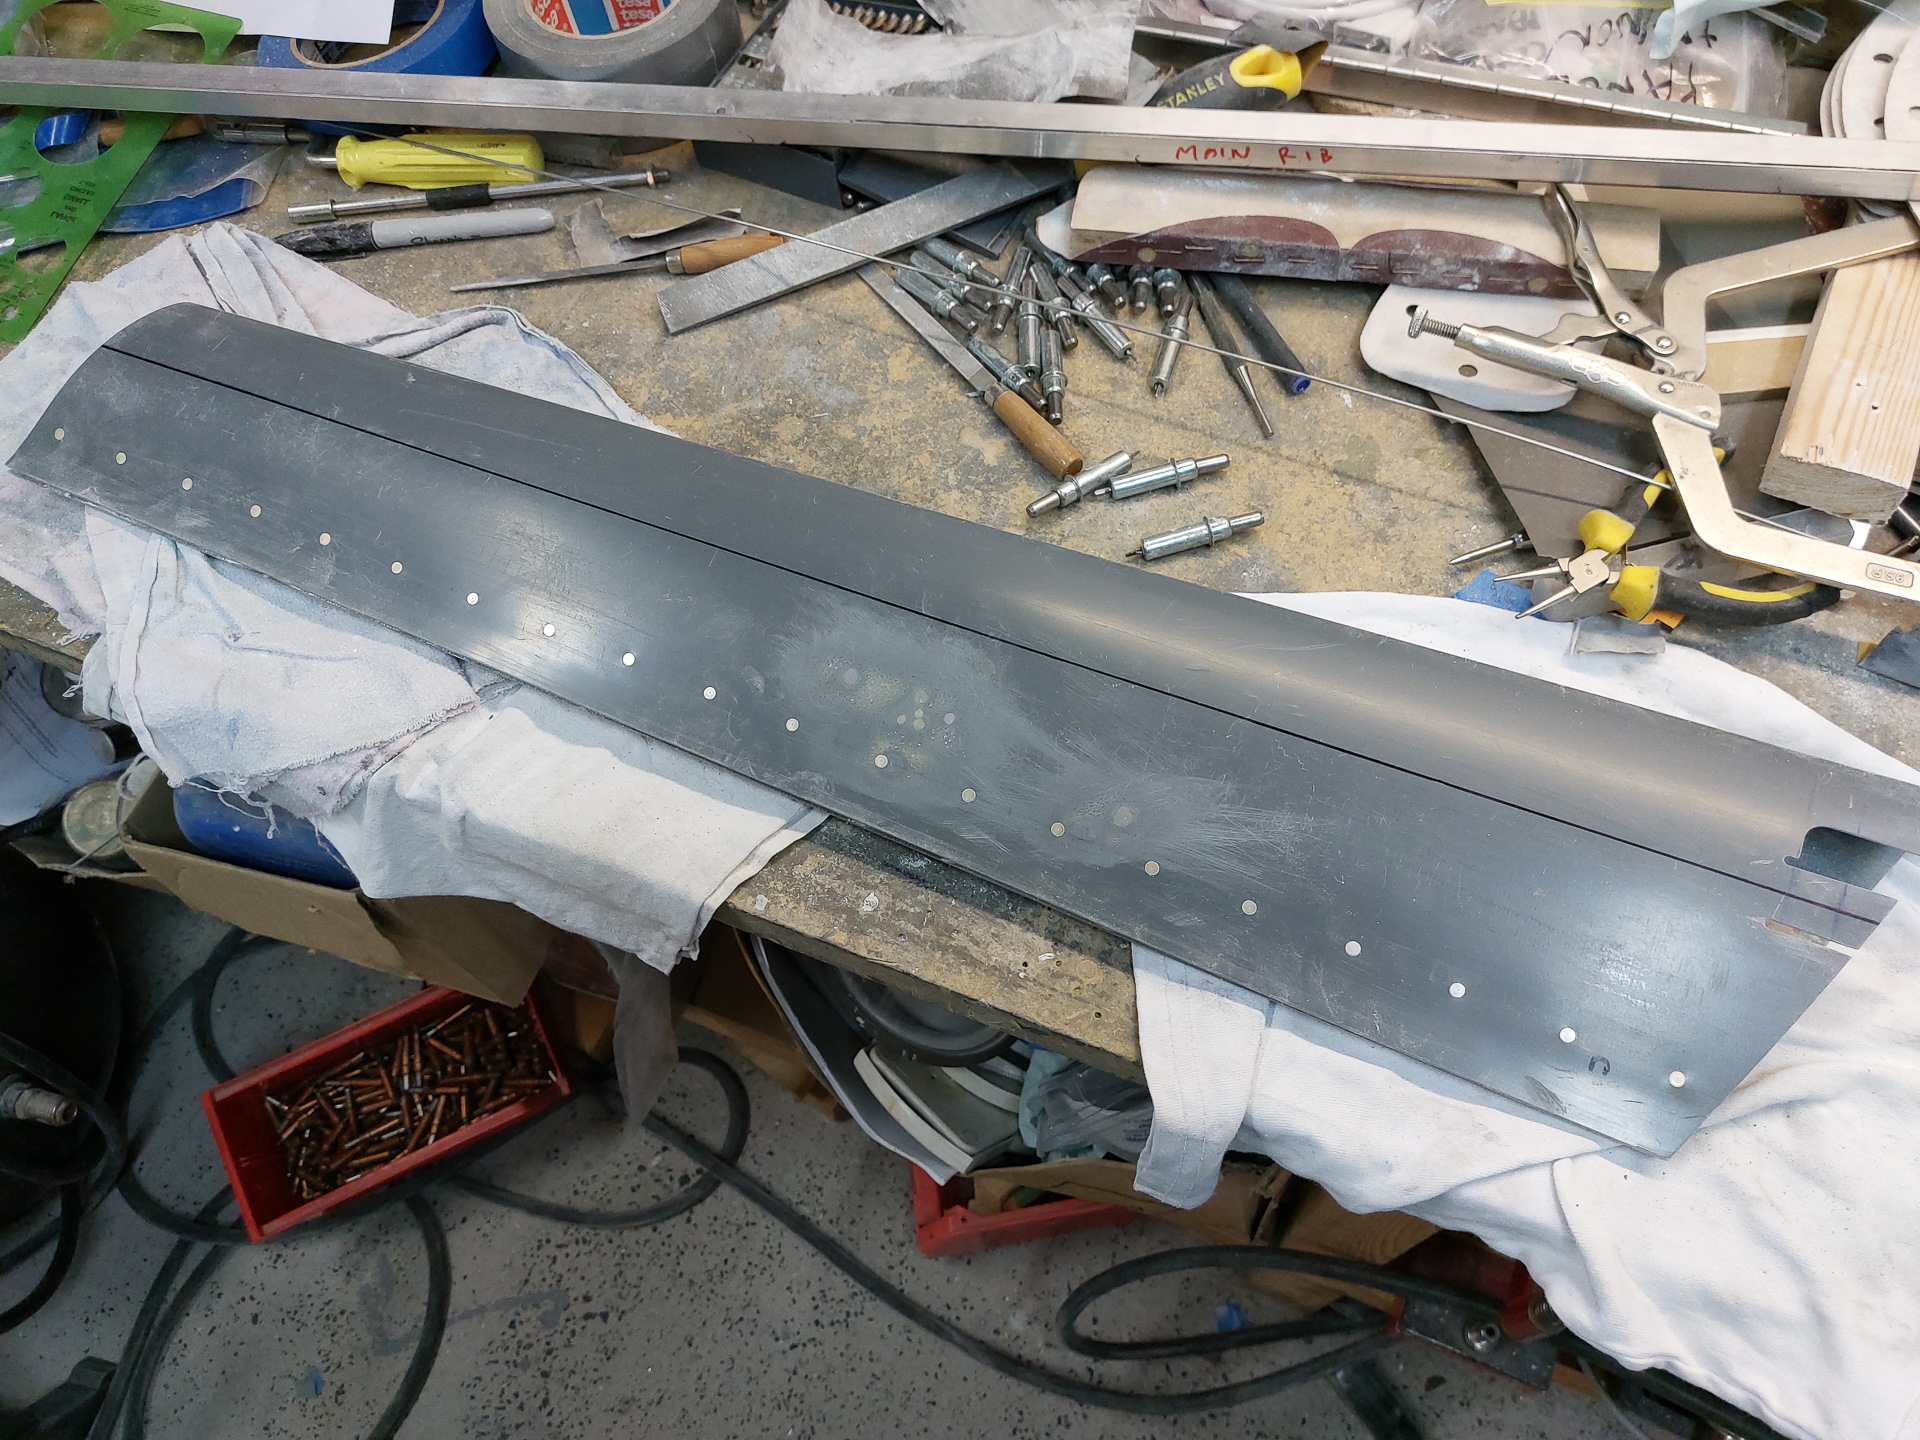
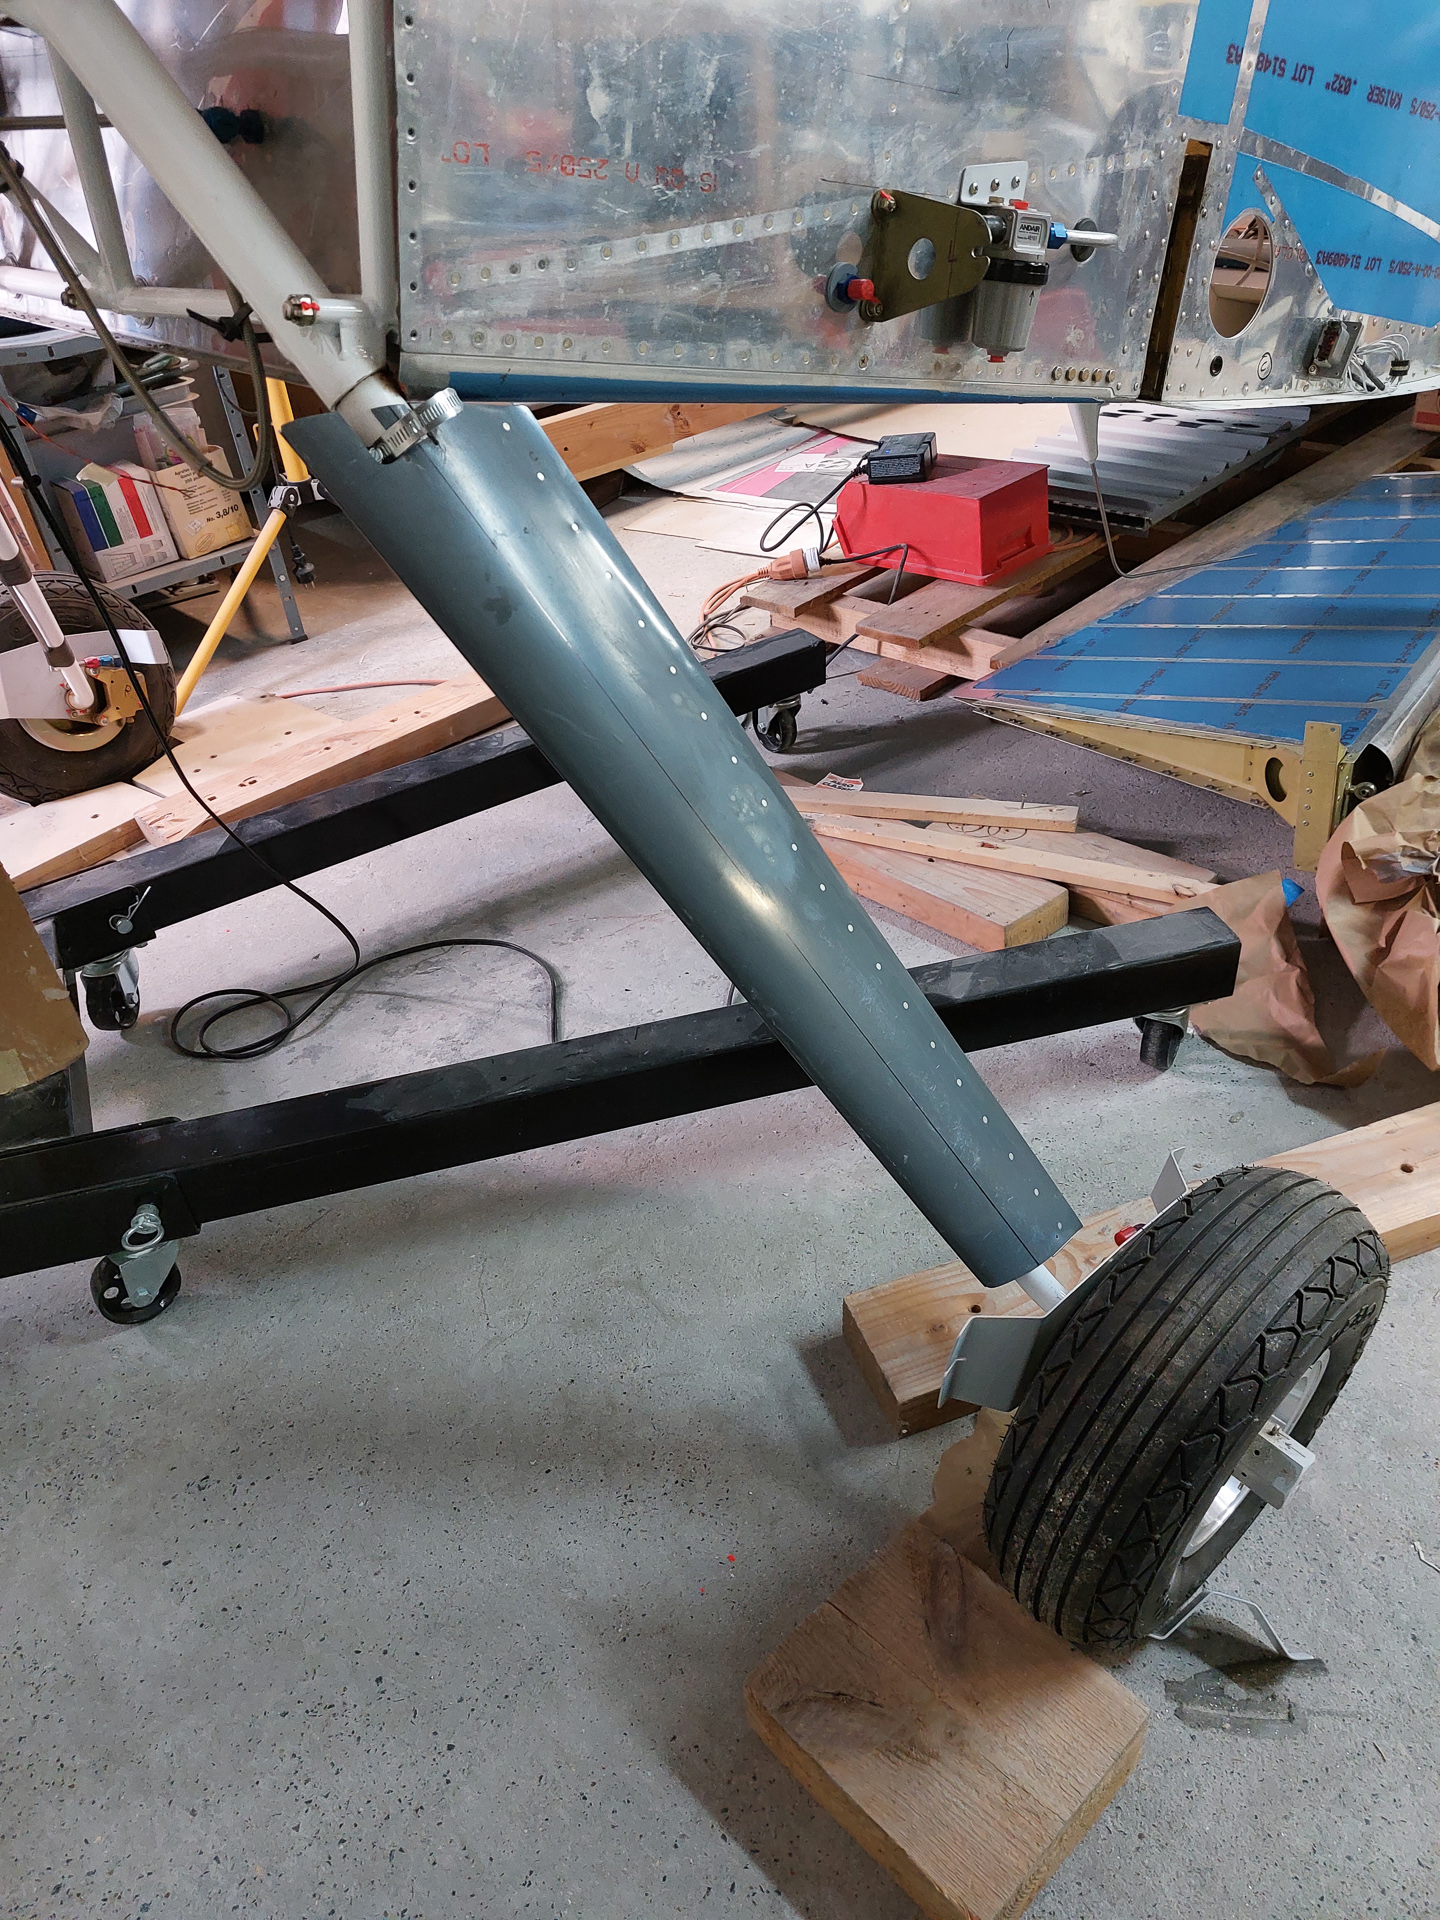
Trailing edge sanding is completed. The trick here is to sand a straight line and make sure that the trailing edge maintains "closed". If you sand too far, you risk that the sides of the fairing will open up in the trailing edge. This can still be solved with some extra epoxy but it means more work and any additional work on epoxy is something I'm trying to avoid as much as possible.
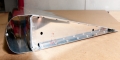
I decided to take of my flexible brake line. The bottom side is too short and interferes with the bottom of my fairing. I'll remake this line with a solid 1/4" aluminium line as per the plans. When I cut off my electrical tape that held the line on the front of the gear leg, I discovered this problem. A large chip of paint came off the landing gear.
I asked Vans what to do as they don't have the touch up powder coat anymore in the webstore. Vans Support told me to scuff it up and cover with the regular 2 component primer I used on the rest of the plane.
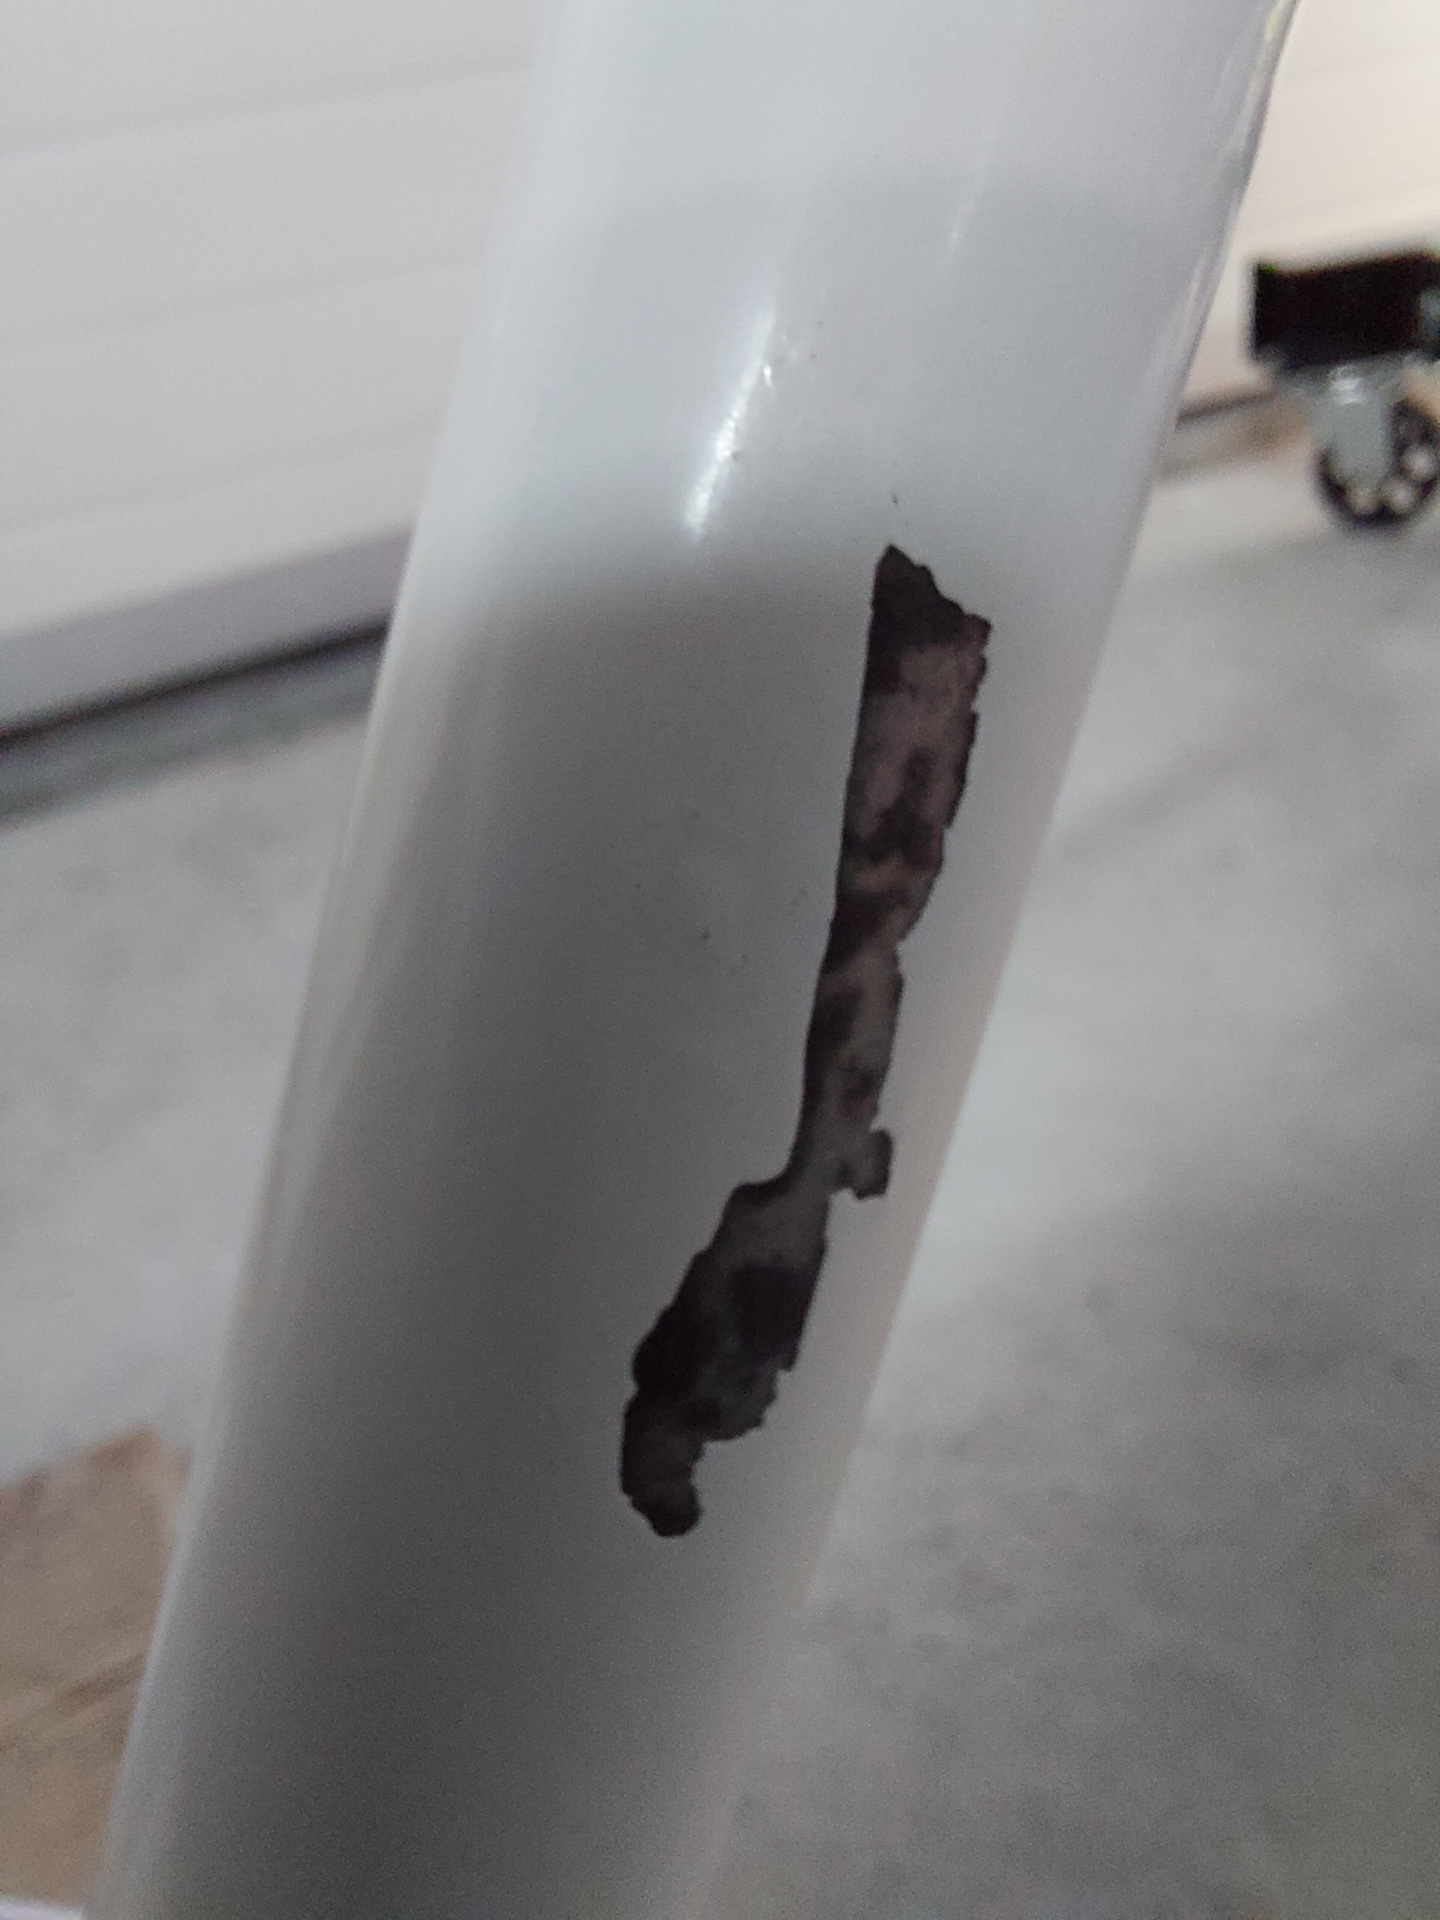
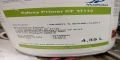
It's a rather large chip so I was a bit worried on the reason why this came off. I couldn't discover any corrosion. It may have been a "non-clean" part when it was painted at the factory. I will keep monitoring this in the future to see if any more places get problems with paint. For now I covered it with some LP3 rust inhibitor to protect it and will spray paint it soon.
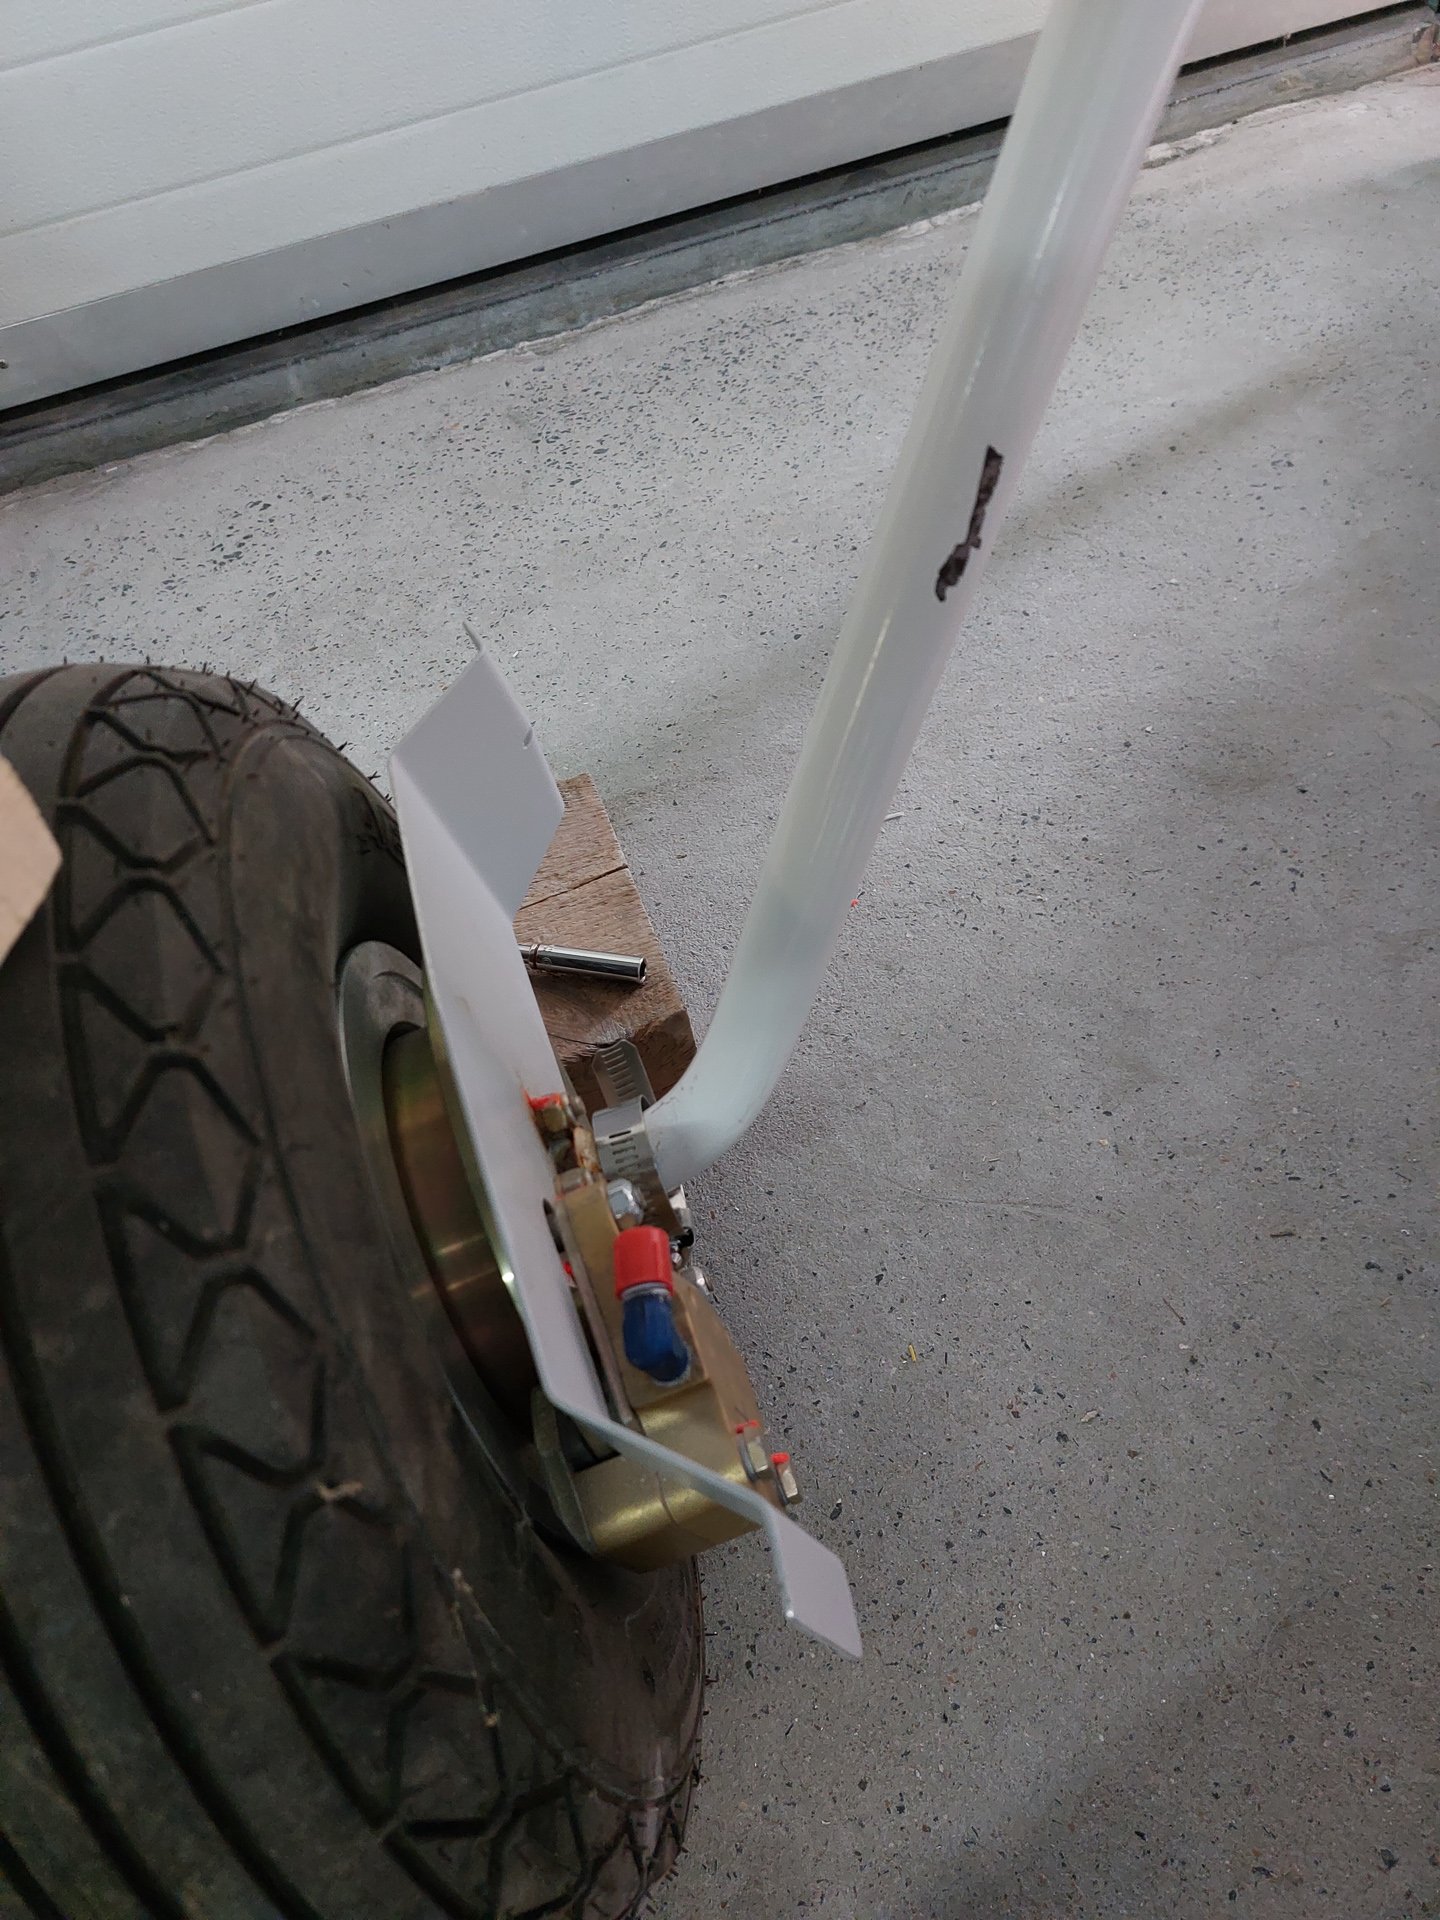
Fairing installed and the clamp thightened. You heat up the fingers with a heat gun and gently thighten the clamp. This forms the fingers around the gear leg. Some additional epoxy layers will be layed up underneath the fingers to strengthen the fingers.
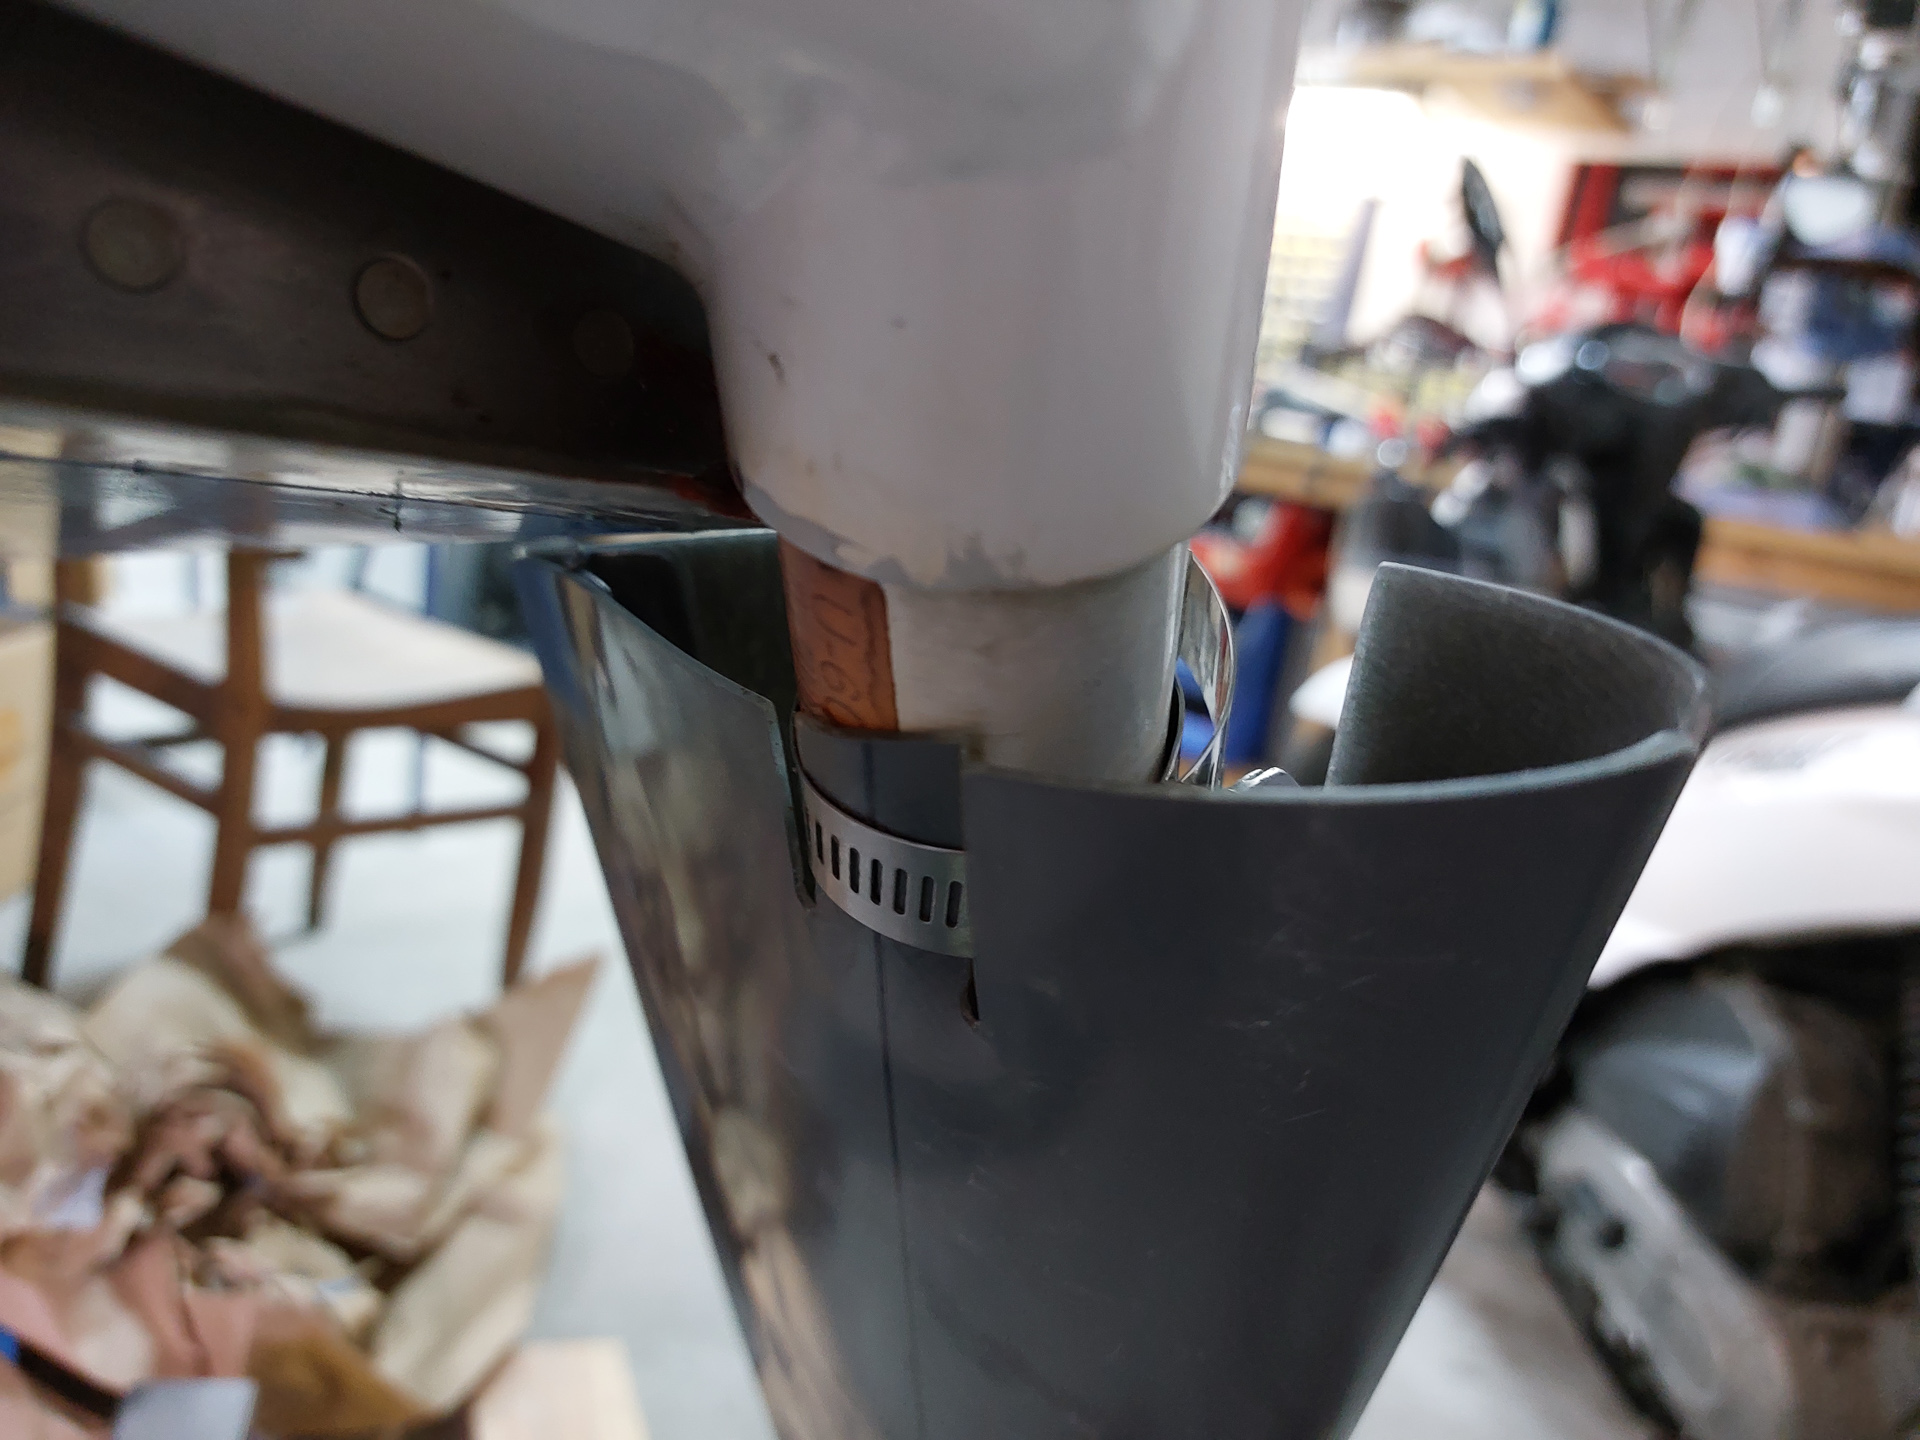
A view from the outside, I'll cut off the excess metal from the clamp as well.

Overall, this looks really good and is almost ready for final alignment.


